How to Craft Layers for Your Armor?
LifeAfter Guide
Your armor can be further enhanced by adding upgrade layers on it. To do this, you have to use the Armor Workbench in your private camp’s Armor shop. These upgrades are permanent but you can freely remove them from an armor and install them to other armors. These are quite invaluable in improving your survivability so try to craft all of them as soon as you can.
Here are the three layers you can craft for your armor:
| Upgrade Part | Bonus Effect | Materials |
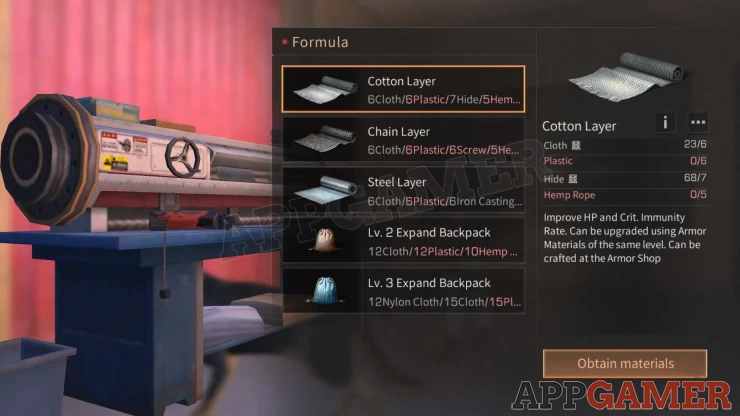
| Cotton Layer | HP Cap +40, Crit Immunity +3% | 6 Cloth, 6 Plastic, 7 Hide, 5 Hemp Rope |
| Chain Layer | HP Cap +15, Crit Immunity +3% | 6 Cloth, 6 Plastic, 6 Screw, 5 Hemp Rope |
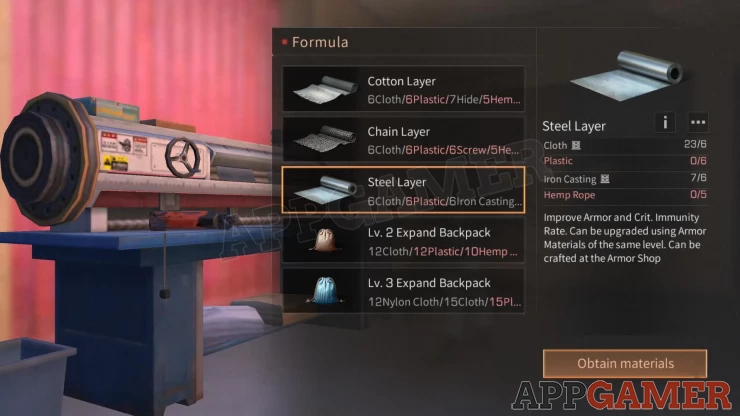
| Steel Layer | Armor + 1Crit Immunity +2% | 6 Cloth, 6 Plastic, 6 Iron Casting, 5 Hemp Rope |

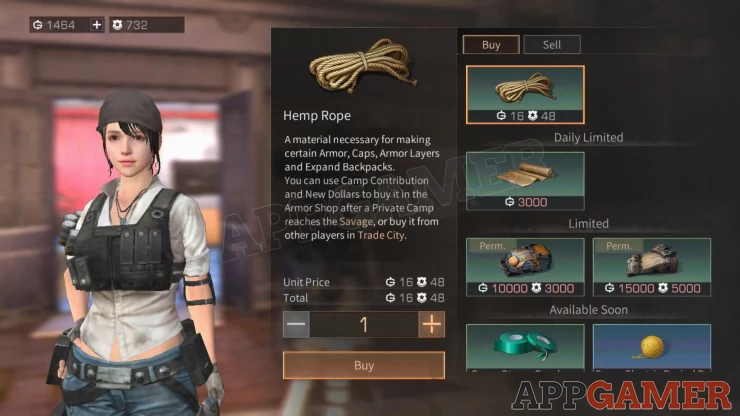
Hemp Rope is available for purchase from Liza, the private camp’s armor merchant for 16 dollars and 48 contribution pts each. She will only sell this once your camp has reached Savage period. The only other option is buying this from other players in Trade City.
The other materials listed can be farmed from Sand Castle and Fall Forest. As long as you have the newbie quest that gives you access to Sand Castle, you can use the Obtain Materials button to learn how to craft and where to get the materials needed for these layers.
Crafting each of them takes about 4 hours each. The armor shop workbench can only hold a maximum of two items. Once done crafting, the part will be delivered automatically to your mailbox.
We have questions and answers related to this topic which may also help you: Show all