Legend of the sacred stones - Chapter 3
More Adventure Escape Mysteries
This is our full guide to chapter 3 of Legend of the Sacred Stones, another exciting mystery escape game from Haiku games.
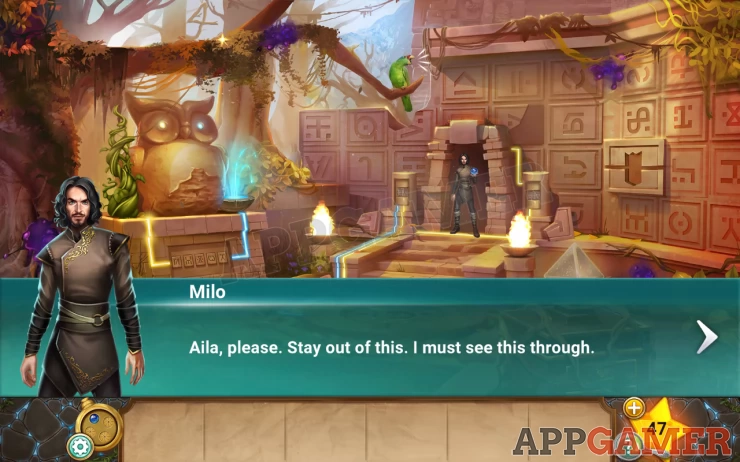
Following chapter 2 we must make our way to the Fall Temple to encounter Autumus.
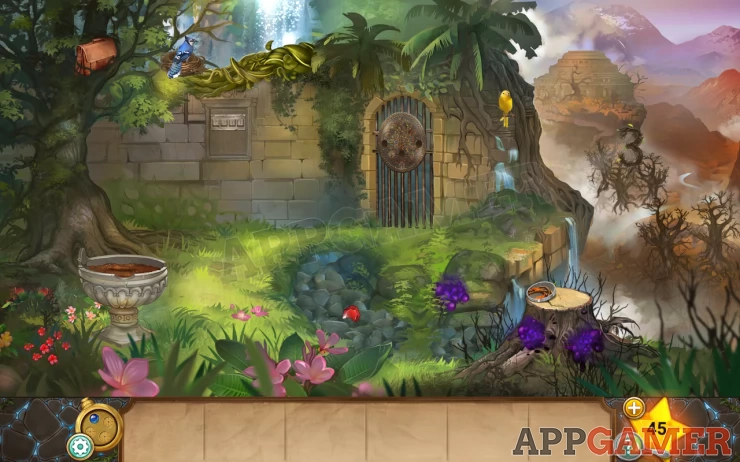
Hidden star: on a pink flower near the bottom center.
Clues to note: Number 3 in the branches on the right. 3 birds in the trees.
Tap on the tree stump to the right to collect a gate piece. Then tap on the urn / planter on the left to view it and find a second gate piece.
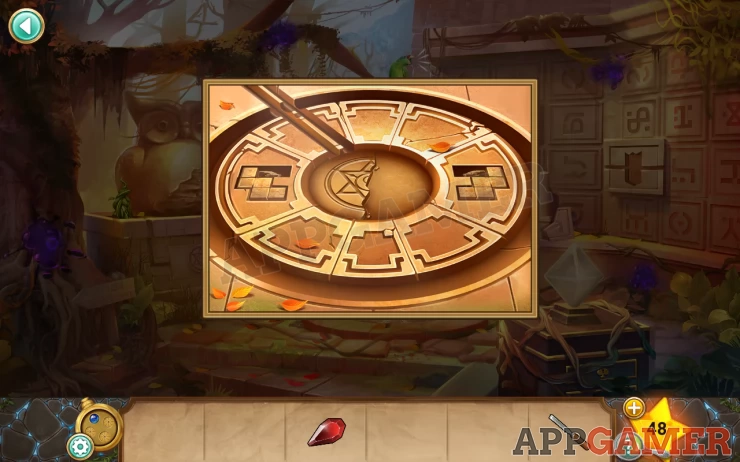
Now tap on the gate to view a puzzle. Add the 2 collected pieces and you can then move each of the circles around by dragging then to an empty spot to rearrange them and complete the picture.
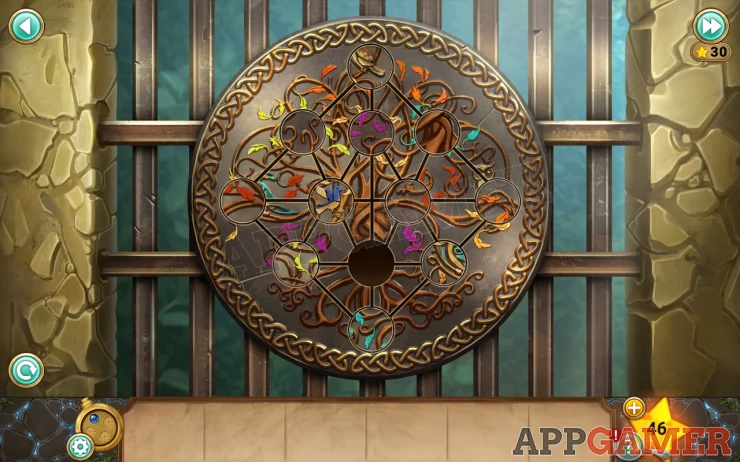
Hints: Look at the colour of leaves on each movable piece and match them to ones in the picture. The direction of branches passing through the pieces can also help.
Try to arrange the outer edge pieces first, then arrange the center ones.
Solution: Move the bottom piece up to complete the puzzleShow
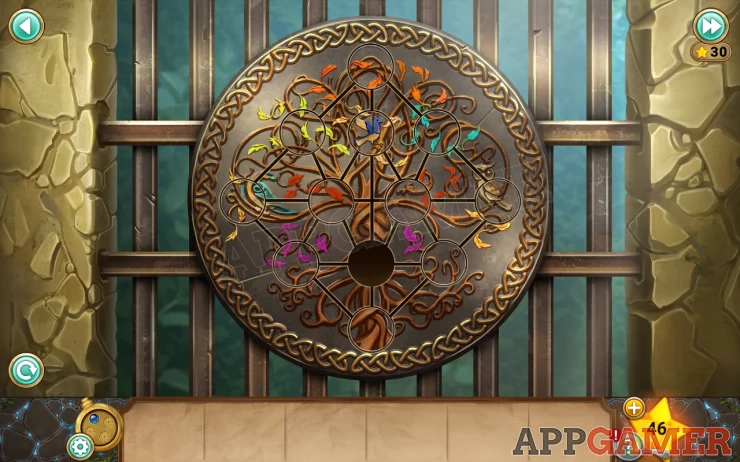
Pass through the gate to the next area
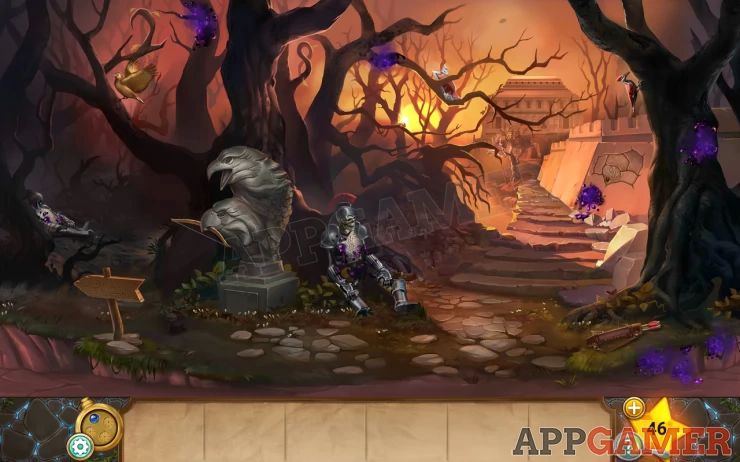
Hidden Star: in the center on the sun.
Clues to note: numbers 2 and 8 in the trees. 2 more birds in the trees.
Tap the path to move forward to the temple. You find Milo.
Hidden Star: on the branch top left.
Tap to collect the chisel from the ground.
Next tap the symbol on the statue plinth and use your locket to turn on the fountain.
Tap the circle in the center to view and and collect the red gem.
Clues to note: The parrot in the tree and the 4 in the branches.
You now need to back right out to the initial scene. (tap the sign posts on the left to do this).
On the wall below the blue bird is a 4 digit code entry.
Use the 4 numbers from the clues above in the order you found them.
Solution: 3284Show
You now have access to the yellow (earth) gem on the locket.
Tap the symbol that is revealed and use the yellow button to activate a waterfall. A gem is washed away to Mori Woods.
Now use the locket again to remove the waterfall and dry the stream.
Move through the gate to Mori woods. You can now collect the second red gem from the ground on the bottom right.
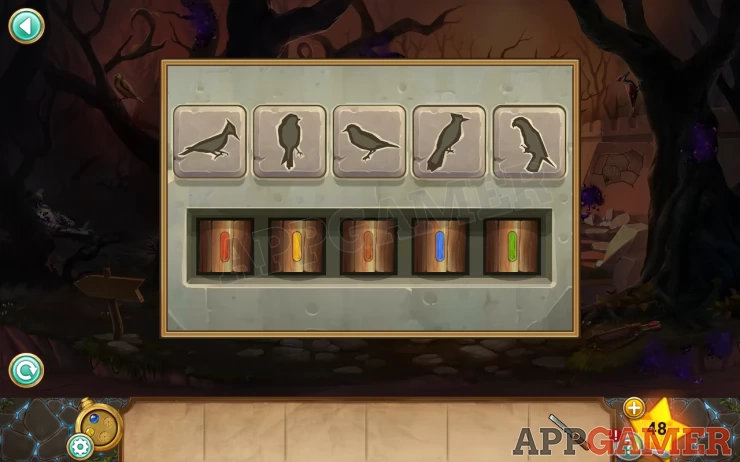
Next place the 2 red gems on the bird statue to the left. This reveals a 5 digit lock with 5 bird shapes.
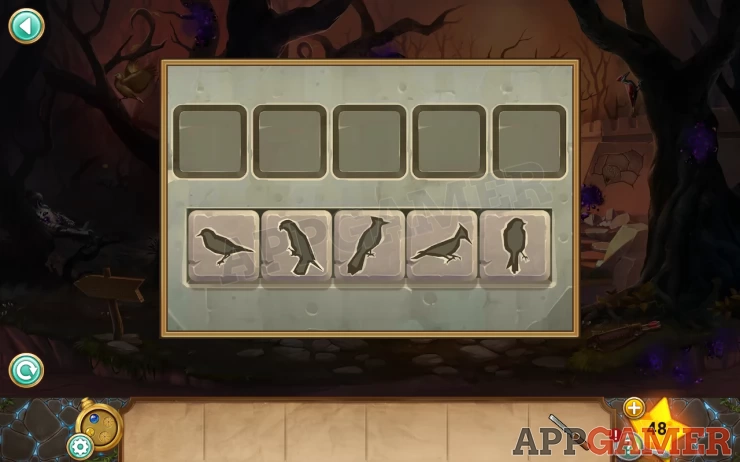
Hint: There are 5 bird clues seen above. Check each one and count the repeated animations.
Drag the bird shapes up and place them above the correct colour dial. Then set the dial numbers to the animation counts.
Solution: Set the birds like this. Change the dials to 54232Show
You can now collect a bow from the ground.
Tap the arrows on the bottom right and then place the bow down by the arrows to get the bow and arrows.
On the tree branch above the path is a 'shield emblem' stuck. Use the bow and arrows to shoot it down and collect it.
Next tap on the wall to the right with a broken area.
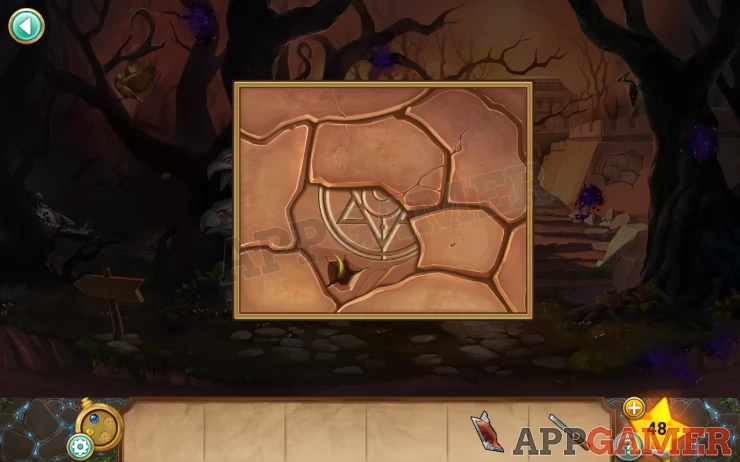
Use the chisel to remove 4 loose pieces. Then you can use the locket power to make the vines grow and collect a seed.
Return to the initial scene again and place the seed in the planter on the left.
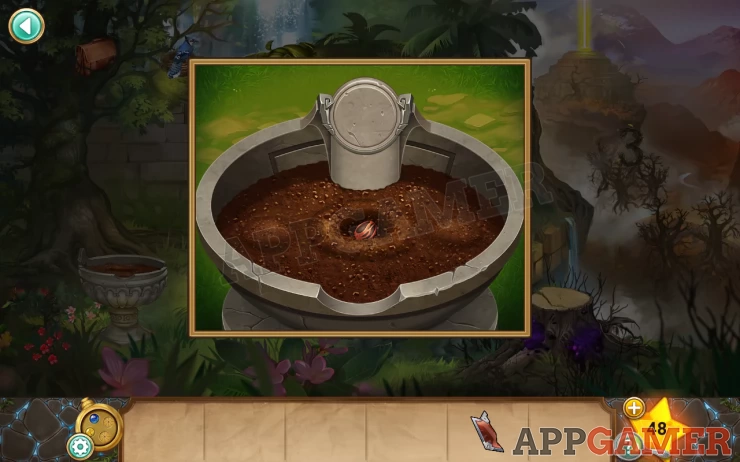
Tap the mounds of dirt to either side to cover the seed and then press the two buttons that are revealed.
Another symbol is revealed and you can use the locket again to grow the seed into a vine. You must use the Earth gem and then the water gem as well to make it grow.
You can now tap the bag in the tree to collect a second Shield Emblem and a Heart Key.
Move forward again to the temple area where you found Milo.
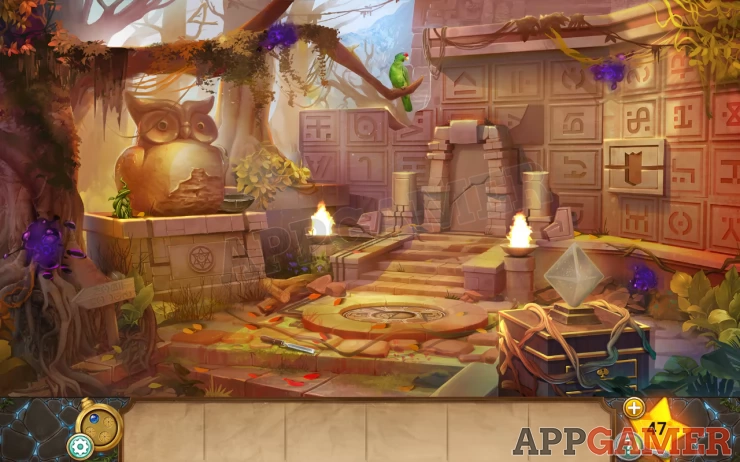
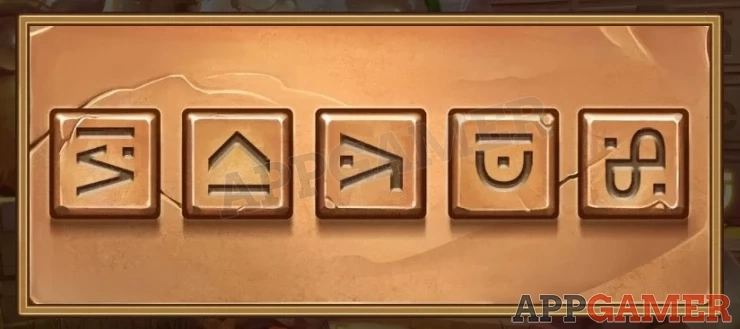
Place the 2 shield emblem pieces on the wall space on the right. This reveals a clue.
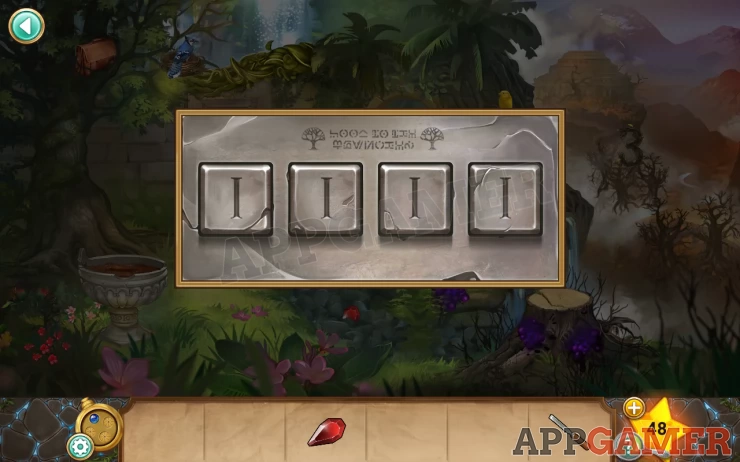
Next, tap the owl statue symbol again and use the locket earth gem on the star to grow the vines next to the owl. This reveals another combination lock.
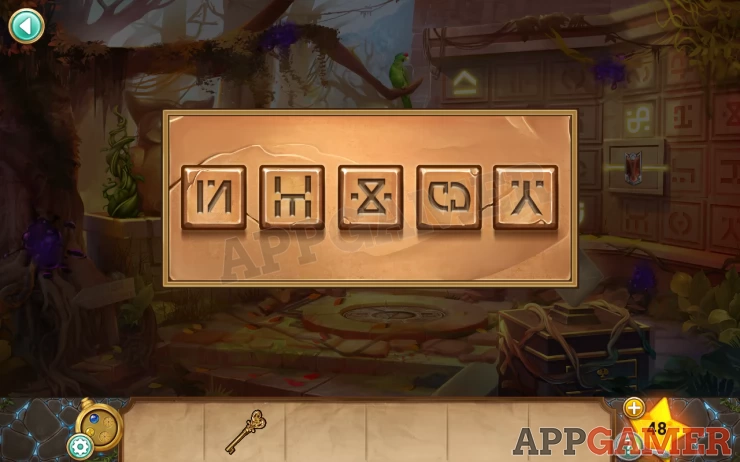
Hint: use the 5 rune symbols from the wall, one is broken but you can work it out.
Solution: Show
The owl released the chest on the right and you can now check the drawers.
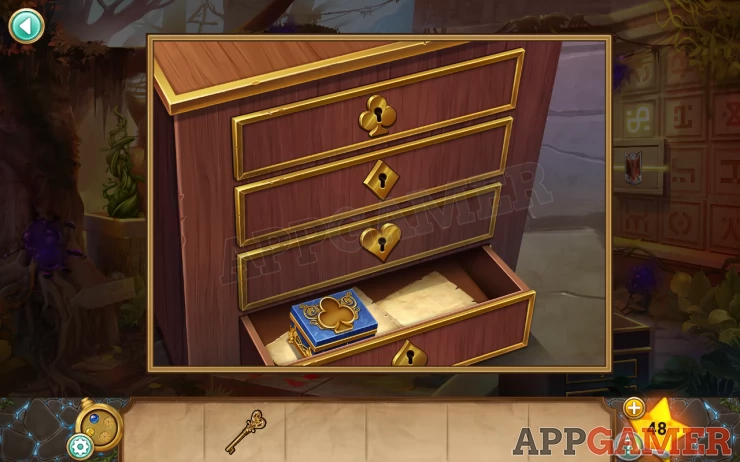
Use the heart key to open the heart drawer.
Collect the clubs shaped gem then close the drawer and use it on the club box in the bottom drawer.
Collect the diamond key
Close the bottom drawer to find a spade gem.
Use the diamond key to open the diamond drawer.
Use the diamond gem to open the box. Collect a club key.
Use the club key to open the top club drawer. Collect the diamond gem.
Open the heart drawer and use the diamond bem to opwn the box. Collect the heart gem.
Open the top 'club' drawer again and use the heart gem to open the box.
Collect a stone slab.
Now you can place the stone slab in the center of the circle on the ground.
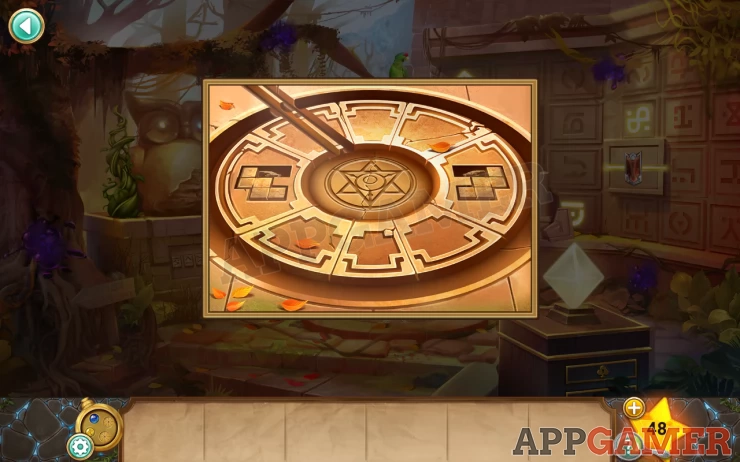
This lets you use both the water gem and earth gem with the symbol to activate another pillar puzzle.
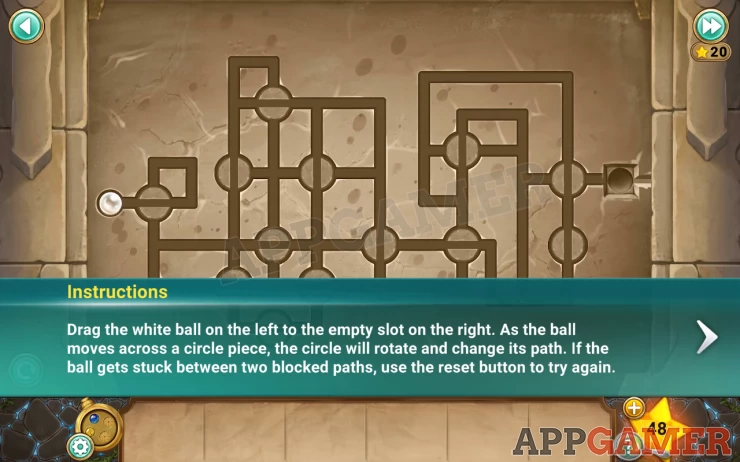
For the first one move the ball to the hole on the right. This then activates a second puzzle.
The second one is the same but more complicated.
Tap the doorway to enter the temple and complete Chapter 3. Now we can move on to Legend of the Sacred Stones - chapter 4.
We have questions and answers related to this topic which may also help you: Show all