The Squire's Tale - Chapter 1 Walkthrough
More Adventure Escape Mysteries
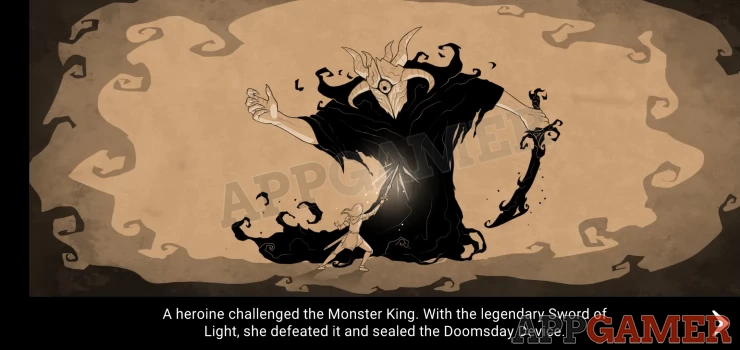
The Squire's Tale is an escape puzzle game from Haiku Games, playable through their Adventure Escape Mysteries app. The story involves the quest to find the legendary Sword of Light and put an end to the Monster King. The Quest is undertaken by Cedrick the Knight and his trusty Squire Martin.
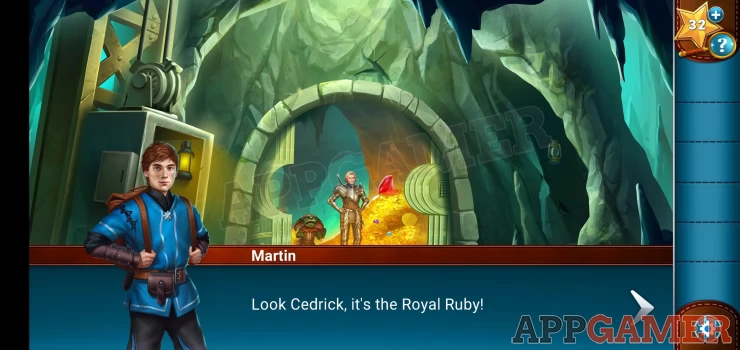
This is our full walkthrough of Chapter 1 of The Squire's Tale. You arrive initially at the Snare Mines to retrieve the Royal Ruby.
Cedric decides to destroy the goblin statue but this doesn't help, we will need to put it back together.
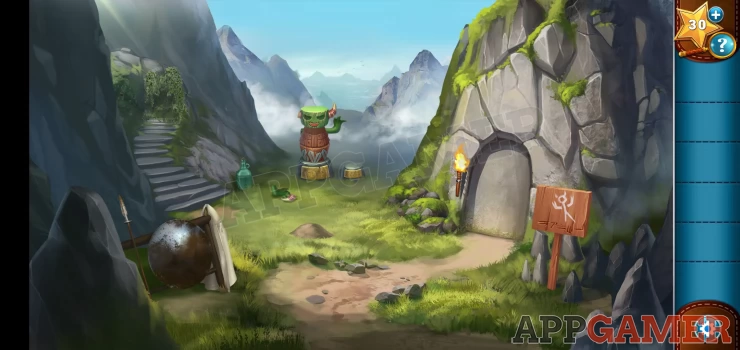
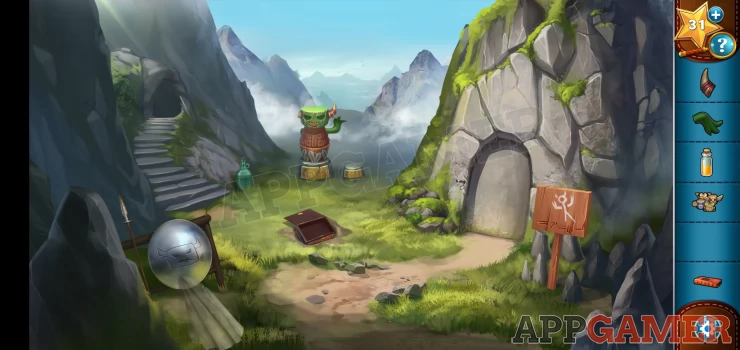
Open the Mine Door
Collect the Statue Horn and Statue Arm from the ground, then also collect a white Tunic from the left and a burning torch from next to the doorway on the right.
Use the Torch on the vines that cover the cave entrance at the top of the steps on the left. This will burn them away and let you enter the cave.
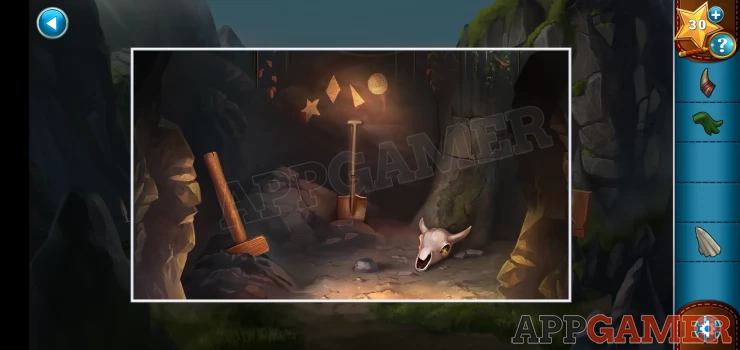
Star secret: in the eye of the skull on the ground.
In the cave collect the large hammer fro the ground on the left. And the Shovel from the center. Then use the hammer on the cracked rock on the right to open a section, collect from inside a Goblin Dictionary and also some Animal Statues.
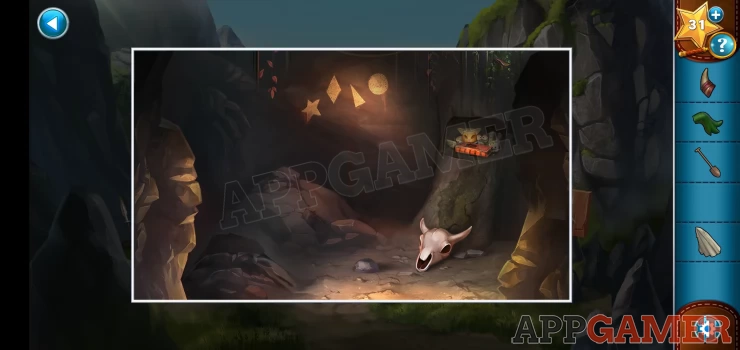
Notice also the shapes clue on the back wall. Then you can exit the cave.
Use the shovel on a small mound of dirt in the center of the scene below the statue. This will dig up a box with 4 images on it. This is a puzzle to open.
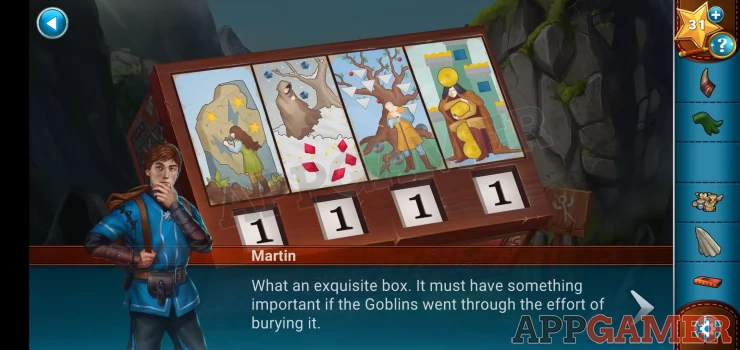
Box Puzzle
Hint: the shapes in the cave are the clue.
Solution: Look for the matching shapes in each of the 4 images. Star, Diamond, Triangle, Circle. Count them to get the codeShow
Code: 3574Show
Open the box to collect a bottle of goblin glue.
Next use the tunic on the water bottle to the left of the statue, this will give you a Damp tunic. Then use this on the round shield on the left. It will clean the shield and reveal a face, this is a clue.
For the next clue use the goblin dictionary on the sign by the door on the right. This will translate the writing to 'Hands up to enter'
Then view the statue itself.
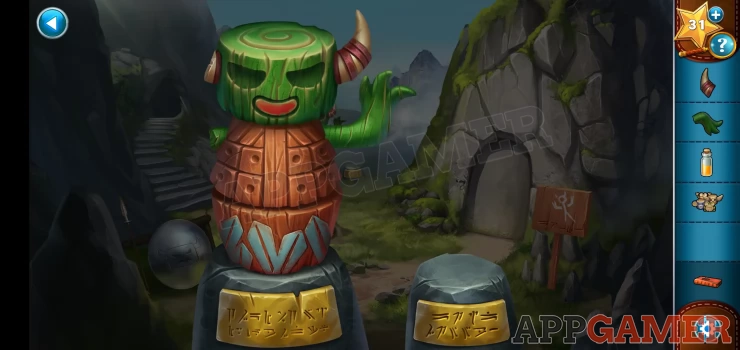
Fix the Statue
Use the goblin glue on the statue to spread some on the broken areas then add the horn and the arm to complete it. Then you can use the Goblin dictionary on the 2 plaques on the bases to read what they say.
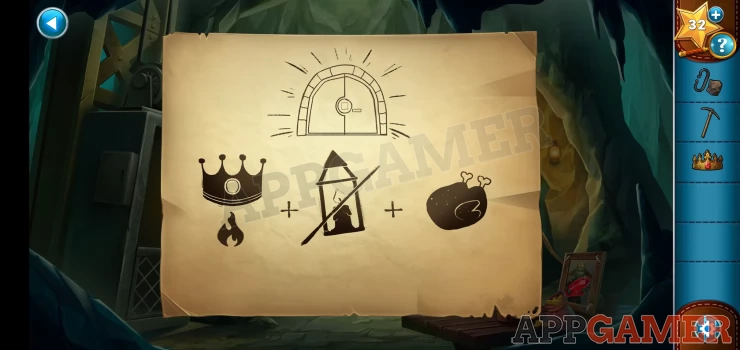
- Gobby rose from the flames to open the way.
- Aided by one with the hard shell of a warrior.
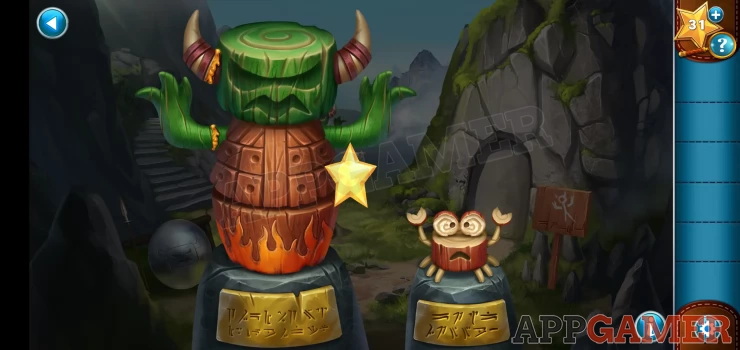
We now have the clues to open the door. First the goblin statue.
Hands up to enter - tap the left arm to make both hand raised.
Rose from the flames - Tap the base of the statue to change it to flames.
Shield face - tap the head to change the face to match he shield.
Aided by one with the hard shell - add the animal statues to the left, then tap it to change until you find the crab.
The Mine
Once completed the door to the mine is opened and you can go in. This starts a short scene and then you get a battle mini game here you need to use Cedrick's skills to defeat the goblins before they attack Martin.
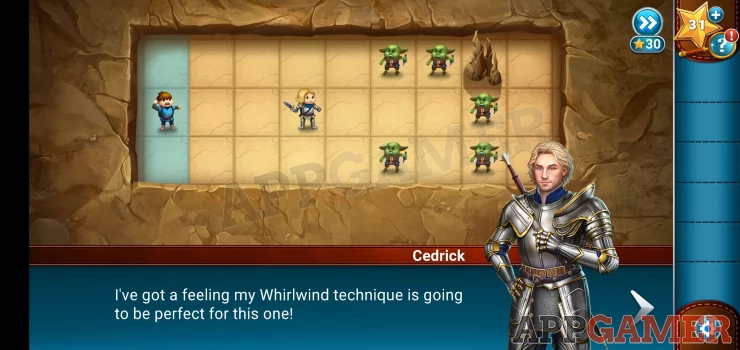
Defeat the Goblins
- There are 3 stages to the fight
- You have a whirlwind skill in the first stage you can use this once to defeat all the goblins in the squares around you.
- You have a charge attack skill in the second, you can use the once to rush forward in a single direction and defeat the first goblin you encounter.
- In the third round you can use both of the skills, but only once each.
- Check the video below for help.

You are now in the mine with no more goblins.
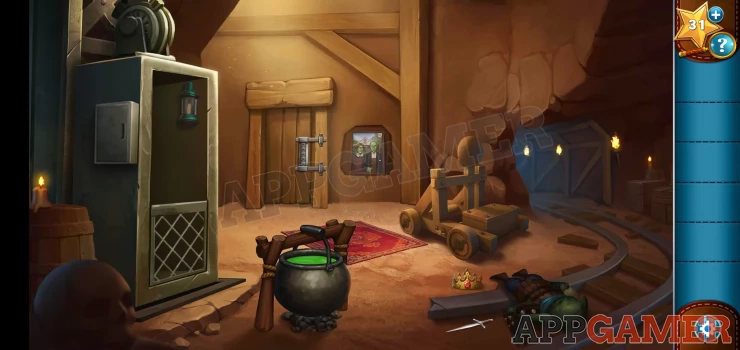
Collect the crown and the Dagger from the ground. Then tap the red rug in the center top lift a corner and collect a Gear from underneath. Next tap on the picture on the wall by the door.
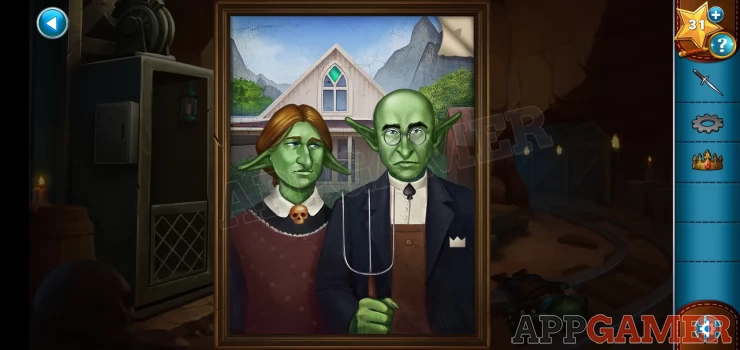
Tap on the top right corner where the picture is loose and you will find a symbol. Look carefully at the painting and you will see 4 other symbols, make a note of these from top to bottom.
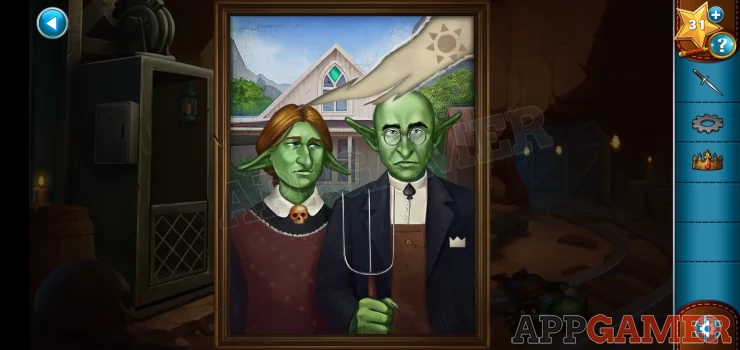
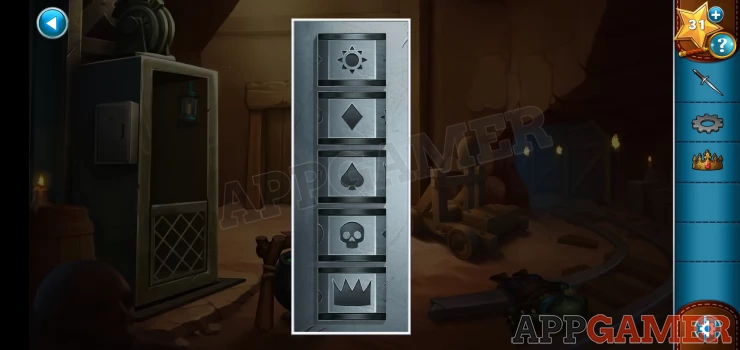
Then tap on the cupboard door to the left of the painting to see the lock. This requires 5 symbols so enter the ones from the painting from top to bottom.
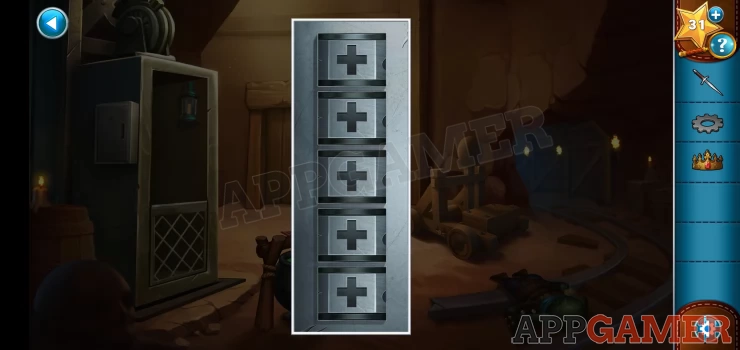
Solution: Sun, Diamond, Spade, Skull, Crown.Show
Star secret: in the bottom of the cupboard.
Collect a gear from the cupboard lower shelf and then use the dagger on the box of the wooden trolley on the right, this will open it so that you can collect a third gear.
Now open the box on the left side of the elevator that is on the left of the scene, there are slots for 3 gears so you can place the 3 that you have inside. The elevator is fixed.
Now tap on the elevator and you will travel down to a lower floor.
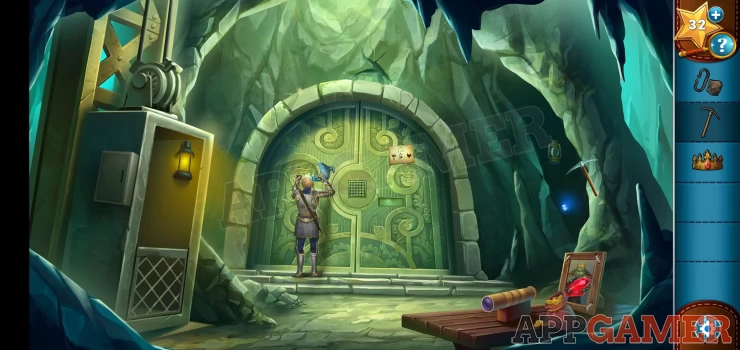
The Vault Door
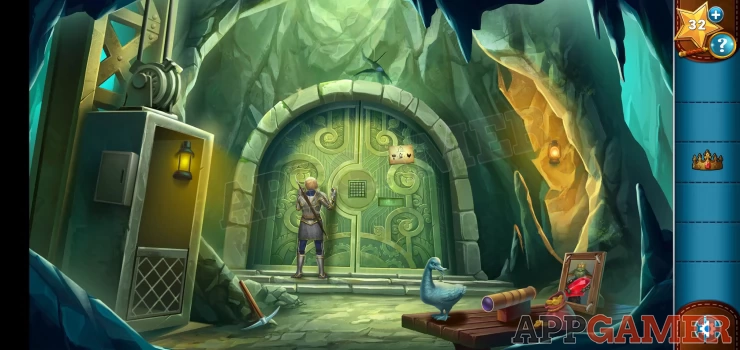
You find the goblin's vault but it is locked, after arguing with the goblin guard inside you need to find the password to open it. You can tap on a paper on the vault door to see a clue for what you need.
Then collect the pickaxe from the ground on the left and then the Duck Statue from the right. Then tap on Cedrick, he will ask you for something heavy to hit the door with, Hand him the duck statue.
You can now collect a flint and tinder from the floor. Now notice the lantern in the alcove on the right. There is a lantern in the clue paper, so tap this lantern to turn it off. You will then see a glowing blue gem in the dark. Use the pickaxe to collect it.
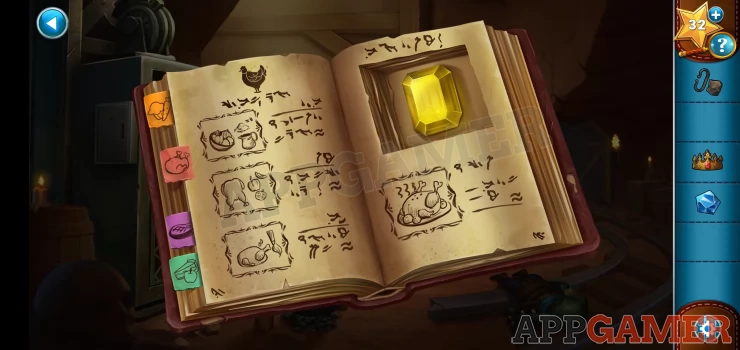
Now tap the elevator to go back up to the top level. When there first use the pickaxe on the open cupboard, you will knock down a book that you can then look inside. Turn the pages to find the one with the chicken recipe, there is a yellow gem there to collect.
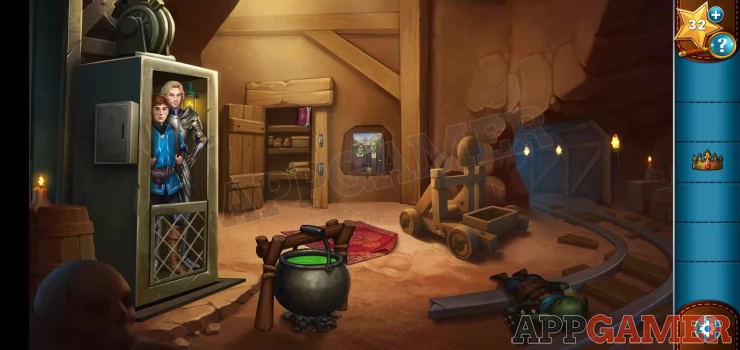
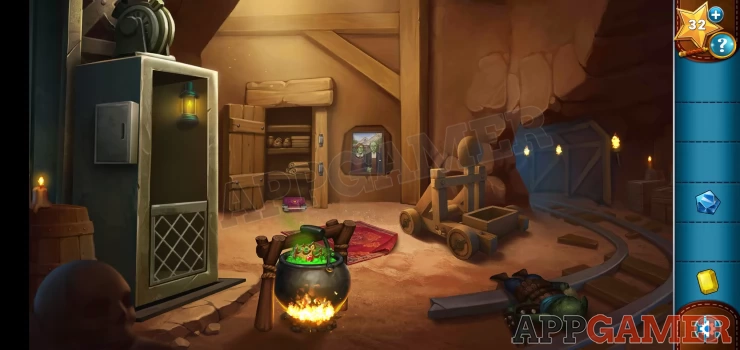
Now for the final gem we need to remove it from the crown. Use the flint and tinder to light the fire under the cauldron of green coop. Then place the crown in it to melt away the metal and collect the red gem.
Now go back down in the elevator to the lower floor. View the kaleidoscope that is on the table on the right. There are 3 empty slots so you can place the 3 gems into it. Then tap it to start a puzzle.

Kaleidoscope Puzzle
- The puzzle has 3 rings, red, yellow and blue.
- Turning each ring will bring colorws swuares into ocus and change their size and position.
- Rotate each ring until you fit the colored squares into the grid.
- Check the solution below
Solution: Show
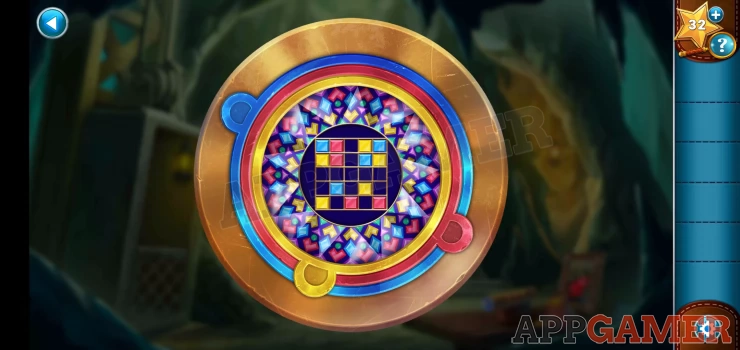
Once done you will see a pattern on the grid, you need to remember this, the colors are not important only the empty spaces.
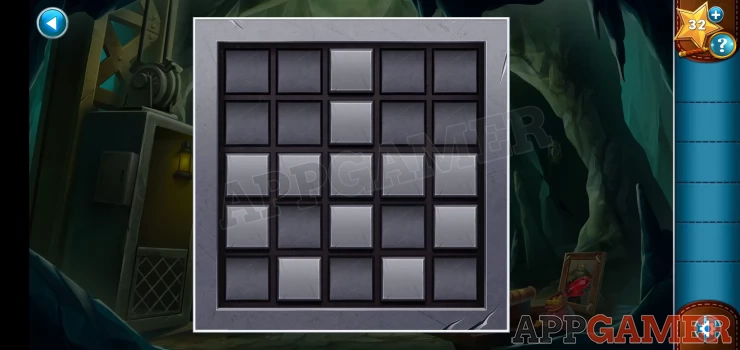
Now tap on the center panel on the vault door to see a matching grid.
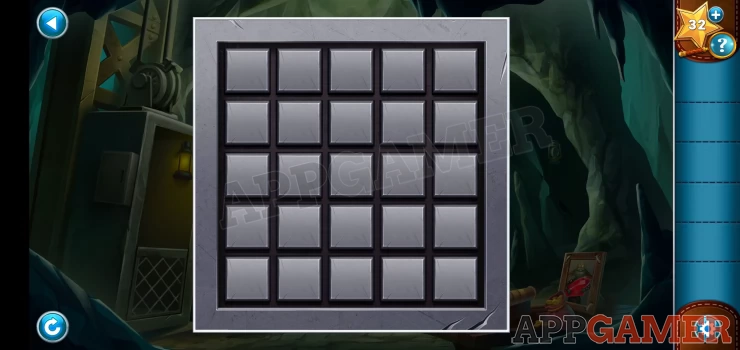
Tap the squares to match the same pattern layout, leave the empty squares as they are.
Solution: Show
This opens the first door but there is another, you need to tap the center panel again on the second door to see the puzzle to open it.
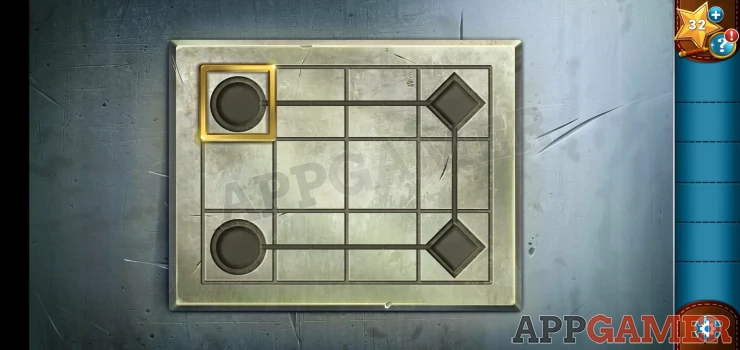
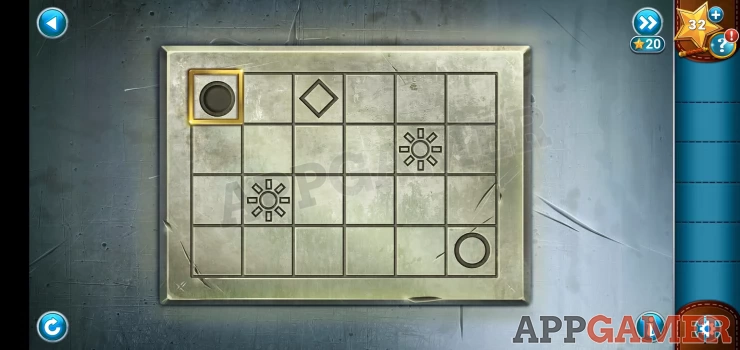
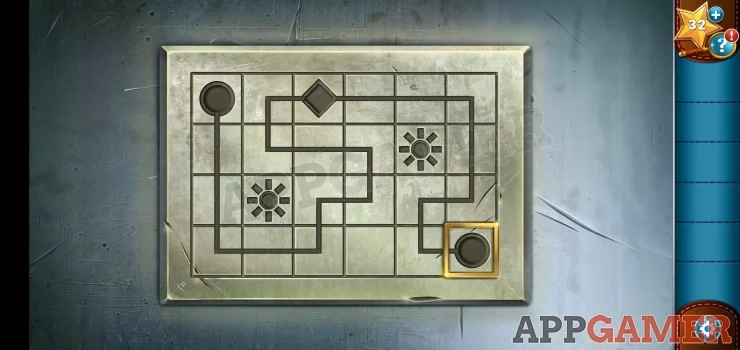
Second Vault Door Puzzle
- The aim of the puzzle is to draw a line from the starting circle (gold sqaure) to the other one, but you need to work out the rules as you go.
- For this puzzle you must pass the line through both of the diamond shapes first.
Solution: Show
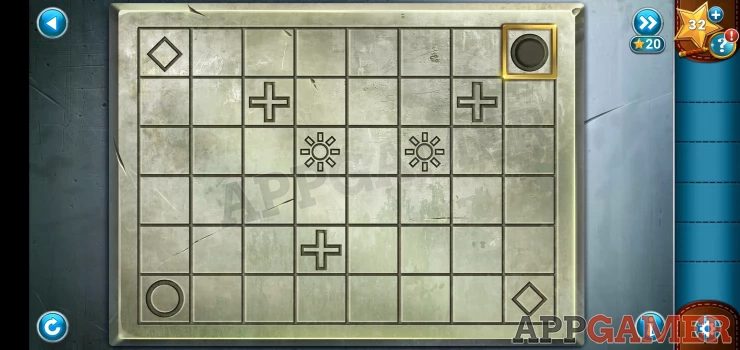
Third Vault Door Puzzle
- This is a repeat of the previous puzzle, but there is a new sun symbol to work out.
- To complete the sun symbol you need to pass the line around all the side squares of each sun symbol
- The line cannot cross itself
Solution: Show
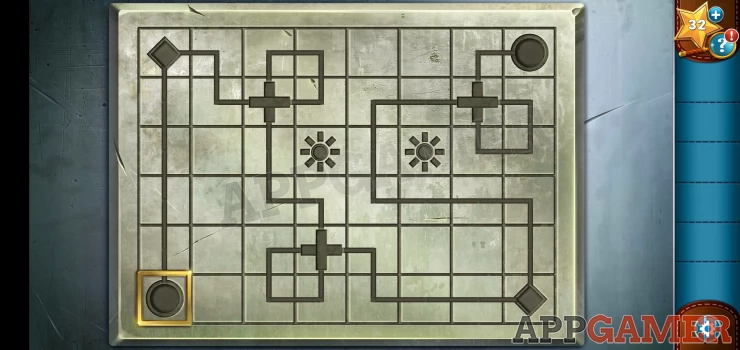
Last Vault Door Puzzle
And there is one more level to do with the last vault door.
- This again is the same as the previous puzzle but with a larger grid and another shape.
- The rule for the cross shape is that the line must pass through it in both directions.
- Remember to include the other shapes as well
Solution: Show
With the last door open the goblin surrenders to you and you can retrieve the Royal Rube from inside the Vault.
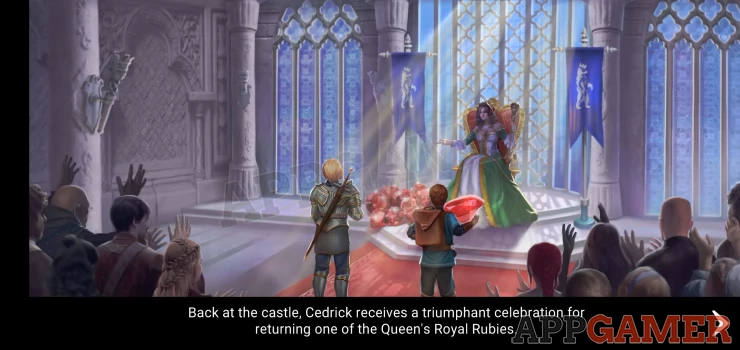
Watch the closing cut scene as you return the jewel to the queen. Then accept the quest to recover the Sword of Light. This completes Chapter 1 of The Squire's Tale, now you can move on to Chapter 2.
We have questions and answers related to this topic which may also help you: Show all