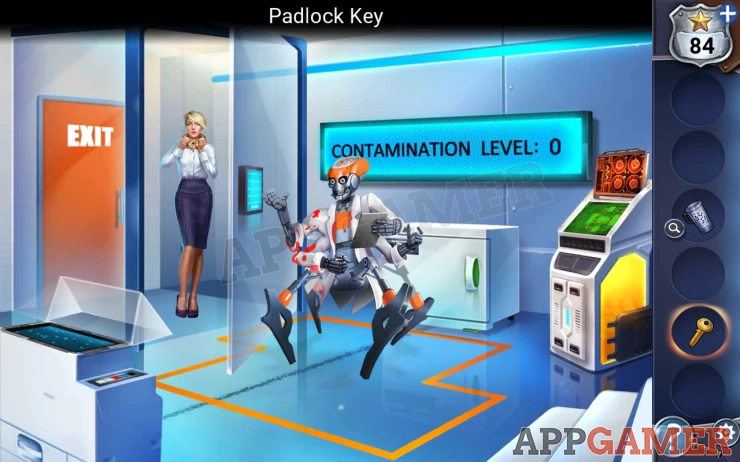
Trapmaker - Chapter 3
More Adventure Escape Mysteries
This is our full walthrough for Chapter 3 of Trapmaker, another fantastic Adventure Escape Mystery game from Haiku Games.
After completing Chapter 2 you now wake up in a padded room having been kidnapped by the Trapmaker. You are not alone.
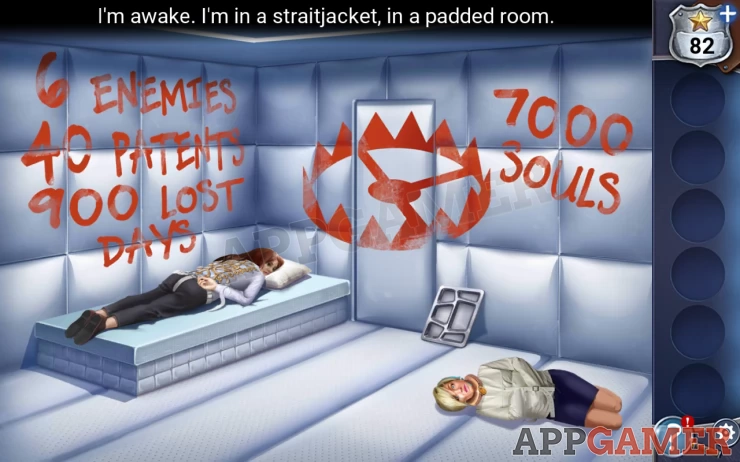
Clues:
6 Enemies
40 Patents
900 Lost Days
7000 Souls
Tap on Kate to view the straitjacket that she is in.
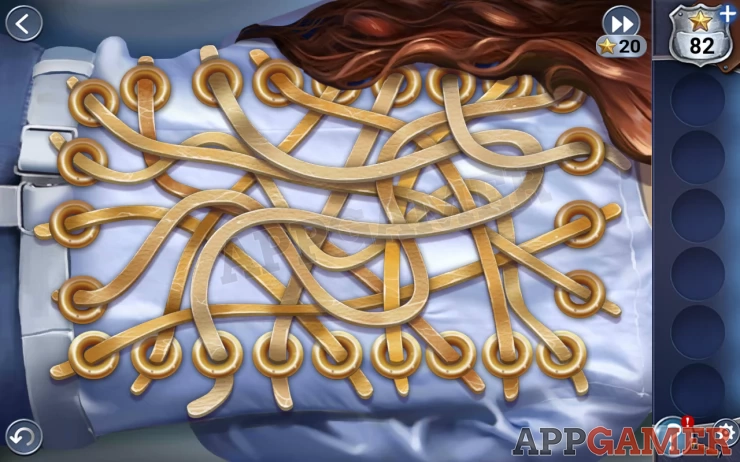
To remove it you need to tap the straps in order. starting with the one that is on top. (top right).
Keep taping the ones that are not covered by any others until they are all removed.

Star: Tap the pillow on the bed to remove it and collect the star underneath
Now tap to collect the food tray, the straitjacket and the brochure from the bed.
Tap the woman on the floor to help her.
Star: Under the woman when she sits up.
Show the woman the brochure. This helps her remember her name and some other details including a pass in her shoe.
Collect the pass card from her shoe.
Also collect the second straitjacket from the floor.
Use the try on the door to break the tray in half. You now have a sharpened tray.
Use the sharpened tray on the blank sections of wall to cut them open until you find a box. This is the door controls. Then use the pass card on this box to unlock the door.

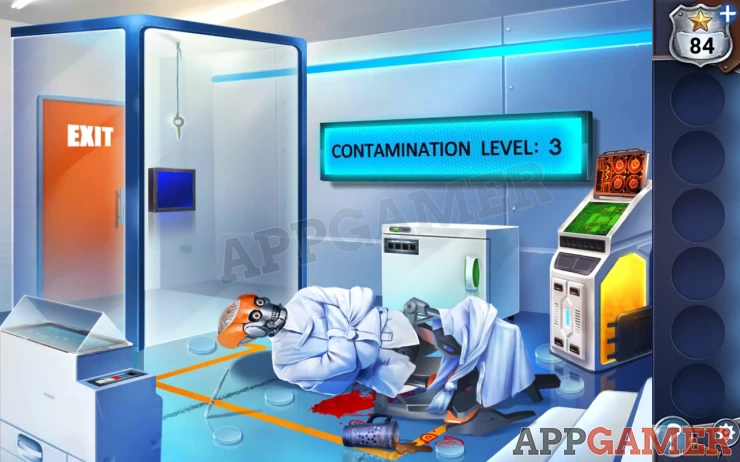
Outside the room is a Doctor Robot that is intent on using force to keep you locked up.

Use the two straitjackets on the robot to immobilize it. Then collect the scalpel that it drops.
Also collect the thermos, and five contaminated petri dishes from the floor. The one under the machine is stuck.
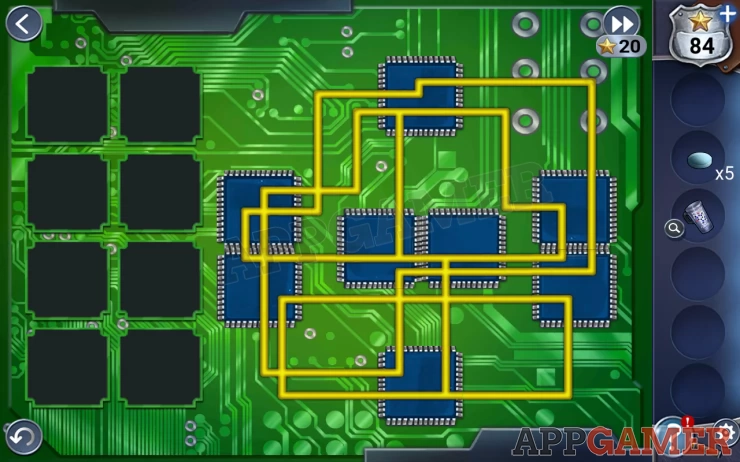
Tap the robots head to open the top and then use the scalpel to remove the brain. Put te brain in the repair machine on the far right. Then tap the machine to start a puzzle.
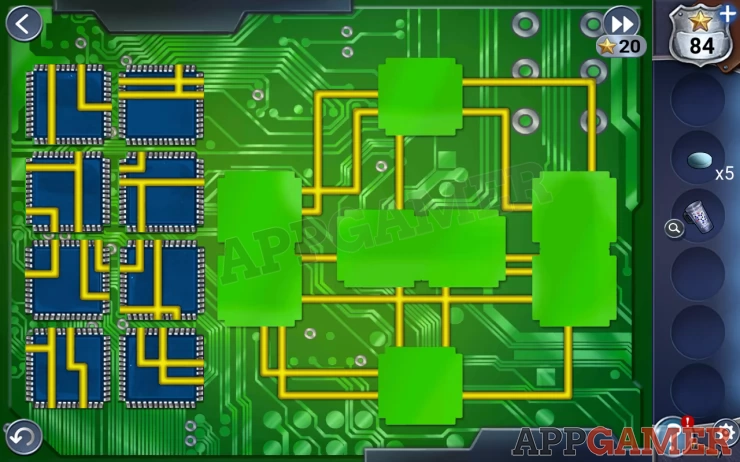
Place move and rotate the ships to complete the circuits on the right.
Solution: Show
You now have a 'Supposedly fixed robot brain'.
Place the brain back in the robot’s head.
Collect the 4 magnets from the floor. Collect another free petri dish from the floor and then the one under the machine with the robots help.
Tap on the machine on the back wall, the sterilizer. This needs a 4 digit code.
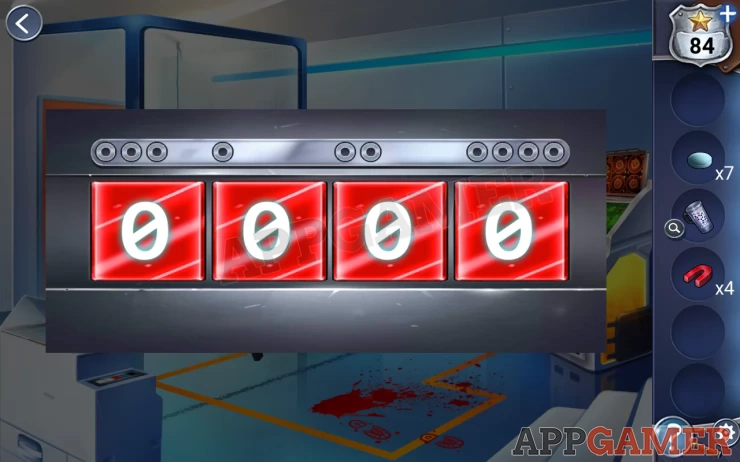
Hint: Above the 4 digits are a series of circles. These match the number of digits in a clue from earlier.
Solution: the 4 numbers from the cell walls are 6, 40, 900, 7000. These give you a code of 9647Show
Collect a sterilized cloth from inside.
Now use the sterilized cloth to clean up the blood from the floor. This reduces the contamination level.
Next place all seven petri dishes in the sterilizer. Again this reduces the contamination level.
Now tap on the machine on the left. We see this need s a 5 digit code.
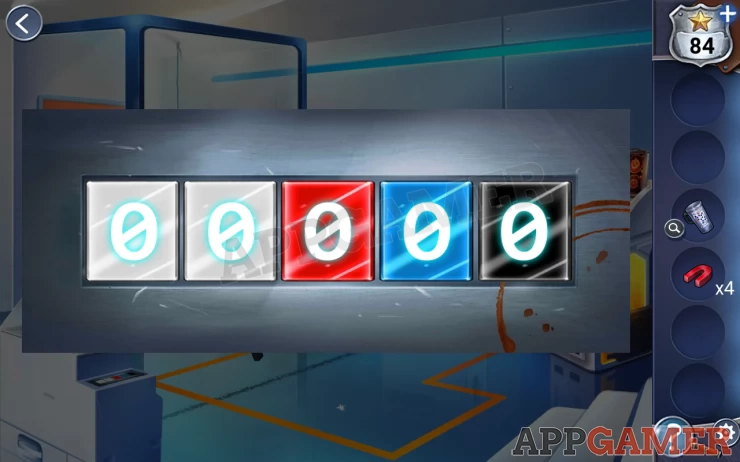
Clue: The digits have different colours.
Hint: Tap to view the Thermos cup, this has a image of a caffine molecule. With matching colours.
Solution: Count the atoms of each colour. Then use this for the code.Show
Code: 10 2 4 8Show
We now have a puzzle in the 'magnetic scanning device'.
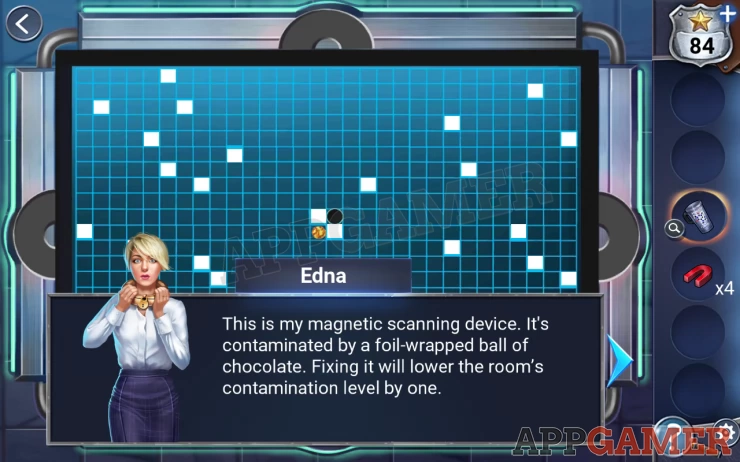
You need to place the four magnets around the edge. Then you can tap them to move the gold ball around the board and into the black hole near the center.
If you get stuck reset and follow the moves below.
Solution: Left, Down, Right, Up, Right, Down, Right, Up, Right, Down, Right, Up, Left, Up, Right, Up, Left, Up, Right, Down, Left.Show
With the contamination level at 0 you can now use the exit.
Tap on the gesture lock, you need to draw a big shape with no diagonals.
Hint: Look on the floor.
Solution: Draw the orange shape on the floor.Show

With the glass door open we can collect a padlock key hanging from the ceiling.
Use this to remove the bomb.
Now place the bomb on the magnetic scanner machine. The machine cannot disarm it though.
The robot saves you both and that completes the chapter. Move on to Chapter 4.
We have questions and answers related to this topic which may also help you: Show all