Case #05
Tiny Room Stories: Town Mystery Guide
This is our full walkthrough of Case #05, the first additional chapter added to Tiny Room Stories. We will cover all the puzzles and codes with hints and solutions given if needed.
Read below for a full description with hints and solutions, or you can also watch the video walkthrough.

Case #05
Blackmail
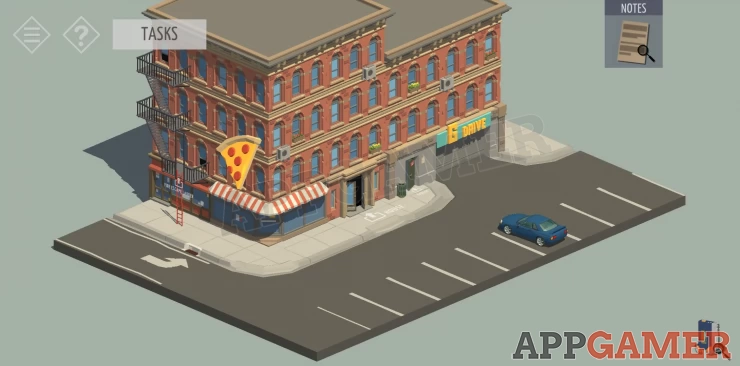
You begin at an apartment building where a reporter is just leaving. You need to locate apartment 4A
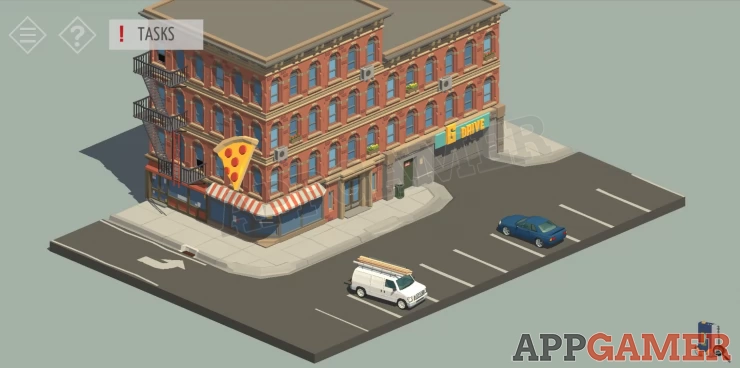
Open the main double doors in the center of the building and enter the lobby
Collect a Mop from the cleaning cart.
Rotate to view the Manager service window.
View the window to see a sign that says 'Technical Break 15 minutes'.
Move the sign and collect from behind is a red key.

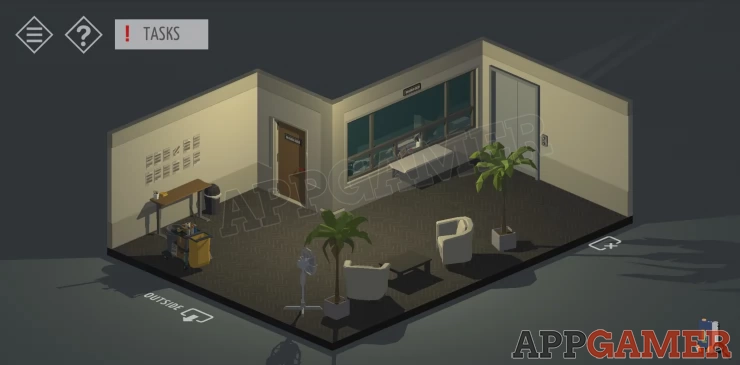
Use the key on the managers office door and go in.
Look on the wall for the blackboard for a clue.
Now view the computer. Enter the password.
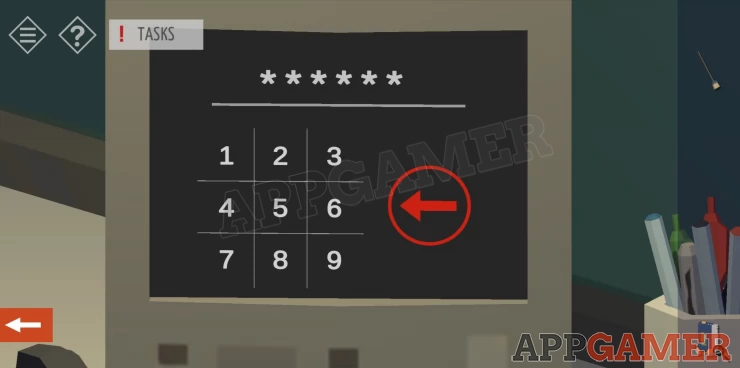
Hint use the clue from the board.
Solution: 123258Show
Scroll to the right and look for the video surveillance options and turn off the cameras.
The tap on the Video Calibration option.
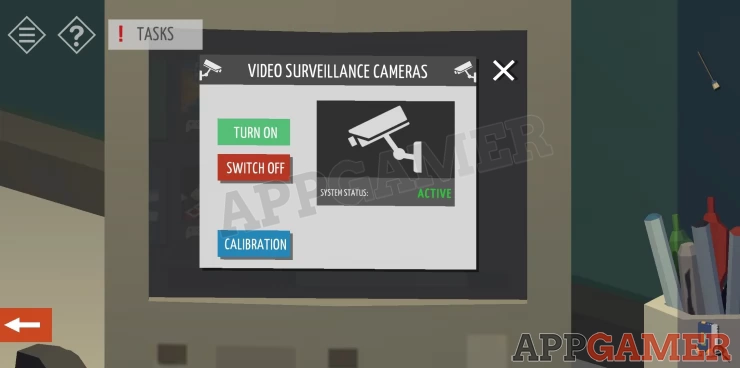
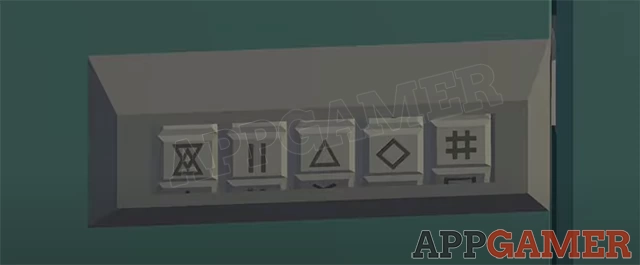
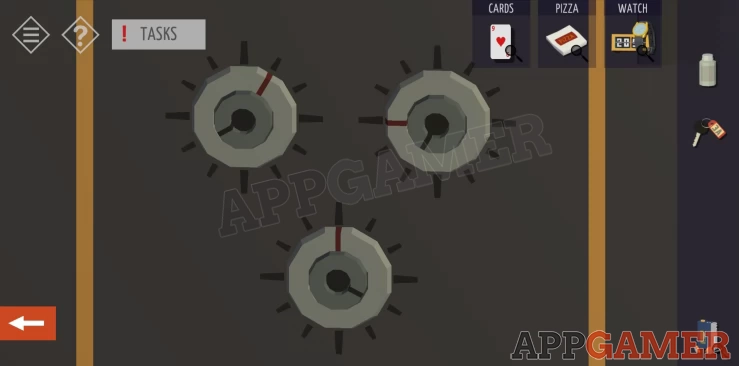
Back up and view the monitors to the left of the desk.
Each has an overlay of various symbols.
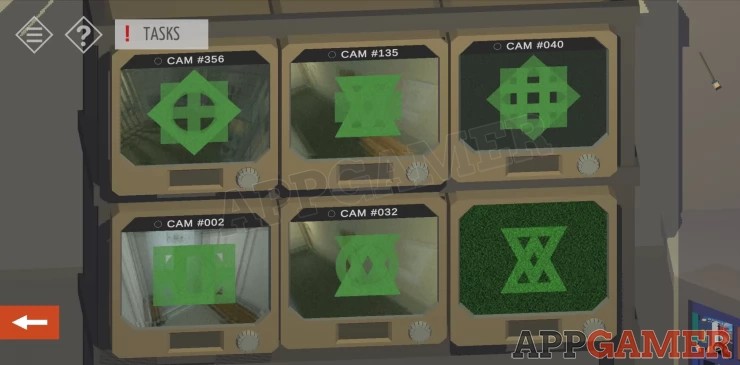
Tap the knobs on each monitor to change them until each monitor has only one shaped symbol on it.
Exit the office and look opposite the service window for a door, to the right of the elevator.
Enter through there. You find a door to the Toilet and also a locked gate.
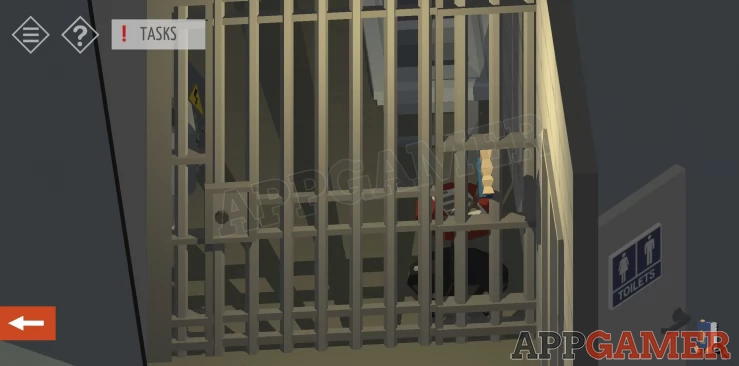
View the gate and use the mop to drag close to you the 2 bags on the right.
Tap these to view a paper with a clue.
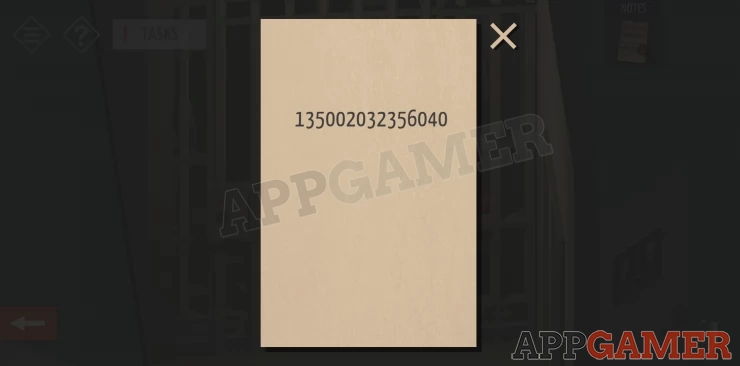
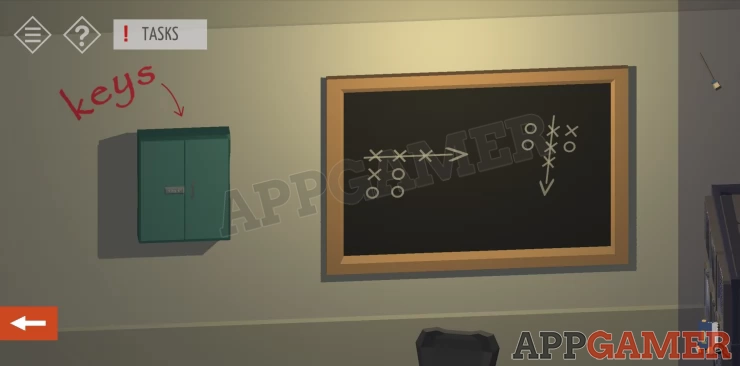
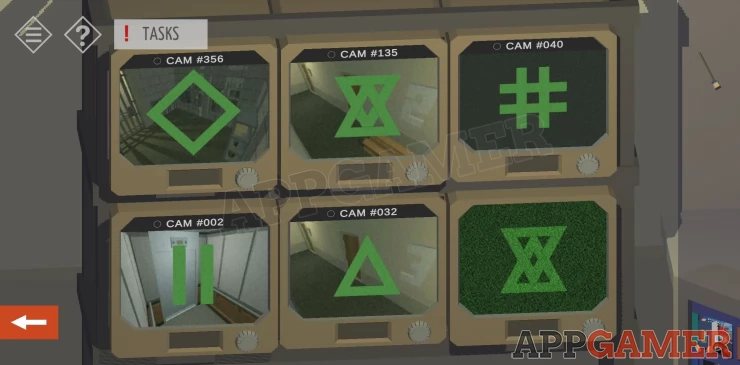
Return to the office and use the clues above to open the locker on the wall marked as Keys.
Hint: You need 5 symbols.
Solution: the paper shows a long number but each 3 number segment will give you a monitor number. In the same order as the long number use the symbols on those monitors.
Code: Show
Collect a black key.
Now use the elevator and go to the 2nd floor.
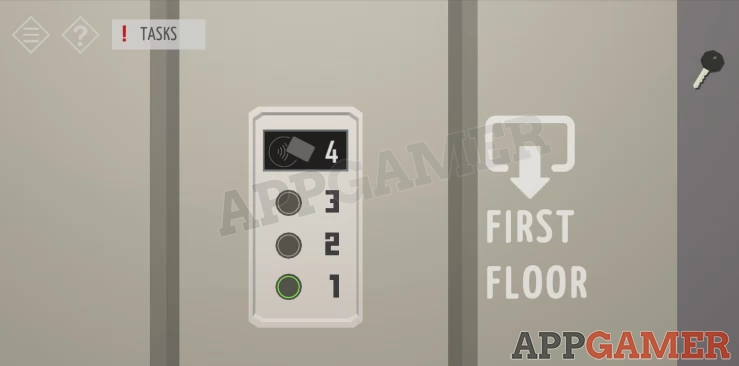
Collect the bolt cutters. Make sure to tap on the door to 2C to get an prompt that you cannot enter. There are workers in.
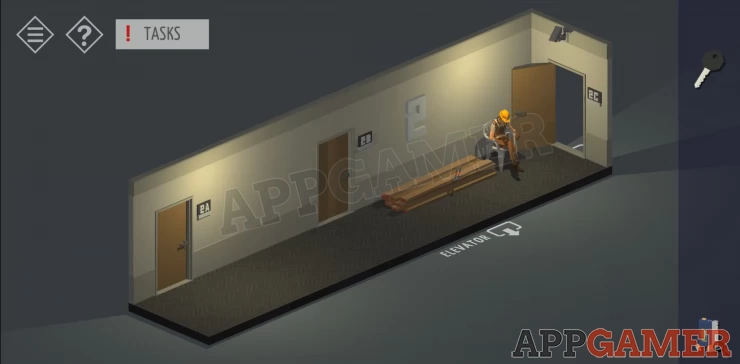
Go back down to the ground floor and to the locked gate. Use the key to open it.

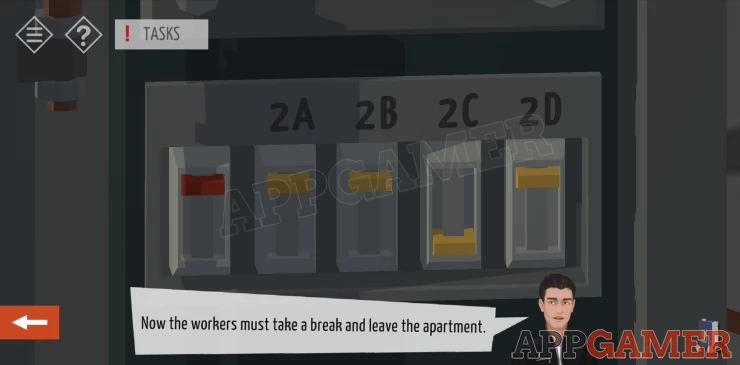
In the maintenance area use the bolt cutters to remove the padlock on the second power box.
Turn off the power to 2C
Go back up to the 2nd floor, you can now enter 2C
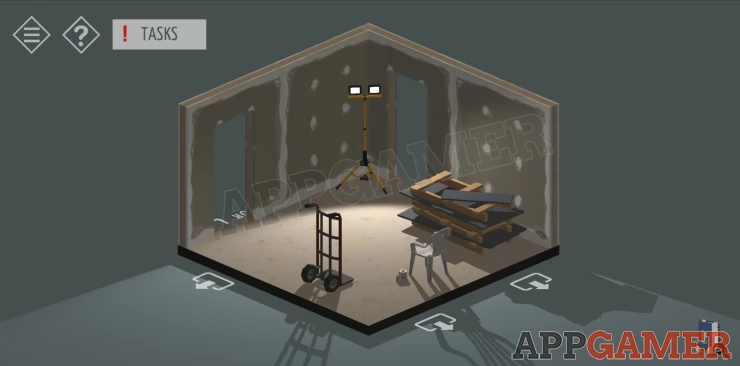
Move around the apartment until you find the open window. Exit onto the fire escape.
You can now tap the top of the fire escape to enter Apartment 4A
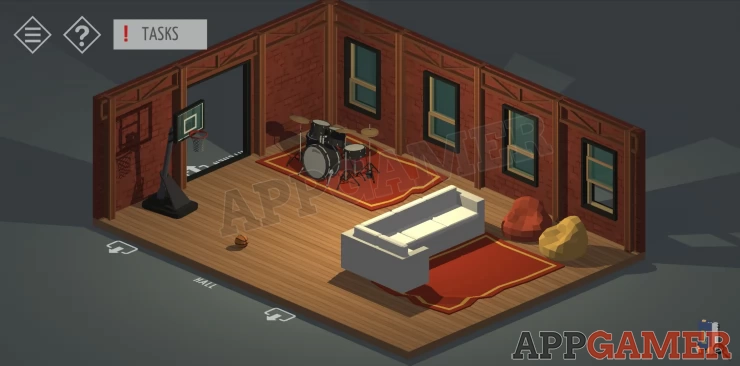
View the white sofa, lift the left cushion to collect some coins.
Move to the Kitchen.
View the table
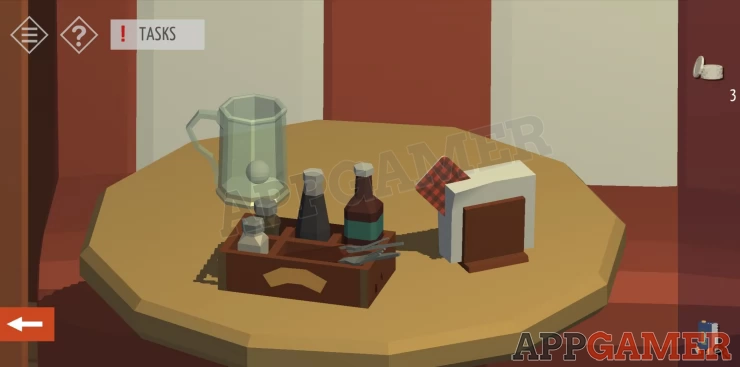
Collect a playing card from the napkins. 4 of Spades
Tap the glass mug to tip out the eye. Collect the mug and the eye
On the opposite wall is a large fridge. Open this
Collect Drumsticks from the container and collect a second mug.
View the pizza to collect it.
Move back to the main room and the into the hall.
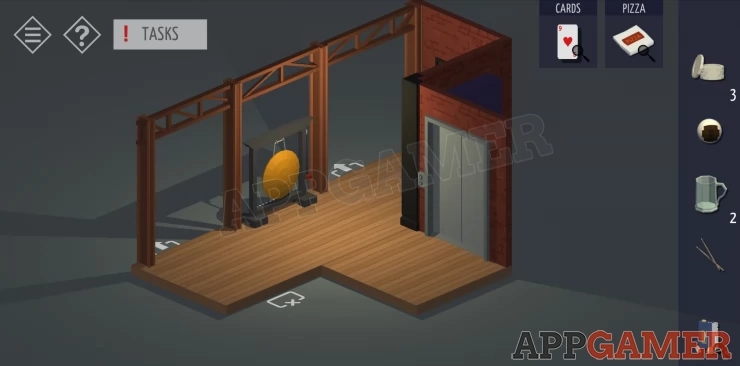
Rotate to view the Gong and tap to collect a 'Gong beater'.
Use this on the gong to discover another playing card. 5 of Diamonds
Rotate again and view the drinks machine on the left of the elevator.
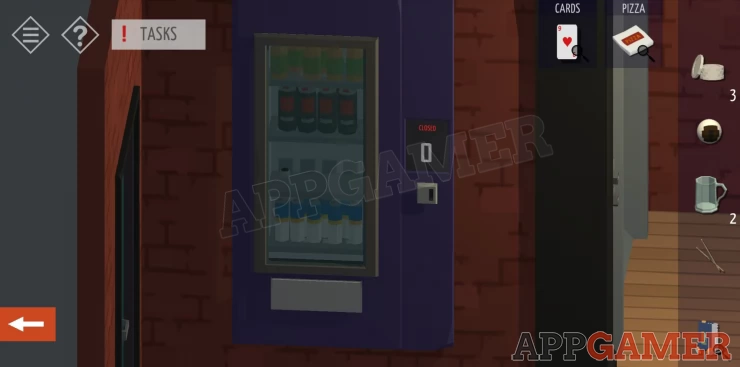
Use the 3 coins on it and then collect a second 'Eye'
Go back to the main room and view the large stuffed Bear.

Add the eyes to the head.
Collect a playing card. 7 diamonds.
Go to the hall and open the door to the left of the drinks machine. This is the bathroom.

Collect another mug from the sink.
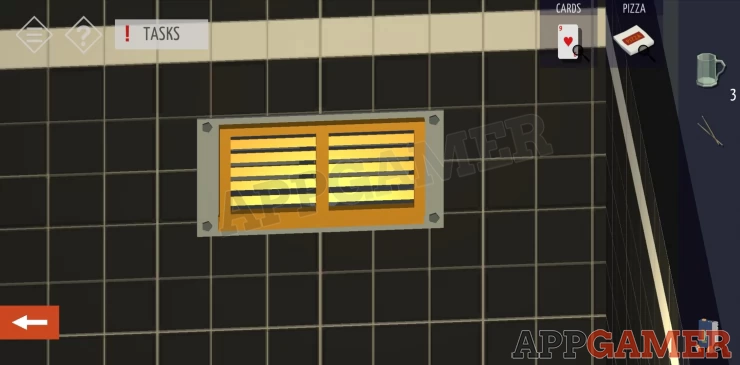
Rotate to see the vent above the bath, open this and collect another playing card. 9 of hearts.
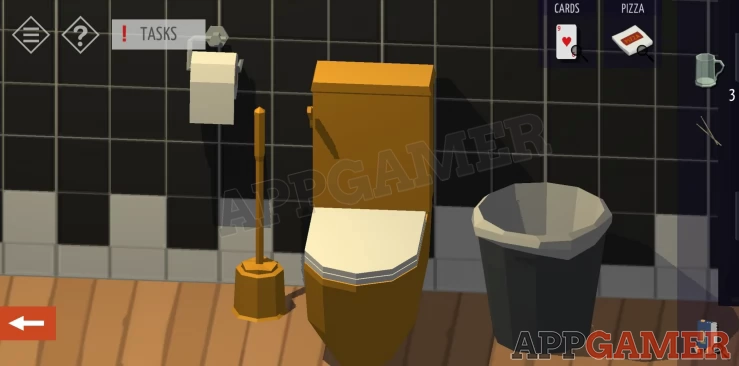
Now view the toilet, open the top of the cistern to find another playing card. 4 of hearts.
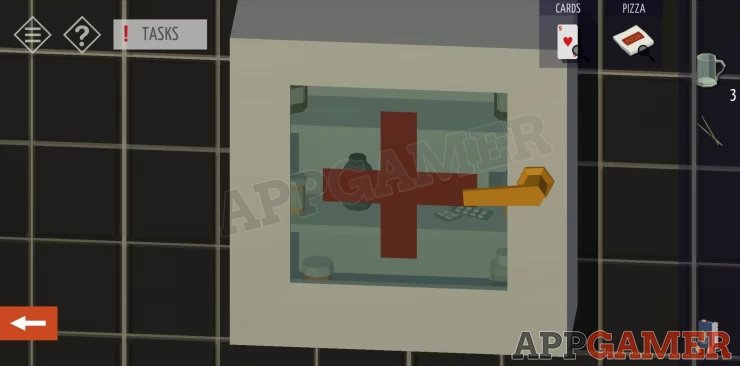
On the other wall is a medicine cabinet, open this and collect Sleeping powder.
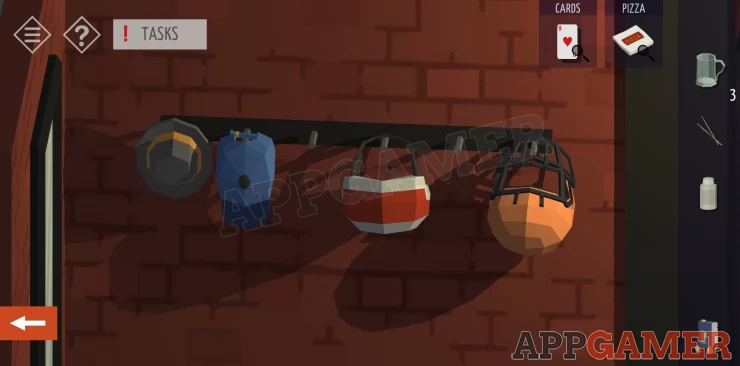
Go back to the hall view the hat rack opposite the elevator. This is a clue.
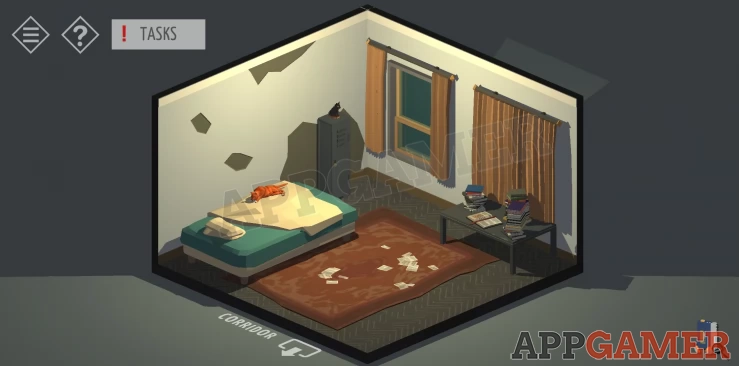
Next open the door at the other end of the hall from the bathroom to enter the bedroom.
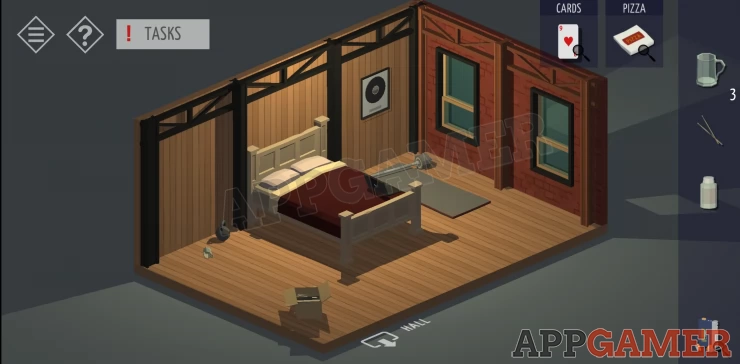
Collect another mug from the floor on the left.
Then collect a musical record from the frame on the wall.
Rotate the view to see the shelf at the end of the bed. Collect the clock (Watch)
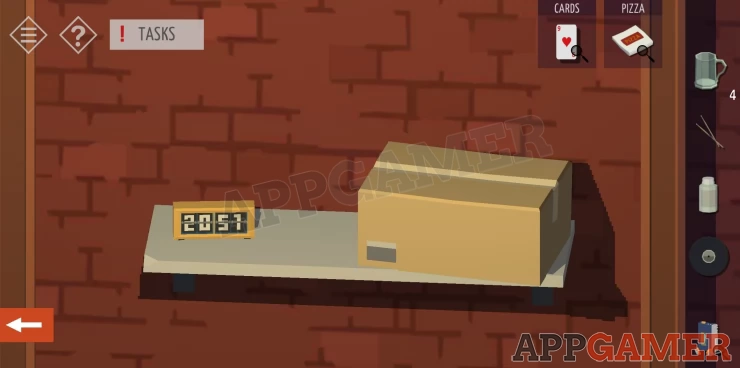
View this and tap the numbers to change them. Change each one until you find the ones with the purple dots on them. Note the time.
Then view the laptop on the bed. The name is a clue.
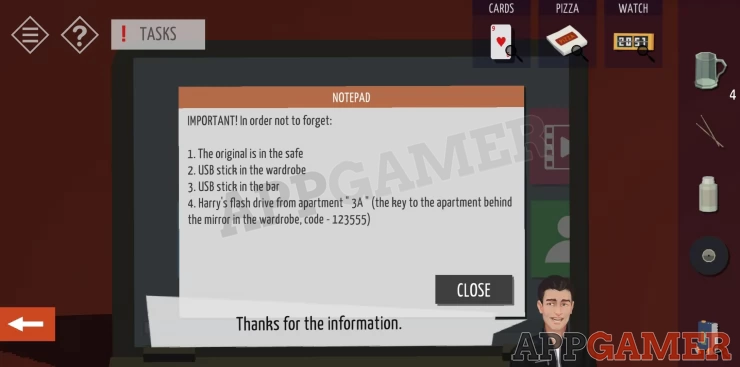
Access the Notepad option.
We do not have the password but you can use the option to Reset the password.
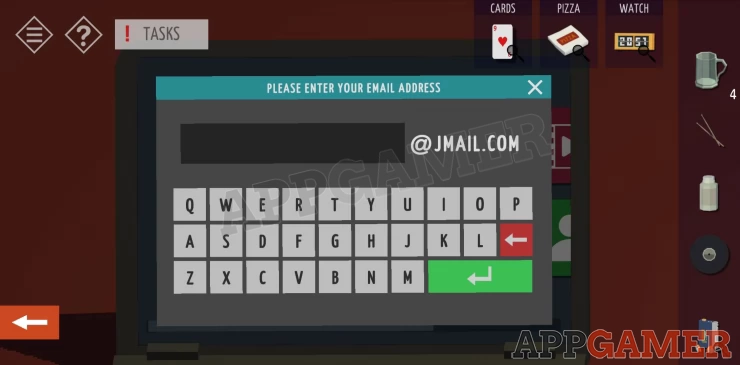
Enter the email address
Then check your mail for the reset password.
Use the reset password to unlock the note.
View the notepad and find the information about the items you need to find.
Note: Show
Open the cupboard on the left and tap to move all the clothes over to the right.
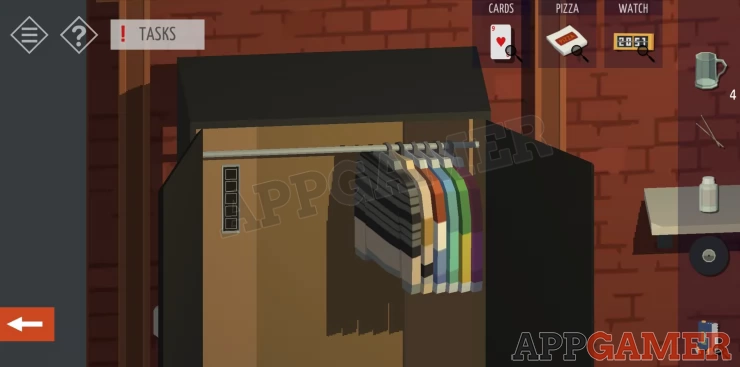
There is a hidden keypad.
Hint: this is a trial and error puzzle to find the right order.
Solution: 1 5 2 4 3Show
Go into the back area. View the mirror and the keypad. Use the code you found to open this.

123555Show
Collect a Key and another playing card. 5 of spades.
Now view the shelf on the left with the head wear.
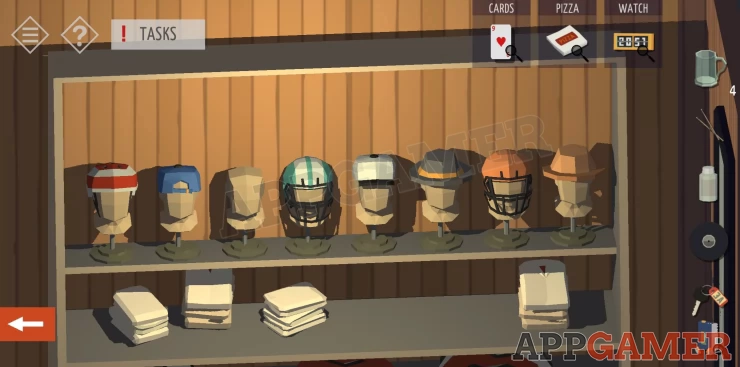
Tap the heads to enter a code.
Hint: copy a sequence seen before.
Solution: The sequence is the same as the hats on the hooks in the hall. Include the empty pegs as the head with no hat.Show
Collect the USB stick
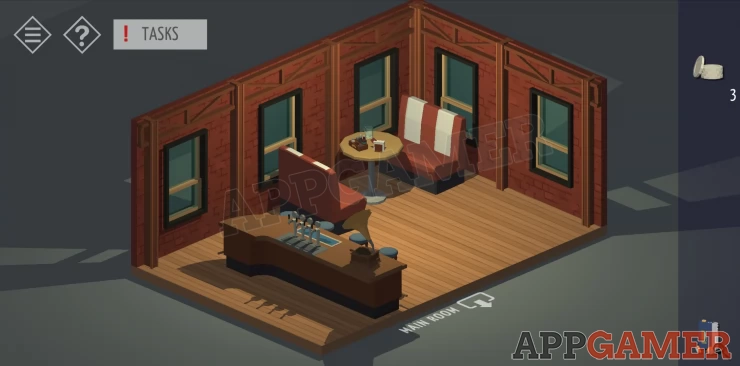
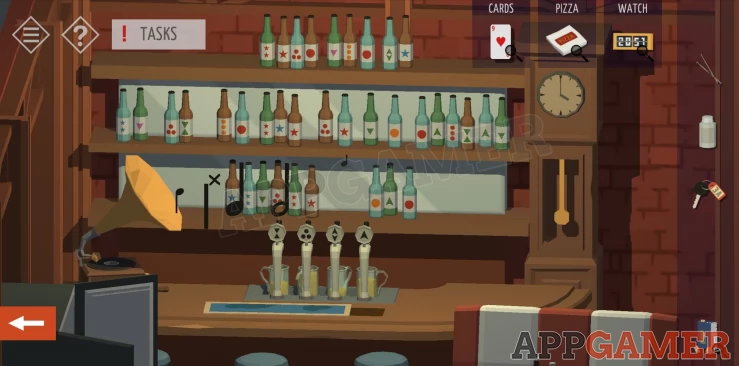
Go back to the Kitchen area and view the back of the bar.
View the beer taps and place the 4 mugs under them .

Now rotate to view the bar from the other side. Note the bottle on the shelves and the symbols on the beer taps.
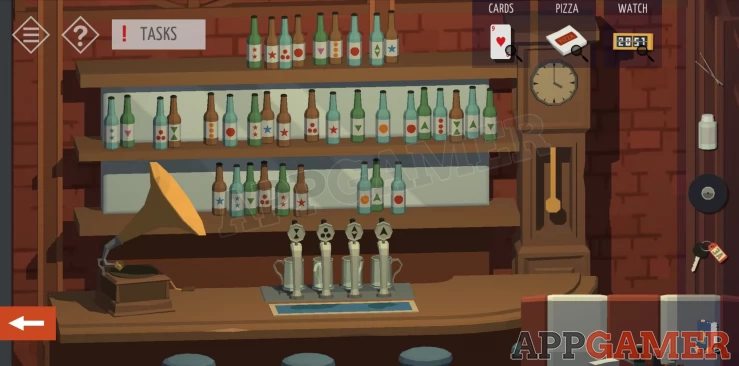
Then go back to the taps and use them to pour beer in the correct sequence.
Solution: Count the bottles with matching symbols. Use each pump the same number of times. Use pump 1 - 3 times, Pump 2 - 1 time, pump 3 - 4 times, pump 4 - 2 times.Show
A panel will open on the bar.
Collect the second USB stick.
Take a note of the time on the tall clock on the right.
Now place the Record on the record player and play it. You will get a sequence of notes with drum sounds.
Move to the main room and view the drums.
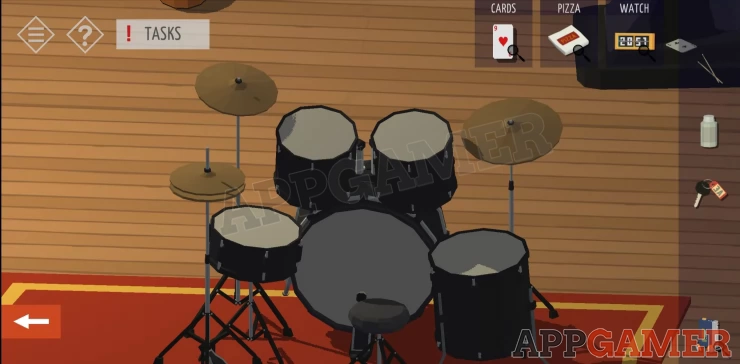
Use the drumstick on there to play them
You need to play out the notes in order. You can tap each drum to see which one produces the notes required.
Solution: Bass, bass, bass, top right drum, bottom right drum, top left symbol, snare (bottom left drum), top right symbol.Show
Once done a doorway opens.
Go to the hall and find a secret door open.
Enter this secret area.
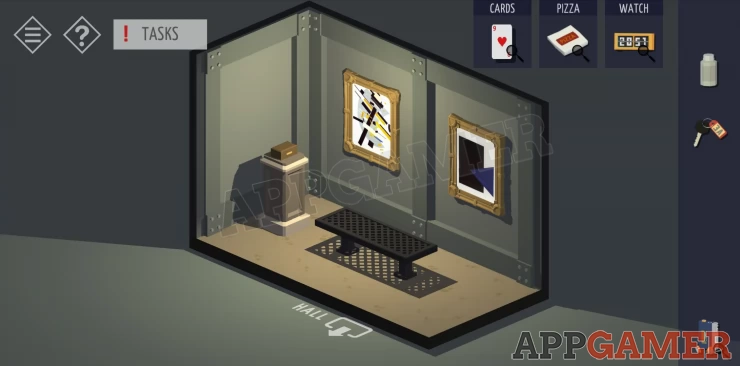
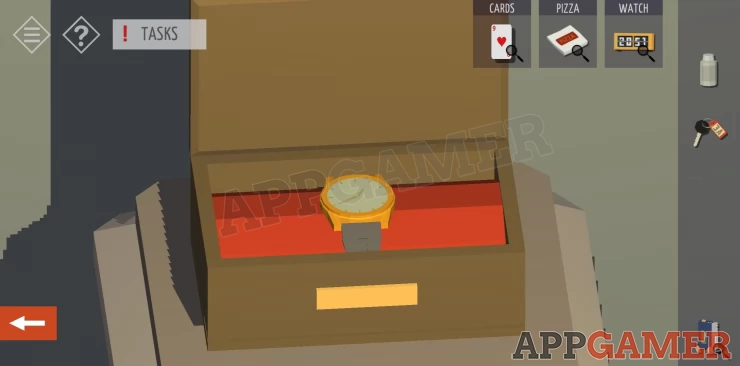
Collect the watch from the case on the pedestal. Note the time.
Now go to the main room.
Tap the base of the basketball hoop to collect another playing card.
Then watch the moving shapes on the TV. Note their shape and positions at the moment they stop and flash.
Then tap on the painting on the right of the TV.
Open it to find a safe.
Set the 3 dials to open each one has 2 sections to turn.
Hint: there are 3 clocks.Show
Solution: The positions of the 3 shapes on the TV tell you where to set the times. Top left: Circle = set at watch time = 12:40 Top right: Wide rectangle = set at bedroom clock time = 19:45 Bottom: Tall rectangle = set at tall clock time = 4:00Show
Collect another playing card.
Now we need a code for the inner safe.

View the playing cards for a clue to the code for the inner safe.
Hint: note that some cards do not have the same number of spots as the number on the card.Show
Solution: follow the order of the number of spots and use the numbers on the card.Show
Code: 92745654Show
Collect the compromising evidence.
Exit back onto the fire escape and back down to Apartment 2C. Then back out to the elevator.
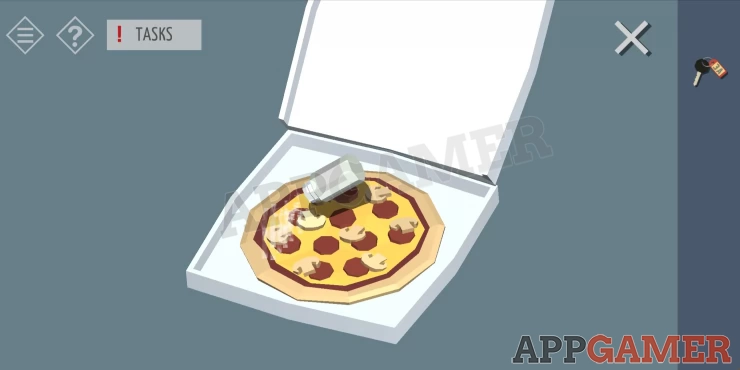
Go to the third floor.
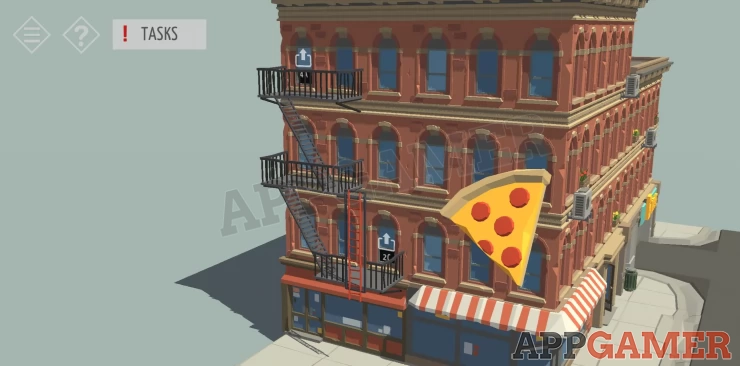
View the pizza and add to it the sleeping powder.
Find apartment 3A and knock on the door.
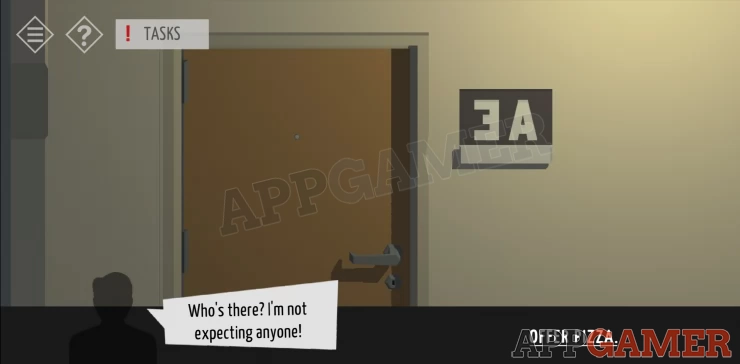
You will hand over the pizza and then once the person falls asleep you can use the key and enter.
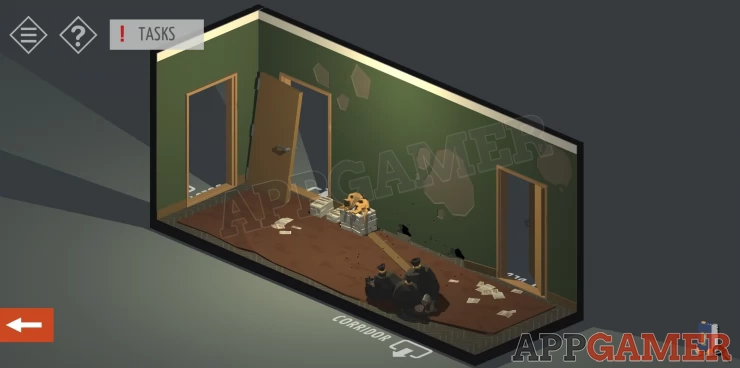
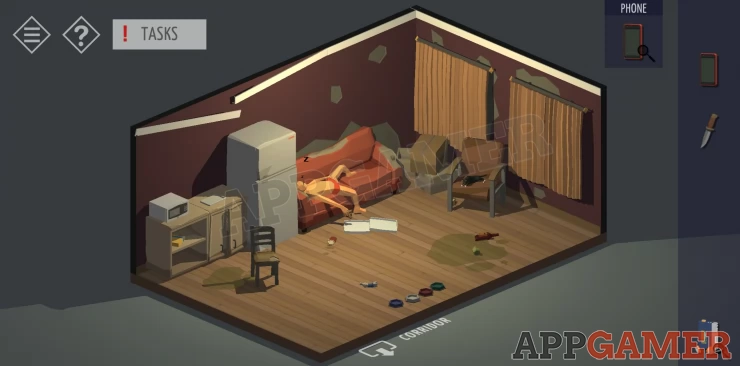
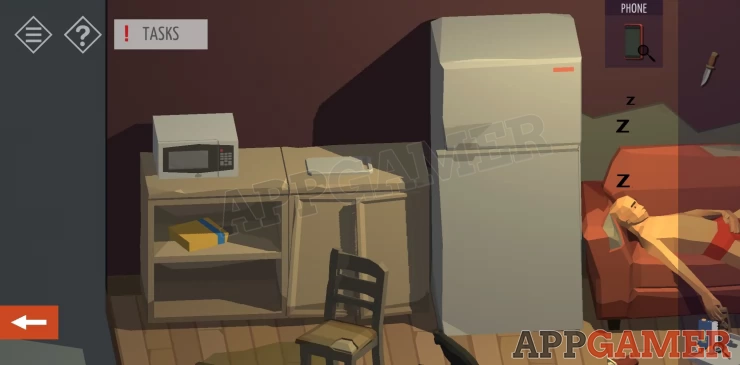
The apartment is full of junk and cats.
From the corridor move into the bedroom. (on the right)
At the foot of the bed is a locked cabinet. View it to get a clue to opening it.
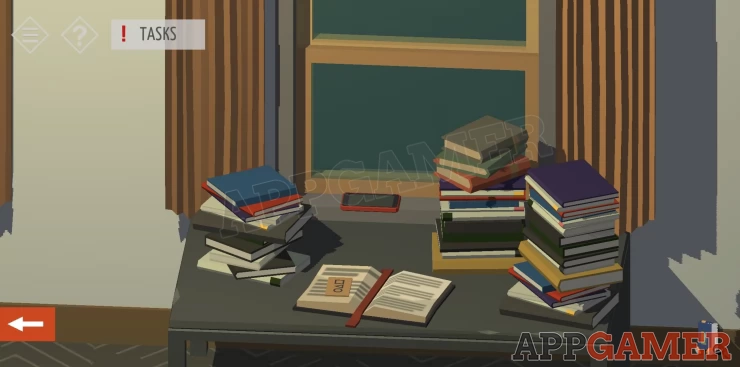
View the low table in front of the window.
Open the curtains and collect from the window ledge a phone.
On the right wall is a chest of drawers. View this
Collect the knife from the top

Back out to the corridor and enter the guest room / living room. The man is asleep.
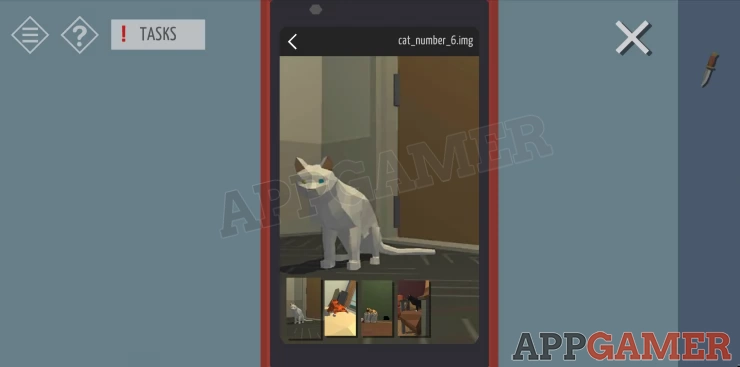
Use the phone and tap on the man to unlock it.
You can then view the photos. There are 4 photos of cats.
Check the cupboards to the left of the sofa and collect cat food.
Then from the fridge collect Milk and a Frozen fish from the top compartment.
Place the frozen fish in the microwave and use it to defrost it.
Then place it on the chopping board and use the knife to cut it in half.
Collect both halves.
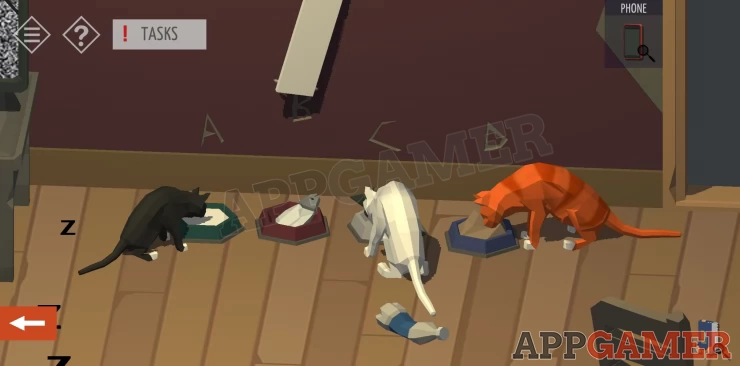
Rotate the view to see 4 food bowls on the floor.
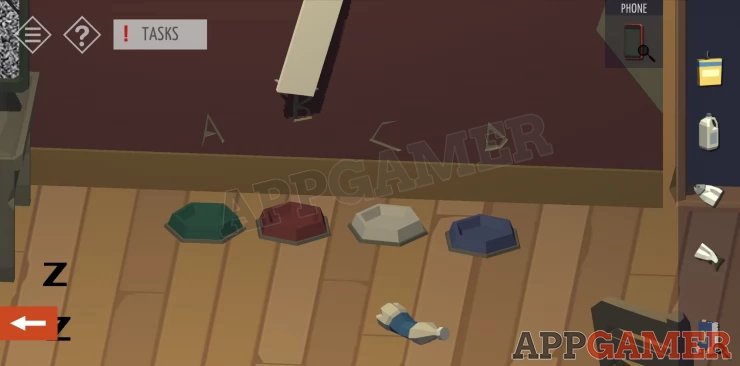
Add the 2 fish, the milk and the cat food to these to attract the cats.
Only 3 show up though.
Tap them to take a picture.
Note the letters above the bowls.
You can now return to the locked cabinet in the bedroom and open the padlock.
Hint: the name written on the cabinet is an order clue.
Solution: the cabinet name gives you the order A D B C, This tells you the cats from the food bowls. The missing one is B. The cats photos have numbers associated with them.Show
Code: 4 8 3 6Show
Open the locker and collect a key.
You can now exit the apartment and go back outside.
You will need to go to the 2nd floor and exit through apartment 2C so you are not spotted.
Go out to the fire escape, tap the ladder to lower it to the ground.
On the front of the building tap on the green door next to G Drive.
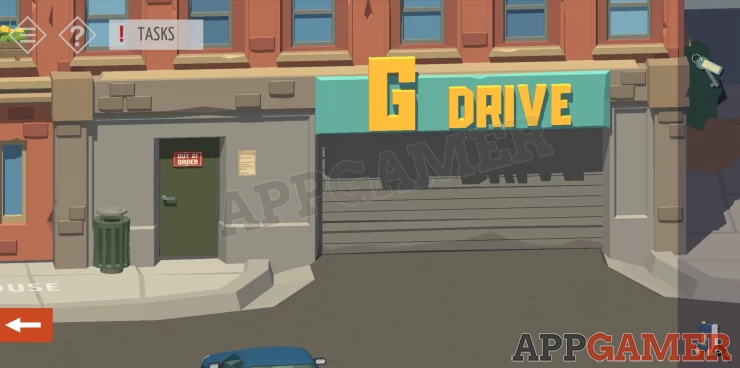
Open it with the key and go inside.
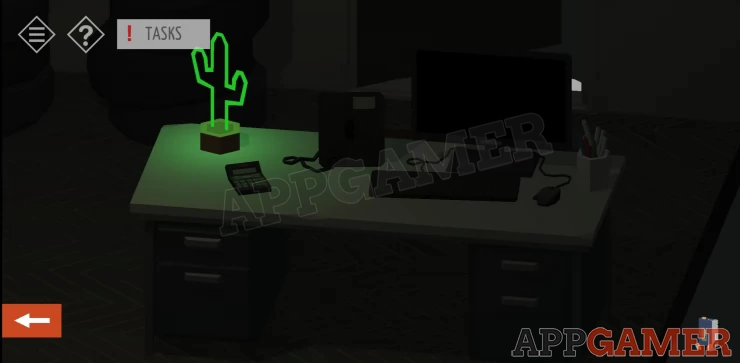
View the back of the desk and open the top left drawer.
Collect a black key.
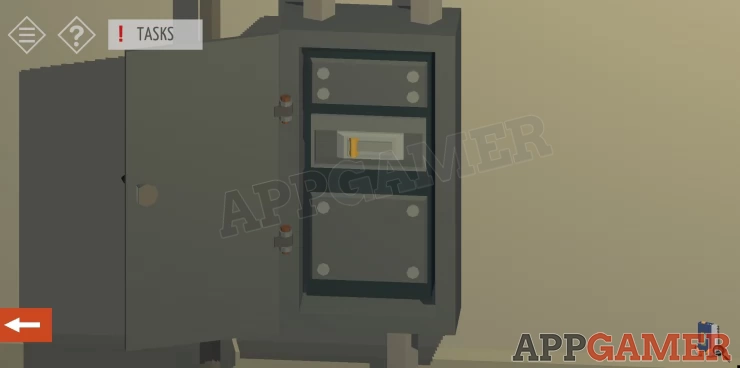
To the right of the door you came in is a power box. Use the key to open this.
Then tap the switch to turn on the power.
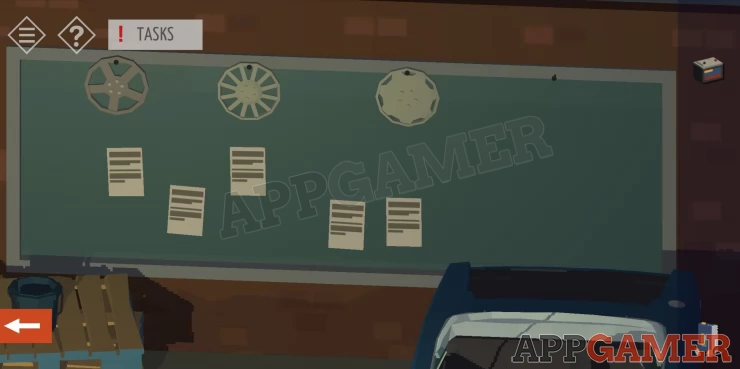
View the filing cabinets at the back of the room for a clue.
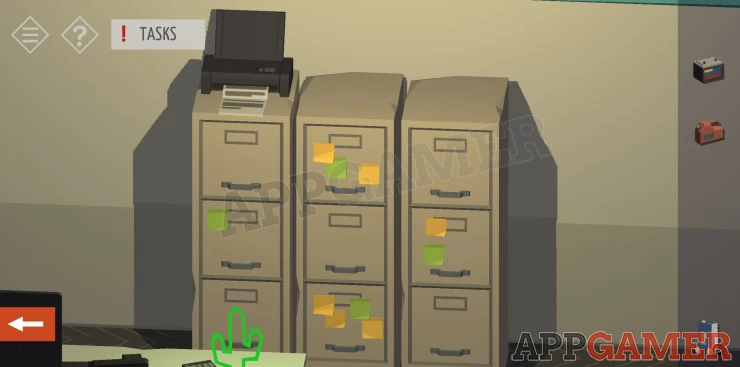
Then go to the computer to access it.
Enter the password
Hint: the filing cabinets are the clue.
Solution: 4 draws have sticky notes on them, the number of notes is the orderShow
Code: 4628Show
View the mail and Tap PRINT to get a print out of the invoice.
View the print out that is on the printer on top of the filing cabinets.
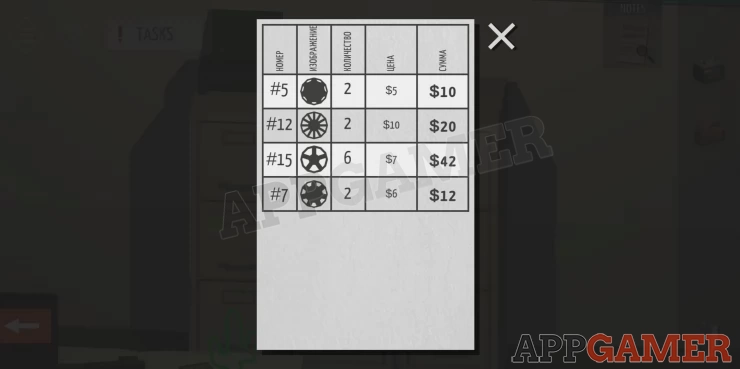
It shows 4 types of hubcap with code numbers and prices etc.
On the wall to the right is a shelf unit with hubcaps on top.
Now view the keypad and enter a code to open the door.
Hint: The hubcaps are the clue.
Solution: see the order of the 3 hub caps on the shelf with 1 missing, use the code numbers in that order (including the missing one) from the invoice.Show
Code: 12 15 5 7Show
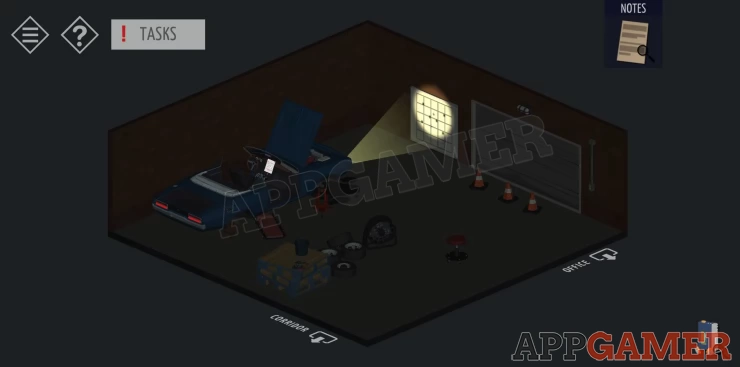
Enter the garage.
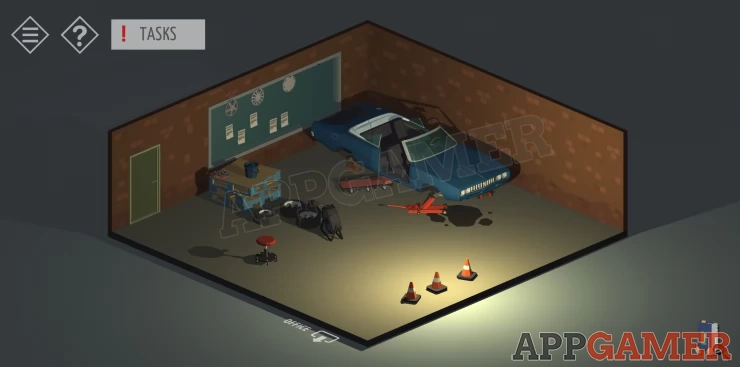
Look to the left to see a bench next to the door. Collect a battery.
Then look at the window at the back. Lift the papers to find a clue.
Clue: Show

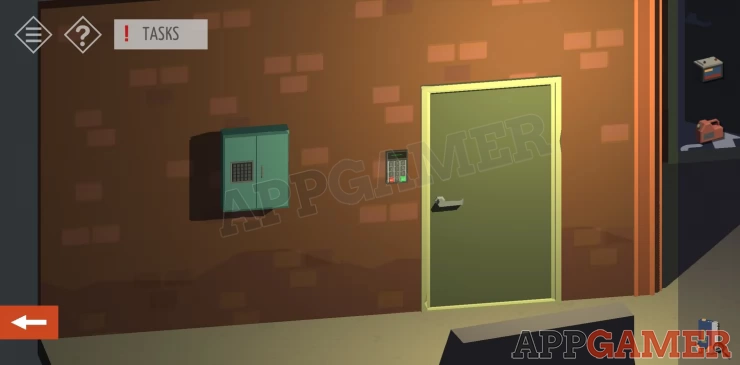
Now do through the door at the back by the window to a back corridor.
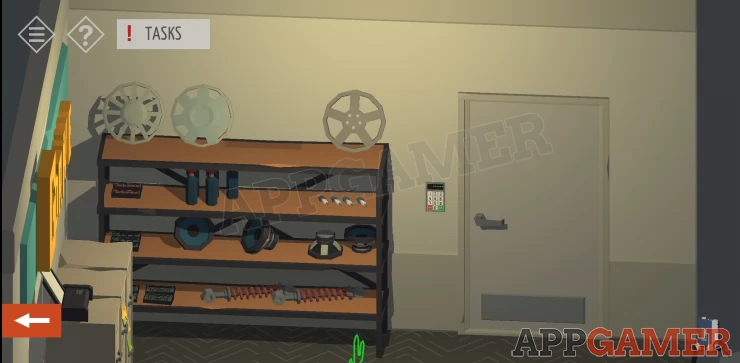
Open the cupboard with the speaker on top to collect a gas canister.
Rotate the view to the door with the keypad and use this password to enter.
Code: 42779123Show
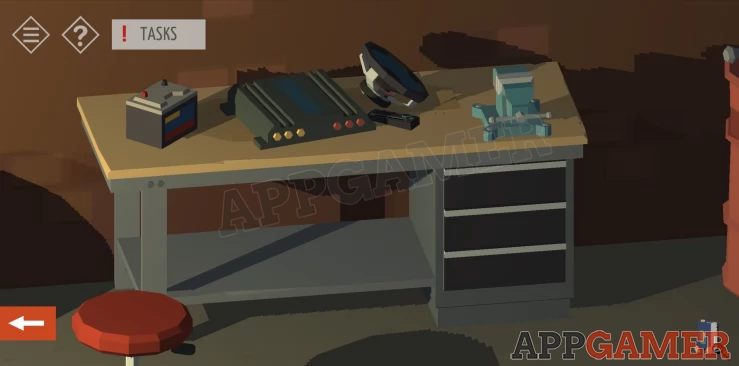
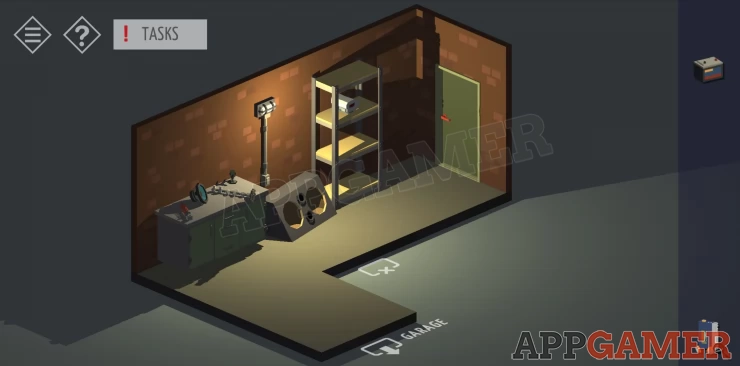
Enter the workshop room (Lounge room).
Rotate the view to see 5 lights on the wall.
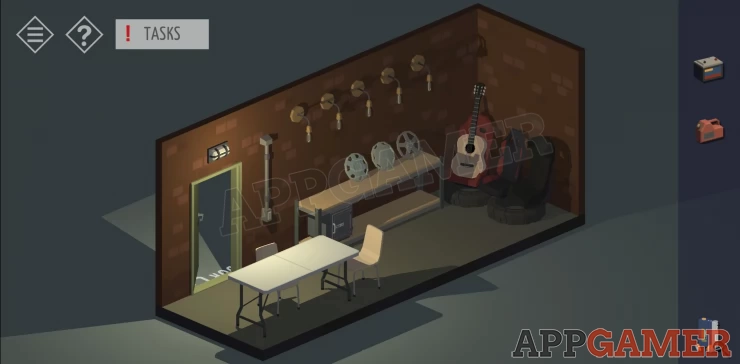
Tap the light switch to turn them off. There will be a sequence of flashes.
Turn then on again for another sequence.
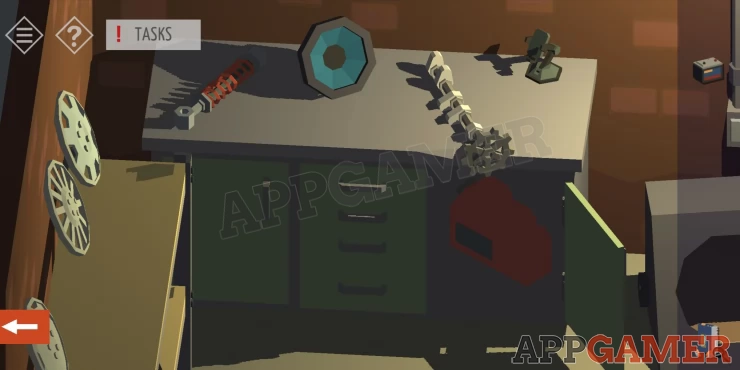
Go back to the office to the computer.
View the video surveillance. Check the camera for the lounge room (workshop).
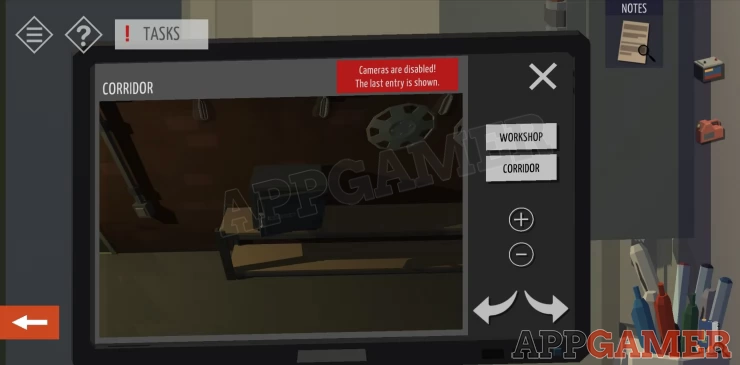
Zoom in on the safe on the bench to see the code for it saved.
Go back to the lounge room and use this code to open the safe
Code: 244137Show
Collect the headlight
Go back to the garage.
View the side of the car and add the gas from the canister to the fuel tank.

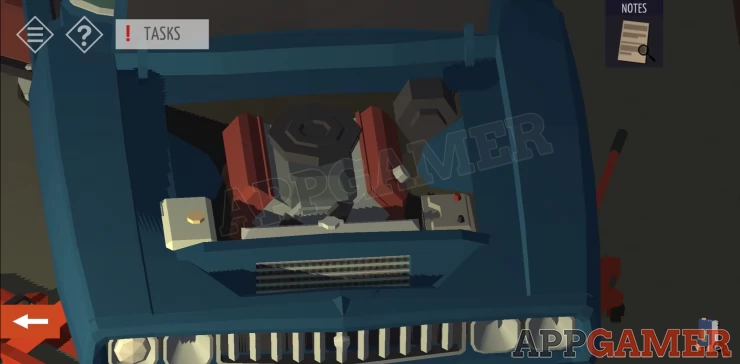
Next view the front of the car, add the headlight on the front and then add the battery in the engine bay.
Make sure to add the headlight on the far left.
Tap inside the car to view the controls. Press the start button.
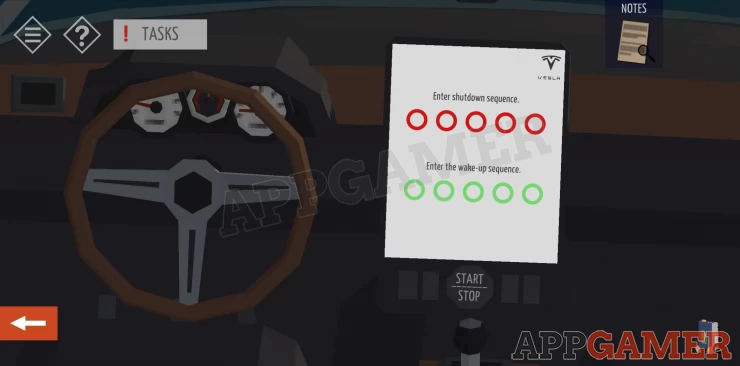
This is a 'Vesla' you need a code sequence to use it. In this case we need a shut down sequence and a wake up sequence.
Hint: The lights in the lounge room had a sequence when turning off and on.
Solution: Use these 2 codes to get the car running.Show
21354
54321[/spoiler]
Turn on the headlights.
Exit the car and then turn off the lights in the garage.
The headlight beam will make a pattern on the wall.
Hint: You need to adjust the direction so that the cross from the projection matches the cross on the wall.
View the front of the car and tap the 2 jacks to lower or lift the sides of the car until it matches.
Left down 1, right down 2Show
Note the pattern of dots now on the wall.
Solution: Show
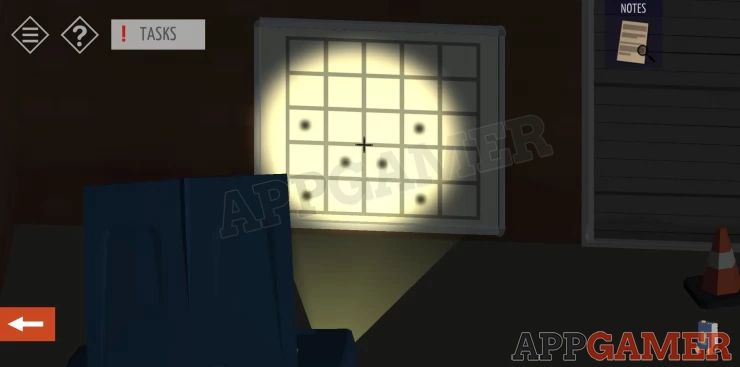
Go back to the back corridor and find a blue cabinet on the wall. This has a 5x5 keypad.
Use the clue above to enter the pattern and open the doors.

Collect a red key.
To the left is a locked door.
Use the key to open it. Enter the store room
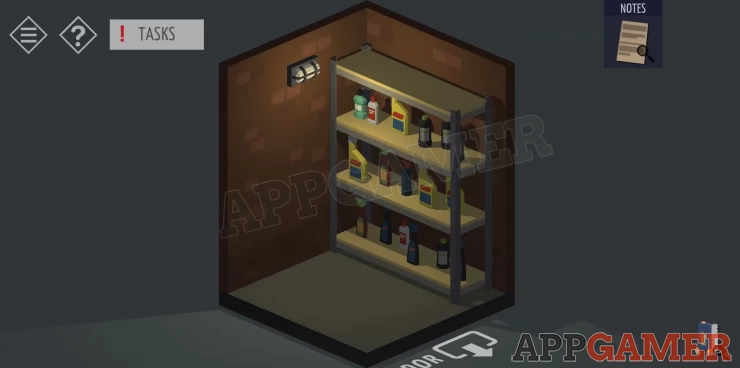
View the shelves on both sides. Examine the various bottles until you find one that has the final copy of the compromising evidence.
You have completed the case and you can now exit the building and go back to the car.
Tap your car to drive away and complete the chapter.
Now we hope and wait for more Tiny room stories.
We have questions and answers related to this topic which may also help you: Show all