Chapter 11
Tiny Room Stories: Town Mystery Guide
This is our full walkthrough of chapter 11 in Tiny Room Stories: Town Mystery. We have every step detailed with images and codes which can be revealed if you need them.
Read below for a full description with hints and solutions, or you can also watch the video walkthrough.

"Having collected all the fragments that you have managed to find out about you have returned to Mount Redcliff. The entrance to the cave through which you passed the lat time has now collapsed."
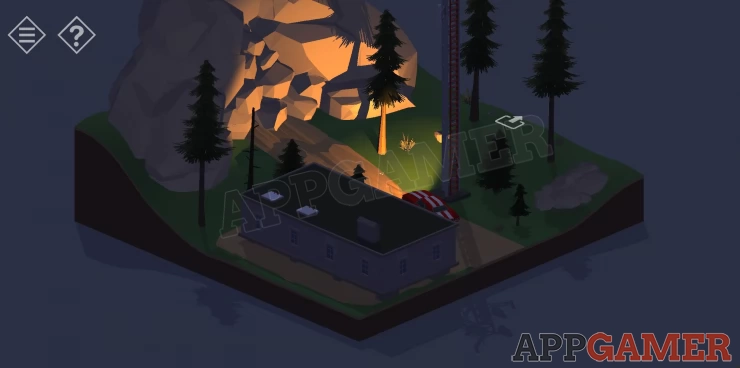
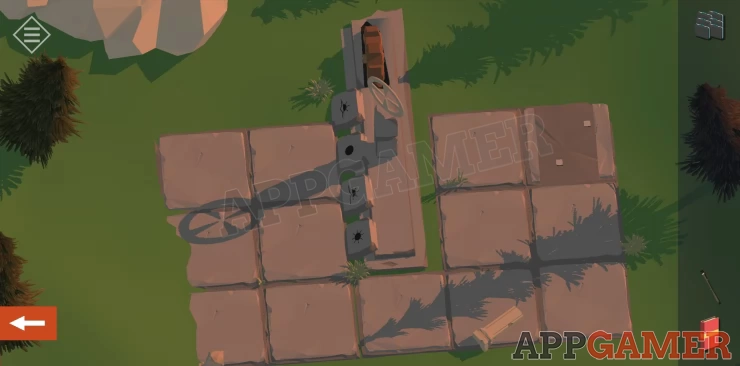
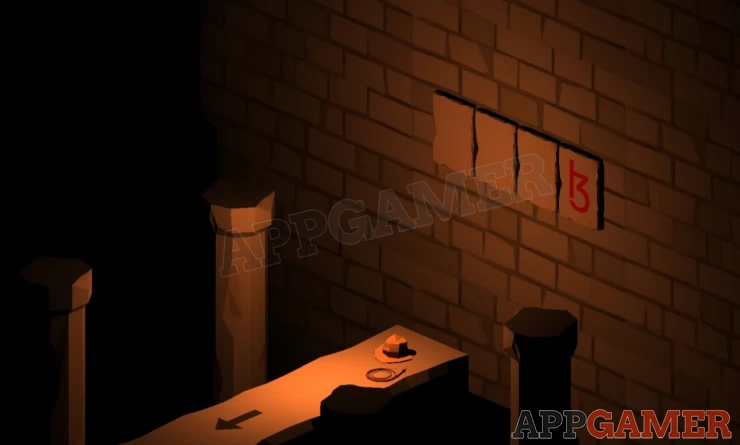
Tap on the car to view the back and then tap to collect the cases from the boot / trunk.
Move to the next area to the right of the car.
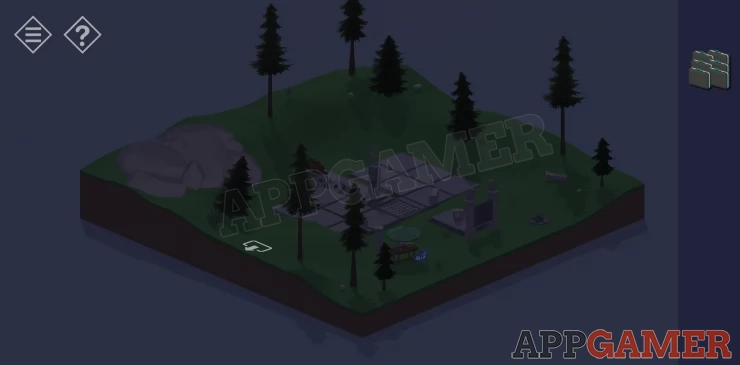
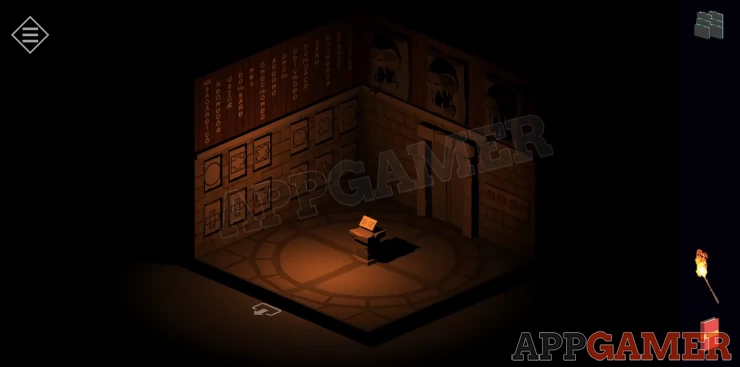
Tap the table in the corner to view it and collect the matches from it. Then tap the book to view the diary entries in it and collect it.
To the right of the table is a stone tablet between two pillars with a symbol on one side and a puzzle with 25 squares on the other. Next to this on the ground is a fire. Use the matches to light the fire.
You will see a message about waiting for the right time of day. Tapping the fire will cycle through 4 stages of day and night.
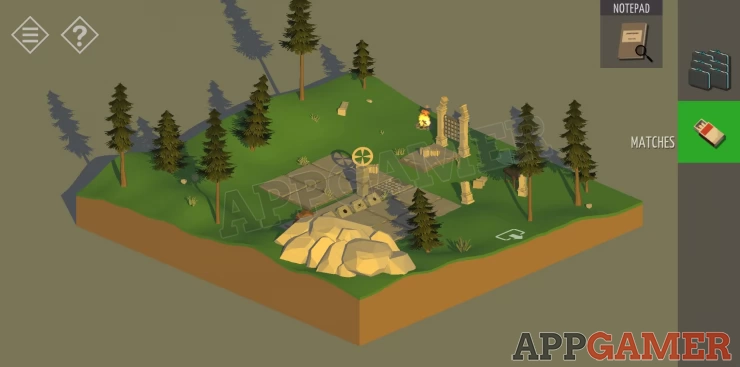
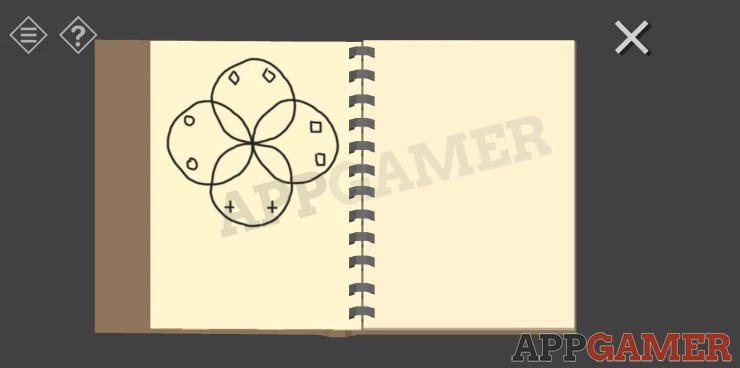
Now tap on the back side of the stone tablet to view the symbols, then tap them and notice that they are now drawn into the diary page for you to remember.
In the center of the area is a puzzle area with a stone pillar and circle on top and 4 plaques with symbols for times of the day (sunset - night - sunrise - day). There is a brown wheel that you can tap to move the central pillar to each of the 4 positions.
Tap the camp fire and the time will change so that it is night and dark. Tap on the central area and use the wheel to move the stone to the night symbol. (black circle). Note the floor area that opens and the pattern of squares. Also note the arrow position.
Back out and tap on the puzzle side of the stone tablet to view the 25 squares. Match the matches squares from the floor with the arrow position and tap them to switch them over to dark.
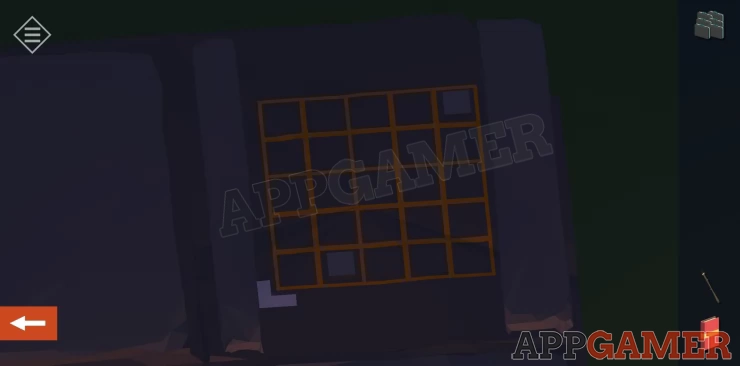
Next tap the camp fire again to change the time to sunrise. Repeat the process to move the center puzzle pillar to the sunrise position and notice that it now places a circle with a cross hair over a new set of squares in the floor. Identify the square in the center of the circle and then move back to the puzzle tablet to switch that one over to dark.

Tap the fire again to move to day, and repeat the process. you will find one more square. Then again tap the fire to move back to the sunset time and find the last square. When you have all 5 squares set on the board a passage will open in the floor.
Show

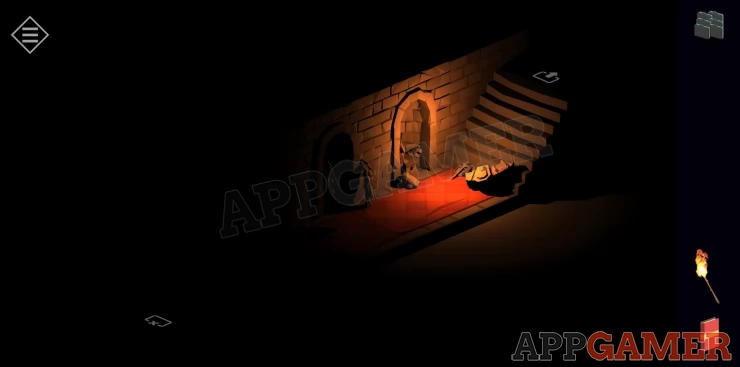
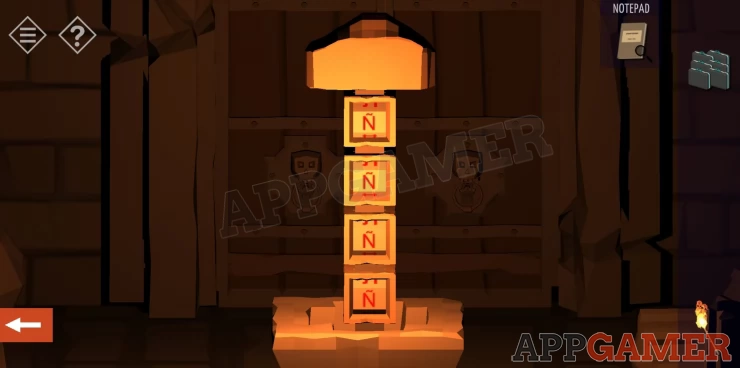
Tap to enter the passage, it is dark. Tap near the top of the steps to collect a torch, then view it and use the matches to light it. You have a lit torch now.
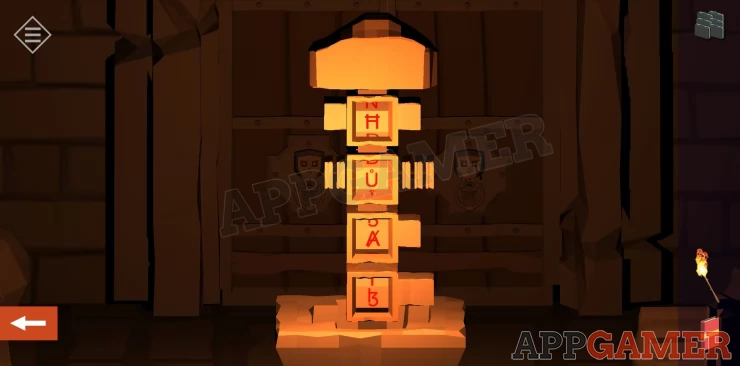
On one wall are 4 alcoves with statues in them. Each has a symbol of a time of day in the plinth and each is broken or missing something or fallen down. Note each statue and their appearance and the symbol. From left to right they are Day, sunset, sunrise, night.
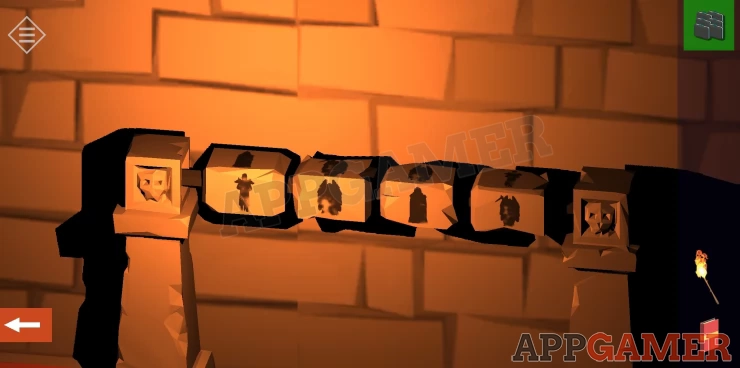
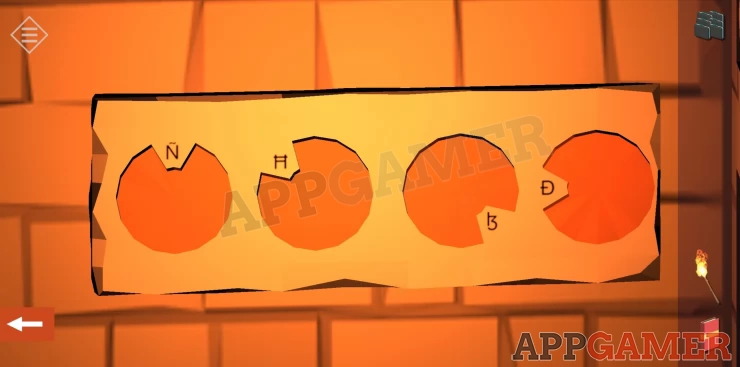
Rotate the view to the opposite wall to view a code entry puzzle on the right towards the closed door. Tap each of the 4 sections to rotate it and match the required code. You need to mach the outlines / silhouettes for the 4 statues in the right order. The order needed is found in the diary pages. Day, Sunrise, Night, SunsetShow
Solution: Show
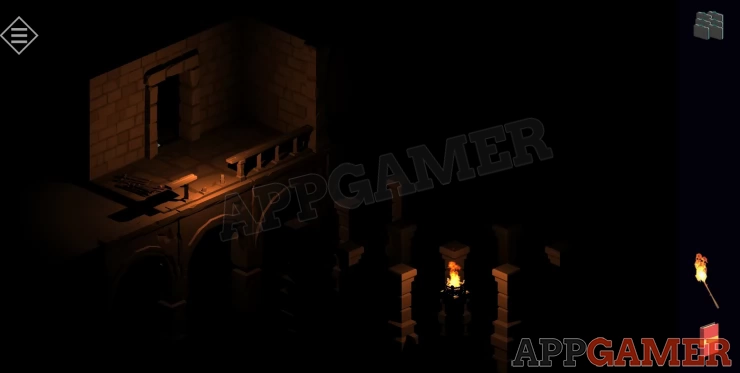
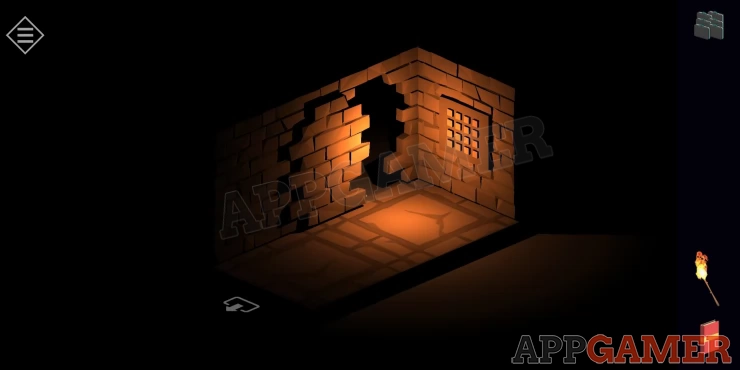
When they are set correctly the door will open at the end of the passage and you can pass through into a circular room with 4 pillars.
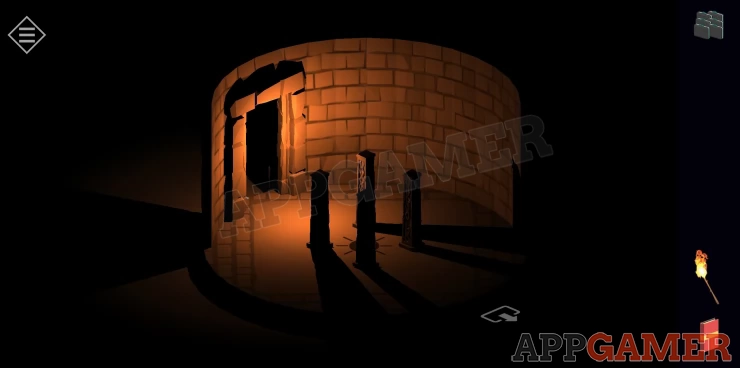
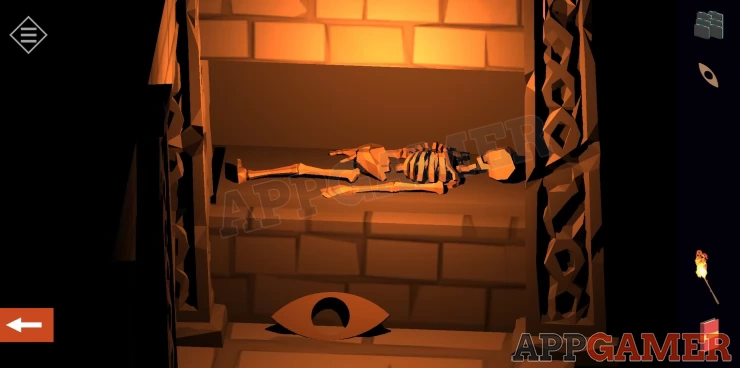
Move on through the next door to find a series of rooms to explore. Opposite the entrance is a large circular door that you cannot open. Move to the right of this through to another room and find a device part in the center on the the floor. Then continue to a second room to find a tomb area with skeletons. Look around each of the alcoves and on the floor with the torch to find 2 more device parts.
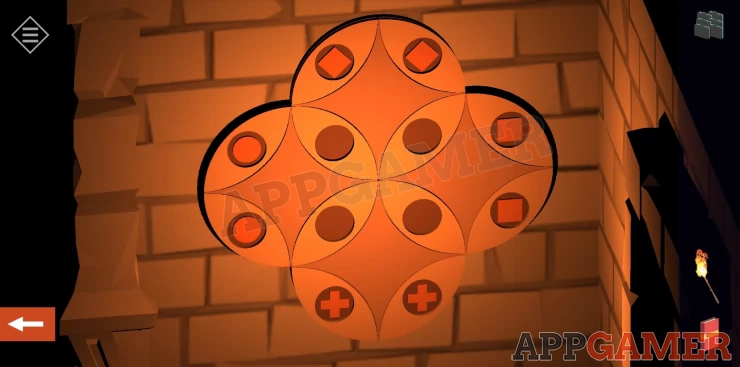
Go back to the room with the round door and then move on to the left of it through another room to a second room where there is a 'device' on the wall.
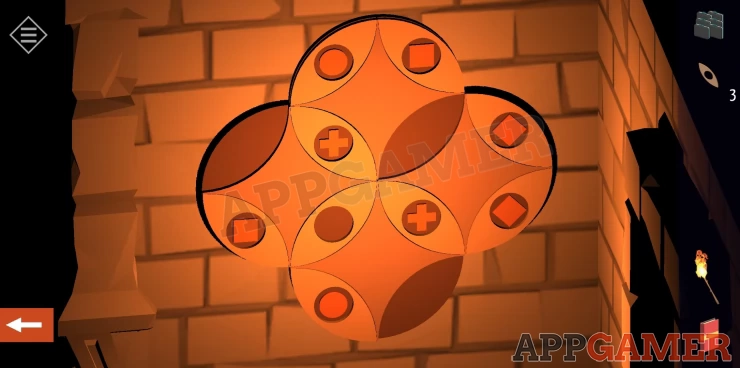
Three parts are missing from it. Use the parts you have found to complete the device. This is now a puzzle to solve. To solve it you need to match the pattern found above ground and which should now be drawn in your diary. Tap each of the 4 circles to rotate them and move the symbols to the required places.
Solution: Show
Once done a mechanism activates and the round door has opened. Return to the center room to pass through the open door.
In this room there are many symbols on the walls and a closed door with a code entry to the right. View the symbols on the walls and notice that you can tap them to spin them.
Clues: Back out of this room to the circular room that you came in from. This room has the Day symbol in the floor and 4 pillars around it in a square shape. Moving back to the rooms to either side of the round door you will find a cross shaped room with the sunset symbol on the floor and 2 pillars in one section and 1 pillar in the other with a square on the floor. To the other side is the room with the sunrise symbol. This is a square room with 3 pillars in the center, in a triangle formation within a circle. Go back to the room with the locked door and tap the book on the plinth to read the final clue. Tap the pages to see a fourth symbol next to the night symbol.
Find the 4 shapes we have identified on the walls and tap them to see the code symbol needed for them. Then use these in the code entry wheels to open the door.
Solution: Show
Pass through the now open door and it will close behind you. Pass over the bridge with the red floor and into the next set of rooms. This area is a bit of a maze with many rooms to check.
From the entrance move left into a side corridor and find a skeleton on the floor with a clue. Tap this to have it copied into your diary.
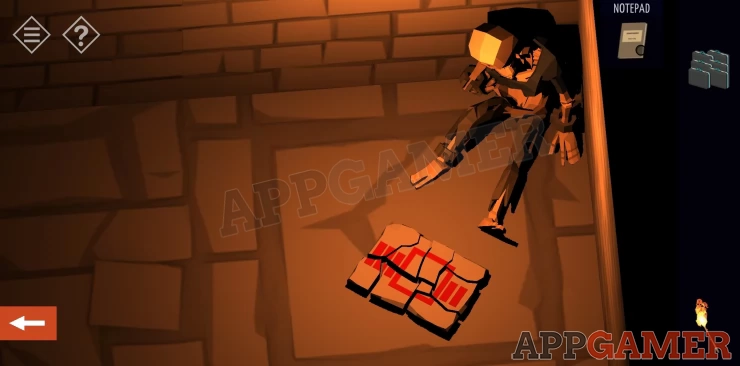
Move on past the skeleton and then to the left to find a dead end room with nothing in it. Rotate the view to note a brick in the wall that sticks out. Tap this and 2 more will appear. Keep tapping the bricks that stick out until a section of the wall opens to reveal a symbol. Tap it to copy it to the diary.
Move back to the main room and then move to the right of the entrance, and then again to reach a balcony area. You need to tap to collect a torch from the ground and then tap in the dark area in the lower right to throw the torch and light a lantern out in the darkness. You can pick up more torches and try again if it misses. Once lit you can rotate the view to see another symbol on the wall. Tap it to copy it to the diary.
Move back and further on to this side of the room to find an actual maze. Navigate around the maze to find a fun Easter egg of a hat and whip. At this point rotate the view to see a fourth clue symbol on the wall. Tap to add it to your diary.
Go back to the central room and them move into the room at the far end from where you came in. In here is a large door and a puzzle pillar in the center. Tap this view the 4 symbols entries.
Tap each to change them and set blocks on either side. Check the diary with the 4 clues you have found to figure out the symbols and patterns to set.
Solution: Show
When you have set all 4 tap the block at the top to lower the 'key' and open the door.
Move through to a closed passage with a puzzle on the end wall. This is one of the frustrating puzzles where you need to tap each of the squares to set it to the light colour but each one you tap will also turn the others that are next to it. Pay attention to the way they affect each other and keep trying until you solve this.
Once done a hole will open in the wall and you can pass through to the final room. There is a giant crystal here and a control panel. The crystal is inactive.
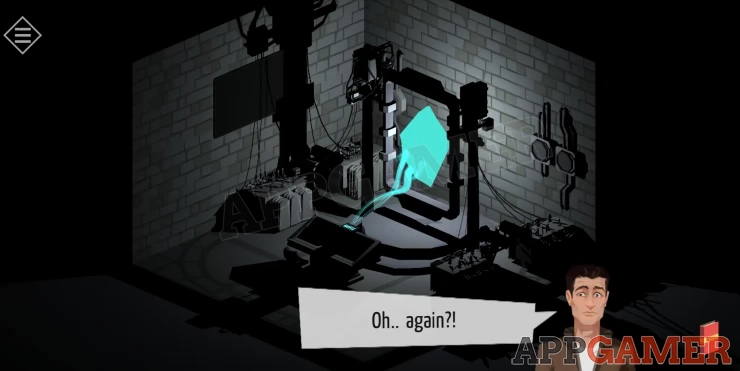
Select the briefcases and tap the crystal to activate it.

You will see a map of the city. Tap to view ares where you can find more fragments and then when a door appears tap to open it and exit this map.
You are now back outside the mountain and as you make you way away from the entrance you will see the familiar areas from the previous chapters.

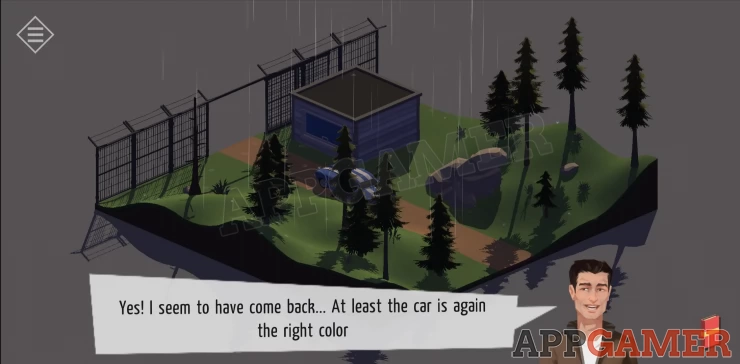
And back to your car it is now back to the correct colour again. It seems you have returned to normality. Tap the car to view the final cut scene and the end of season two.

Now we can move on to season 3 and Chapter 12. If you have any questions for this chapter or any others please head to the Answers Page.
We have questions and answers related to this topic which may also help you: Show all