Chapter 6
Tiny Room Stories: Town Mystery Guide
This is our full walkthrough of chapter 6 in Tiny Room Stories: Town Mystery. We have every step detailed with images and codes which can be revealed if you need them
Read below for a full description with hints and solutions, or you can also watch the video walkthrough.

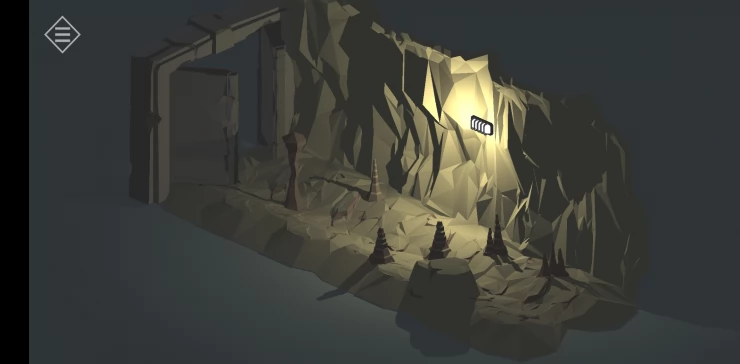
In the Cave
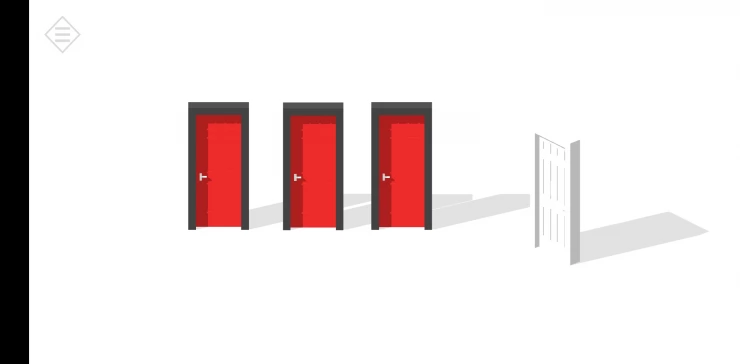
The first room has a statue in the middle facing you as you enter and 3 closed doors on the other 3 walls. Tapping the statue will make it turn towards each door in turn and the door it faces will open.
There is a small stone block on the floor by the statue for you to collect
First room (left of the entrance)
Floor puzzle with 4 dials and 4 handles to move them. There is a tall plinth in the center of the dials which has a stone block on top for you to collect.
Second room (opposite the entrance)
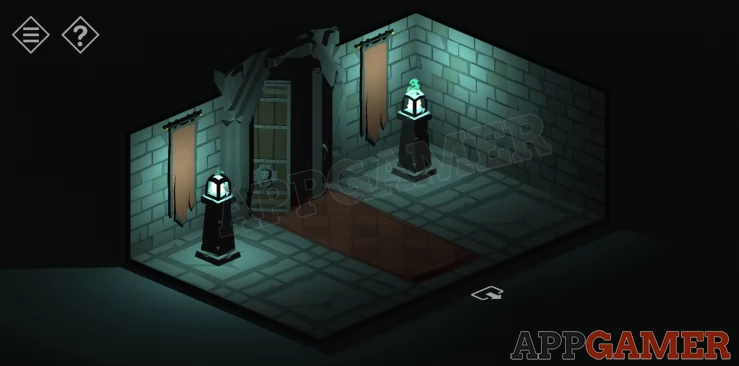
Large wooden door with 2 pillars. There is a stone block on the floor behind the left pillar to collect.
Third room (right of entrance)
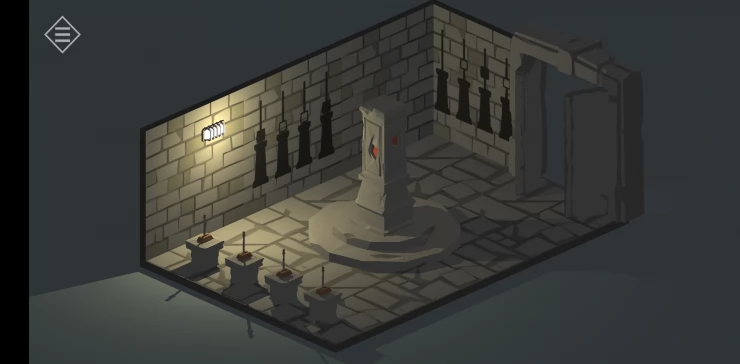
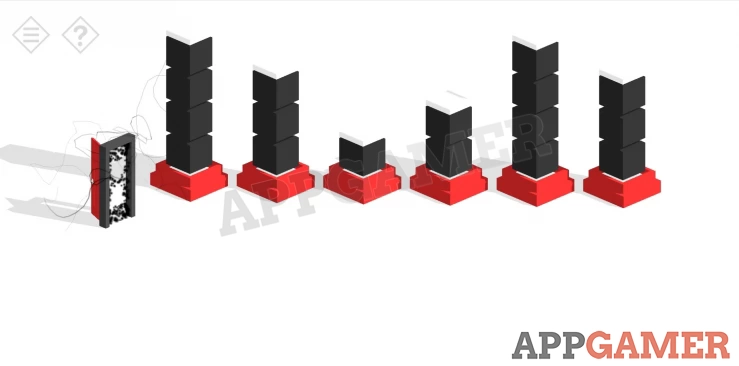
Puzzle with 4 stacks of blocks on top of plinths with spindles on top, a different number of blocks on each. On each of the 4 walls is a different diagram. In the center is a large stone pillar.
All of the stone blocks on the 4 spindles can be collected into your inventory. You need to arrange them on the 4 plinths to complete the puzzle. Use the diagrams on the walls as guides to which block to place on the plinths.
Solution: Plinths from left to right 1 dark block on the first (left) plinth 2 light blocks on the second plinth. 1 light, 1 dark, 1 light on third plinth. 1 dark, 2 light, 1 dark on fourth plinth.Show
Once you have all of the stone in place and they have descended to be replaced with lever switches you can proceed with the next part of the puzzle. Pulling the levers will move an orange section in the center stone pillar.
as you do this symbols are reveals in the orange gaps.
There are 4 gaps, one on each side and they are at different heights. Take a note of the symbols and their positions from top to bottom as you do this.
To complete the puzzle in this room you need to keep pulling the levers until all 4 symbols are visible at the same time. This may take some patience or luck. I found it best to get the bottom symbol in place first and work my way around. Once the puzzle is complete the room shakes and the lights go out.
Return to the first room above with the dials puzzle. Tap the dials to get an overhead view and then use the levers to align the dials.
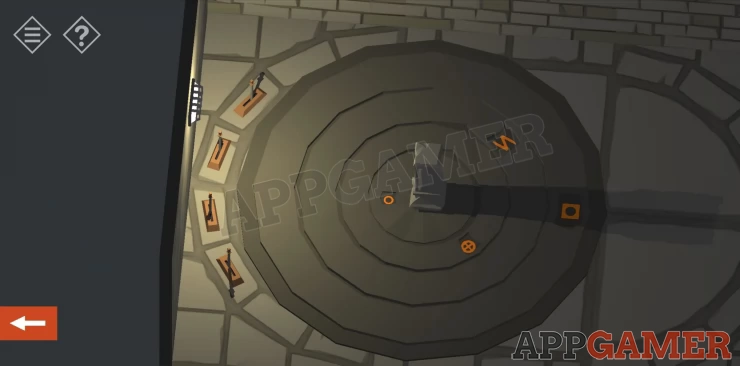
Solution: The 4 dials need to be spun until the displayed symbols match those from the pillar above with the top one on the outer ring and the bottom one on the inner smallest ring.Show
Code: Square, Triangle, Square with Circle, 2 Vertical lines.Show
The room shakes. You can now move back to the Second room.
In the second room the door to the next area is now open. Pass through and you find yourself with the device, and what happens next ... well you will see.
You are now in a white room with a white door in the center. Tap the door to get come colour on it. Tap again to open it, and again to pass through.
There are now 3 red doors and 1 white door. The white door is closed but the 3 red doors open. Behind each is a puzzle room that you must solve
First door, this room has 6 pillars of blocks that are white or black. the pillars move up and down, You can tap on each pillar to stop it moving, tap again to start its movement.
Solution: Tap each pillar to stop it moving when only the black blocks are visible. Any white blocks on the pillar should be underground.Show
Second door, this room has 7 red doors standing around a central block with 2 more doors in it and the exit door on top. You need to rotate the view to see them all.
Solution: Simply tap each door to open it to complete the puzzle and the exit door will open.Show
Third door, this room has an exit door frame but no door, there are red pieces on the ground.
Solution: Rotate the view to see all of the red pieces in the room, some are hidden, tap to collect them and complete the exit doorShow
You can now return to the room with 3 doors to find that the exit is fully coloured red. Tap to open and exit.
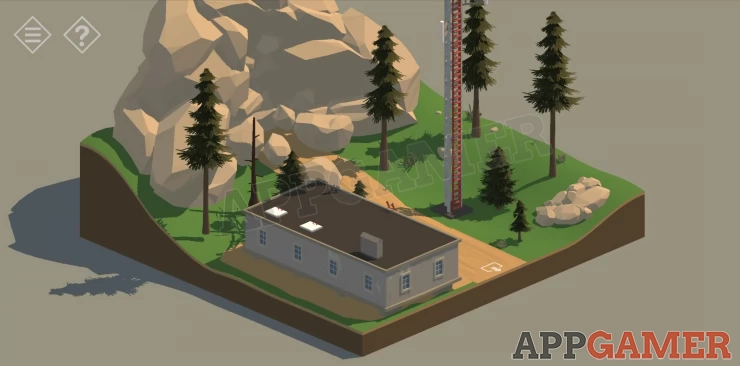
You are now back outside the mountain at the communications building. It has stopped raining.
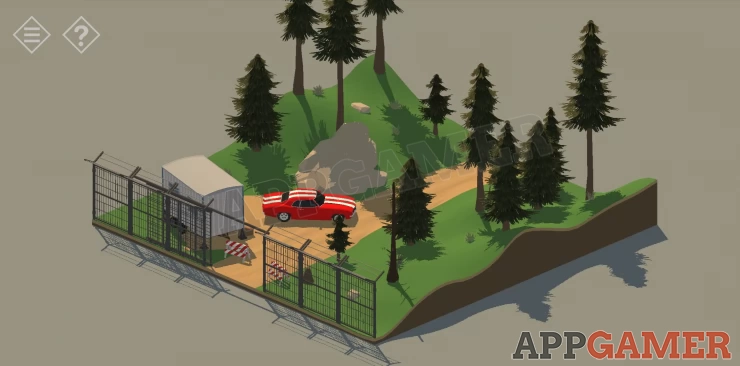
The cave has collapsed so you wont be going back in there. You cannot access the building so return to the area with the trucks. Tap the trucks to get a message to tell you your next destination.
Return to the gatehouse section to find your car.... is a bit different. Tap the car to complete the chapter. And Season 1.
Season 2 chapters are now fully released. Read on for help with chapter 7 and beyond. If you have any questions please check the Answers Page.
We have questions and answers related to this topic which may also help you: Show all