00. A Secure and Well-covered Base
Boom Beach Guide
Even though your options are very limited early on in game play, you should always keep in mind that a secure and well-covered base is more than just a warm place to lay your head or a safe place to store your resources. It is, in every respect, the base of your power.
When you flex your muscles and take out a nearby or far away enemy position, what you are doing is flexing the muscles that your base provides.
When the combat is over, and the casualties are counted, it is to your BASE that you return to heal, re-supply, and re-equip your forces, not to mention update and upgrade them, give them new capability and keep them happy.
So seeing to your base AND having your base strategy in mind at all times is not just a good idea, it is an excellent idea!
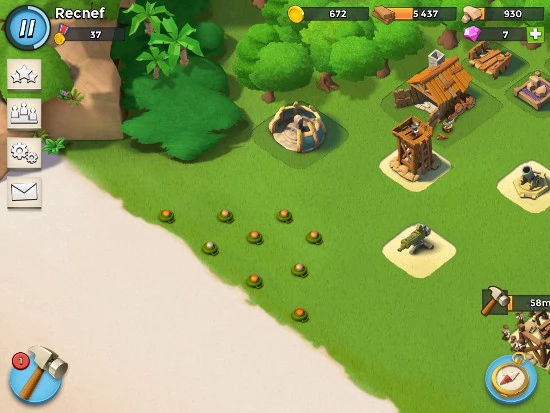
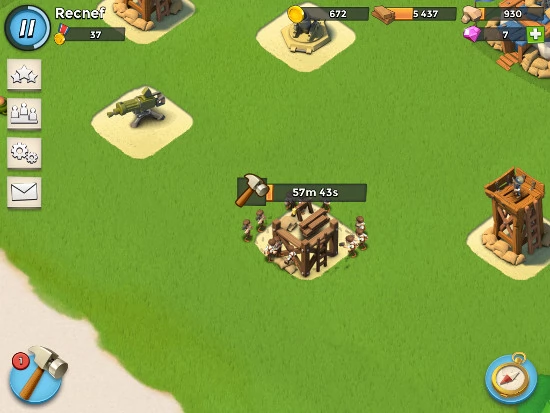
Building up your muscle in terms of your base starts with your HQ and the base defences, but never underestimate the value of resources and resource storage.

On the tactical side of the page you should be thinking about - and working towards - building and then creating upgrades for the following base elements:
- Headquarters (The source of upgrades and new kit as well as Gold and Wood Storage)
- Sniper Towers (Basic defensive capabilities that will help kill invaders)
- Machine Guns (Basic defensive capabilities that will help kill invaders)
- Mortars (Basic defensive capabilities that will help kill invaders)
- Cannon (A good defense against enemy ships and vehicles)
- Boom Cannon (Meant for armored foes)
- Flamethrowers (Nothing says warm welcome like Napalm!)
- Shock Launcher (Now we are talking startling effect)
- Rocket Launcher (Not as effective as a good cannon in most situations but valued nonetheless!)
- Mines (Border defense with a bang!)
Notice that Mines are the very last item in the list? The reason for that is that they are also the least effective means of defending your base. Still they are important to the point that a line of them should naturally mark the border between the main beach and your base - so that at least SOME of the enemy troops get sent to their personal afterlife as they try to approach and attack!
It should not have failed to catch your attention that Tactical in these terms actually translates to DEFENSE. These are the units and structures that are going to save your butt when the enemy comes calling - and eventually the enemy WILL come calling!
Seeing to and upgrading these should be your number one priority after you have dealt with your offensive capabilities.
On the strategic side of your base there may be some obvious choices - but some may surprise you. What you need to keep in mind though is that the wizards who created the game built into it some natural brakes that slow down progress and that force you to think about these sort of strategically important side-issues.
A good example of this? Upgrading your HQ relies entirely upon paying attention to upgrading and establishing strategically important and required resources. It takes a specific amount of gold, wood, or other resources to do upgrades - but you can only have whatever you can STORE. That means that in addition to creating a flow of resources, you also need to continuously increase your ability to store and USE them.
The following strategically important - no, crucial - elements should be on your mind and in this order:
Headquarters (for its primary storage capacity)
Gold Storage (primary capacity AND upgraded - always upgrade!)
Vault (This thing can hold both Gold and Wood but ALSO protect it from the enemy!)
Sawmill (Primary source of wood and wood storage)
Wood Storage (Secondary wood stockpile and capacity modifier)
Residences (Not just a place to sleep but a source of GOLD)
Quarry (Primary source of Stone)
Stone Storage (Secondary stone stockpile and capacity modifier)
Iron Mine (Primary source of Iron)
Iron Storage (Secondary iron stockpile and capacity modifier)
These first two focus points - Strategic and Tactical infrastructure - should be of particular concern to you, at least until you have created a reliable base and a system to defend it. The third focus is your Support Kit - which roughly translated is your Iron Fist - the kit you use to take the fight to the enemy.
While there are some pretty obvious aspects to the order in which you should seek to upgrade and deploy this side of your base and power, it is not always clear what is more important.
From an attacker PoV having an adequate number of Landing Craft and a properly upgraded Gunboat to support them is a given.
That said tho, probably the most crucial item on the Support List is also the most useless in terms of direct attack on the enemy. Sort of. That item? Your Armory. Seriously!
While the Armory appears last on the shopping catalog, it happens to be the most crucial element in your Support Focus. Why? Because that is where you go to upgrade the capabilities AND capacities for your troops and units! Let us examine that for a moment:
The Armory offers upgrades to the following:
01. Rifleman
02. Heavy Commandos
03. Zooka Girls
04. Warrior Commandos
05. Tank Girls
06. Medics
07. Artillery
08. Flare Shot
09. Medkits
10. Shock Bombs
11. Barrage Ammunition
12. Smoke Screen
13. Mines
14. Boom Mines
Of that list the most important in terms of practical use - and in THIS order - are:
1. Rifleman
2. Zooka Girls
3. Heavy Commandos
4. Warrior Commandos
5. Tank Girls
6. Artillery
7. Barrage Ammunition (Alternate Artillery)
8. Medics
Yup, that is it. The rest is salad dressing. Useful salad dressing, don't take that the wrong way! But in practical terms the above 8 items are all you really need to take name and kick butt. Or just kick butt and let someone else figure out whose butt you kicked, we don't care!
So with all of that in mind you should be looking to upgrade your Support Services with the following priorities:
01. Armory Purchase
02. Armory Upgrades (as often and as fast as you can manage)
03. Armory Upgrade 1: Rifleman to Level 3 (Minimum - more is better)
04. Armory Upgrade 1: Rifleman to Level 3 (Minimum - more is better)
05. Armory Upgrade 2: Hrsvy Commando to Level 3 (Minimum - more is better)
06. Armory Upgrade 3: Zooka Girl to Level 3 (Minimum - more is better)
07. Armory Upgrade 4: Tank Girls to Level 3 (Minimum - more is better)
08. Armory Upgrade 5: Artillery Shells to Level 3 (Minimum - more is better)
09. Armory Upgrade 6: Artillery Barrage to Level 3 (Minimum - more is better)
10. Armory Upgrade 7: Medic to Level 3 (Minimum - more is better)
11. Radar Upgrades
12. Gunboat Upgrades
13. Landing Craft Upgrades
14. New Landing Craft Purchases
15. Submarine Purchase
16. Submarine Upgrades
17. Sculptor Purchase
What you see above are your goals and focus initially - anything you can manage that exceeds those goals and focus' is a really GOOD idea and one to be applauded, but getting your capabilities to that basic threshold is your primary goal.
Remember that capabilities and numbers are two very different sides of the same coin. Often just upgrading the capabilities of a specific unit tpe - Riflemen for example - serves as a force multiplier that turns the 16 Riflemen you presently have split between two LCs into the equal of 24 Rifleman due to one level up of capability!