13. Defensive Nest Placement Strategies
Boom Beach Guide
When you are placing your defenses you need to keep in mind the following tips because failing to do so will not only make you very easy to take down, but embarrass you as well :)
1. Do not isolate your defensive positions.
It is always a good idea to have some measure of overlapping coverage so that an attack on ONE of your defensive nests will result in defense by at least TWO of your nests. That way the enemy cannot just pile up and take them out without having to pay for it.
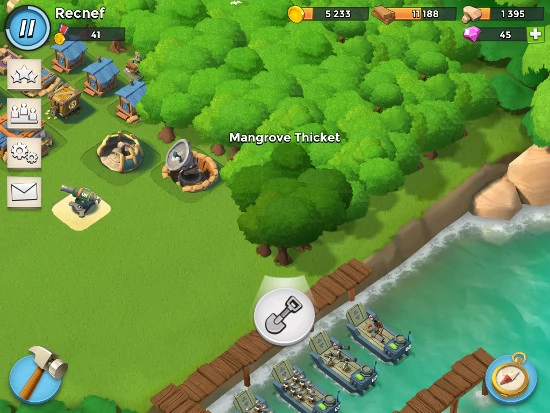
2. Never place defensive nests right next to each other!
Doing this is basically like placing a neon sign on them that says SHOOT HERE - because of the splash damage from naval guns, when defensive positions are placed right next to each other, the enemy simply can aim right between them and damage BOTH.
You may not be aware of this, but each of the defensive nests that exist in the game actually has a specific strength vs enemy unit classification. That's right, there are actually reasons for placing specific weapons and tactical tricks on where to place them!
| Nest Name | Strength | Notes |
| Boom Cannon | 2X Dmg vs Tanks | Slow Load Times |
| Cannon | 2X Dmg vs Tanks | Slow Load Times |
| Flame Thrower | Close Range | Use Sniper Overlap to Protect |
| Machine Gun | Close Range | Weak to Armored Targets |
| Mines | Territory Denial | Use to protect obvious routes |
| Mortar | M/L Range | Use to protect obvious routes |
| Rocket Launcher | Long Range | Protect with Sniper and Flame Thrower overlap |
| Sniper Tower | Medium Range | Protect with artillery overlap |
| 12. Always Remember You Also Face Human Opponents! | Back to Top | 14. Understanding the Attack Shield and Using It. |