Lost Lands 8 - Part 10
More Lost Lands 8
This is our walkthrough for Part 10 of Lost Lands 8 Sand Captivity, an mystery puzzle game from Five-BN games. In Part 9 we found the ingredients and made the Underwater Potion to allow us to explore underwater and find the root of the crystal from the temple on the floating island.
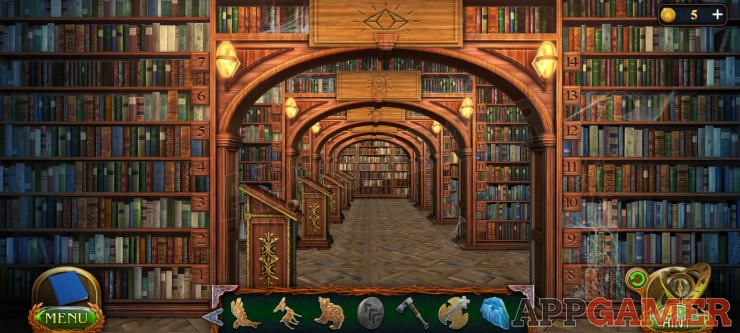
Now we need to return to the library at the Academy to find more information about the crystal.
Enter the hallway in the library and move forward to the arch with the Crystal symbol above.
Now view the lectern on the left and you will see that 6. The famous crystals of the Lost Lands is ticked.
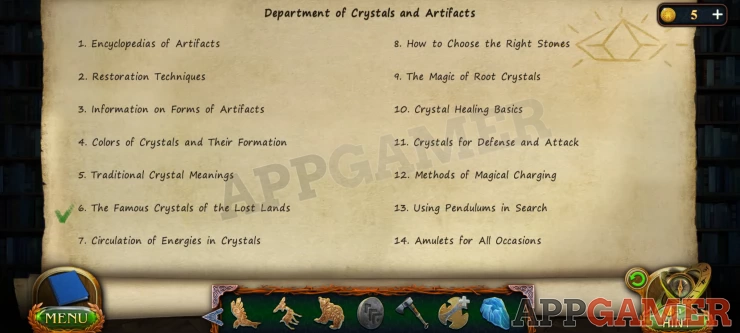
View shelf 6 on the top left and tap it to find a book. This will give you a new task.
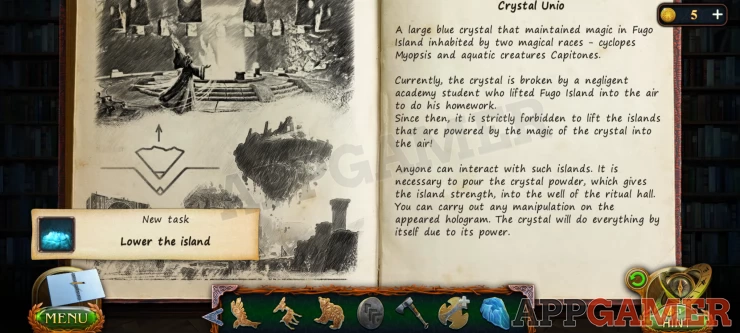
Lower the Island
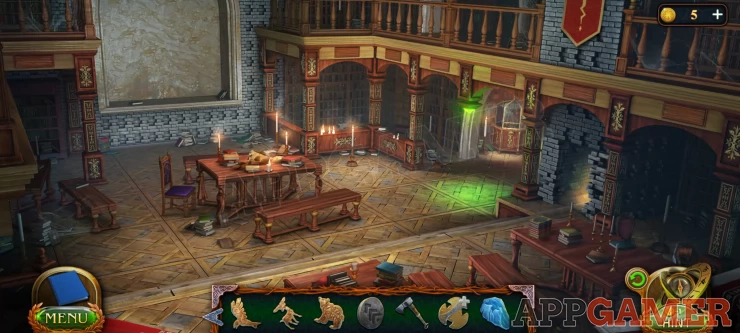
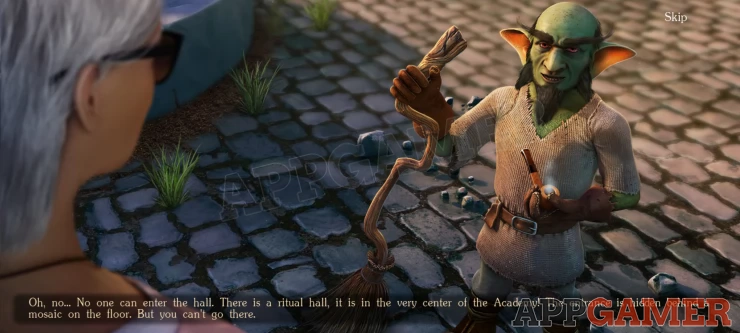
Back out to the courtyard of the Academy to Talk to the Goblin caretaker. You will receive a Carabiner that you need to use to fix the mechanism to open the way to the Ritual Hall.
Enter the Academy Entrance hall again and view the wheel mechanism on the right again.
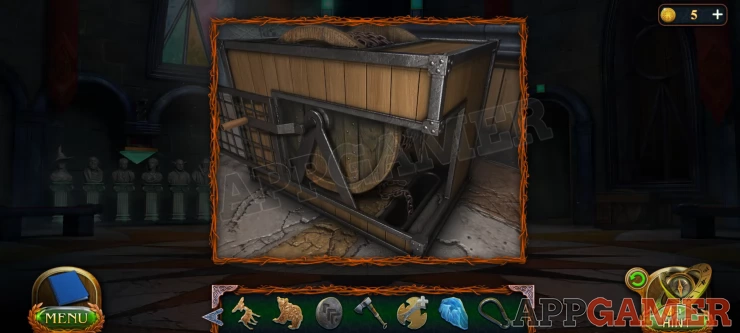
Add the carabiner to the chain in side the box on the right. Once it is hoked on you can tap the handle, this will turn the wheel and open some shutter on the right. A color pattern will appear on the floor.
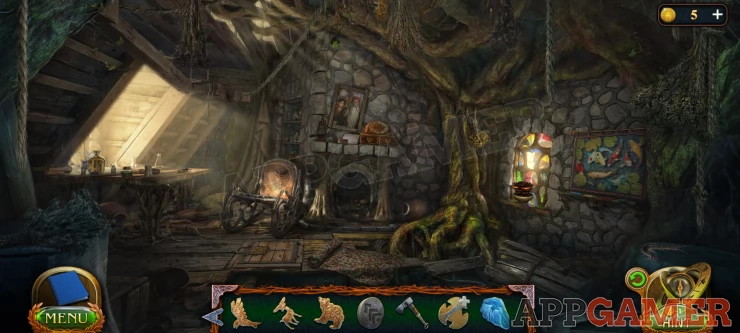
You need a special item to solve this puzzle. We need to get this from Maaron's abandoned house. Return there now.
Tap on the trap door under the rug in the center of the room and view the lock.
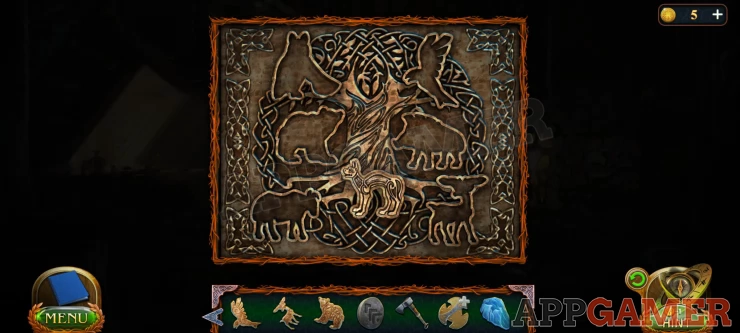
You can now add the 6 missing animal symbols to the lock. Then tap the handle to open the hatch.

Collect from inside a round Emblem.
Now return to the academy entrance hall.
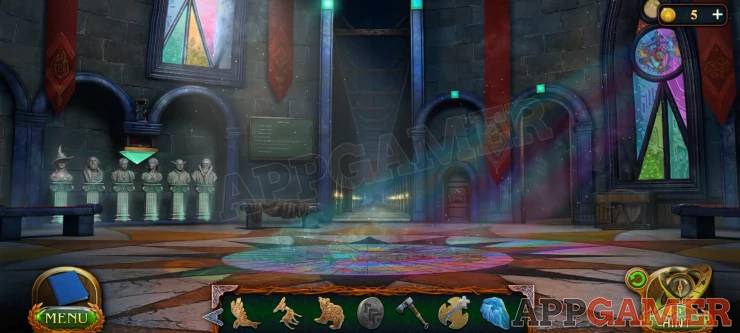
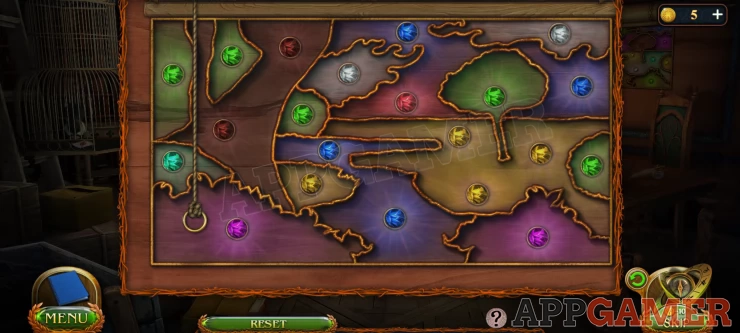
View the central mosaic with the colored light and then add the emblem to it.
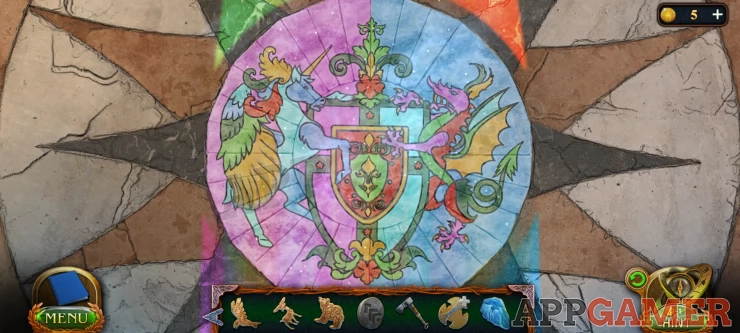
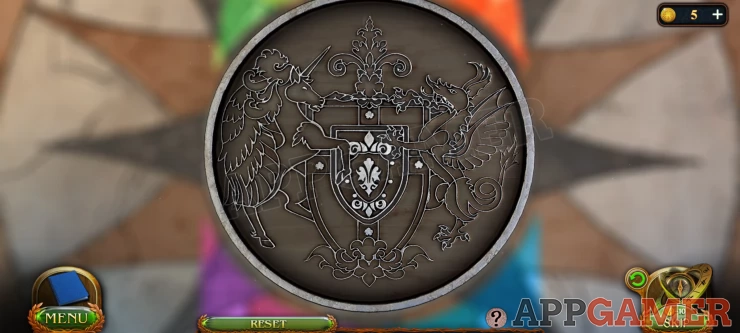
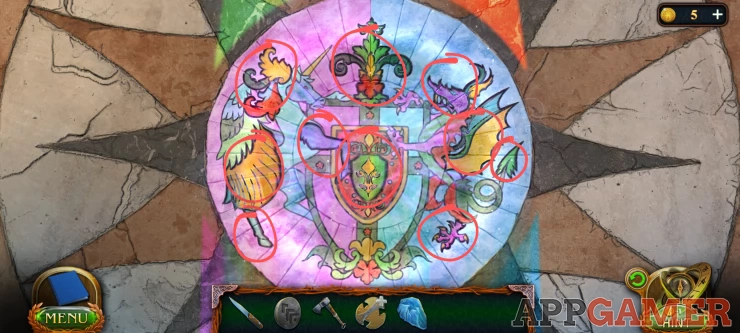
This is a spot the difference puzzle. You can tap the emblem to show or hide it and compare the pattern on it to the one on the floor.
Then tap the areas of the floor that are different to the design on the emblem.
Solution: Show
Once done you will be able to use the stairs to descend into the Ritual Hall.
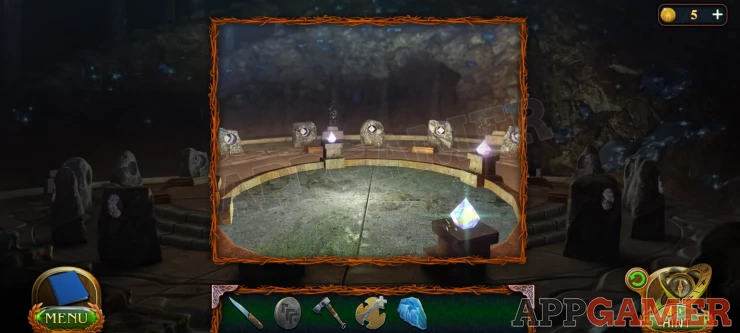
Collection item: a stone block on the left center of the scene.
Morphing Object: on the stairs near the top left of the scene.
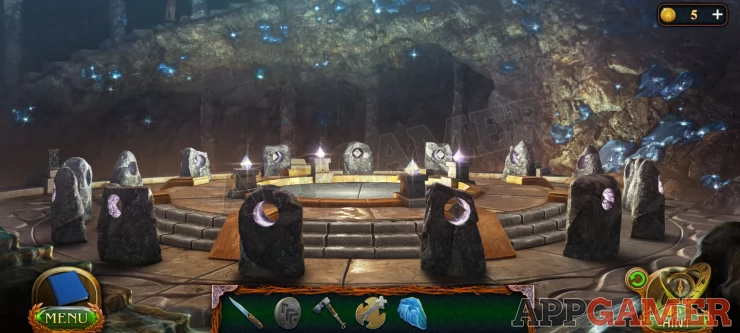
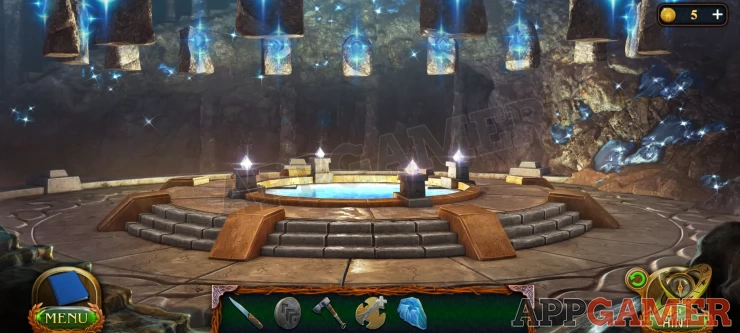
Tap to view the circle in the center of the hall and then collect a key from next to the crystal on the lower right.
Now you need to return to the library hallway.
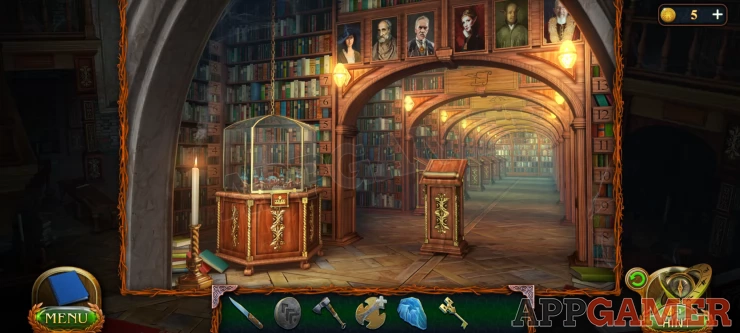
On the left is a glass case with a model inside.
Use the key top open this and find the model.
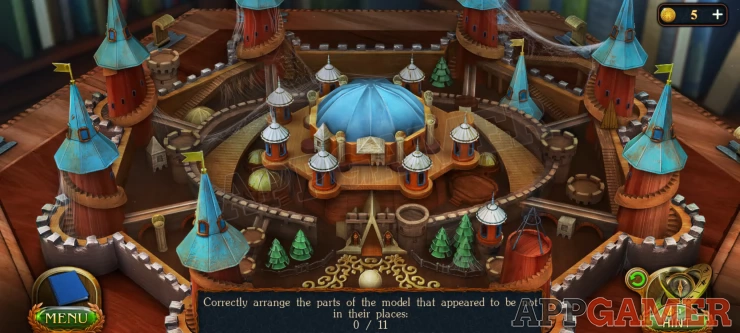
For this puzzle there are 11 parts of the model that are in the wrong place. You need to find them and place them correctly.
You can watch the video below for help if you are missing any.

Once done you can collect a signet ring.
Now go to Maaron's room (3) in the academy and you can use the ring to open the cupboard on the left by the birdcage.
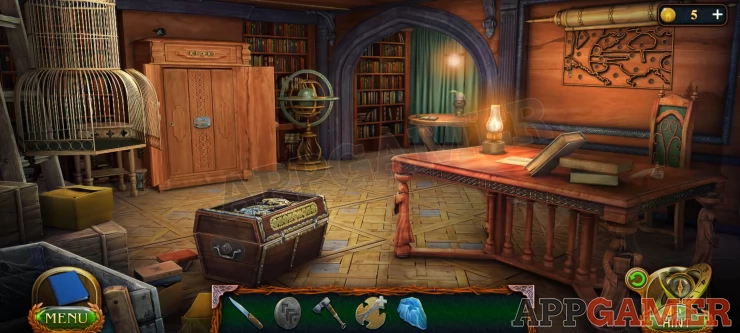
Open it and look inside to find another puzzle.
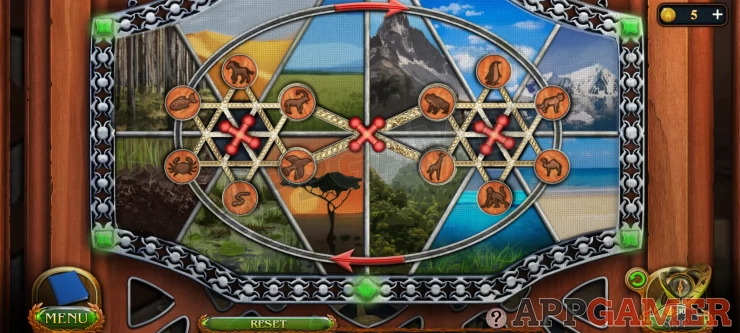
To solve this you need to rotate the animal symbols round to align them with the correct background environments for each. Use the red handles and arrows to rotate them.
If you get stuck then use the video below for a simple solution.

With the cupboard open you can collect the box of colored balls from the lower shelf. And also a Lollipop in a white wrapper from the shelf above.
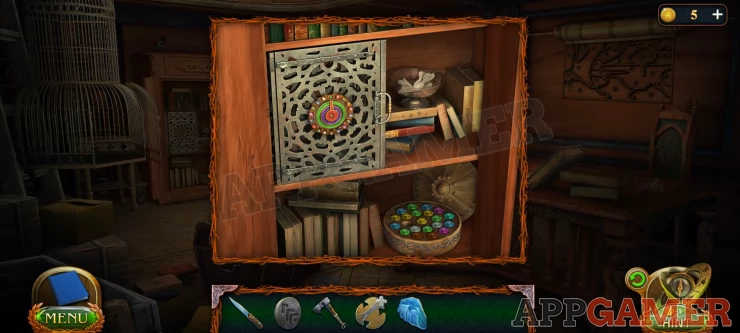
Then view the locked box on the left to see the dial. You need to find a clue with the symbols.
Next above the desk on the right of the room is a picture outline, view this.
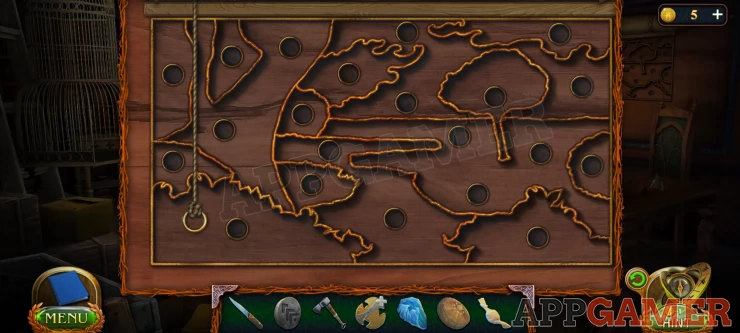
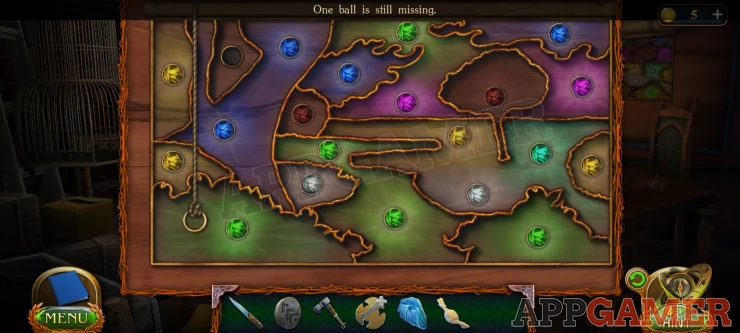
Add the box with balls to it and they will be placed, but one is missing.
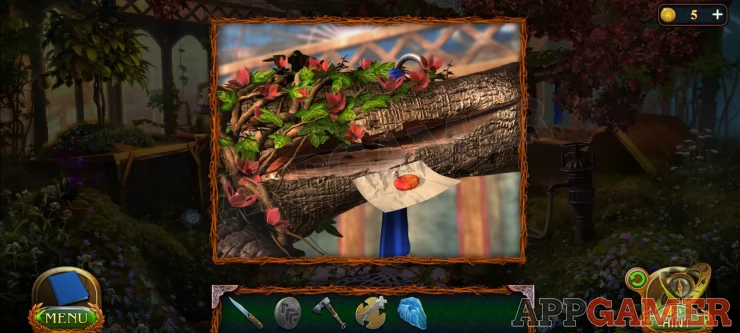
To find this return to the greenhouse.
Tap to view the upper right branch of the tree to see ants running about. Use the lollipop here and you will collect a few ants.
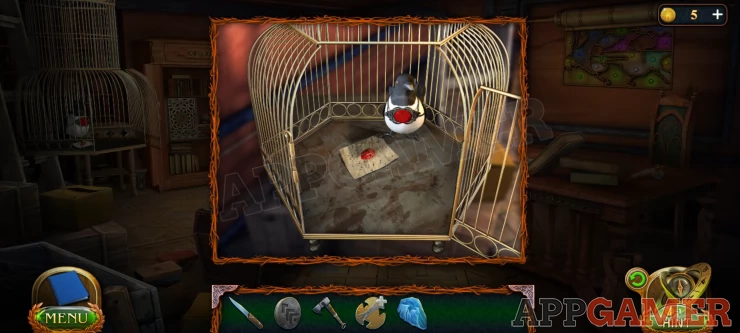
Go back to Maaron's room. and place the lollipop with ants in the bird cage on the left. A bird will fly into the cage to eat the ants.
You can now collect a red ball from the bird.
Return to the outline drawing and place the final red ball.
An image will roll down over the outline and the balls will glow through.

To solve this puzzle tap the cord on the left to roll up the image again and rearrange the balls so that the correct colors are lined up with the relevant picture elements.
Solution: Show
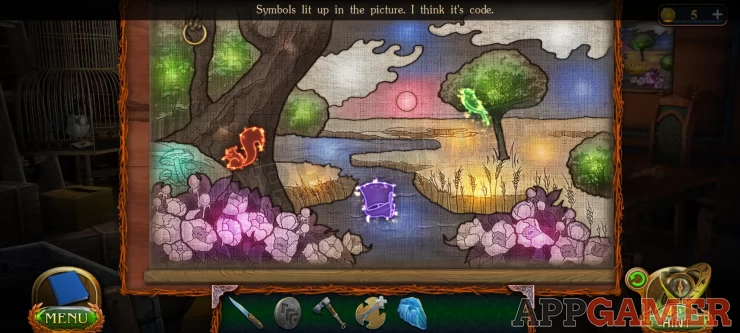
Once done roll down the image again and the picture will light up with 3 colored symbols.
Show: Show
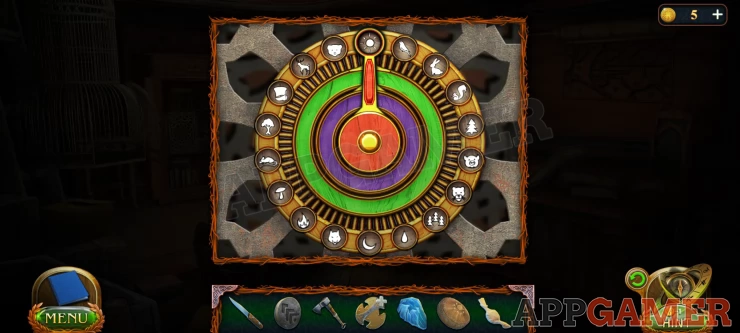
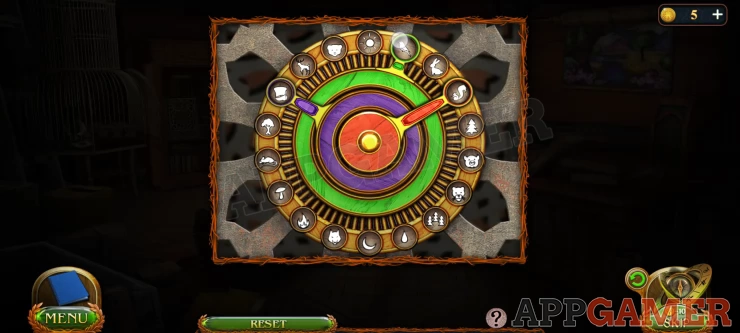
Now you can return to the cupboard and use these to open the box. There are 3 dials with colors
Solution: Show
Collect from the box a Plate.
Now head back to the Ritual hall and you will see that all of the large stones around the center have a hole at the top with a plate in them except the one just to the left of center.
View this and add the plate to it.
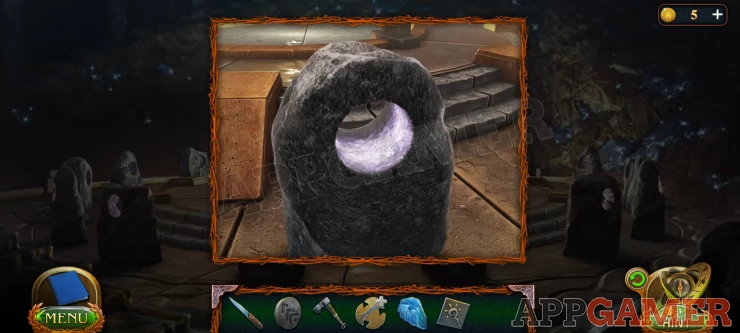
The well opens and the stones will rise up.
You can now view the open well and tap it to see a message asking for some crystal powder.
Return to the construction site at the stronghold in the plains.

Notice there is a crane with a block hanging from it on the top left.
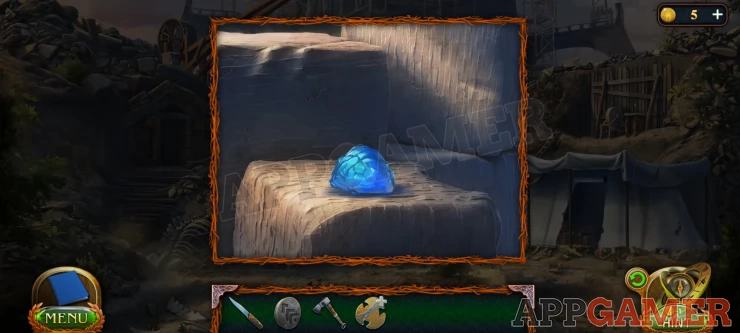
View the blocks on the ground in the center of the scene, below where the high block is hanging. Then place the 'Part of the crystal' that you have there.
Next tap to view the crane wheel at the top left.
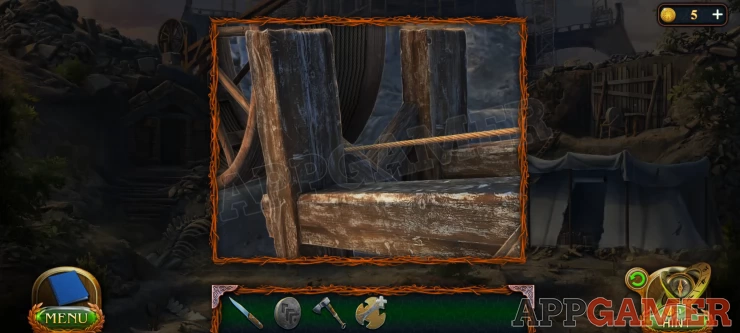
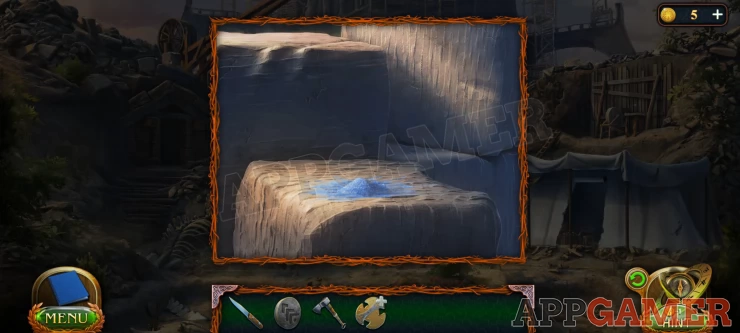
Use the knife on it and the rope will be cut, dropping the block onto the crystal.
View the blocks where you placed the crystal again and you can collect the crystal powder.
Go back to the Ritual Hall. View the well and add the powder to it.
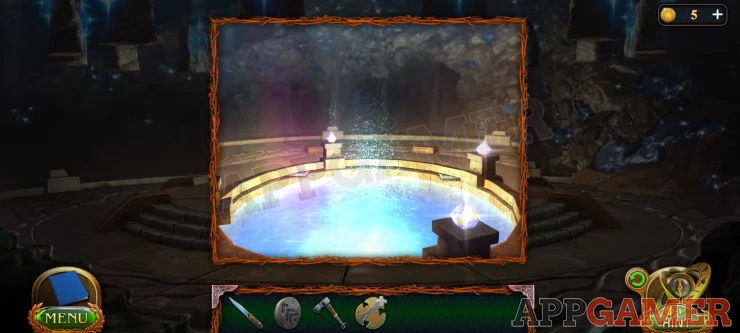
You can now view the cut scene where the islands are lowered and the magic is restored.

That completes this task and now you can continue to the Darkwoods.
Continue in Part 11.
We have questions and answers related to this topic which may also help you: Show all
 With 20 years of experience in creating video game content for the internet and over 30 years as a gamer, Mark is now a passionate mobile App Gamer. Loving a challenge, he is always ready to get stuck in to both survival builders and puzzle solving games. He has been providing content for AppGamer since 2014.