Lost Lands 8 - Part 8
More Lost Lands 8
This is our walkthrough for Part 8 of Lost Lands 8 Sand Captivity, an mystery puzzle game from Five-BN games. In Part 7 we have traveled by boat to the floating islands and found out way through the gate to Kiana.
Now we need to help the people of the islands to regain the magic from the sealed temple.
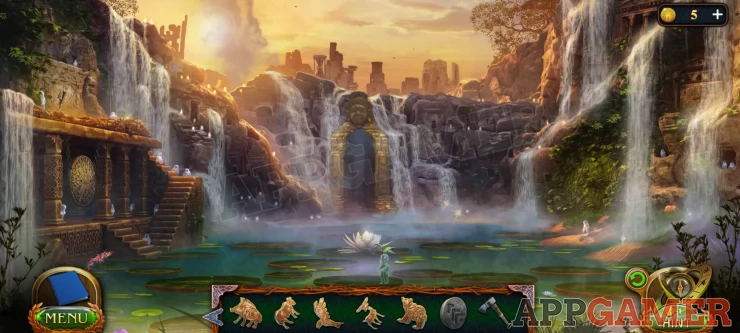
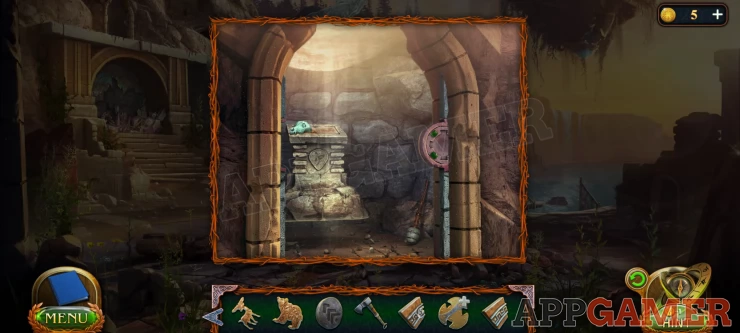
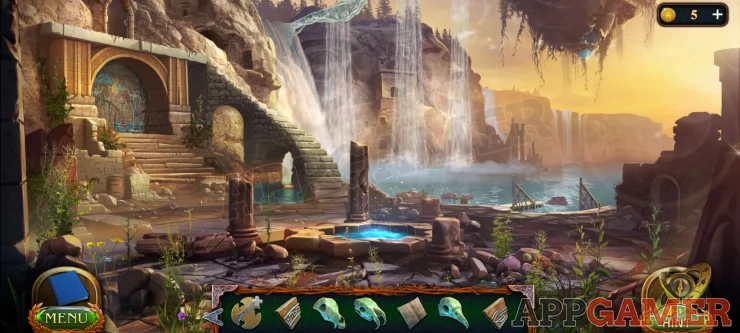
Enter the Temple
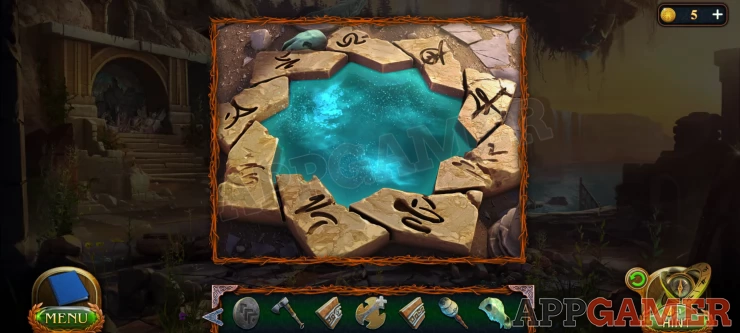
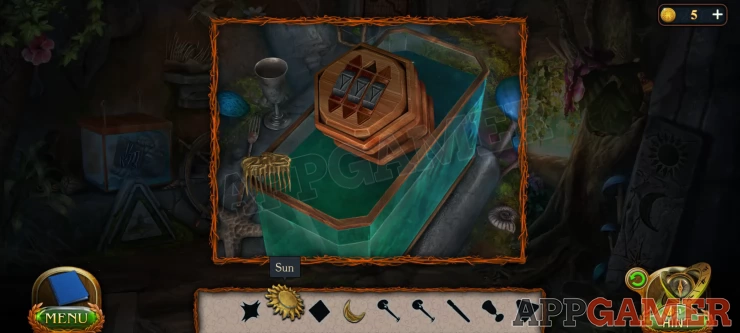
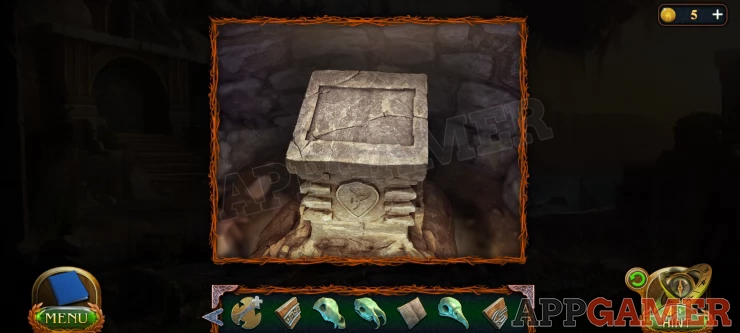
Tap the golden doorway in the center of the scene. Then examine the top of the well inside.

There are 3 tiles missing from the top.
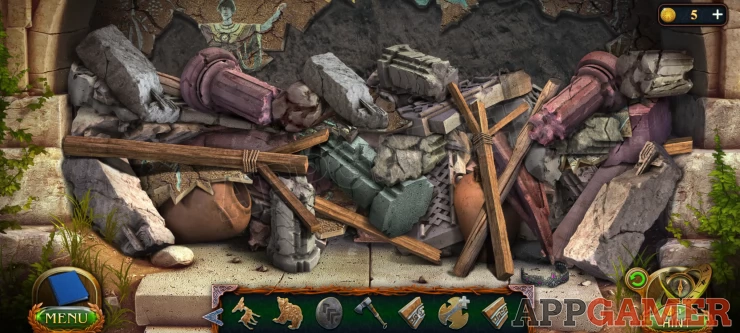
Now back up and tap the rock wall on the top left of the scene to see a crack with a tile stuck in it.
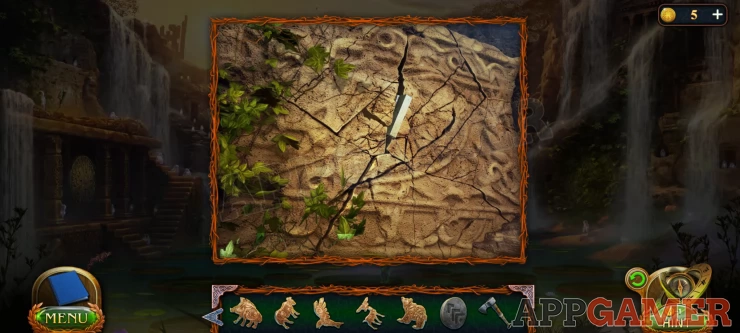
Use the battle ax here to break open the rock and collect the tile.
Now backup again and cross over to the second floating island. On the right is a mound with a lump on top. Tap to view this.
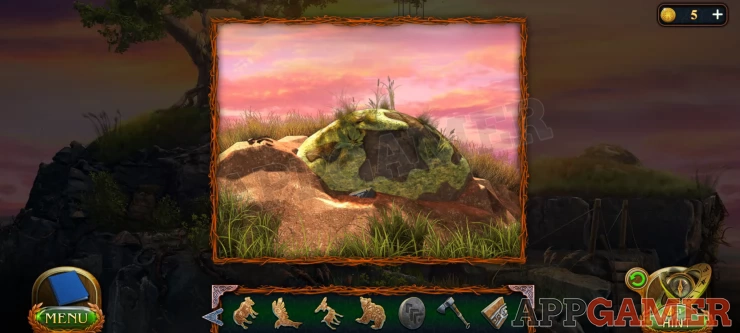
There is a tile stuck in the ground. You need to tap on this to get a prompt to get a shovel.
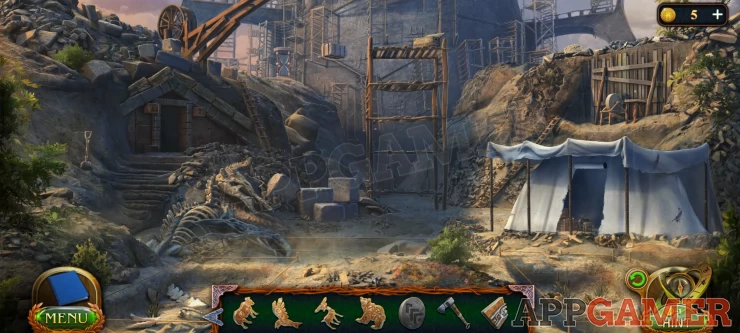
Now travel to the Stronghold area. There is a shovel on the far left of the scene, collect this.
Now return to the floating island and dig up the tile from the ground.
You will also collect an Amulet.
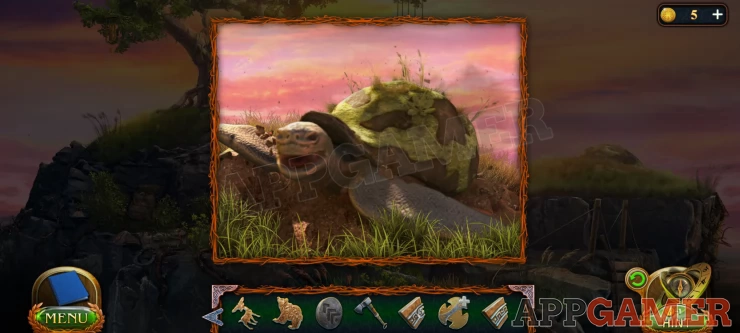
The ground moves and a the lump in the ground is actually a turtle.
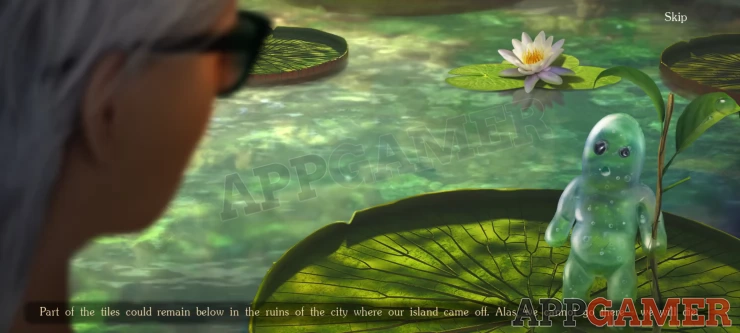
Go back through the gate into the inner courtyard of the island and Tap to talk to the Small water creature. They explain that you need to go to the ground to look for the tile and that the Turtle can take you if you feed it.
Now tap to view the large white flower in the center of the water.
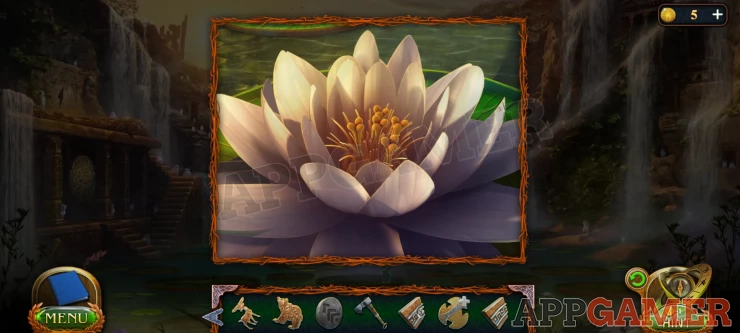
Use the knife on this to collect the stamen.
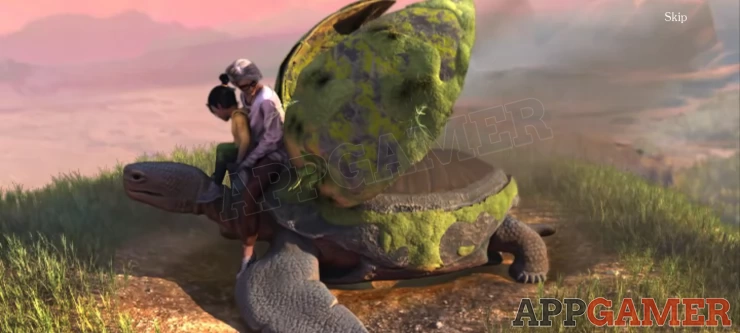
Return to the Turtle and give the stamen, You can then ride on the turtle to the ground.

First tap the ruined fresco on the left under the arch.
Collect the tiara from the lower right step.
Now back up and tap the island in the sky to travel back up there.
View the statue that is part of the tree on the top left.
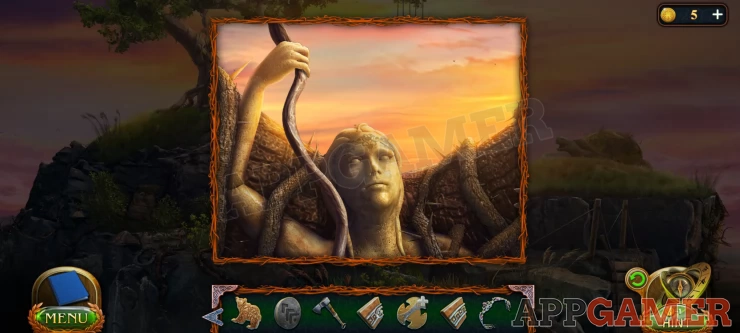
Add the Tiara to it and you can collect the Staff. Now tap the turtle to return to the ground.
First view the small pool in the center and collect from the top left a Snake Skull.
Next on the top left of the scene is a small doorway above the arch. View this,
Use the staff on it to open the door.
Collect a 'Beater' from the ground on the right inside.
Then view the floating pedestal.
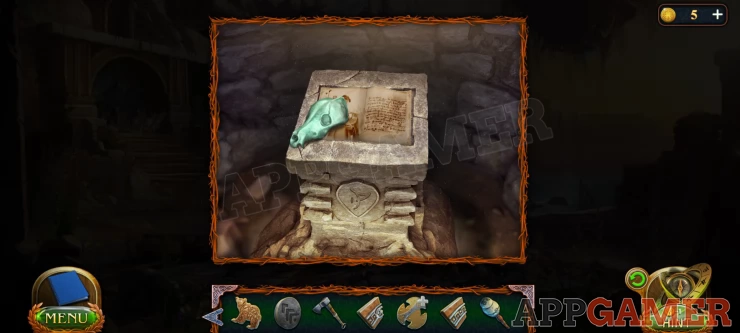
Collect the Wolf Skull and then view and collect the Manuscript.
Now return to the floating island and travel through the gate to the inner courtyard.
On the lower left is a round Gong. View this.
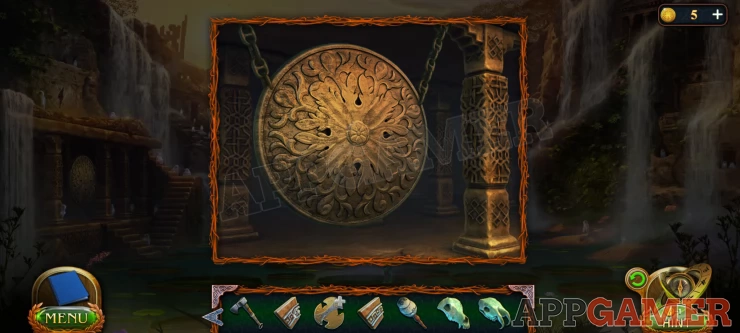
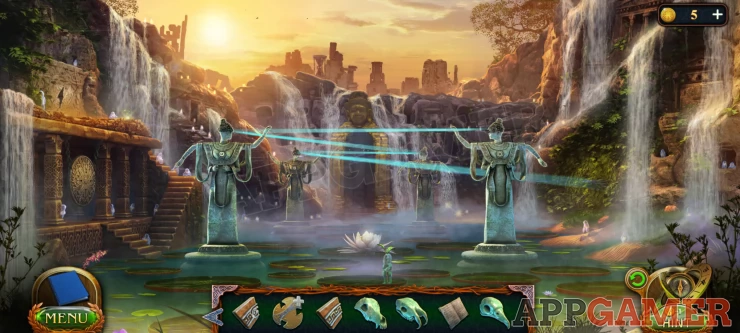
Use the beater on it and you will see 4 statues rise from the water.
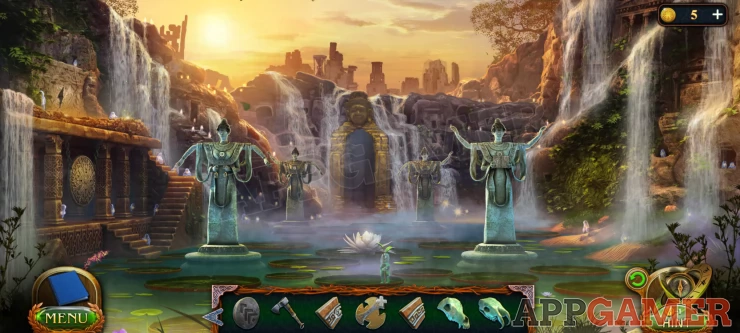
View the statue on the left and you can collect 2 bells from the hands.
Tap the emblem in the center of the chest and notice that the upper arms move.
Now view the statue on the right and collect from it a book.
Back out and move over to the far island (with the turtle) and view the hanging ropes with 3 bells.
Add the 2 bells that you have to this.
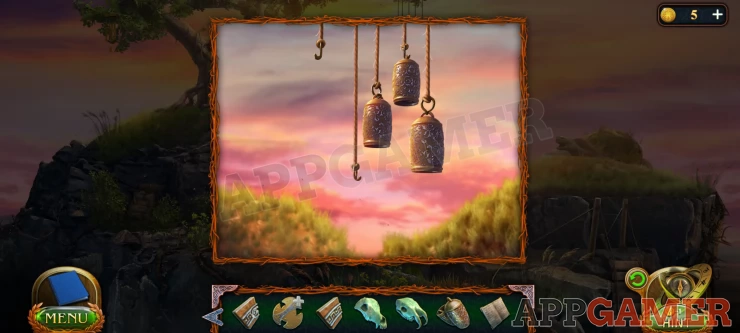
You will see a large shell open.
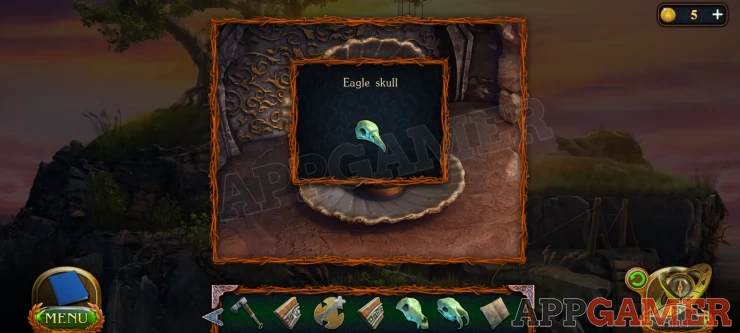
Collect from inside an Eagle skull.
Now travel back to the ground and view the ruined fresco on the left under the arch again.
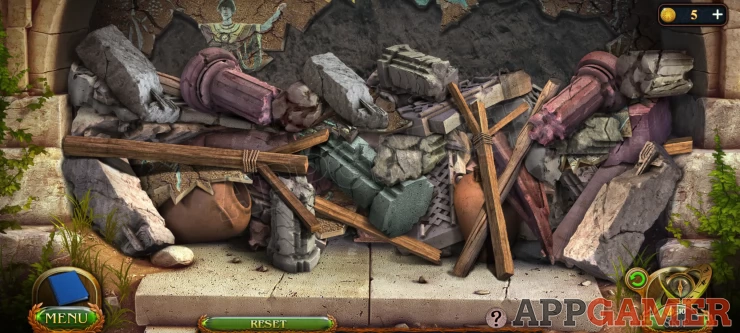
This is a matching puzzle. Tap pairs of matching blocks to remove them from the pile. You can only tap on ones that are not covered by others. If they flash red then they are not free.
Ass you remove the blocks you will also find pieces of the fresco to repair it.
You can watch the video below to see how to remove them.

Once done you will have a clue for placing the arms of the statues.
Show
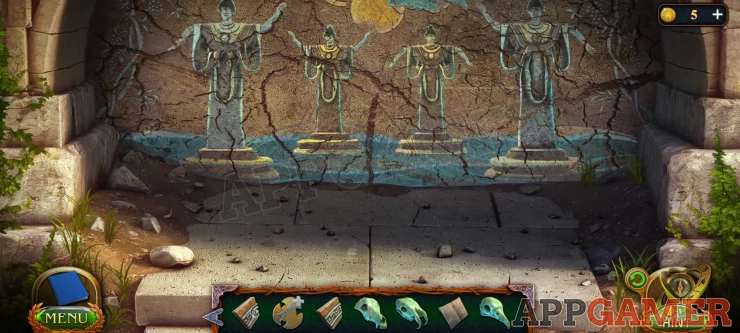
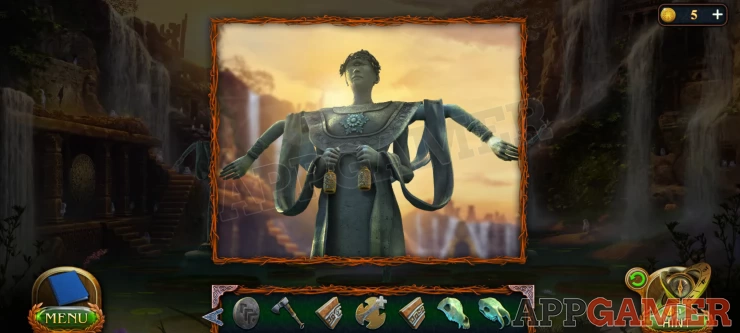
Travel back up to the inner courtyard and view each statue to set the arms as shown in the image. Once done a beam of light will pass through each to a point on the right wall.
View this area and then use the knife on the bushes to cut them away and find a passage.

Enter the secret room.
This is another room with a specific list of items to find, the silhouettes are at the bottom.
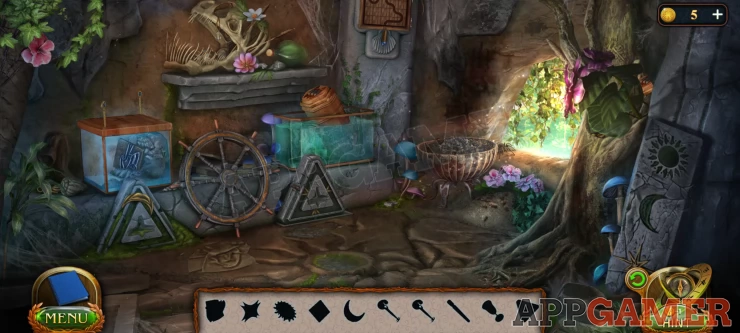
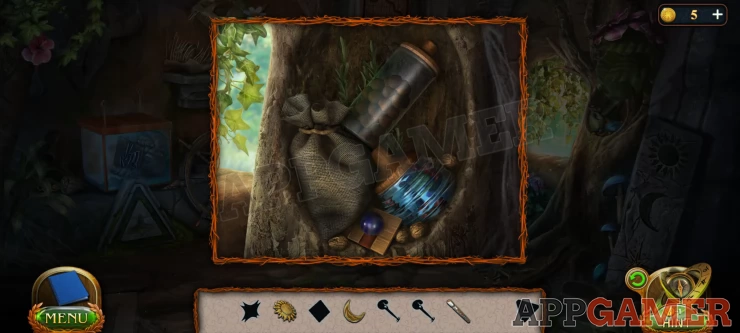
First collect a Crescent moon shape from the stone triangle on the lower left. Then tap the ground under the ships wheel to collect a Rag.
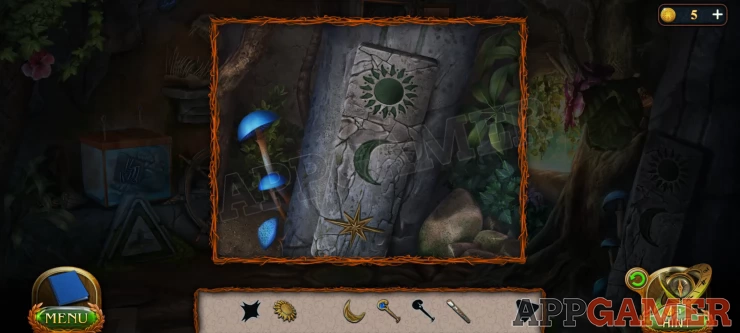
On the left of the doorway is a dirty smudge. Use the rag on this to clean it away and you will reveal 3 symbols.
Next view the large fish skeleton on the shelf.
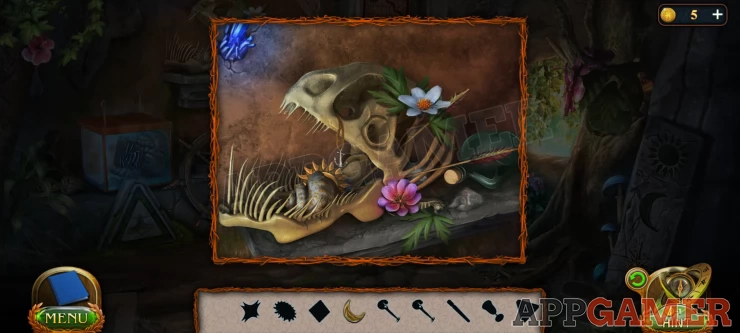
Tap inside the mouth to move items and collect a Sun shape.
Now view the large open tank to the right of the ships wheel.
Tap the goblet on the top left to collect some water.
Now view the ground where the ants are moving.
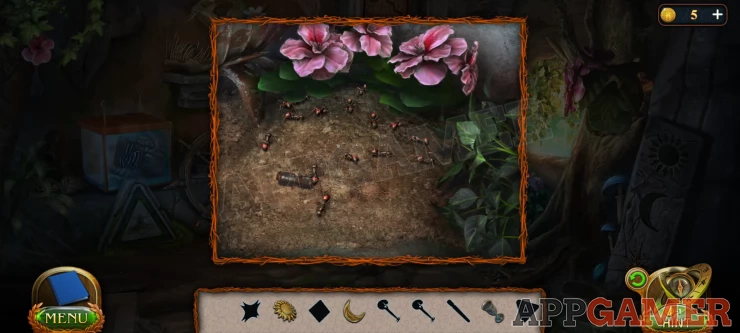
Pour the water here to clear away the ants. and you can collect a Rod.
Next tap the large green leaf on the right of the door to move it and find a compartment behind.
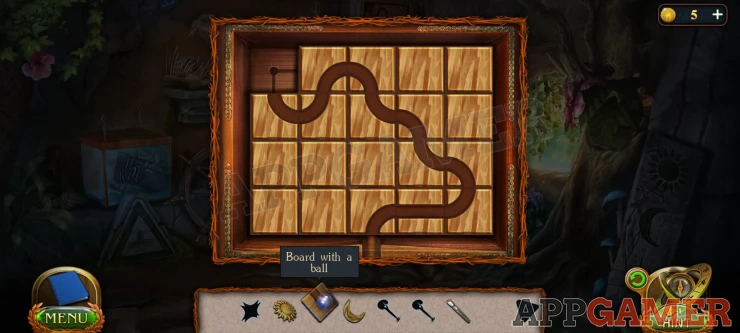
Collect from inside a Board with a ball.
Then below and to the right of this is a stone with 3 symbols, 2 are missing. Add the sun and crescent shapes to it to open it.
Collect from inside a small triangle button.
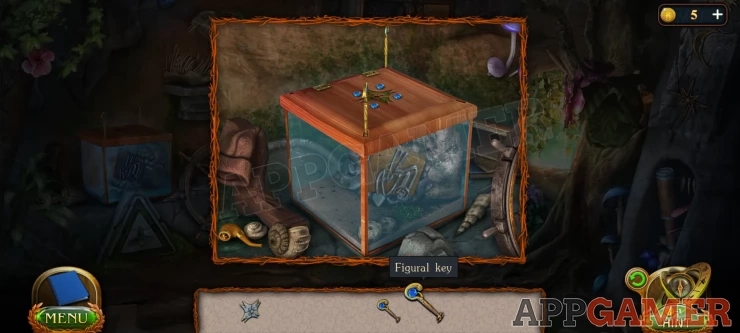
Next, on the wall to the right of the fish skeleton is a wooden puzzle board, view this.
Add the board with a ball to the top left and the puzzle will solve to open and then you can collect a 'Figural Key'
View the large tank on the right again and then the wooden container.
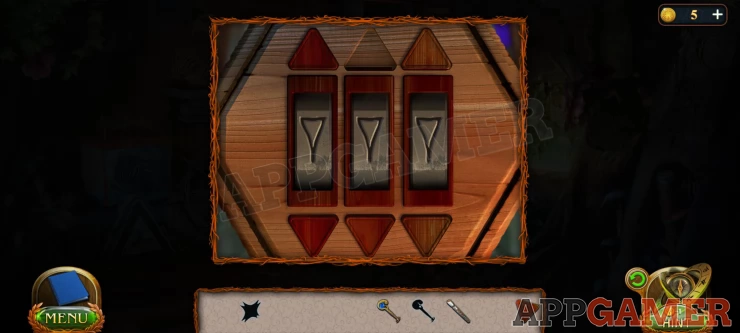
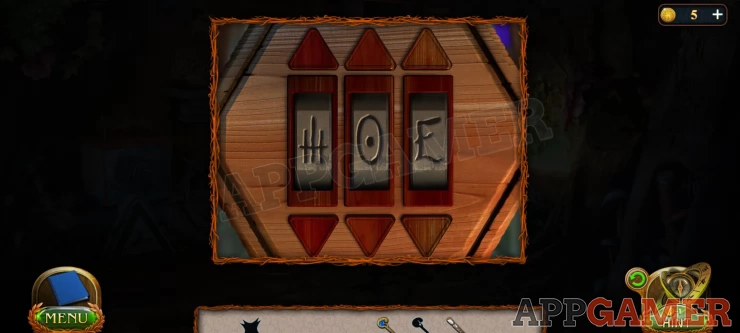
Add the triangle button to it and then you can use these to set the combination.
The clue was seen on the wall.
Solution: Show
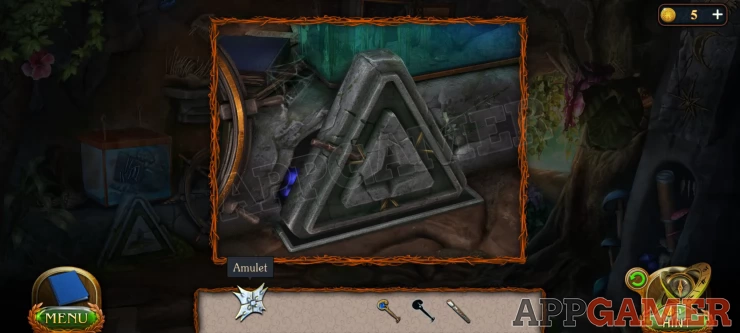
Once open collect an Amulet.
Now view the stone triangle on the right.
Add the rod to it and it will open. Collect from inside a second figural key.
Now finally view the smaller tank on the left.
Add the Amulet to the center and the 2 keys to the corners and it will open.
Collect the Tile from inside.
You now have the 3 tiles you need to complete the well. But before you activate it you should travel back to the ground.
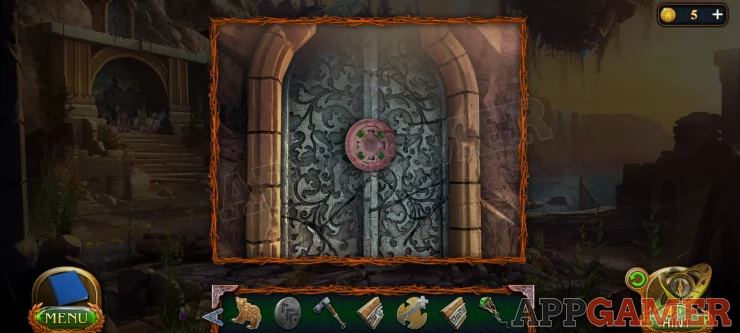
Go to the small open door on the top left again and view the floating pedestal.
Add the Book that you have from the statue to the top and it will open revealing a box. A set of figures.
Collect this.
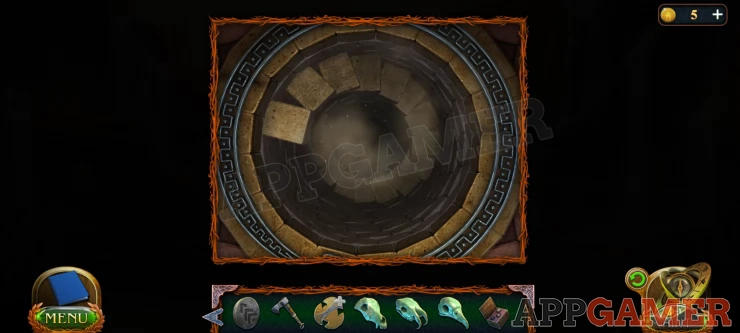
Now return to the top of the well.
Add the 3 tiles to the spaces and steps will appear. You can now descend into the temple.
Continue the guide in Part 9
We have questions and answers related to this topic which may also help you: Show all
 With 20 years of experience in creating video game content for the internet and over 30 years as a gamer, Mark is now a passionate mobile App Gamer. Loving a challenge, he is always ready to get stuck in to both survival builders and puzzle solving games. He has been providing content for AppGamer since 2014.