Lost Lands 8 - Part 14
More Lost Lands 8
This is our walkthrough for Part 14 of Lost Lands 8 Sand Captivity, an mystery puzzle game from Five-BN games. In Part 13 we have found the Centaur Village and put out the fire at the Chief's House. Now we need to talk to the chief and find out more about the sand curse.
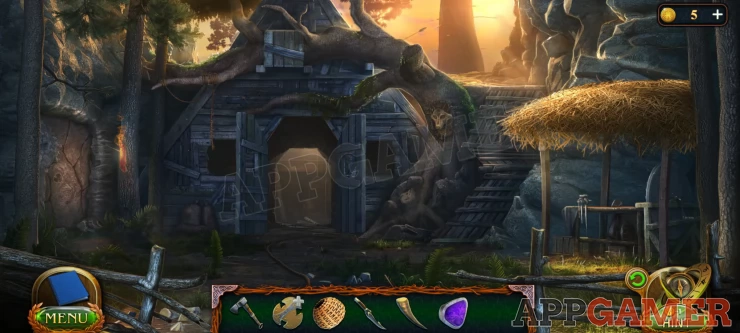
Enter the house.
Collection item: A boot on a box on the lower right.
Morphing object: a round plate item on the wall on the left.
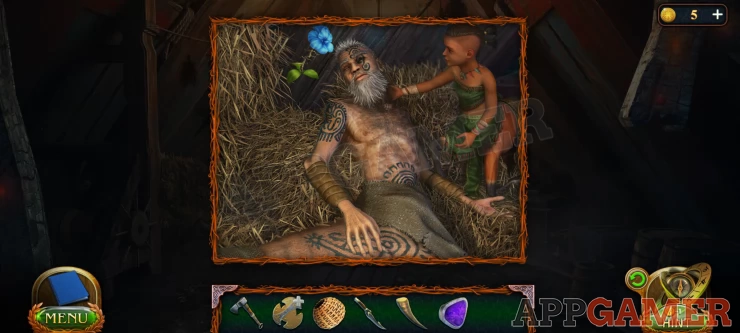
You will see Ziruk the chief laying on the ground on the left. Tap to start a cut scene.
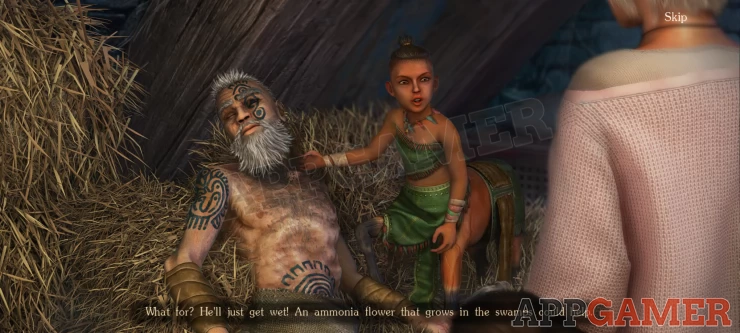
Now you need to find the ammonia flower in the swamp. Return to that location. View the blue flower in the center.
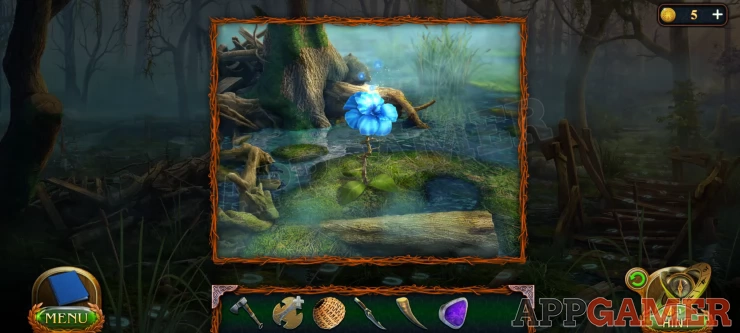
Collect the flower and then return to Ziruk. Use the flower on him and he will be revived. Continue the cut scene and you will receive a new task
Make a Ritual Arrow
Back out of the house and return to the main area of the village with the statue in the center. Then tap the platform on the large tree on the right. to look up there.
Then tap to view the tree branch in the center
Tap the hook hanging in the branch. It will drop to the shelf and you will see a cone fall and explode. Collect the hook.
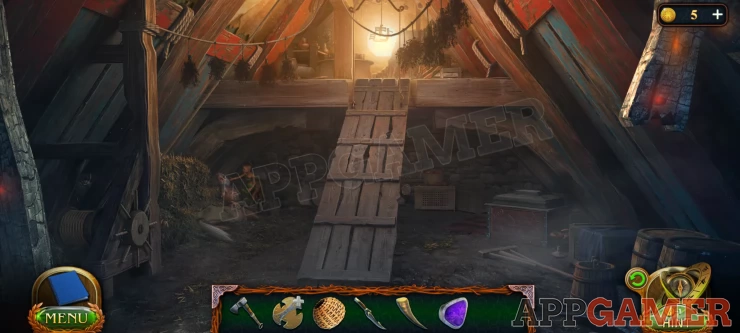
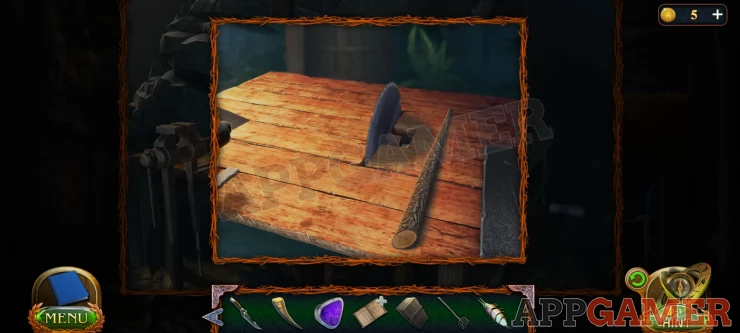
Go back to the Chief's house and view the wooden planks on the ground in the center.
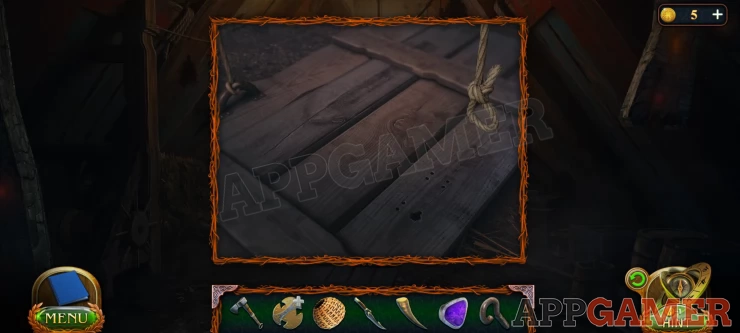
Add the hook to it, then tap the rope to attach it. You can then tap the winch on the left of the room raise them up and make a ramp.
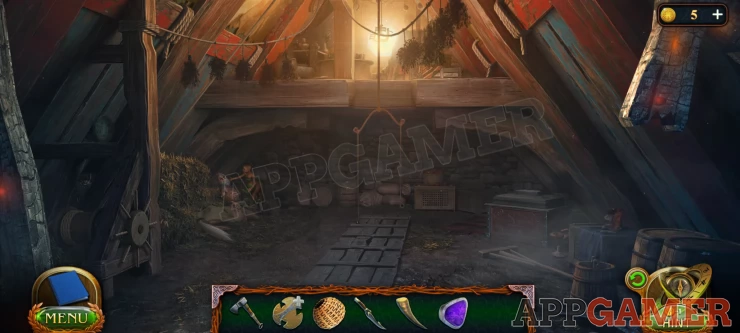
Move up to he attic.
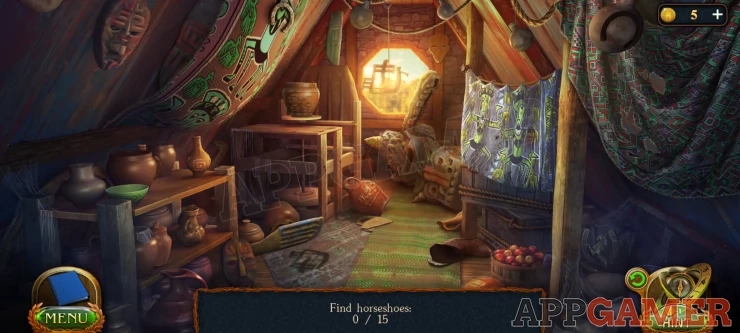
This is a hidden object scene to find 15 horseshoes. Watch thje video if you need help finding any of them.

Go back down to the lower floor and view the large chest on the right of the room.
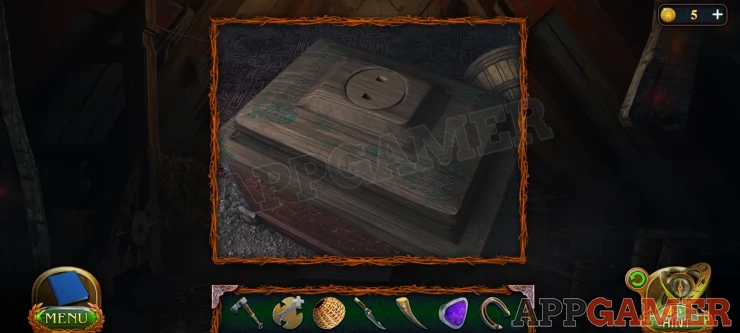
Use the horseshoe on it and it will open. Collect from inside a book of instructions for making the arrow and also a Mold to forge the arrow head.
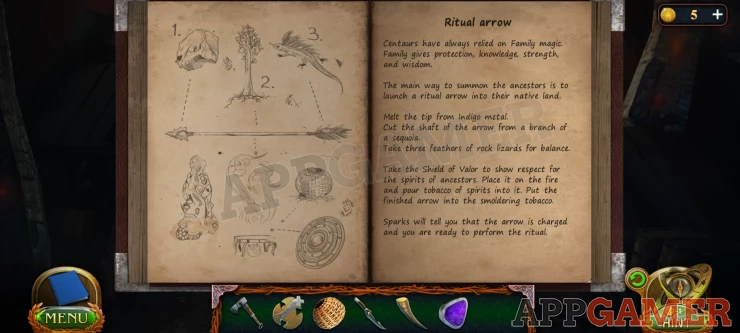
You will then get a further scene to explain the process and a key to the coal box in the forge. Go back to the forge in the village.

Collection Item: Turtle under the table on the left.
Morphing Object: a weight / Tankard by the shields on the left.
View the locked coal box on the right and use the key to open it.
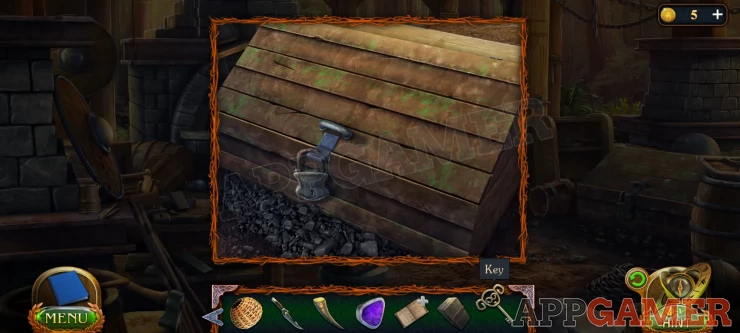
Collect the paper from inside, you will need this, and tap the shovel to collect some coal.
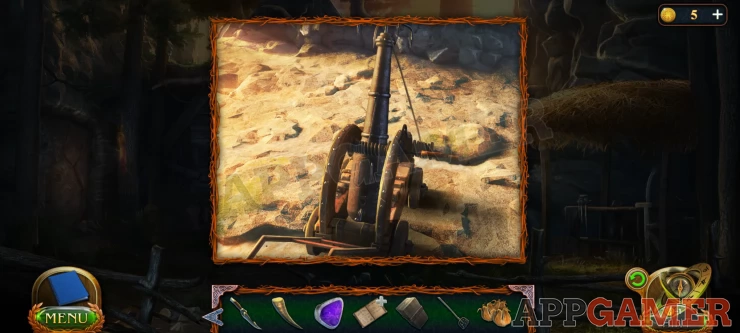
Next travel to the Camp area of the Darkwoods. Tap to view the tents in the distance on the right to see a box of parts.
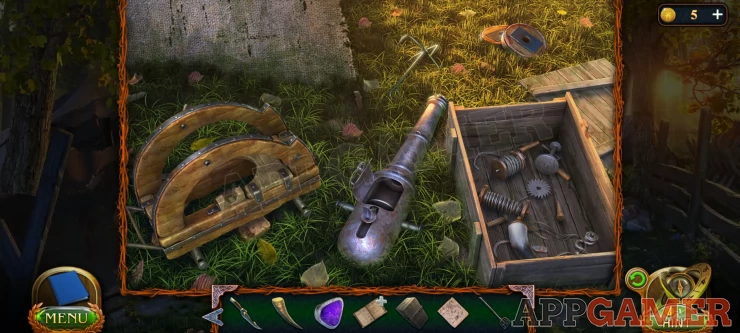
Using the paper that you found you can now reassemble this grapple cannon. Place the paper down first and then follow the numbered instructions.
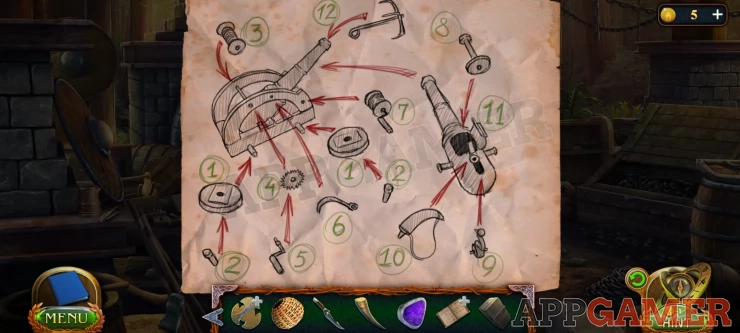
If you need help you can watch the video below.

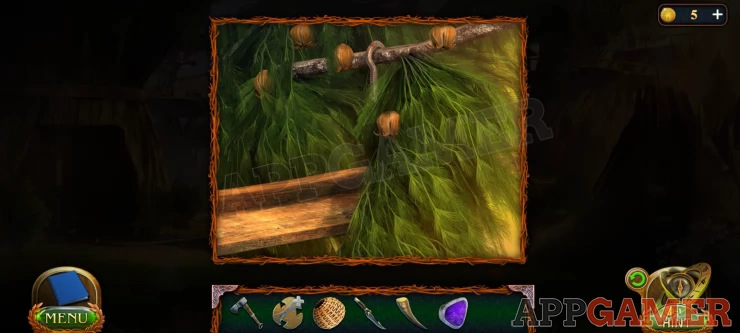
Now return to the centaur village, main area, and view the platform in the tree on the right again.
View the branch with the cones in it and collect some 'flash cones'.
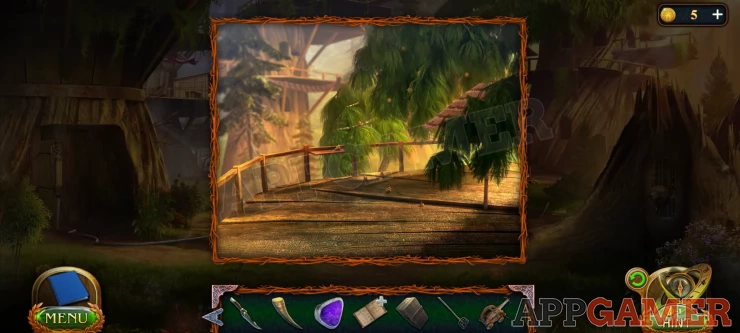
Move through towards the chief's house and then tap the high path on the right to view a cliff face.
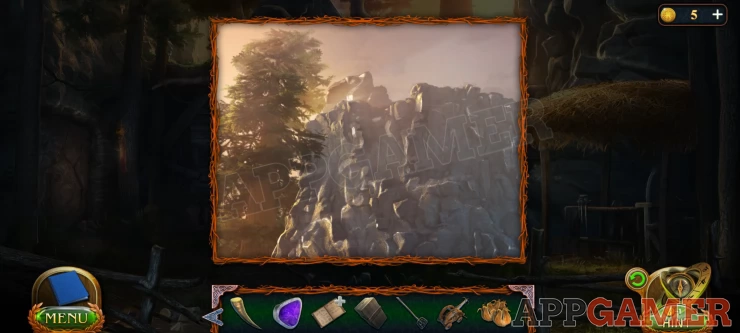
Use the grappling cannon on the cliff to place it and fire a rope up to the top. You can then move to the top of the cliff and see the lizard.
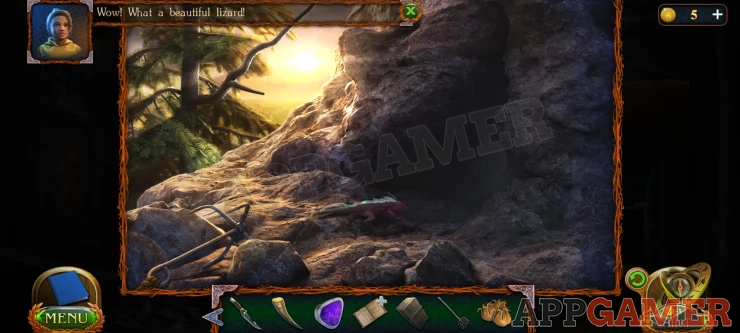
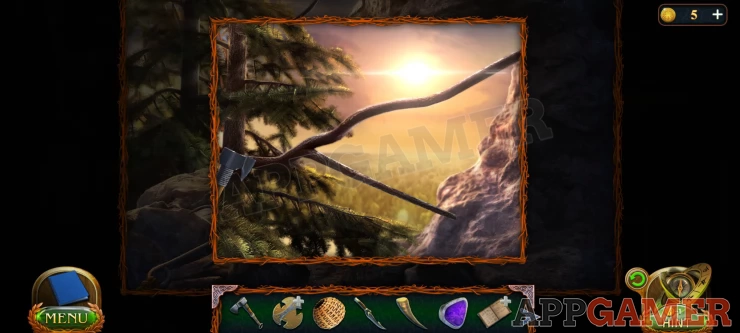
First view the tree branch on the top left and use the ax on it to collect the Sequoia Branch.
Then collect a Claw from the ground.
Next select the flash cones and tap on the cave entrance to go in and find a puzzle game to catch the lizards.

To solve this puzzle you can place 3 flash cones on the squares to try to surround the lizard. You need to trap it in a corner so that it cannot move from the square it is on. Then you will collect a feather. You need to repeat this 3 times to get 3 feathers.
If you have any trouble with this watch the video below to see how it works.

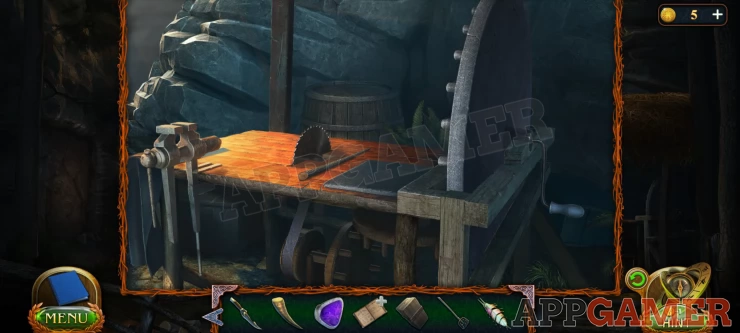
Go back to the front of the chief's house and view the tool bench on the right again.
View the saw. Add the sequoia branch to the table
Now tap the handle on the right to turn it and start the saw. The belt will break so you need a new one.
Return to the Darkwoods cave where the Manticore is a sleep. Then view the ground just to the right of the Manticore to see the remains of the sleep bomb.
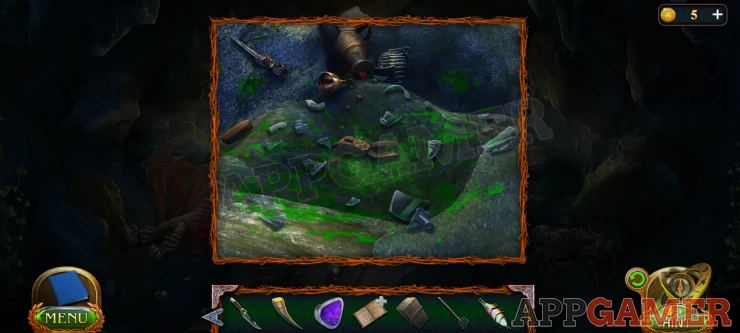
Collect the belt from the ground.
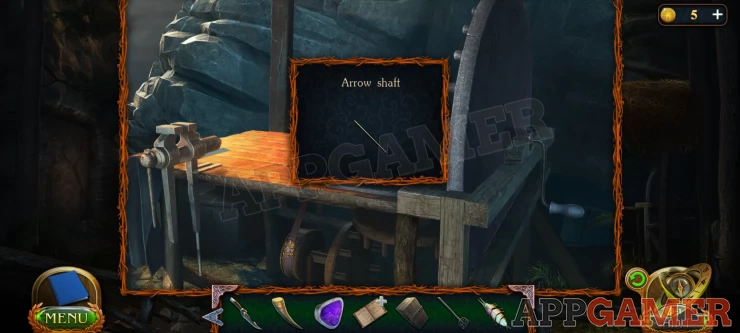
Go back to the table saw and replace the belt. You can then tap the hand again. The branch will be cut and you will collect the Arrow Shaft.
While you are here in this area view the wolf head that is on the tree to the right of the door of the house.
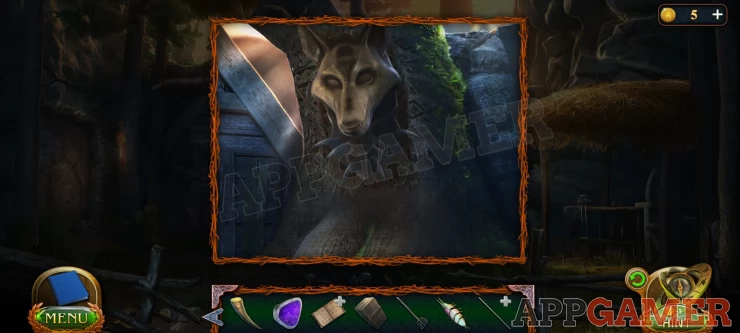
Use the Fang on this and it will lift to reveal a puzzle.
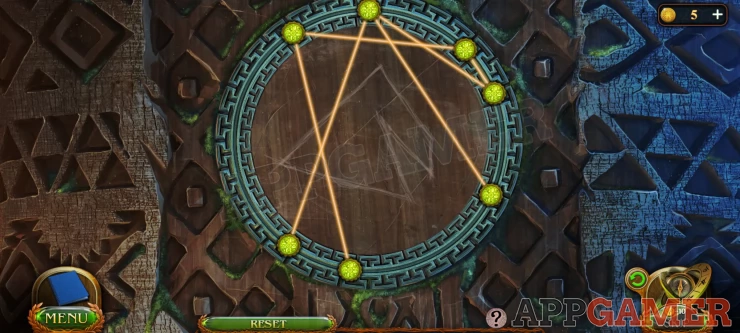
To solve the puzzle you need to move the green nodes around the circle to line up the light lines and completely cover all of the drawn lines on the wood below.
Solution: Show
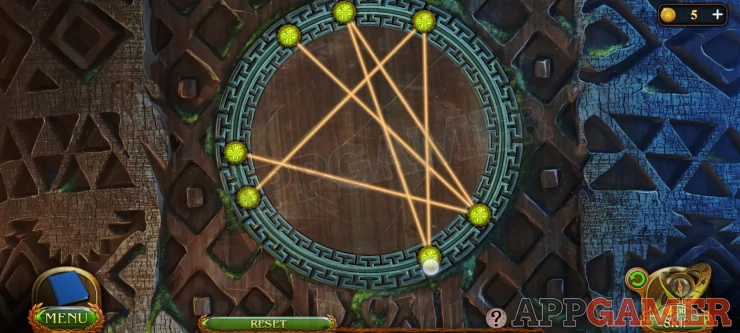
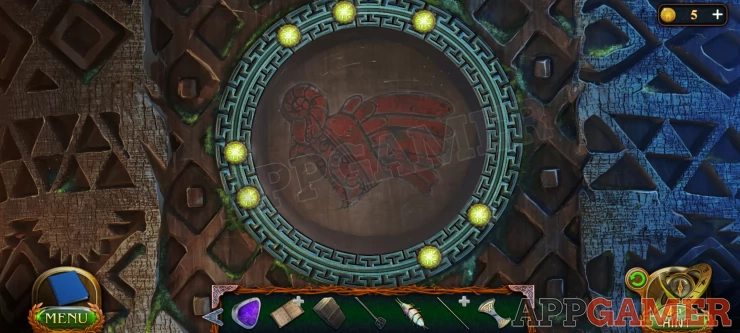
The panel opens and you can collect an Amulet Part.
Note also the design and color of the image behind it.
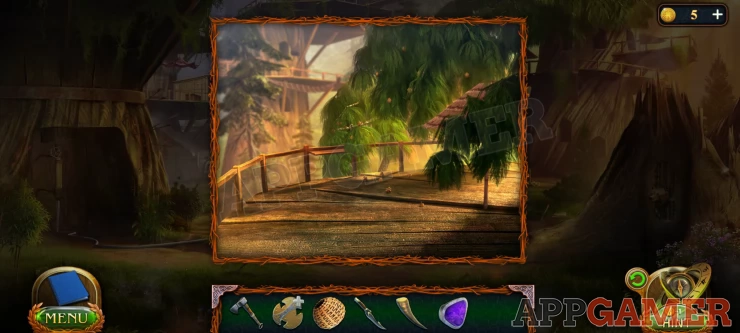
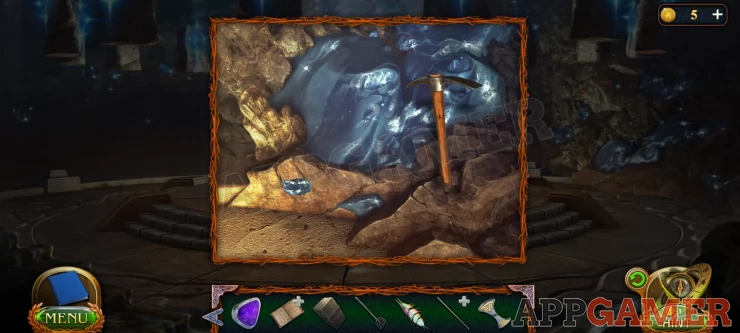
Travel to the lake area of the Plains where we found a petrified Troll under a bridge. Collect from here a pickaxe.
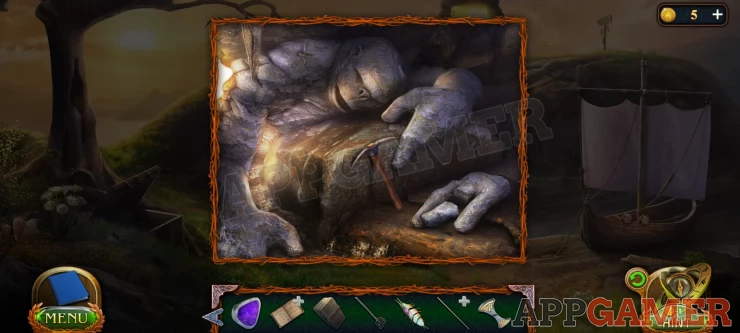
Then travel to the ritual hall of the academy of magicians. View the shining metal deposit on the right and use the pickaxe here to collect some Indigo Metal.
Then return to the Forge in the centaur village.
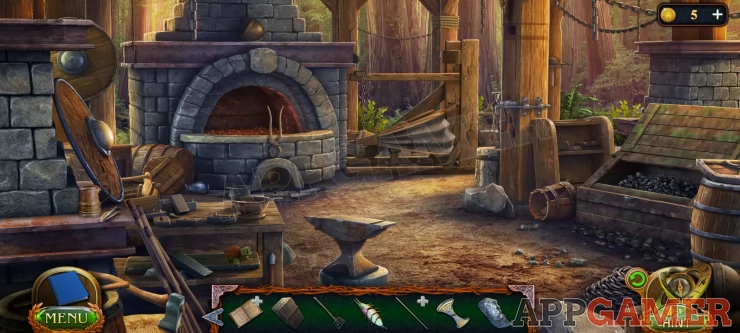
View the table and place the Mold down. Then collect the metal Crucible from the top right of the table.
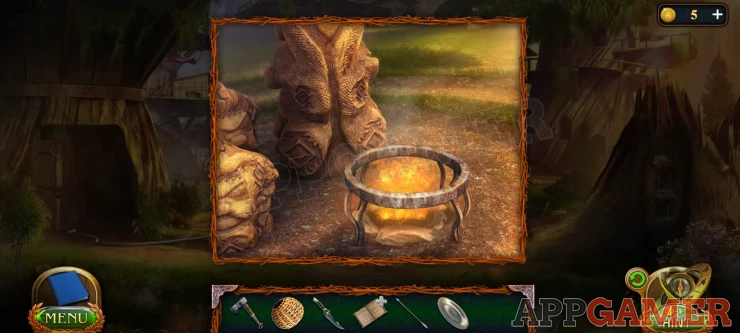
Next view the fire pit. Add the shovel with coal to it.
Then place the crucible on the coals. And add the Indigo metal to the crucible. Close that view and then tap the large bellows to the right to get the fire burning hot.
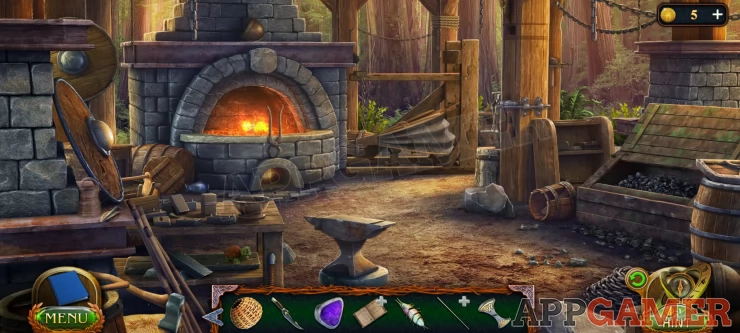
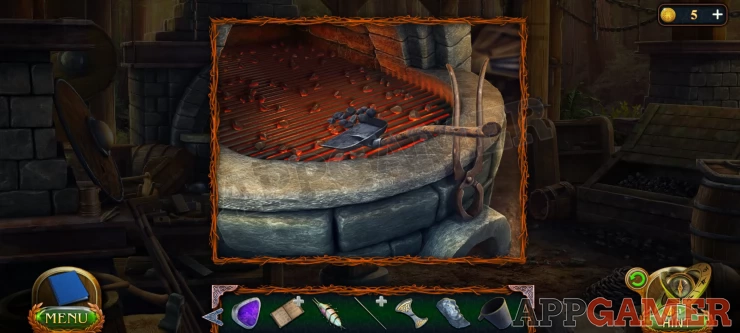
Then view the fire pit again to see that the metal has melted. Use the large tongs on the front to collect the 'Molten Metal'.
View the table again and use the molten metal on the mold to pour it in.

When it is done add the bowl of water to the red hot arrow head, you can then collect the 'Tip'.
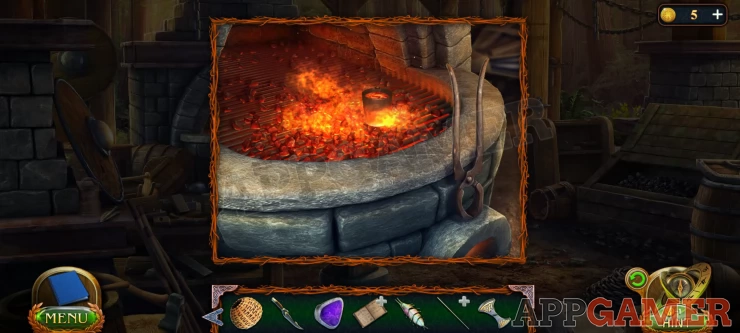
View the arrow shaft in your inventory and add to it the tip and the feathers. You then have the Ritual arrow.
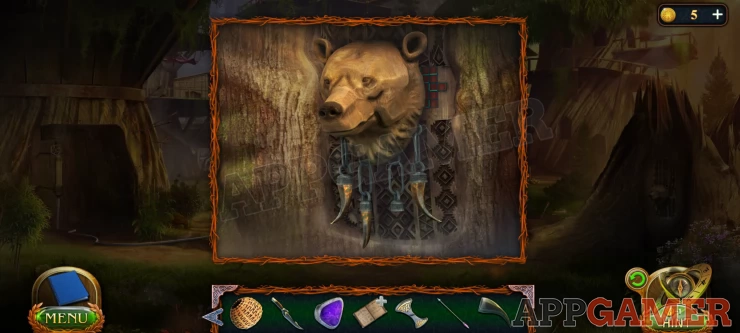
Exit to the main area of the village and now view a Bears head that is on the tree stump on the far right.
Add the claw to it and it will lift to reveal a puzzle.
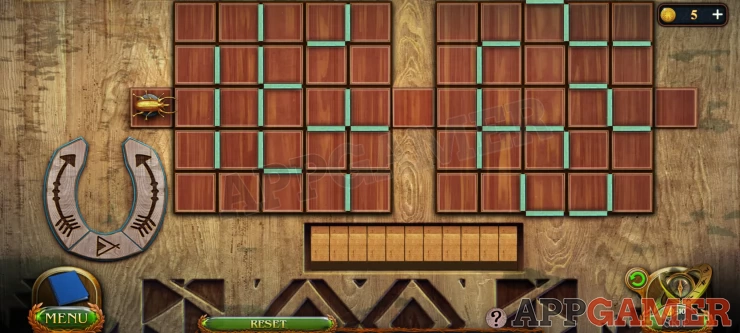
To solve this you need to find a sequence of moves to rotate the boards to let the beetle move forward and exit the board on the other side.
Tap the arrows on the left to enter either a clockwise turn or an anticlockwise turn. Once yo have built up the sequence, tap the triangle arrow below to start the moves.
You will complete a sequence for the left board first and then for the right board.
Solution: You can copy the moves below to complete the 2 stages.
Stage 1: Show
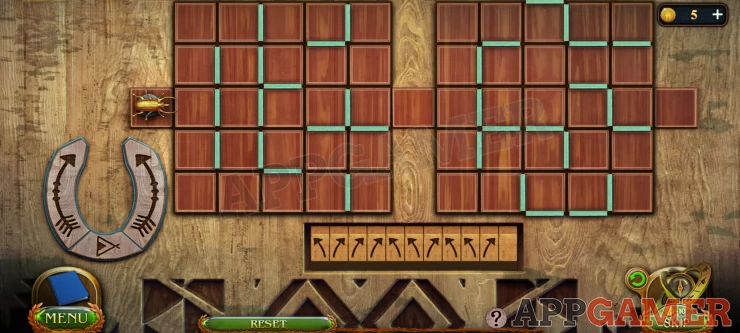
Stage 2: Show
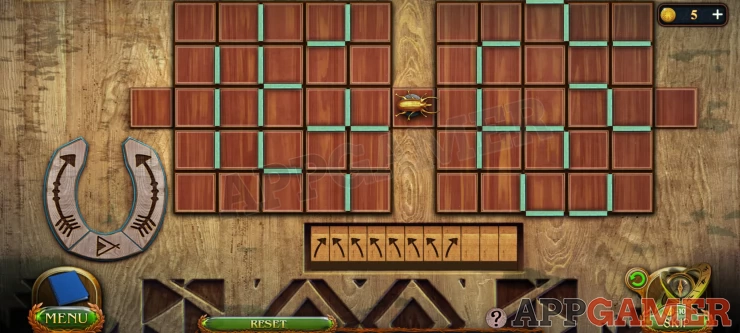
Once done you can collect another Amulet Part. Again note the shape and color of the symbol on the right.
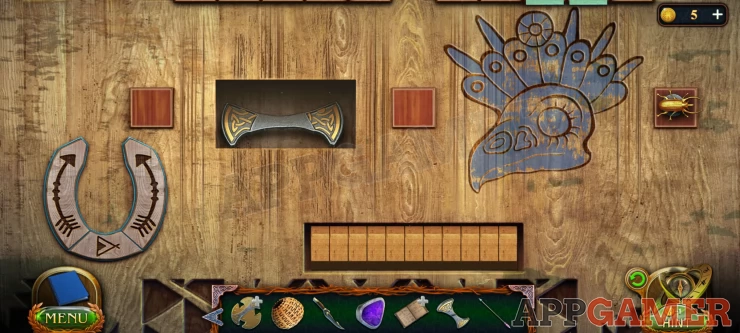
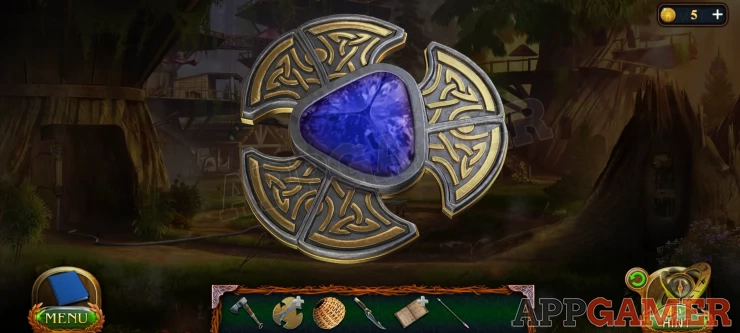
In your inventory now you have an Amulet that is missing parts and all of the parts that you need. View the amulet.
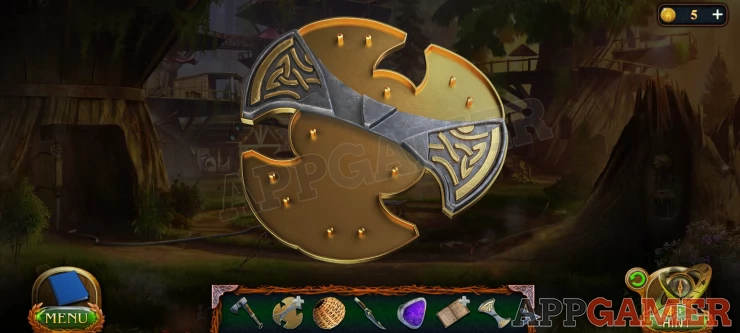
Add the 2 silver parts and then the purple/blue stone in the center.
With the completed amulet move to the front of the chiefs house and view the stone wall on the left again.
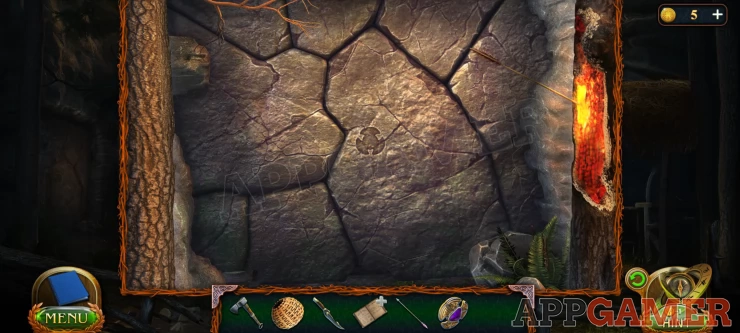
Add the amulet to the slot in the center and the wall will open to reveal a mural. This is a puzzle.
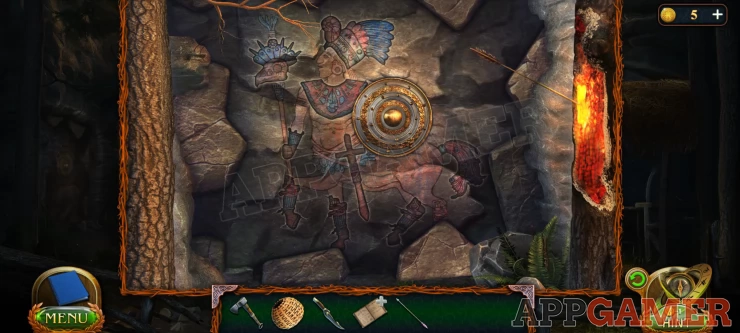
Hints: Note that the 3 symbols that we have see appear in the mural. (Sword, Headdress, Bird head)
The drawings that we have seen have 3 colors, green sword, blue bird head, Red headdress.
There is a further clue at the gate to the village.
Solution: The banner at the gate shows colored dots. There are 4 Blue, 4 green, 2 red. Tap the Bird head 4 times, then the sword 3 times and finally the headdress 2 times. Make sure you have viewed the banner at the gate before trying this.Show
You can now collect the 'Shield of Valor'.
Go back to the main area of the village and view the statue in the center.
Add the shield to the fire and then add the Tobacco of Spirits to it.
Finally add the ritual arrow. You will collect the Family Arrow.

Return to Chief Ziruk and give him the arrow to trigger another scene.
He will lead you to the desert and reveal a temple in a lost city.
Continue the guide in part 15
We have questions and answers related to this topic which may also help you: Show all
 With 20 years of experience in creating video game content for the internet and over 30 years as a gamer, Mark is now a passionate mobile App Gamer. Loving a challenge, he is always ready to get stuck in to both survival builders and puzzle solving games. He has been providing content for AppGamer since 2014.