Lost Lands 8 - Part 2
More Lost Lands 8
This is our walkthrough for Part 2 of Lost Lands 8, an mystery puzzle game from Five-BN games. In this part we have escaped from the courtyard garden of Maaron's house but still need to find a way to activate the dolmen. On the path we encounter a Halfling in need of help.

Help the Halfling
Tap on the cart with the broken wheel. Watch the cut scene and you will now need to help repair the cart.
Collection Item: a second boot on the ground on the lower right
Morphing object: Feather / corn on the fence on the lower left.
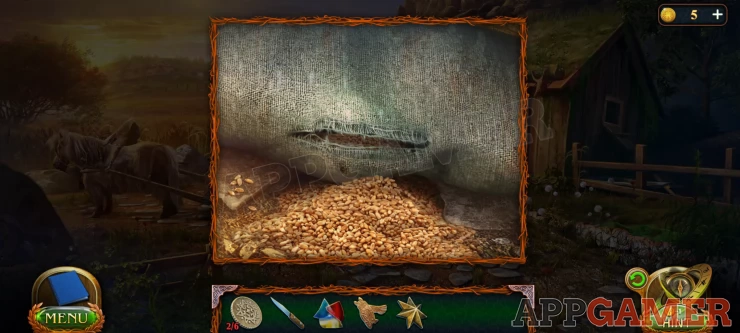
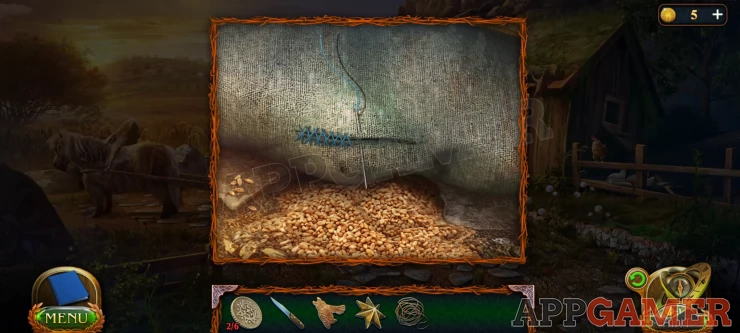
View the split bag of grain on the ground in the center of the path. Collect some Grain from the ground.
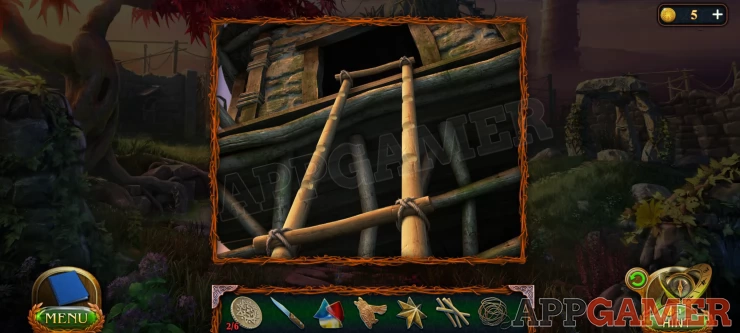
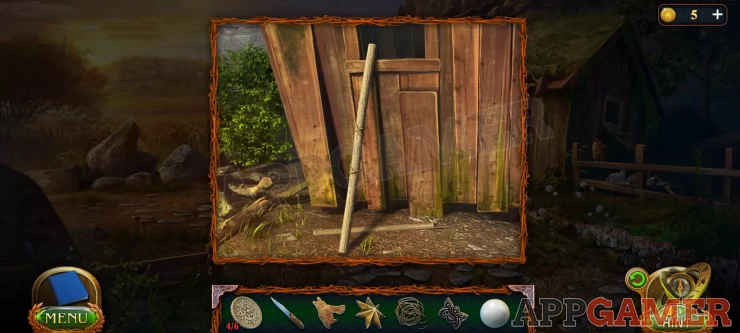
Then view the broken ladder that is leaning on the shack on the right.
Tap it and you will collect the 'steps' from it.
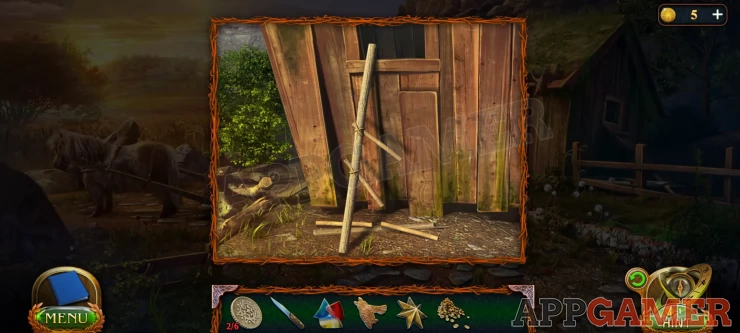
Now tap on the door of the shack to view it and then on the latch to open the door. Go inside.
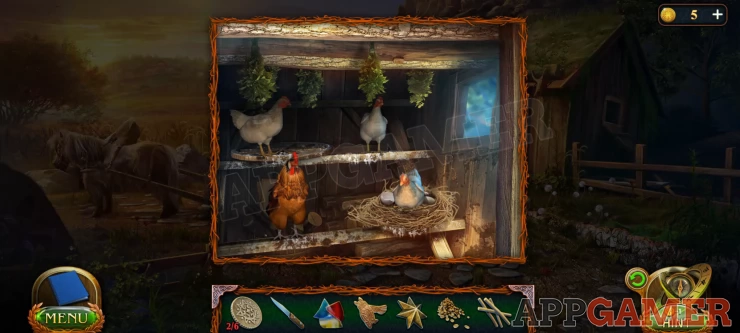
This is a hen house, there is a chicken on a cart wheel on the top left.
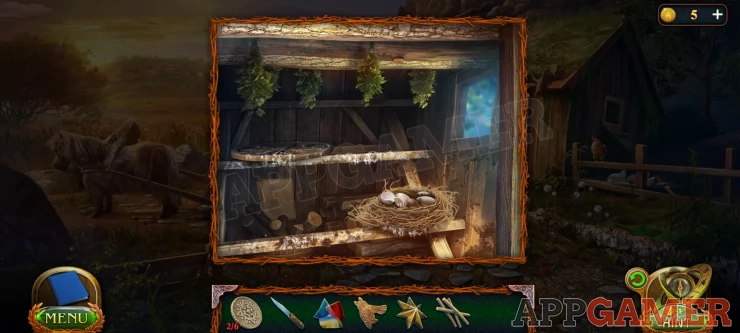
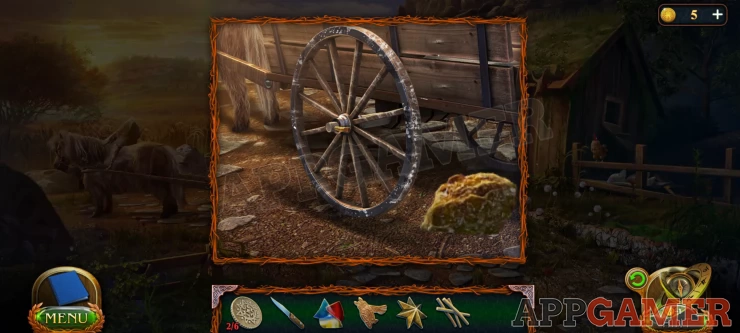
Use the grain on the chickens and they will be lured outside. You can now go back into the hen house and collect the cart wheel from the top shelf.
You can now view the broken cartwheel again, use the new cartwheel on it and the old one will be removed.
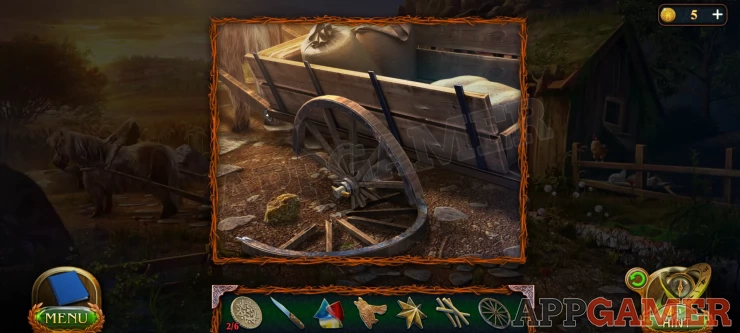
Then complete the fitting of the new wheel by adding the round silver axle cap, and then the small peg. Use the rock on the peg to hammer it home.
Next tap on a small red bucket that is on the left of the path just above the cart.

Collect the rope.
Back up to the first scene in the garden of the house. Then tap to view the ladder on the side of the house again.
Use the steps that you have collected here. And then the rope to fix the ladder. You can then go Up into the top of the house.
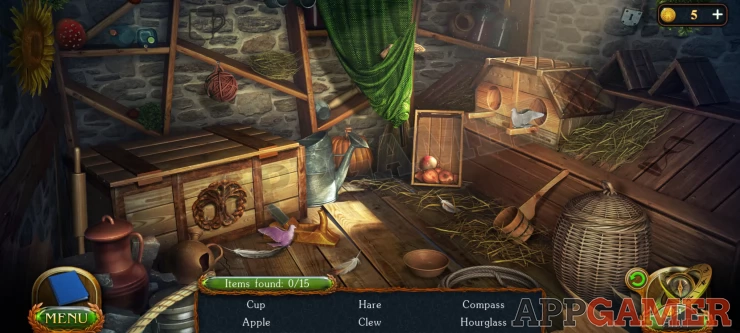
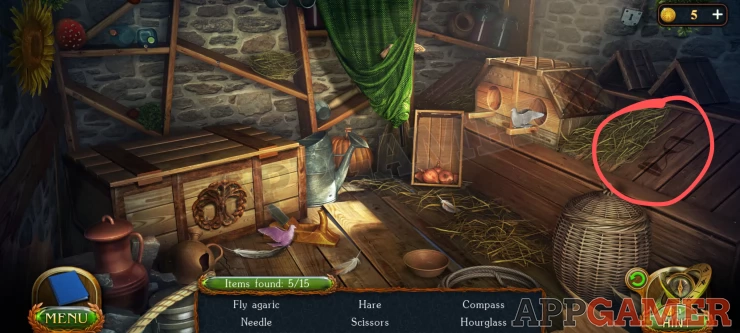
This is a Hidden Object Scene. There are 15 items to find.
Cup
A symbol on the wall top left.

Apple
In the box on the floor to the right of center,
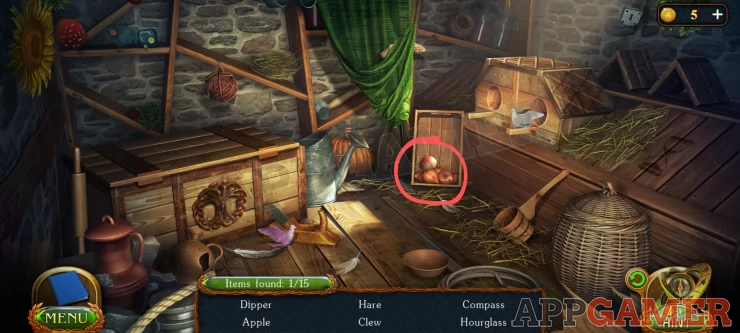
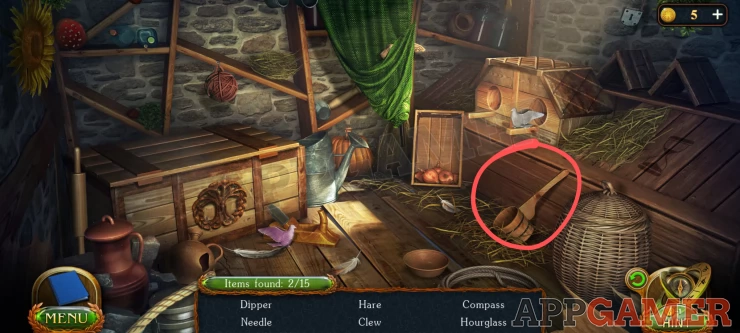
Dipper
A wooden bucked with long handle on the ground to the right.
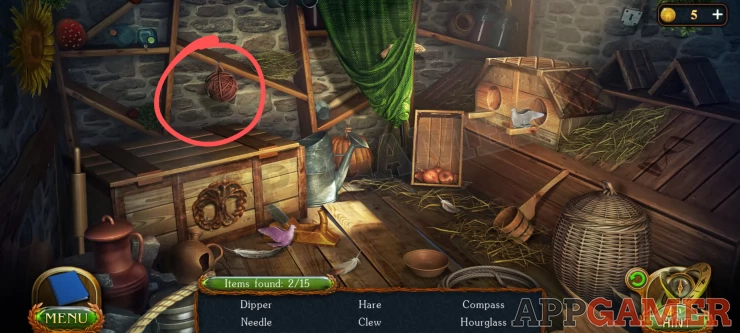
Clew
A round ball of cord hanging from a shelf on the top left.
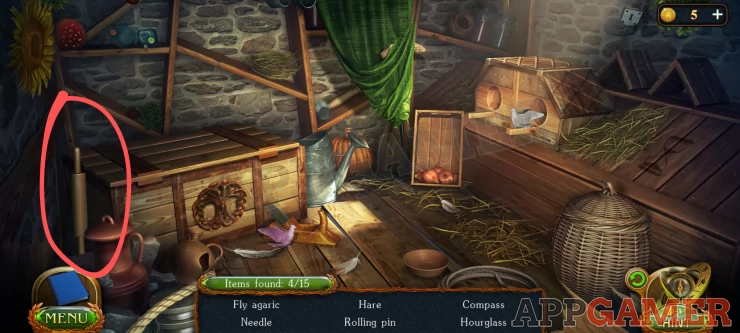
Rolling Pin
On the far left next to the large box.
Hourglass
A symbol on the wood on the far right.
Lock
A padlock on the top right.

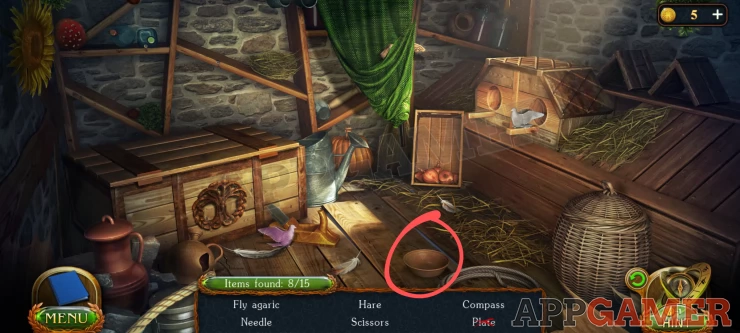
Plate
The round bowl on the floor, bottom center.
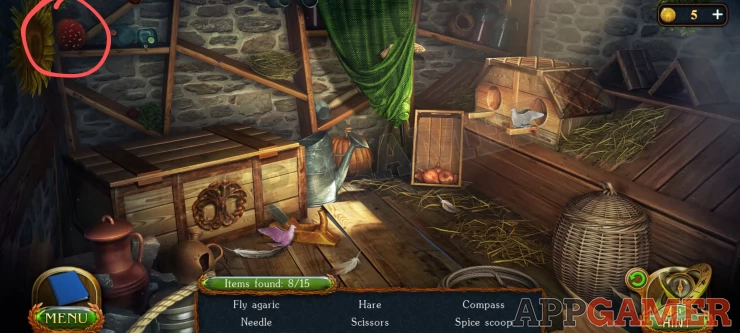
Fly Agaric
Round red mushroom head on the top left shelf.
Hare
Tap the green curtain to make it fall, there is then a Hare shaped item to collect on top of it.
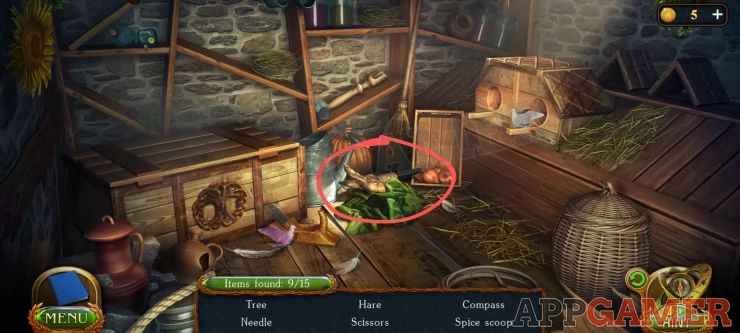
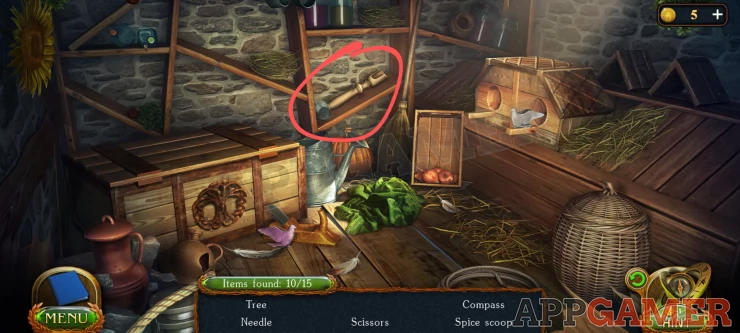
Spice Scoop
On the shelf behind where the green curtain was.
Tree
A symbol on the front of the large box on the left.

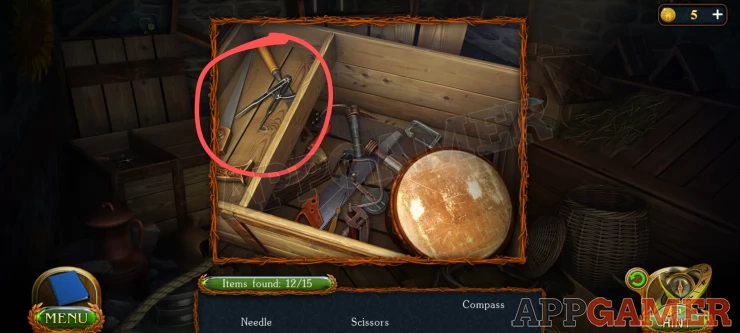
Compass
Open the lid of the large box on the left and look inside. The compass is on the left.
Needle
Tap the pink dove item on the floor and then on the dovecot on the right where there is already a white dove.
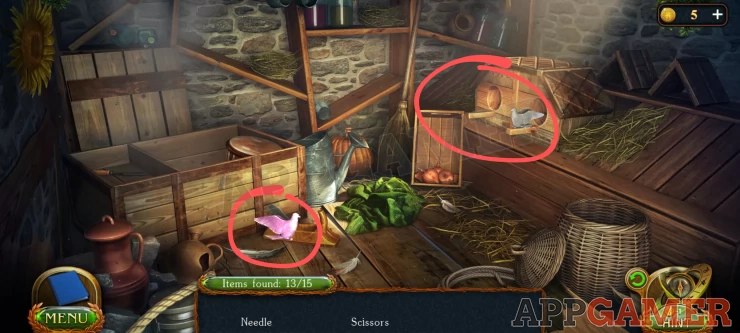
This will place the pink one there and the lid will open. Look inside.
The needle is on the blue thread.
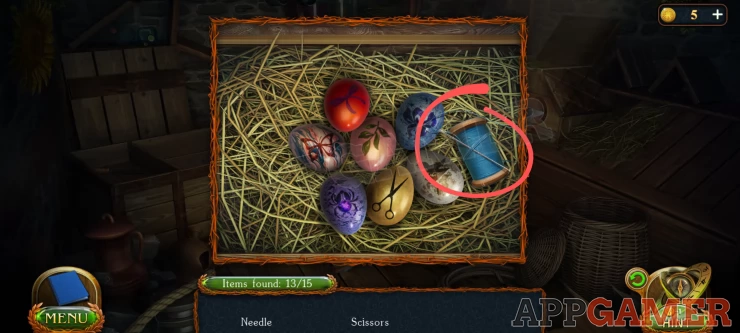
Scissors
In the same view as above tap the egg with the scissors to collect them.
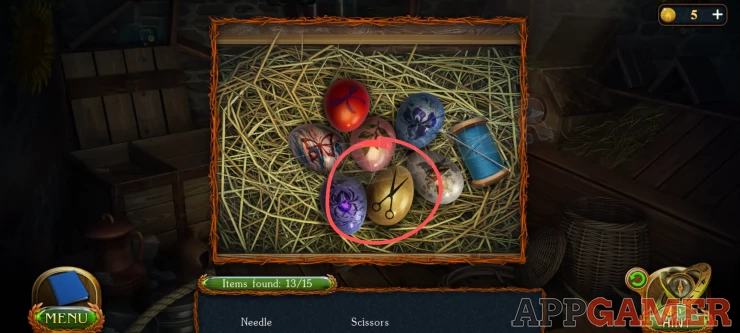
Completing this gives you the needle with thread.
Exit the house, Then move through to the area with the cart again.
View the split sack of grain on the floor again and then use the needle on it to repair it.
You can then tap the sack to place it back into the cart. The halfling will thank you and give you a 'Tile'.
Find a Rune for the dolmen
Now tap to view the small green tree with colorful items hanging on it.
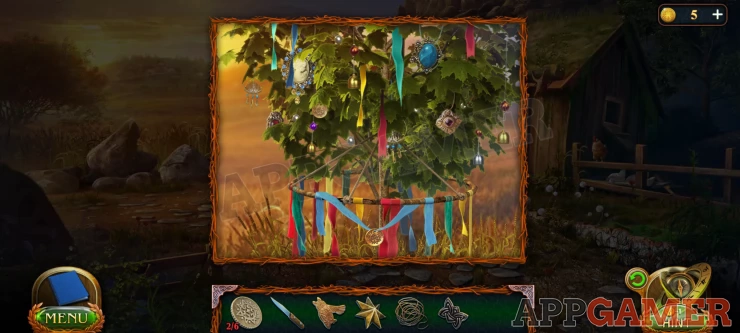
Collect a pearl from it that is in the tree just to the right of center. You can then collect 2 Kyoll coins.
1 id on the left center and the other is hanging from a ribbon at the bottom, you need to use the knife on the one at the bottom to cut it free. (Kyoll 3 and 4 of 6)
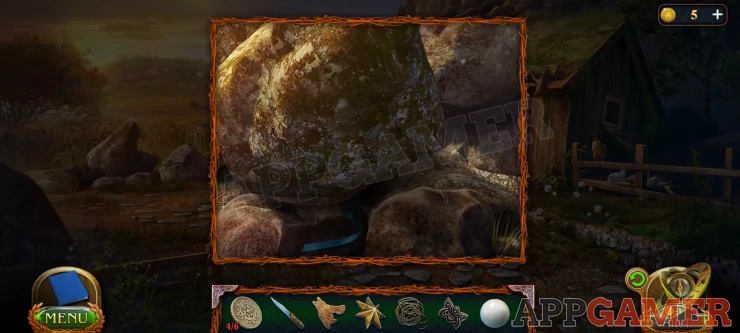
Next tap on the pile of rocks on the left of the scene. There is a blue ribbon underneath but you cannot move the rock yet.
Back up and view the remains of the broken ladder on the side of the hen house on the right.
Collect the long stick that remains.
Now go back to the rocks and use the stick to move the large one.
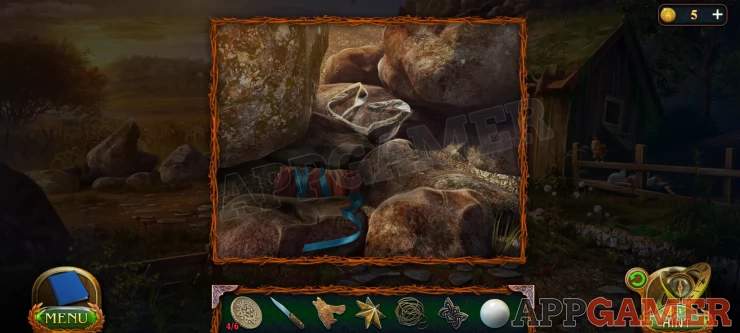
You can now collect a snake skin from the rock and then tap the parcel to unwrap it. Inside is a green glass jar.
Tap the jar and you will pick it up and the smash it on the ground.
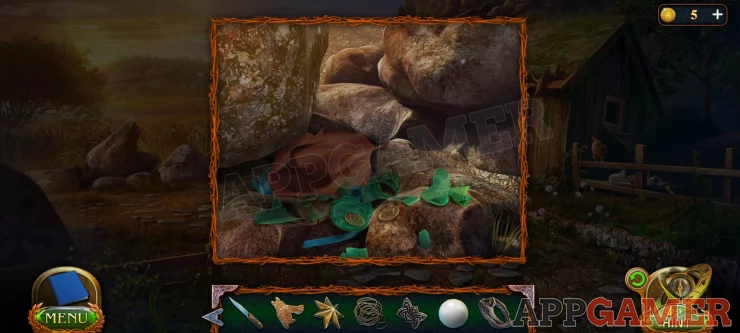
You can now collect 2 more Kyoll coins (5 and 6 of 6) and also collect the bottom of the jar as a glass shard.
Return to the Garden.
First view the small tangled tree stump that is just to the right of the center path.
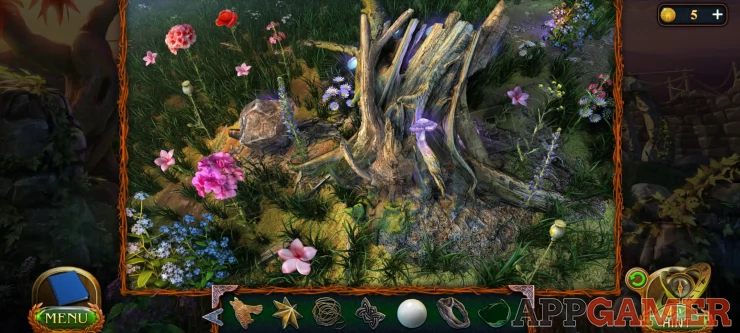
Collect 2 poppy seed heads, from the upper left and the bottom right. (2 of 2)
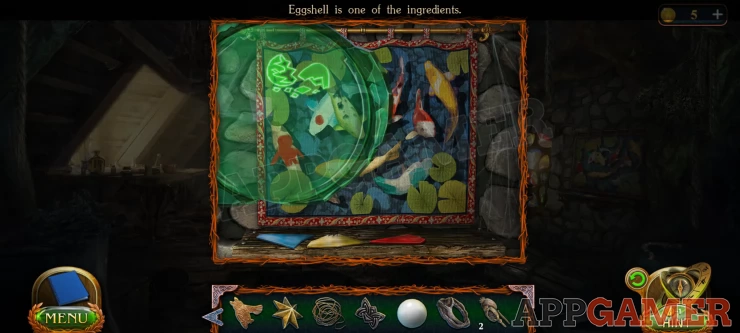
Then enter the main room of the house again. View the picture of the fish on the right wall. Then add the green glass to it.
Use the green glass on the picture to see the final ingredient. Eggshells.
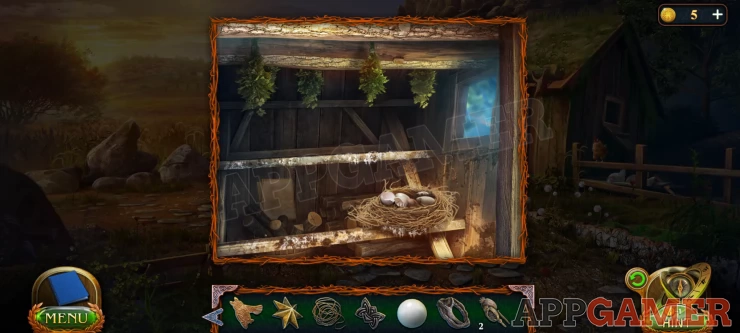
Go back out to the road and enter the hen house. Tap on the nest to collect some eggshells.
Then return to the house and view the table on the left.
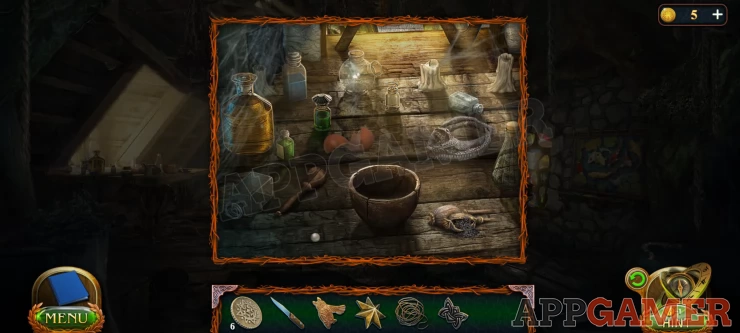
Add the eggshells, the snakeskin, the pearl and the poppy seed heads to the table and they will be added to the bowl. Then tap the mortar on the left and then the bowl and the mixture will be made.
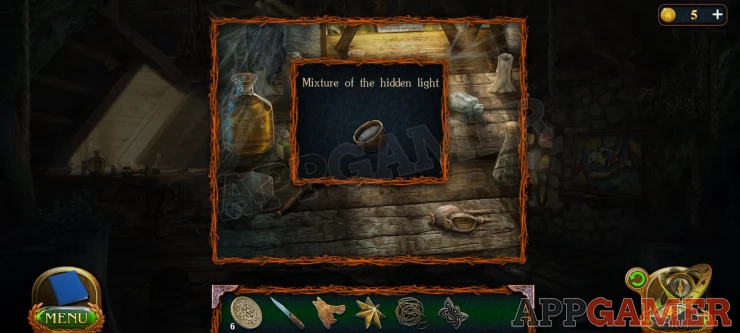
Tap the bowl again to collect Mixture of the hidden light.
Exit the house and view the small pond on the left under the tree.
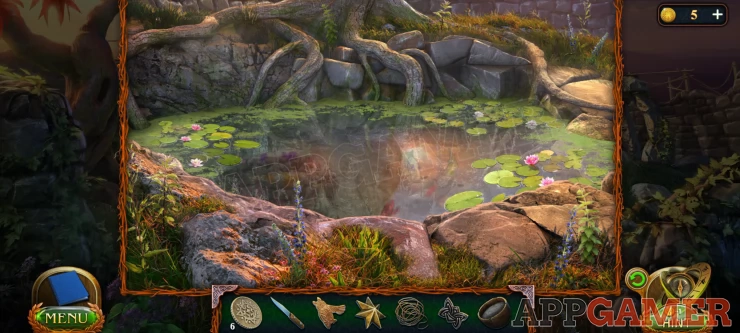
Add the mixture to the water and when the water clears you will see a small chest.
Tap on the chest and you will be prompted to get a hook on a rope. You need to do this before you can collect the hook.
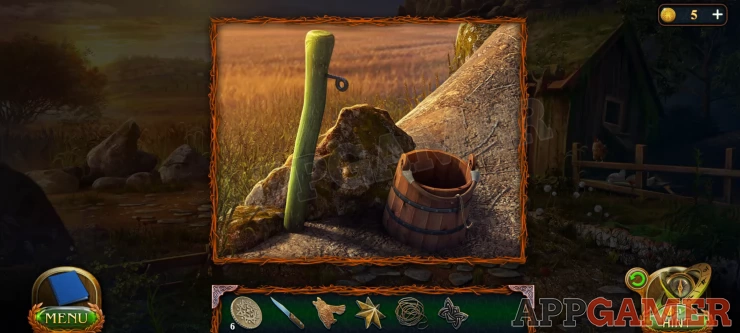
Go back out to the path outside the garden and tap again on the small red bucket on the upper path.
There is a hook on the handle that you can now collect.
View the hook in your inventory and add the rope to it.
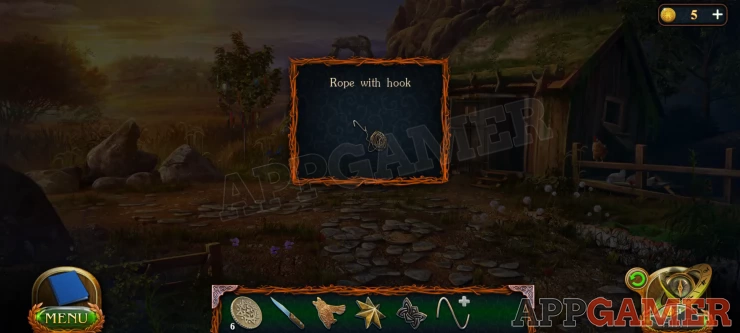
Now return to the pond and use the Rope with hook on the chest to retrieve it.
You will also get the rope back.
On the front of the chest is a star shape, add the star you have collected to it. A panel opens.
Look inside the panel and notice the 6 empty round slots. Add the 6 kyoll coins to it to open the lid of the chest.
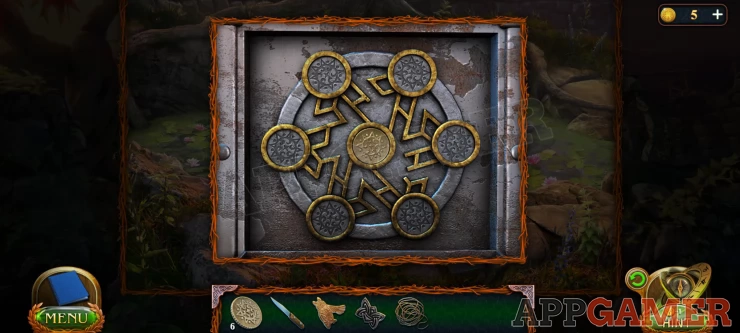
You will then see a puzzle.
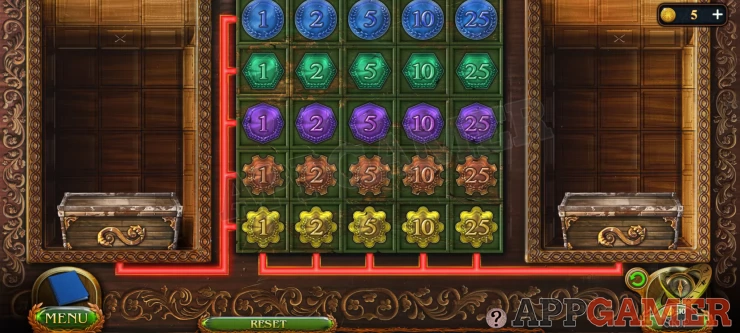
To solve this puzzle you need to swap the shaped pieces so that each row or column has only one of each color of chip or number.
Solution: Show

When the chest opens you can view a note about the Stronghold. Then collect a Boar emblem and A Rune.
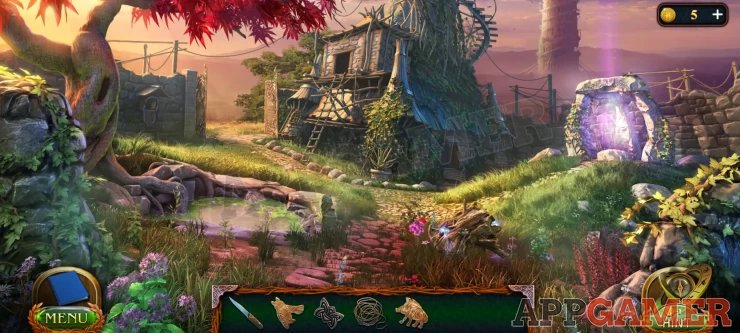
Now tap on the stone arch on the right of the the garden. This is the dolmen.
You will view a stone on the ground with a round slot in it for the Rune.

Add the rune to it and the dolmen portal will activate. You can then tap to move though to the Stronghold area.
Continue in Part 3
We have questions and answers related to this topic which may also help you: Show all
 With 20 years of experience in creating video game content for the internet and over 30 years as a gamer, Mark is now a passionate mobile App Gamer. Loving a challenge, he is always ready to get stuck in to both survival builders and puzzle solving games. He has been providing content for AppGamer since 2014.