
Episode 6 Walkthrough - Festive Town - Part 2
More Artifact Seekers
This is our guide to Festive Town, the sixth Episode in the puzzle adventure game Artifact Seekers, from Five BN. In this episode you are visiting a town with an upcoming festival in a land of ancient legends.
In Episode 6 Part 1 you have reached a boat in the swamp and can now use it to cross the water.
Episode Six - Festive Town Walkthrough - Part 2
Tap the temple Building on the far side of the water to cross over You arrive at the Monkey Den.
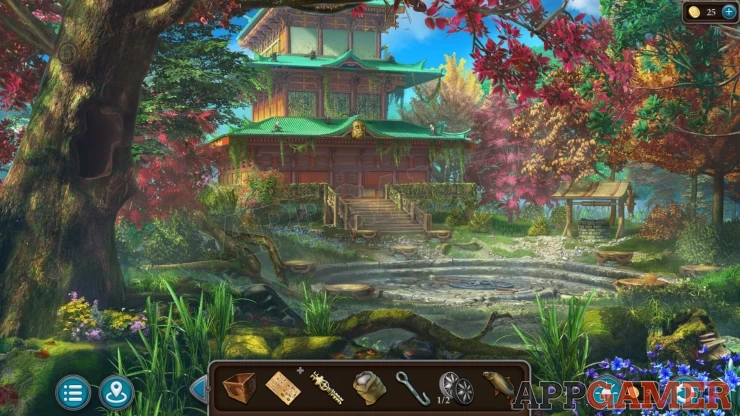
Collection Item: Coin, on the side of the tree on the top left. (6 of 8)
Morphing Object: Apple / Fruit on a round platform on the right.
View the well under the trees on the right. Collect a Lantern from the ground on the left, then place the hook on the rim of the well.
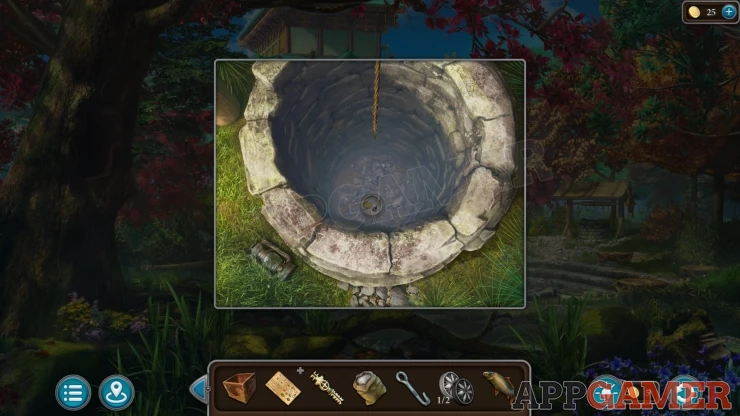
Then tap the rope to connect it. This will lower the hook and bring up the bucket. Collect a Mallet and a Glass Lotus.
Next view the hole in the tree on the left, it is dark so use the lantern here to see inside.
Collect an Anchor Figurine.
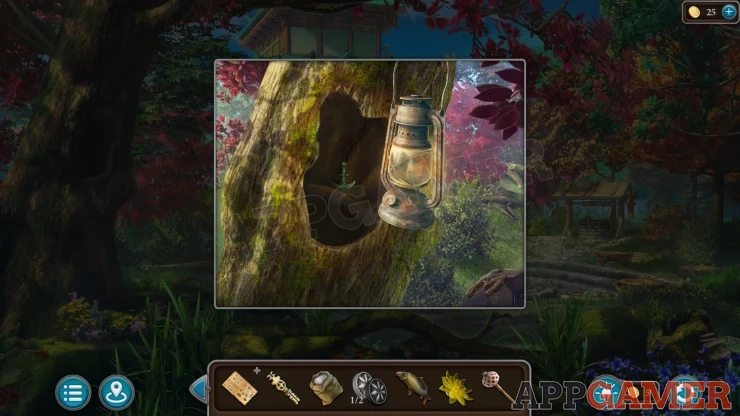
Symbol: on the rock to the right of the tree when looking at it with the lantern.
Back up to the swamp and look in the abandoned house again. There is a box inside.
View this and add the Anchor to the front to reveal a puzzle.
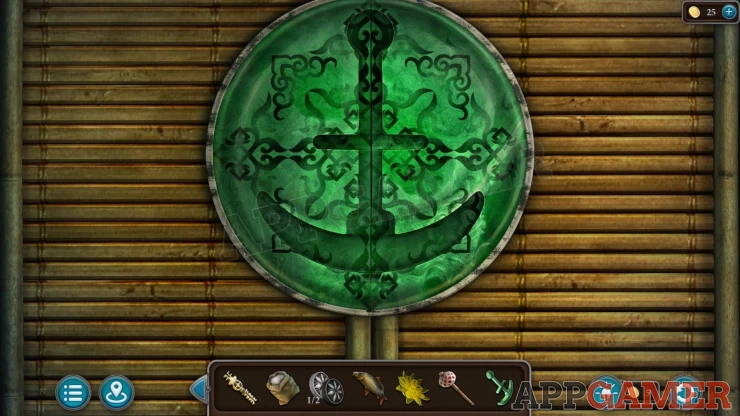
Anchor Box Puzzle
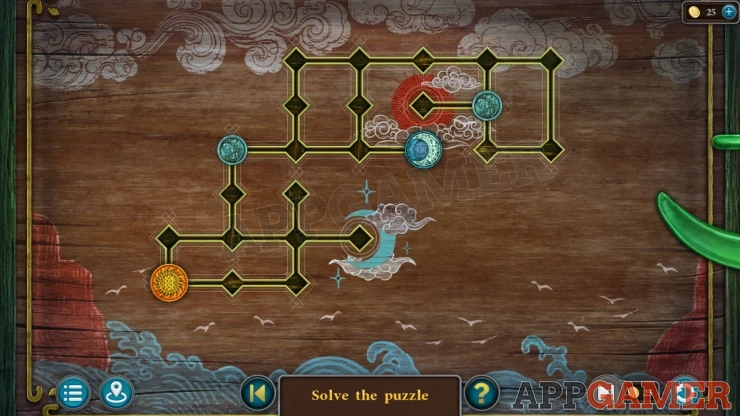
- You have a grid with two main circle pieces on it and two small circle blockers.
- You can slide either of these pieces along the lines and they will move until they hit a turn or a block.
- You need to move the Blue Moon piece to the blue moon slot, and the Yellow Sun piece to the red slot.
- Use the blockers to help you get them into place.
- The layout for the board can be different for each game.
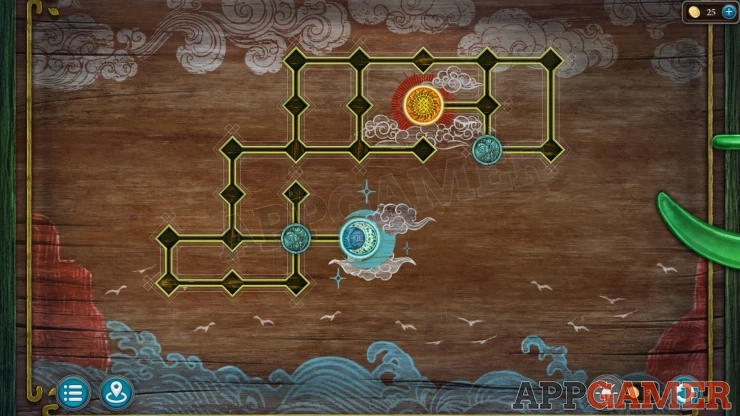
Once done the box opens and you can collect some Matches and a Disk.
Return to the Monkey Den temple and view the round stone platform in the center.
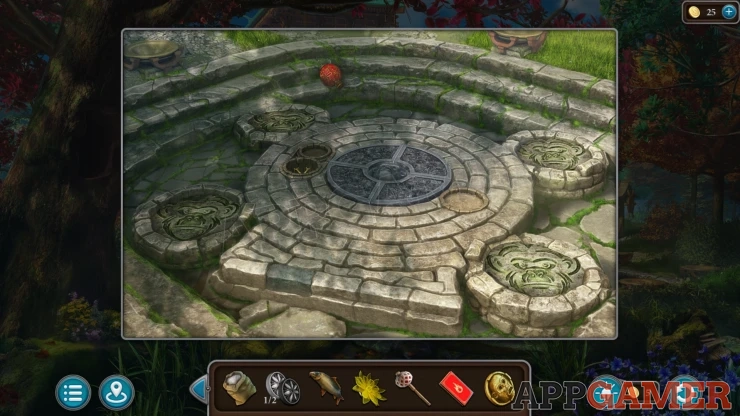
Lantern: on the steps at the top. (4 of 5)
House: Tap to move the darker grey stone from the step towards the bottom, the house is behind it.

View the center of the circle and then add the Disk to the face in the center.
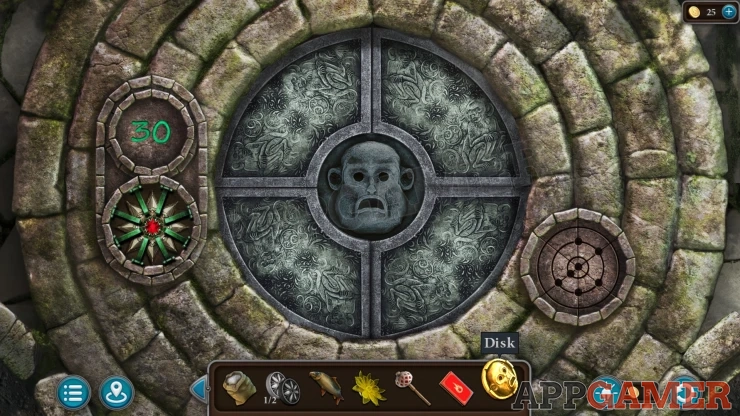
This reveals another puzzle.
Monkey Face Disk Puzzle

This is a Star puzzle and needs to be completed within a set number of moves to earn an extra star for the episode. You can restart the puzzle if needed.
- There are seven monkey heads arranged at points on the three lines that cross in the center of the puzzle.
- You can slide the heads along the lines to move them around.
- You can also rotate the three yellow rings around to move the heads between the lines.
- The aim is to arrange them in the same pattern as the one shown on the lower right of the board.
Solution: The arrangement you need can be different.
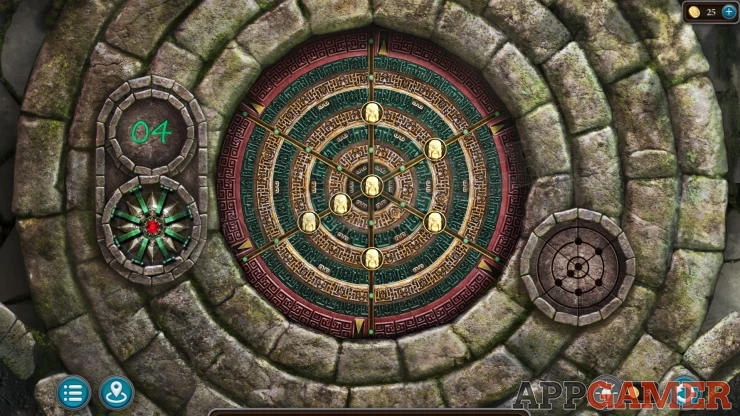
Once done four monkey statues appear, collect a Ruby from the top right and some Chopsticks from the lower left.
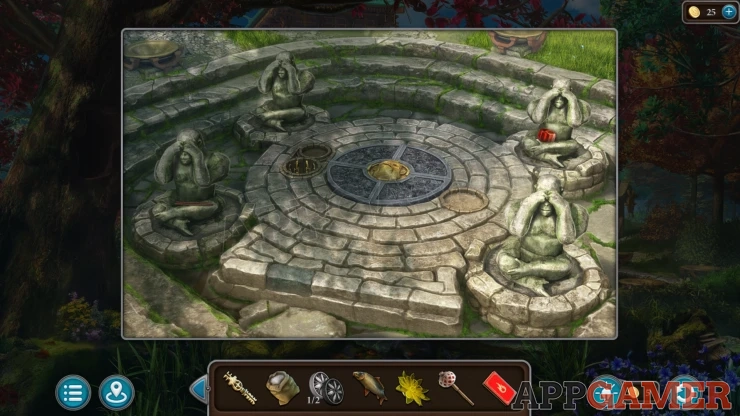
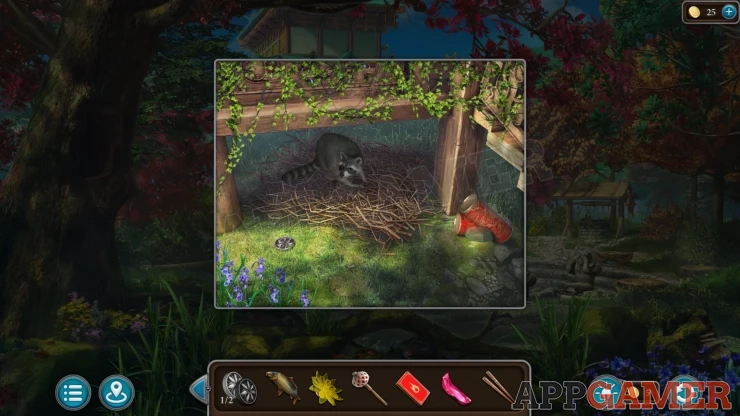
Now look under the veranda of the temple building on the left of the steps. There is an angry Raccoon, tap it to see that you need to feed it.
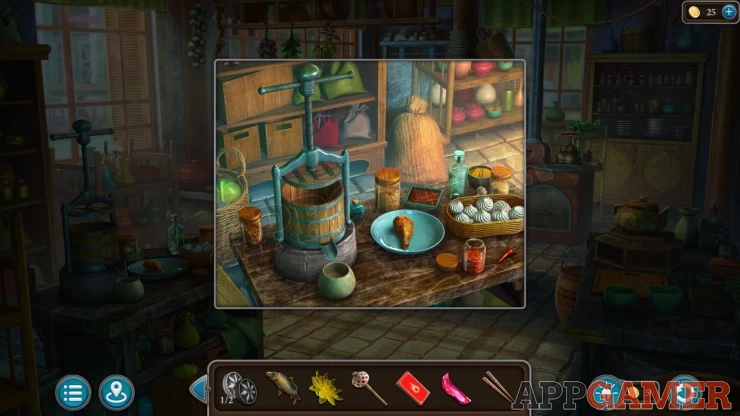
Go back to the kitchen and look on the table on the left. Collect a Chicken Leg.
Return to the Raccoon and give the chicken leg, You can then collect some Firework Tubes (6 of 9) and another Chip (2 of 2).
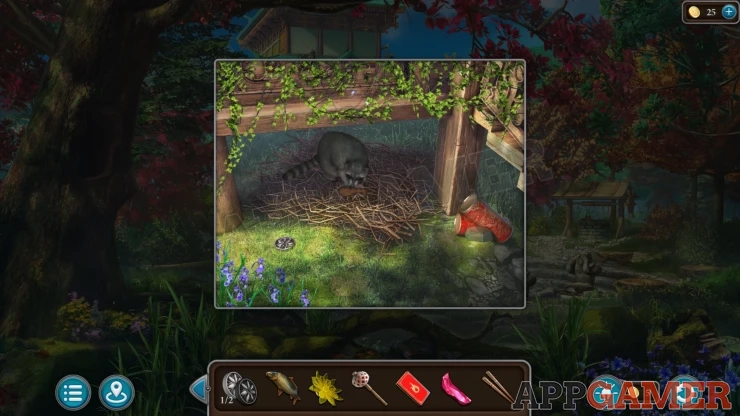
Now travel to the Two temples at the top of the stairs.
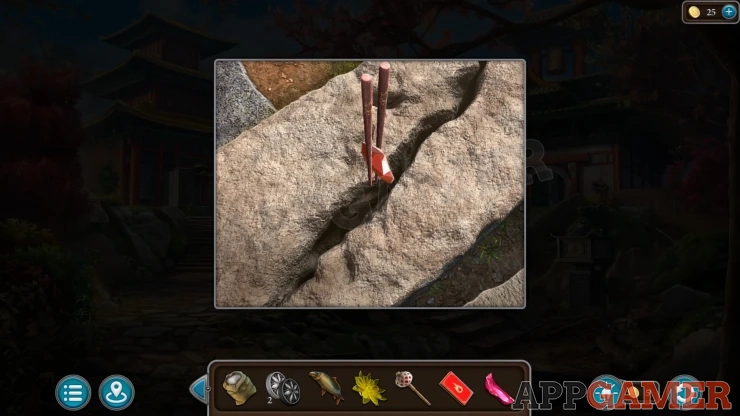
First look on the top of the stone steps on the lower right. There is a crack. Use the Chopsticks here to collect another Ruby .
Next view the door to the temple on the left. View the Yin Yang Symbol and add the two Chips to it.
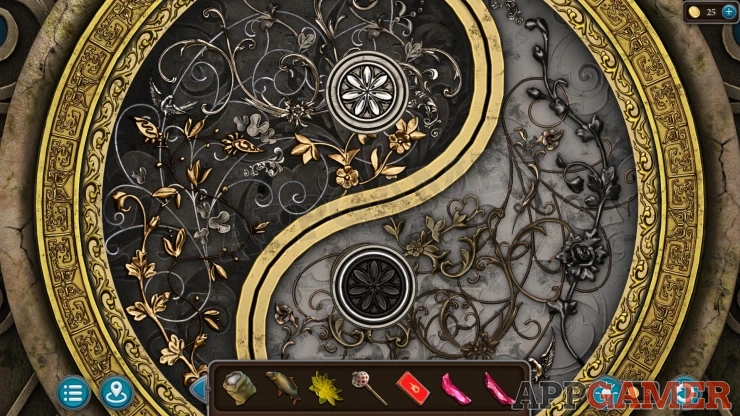
Yin Yang Puzzle
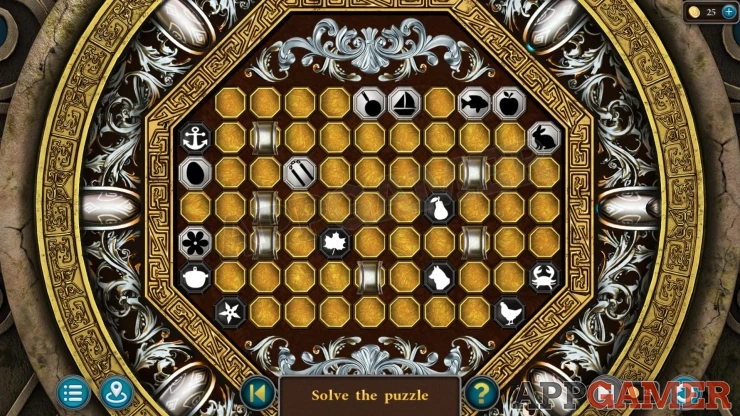
- Around the board are symbols, some are black on white and some are white on black.
- There will be pairs of each that are related to each other.
- Drag a line between the pairs to join them together.
- You need to pass the lines around the board and can use the bridge pieces to let two lines cross over each other.
Solution: The position of the symbols may be different for you.Show
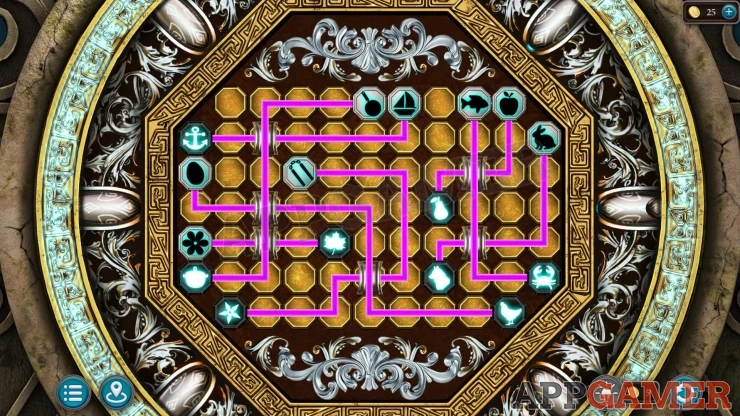
Once done the door is open. Enter the temple, this one has many candles and a strong smell of Incense.
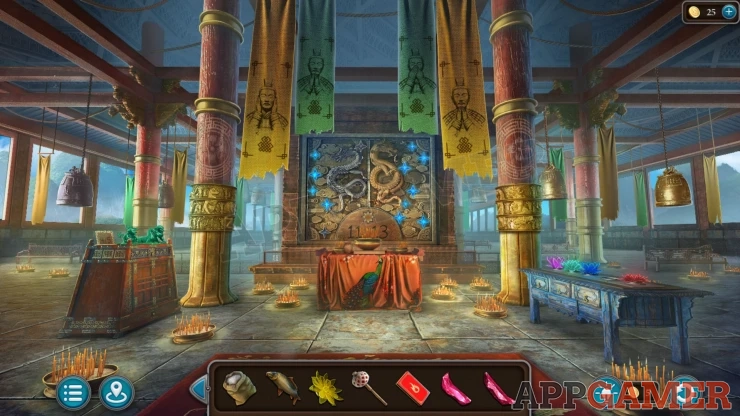
Morphing Object: Changing symbol on the pillar to the left of the altar.
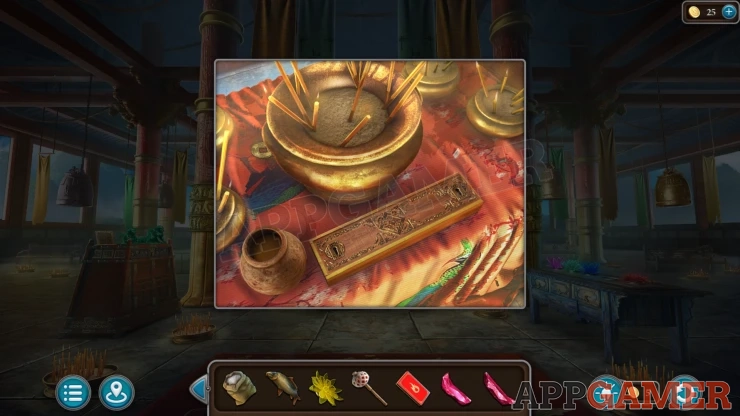
Collection Item: Coin. View the altar table in the center to find it (7 of 8)
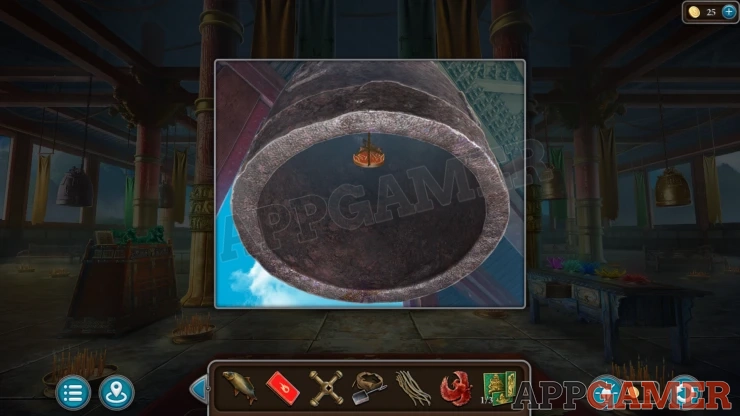
Symbol of Fire: tap the large hanging bell o the left to find it inside.
View a table on the right with 4 colored glass lotuses, add the Glass lotus that you have.
Glass Lotus Puzzle
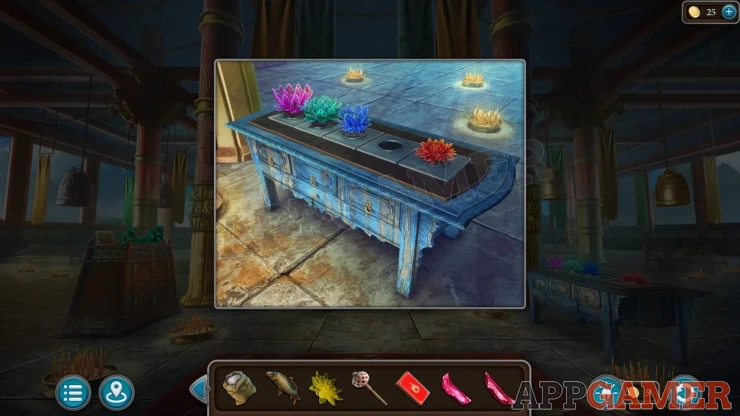
- Tap pairs of lotuses to swap their positions.
- Arrange them in order according to a clue seen before.
Solution: The clue is seen in a picture in the scientists house. Yours may vary.Show
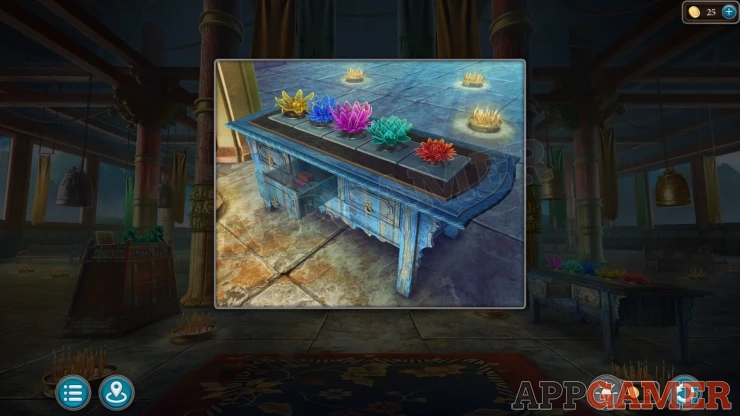
A drawer opens and you can collect some Soap and another Ruby.
Notice the four hanging banners, each one has a face with hands in different positions. This is a clue.
Go back to the monkey den and view the center circle again with the four monkey statues.
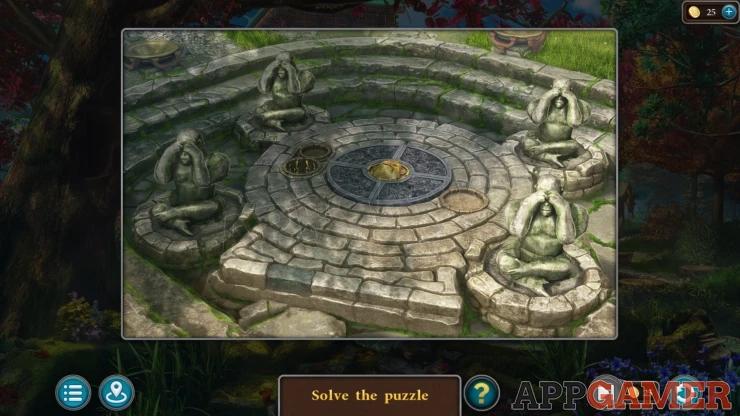
Tap each one to change the position of the hands.
Match these to the images seen on the banners.
Solution: This also varies with each gameShow
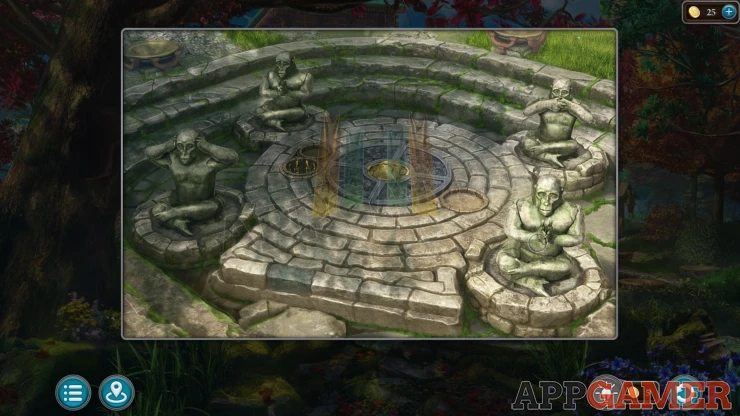
Once this is done the door to the monkey temple opens. Go inside.
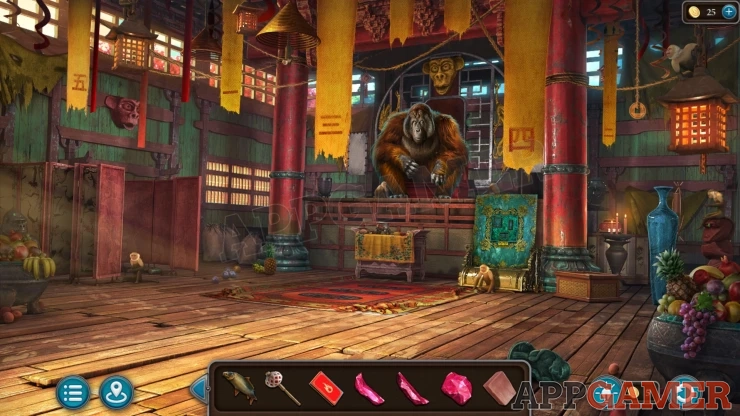
The Monkey King talks to you and requests a gift.
Collection Item: Coin, hanging from a string on the right side. (8 of 8)
Morphing Object: on the floor, next to the pineapple at the bottom of the large red pillar on the left.
Symbol: There are five long yellow banners with Chinese number characters on them. Tap these in numerical order, 1 to 5. 1, 2 and 3 are lines, 4 is the square character and 5 is on the left. You can then collect the Symbol.
View the small table below the Monkey King. Collect another Ruby and a Small Key (1 of 2).
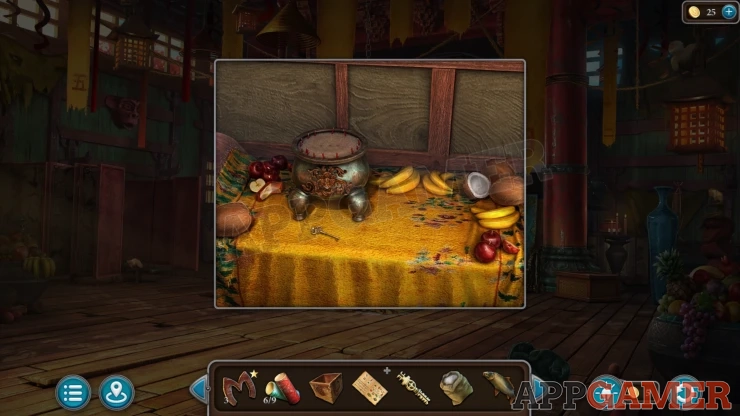
Now travel back to the street where the woman is and view the barrel on the left that you placed the washboard in.
Add the Soap to the water and then the Dirty Fabric. This will clean it and you will receive a Fabric with a Hint.
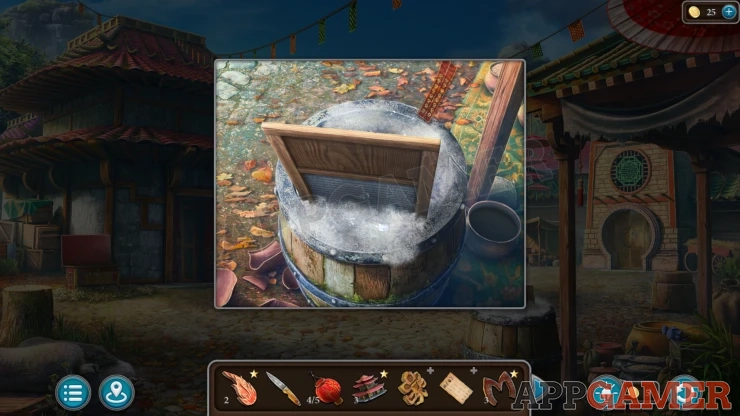
Now enter the scientist's home and view a Gong by the fire. Add the Fabric to it to start a puzzle.
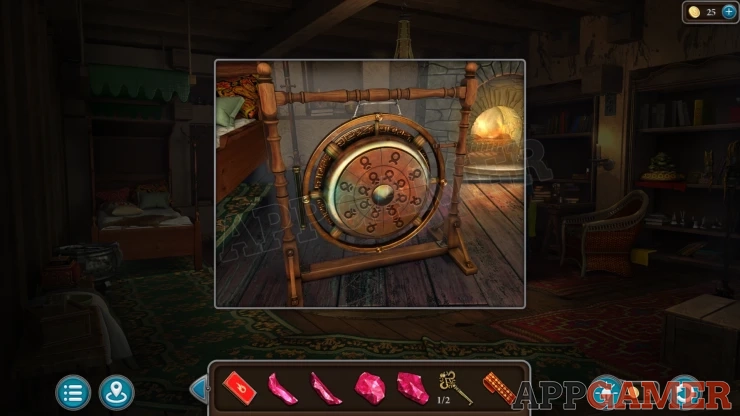
Gong Puzzle
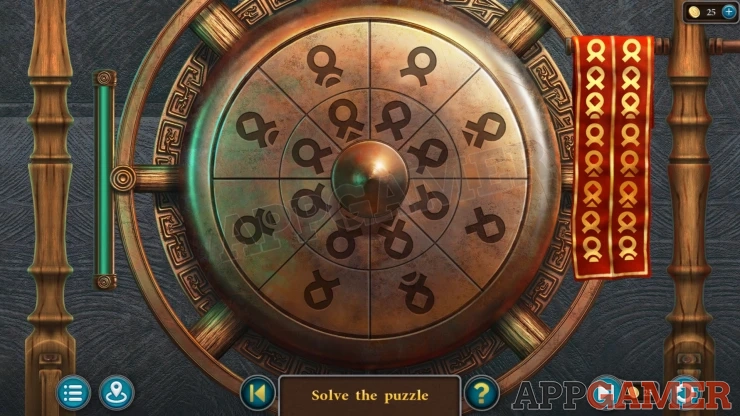
- Add the Mallet to the gong to start
- There are various symbols on the gong, two of each. They look similar but there are small differences.
- Following the order on the fabric tap the symbols to hit that part of the gong with the hammer. The symbols will light up.
- Hit them all in the order shown on the fabric, (two at a time from top to bottom)
- After each hit a timer will run down on the left, if you let it reach the bottom the puzzle will restart.
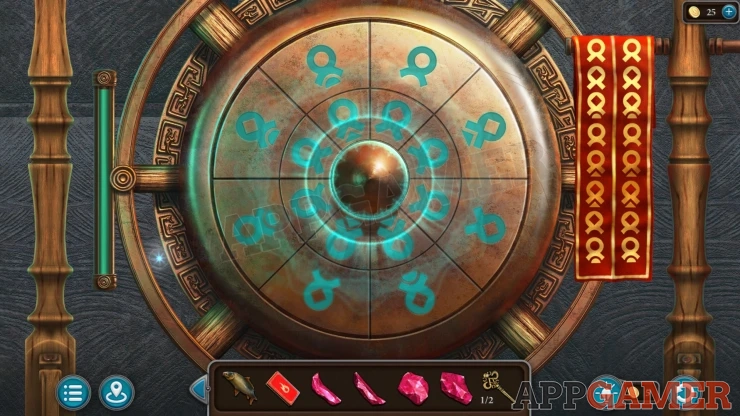
Once done you will be able to collect The Sedative and another Small Key (2 of 2).
Now return to the temple with the incense and banners. Look on the altar table to see a small box, use the two small keys to open this.
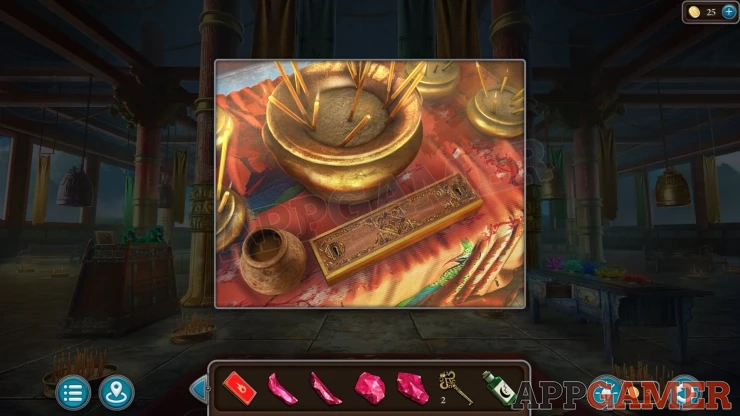
Read the note inside and then collect the Incense.
Next go to the Monkey Temple and view the table in front of the Monkey King again. Place the incense in the pot. Then use the matches to light it.
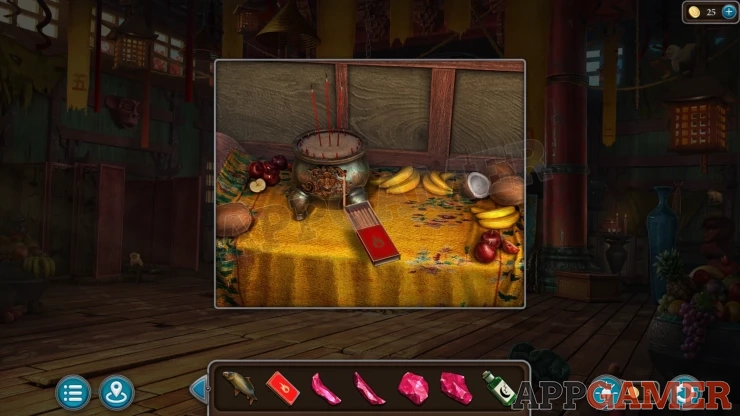
Now you need to get Wolfberry Juice for the King.
Back up to the swamp area and now look on the shore with the tree where you found the secret room. There is a bush here.
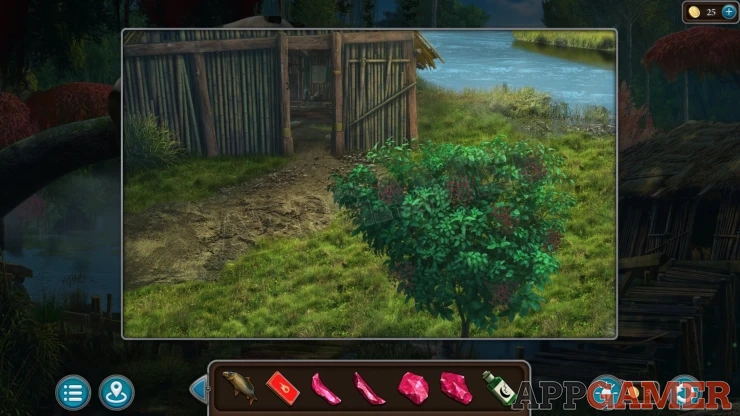
Tap the bush to collect the Wolfberries.
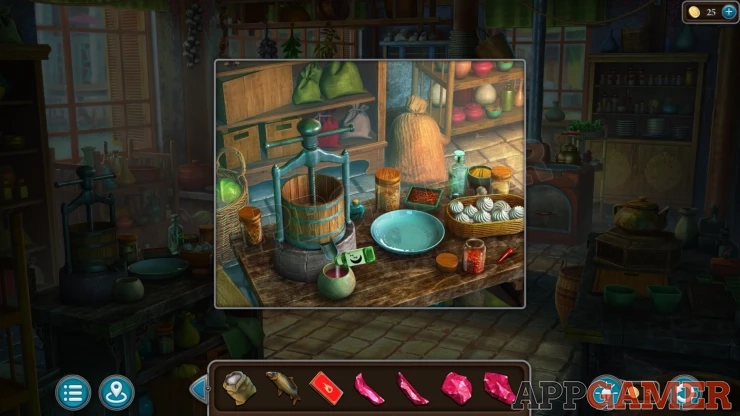
Travel to the Kitchen. Look on the table on the left to see a press. Add the wolfberries to it and tap the handle, a juice will be squeezed. Then add the sedative to the bowl and you can collect the Sleeping Juice.
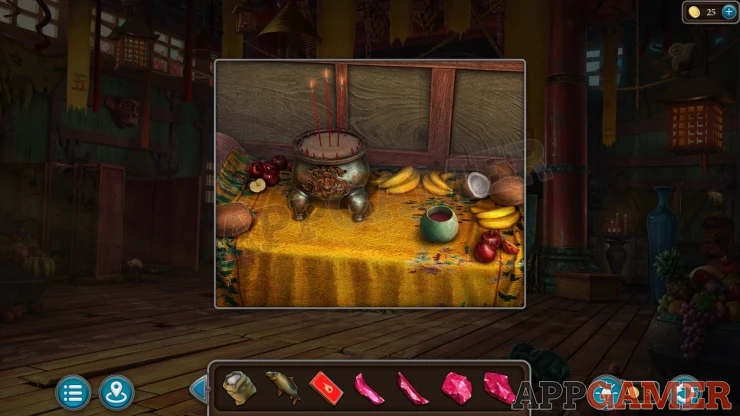
Return to the Monkey King and place the sleeping juice on the table in front of him. He will drink it and fall asleep.
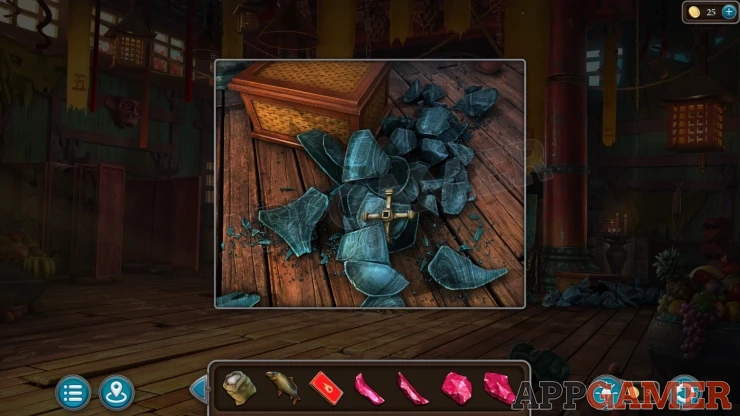
Tap a tall blue base on the right, it will fall over, then look in the debris to collect a Tap.
Now tap on the red screens on the left side of the temple room to look behind them.
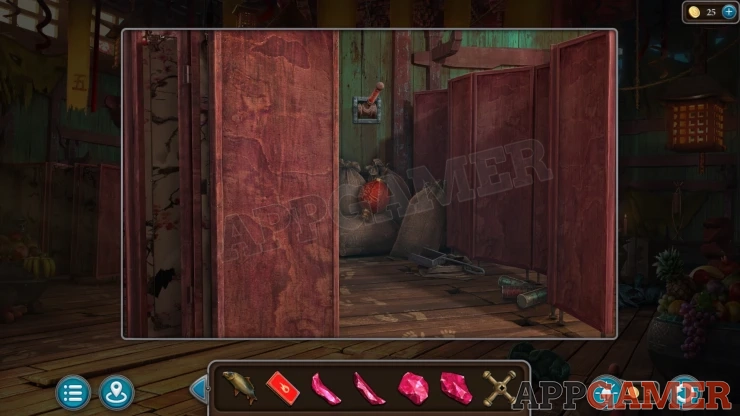
Lantern: on the sacks at the back. (5 of 5)
Collect a Bag with a Scoop and some Firework Tubes from the floor (9 of 9).
Then tap the lever on the back wall. This opens the mouth of a Monkey head on the wall above the screens, but only for a few seconds.
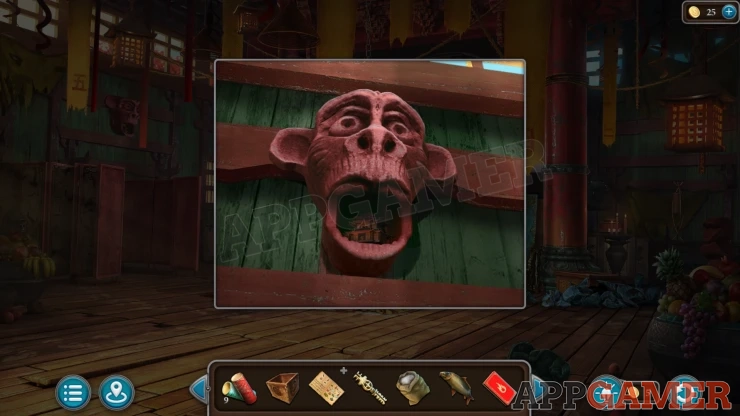
House: Look at the monkey head to find it in the mouth.
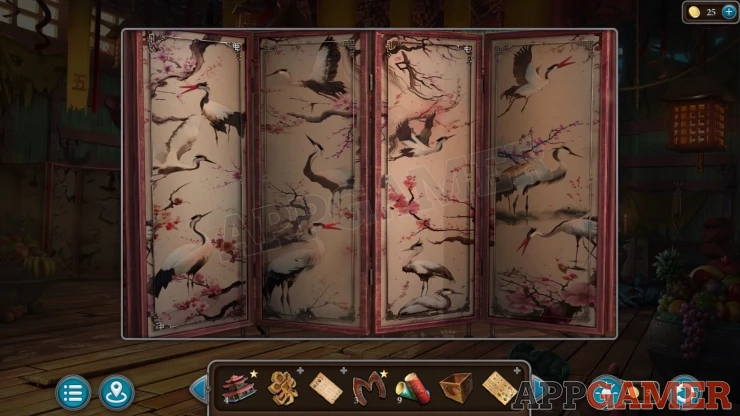
View the Screens again and tap the screen on the left to open it up and see the design on the back. There are a number of herons. This is a clue.
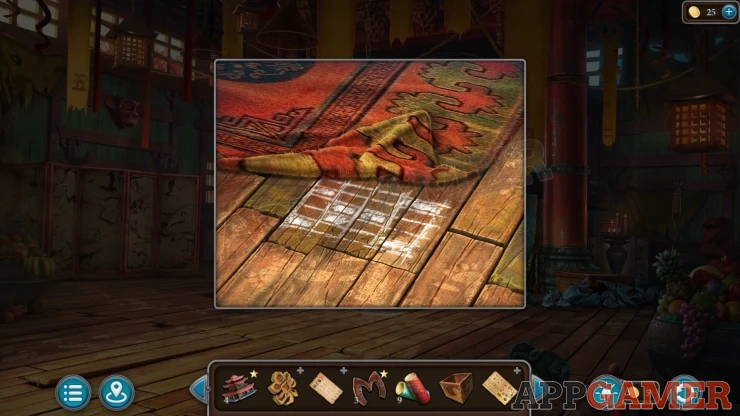
Finally view the rug on the floor in the center. You can lift the corner of the rug to see another clue with a grid.
Now travel to the two temples at the top of the hill. Then view the bottom of the green steps of the temple on the right.
Temple Steps Puzzle
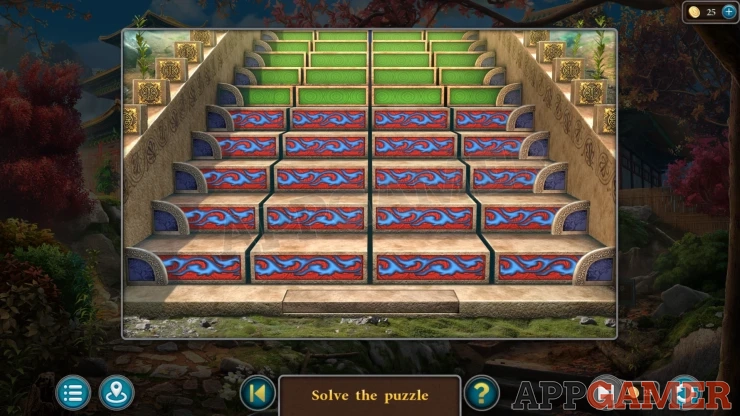
- The bottom 5 steps have blue patterns on them.
- You can tap each of the blocks on these steps to change the pattern to green.
- Set the correct blocks to be green according to the layout of the clue found above.
Solution: This will vary for each game, follow your clue.Show
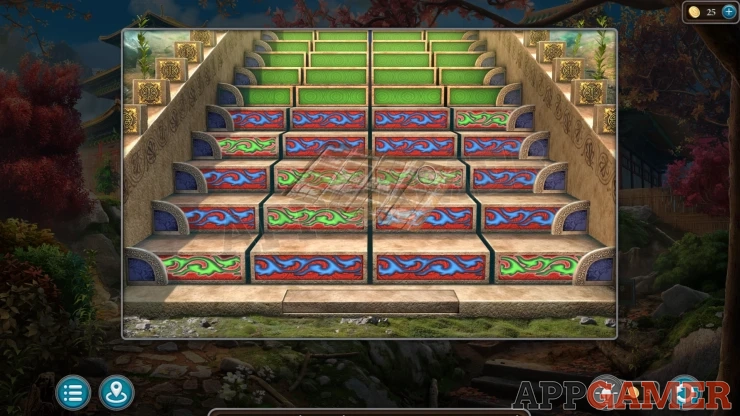
Once done collect another Ruby and the Wicks.
Now return to the beach area with the ruins. On the left and right are two herons, with different colored beaks.
Below each one is a number. View these and tap to set the numbers to the correct values.
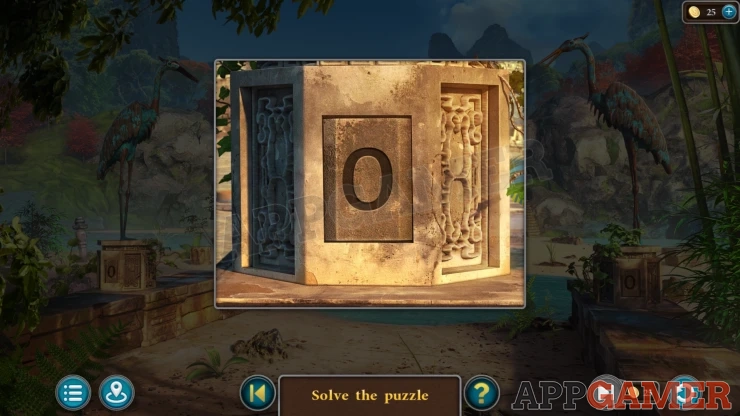
Solution: Count the number of the herons with each color beak, in the image on the screen in the temple. This can be different for your game.Show
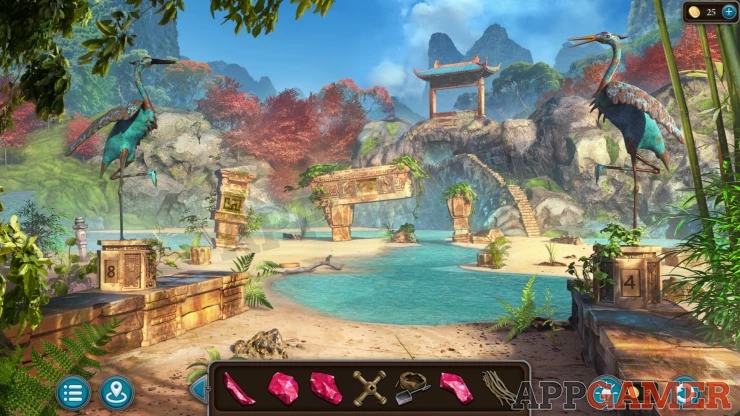
Once done correctly a barrier will move on top of the cliff, this stops the water fall. Tap the path up into the cliff to find a secret cave.
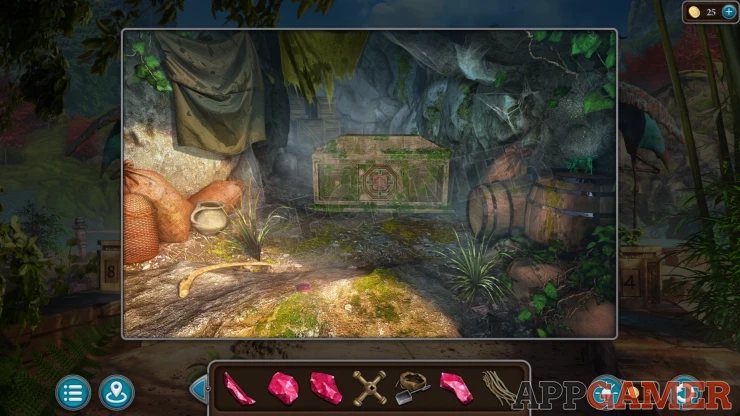
Collection Item: Jade Dragon, on the barrel on the right. (5 of 5)
Symbol of Fire: tap a small pot on the left to tip it over and find it inside.
Collect a Ruby from the ground
Now view the Stone Plate in your inventory, it has six holes on the front. You should also have six rubies.
Place the six rubies into the slots to collect the Stone Flower.
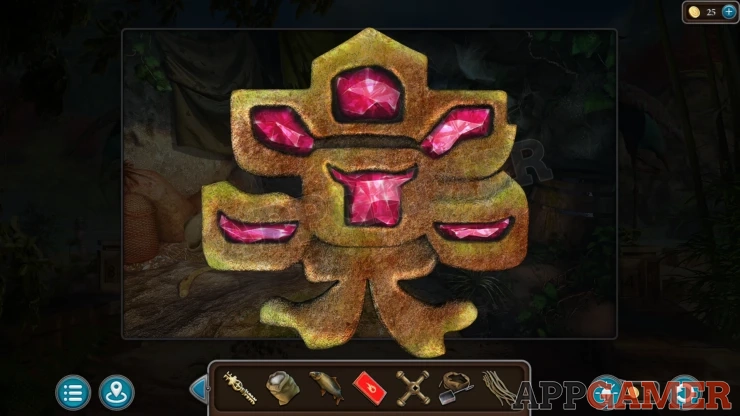
Next view the large treasure chest in the cave. Place the Stone Flower into the slot on the front.
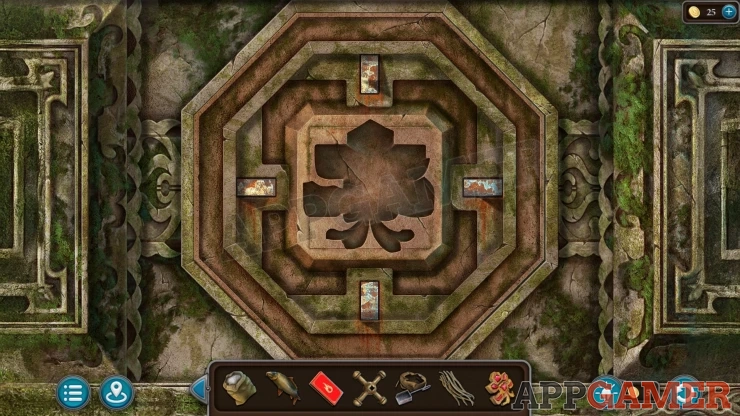
Treasure Chest Puzzle
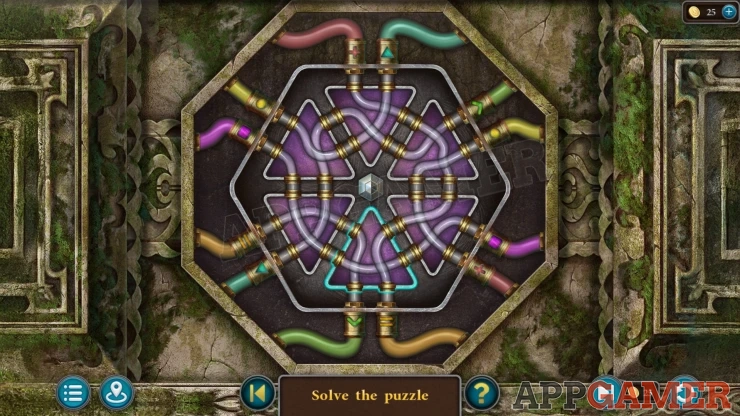
- There are colored pipes around the outside of the puzzle.
- There connect together via pipes on the triangles in the center.
- You can tap the triangles to rotate them and change the connections.
- You need to set all of the connections so that the matching colored pipes on the edge are connected together.
Solution: Show
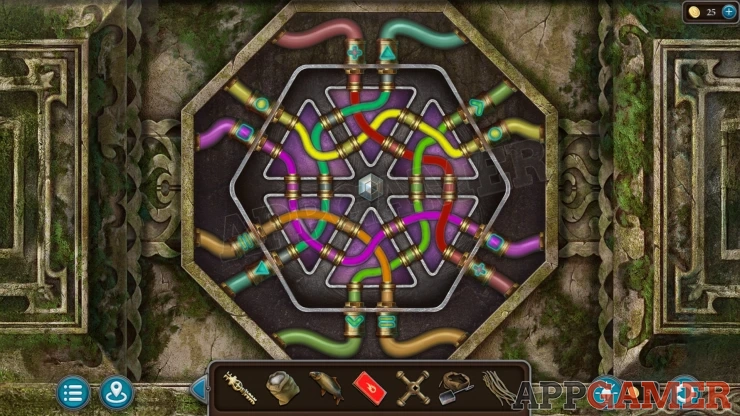
When the box opens collect a Phoenix and a Jade Chip (1 of 3)
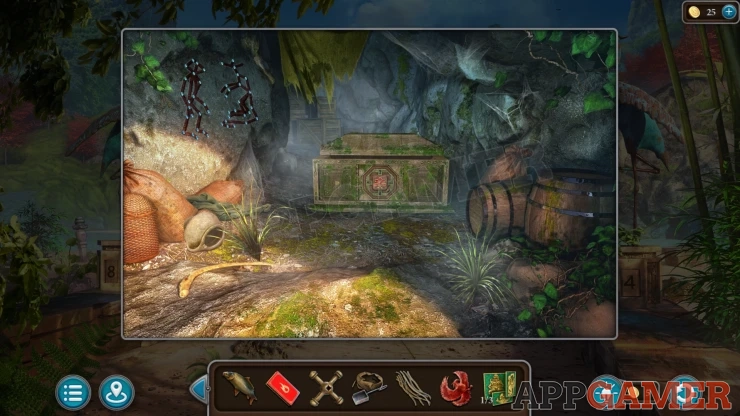
Tap a cloth hanging on the left wall, it will drop and you will see two stick figure drawings of animals. These can be different for each game. It is a clue.
Now go back to the temple with the incense. On the pillars you can find three rings with parts of carvings on them.
Temple Pillars Puzzle
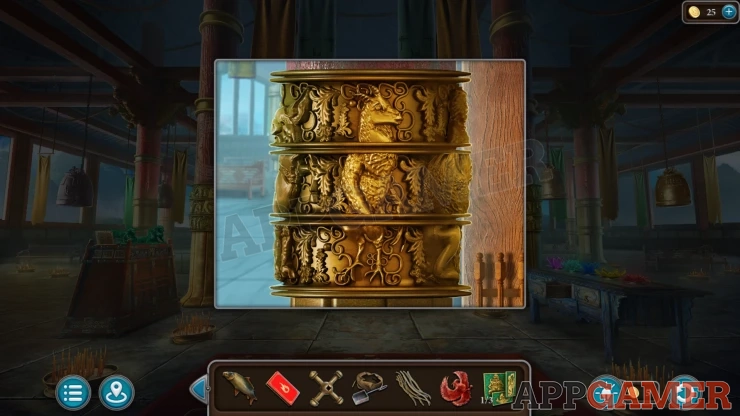
- On each pillar you can rotate the three rings to line up parts of different animal carvings.
- You need to find three parts that match to make one animal on each pillar.
- The animals you need to make will depend on the clue you saw in the cave.
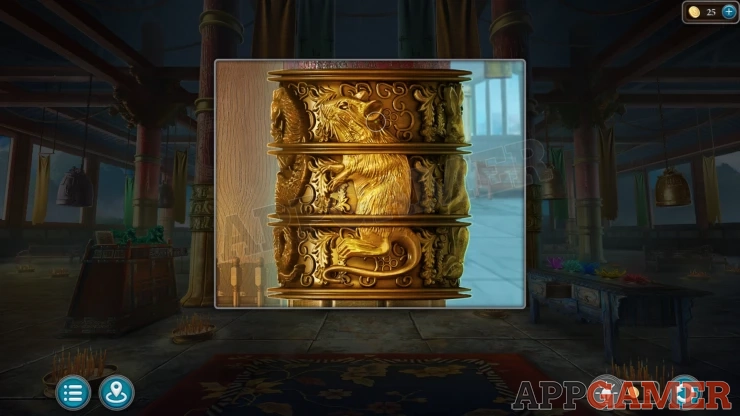
Once done a panel opens in the floor. Look in here. Place the Phoenix into the slot and it will open to reveal another puzzle.
Phoenix Puzzle
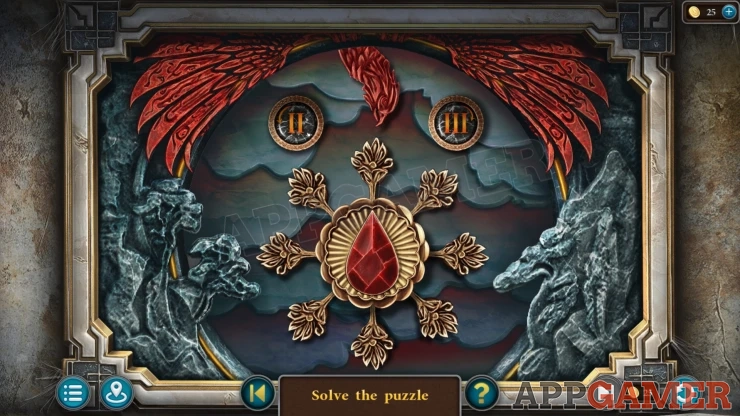
There are eight flower symbols arranged in a circle, At the top is a phoenix head.
There are two buttons, on the left the II buttons will rotate the circle anticlockwise by 2 positions and then the phoenix will breathe fire, on the right the III button will rotate the circle clockwise by 3 positions and also make the phoenix breathe fire.
The fire will open or close the flower it hits depending on how it is currently.
You need to open all of the flowers.
Solution: Tap II three times, Tap III three times. Then tap II two times.Show
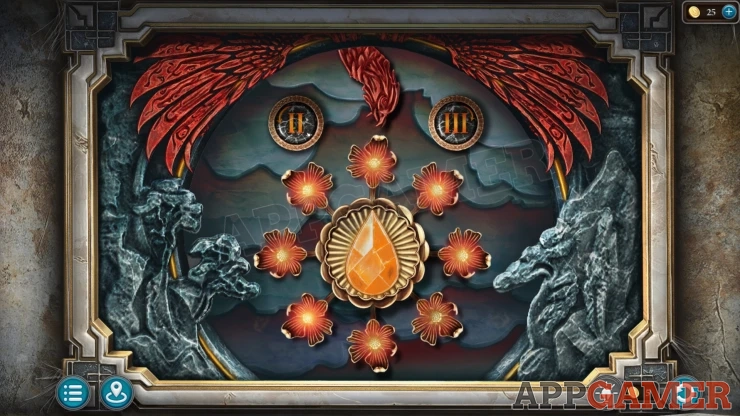
Collect another Jade Chip (2 of 3) and a Sheet with a number.
Next go to the scientists house and view the safe above the fireplace.

Add the Sheet to this to start the puzzle.
Scientists Safe
The sheet shows a target number. There are four sliders on the sage that you can set to different numbers.
Between each slider is a mathematical operator.
Set the numbers to make a sum that will correctly calculate to make the target number on the paper.
Solution: Show
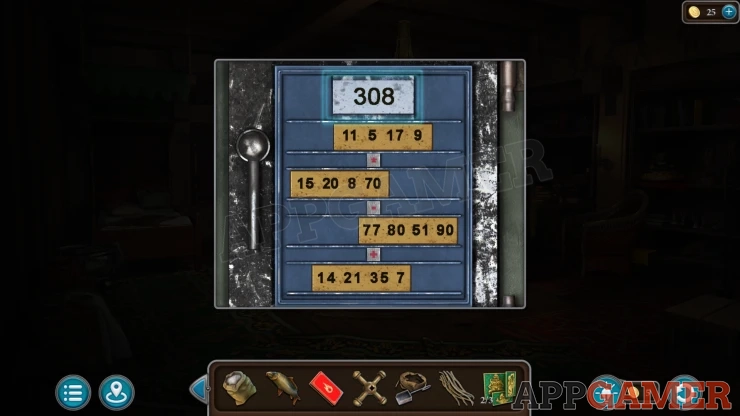
When the Safe opens collect a Crab and another Jade Chip (3 of 3)
Go back again to the Monkey Temple, then view a green panel by the right pillar.
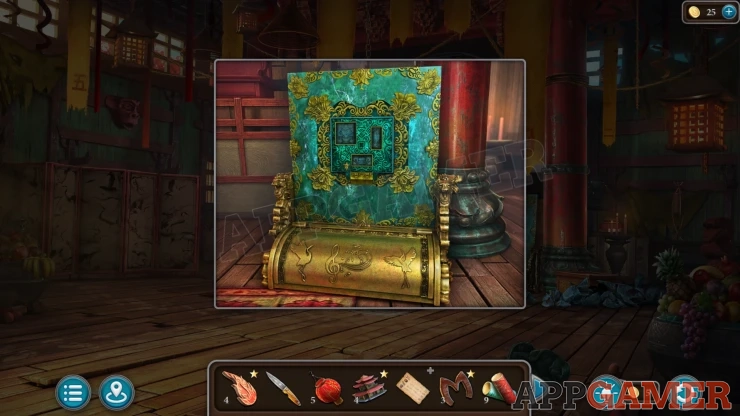
Add the three Jade Chips to this to reveal a puzzle
Jade Chips Puzzle
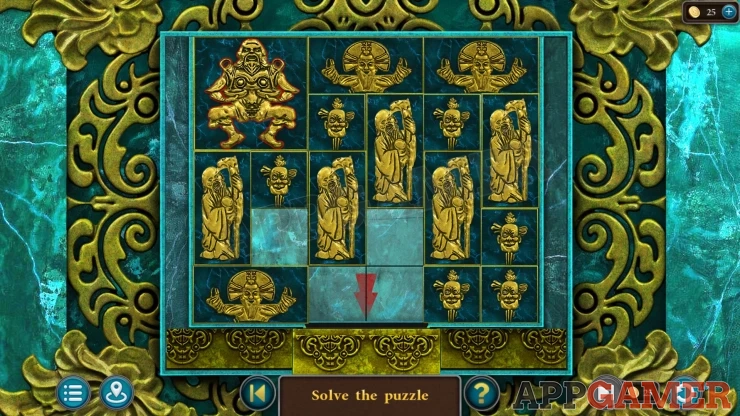
- Slide the blocks around the board to let you move them.
- There is a slot at the bottom.
- You need to move the blocks to let you slide the large square block to the bottom.
Show
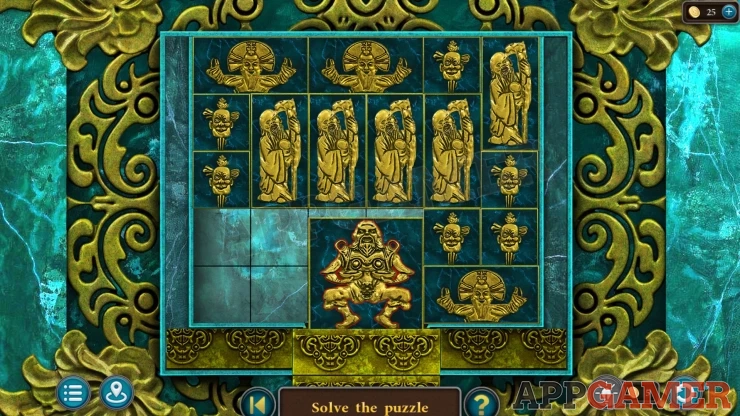
Once done the bottom compartment opens and you can collect the Cylinder with Melody.
Now move to the temple with the broken roof. Look on the stairs on the left to see the barrels.
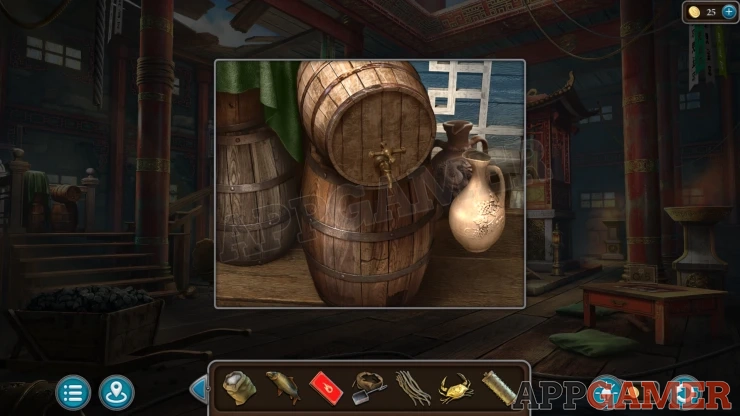
Add the Tap to the barrel and then select the jug on the right to collect some Wine.
Next use the Bag with a scoop on the barrow of coal on the left of the room. You will collect some Coal .
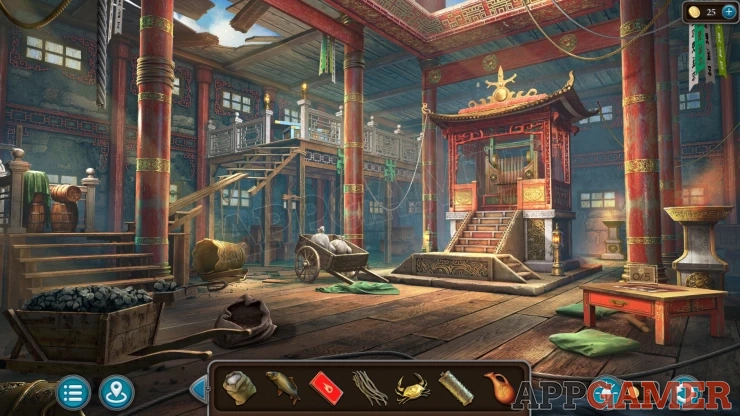
Now travel to the Kitchen. View a cabinet on the back left of the room.
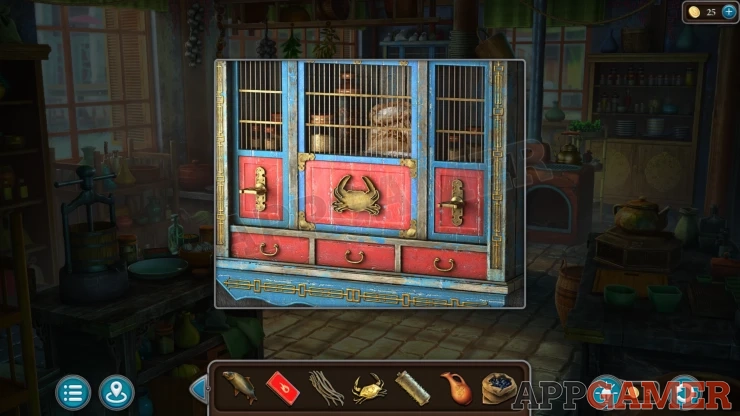
Add the Crab to the slot on the front and it will open. Collect some Flour and Sweet and Sour Sauce.
Now view the Carp Recipe in your inventory and you should be able to the four items you need to it. You collect the Ingredients.
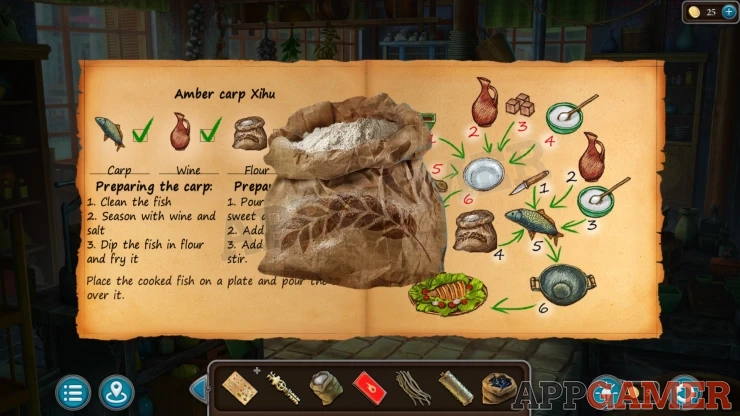
Then view the counter on the left and place the ingredients here. Follow the recipe to make the dish.
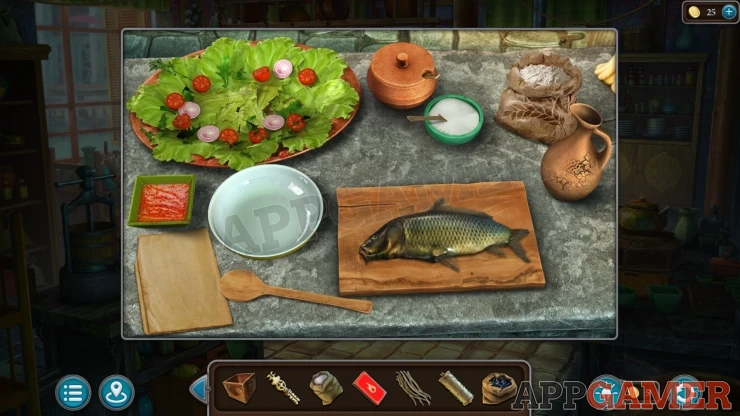
- Use the Knife on the fish to cut and clean it.
- Add the wine to the fish.
- Add some salt from a dish to the fish.
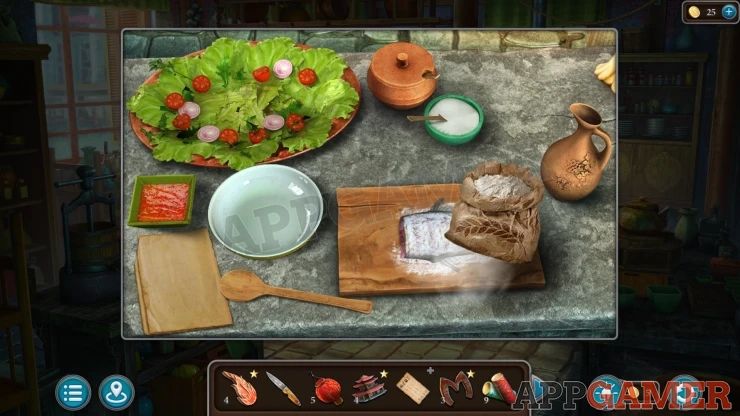
- Add Flour to the fish.
- Then you collect the Fish Carcass.
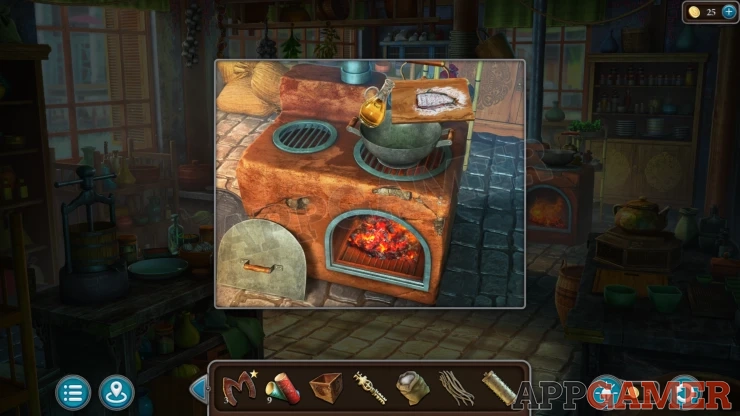
- Next view the stove at the back of the room.
- Open the door on the front and add the Coal.
- Use the Matches to light the fire
- Tap the large pan to place it on the stove and add the fish carcass to it. It will also add oil.
- Collect the Fried Fish.
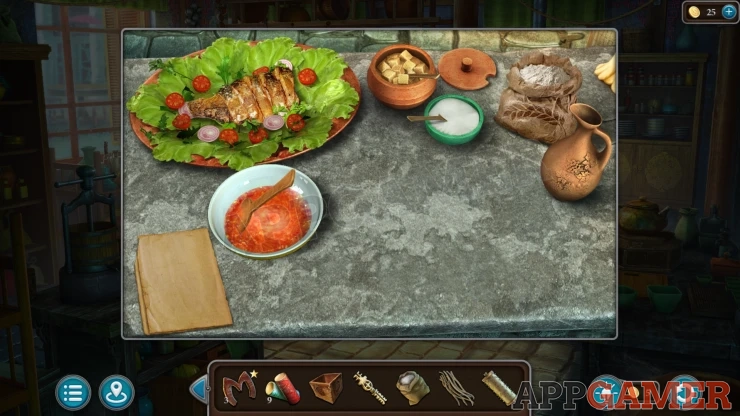
- Go back to the counter and place the fish on the place with the salad.
- Add the sweet and sour sauce to the white dish. Then add the Wine.
- Add sugar cubes from the brown bowl and Salt to the sauce.
- Use the Wooden spoon to stir the sauce, then pour the sauce onto the fish.
- Collect the Festive Carp
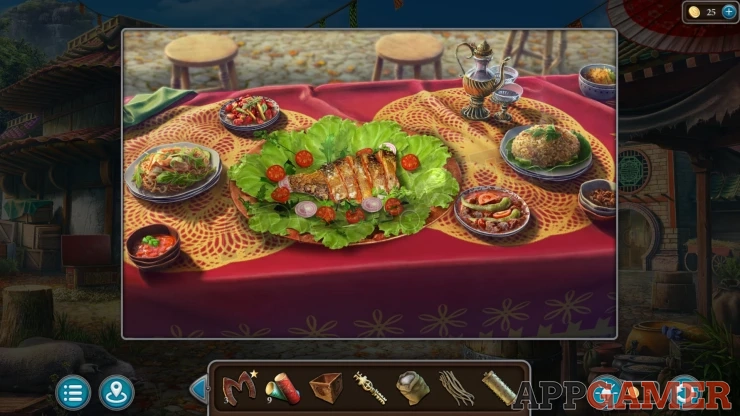
Exit to the street and view the table by the lady. Place the Fish here to complete the cooking task.
Now view a table under an awning at the back, this has some scales on it.
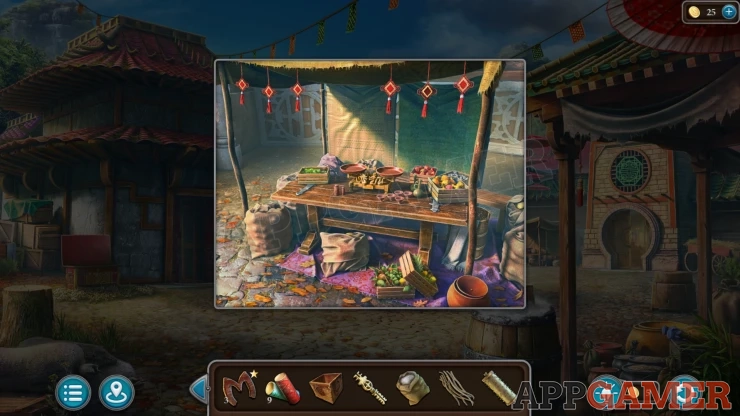
Add the Bag of Saltpeter to use the scales.
Scales Puzzle
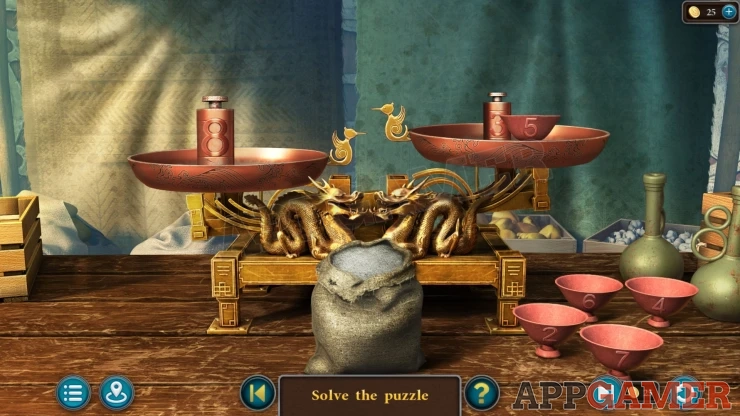
- You have two weights (8 and 3) and some bowls with numbers that you need to fill with saltpeter.
- Use the weights and the bowls to fill them all with the correct amounts.
- Add the 8 on the left and the 3 on the right with the 5 bowl. Add the saltpeter to get the 5 filled.
- Add the 8 and 3 to the left, then add the 5 and the empty 6 bowl to the right. Add the saltpeter to get the 6 filled.
- Add the 8 on the left and the 6 on the right with the empty 2 bowl. Add the saltpeter to get the 2 filled.
- Add the 3 and the 6 bowl on the left, add the 5 bowl and the empty 4 bowl on the right. Add the saltpeter to get the 4 filled.
- Add the 3 and the 6 bowl on the left, add the 2 bowl and the empty 7 bowl on the right. Add the saltpeter to get the 7 filled.
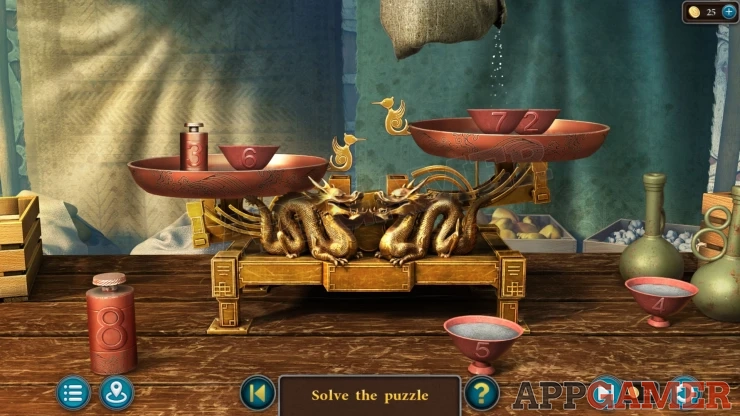
With all of the bowls filled you collect the Saltpeter.
View the list of firework items in your inventory and add to it the Saltpeter, the Box, the Wicks and the Firework Tubes. You will collect the Firework Materials.
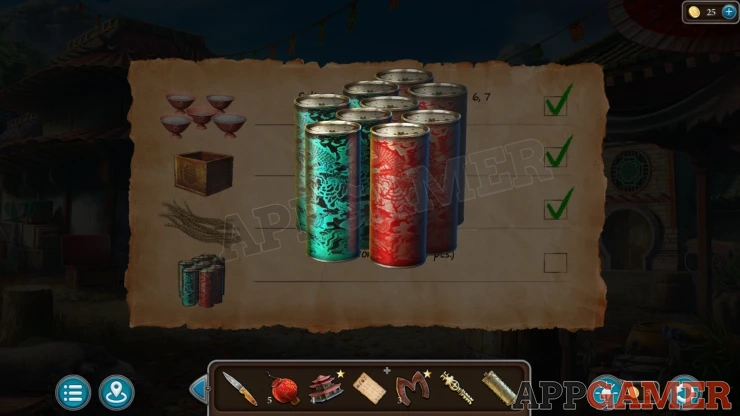
Enter the scientists home and give the materials to him. He asks for Ginger tea. You will receive the Trowel.
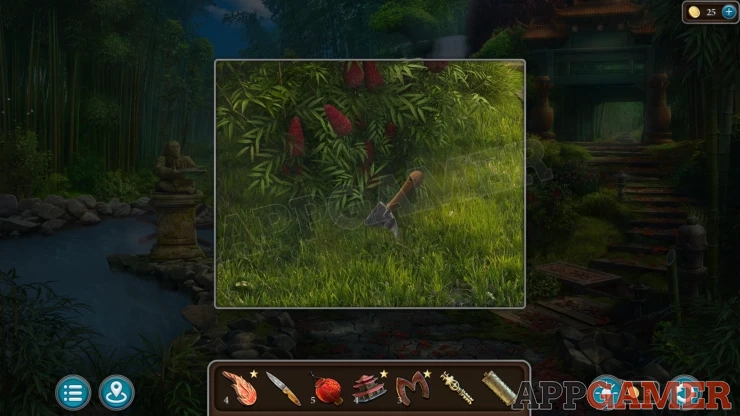
Travel to the lake with the waterfall and bridge. Look at the bush next to the steps. Use the trowel here to dig in the ground under the bush. You can then collect the Ginger.
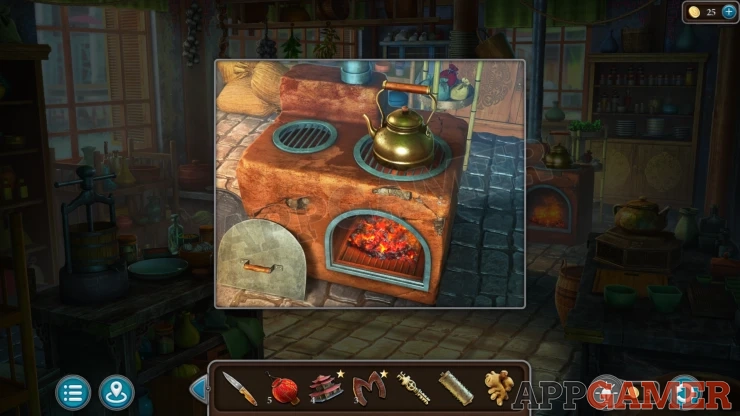
Go back to the Kitchen and view the stove. Tap th large kettle to place it on the fire. You can then collect the Boiling water.
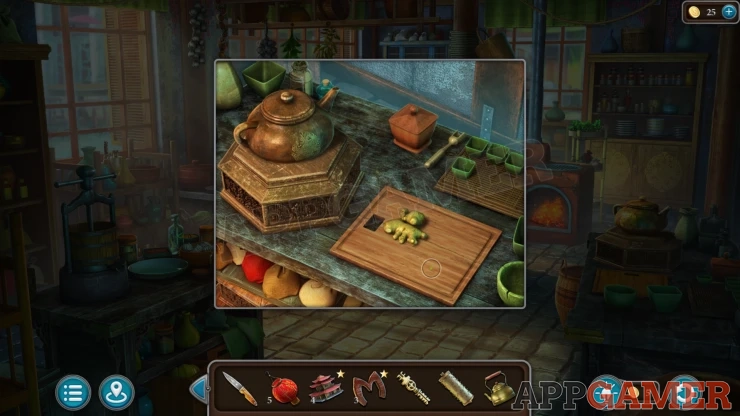
Now view the table on the right. Place the ginger on the chopping board. Use the knife to chop the ginger.
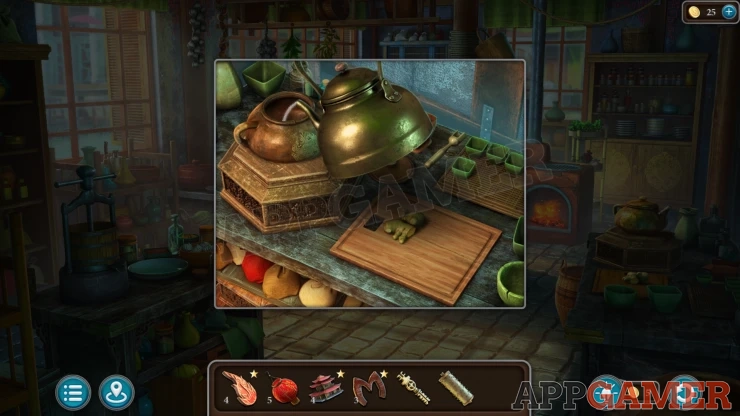
Open the lid of the tea pot and place the ginger inside, then open the small square pot at the back and select the wooden scoop next to it to place it in the tea.
Then tap the scoop again to put some tea into the tea pot.
Now add the boiling water to the teapot, then collect the Brewed Tea.
Go back to the scientist and give him the tea. You will receive the Fireworks.
Now return to the starting area. Tap a winch handle on the column on the far right to lower a rope of lanterns.
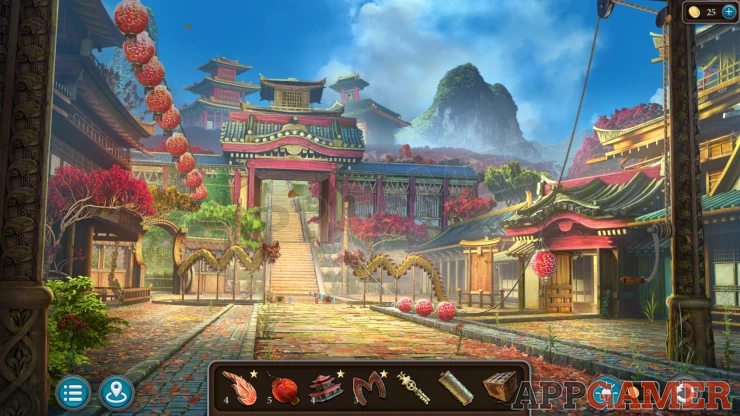
Add the five lanterns you have to the rope and this will complete the lantern task.
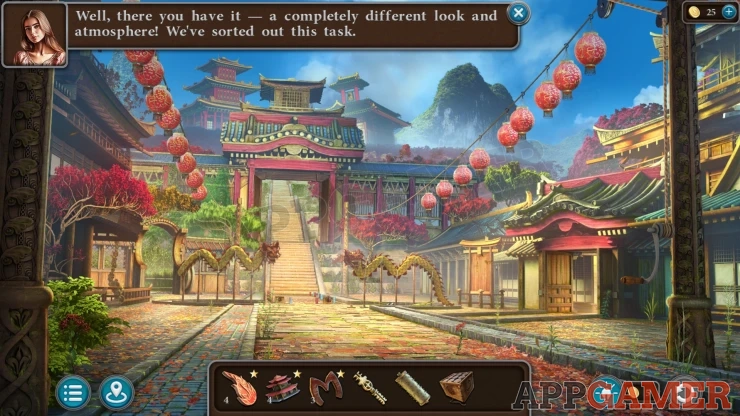
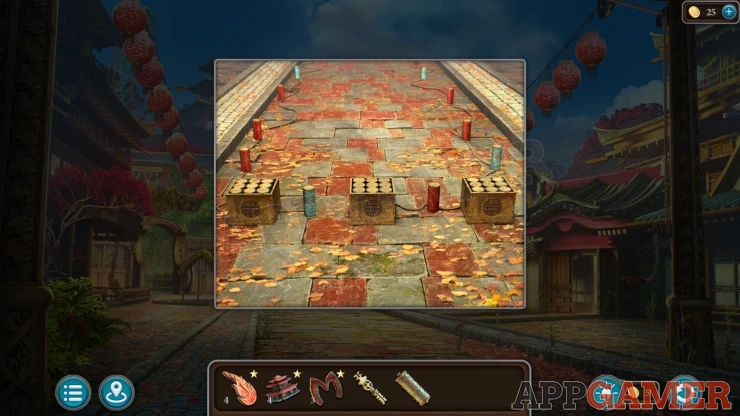
Now view the ground at the bottom of the steps to see some fireworks set up. Add the fireworks you have to them to compete the firework task.
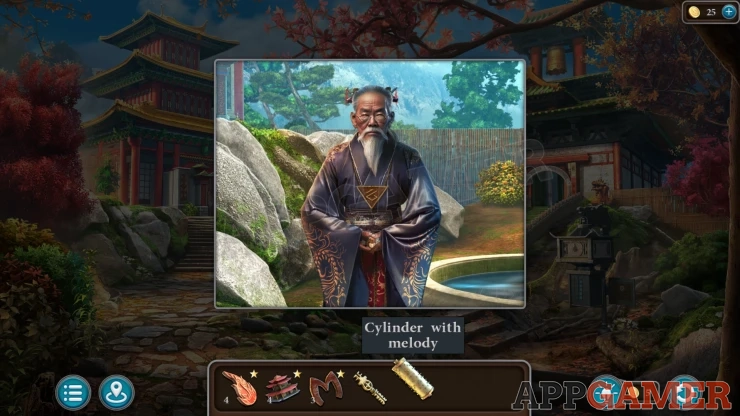
Go up to the top of the steps to the two temples, then you can give the cylinder to the man.
Enter the temple with the broken roof and view the structure on the right.
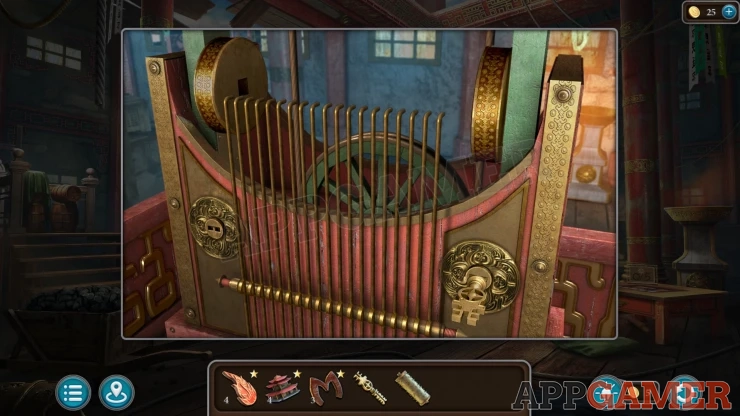
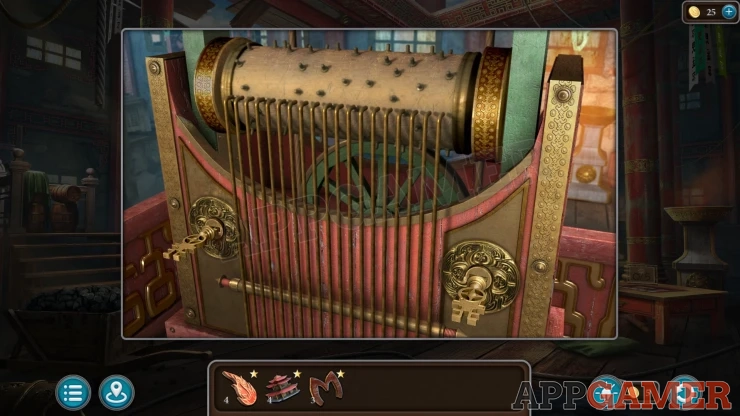
Add the winding key to the slot on the left and then place the Cylinder in the top. Tap the keys to start playing the melody.
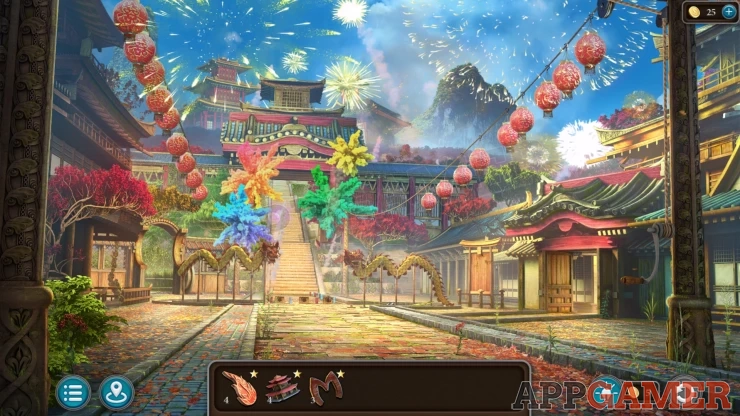
The festival will start and this will complete the Episode.
To collect all of the stars for this episode you also need to hand in the other collectible items you found. If you have not already done this you can check the Episode 6 Extra Stars Guide for help.
This is the end of the game for now. If more episodes are added we will update the guide.
We have questions and answers related to this topic which may also help you: Show all
 With 20 years of experience in creating video game content for the internet and over 30 years as a gamer, Mark is now a passionate mobile App Gamer. Loving a challenge, he is always ready to get stuck in to both survival builders and puzzle solving games. He has been providing content for AppGamer since 2014.