
Episode 3 Walkthrough - Viking Village - Part 2
More Artifact Seekers
This is the second part of our guide to Viking Village, the third Episode in the puzzle adventure game from Five BN. In this episode you are exploring the abandoned frozen village to help defeat a monster.
This is part 2 of the walkthrough for Episode 3, In part 1 we have found the witch and discovered the way to rid the town of the monster. Now we need to make the Enchanted Ax.
Episode 3 - Viking Village Walkthrough - Part 2
Go to the village and now view the door to the building on the left. There is a round emblem on the door.
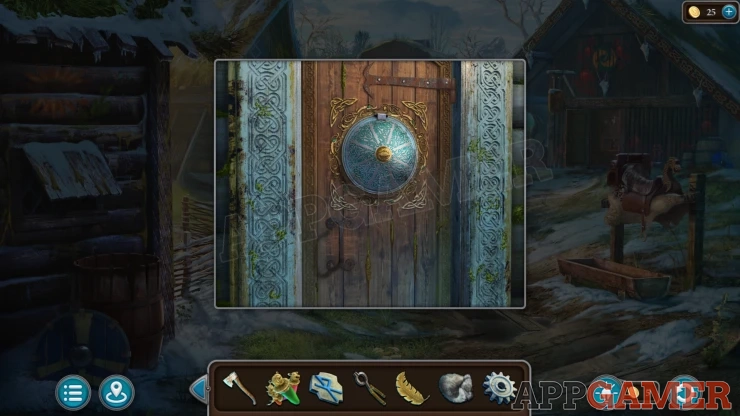
Add the gold feather to this and you can find another puzzle.
Village door runes puzzle
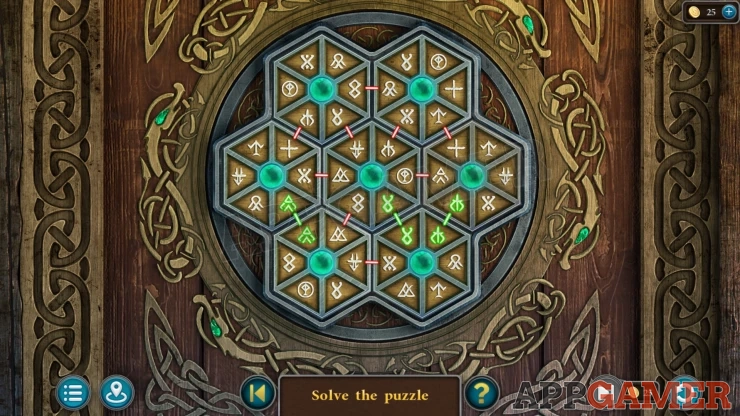
- There are seven hexagon pieces that have 6 rune symbol on each.
- You can tap pairs of the hexagons to swap their positions.
- Arrange all of the hexagons so that the adjacent touching rune symbols match.
Solution: Show
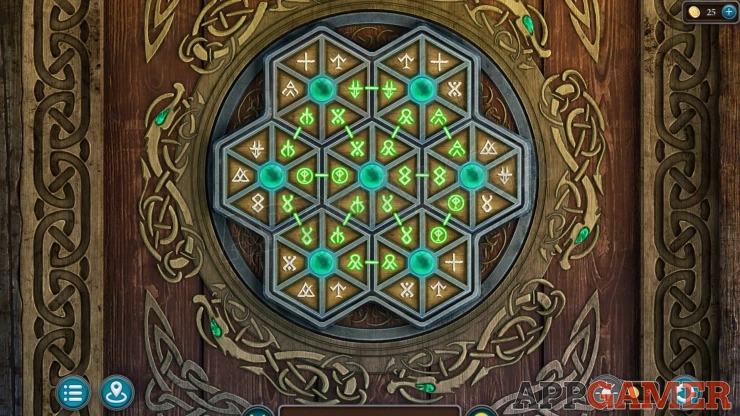
You can now enter the Map house.
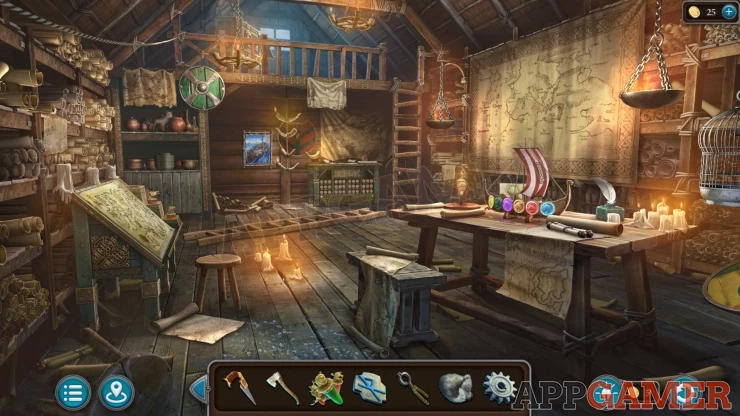
Morphing Object: a changing shape on the paper map hanging over the side of the table on the right.
Collection Item: goat figure on a shelf on the left near a green shield.
Collect a Ladder from the floor.
Look at the candles on the floor to the left. There is something under the planks. Use the pincers here to collect a Decoration.
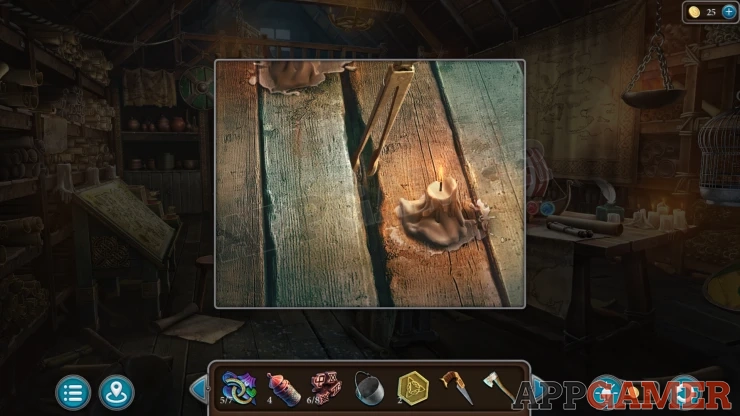
Then view a bench at the back of the room.
Collect a pouch of Powder from the top and then use the knife on the panel at the bottom to open it , this starts a puzzle
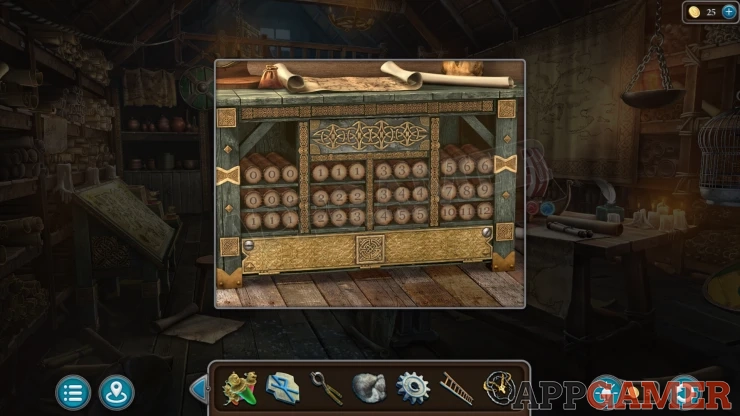
Map Tubes Puzzle
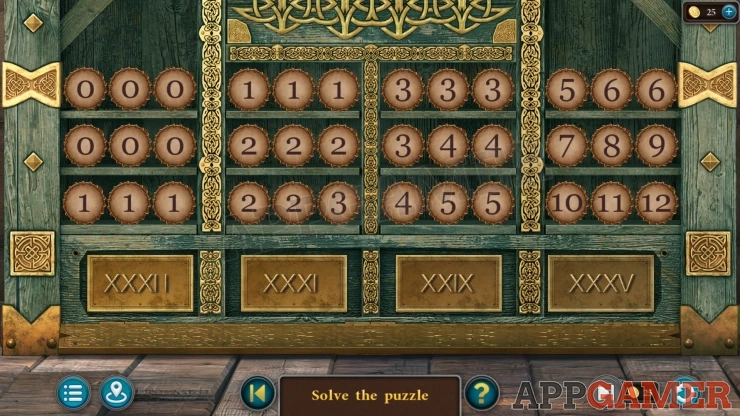
- There are four sets of map tubes with numbers on them.
- You can tap pairs of tubes to swap their positions.
- At the bottom are four numbers in Roman Numerals.
- You need to make the total of the numbers on the tubes above each column match the Roman numeral.
Solution: The numbers in each game can be different.Show
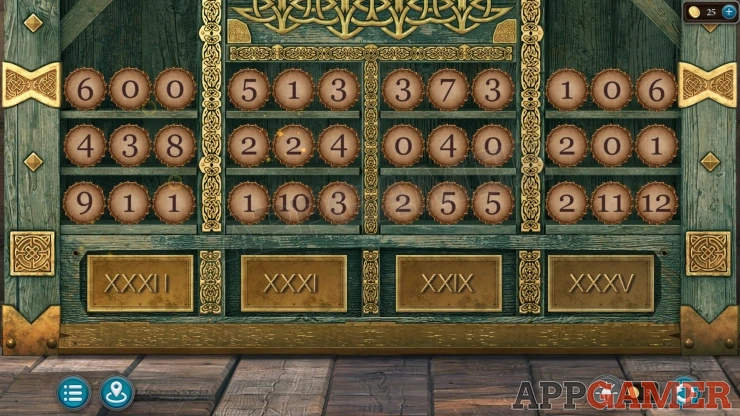
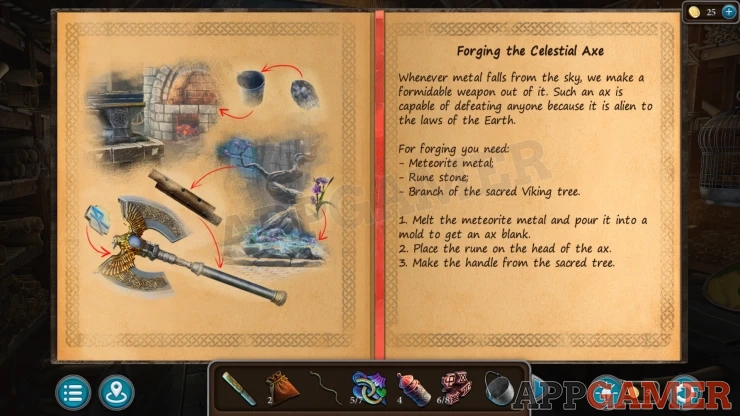
Once done you can collect a book with details for Forging an Ax. And also another Mosaic Piece.
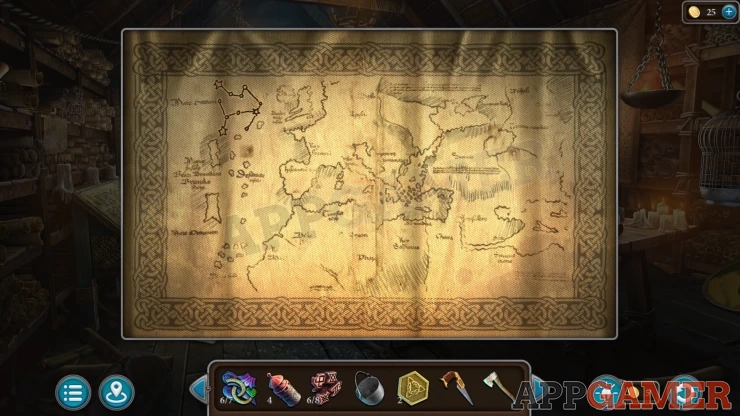
Look at the large map on the right wall and notice that there is a star constellation chart on the right side. This is a clue.
Back out and enter the banquet hall on the right. Look on the table on the right to see a round box with star markings on it.
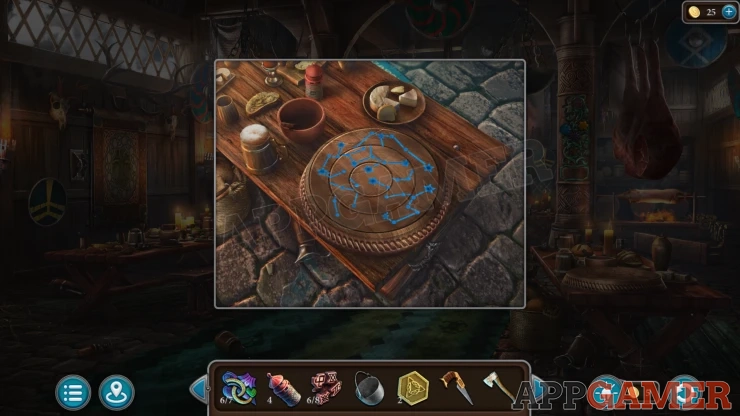
Lighthouse: on the table to the top left of the box.
Star Constellation Puzzle
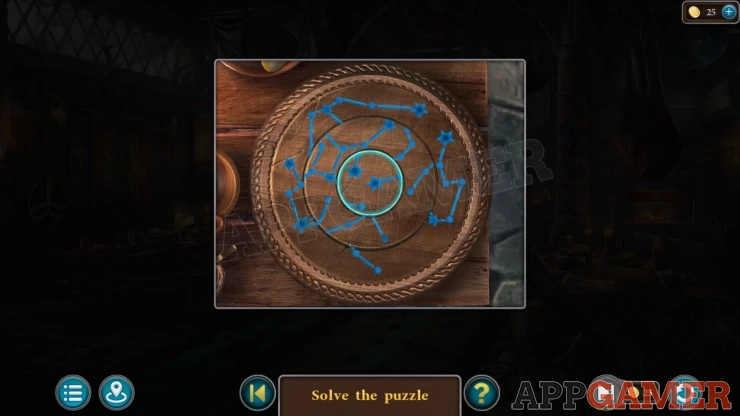
There are 3 rings that you can rotate to line up the stars and lines.
Match them to the map you saw in the Map room.
The clue will only form part of the final layout on the box, it is not the whole picture. So find parts that match and line them up.
Solution: The clue and solution will be different in each game, this is my solution.Show
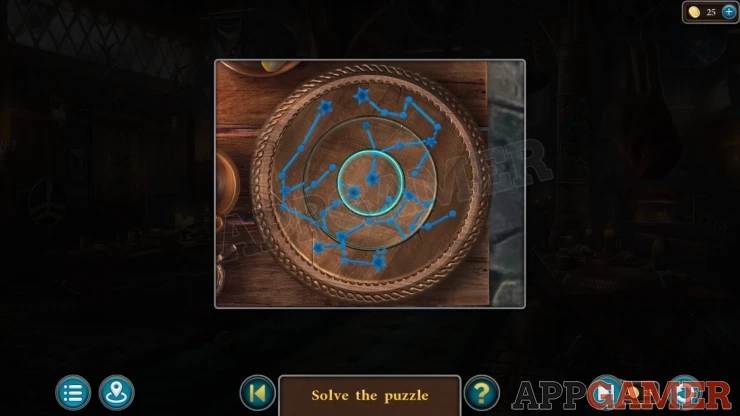
The box opens and you can collect another Mosaic Piece.
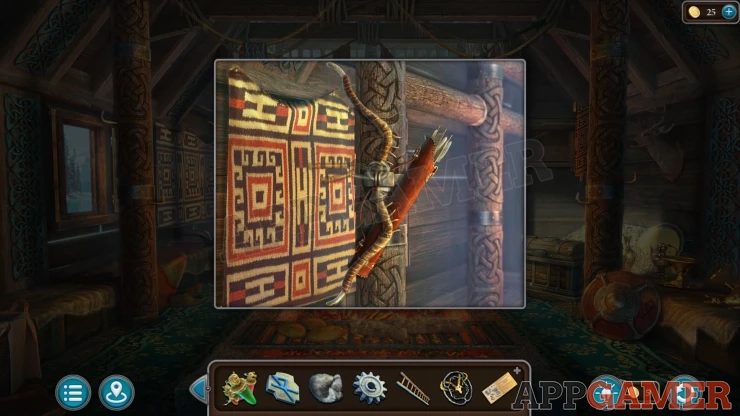
Now return to the Great Hall with the Jarl. First view a pillar to the left of the Throne, you can use the Pliers to open the ring holding a bow in place and then you can collect the Bow and Arrows.
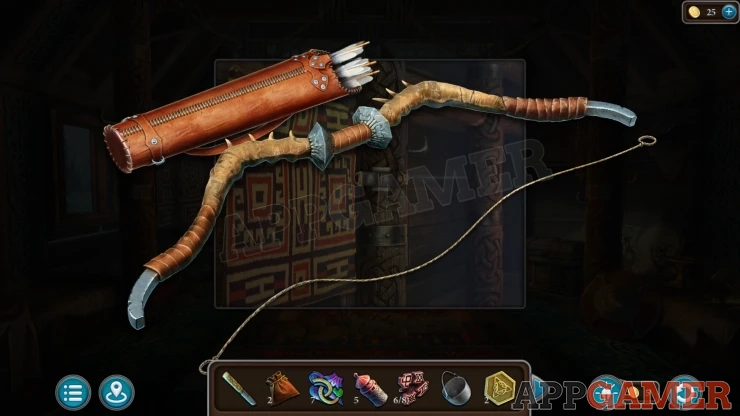
View the bow in your inventory and add the Bow string to it. You will collect the working Bow and Arrows.
Now view the large chest on the right side.
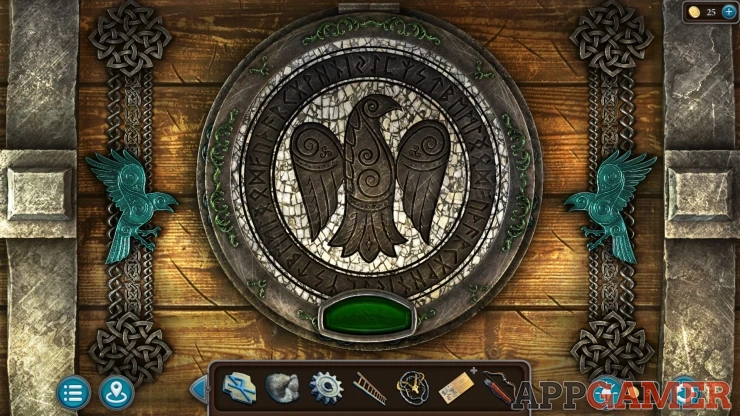
Add the 7 mosaic pieces to it and the top will open to reveal a puzzle.
Eagle Chest Puzzle
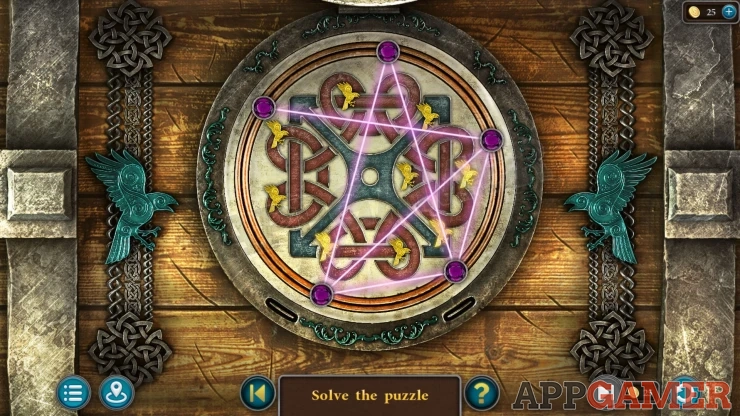
- There are several purple disks around the outer edge of the puzzle. There have beams of light between them
- There are nine gold eagle symbols in the puzzle.
- Arrange the disks so that the light beams pass over and activate all of the eagle symbols.
Solution: This may be different in your game.Show
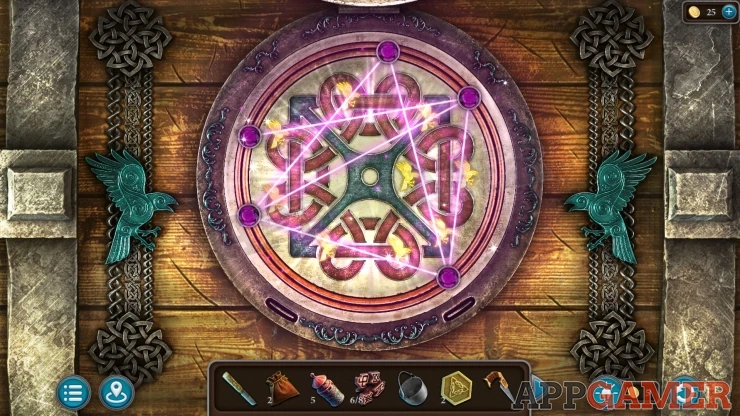
With the chest opened you can collect another of the Runes, a Painting and the Meteorite Metal.
Go back to the Map room and look at a painting on the back wall. There is space for a second one to the left.
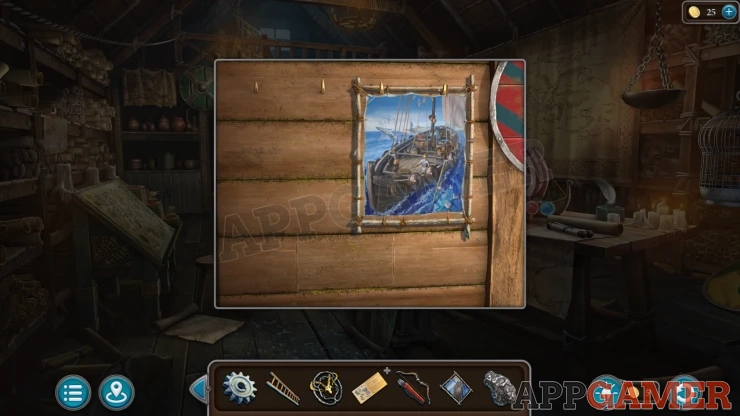
Add the Painting that you have here to start a puzzle.
Paintings Puzzle
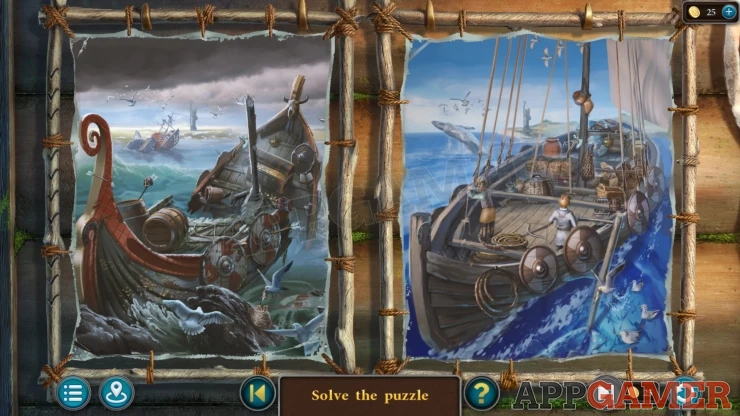
- This puzzle is the opposite of spot the difference. Here you need to find the 10 items that are the same in each painting.
- The items are small such as a bird or a mug.
- Tap on the item in either picture to highlight it
Solution: There may be other difference in your gameShow
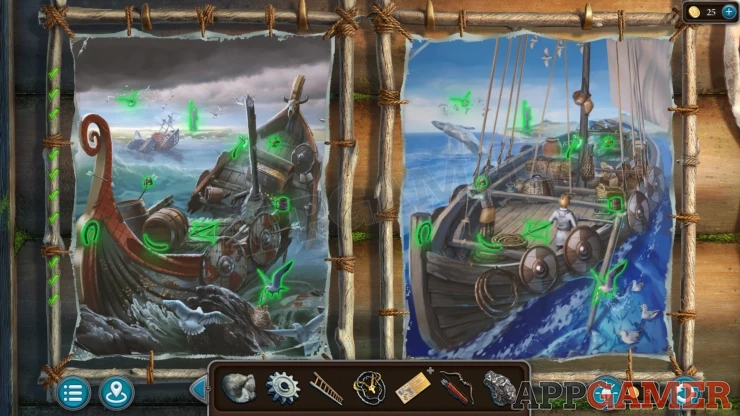
Collect a Wick and another of the Runes.
Return to the Lake area and view the door to the building on the left.
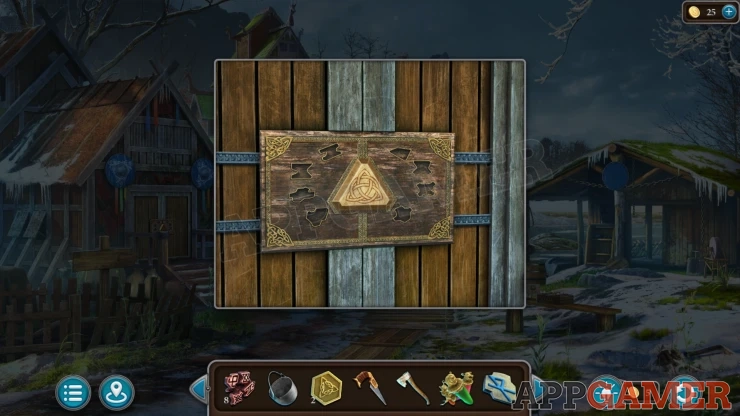
Place the 8 Runes here to open the panel and find a puzzle.
Solitaire Puzzle
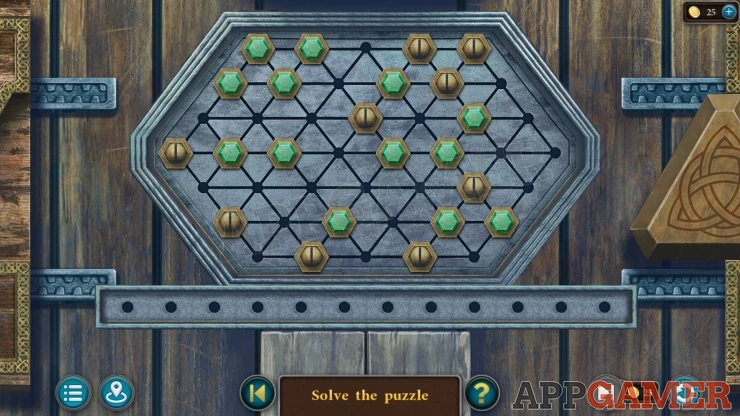
- This puzzle is like solitaire. You need to select a green piece and them move it over another green piece to remove the second piece from the board.
- There are also fixed yellow pieces that you cannot move or remove.
- Remove all but one of the green pieces to complete the puzzle.
Enter a Sacred Hall.
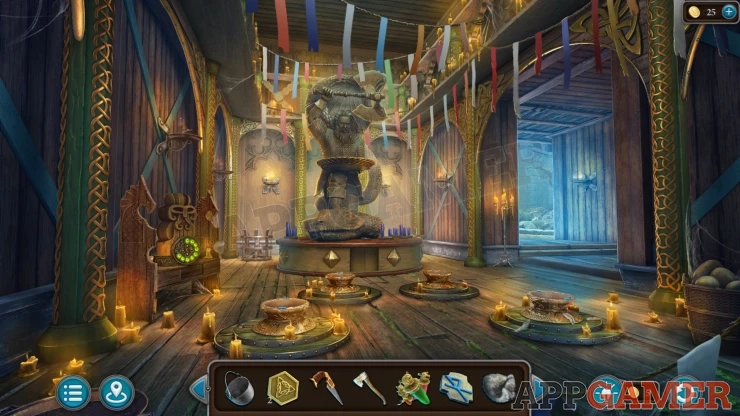
Morphing Object: a small symbol on the decorative arch to the left of the statue.
Collection Item: Monster head symbol on the wall to the right of the statue.
Token: tap to view the Ax on the statue to see it on the ax head.
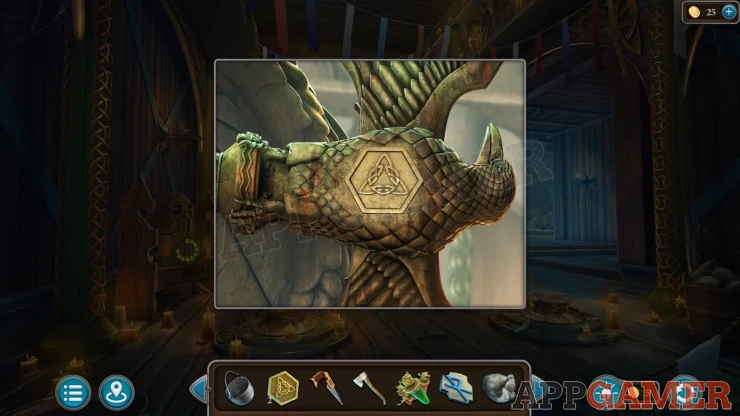
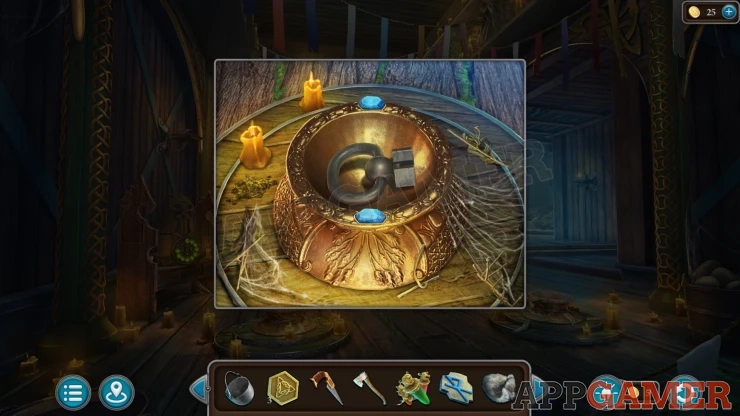
There are 4 ritual bowls on the floor, examine these and collect a Ring from one of them.
Now tap the doorway on the right to though to a room with a sacred tree.
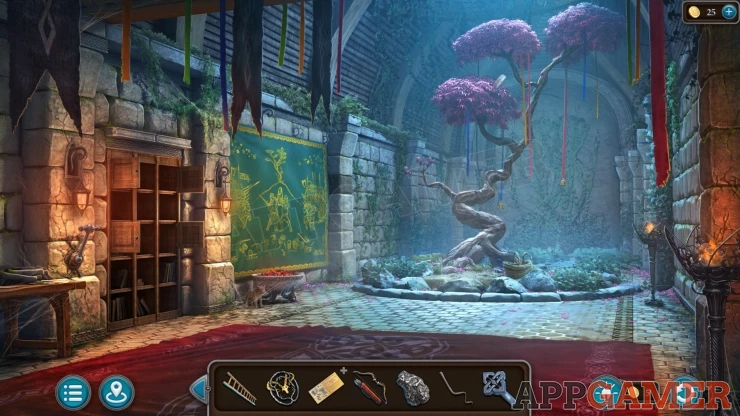
Morphing Object: metal hook on the left wall above the large green trpestry.
Collection Item: Goat figure on the floor on the left below the large green tapestry.
View the base of the tree and collect from the ground a Basket.
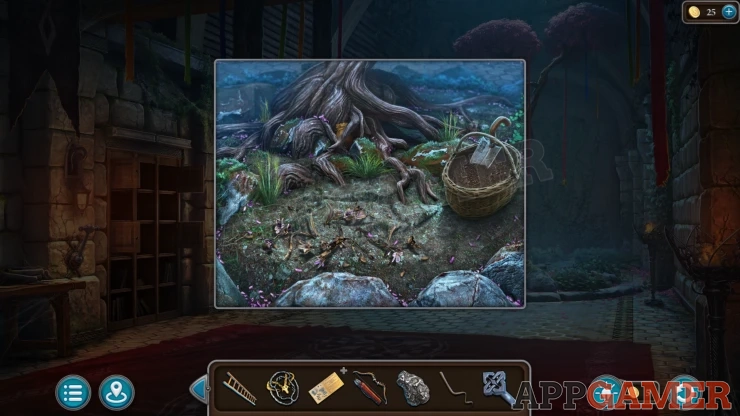
Powder: look in the roots of the tree.
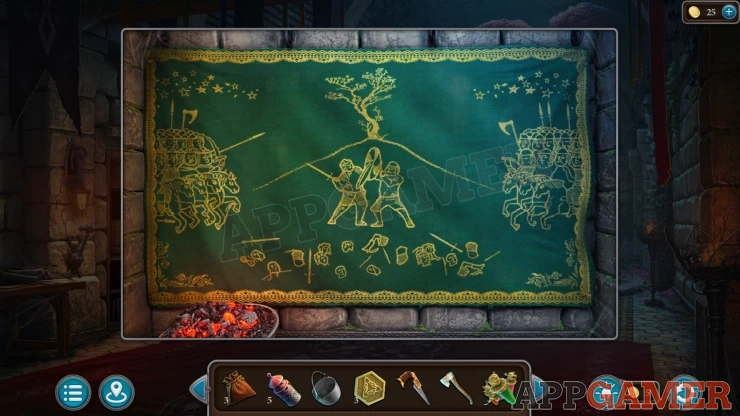
View the Green tapestry for a clue.
Next go to the Shipwreck. View the flowers growing on the grass on the right.
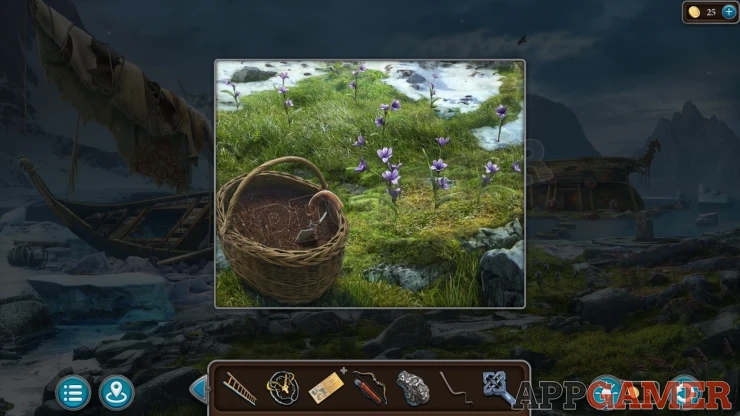
Pace the basket down and tap the trowel, you will then collect some Scillas.
Next place the ladder on the bow of the ship so that you can reach the figure head.
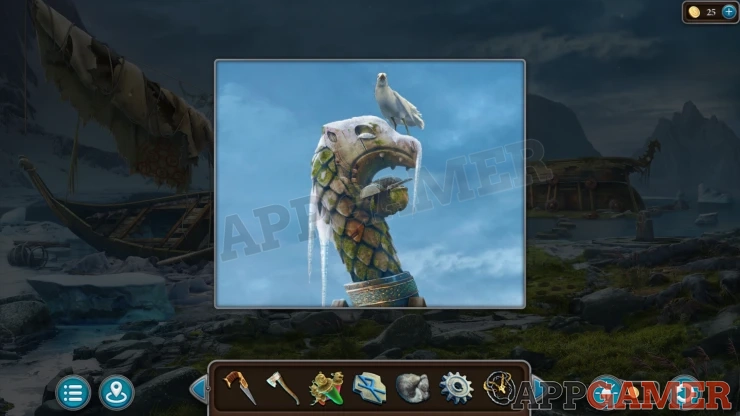
Look at it to see a sea bird on top. You need to get rid of it. Go to the Lake and look in the small boat. Collect a Fish.
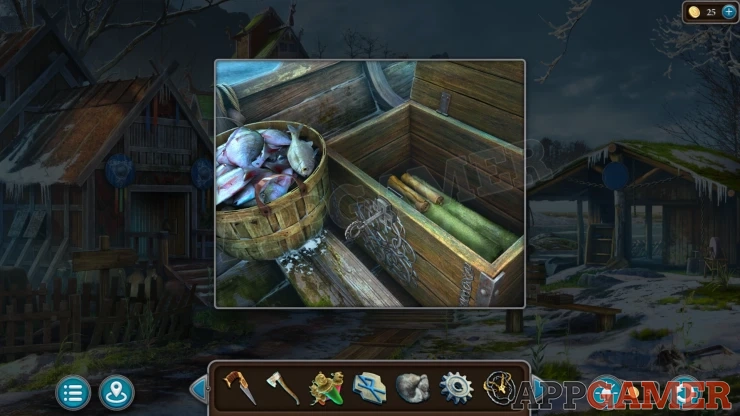
Then return to the ship wreck and give the fish to the bird. It will fly away.
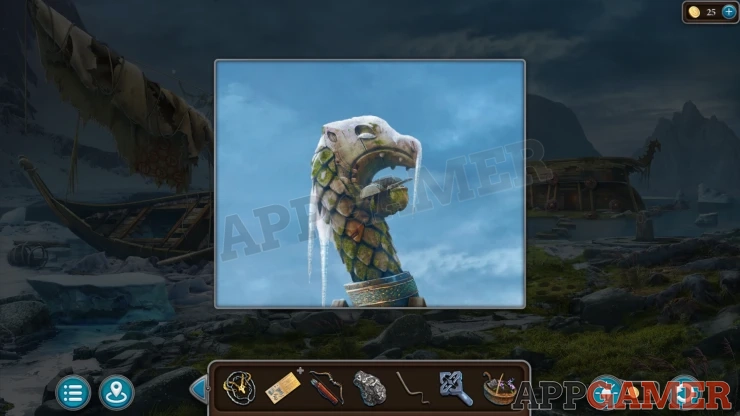
Collect a Mug from the mouth of the figure head.
Powder: Tap the odd colored scale on the neck to move it and find the powder.
Return now to the Tannery. There is a trap door in the floor.
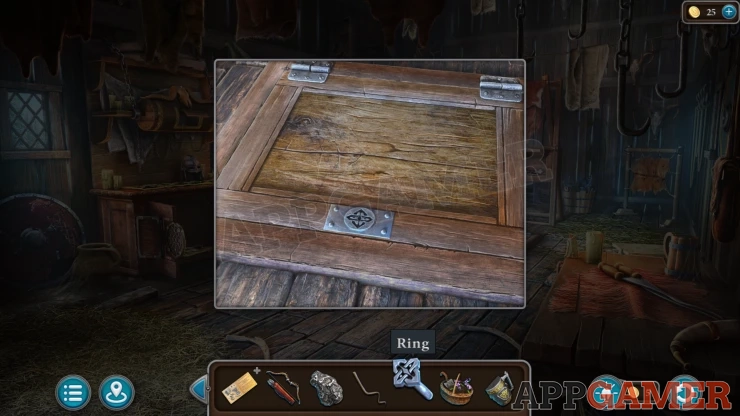
Use the ring on the trapdoor lock to open it.
You can then collect a Lever.
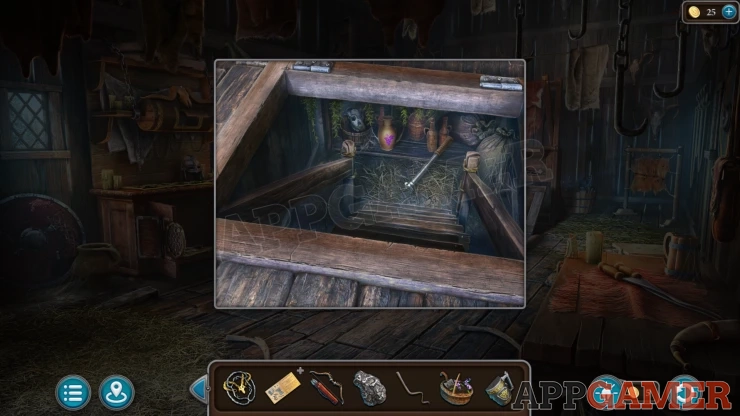
Travel to the Banquet hall, look on the left wall to see another wall hanging. You can place the lever here.
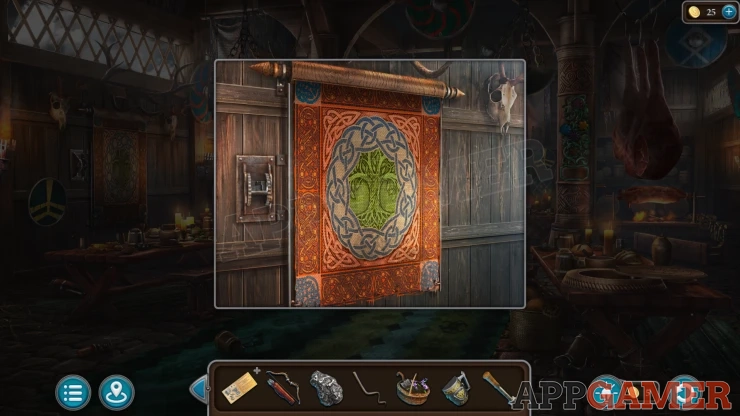
Use the lever to light the wall hanging and then you can place the Mug into the slot behind it.
Arrow Segments Puzzle
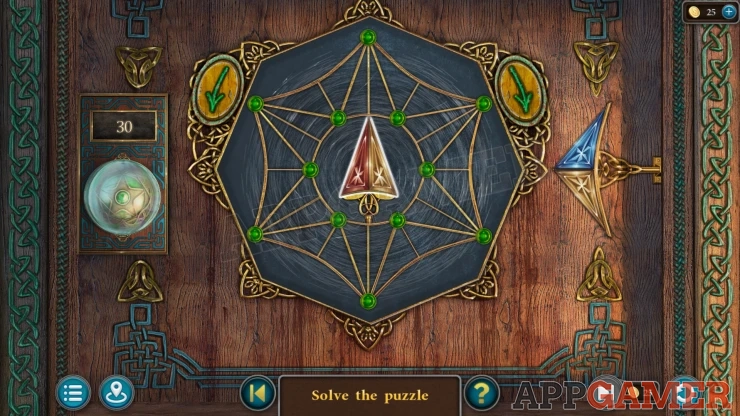
- This is a Star Puzzle, if you can complete it within the set number of moves shown on the left you will receive an extra star.
- There is an arrow shape on the right with colored segments, tap this to place the segments on to the frame in the center.
- There is another arrow this colored segments in the center, tap this to also place them into the frame.
- You can use the arrow button on the top left and right to turn the frame.
- Fill the frame with the colored segments, you need to make the touching segments have the same color.
Solution: This may vary for your game. First place all of the large section on the right side by adding them and then rotating the frame clockwise. Then place the center pieces where they will fit correctly.Show
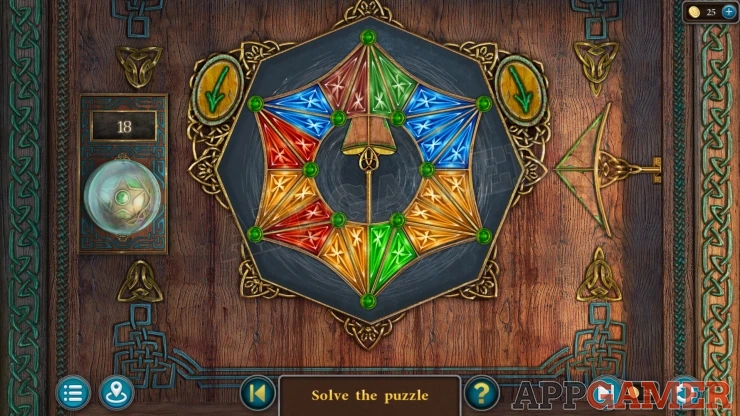
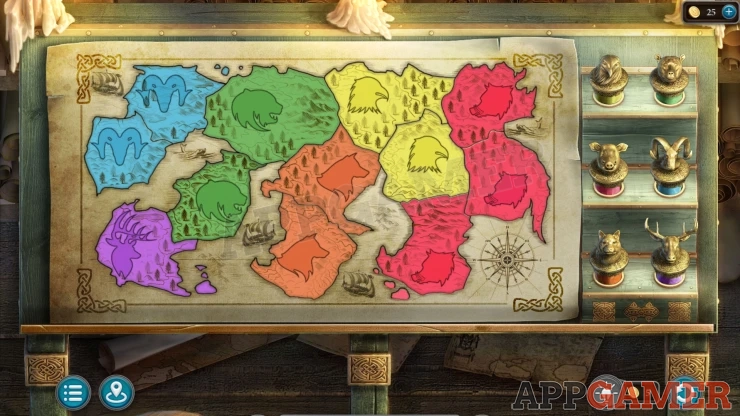
Once done you can collect an Anvil. And you will see a map of territories by color / symbol. This is a clue.
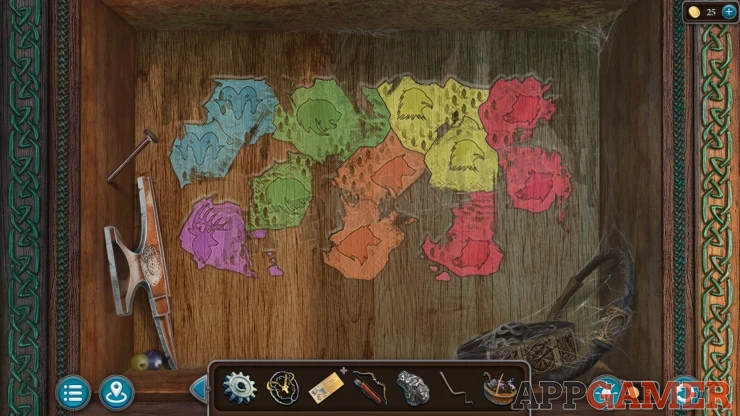
Go to the Map room and look at a desk on the left with a Map.
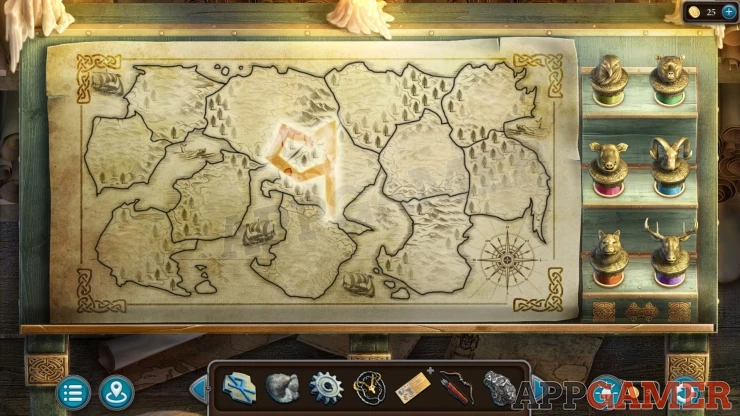
Map Puzzle
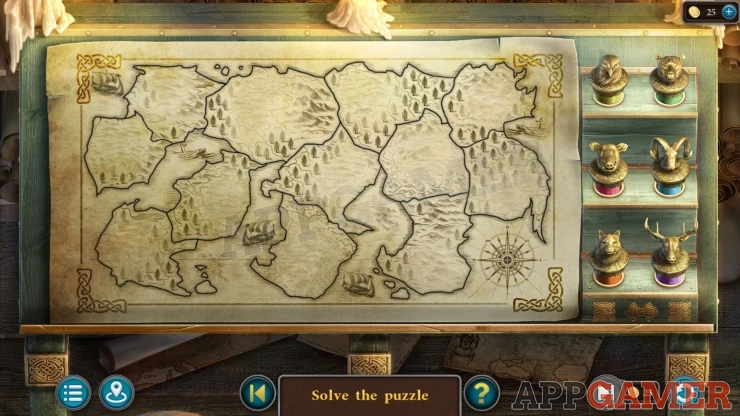
- Add the Crayons to the right side.
- Tap a colored crayon and then select a territory to color in.
- Match the colors to those seen in the map clue.
Solution: The clue / map may be different for you.Show
You will now see a Rune shape appear. This is a clue.
Show
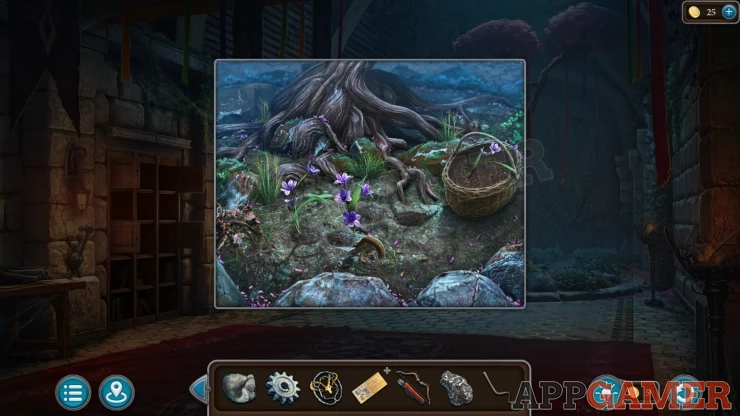
Return to the sacred tree and view the base of the tree. Place the basket of Scillas down and then you can plant them.
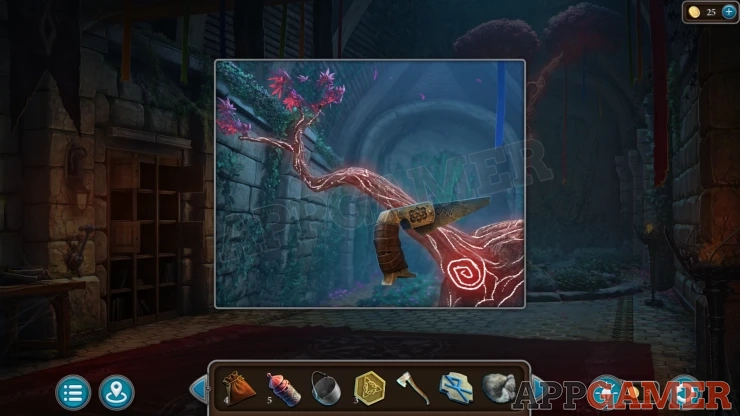
This reactivates the tree. View the branch on the left. Use the handsaw on this to cut and collect the Branch.
Next go to the Village, on the right is a stand with a saddle on it. View this.
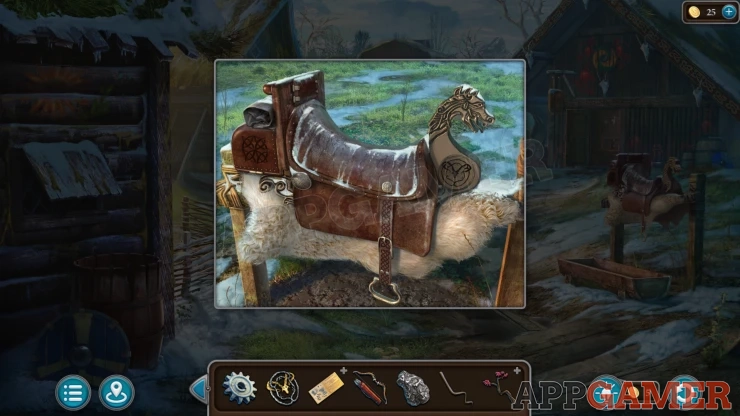
Add the Decoration to the circle on the front (right) off it and then a small panel will open on the left. Look inside for a puzzle.
Weapons Puzzle
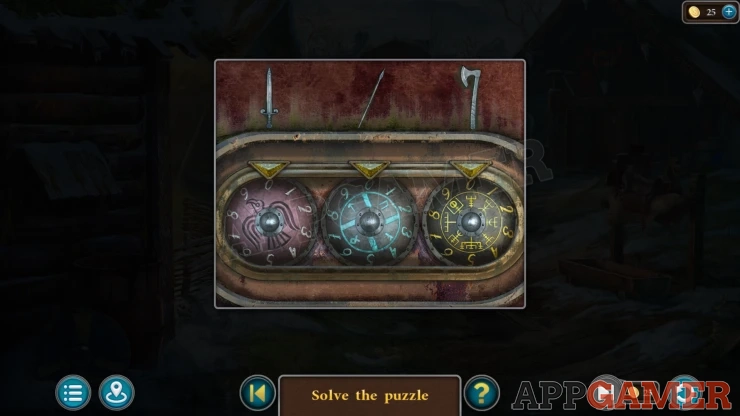
- There are 3 wheels that you can turn to set numbers.
- Above each wheel is a weapon symbol.
- Find the clue to set the correct number for each weapon.
Solution: Check the large tapestry in the room of the sacred tree. Count the number of each type of weapon show in it. This can be different for your game. For me it was. 4 Swords, 5 Spears, 2 AxesShow
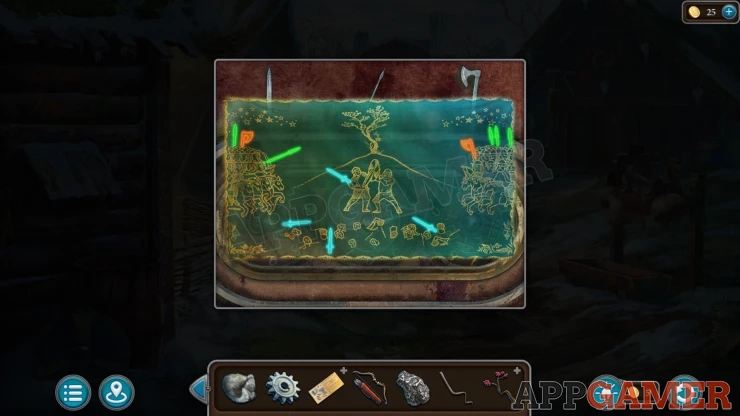
Once done the back opens and you can collect a Hammer.
Now go to the Lakeside and enter the Forge on the right side
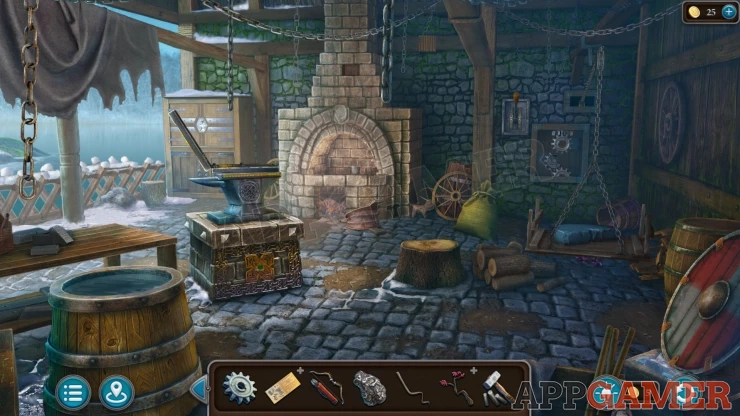
Morphing Object: Horseshoe / ring on the wheel on the right wall.
Collection Item: Goat Figure on the floor to the right of the Hearth.
Token: Look at the small green square on the base of the Large anvil by the fire.
View the cabinet on the left of the Hearth. Place the small anvil into the center to open the doors to find a puzzle.
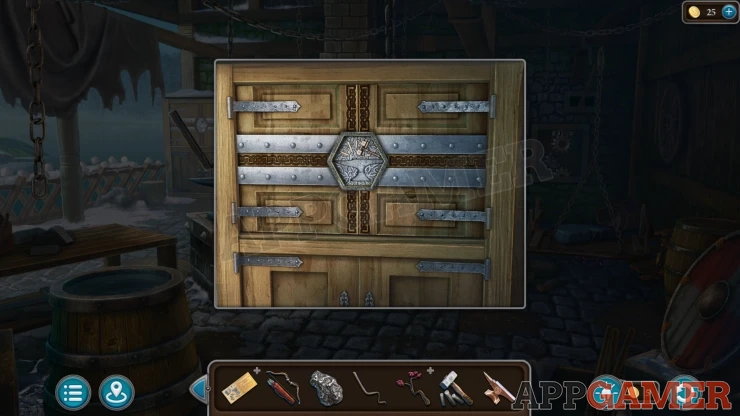
Forge Cabinet Puzzle
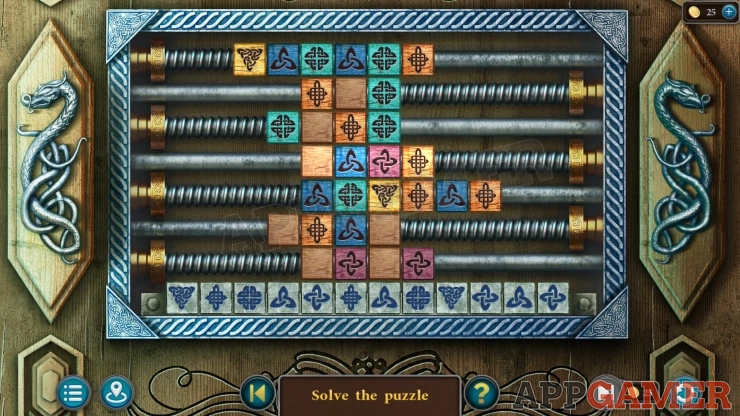
- There are seven sets of symbol blocks on rods that you can move to the left or right.
- At the bottom is a set of symbols that you need to match.
- Slide the rods so that there is a matching symbol above each of the bottom ones.
Solution: Show
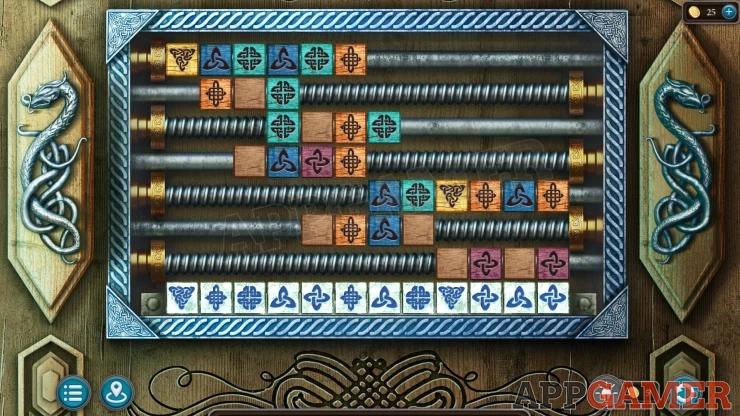
Once opened you can collect some Pincers.
Now view a set of gears on the back right. One of the gears is broken.
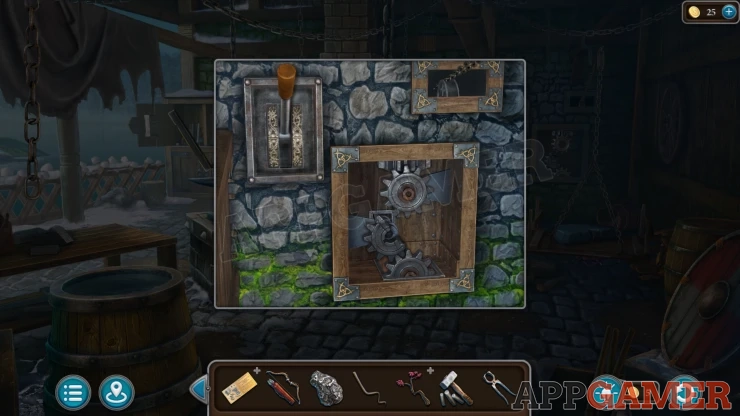
Remove the broken gear and place the one you have in your inventory. Then you can pull the lever on the left and lift up a heavy weight.
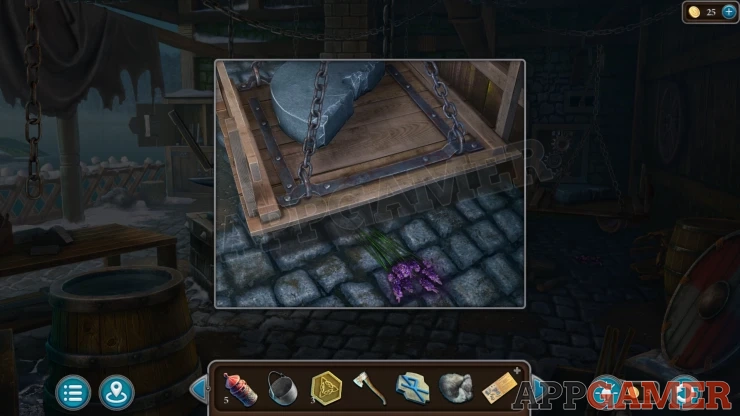
Collect the Lavender from the floor under the weight.
Now look at the pile of logs on the ground. Add one to the block on the left and then use the ax. This will chop the wood and you can collect Firewood.
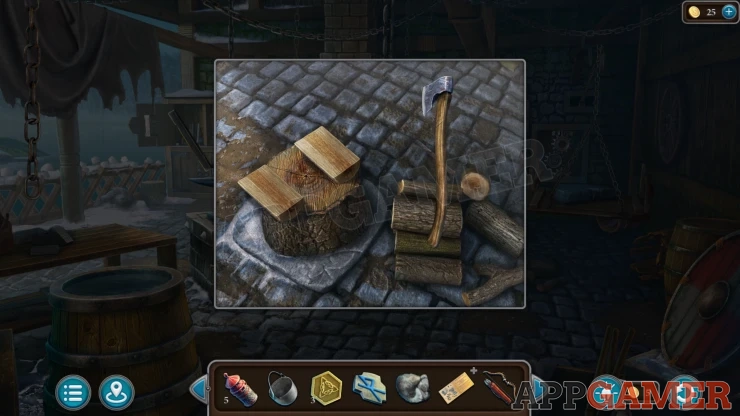
View the bottom of the Hearth next and add the firewood to it. Then you can tap the bellows to get the fire going.
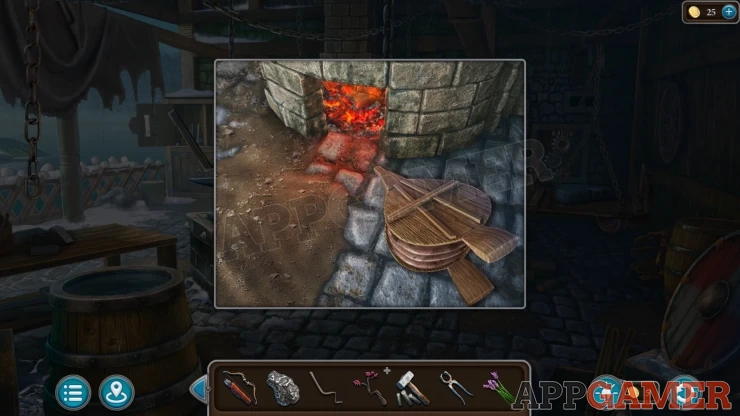
Next fire the top of the hearth. Add the Meteorite metal to the crucible bucket, it will then be melted.
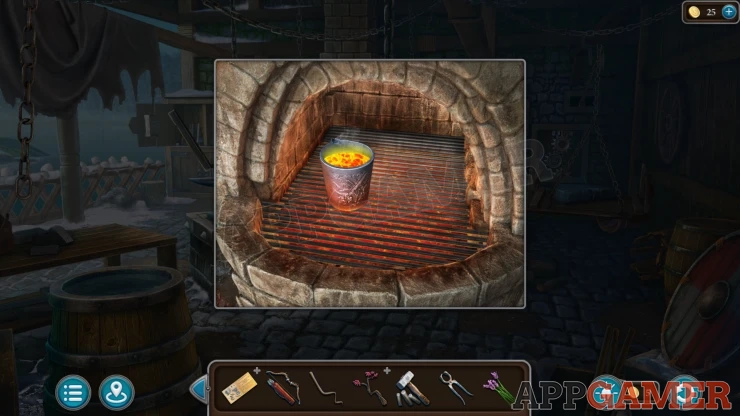
Use the Pincers to collect the Liquid metal.
View the anvil with the mold on top. Close it and add the liquid metal to it.
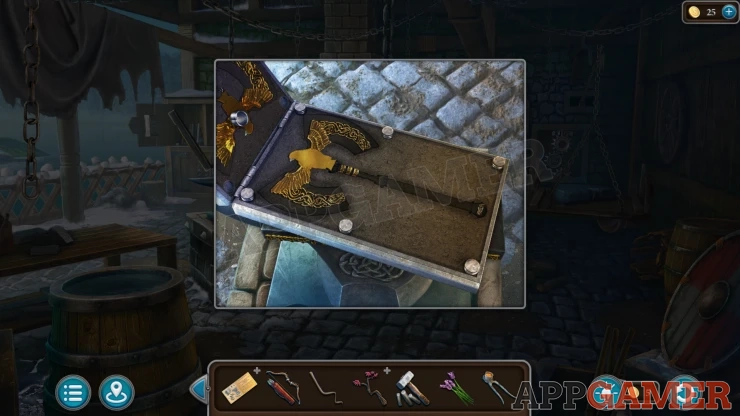
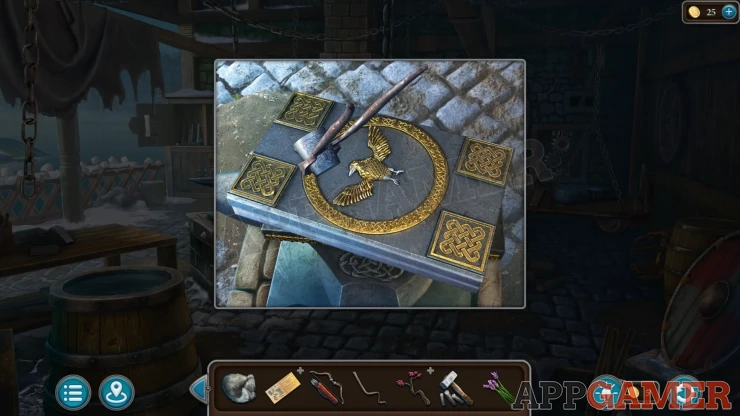
Now use the pincers to take the mold. It will be cooled in the barrel of water. You collect the Blank.
View the Anvil again and place the blank onto it.
View the Branch in your inventory and use the knife on it to cut it to the correct shape. Collect the Handle.
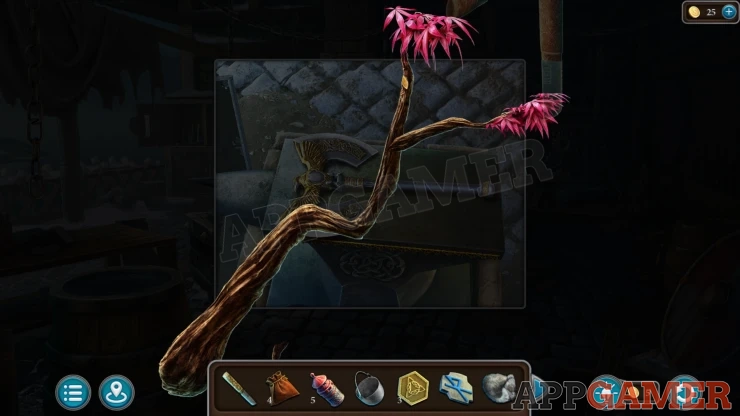
Now place the Rune stone on the head of the ax and them place the handle pieces as well. Use the hammer on the handle to secure it. Then collect the Celestial Axe.
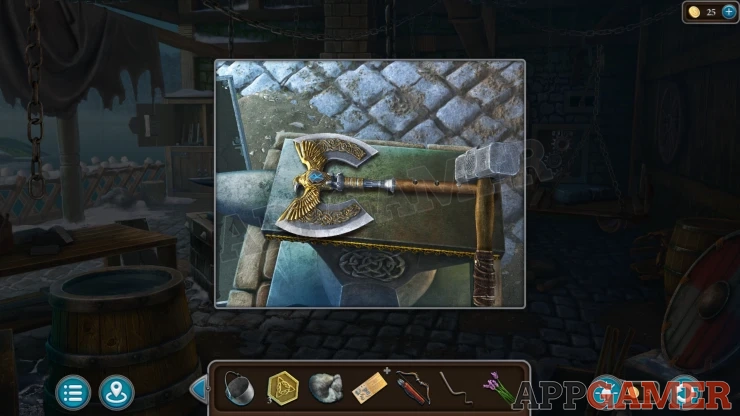
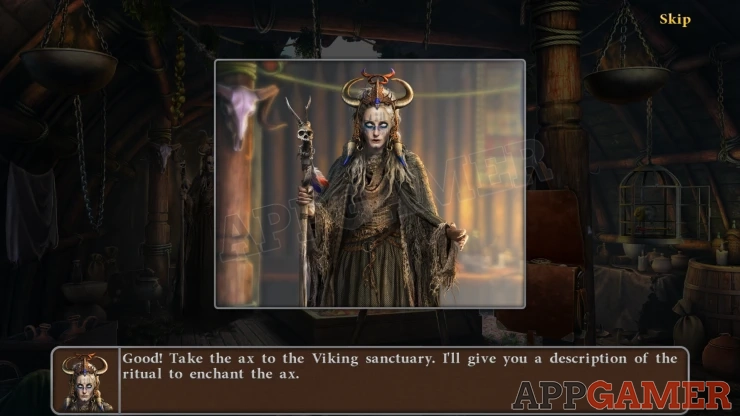
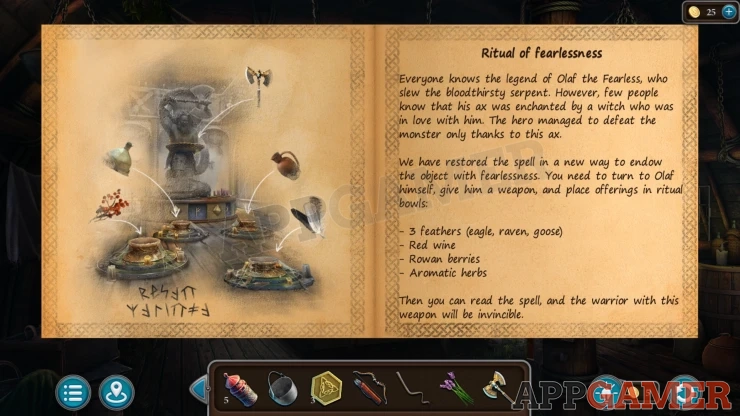
Return to the witches hut. Give the Fur Cape to her and she will give you the Ritual of fearlessness. that you need to enchant the Ax.
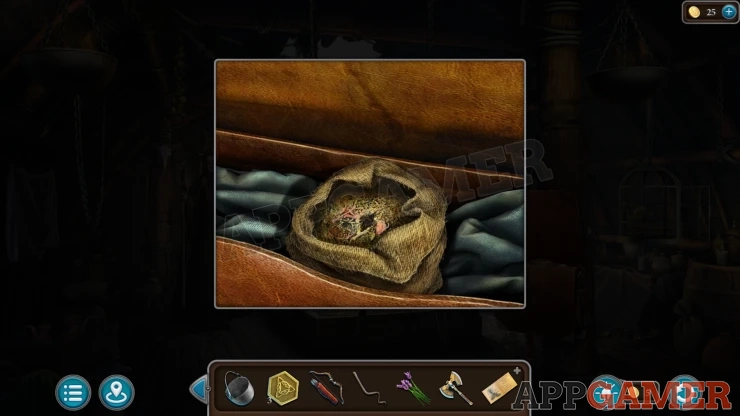
Look in the opened satchel again and collect the small pouch of Aromatic Herbs.
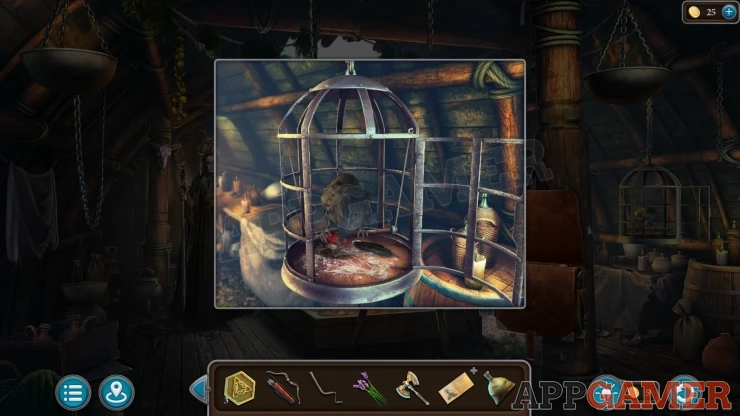
Then look in the bird cage again and collect the black Feathers.
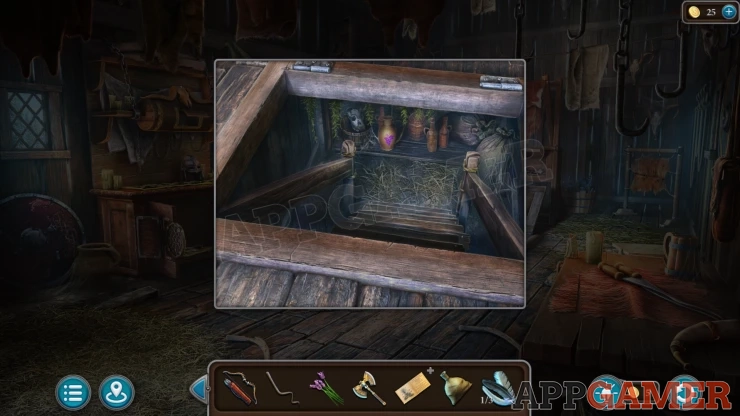
Travel to the Tannery and look in the cellar under the trapdoor again. You can now collect some Wine from the shelf.
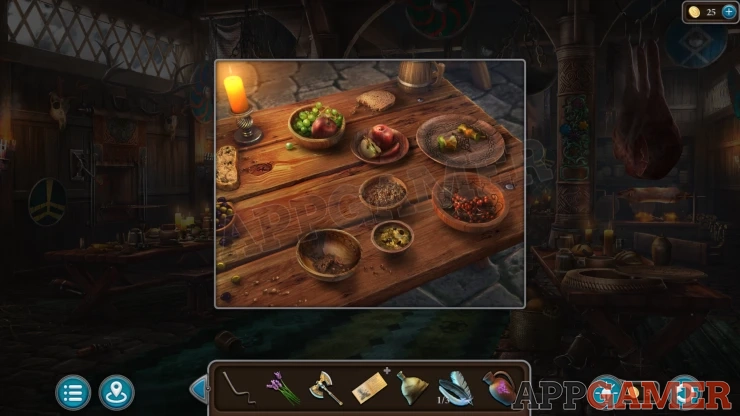
Travel to the Banquet hall and view the table on the left. Collect some Berries.
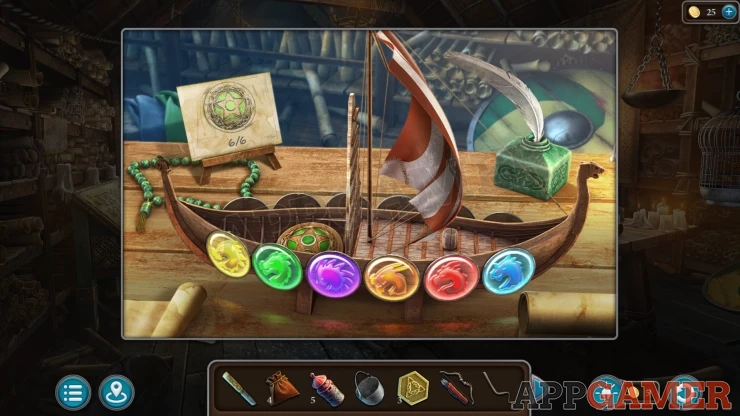
Go to the Map Room and view a ship model that is on the table. Collect a Feather from the ink pot on the right.
Go to the Sacred Tree and tap to see another feather on a high branch.
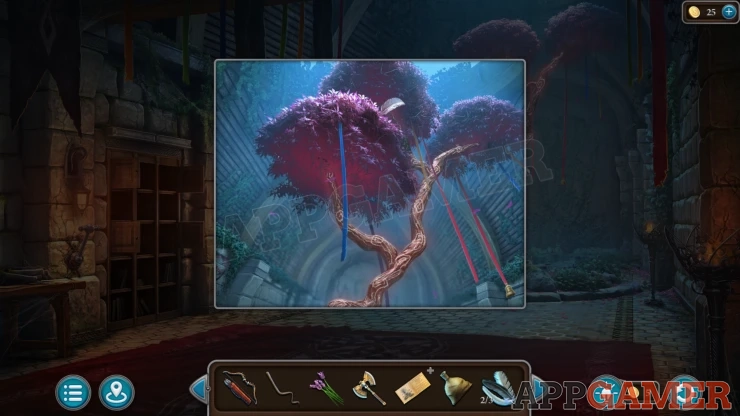
Use the Bow and Arrows on this and you will knock it down. Collect the Feather from the ground under the tree.
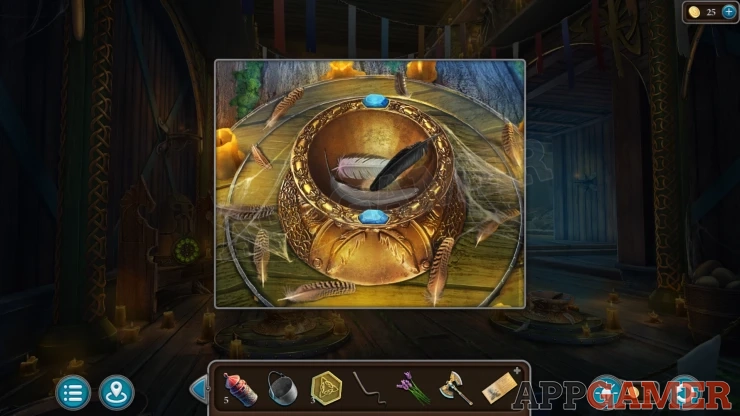
Back up to the sacred hall with the statue of Odin. View each of the 4 ritual bowls and pace the appropriate items in them. From left to right this is. Berries, Aromatic Herbs, Wine, Feathers.
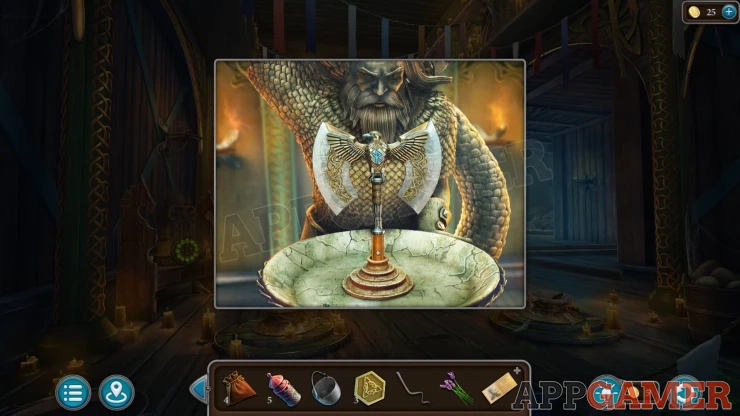
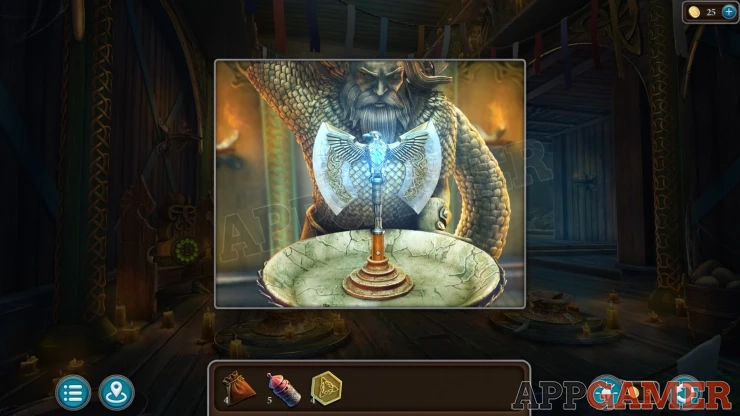
Now view the statue and place the Celestial Ax into the center of the large dish.
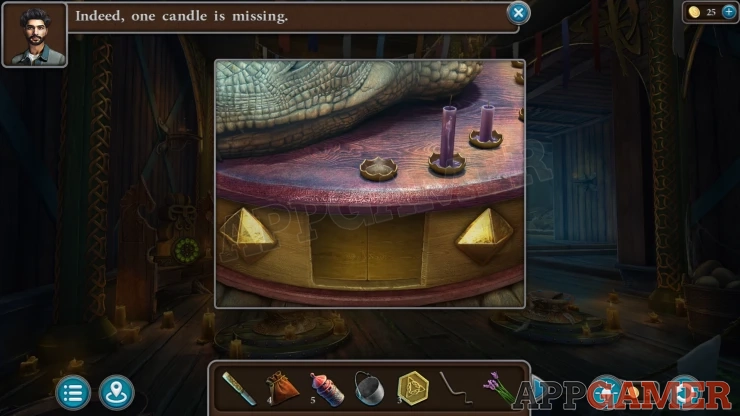
The witch now tells you that you need thirteen lavender candles. Check the base of the statue to see that one candle is missing.
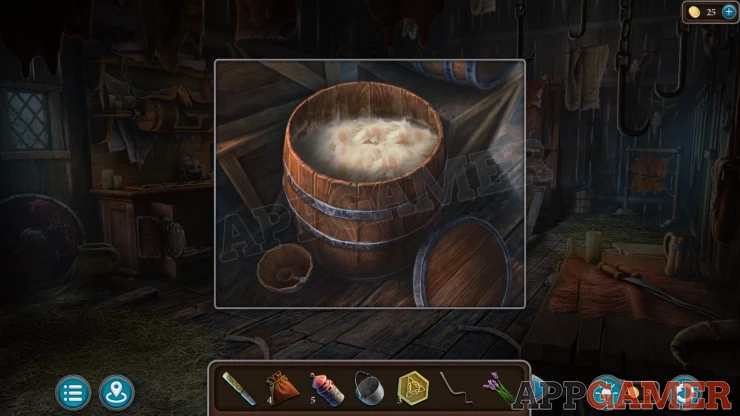
Return to the Tannery at the back of the village and view a barrel on the left.
Open the top and then you can use the scoop on the left to collect some Fat from it.
Back out to the Village and view the buckets in the center with honeycomb. Use the knife on these to collect some wax.
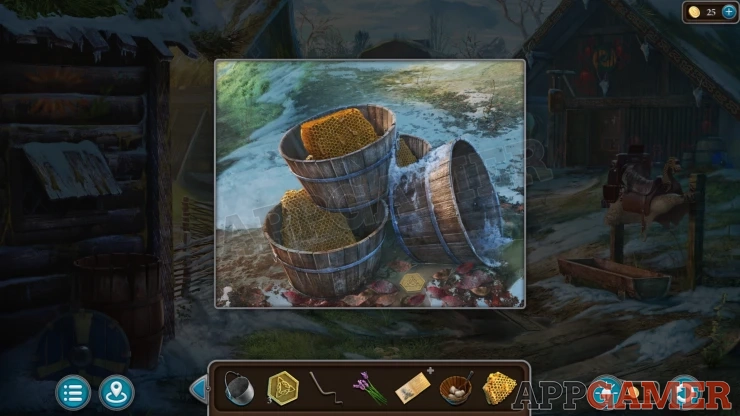
Token: move some leaves on the ground in the center to find it.
Now go to the Camp. View the camp fire.Add the Cauldron to it and them place the wax and the fat into it.
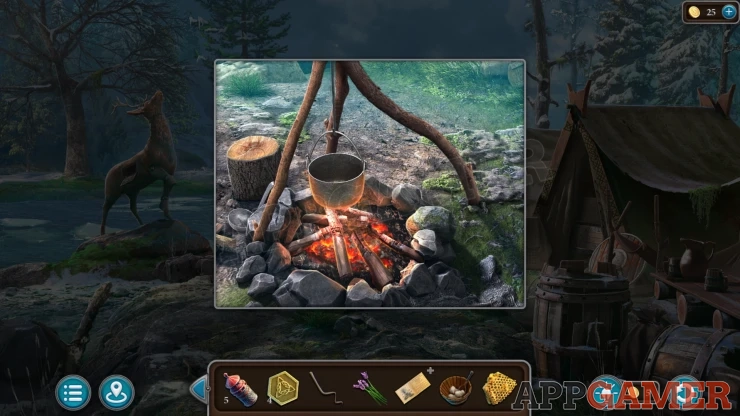
Next add the Lavender. Then select a ladle from the left of the fire to use to stir it. You will collect the Wax.
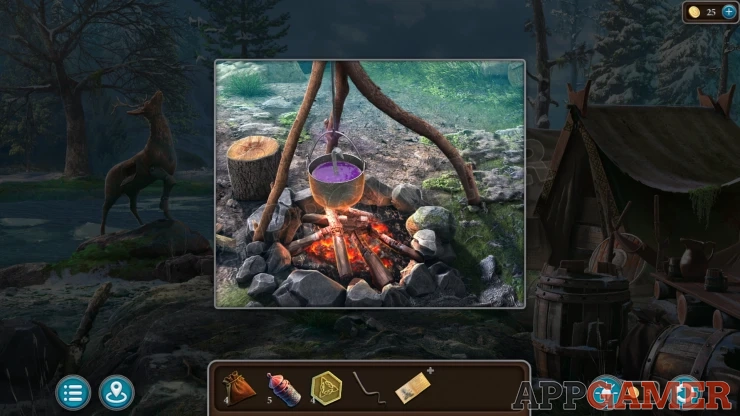
Go to the forge and look in the cabinet on the left of the hearth again. Collect a Mold from it.
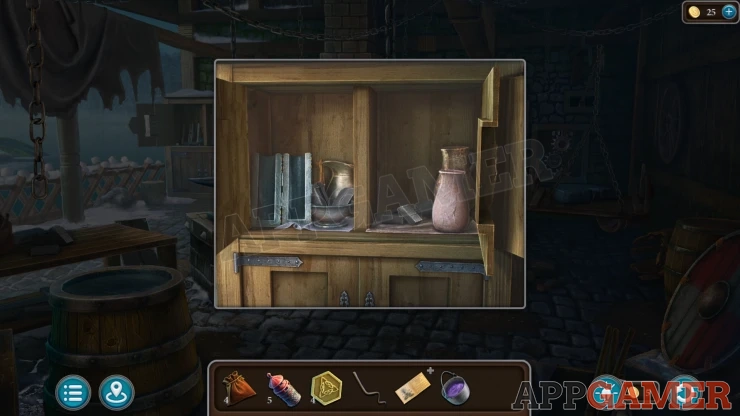
View the mold in your inventory and then add the Wick to it.
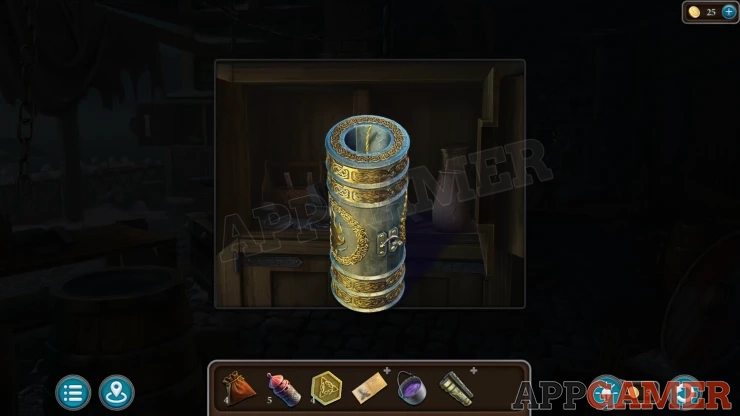
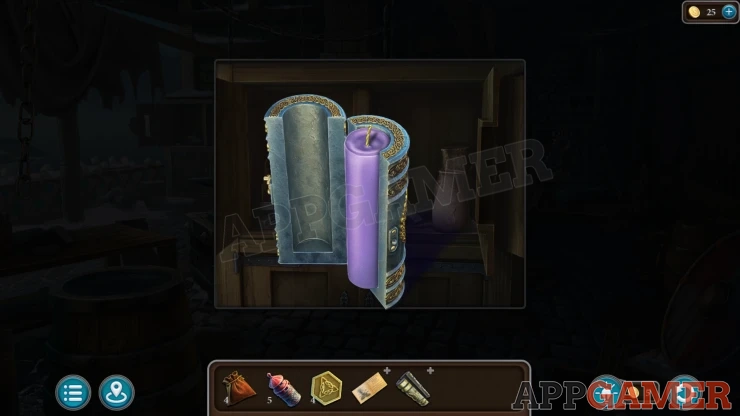
Next add the Wax and then you can open it and collect a Lavender Candle.
Return to the sacred hall and tap on the base of the statue again. Place the extra candle here.
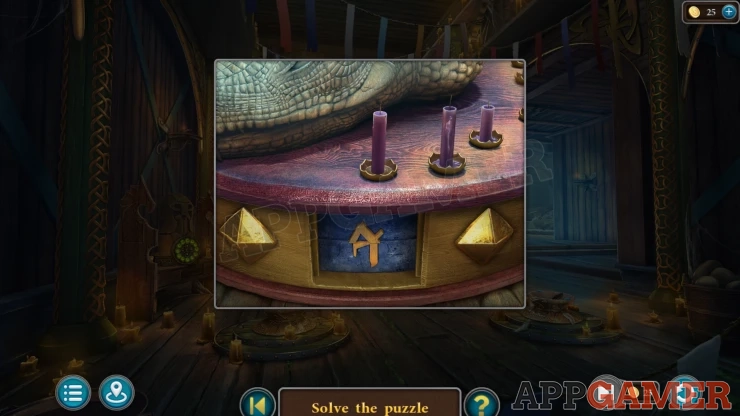
This reveals a rune symbol below.
Rune Puzzle
You can tap the top and bottom halves of the run to change them.
Find the correct 2 parts to match the rune that you saw a clue for earlier in the map room.
This may be different in your game.
Show
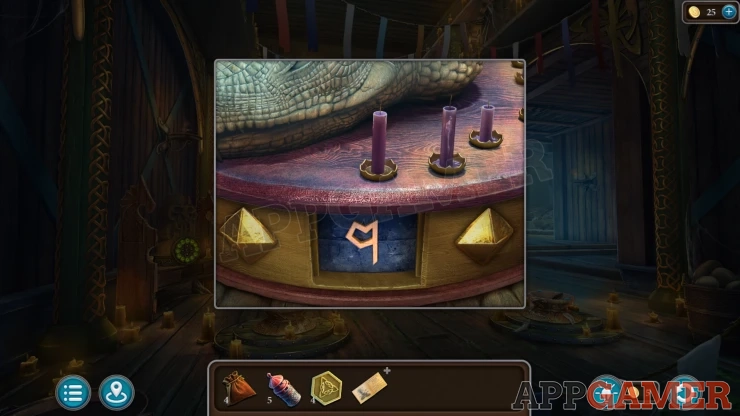
The candles are lit and the Witch will chant. Then you can collect the Ax of fearlessness.
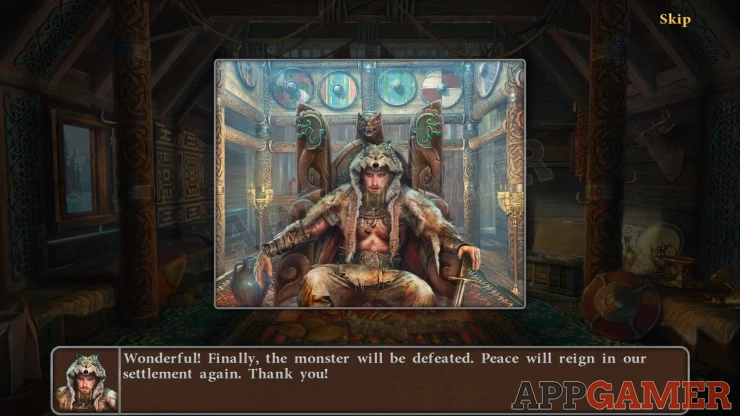
Return to the Jarl in the great Hall and you can give him the Ax. This will complete the Episode.
You can check out the Episode 3 Extra Stars Guide for help getting any of the additional star rewards for this level.
We have questions and answers related to this topic which may also help you: Show all
 With 20 years of experience in creating video game content for the internet and over 30 years as a gamer, Mark is now a passionate mobile App Gamer. Loving a challenge, he is always ready to get stuck in to both survival builders and puzzle solving games. He has been providing content for AppGamer since 2014.