
Episode 14 Walkthrough - Witch Wood
More Artifact Seekers
This is our guide to Witch Wood, the fourteenth Episode in the puzzle adventure game Artifact Seekers, from Five BN. In this episode you are exploring the dark and mysterious forest where a Witch holds power over other failry tale folk.
You goal in this chapter is to save the farther of Little Red Ridinghood from an evil curse. Travel through the Misty Ravine and discover the clues to solve this fairy tale mistery. As before there are collectible items to find in each area for extra stars.
Episode Fourteen - Witch Wood Walkthrough
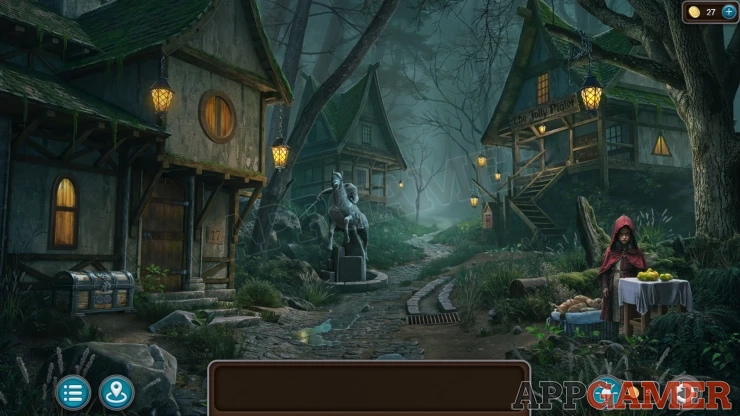
You begin in the village by a tavern at the edge of the forest. First talk to Little Red Ridinghood on the right.
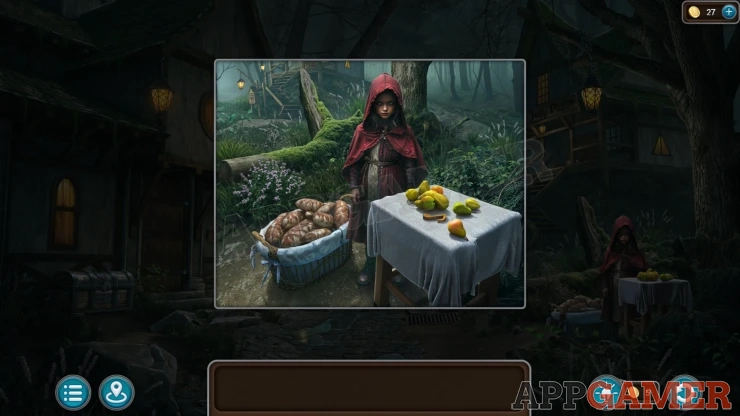
Move the fruit on the table to collect a Musical Note (1 of 2).
Collection Item: Sword on the headless statue.
Morphing Object: Number 17 sign on the building on the left.
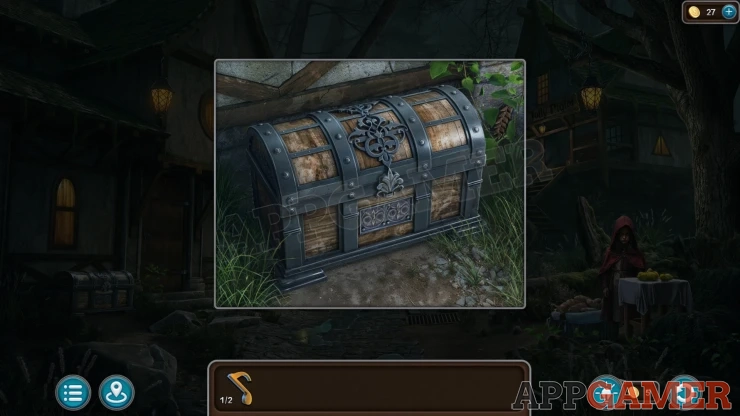
Wheat Ear: View the chest by the house on the left to find it behind a leaf on the right of it.
Tap the door to the Tavern building on the right, The Jolly Piglet.
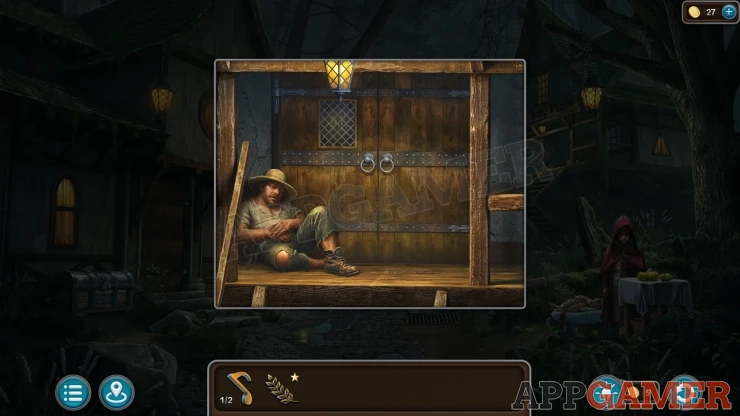
Collection Item: Boot on the foot of the man.
Then go inside. Talk to the Innkeeper for information. You need money.
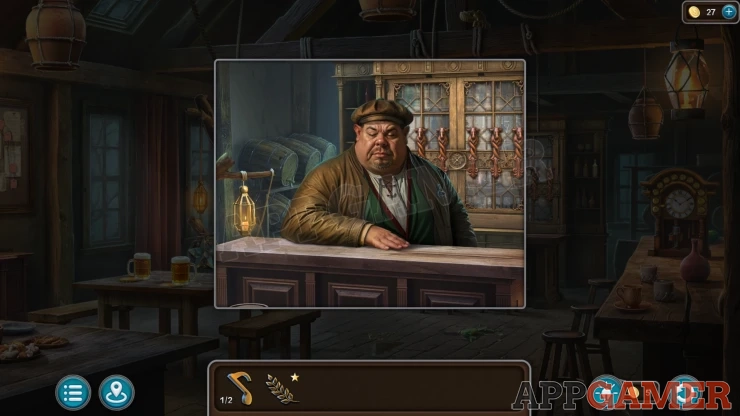
Treble Clef: in the breast pocket of the Innkeeper.
Back out and follow the path ahead to a clearing with a form in the path, this is the gateway to the forest.
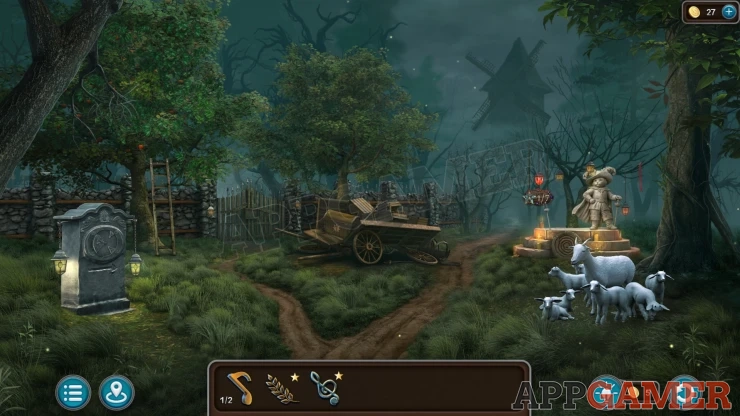
Collection Item: Sword under the broken cart.
Morphing Object: Small branch on the top right.
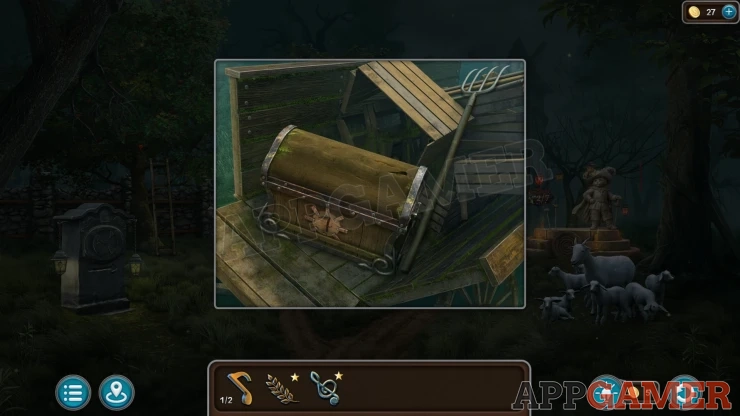
View the broken cart in the center, collect a Pitchfork.
Then follow the path ahead again to an old Mill.
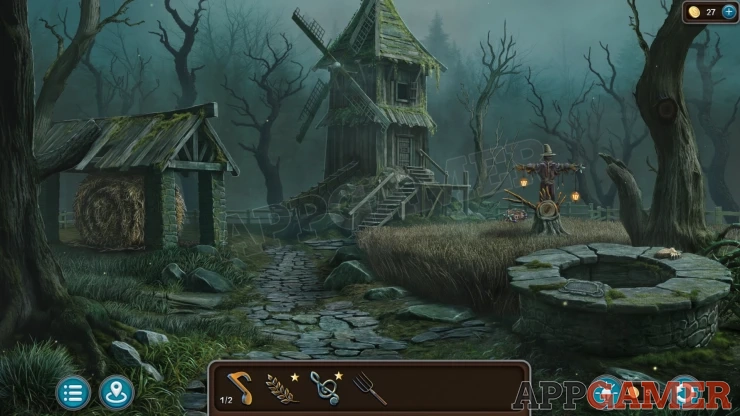
Morphing Object: hole in the tree on the far right.
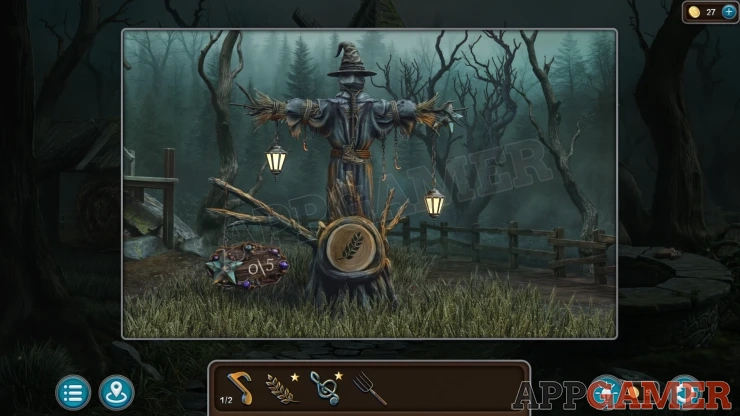
Collection Item: Boot, view the scarecrow figure on the right and look on the belt.
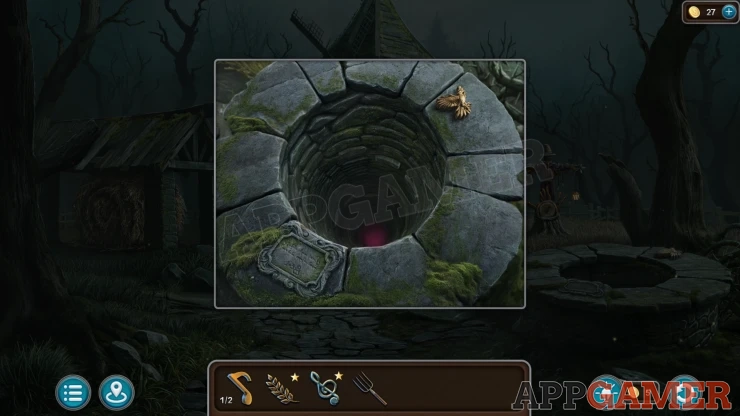
View the well on the right, collect a Bird (1 of 4) from the top.
Next view a large haystack on the left.
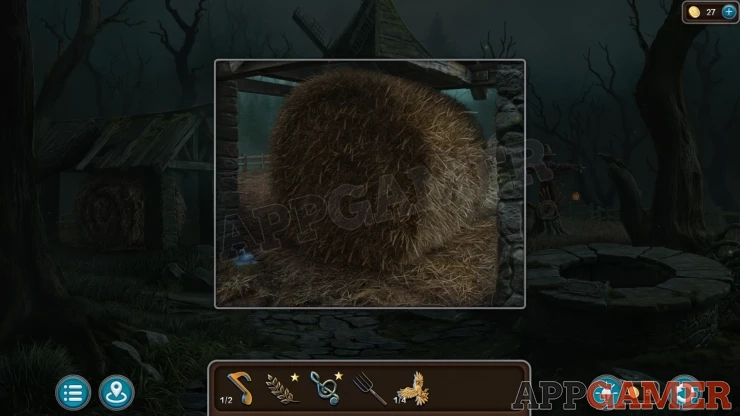
Swan: on the floor on the left under some hay.
Use the Pitchfork on the haystack to collect some Hay, then you can also collect a Needle from the Haystack.
Back up to the area with the broken cart, then view the sheep on the right.
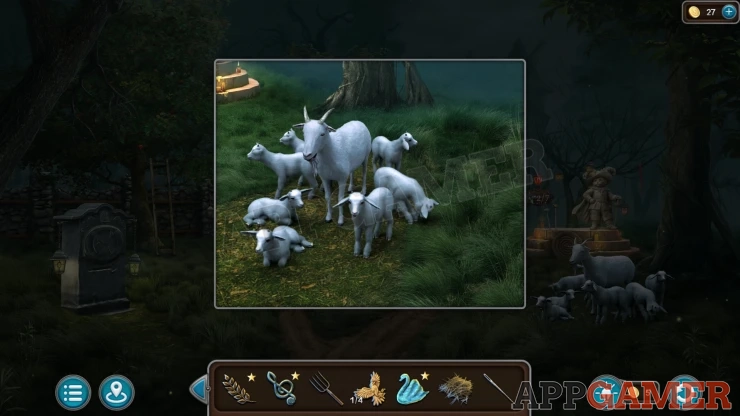
Place the Hay down and the sheep will move. Then you can collect a Mill Relief (1 of 2) and a Slab Piece (1 of 3).
Back up to the starting area and enter the building on the left.
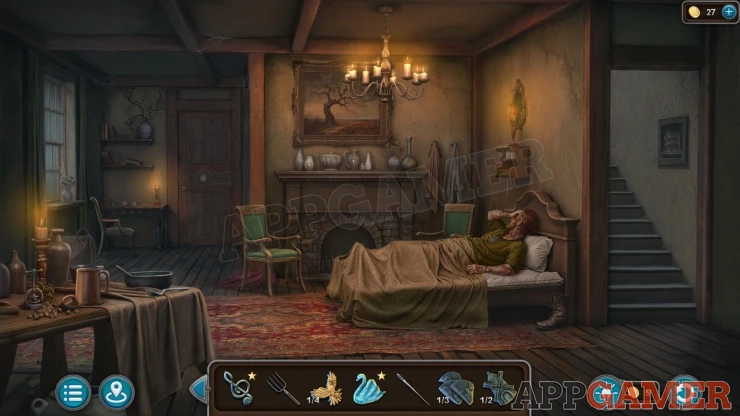
Collection Item: Boot under the bed.
Morphing Object: Spoon on the table on the left.
Swan: Tap the painting on the wall above the fireplace. The swan is behind it.
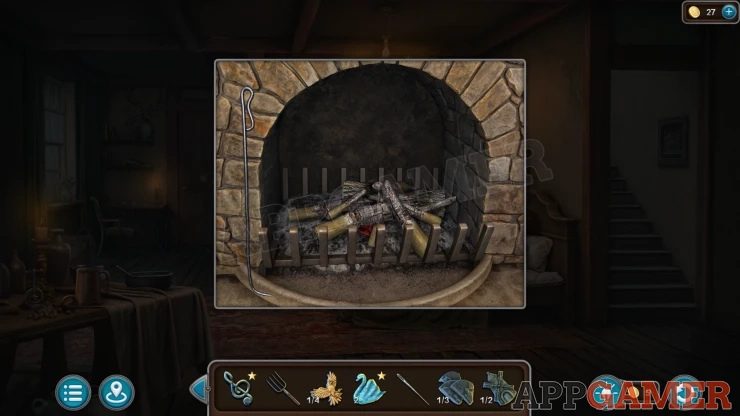
View the fireplace on the far side of the bed. Then tap the poker on the left to move the coals and collect a Fire Symbol (1 of 2).
Tap the stairs to look in a bedroom.
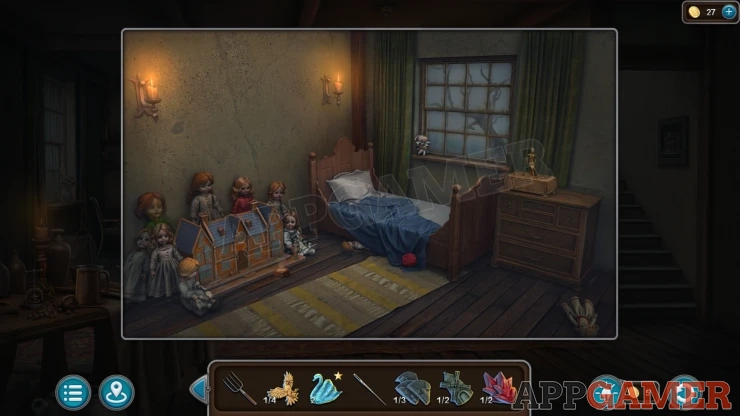
Collect a Ball of Thread from under the bed. Then view the dolls house on the left.
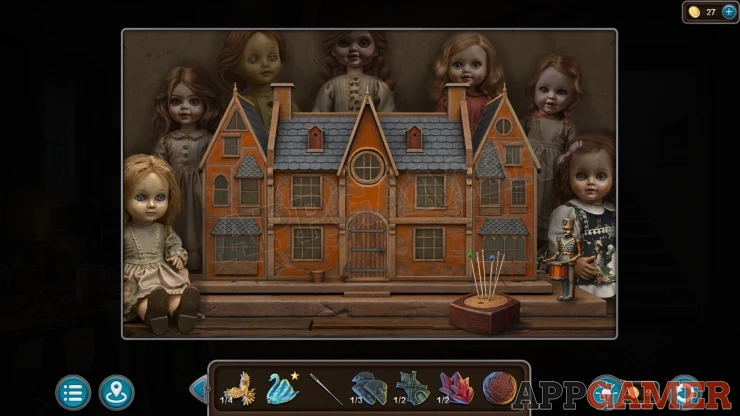
Collect a Toy Soldier.
Place the Needle into the pincushion on the lower right. This will start a puzzle.
Dollshouse Puzzle
The house has a number of windows of different shapes.
Tap the windows that match a clue you have seen outside.
Solution: In the starting area notice the windows on the buildings that have a light in them. There are four with different shapes.Show
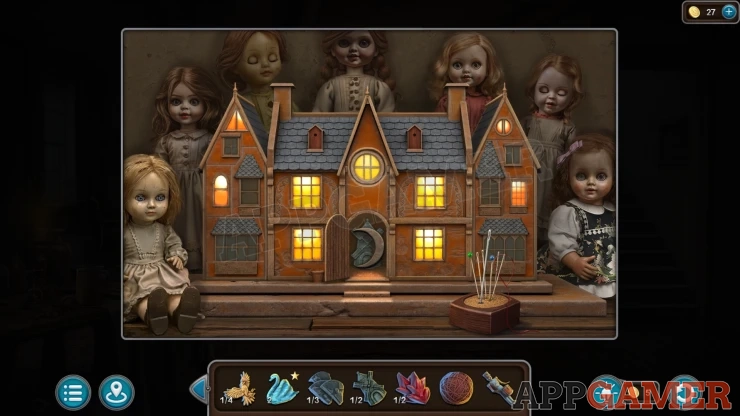
Once done you can collect a Crescent Moon (1 of 3) and a Mill Relief (2 of 2).
Go back into the forest to the old Mill and view the door.
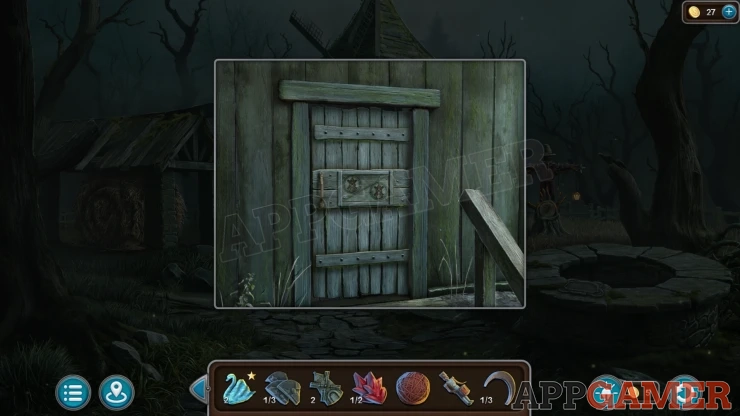
Place the two mill reliefs to find a puzzle.
Mill Door Puzzle
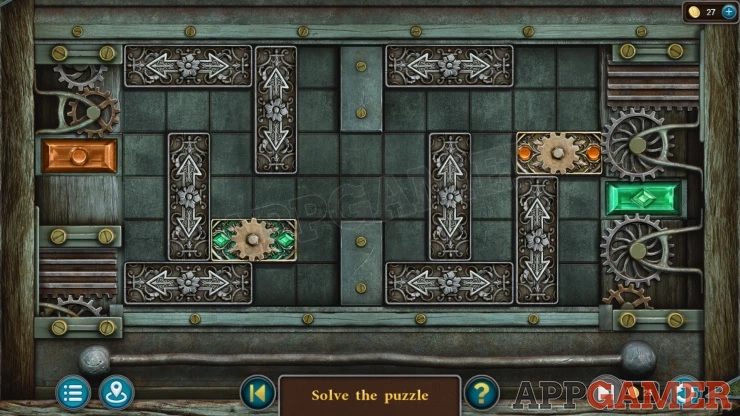
- This is a block puzzle.
- There is a green block on the left that needs to move tro the slot on the right, and an orange block on the right that must go in the slot on the left.
- Slide the other blocks on the board to allow the key blocks to move to the requires positions.
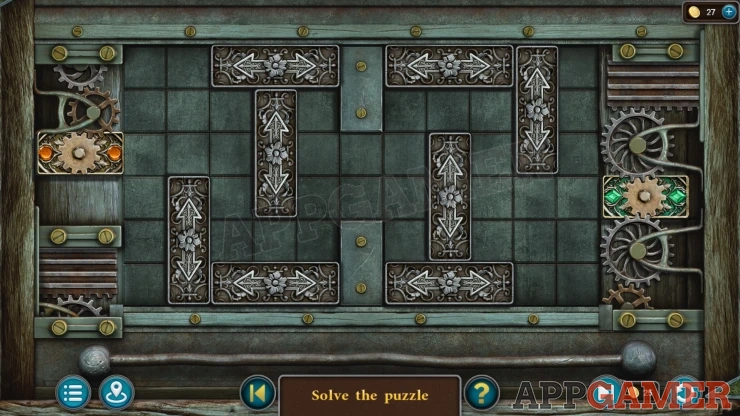
Once done the door is open, Enter the Mill.
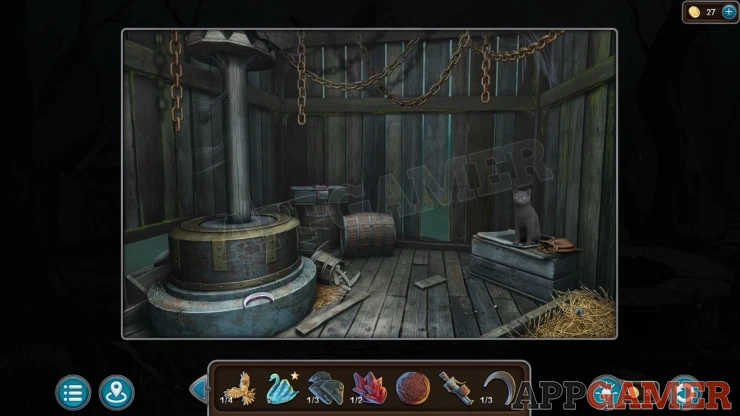
Swan: in the hay on the lower right.
Collect a Scythe Figurine from a bucket on the floor and a Crescent Moon (2 of 3) from the side of the mill stone.
Use the Ball of thread on the cat to lure it away, then you can view the box it was sitting on.
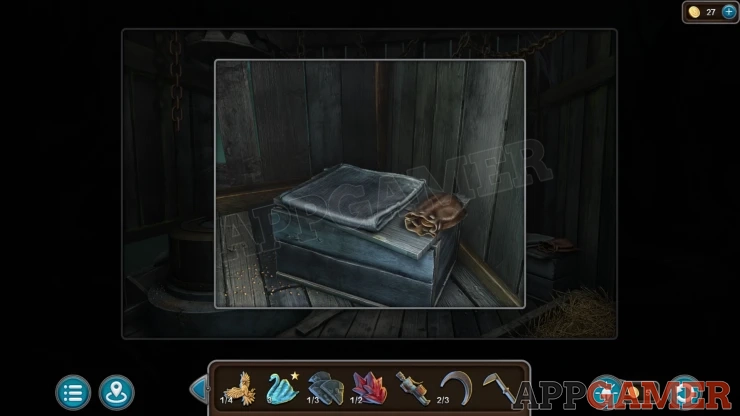
Collect a Copper Coin from the purse on the box.
Back up to the area with the well, then view the well.
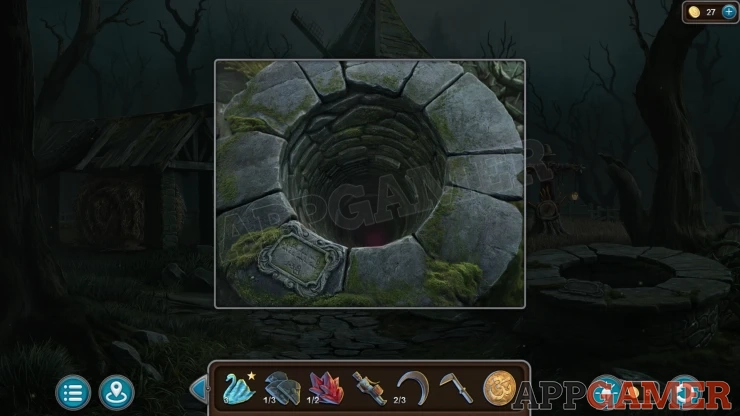
Notice the sign regarding coins. Use the copper coin on the well and you will then collect Three Coppers. The well requests the Water of Life in return.
Back up to the fork with the broken cart and then look in the back of the broken cart. There is a locked box. Use the Scythe Figurine to open this and collect a Candy Button.
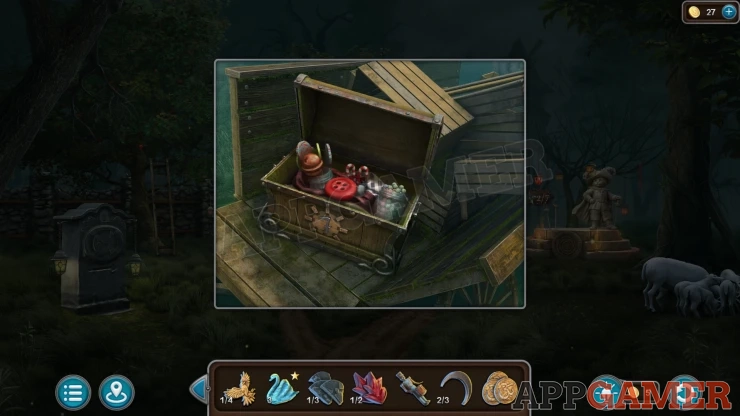
Go back to the Tavern and talk to the Innkeeper again. Give the Three Coppers. You need to find a Signet Ring.
First tap the cabinet behind the Innkeeper to find a puzzle.
Innkeepers Puzzler
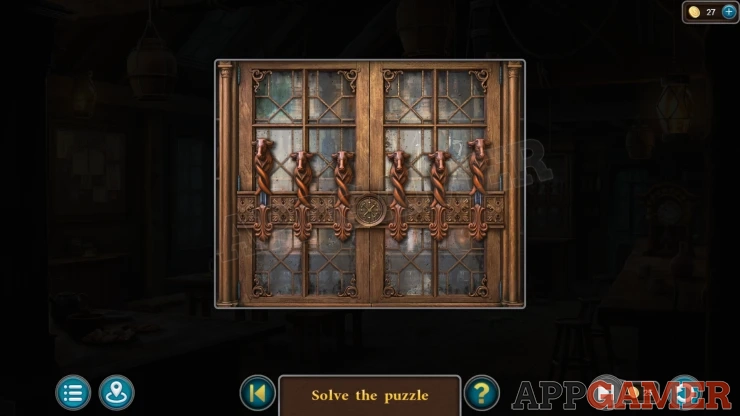
- There are six bull head locks.
- Tap a lock to move it up or down. Moving each lock may also change the position of others.
- Set the locks to all be in the raised (Up) position to solve the puzzle.
Once done you can collect an Envelope.
Now look around the tavern.
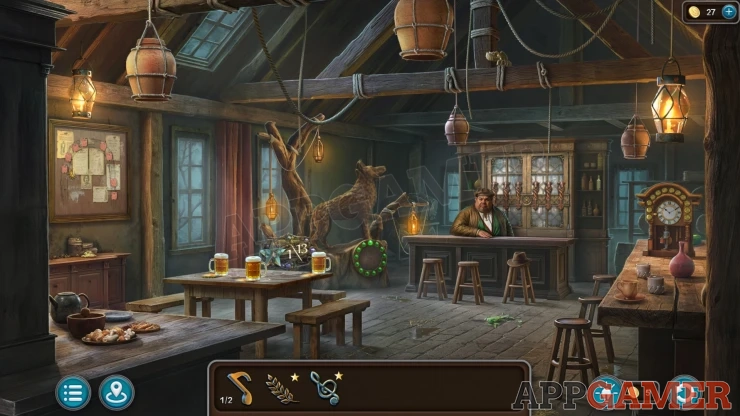
Morphing object: Changing cup on the table on the right of the room.
Treble Clef: Tap the hat on a bar stool to move it and find it underneath.
Now view the table on the left with the Beer glasses.
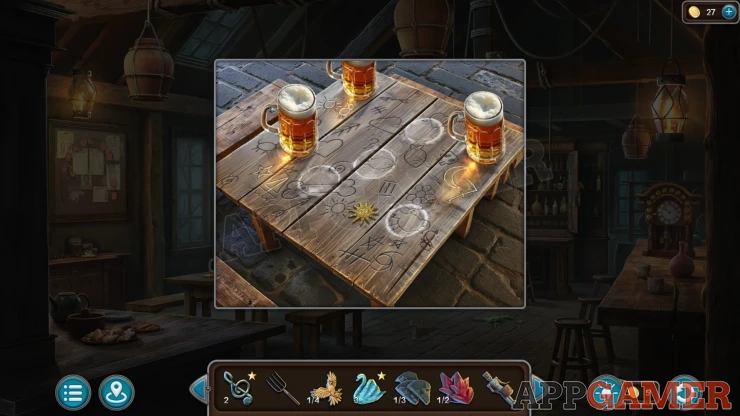
Collection Item: Sword. A carving on the table top on the lower right.
Collect a Sun (1 of 4) from the table. Notice the other marking on the table for clues.
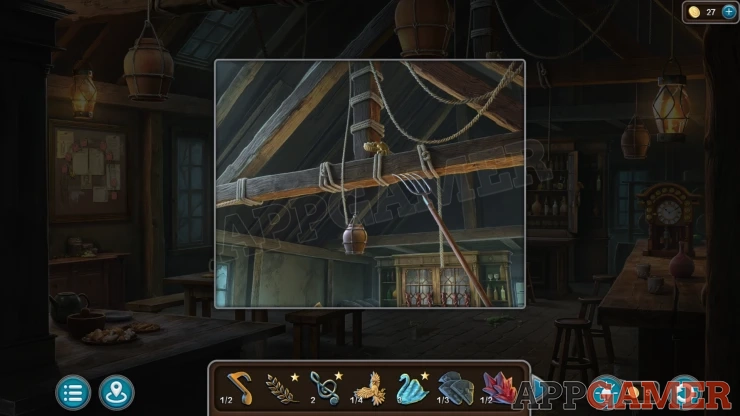
Then look in the rafters. Use the Pitchfork here to collect a Bird (2 of 4).
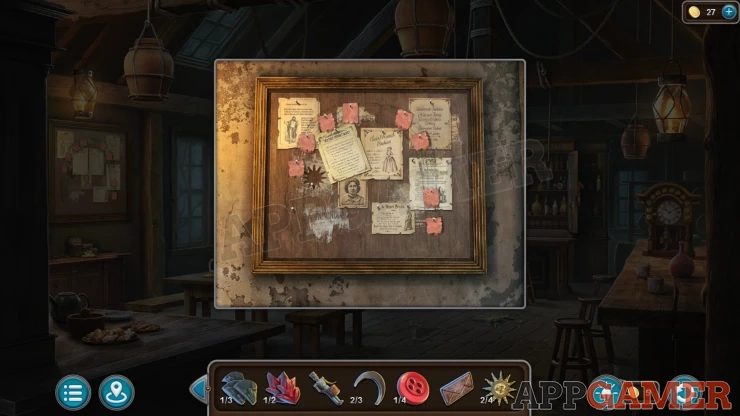
Next view the notice board on the left of the room. Move one of the papers to collect another Sun (2 of 4).
Notice the pink cards pinned to the board in a horseshoe shape.
Now look at a Clock on the right side of the room.
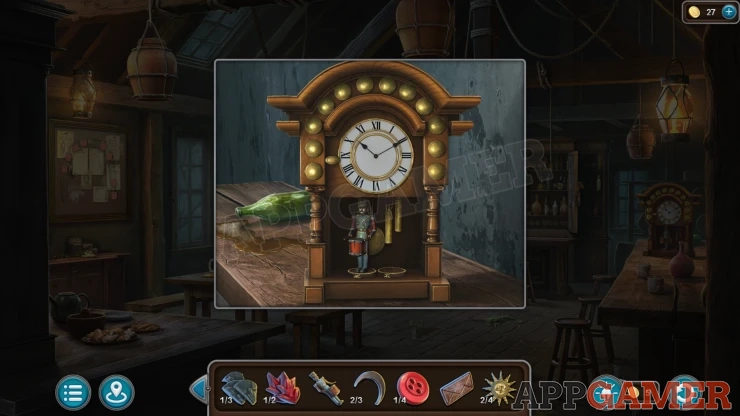
Add the Toy Soldier to it to start a puzzle.
Tavern Clock Puzzle
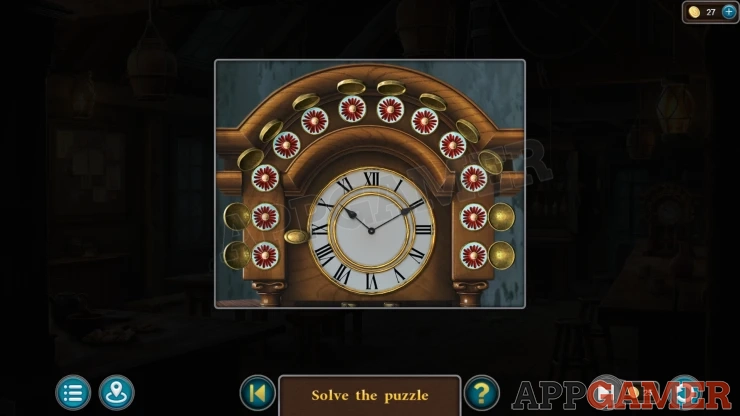
- There are 12 medallions around the edge of the clock face that can by opened or closed.
- Close the correct medallions to solve the puzzle.
Solution: Close the medallions that match the positions of the pink cards on the notice board. Your game may be different.Show
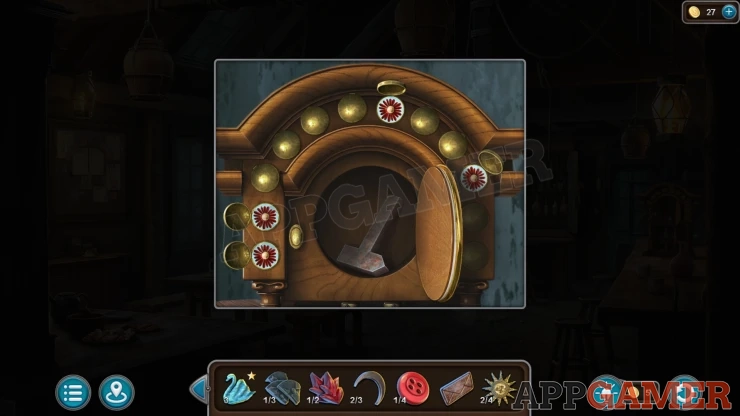
Collect a Hammer Figurine.
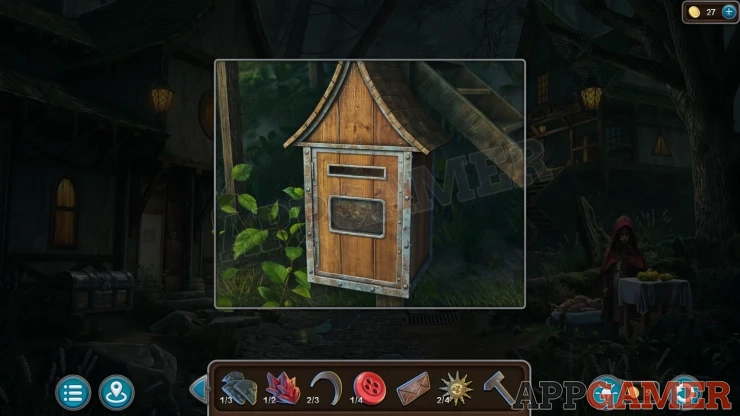
Exit the Tavern and view a post box to the left of the tavern steps. Add the Envelope to the front and it will open, collect the Sun (3 of 4).
Go forward to the mill and look inside again. At the back on the left is a wooden case.
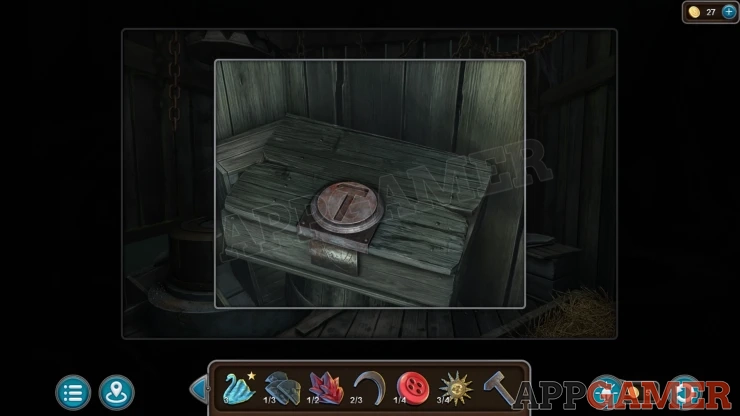
Add the Hammer Figurine to open it and collect a Saw and some Wire.
Back up to the starting location and view a drain cover in the path in the center.
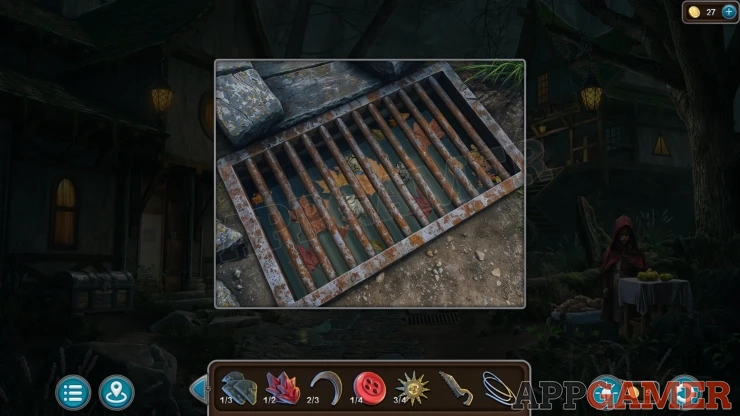
Use the Wire here and you will collect a Signet Ring.
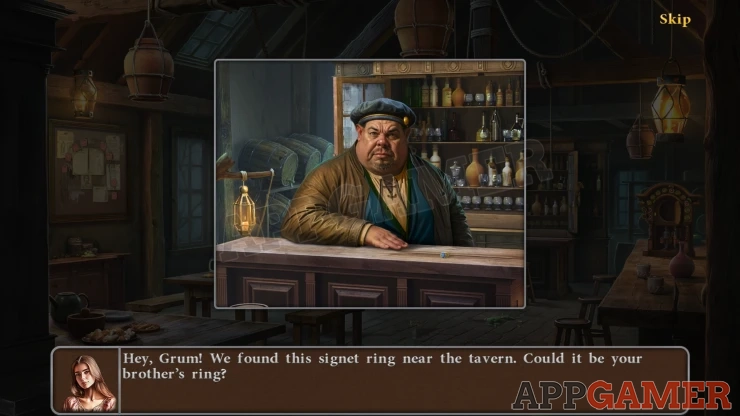
Enter the Tavern and talk to the Innkeeper again, give him the Ring. You will receive a Tree Figurine.
Go into the forest again and view a gate on the left of the broken cart.
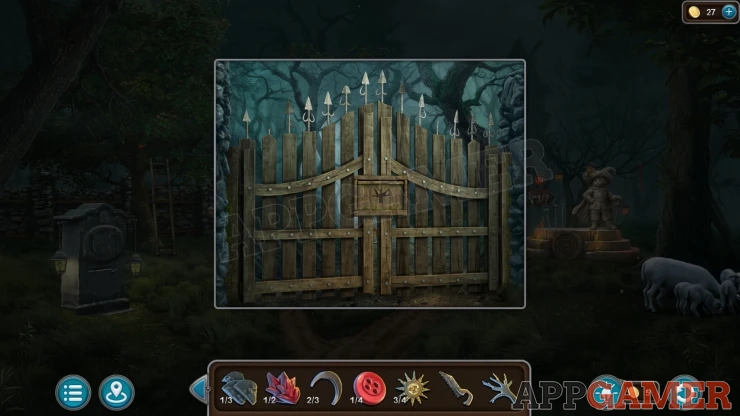
Use the Tree Figurine here to reveal a puzzle.
Forest Gate Puzzle
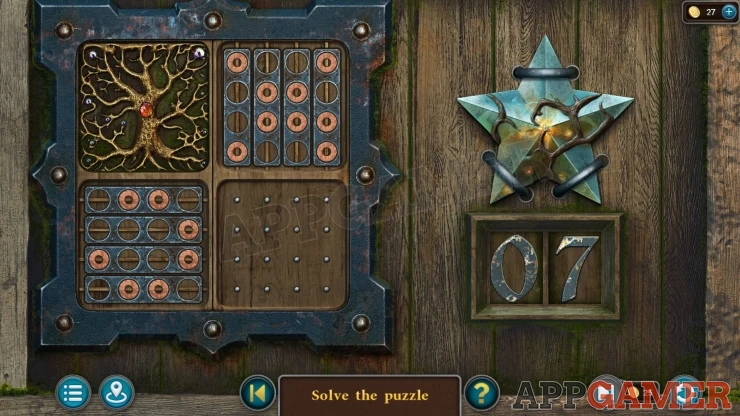
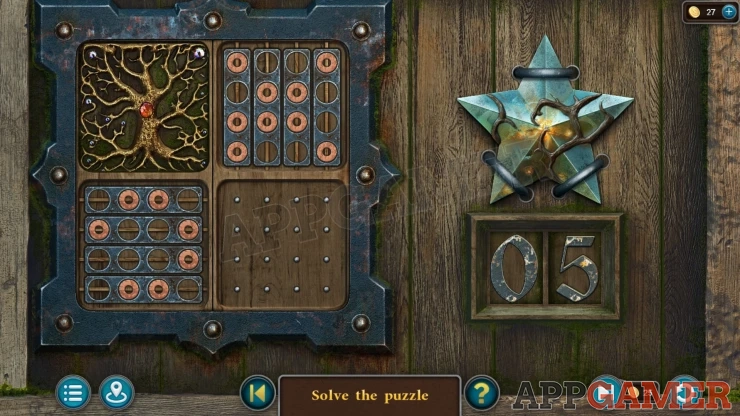
This is an Extra Star Puzzle. Complete the puzzle using no more than 7 moves to earn an extra star.
- On the left are two sets of planks wirth holes in them. Some of the holes on each set are filled in.
- Tapping the tree on the top left will cause the two sets of planks to slide together and overlap.
- You can tap pairs of planks in each set to swap their positions.
- Arrange the planks correctly so that when they slide together all of the holes are filled in.
Solution: Your game may vary.Show
Move forward into the forest. Notice the large face of the guardian on the tree. There are several paths you can take.
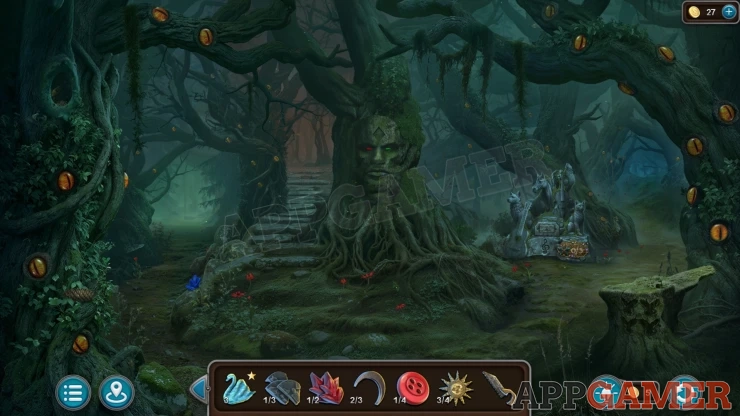
Morphing Object: Pinecone on the tree on the lower left.
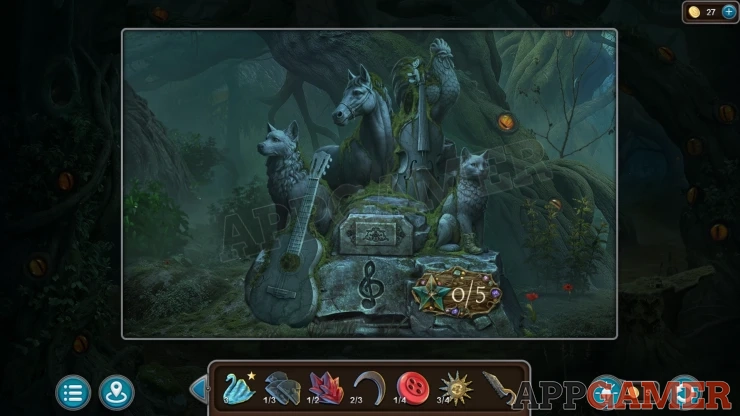
Collection Item: View the statue with animals and instruments on the right. The Boot is on the cats foot.
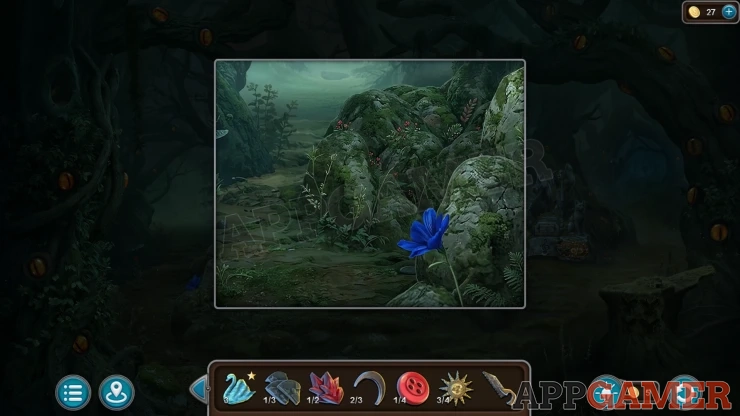
Wheat Ear: View a blue flower to the left of the stone steps. Then look above it.
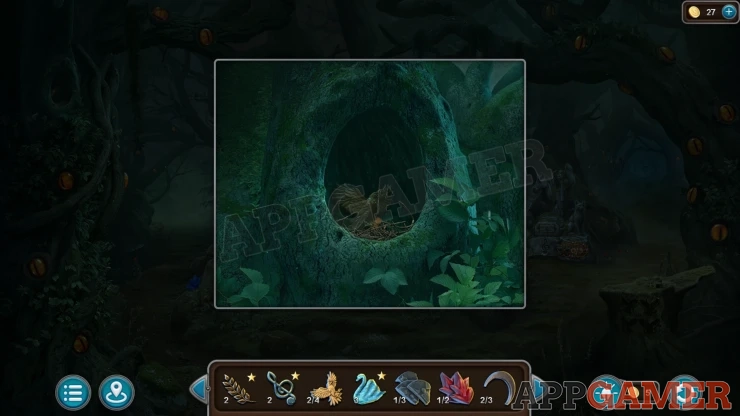
View a hole in the tree on the left. Collect a Bird (3 of 4).
First follow the path to the far right. This takes to deeper into the forest.
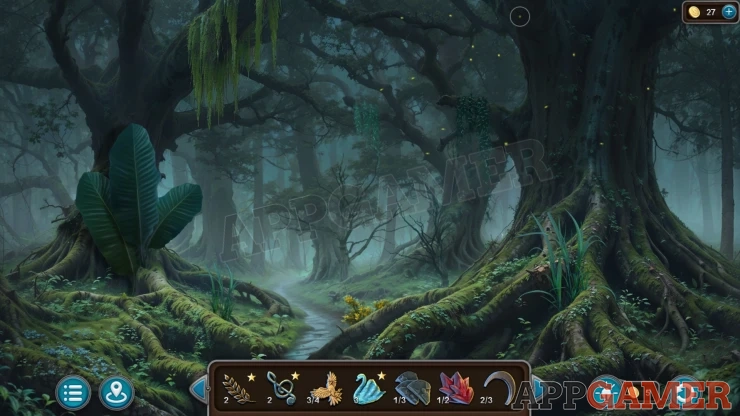
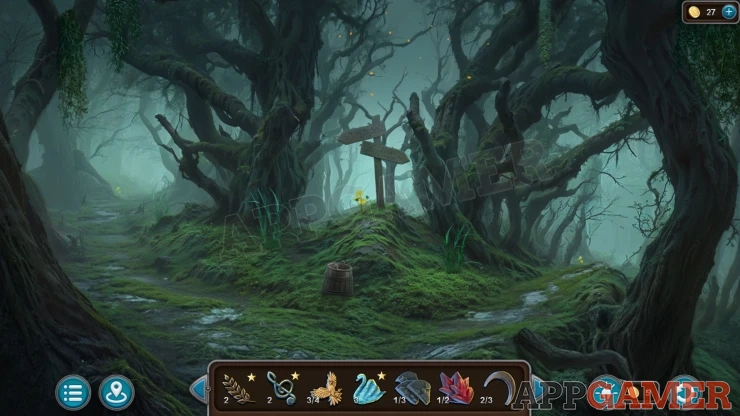
Then move forward again to reach a fork with a signpost. You cannot read it, Collect the Bucket from the ground in the center.
Next back up to the Forest entrance with the guardians face in the tree and tap the steps to take the path between the trees. This takes you to Grandma's House.
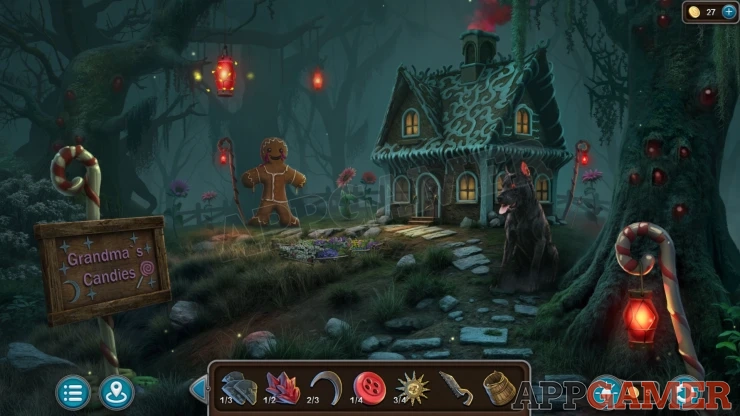
Collection Item: Sword stuck in the ground on the right of the house by a large pink daisy.[/strong]
Morphing Object: Lollypop on the sign on the left.
Collect a Crescent Moon (3 of 3) from the sign on the left.
We cannot get past the hellhound yet.
Back up to the starting location and then enter the house on the left again. View a table on the far left.
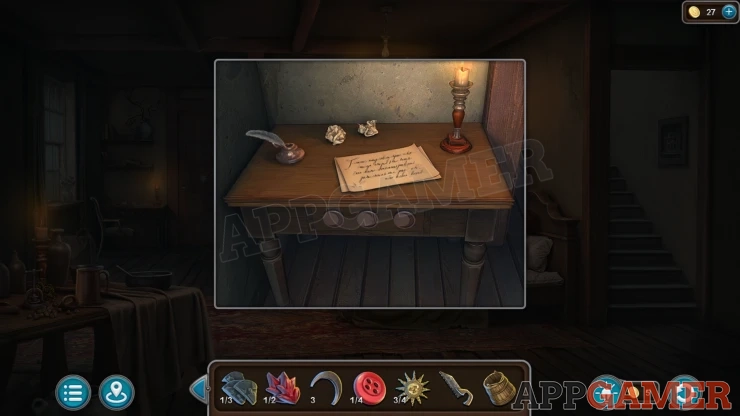
Read the note to learn about the curse on Red Ridinghood's father. Then add the three crescent moons to the draw front to open it. Collect a Whistle and an Iron Flower.
Then view the door next to the table.
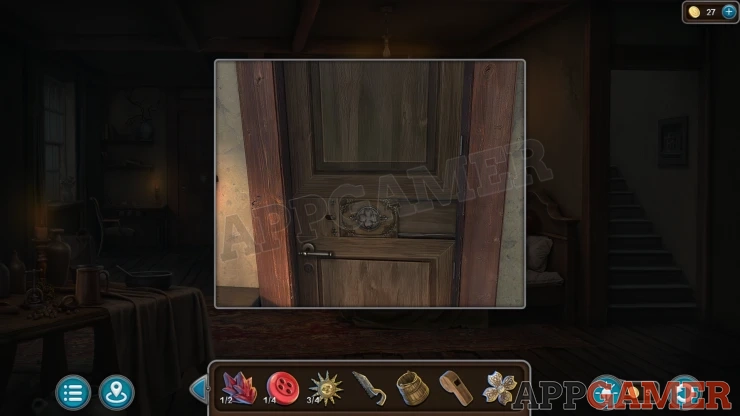
Use the Iron flower to reveal a puzzle.
Cupboard Door Puzzle
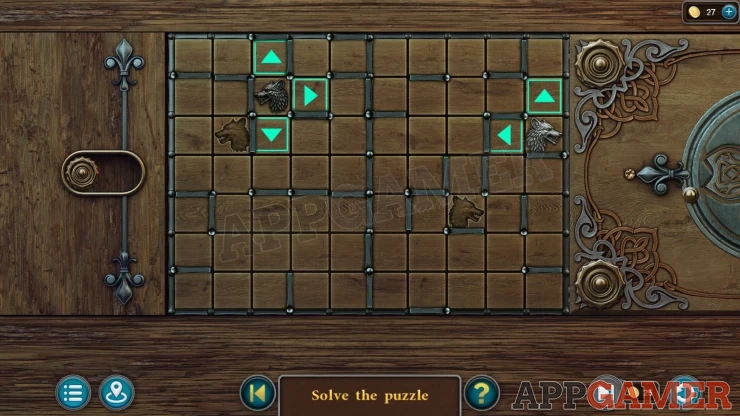
- There are two sides with a Wolf head token on each.
- Tap the arrows next to either wolf head to move it. When you do the other Wolf head will move in the opposite direction, if there is a path for it to move on.
- Move the wolf heads to the marked squares so that they are both in position at the same time.
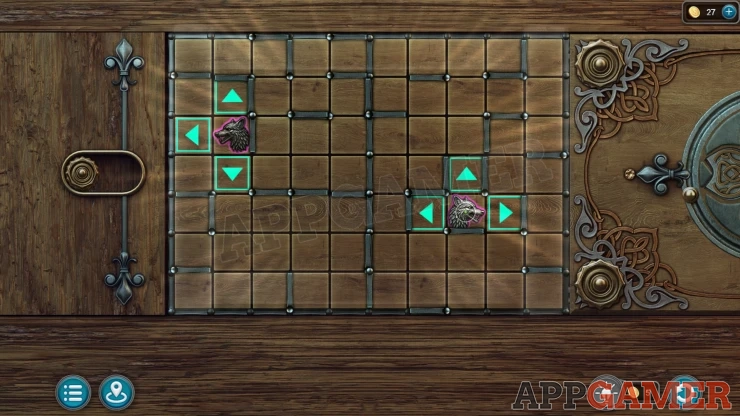
The cupboard door will open and you can collect an Oar and some Gloves.
Return to the forest area with the face in the tree and then follow the path on the left to move to a Swamp.
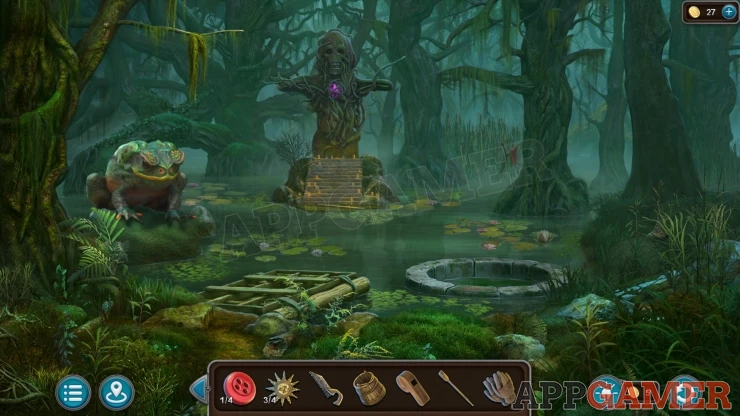
Collection Item: Boot in the grass on the far right.
Morphing Object: Flower on a lily pad above the stone circle.
Add the oar to the small raft on the water by the large Frog.
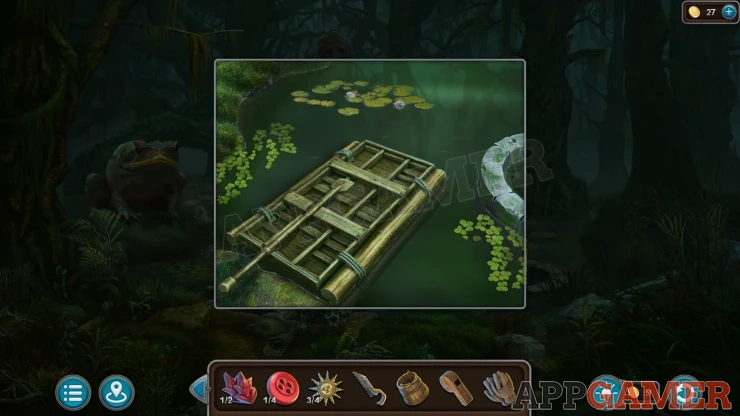
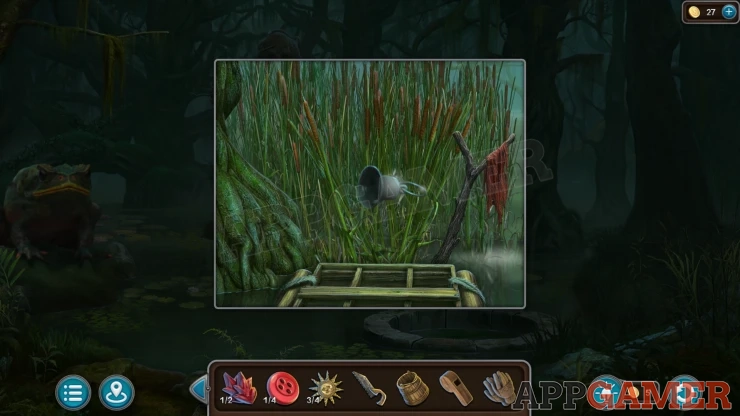
You can now tap on the reeds on the far side to the right of the large idol with a red flag. Look in the reeds and collect a Bell.
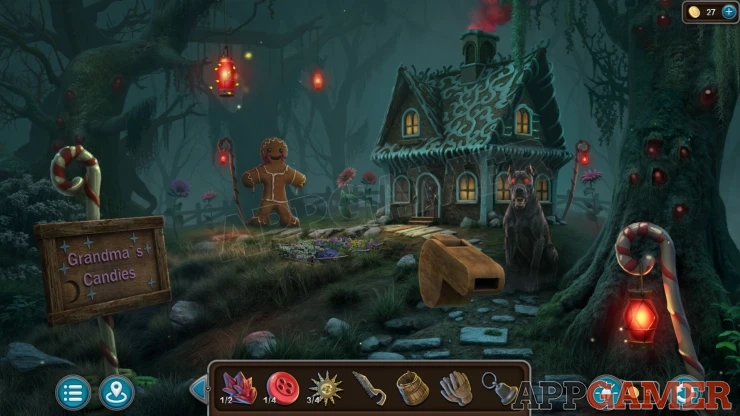
Return to Grandma's House and use the whistle on the hellhound. It will go away.
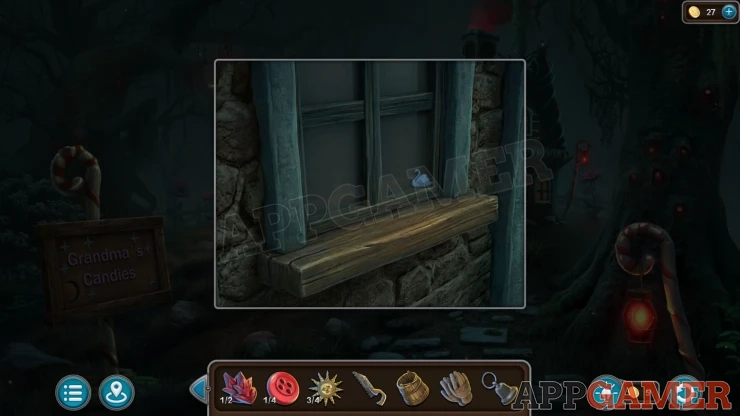
Swan: View the small window to the left of the door.
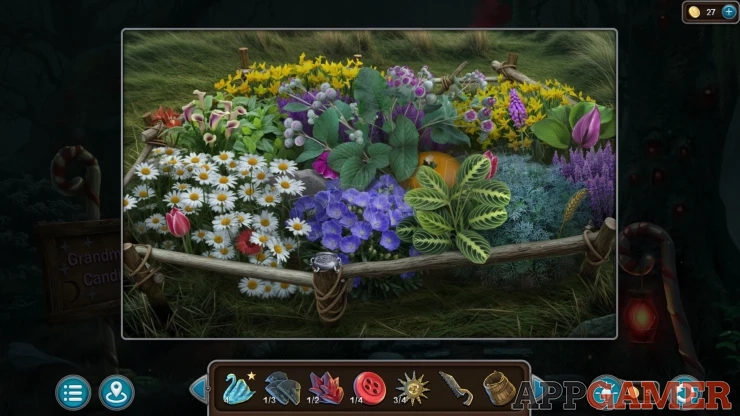
Now view the small flower bed in front of the house. Collect a Cauldron Figurine.
Next view the door to the house and add the Bell to it.
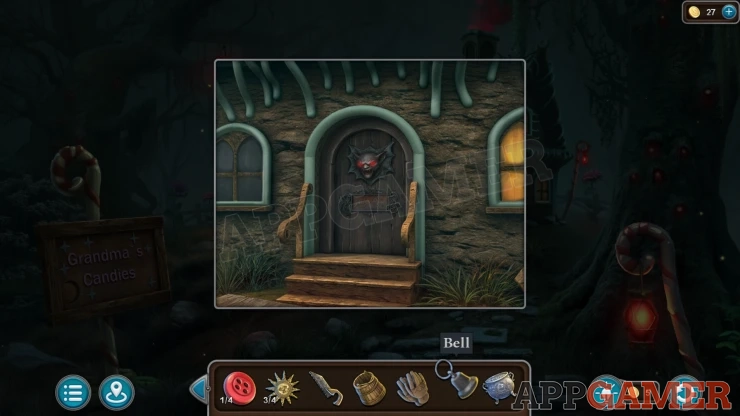
Ring the bell to start a puzzle
Grandma's House Door Puzzle
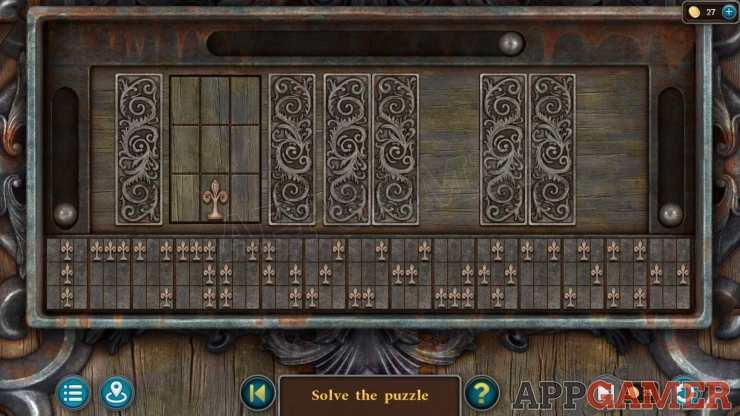
- There are three sets of doors at the top that will open one at a time to reveal a board with symbols on it in a 3x3 grid.
- At the bottom are a line of grids with symbols that you can select to add together to replicate the opene puzzle grid.
- If there are two symbols in the same location they will cancel each other out.
- You may need to select 3 or more grids to complete each puzzle.
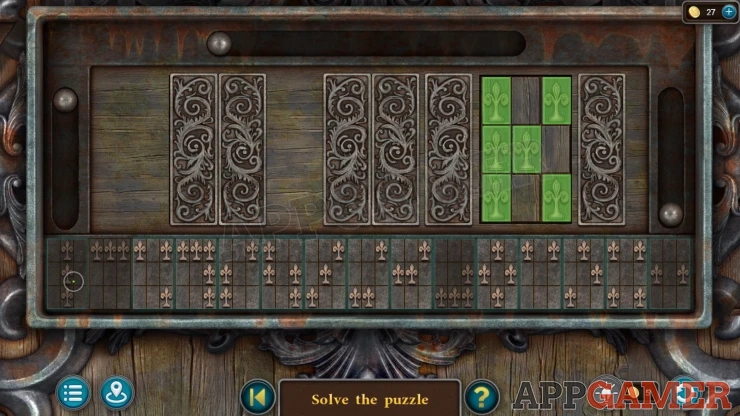
The door opens and you can enter then Witch Caramelissa's house.
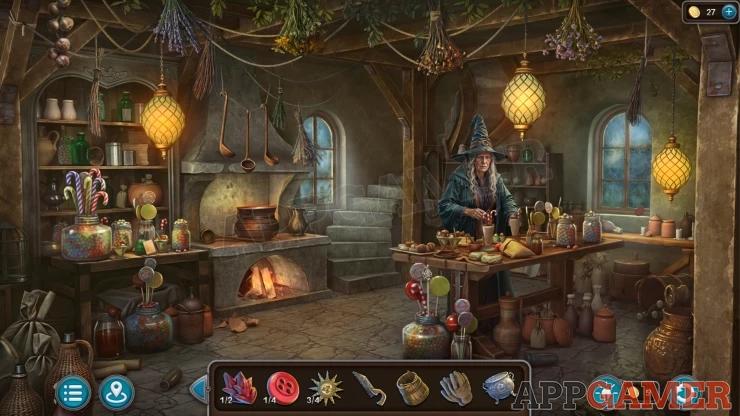
Collection Item: Sword in a jar of sweets under the table at the bottom center of the scene.
Morphing Object: Vase, under the table to the right.
Treble Clef: On the wall on the top right, above the window.
Go back to Red Ridinghood's House and view the father on the bed. Collect the Pendant from him.
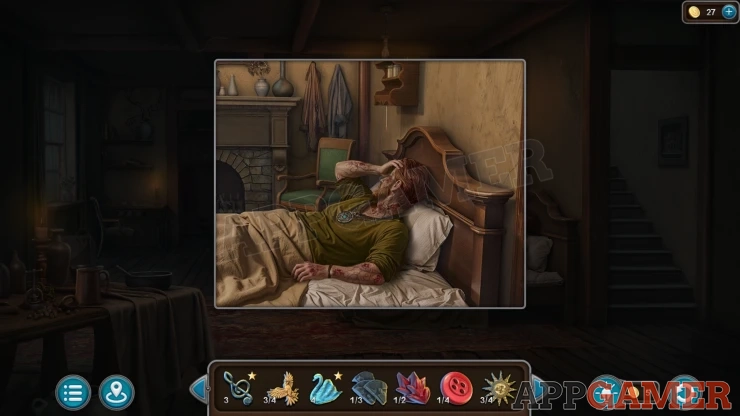
Return to the witch and give the pendant to her.
Now view the small table on the far left. Collect a Candy Button (2 of 4) and then view a paper with a Recipe for the Water of life.
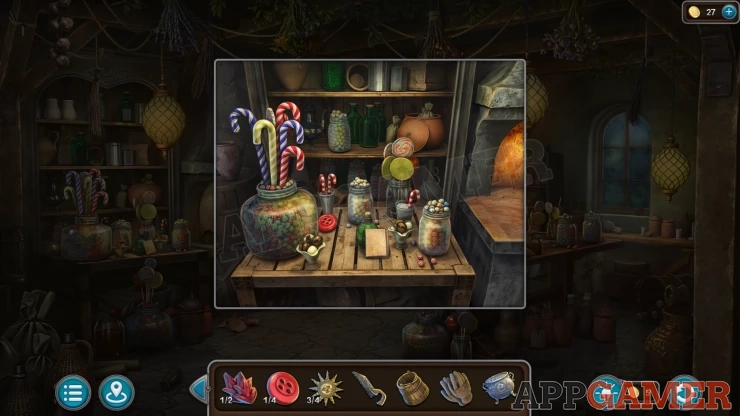
Then also collect the Moon Dew from the table.
Next view the window on the right of the room, collect a Fire Symbol (2 of 2).
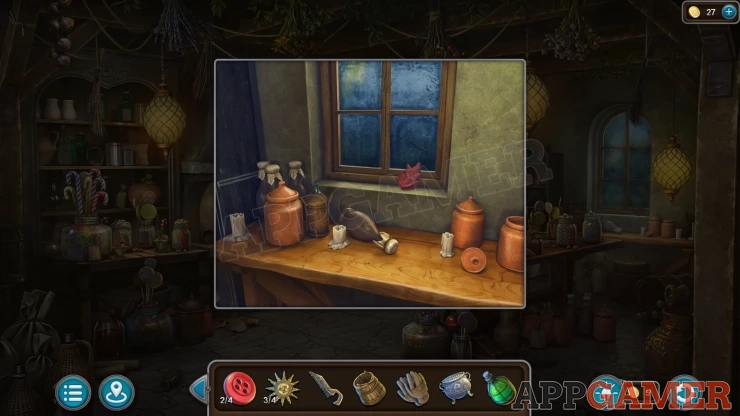
Now tap the steps at the back to find a door.
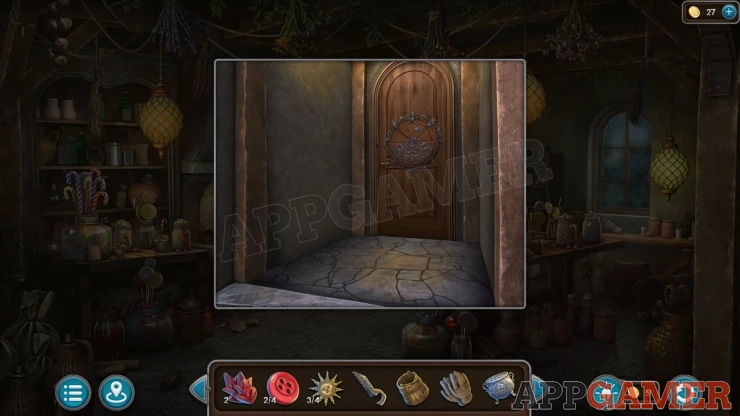
View the door and add the Cauldron Figurine to it to start a puzzle.
Cauldron Figurine Puzzle
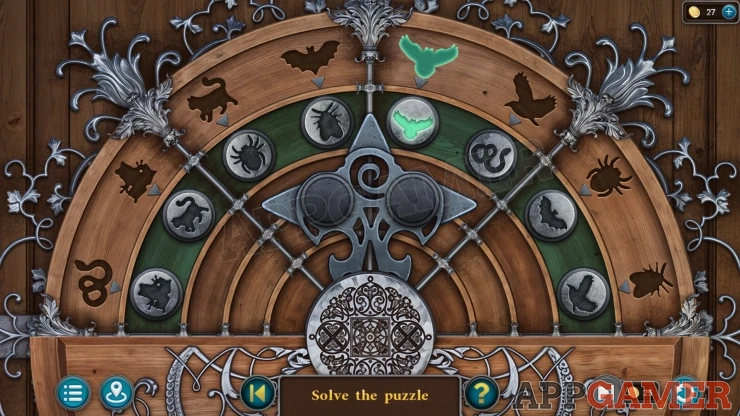
- Around the top of the semi circle board are some animal shape slots.
- On the inner semi circle are tokens with matching animal shapes but in the wrong locations.
- In the cetner is a pointer that you can move around the board and use it to collect two of the tokens at a time and move them to new positions.
- Arrange all of the tokens to be next to the matching symbols.
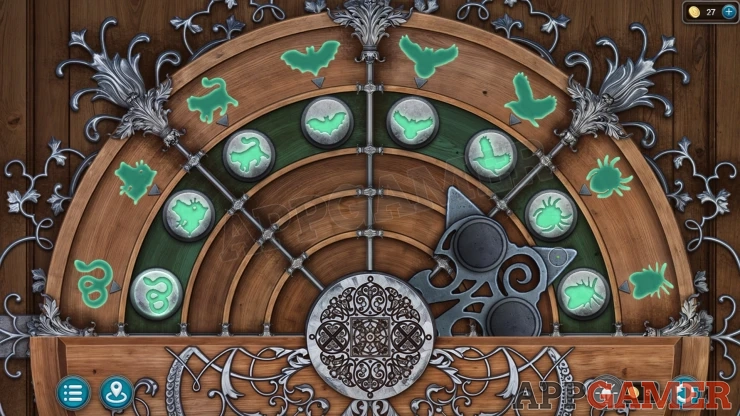
Once done the door opens and you can look inside a store room.
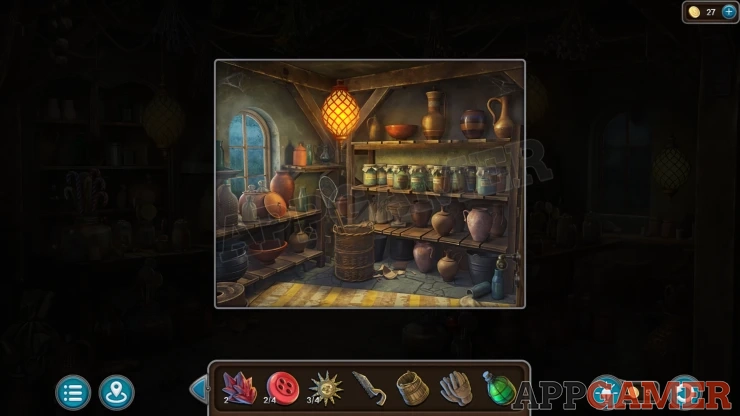
Collect a Net, then view the shelf on the right.
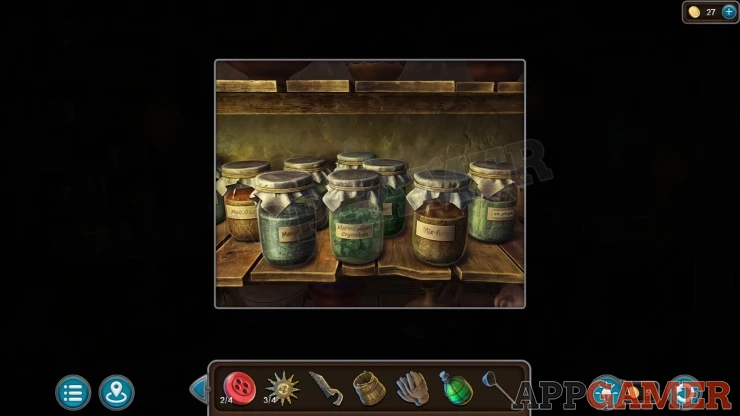
Collect the middle jar of Marmalade Crystals. Then view the jar in your inventory and remove the cover. Add the Moon Dew to it. Collect the Defilement solvent.
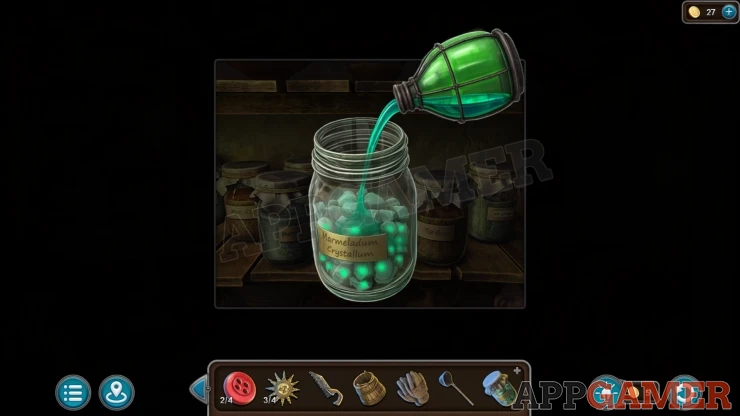
Back out to the front of Grandma's house and view the lamp on the upper left.
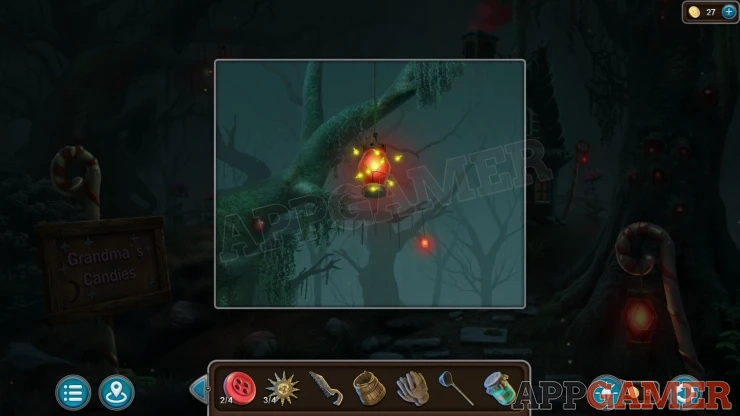
Use the Net here to collect Fireflies.
Return to the Swamp area and view the stone circle on the right, this is a well.
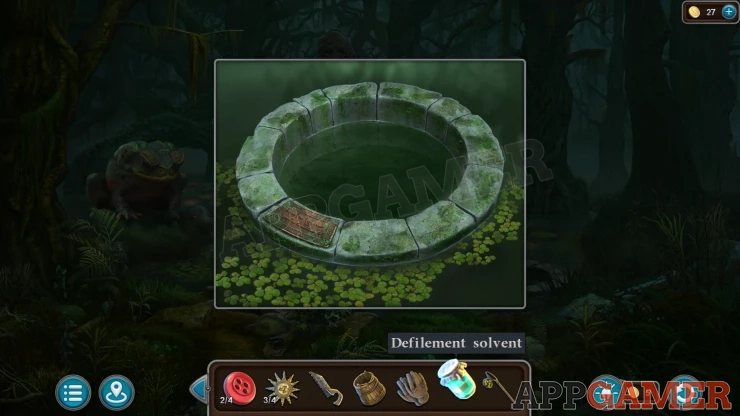
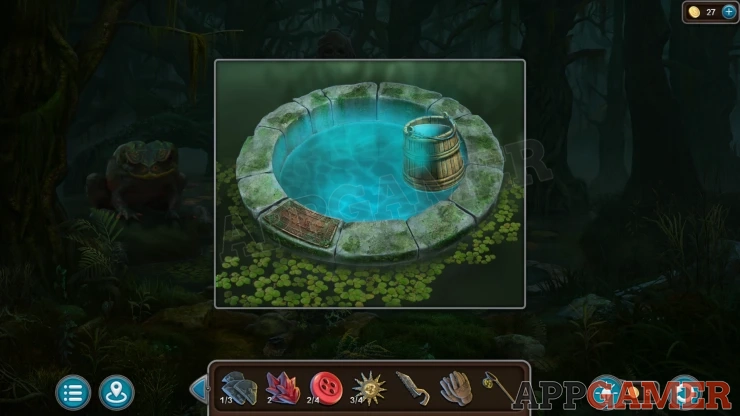
Add the Defilement Solvent to it and the water will be purified.
Use the Bucket to collect the Water of Life.
Contine the walkthrough in Part 2.
We have questions and answers related to this topic which may also help you: Show all
 With 20 years of experience in creating video game content for the internet and over 30 years as a gamer, Mark is now a passionate mobile App Gamer. Loving a challenge, he is always ready to get stuck in to both survival builders and puzzle solving games. He has been providing content for AppGamer since 2014.