
Episode 4 Walkthrough - Doll Factory
More Artifact Seekers
This is our guide to Doll Factory, the fourth Episode in the puzzle adventure game Artifact Seekers, from Five BN. In this episode you are exploring an abandoned Doll factory that has been empty since the unexplained disappearance of the professor who ran it.
You will be searching the house to look for clues to help you find the professor or the living doll that he was working on when he disappeared.
Episode Four - Doll Factory Walkthrough
After the introduction from Maxim you are in front of the large foreboding house.
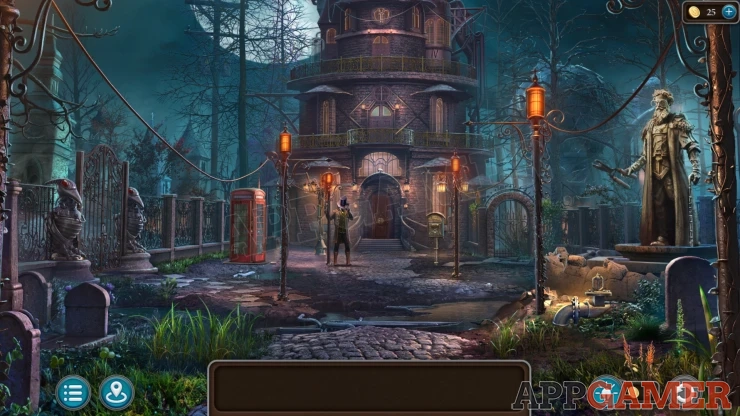
Morphing Object: Circle on the front of the building above the door.
Collection Item: Glasses on the head of the statue on the right.
View the red phone box on the left.
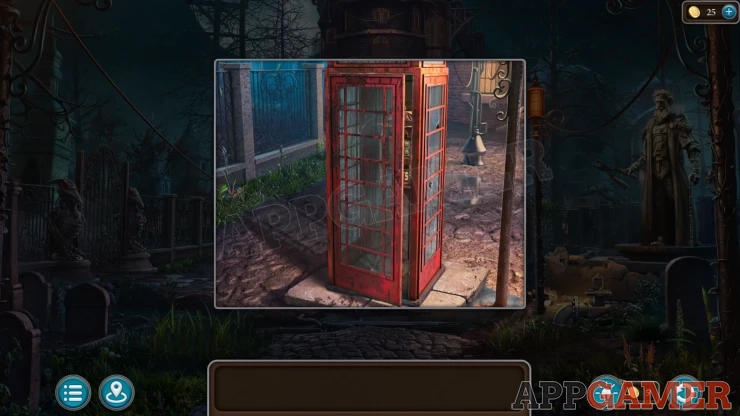
Record: in the plant on the left of the phone box.
View the broken wall on the right next to the statue.
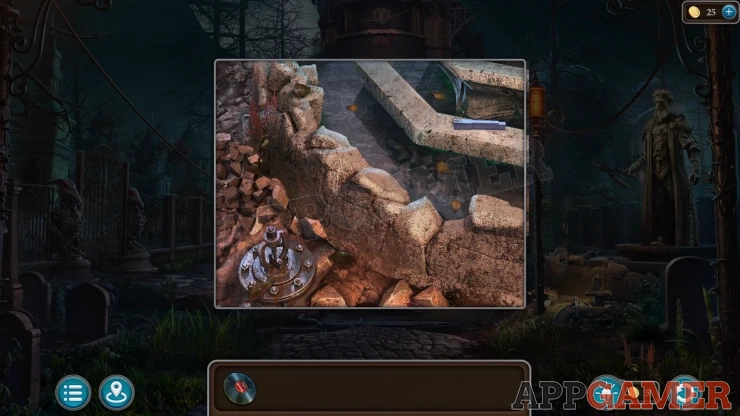
Collect one of a number of Keys (piano) from the base on the right.
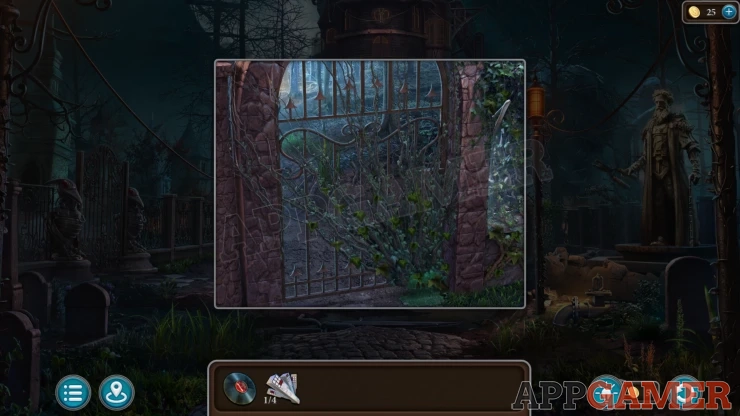
View the gate on the right of the building to see that is is over grown, Collect some Tweezers from the right pillar of the gate.
Now view the figure with the top hat near to the front of the house.
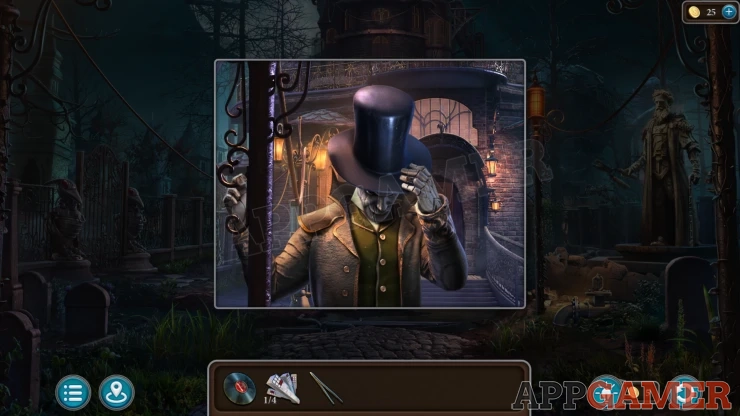
Tap the hat to remove it and then tap a key on the figures head to turn it. You will be directed to a light shone on the ground. Near the blue light circle are some loose bricks. Use the Tweezers here and you will collect a Key (door).
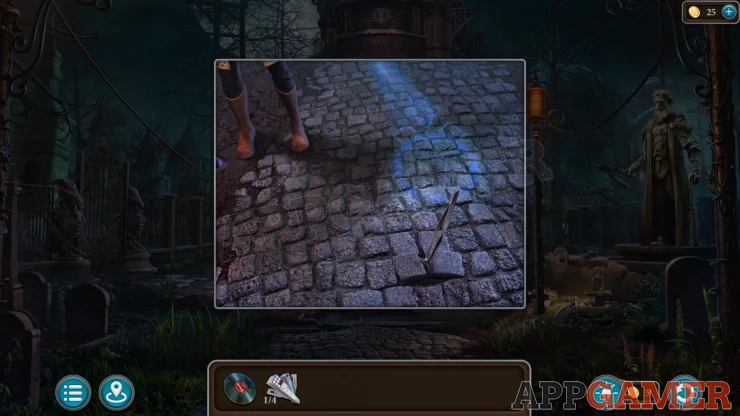
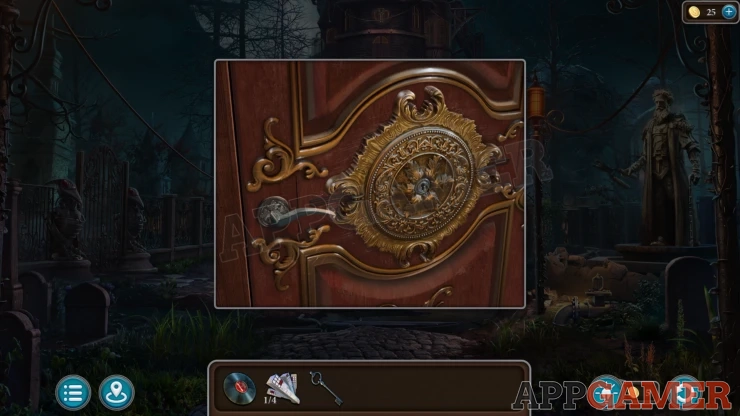
Now view the front door to the house and use this door key to open it. You will find a puzzle.
Front Door Puzzle

There are 3 colored circles (Red, Yellow, Purple) with 4 slots on each, and some Green slots on the lower left and right.
Move the colored pieces around the board by using the single empty space.
Arrange the pieces onto the matching colored slots.
Solution:
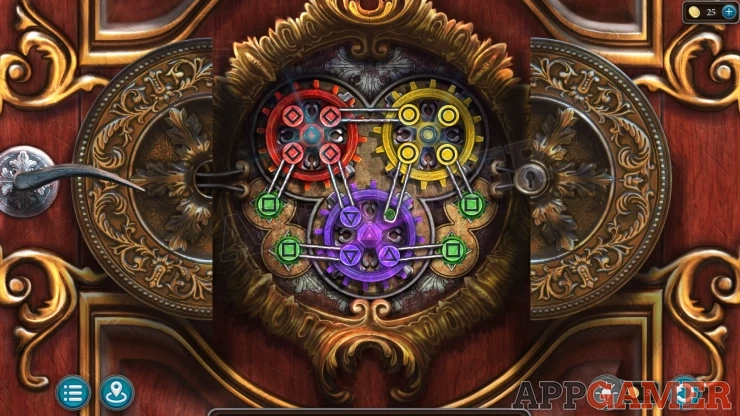
Once done you can enter the Hall.
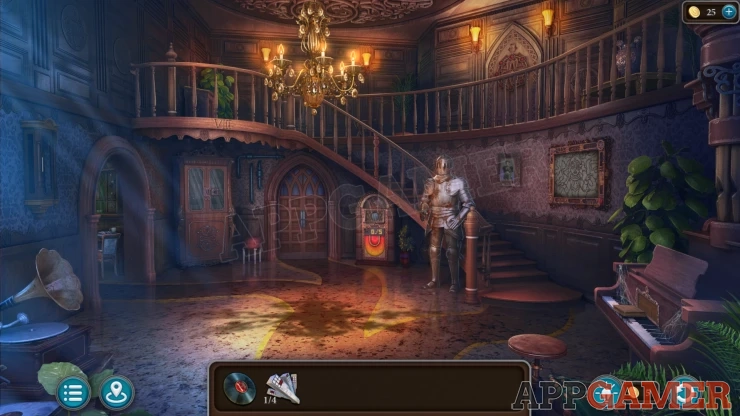
Morphing Object: Changing Cap / finial on the top of the stairs hand rail on the upper left.
Mask: Tap on the stairs to the left of the suit of armor. Collect a Mask
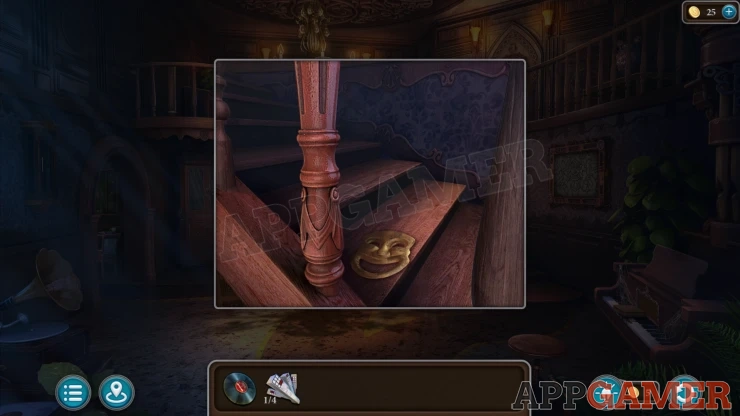
On the edge of the balcony on the top left you will see a Roman Numeral. You will need this later.
Now tap the doorway on the far left to go through to a kitchen.
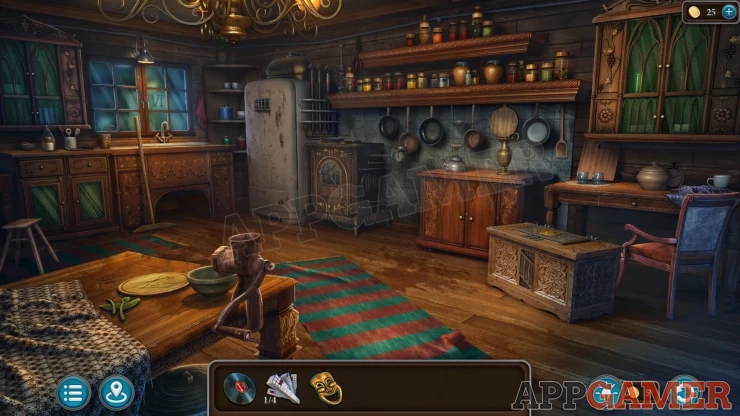
Morphing Object: Wooden Spoon / spatula hanging on the wall on the right of the pots and pans.
Collection Item: Clock on the table on the right behind, a pot.
Record: look under the refrigerator to find it.
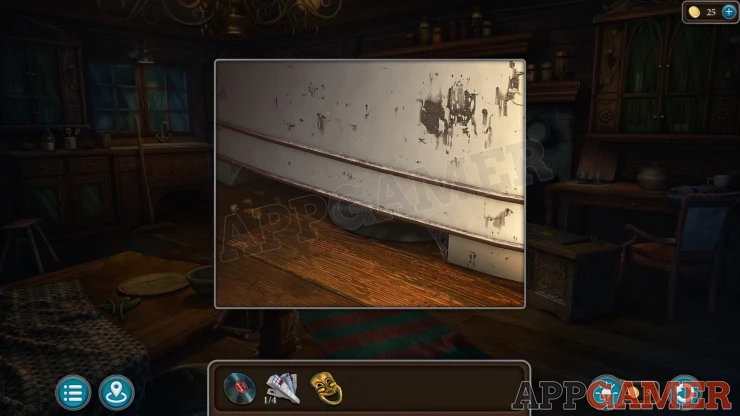
Notice another Roman numeral on the window on the left.
Collect a Mop from next to the sink under the window.
Tap on the cooker in the center (to the right of the refrigerator) to see into the gap between it and the cabinet. Collect a Bottle of Oil.
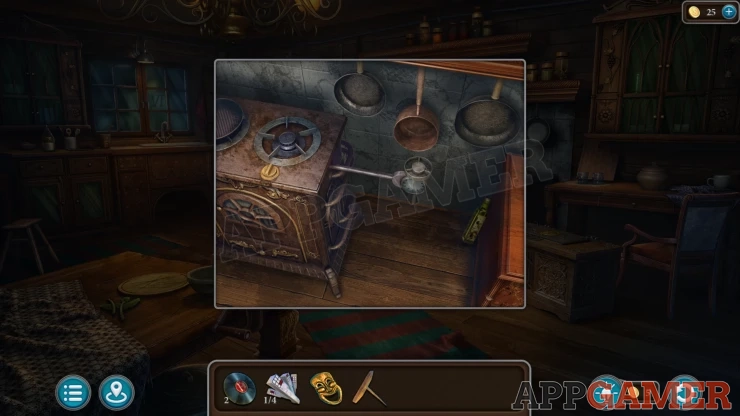
Back out to the hall and now view the Suit of armor. Use the Oil on the rusty hand, this will then let you collect another Key (door).
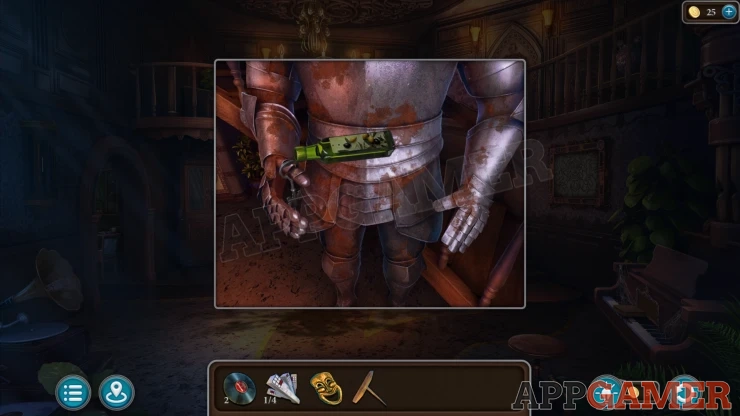
Now view the double doors at the back of the room and you can use the key to open them.
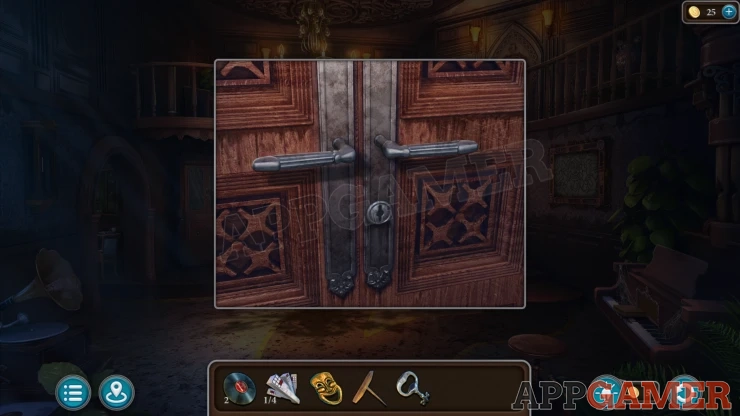
Enter the Professors Office.
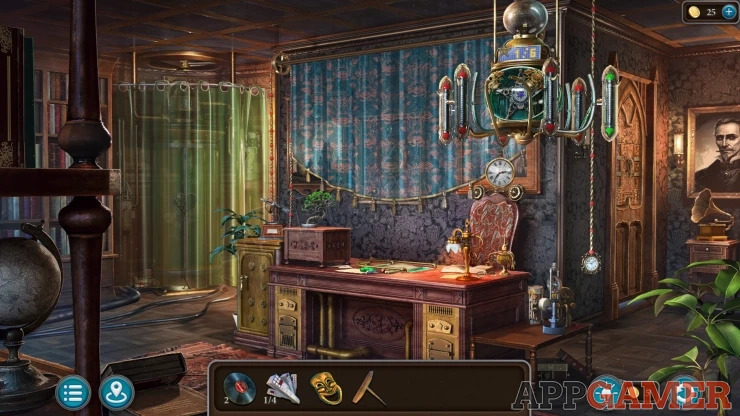
Collection Item: Glasses on the right side of the desk.
Morphing Object: tap the blue curtain covering the pictures on the wall behind the desk. Moon on the picture on the left.
Mask: Tap the upper rounded wooden part of the post on the far left of the room to open a compartment and find it.
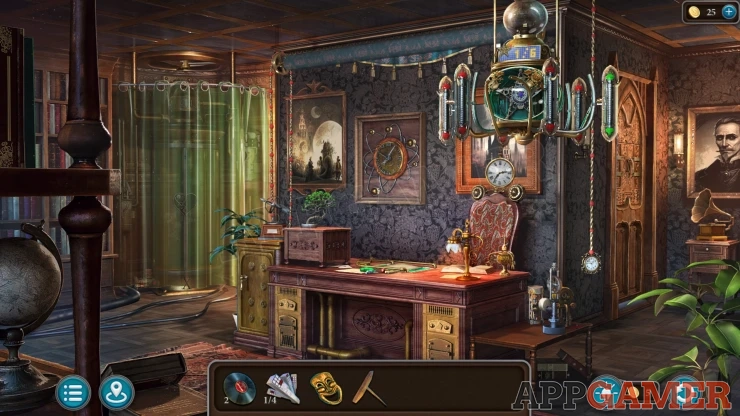
Look on the desk. Collect the Paints.

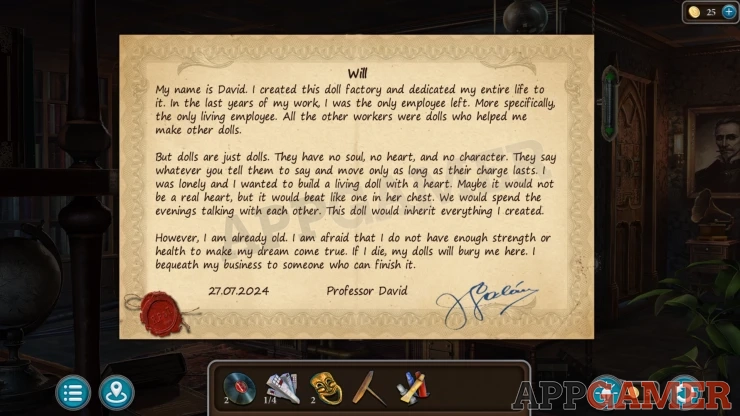
Then tap the paper in the center to read the Will. After this you can collect another Key (piano)
Tap the curtain on the left of the room to open it. There is a capsule with a doll in it behind.
Collect another Key (piano) from the pipes on the left. .

Back out to the hall again and tap to view a door on upper level on the right. Notice an object on the left side lamp.
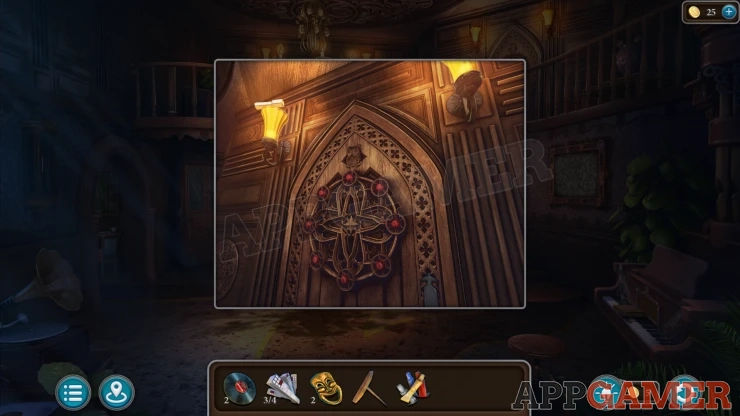
Use the mop on this to knock it down and collect another Key (piano).
Now view the piano on the lower right. Collect the Book from it.
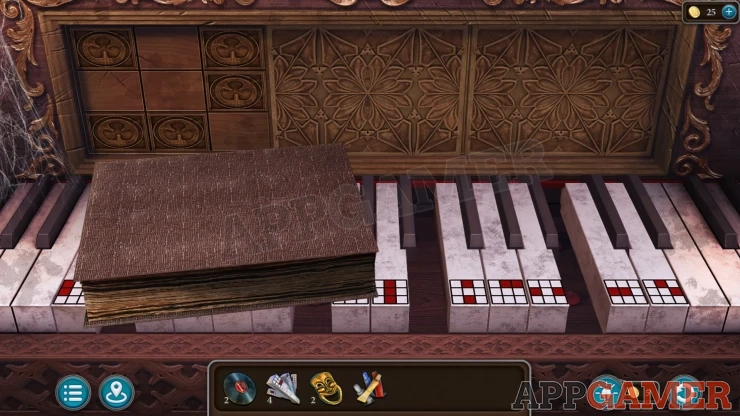
Piano Puzzle
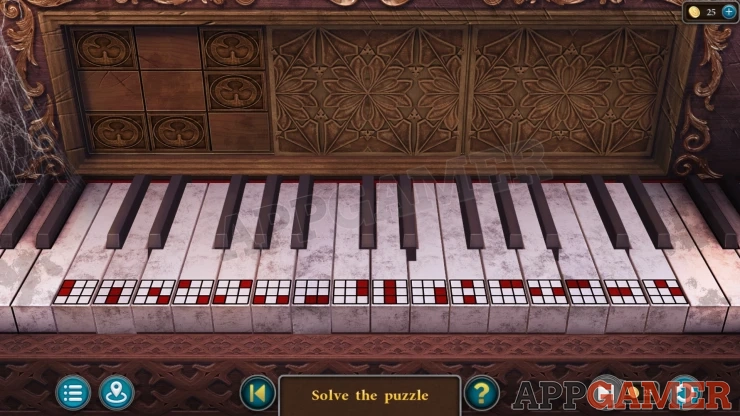
- Place the 4 piano keys to complete the keyboard.
- On the top section of the piano you will see 3 patterns of blocks. One at a time.
- Tap keys on the piano that have block on them that will combine to match the pattern seen.
- You can cancel out a block if you tap two keys that have it.
- The patterns will vary for each game
Once done you can collect a Bulb and a Hammer.
Back out again to the starting area in front of the house. The statue on the left is holding some shears. Use the Hammer on these to knock them loose. Collect the Shears.
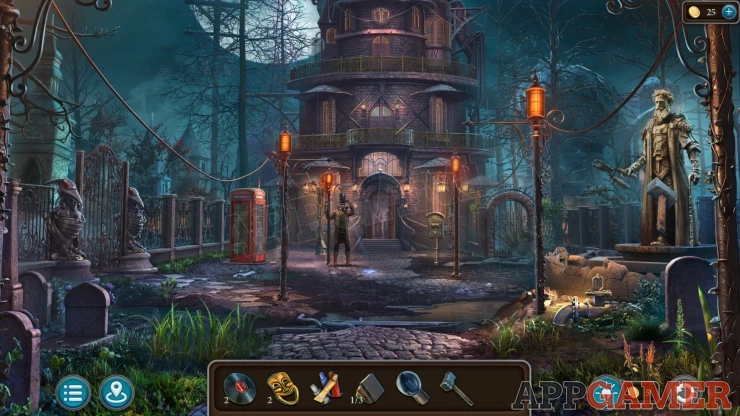
Now view the side gate again. Use the shears here to cut away the overgrown plants.
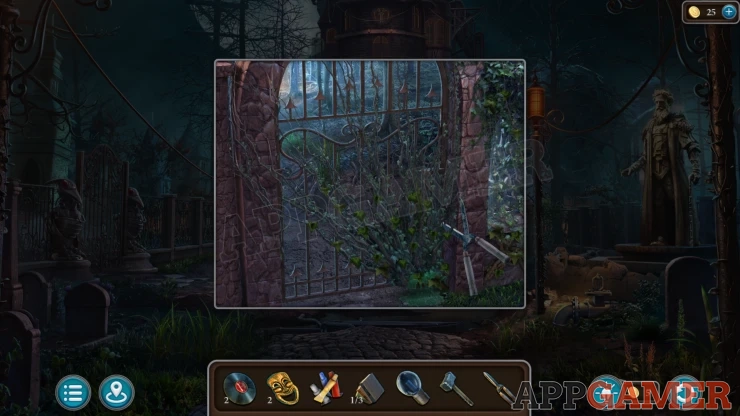
Now you can open the gate and go through to a Courtyard.
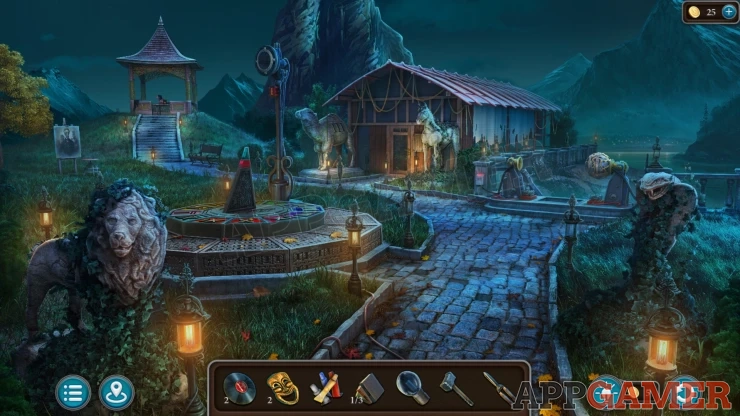
Morphing Object: a leaf at the base of the large sun dial on the left.
View a portrait on an easel in the grass on the left.
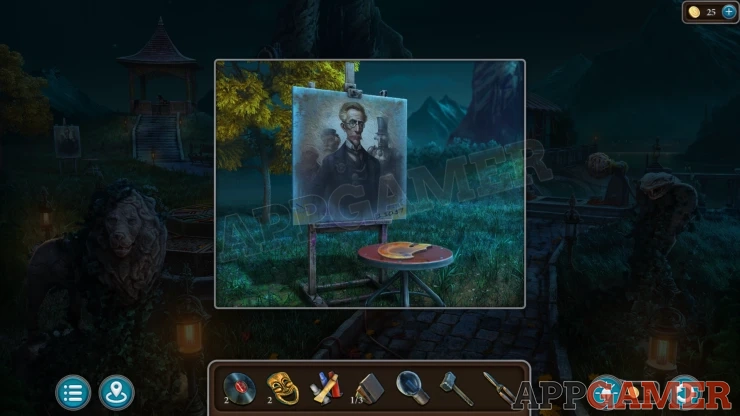
Collection Item: Glasses on the face in the portrait.
Collect a Palette from the stool. Also notice the number on the painting.
Next view the gazebo structure on the hill on the left.
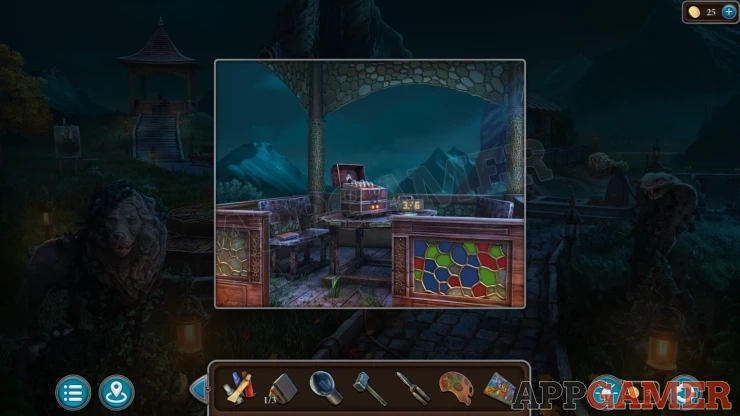
Collect a Book from the bench. Notice also the colored shapes on the panel on the right.
Next view the large colorful sun dial. Collect a Picture from it.
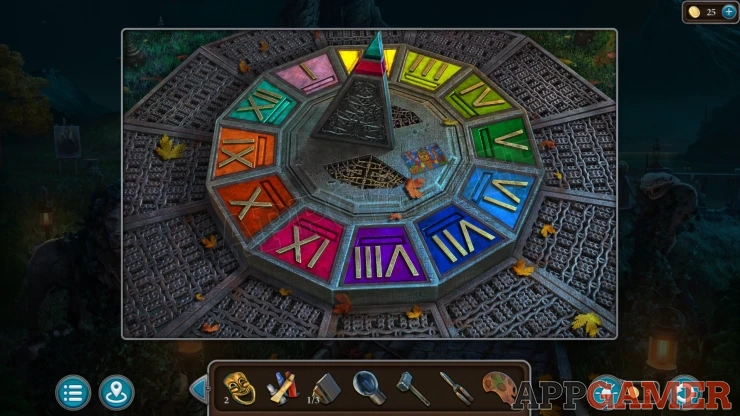
Notice all of the Animal statues in the courtyard, this is a clue.
Back up to the front of the house again and then view a post box that is to the right of the door.
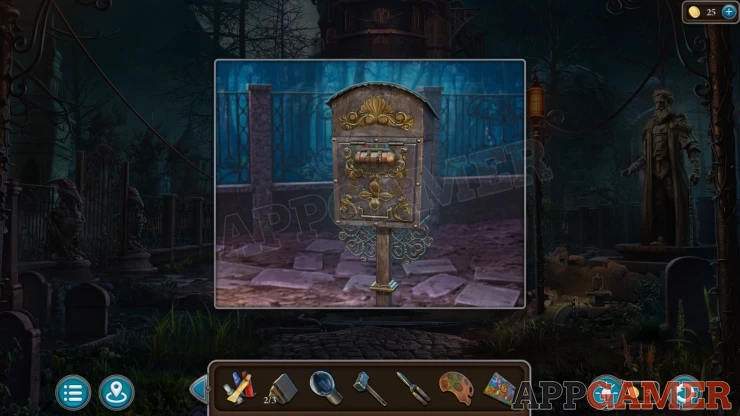
Post Box combination

- View the combination lock to see it has 3 digits and above are 3 colors.
- You have seen these 3 colors in the courtyard.
Solution: Count the number of each color seen in the colorful panel on the gazebo. This can be different for each game - Mine was 669Show
Read the note inside about a Gem and a Fisherman. Notice the name on the note.
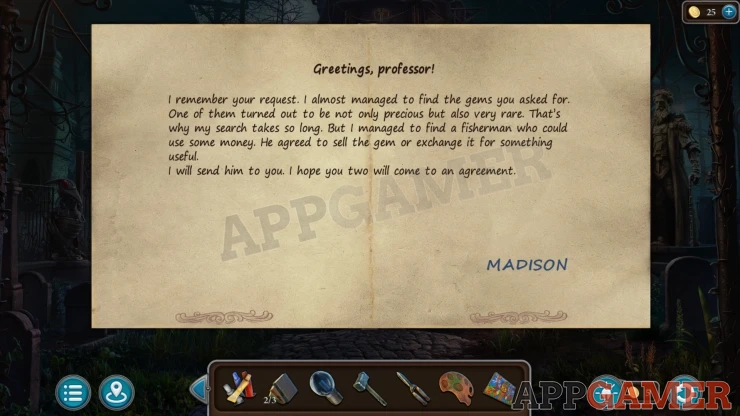
Then collect a Brush from the post box.
Go back into the hall and view an uncolored picture on the right wall by the bottom of the stairs.
Painting Puzzle
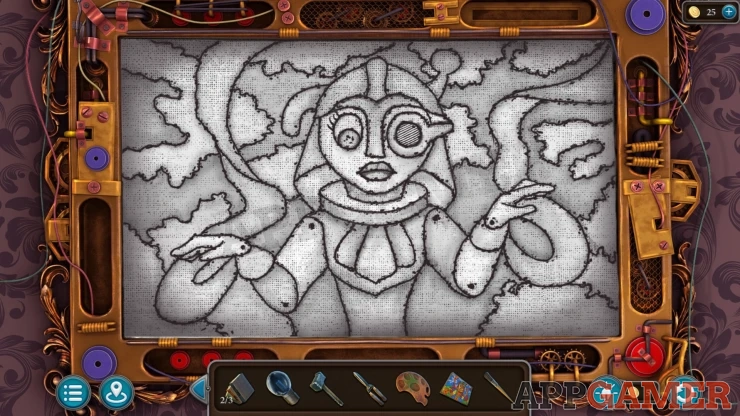
- Place the picture you have here and then the palette and the paints. Finally add the brush.
- Select colors on the palette with the brush.
- Then tap on an area of the picture to color in using the painting you collected as a reference.
- The game will fill in all related areas as well.
- For some colors you will need to mix 2 paints e.g. - green = blue and yellow.
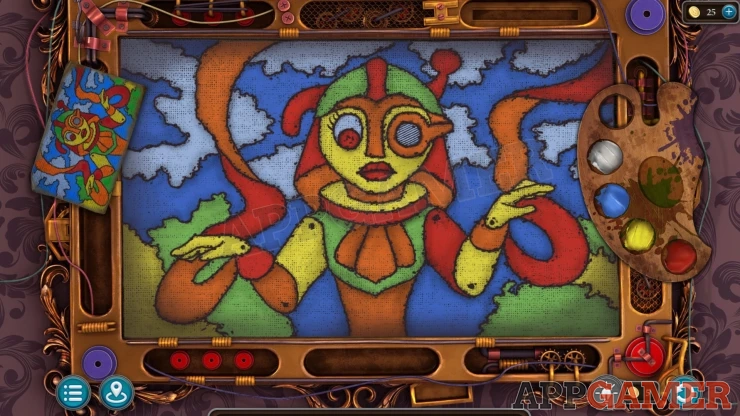
Once you have the full image colors in a panel opens and you can collect a Ball.
Go back to the courtyard, on the right is a missing set of steps and a machine.
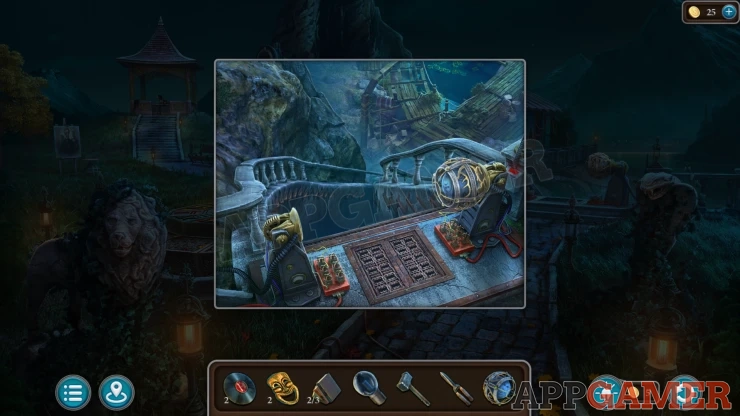
Add the Ball to the left side to activate the machine.
Face Puzzle
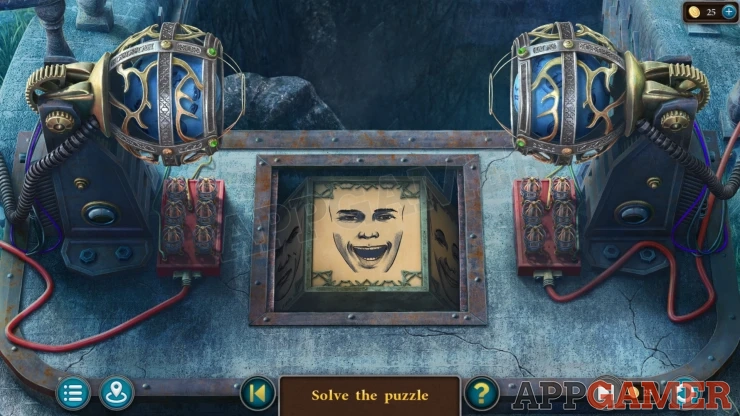
- In the center you will see a face with 2 parts, the eyes and the mouth area.
- Tap the ball on the left to see a variety of different face parts. The ball on the right also has another selection.
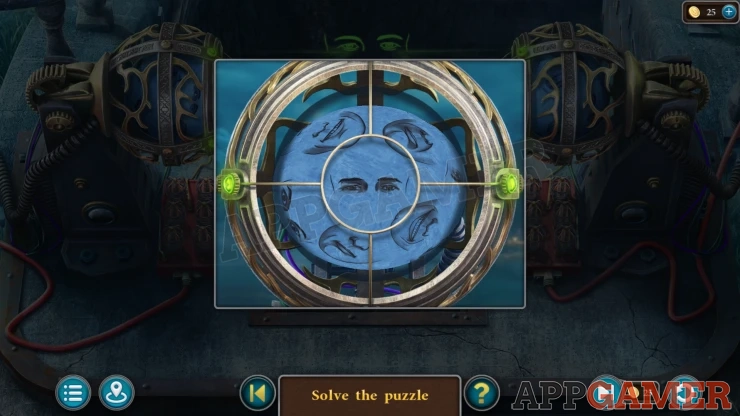
- Move the sphere around to find a part that matches the face you see. Then do the same on the other sphere to find the other matching part.
- Once you have matches the face it will be replaced by another one.
- You need to find the matching parts for 6 faces to light up the lights you see on each side.
- The faces will vary from game to game.
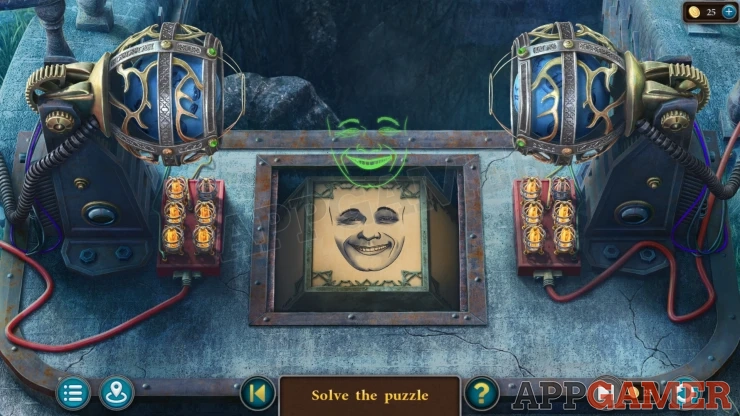
Once you have completed this the steps will appear and you can then go down to a dock.
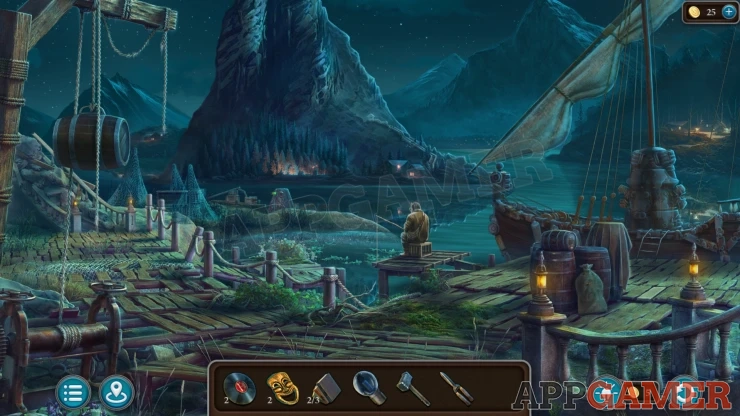
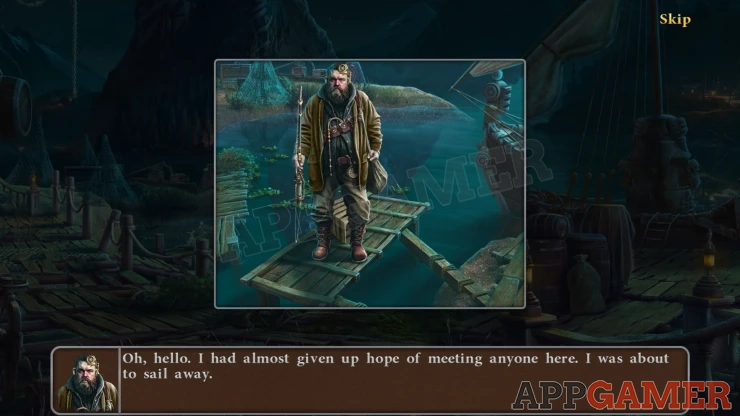
Talk to the fisherman, he will tell you about his deal with the professor, and then you will receive a Doll Scheme.
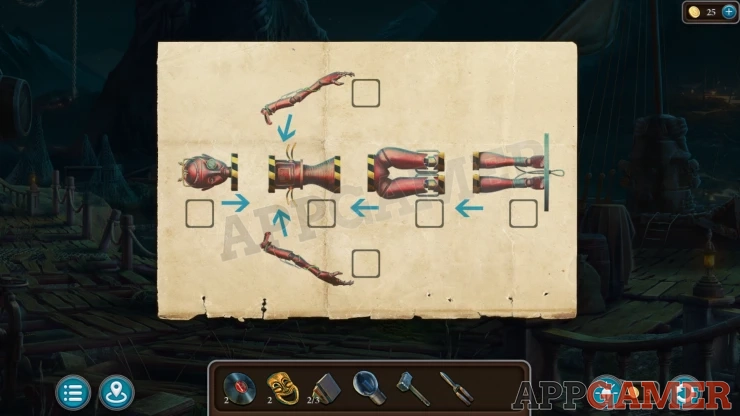
Collection Item: a pocket watch on the Fisherman's belt.
Morphing Object: A tree on the island just above the fisherman.
Mask: View the wooden dock planks on the right side to see one that is a lighter color. Lift this.
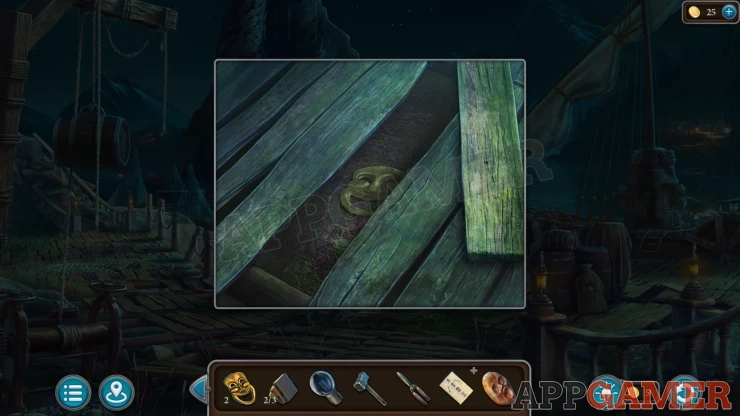
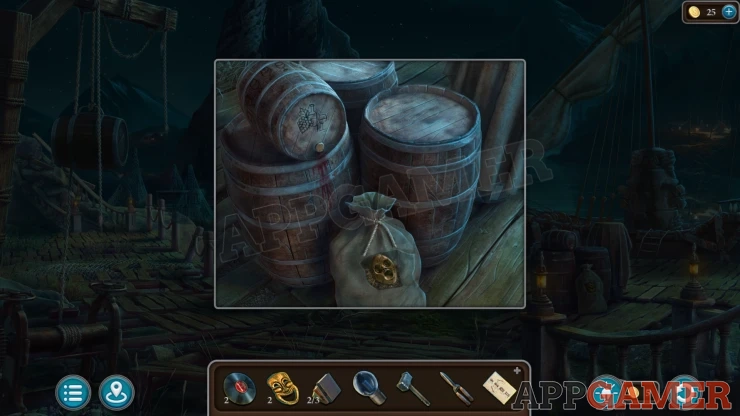
View some barrels on the right. Use the Garden shears on the sack to cut it open and collect a Mask. (story item)
Now return to the office. To the right of the desk is a door, View this.

Place the mask on to the door to reveal a puzzle.
Connections puzzle
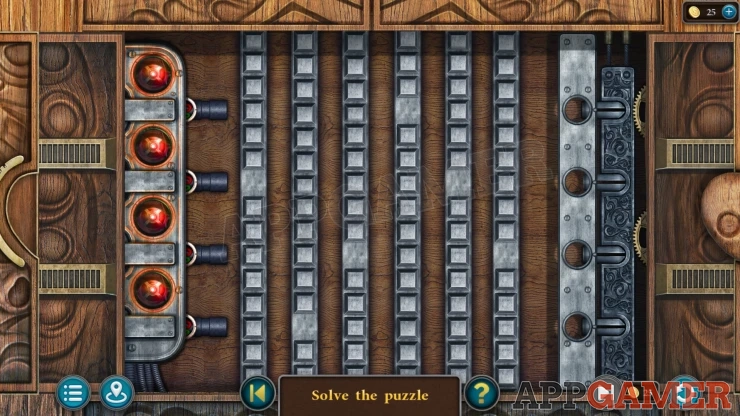
- There are four connectors on the left and 4 keys on the right.
- In the middle are six strips that block the connectors from travelling across to grab the keys.
- Slide the strips up and down to align the gaps in each of them to allow 1 connector at a time to pass through.
- Moving each of the strips will also move others.
- Focus on making one line at a time then tap the buttons on the left to activate a connector.
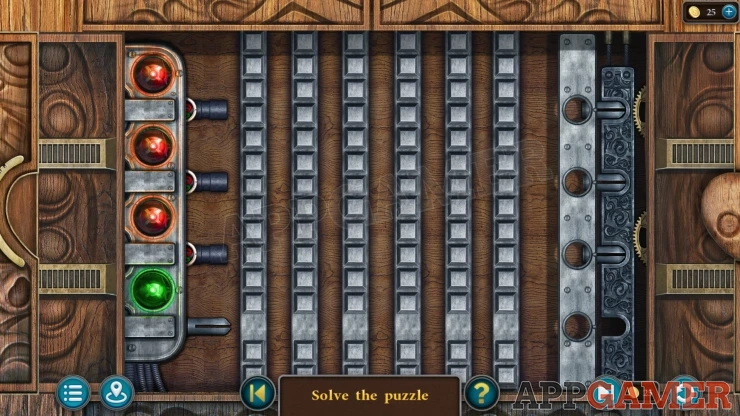
Once done the door will open and you can enter a Workshop.
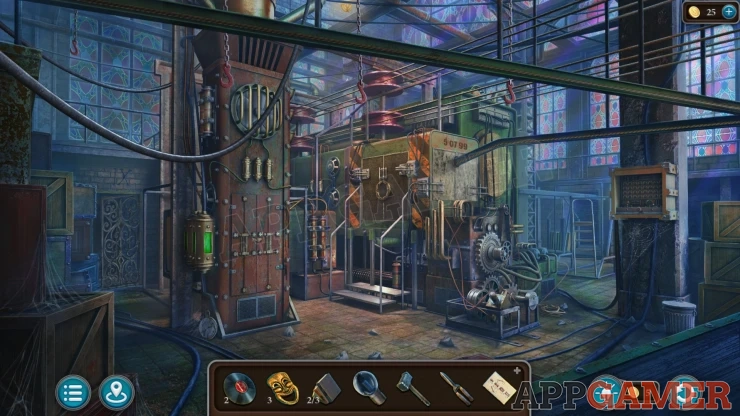
Morphing Object: Hook/Carabiner on a chain hanging from the top just to the right of center.
Collection Item: Clock on the floor to the left of the large square cabinet on the left of the room.
Collect a Ladder from the right side of the large machine. Then view the mechanism at the end of the large machine.
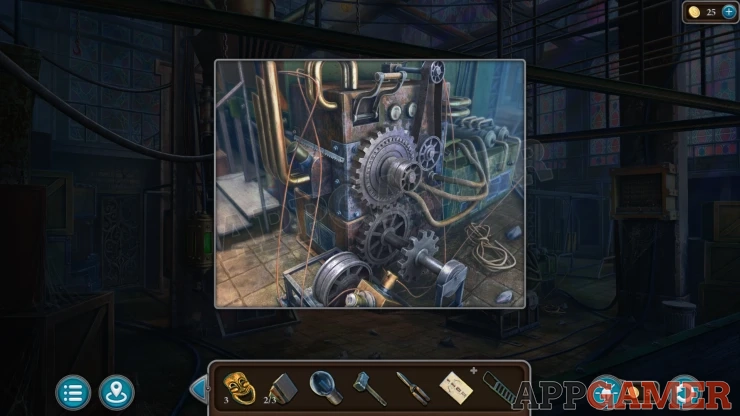
Collect a Hacksaw blade and some Rope.
Next view the front of the tall square cabinet on the left.
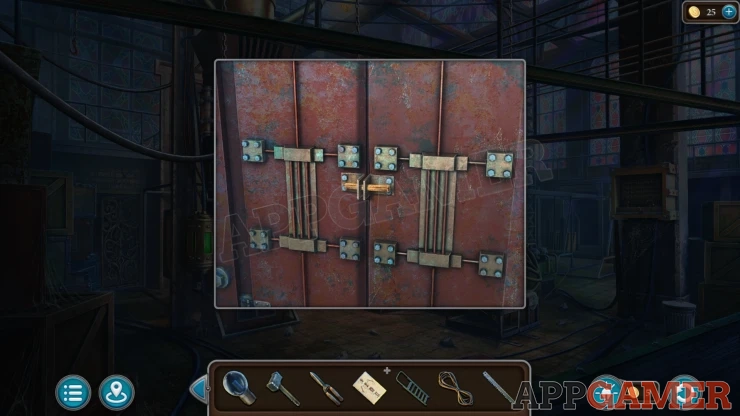
Use the hammer to remove the peg so that you can open the door.
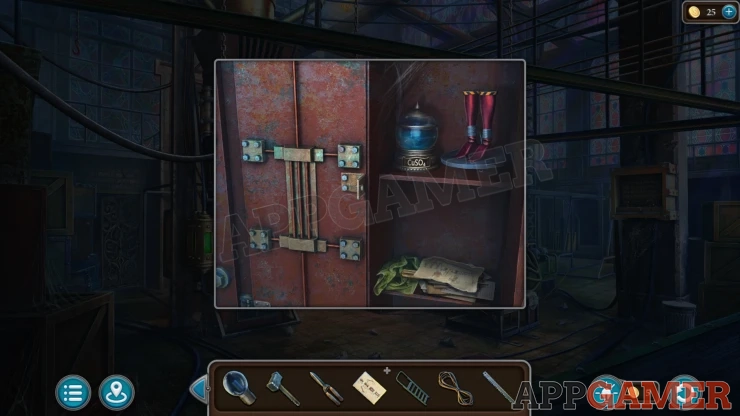
Collect from inside some Legs, a Screwdriver and some Nippers. You can also read the note about assembling dolls.
Look on the left of the room to see another red Roman Numeral. IX.
Then view a gate that is below this.
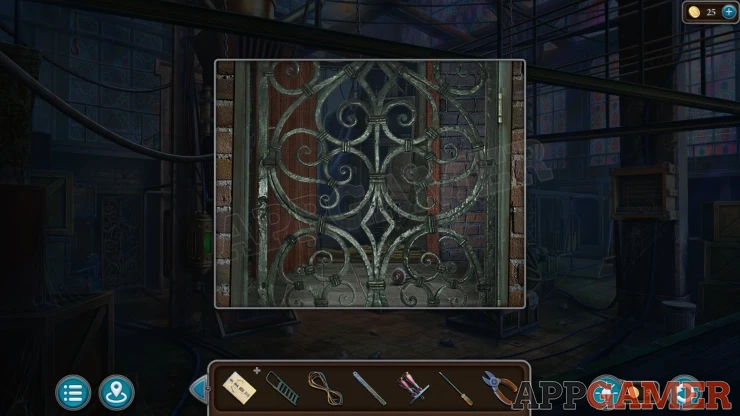
Open the gate and you can collect a Fuse.
There is another room at the back but it is dark for now. Now return to the courtyard. In the center above the sun dial is a tall lamp. Place the ladder next to it.
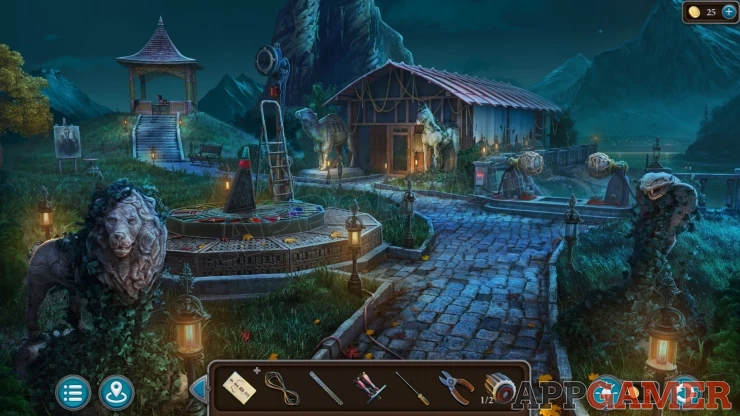
Now you can view the top of the lamp. Use the screwdriver to open the cover.
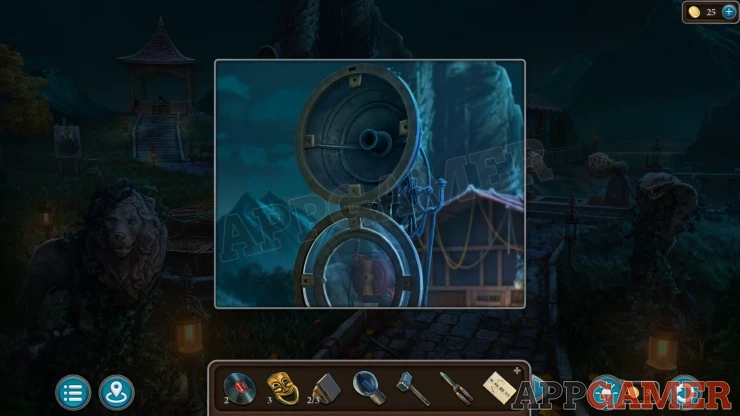
Add the Bulb to it and then you can tap the switch to turn it on. This causes a beam of light onto the sun dial.
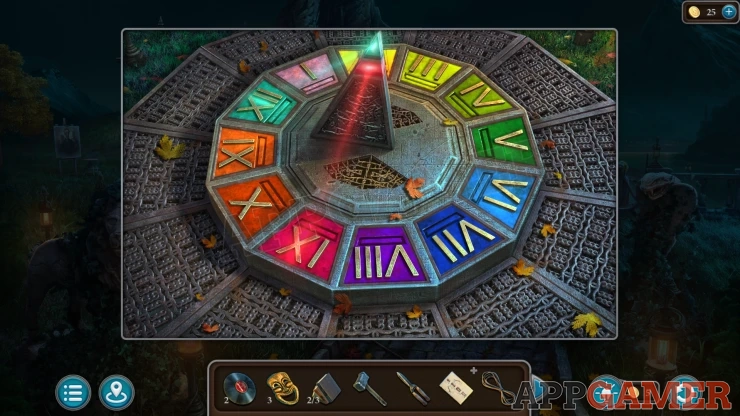
View the sundial to see light beams from the blue and red glass at the top of the center Gnomon stick. Notice the 2 numerals that it highlights.
Now you can return to the office. On the wall behind the desk it a clock.
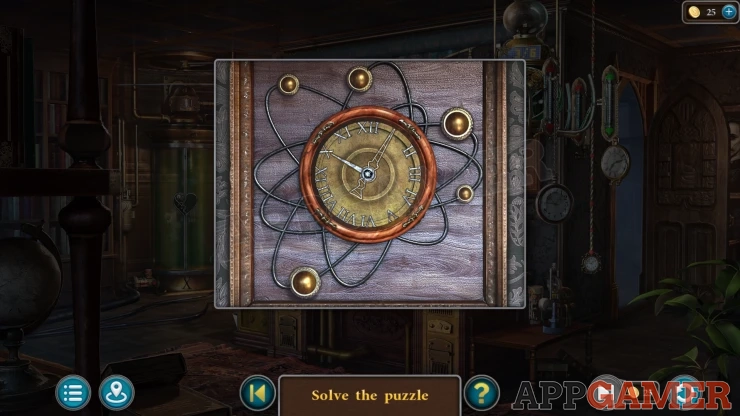
Set the time on the clock using the 2 numbers from the sun dial.
Show
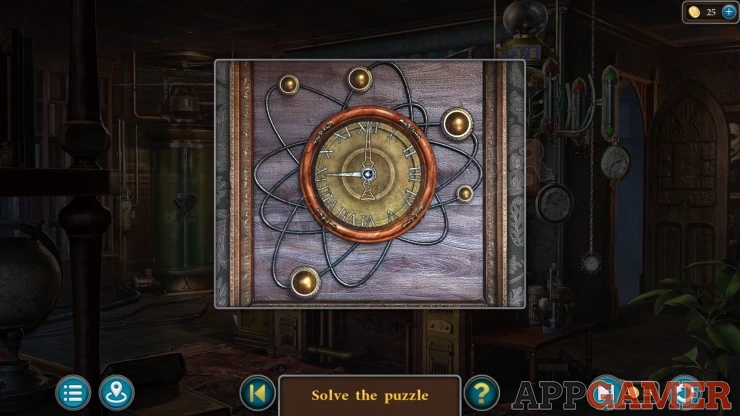
You can then collect another Fuse and a Belt.
Go back to the Workshop and view a fuse box on the column on the right. Add the 2 fuses to start the puzzle.
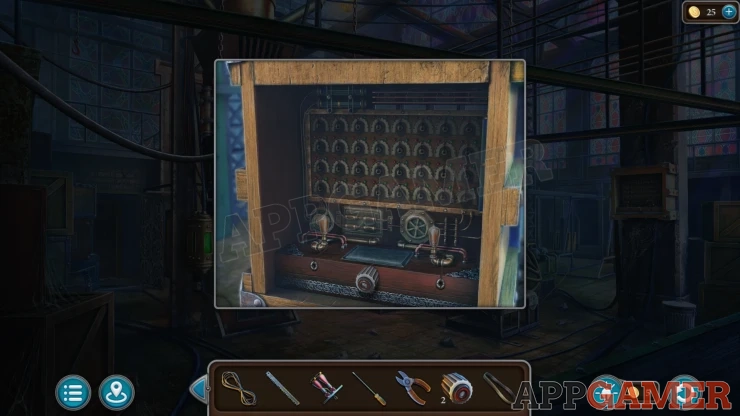
Fuse Box Puzzle

- This is a lights out / on puzzle.
- Tap any of the dials to turn them on or off. This will also change the state of the other dials next to it.
- You need to get all of the dials turned on to complete the puzzle.

Once done the power is restored and a light is on on the room on the left. Go through to a Warehouse.

Morphing Object: Arrow / Umbrella symbol on the side of one of the boxes on the left behind the parts on the table on the lower left.
Mask: view a table on the lower left with parts on it. Move some around to find the mask.
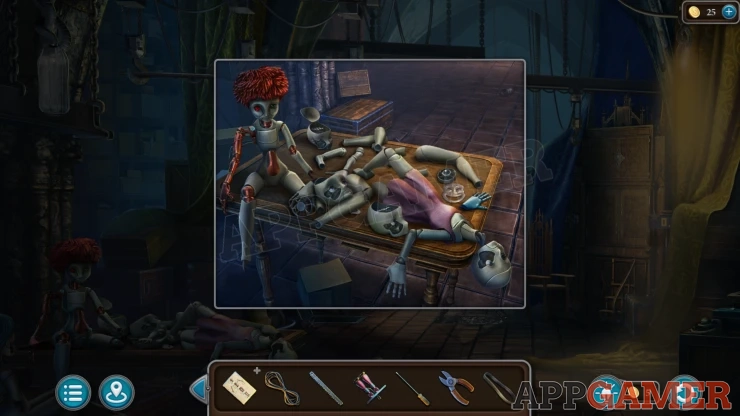
First collect a Gas cylinder from near the center of the scene to the right of the portrait.
Then view the Portrait.

Collection Item: Glasses on the portrait.
Select a Sack on the left and add it to the hook on a chain by the portrait. Then tap on the wooden chest by the chain to break it open and find another sack. Then move the tray on the lower right to find a third sack.
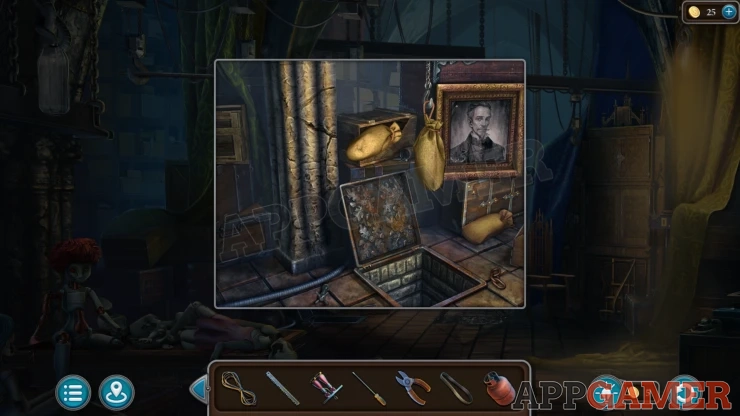
Place them all onto the hook and the chain will lift a cover from the floor. There is an item in the hole but we cannot get it yet.
Collect a Crowbar from the top left between 2 hooks.
Now notice the 4 colored curtains around the room, each one has a symbol on it. From left to right they are Green, Red, Blue Yellow.
Return to the Docks with the fisherman and now view some boxes in the nets to the left of the fisherman. Collect a Hacksaw Frame.
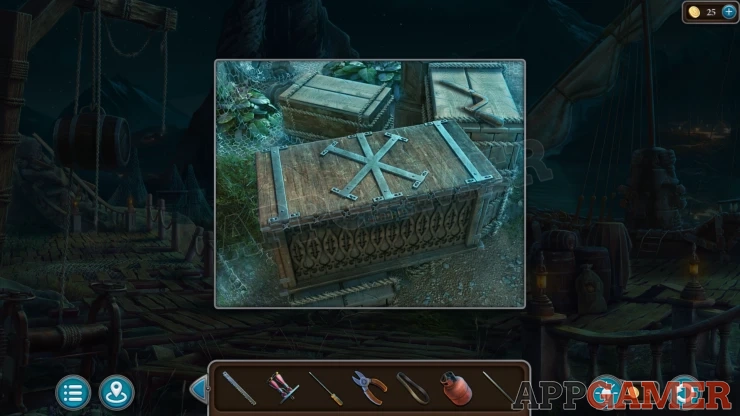
Then look at the lock on the large box, this has 4 dials that can be changed to show different colors and symbols.
Match these to the curtain in the warehouse.
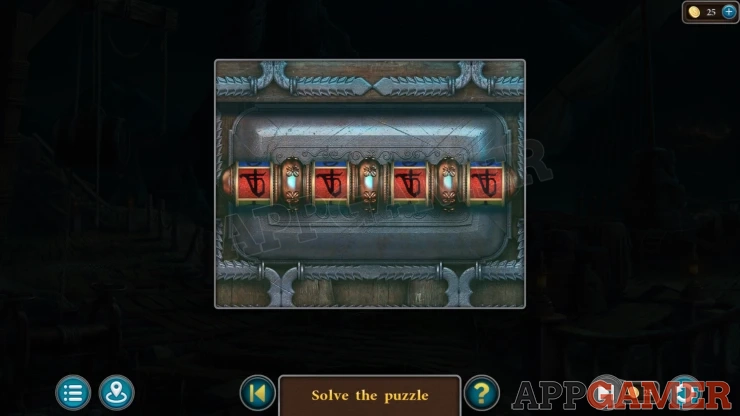
Show

Collect a Clamp and a Part of the frame.
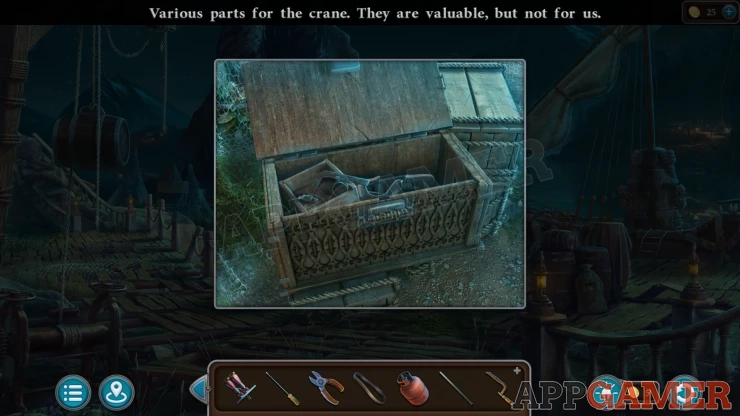
View the Hacksaw frame in your inventory and add to it the part of the frame and the hacksaw blade. You will collect the Hacksaw.
Go back to the front of the house and then view a gate on the far left.
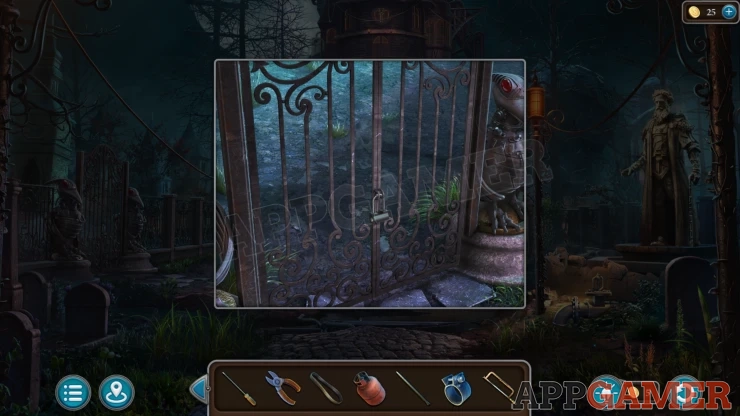
Use the hacksaw to cut the padlock in it and then you can go through to the cemetery.
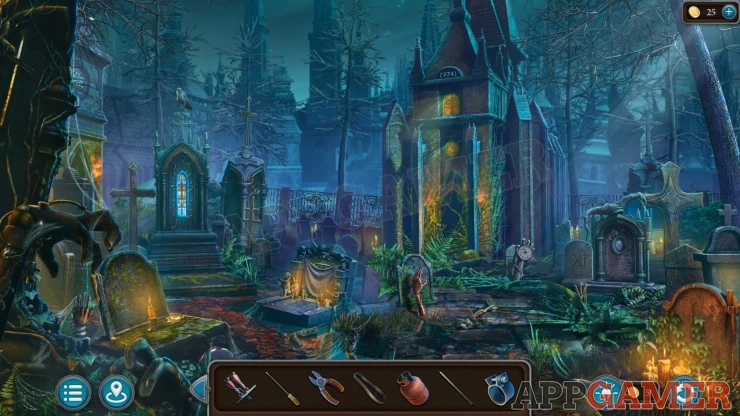
Morphing Object: Cross symbol on a small grave stone on the left side.
Collection Item: Clock on a hand in front of the large crypt.
View a tilted grave on the left with a candle on it.
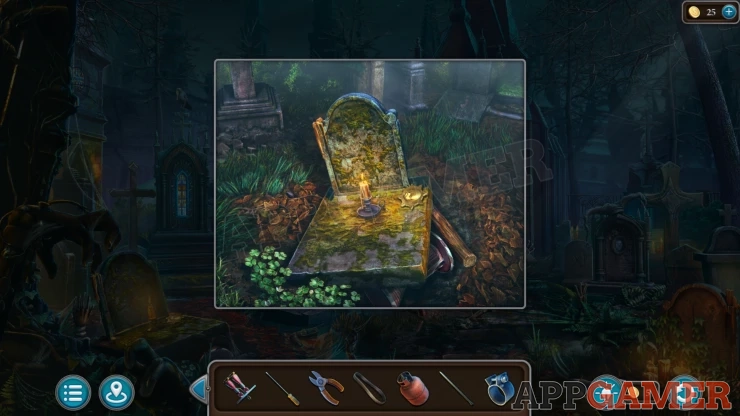
Collect the Candle and a Detail.
Then use the Crowbar to lift the top of the grave. You will collect a Torso that falls out.
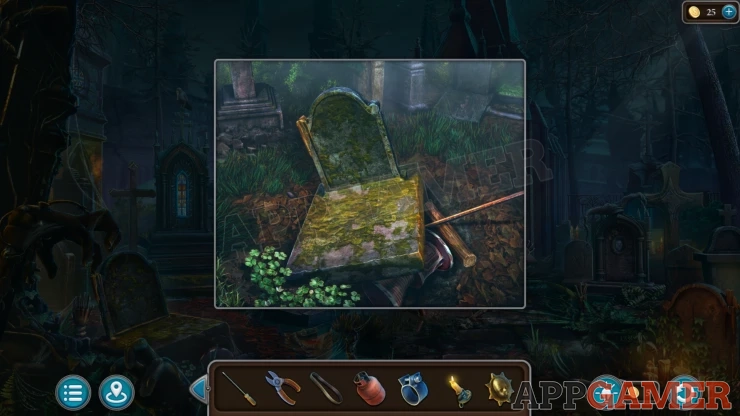
Next view the grave stone on the right of the large crypt. It has a stone jesters hat on it.
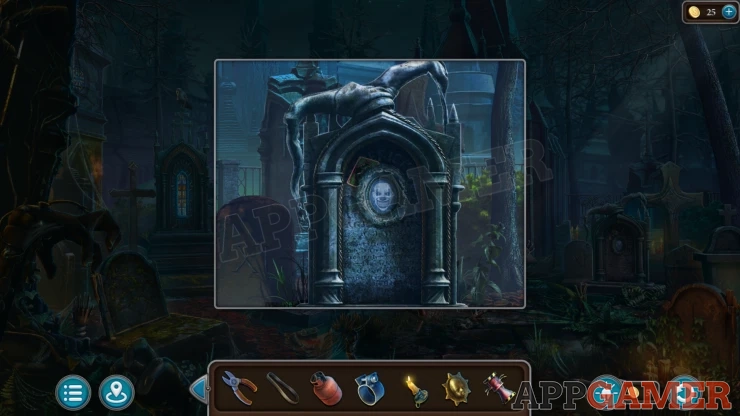
Collect a Joker Card from picture on the grave the stone.
Mask: hanging from the hat adornment on the left of the stone.
Notice the Roman numeral on the smaller grave stone to the left of it. XI
Now view the door to the Crypt. There are poisonous insects that we cannot get past yet.
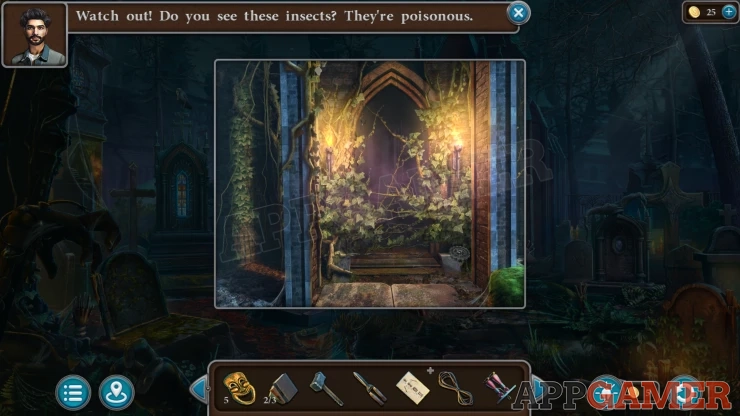
Collect a Decorative gear from the lower right.
Go to the Hall and view a cabinet to the left of the office door.
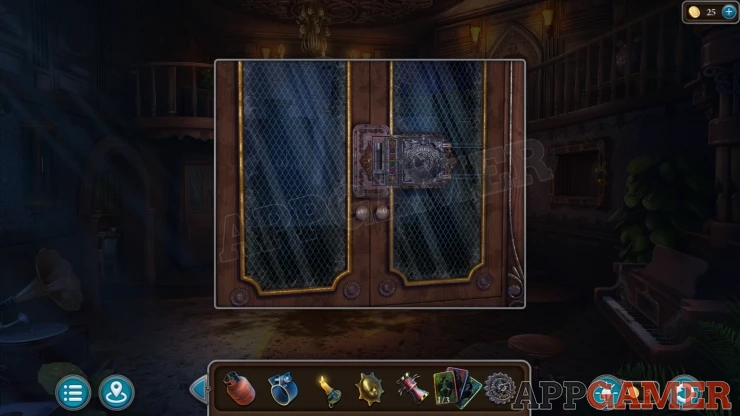
Use the Decorative gear on the lock to open it and find a puzzle.
Gear Puzzle

- There are five colored gears on the board that can be moved around on the colored track lines
- Tap one of the colors on the left side of the board to move gears that are on the matching colored track in an anti clockwise direction.
- On the left of the board are 5 dark slots with shapes that match one of the gears
- Move all of the 5 gears onto the correct slot on the left to compete the puzzle.
Solution: Show
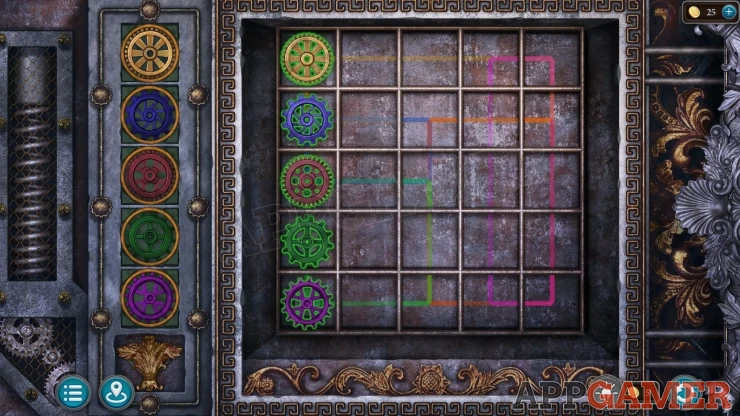
Once done you can collect some Doll Hips and a Handle.
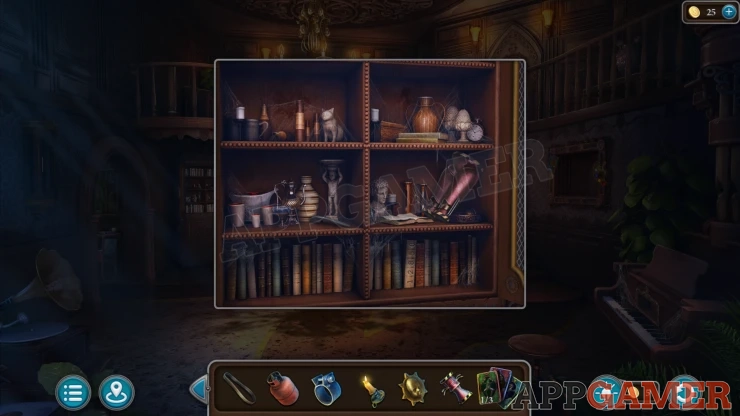
Collection Item: clock on the top right shelf.
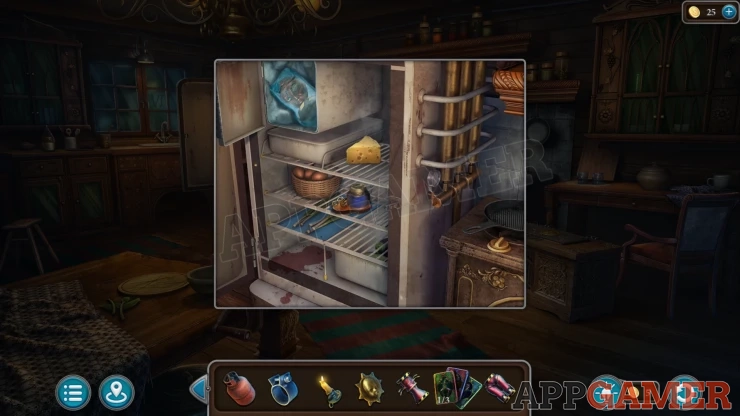
Go back into the Kitchen and view the refrigerator.
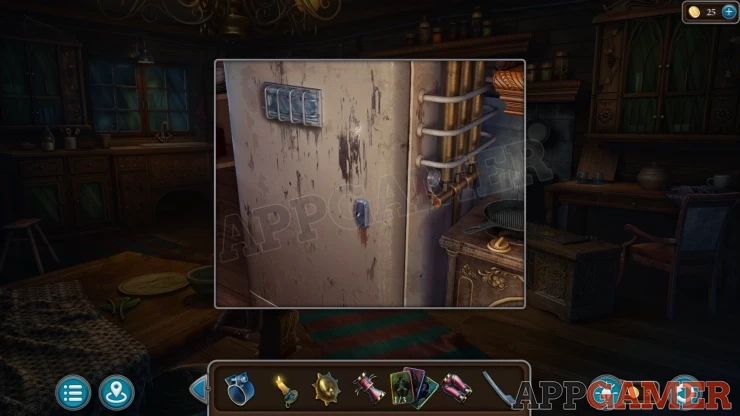
Add the handle to the door and then you can open it.
Collect the Cheese, and an Inkwell. Then open the ice box on the top left and you can collect a Head in Ice.
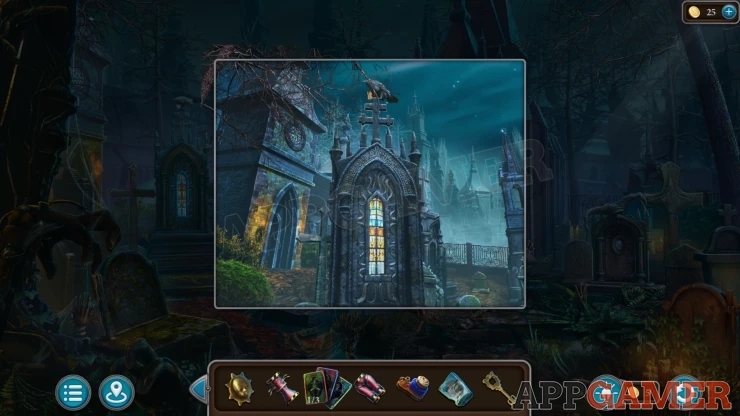
Return to the graveyard and view the large grave on the left with a crow on top. Tap it to see that it has a key but you need to give it something first.
Give the cheese to the crow and then you can collect the Key.
Go back to the courtyard and then view the door to the green house at the back.
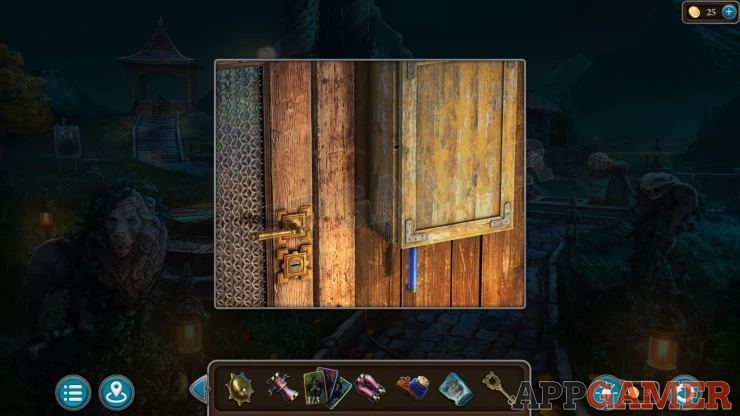
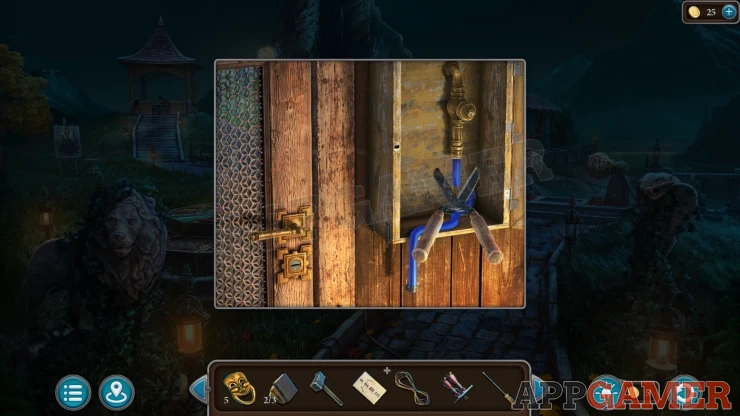
Open the cabinet on the right and then you can use the screwdriver to remove and collect the Valve handle.
Then use the Garden shears on the blue Hose to cut and collect it.
Next use the key on the door lock and enter the Greenhouse.
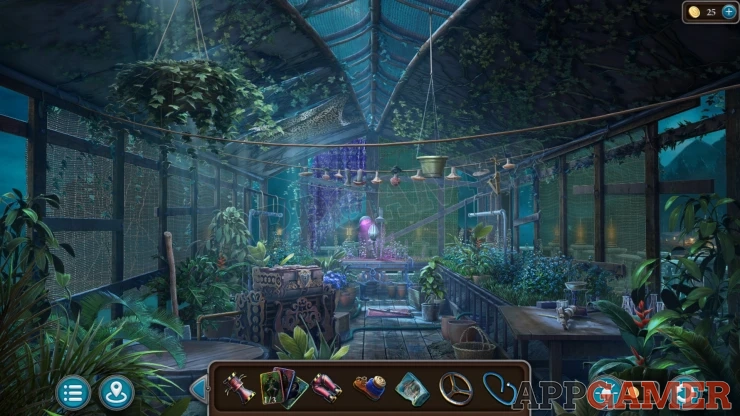
Morphing Object a flower head on a tall plant on the middle left.
Look on the table on the right to see chemicals. Collect a Sprayer.
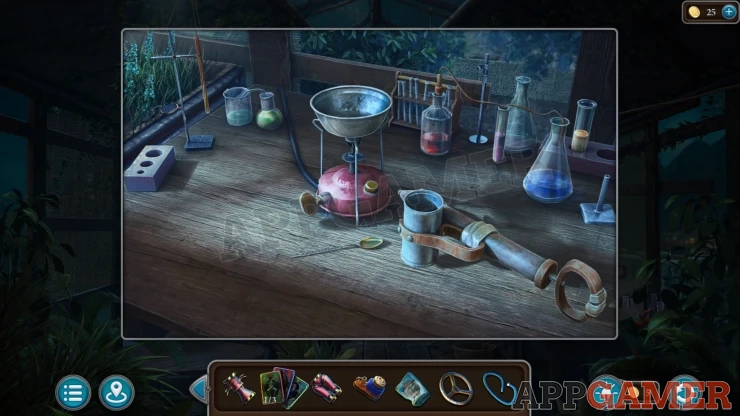
Collection Item: Glasses on the top left in the plants.
Collect a Shovel from the left side of the green house and then look at a plant pot on the right side of the center walkway.
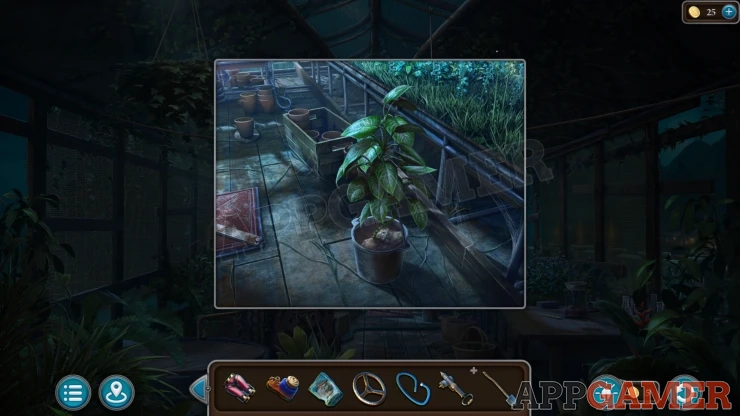
Remove the plant and then tip out the soil and you will collect a Cauldron.
Record: move a pot that is at the back of this view to find it.
Now travel to the dock and view the water to the left of the fisherman. Use the cauldron here to will it with water.
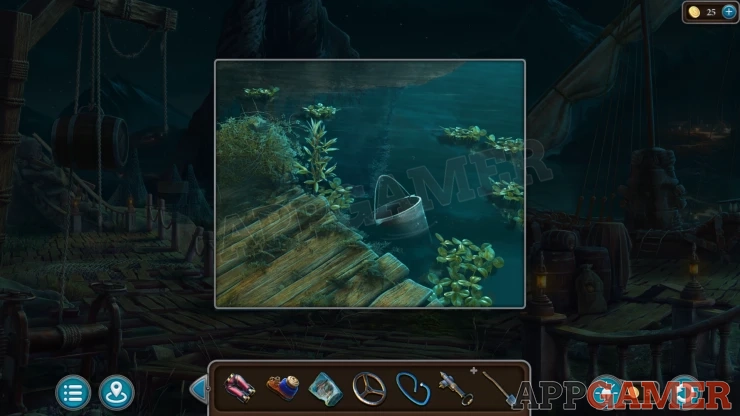
Go back to the Kitchen. View the stove on the right and add the gas cylinder to the pipe on the right.
Tap the valve on the pipe to turn on the gas and then use the candle on the hob to light it.
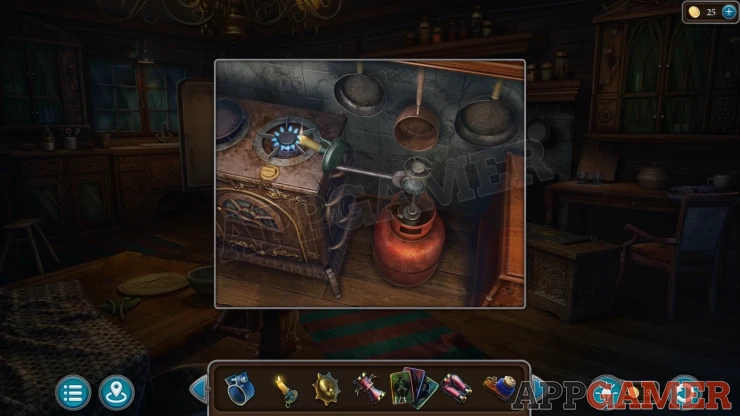
Place the cauldron of water on the hob and then add the frozen head.
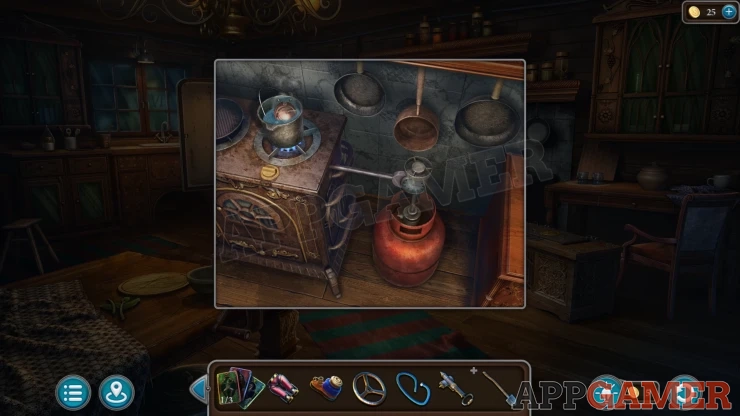
It melts and you can collect the Head.
Continue the guide in Episode 4 - Part 2
We have questions and answers related to this topic which may also help you: Show all
 With 20 years of experience in creating video game content for the internet and over 30 years as a gamer, Mark is now a passionate mobile App Gamer. Loving a challenge, he is always ready to get stuck in to both survival builders and puzzle solving games. He has been providing content for AppGamer since 2014.