
Episode 1 Walkthrough - Tropical Island - Part 2
More Artifact Seekers
This is our guide to Tropical Island, the first Episode in the puzzle adventure game from Five BN. In this episode you are exploring a sub tropical island to find the secrets of a forgotten religion.
This is part 2 of the walkthrough for Episode 1, In part 1 we have opened a gate in the village street and can now make our way out to a bridge.
Episode 1 - Tropical Island Walkthrough - Part 2
Go through the opened gate and out to a path with a broken bridge.
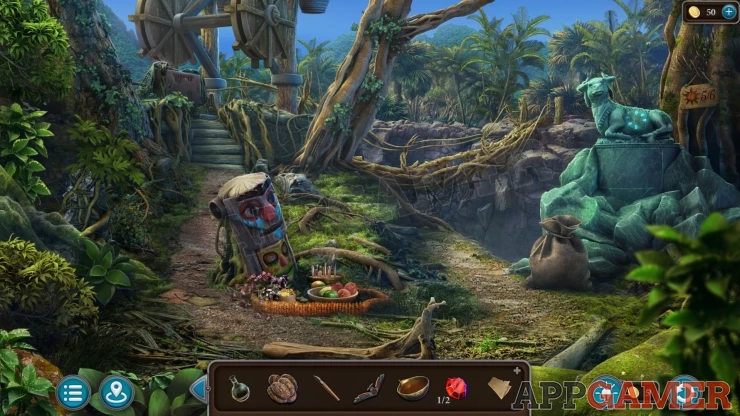
Morphing Object: fruit in the bowl on the ground by the small totem.
Collection item: clear some plants on the far left to find another statue / figure.
Pungi: Collect an other Pungi from the bottom of the tree in the center.
Worm: Tap on a small pile of leaves / dirt on the path to the left of the small totem. Collect a Worm
Now view the small totem on the path.
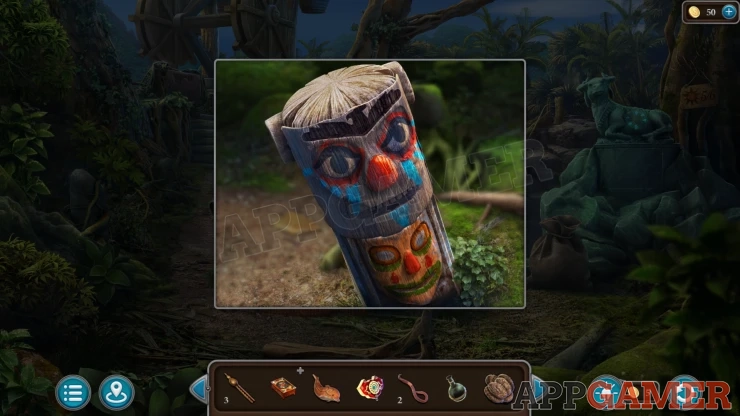
Add the bird figurine to the top to open a panel. Inside is another puzzle. Tap to start it.
Totem Line Puzzle

- The circle has a number of pins that you can move around. Between the pins are blue lines.
- The center of the circle has a symbol scratched into it with lines.
- Move the pins around the circle to arrange the lines so that they cover all of the marking on the symbol.
Solution: Show

Collect a Lens.
Next view a sack on the right side of the path and use the knife to open it. Collect a Pick.
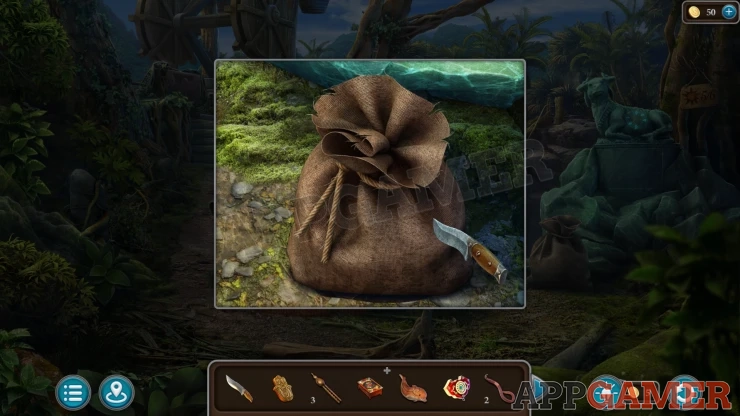
Now tap on the cliff side on the right to enter a Labyrinth. Maxim will talk to you to explain that you need to find 8 parts to repair the bridge.
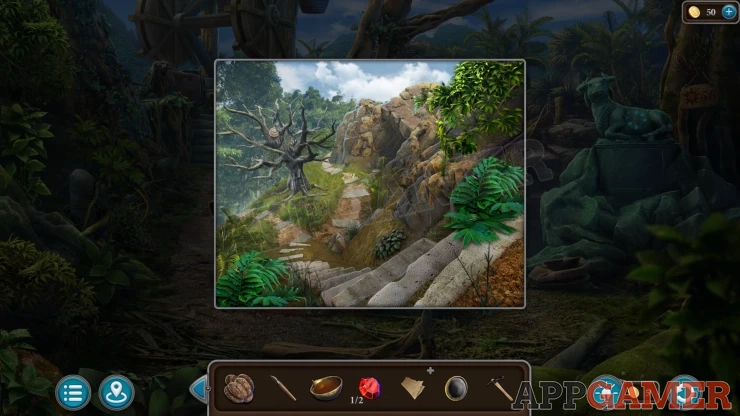
Maze
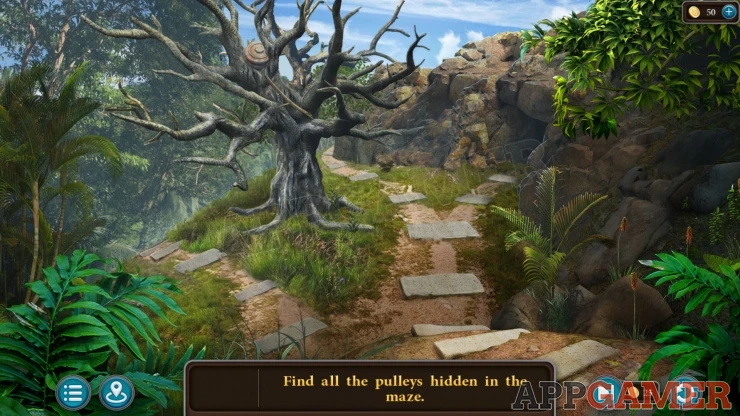
- There are various paths that you can take to move around the maze to different areas. In each area there maybe one or more pulleys hidden.
- You may need to use sticks or other tools to collect them, or you may need to move rocks / vines and other items to find them hidden.
- There are many possible locations to search through, and the pulleys will be placed randomly in each game so you will need to check through until you find them all.
The first one for me was at the top of the large tree in the first scene. You need to use the stick that is at the bottom of the tree to knock it down. After this follow all of the paths you can find and check every area.
Once you have 8 of them you next need to return to the beach with the fisherman and the hut. On the left is a rock which you can view the see a handle stuck in it.
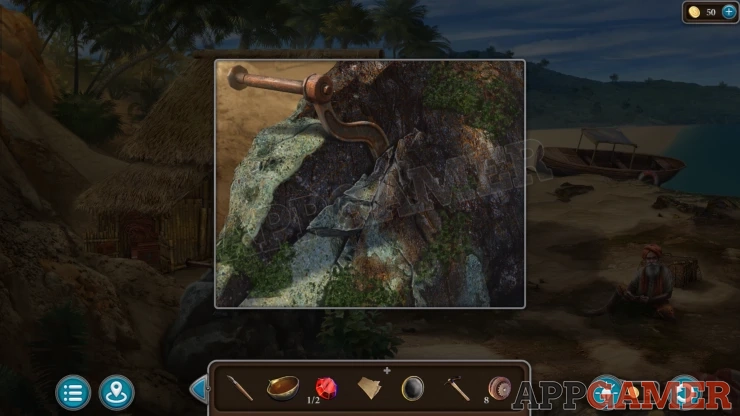
Use the Pick on he rock and you can then collect the Handle.
Return to the path with the Broken bridge. Tap on the top left to see a rusted mechanism. Add the handle to the right side.

Tap the panel at the top to open it and look inside. There are 8 spokes for the pulleys. Add the Pulleys to the box to start the puzzle.

Pulleys Puzzle
- You need to drag and place the 8 pulleys to the correct locations.
- There are 2 large ones, one of them has a gear on it.
- There are 6 small ones.
Solution: Show
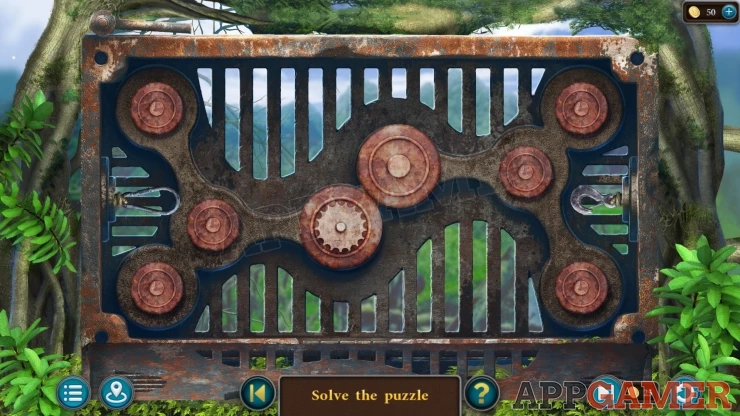
Once you have placed them all you can then drag a rope from the left side and wind it around the pulleys in the correct positions to complete the puzzle.
The clue for this was seen on the wall at the bottom of the well.
Solution: Show

Now tap the handle that you placed on the mechanism and the bridge will be raised.
Tap the bridge to cross over and you will arrive at the doorway to the Temple.
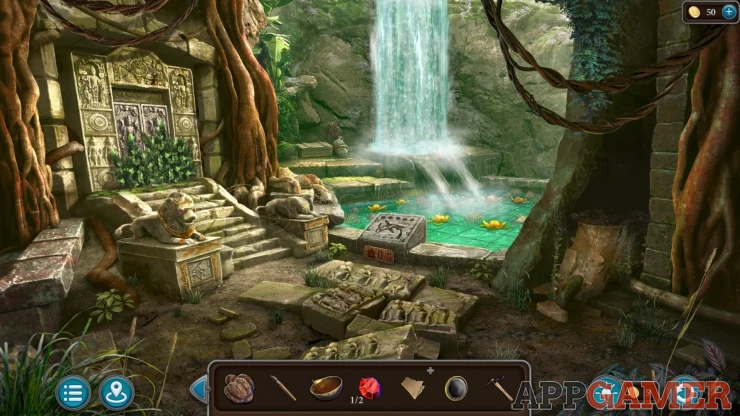
Morphing Object: a symbol on the base of the statue to the left of the steps.
Collection Item: a small statue on the broken stone sin the center of the ground.
Pungi: Tap the tree growing to the right of the temple door to collect another Pungi.
View the animal statue to the left of the steps. Add the Decoration to the harness below its head.

The water parts from the waterfall to reveal a hidden cave.
Before entering the cave tap on the wooden box to the left of the waterfall.
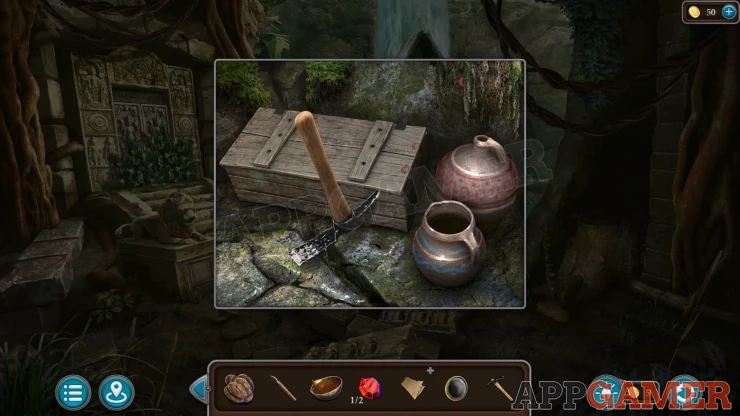
Use the Pick to open the box and you can collect a Crucible and a Torch. Then use the knife on the crack in the stone floor to collect a Key.
Finally tap the wall on the top right above the 2 jars to move some moss and collect another Worm.
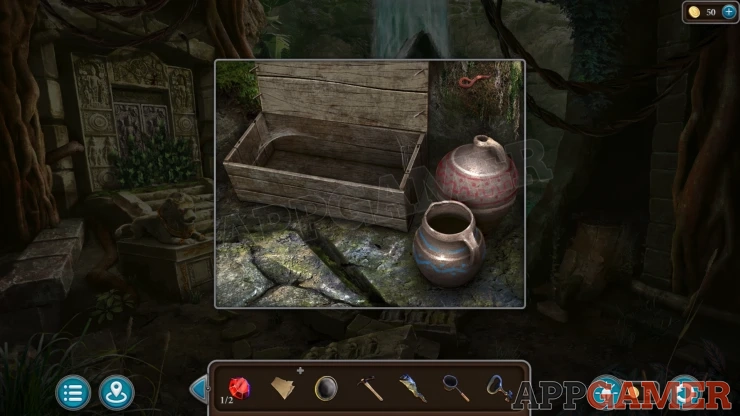
Now tap the waterfall entrance to enter the secret cave.
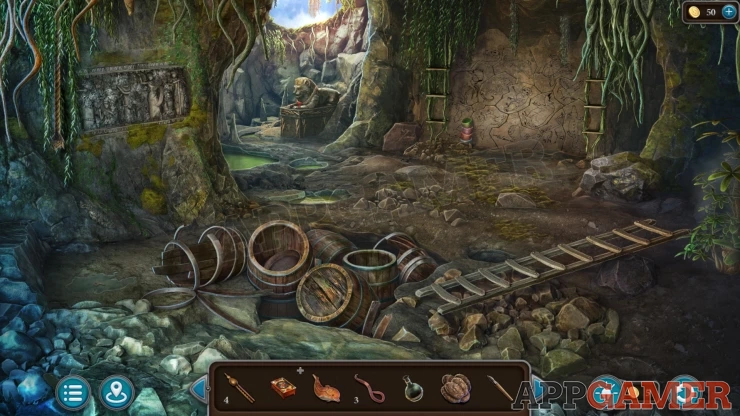
Morphing Object: Rope / Vine on the top left.
Collect a Ladder from the ground on the right.
Then from the ground on the far left collect another Worm.
View the broken barrels in the center and collect from the left one a Sieve. Then use the Pick on the right barrel to break it open and collect a Brush.
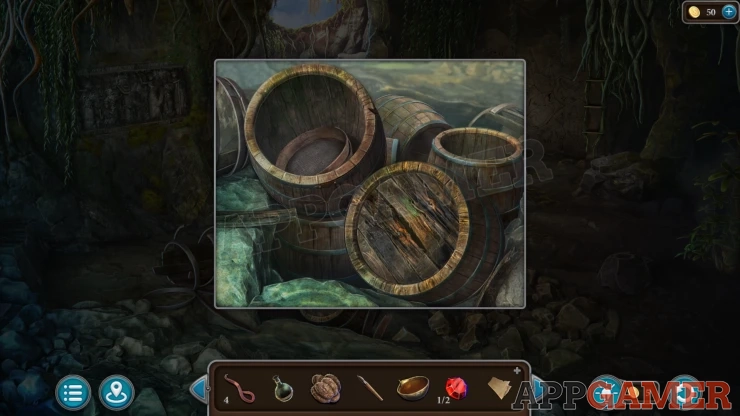
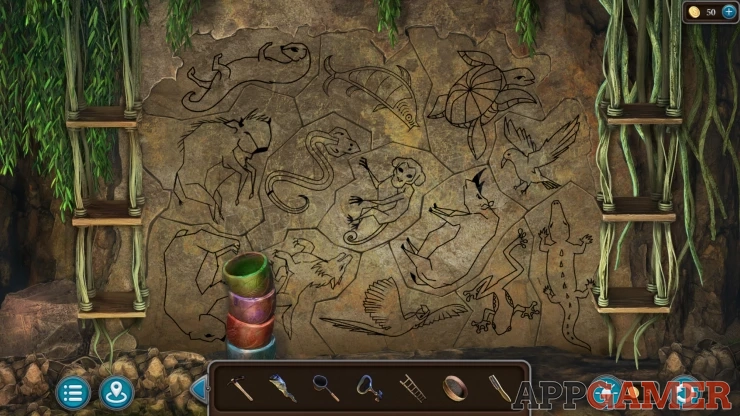
Next view the drawing on the back wall, collect the 4 colored Bowls.
Next travel back to the Village street, there are some pots of colored powder, view these.
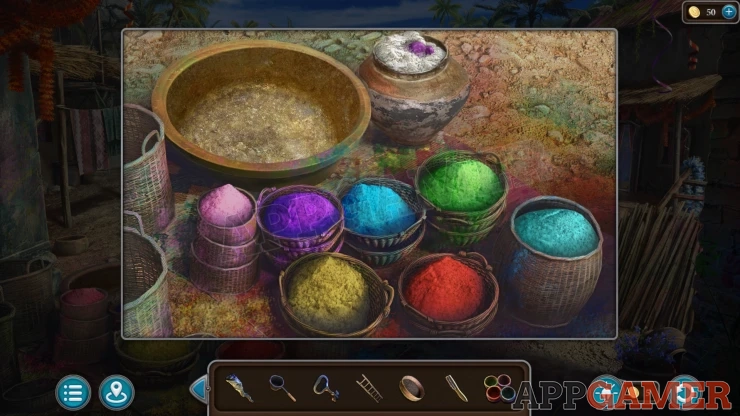
First tap the pot of white powder to the top to take out a small animal figure. Then Place the sieve into the bowl on the top left and yap the bowl of white power to empty it you. You can then collect all 3 Animal Figurines.
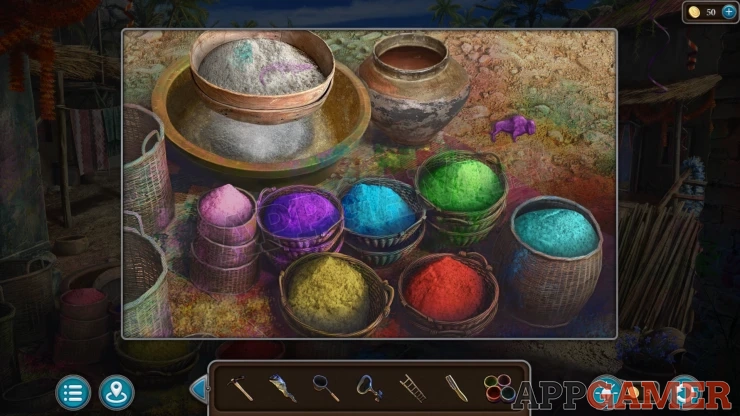
Next use the 4 bowls on the baskets of powers to fill them with Pigments.
View these pigments in your inventory and add the Oil to them.
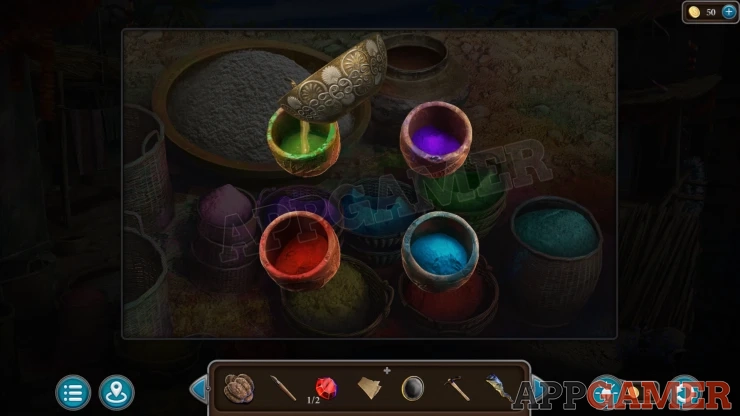
Then use the brush on them to mix, you will collect the Paints.
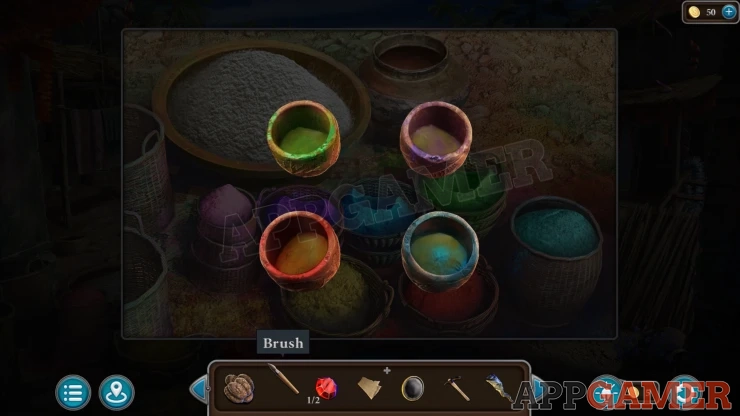
Return to the secret cave and view the drawings on the back wall again. Place the paints on the shelves to the sides and also place the animal figures.
Painting Puzzle

Using the clues you can now use the brush to select a paint color and paint the different animal drawings.
Start by painting the 3 animals that same colors at the figurines. Then you can try other colors for the other drawings. If you have the correct colors for 2 adjacent drawings then the line between them will turn green, if one is incorrect then it will turn red.
Solution: Show
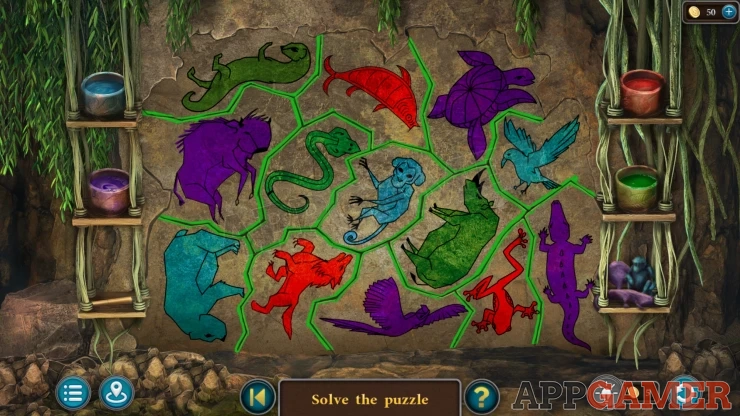
The wall will break open. Look inside to collect an Emerald.

Animal heads Puzzle
On the wall you will see 3 animal heads, cow, rhino, tiger.
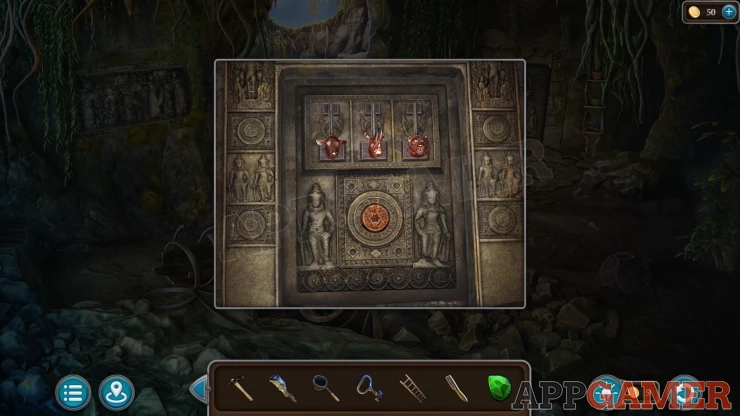
We have seen these animals before on cushions.
Solution: Using the number of the animals seen on the cushions tap the heads the correct number of times. This may vary for you, for my game it was Cow x 2, Rhino x 3, Tiger x 3 Then press the round button at the bottom.Show
Completing this will open a door through the wall into a secret room. This secret room has a hidden objects puzzle to complete for an extra star, this is an optional puzzle and is not required to complete the episode. Please see the Episode 1 Extra Stars Guide for help with it if needed.
Next we need to travel again. Go to the Beach with the Fisherman and look at the pot on the fire. Use the Torch here to light it.
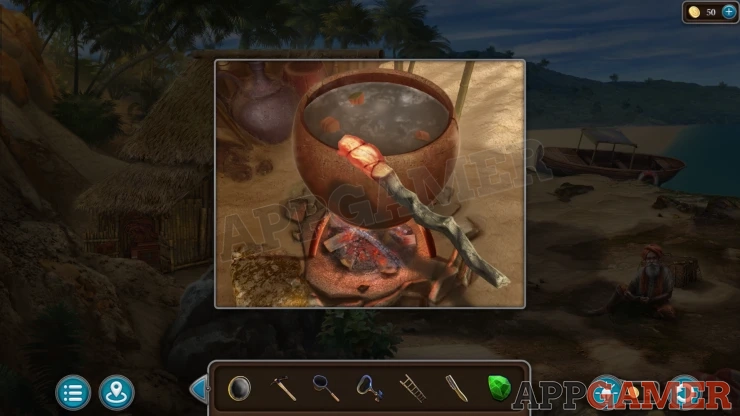
Now return to the temple entrance and look at the dark hollow in the tree trunk on the right.
Use the torch here to get rids of the snake, you can then move the stickers and leaves to find another Amulet to collect and also collect a second Ruby.
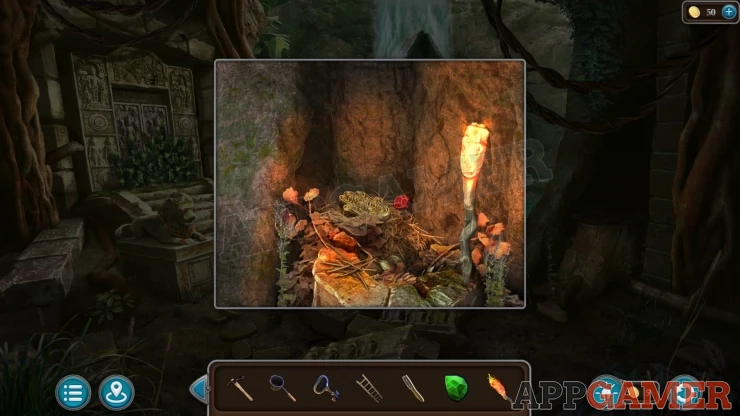
Now view the Casket (small box) that is in your inventory.
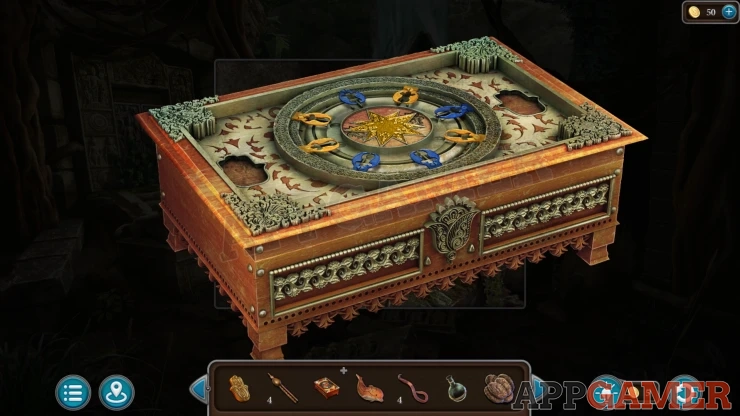
Add the 2 amulets to the front to start a puzzle
Casket Puzzle

- There are 8 blue or yellow balls on a disk.
- Around this are 8 sets of claws that can grab or release a ball in front of it.
- Tap a claw to grab or release a ball, when you do this the rink of balls will rotate by one.
- You need to get all of the matching colored balls into the correct claws.
- There is a timer on the puzzle. If you complete it in the time allowed you will earn a Star.
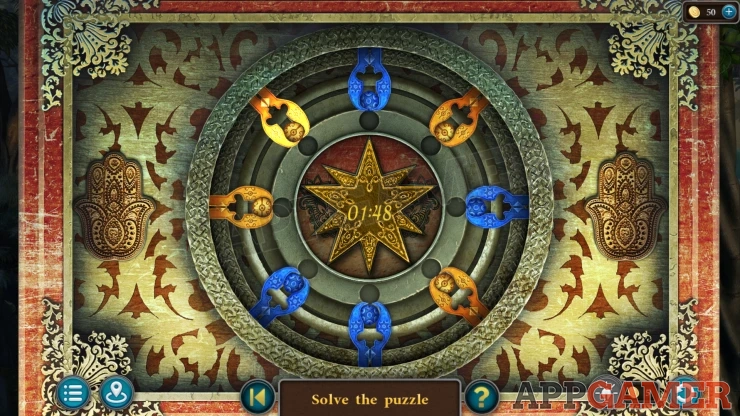
Once done the box opens and you can collect a Bracer. As well as the star if you are quick enough.
Now enter the secret cave again and then look out the back exit to see another animal statue. View this.
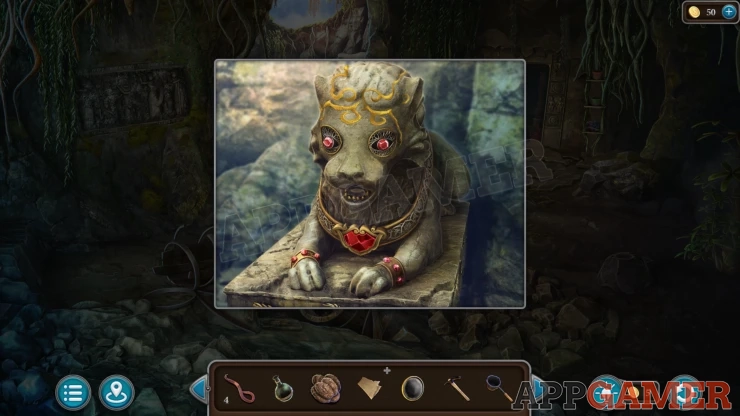
Add the 2 Rubies to the eye sockets and then you can tap the large Ruby on the harness around the animals neck. This will make the eyes flash in a sequence. Remember this clue.
Return to the temple entrance and view the animal statue here.
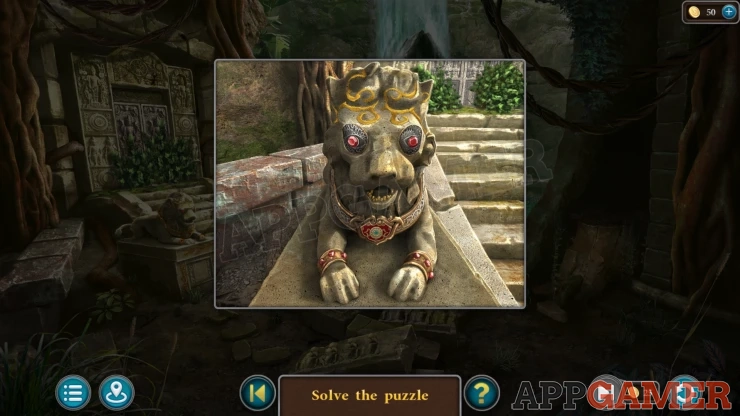
Tap the eyes in the same sequence as the clue you have seen.
Solution: This can vary for your game, for me it was. Right, Left, Right, Right, Right, Left, Left.Show
Doors will open on the front of the temple. View this and move the bushes to find a puzzle.
Temple Door Puzzle
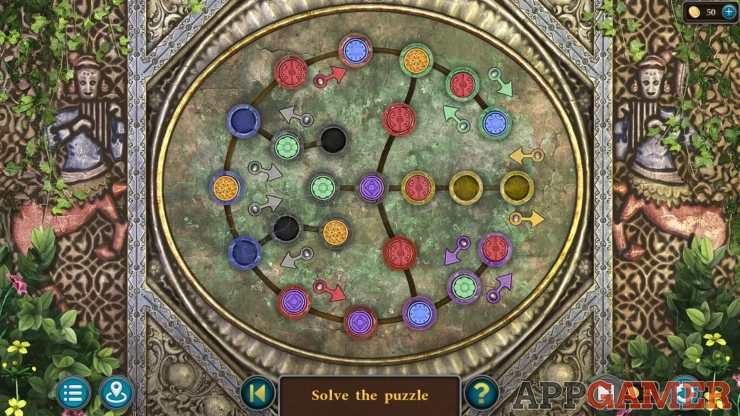
The board has a number of colored circle tokens that can be moved around on the lines using he arrow buttons.
Some will rotate the line of tokens around a track, while others will move them into and out of small side lines.
On the tracks there are colored circle slots that you need to line up and match the correct colored circles into.
Solution: Show
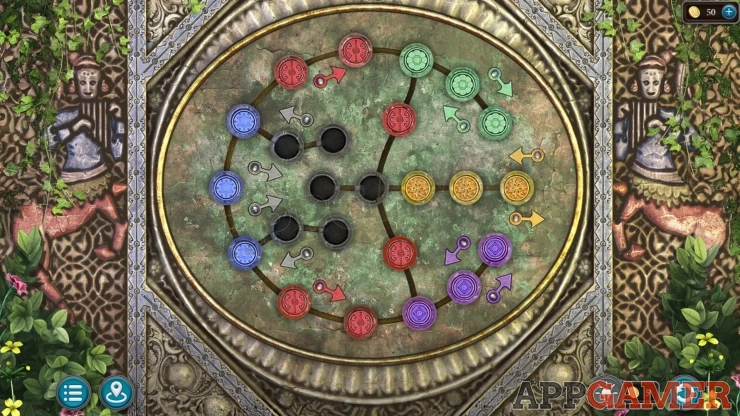
Once done the door opens and you can enter the temple.

Morphing Object: a colored tile on the top right.
View a small gold box that is at the top of the steps by the Cow statue's leg.
Collect some Purple Berries.
Collection Item: also in the box a Cow figurine.
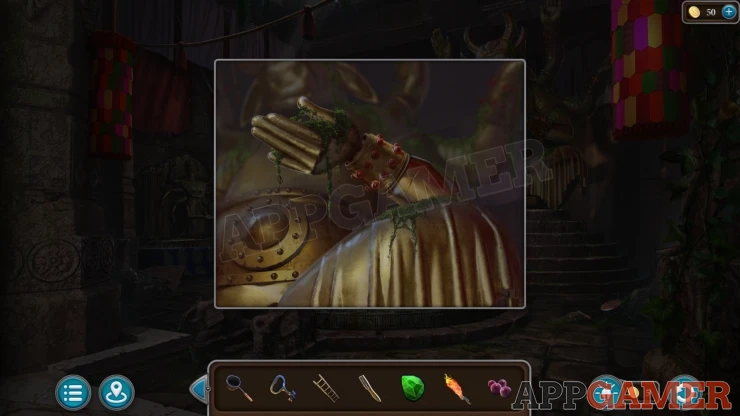
Next look at the arm of the statue that is directly above this box. You can add the Bracer to it.
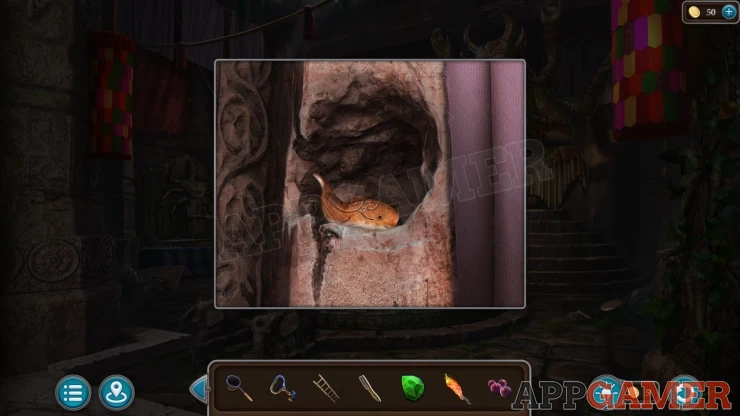
Next tap to move a purple hanging sheet on the left wall of the temple at the top of the square column. Look in the hole behind it to collect a Dolphin Figurine.
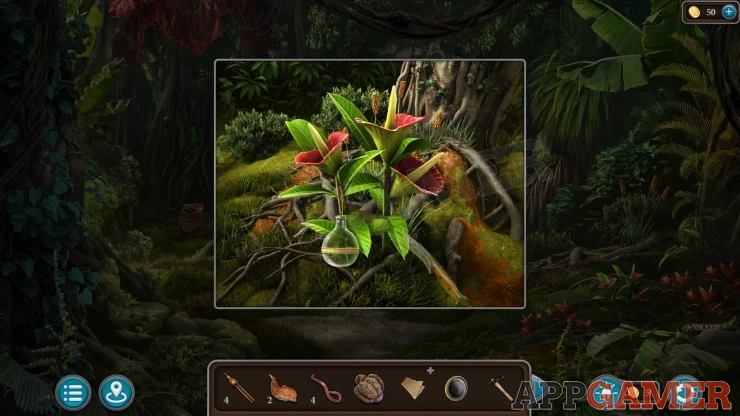
Now travel to the jungle path and look at some flowers on the right side. Use the Flask on the flowers and then use the Knife to cut a Flower and collect some Juice. Flask with Juice.
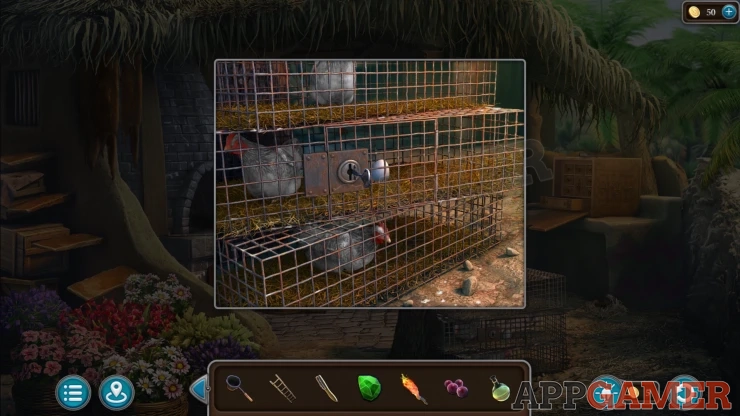
Go into the village and to the Forge area. Look at the cages with Chickens.
Use the key on the cage to open it and you can collect an Egg.
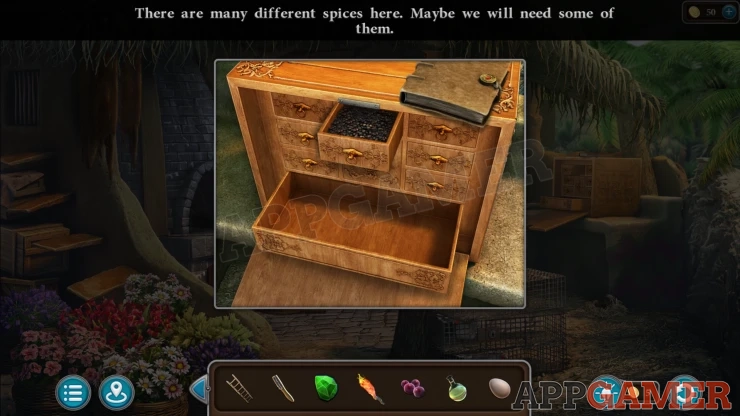
Next view the box off spice drawers on the right again and open the top center drawer to collect some Black Pepper
Now view the Recipe that is in the inventory.
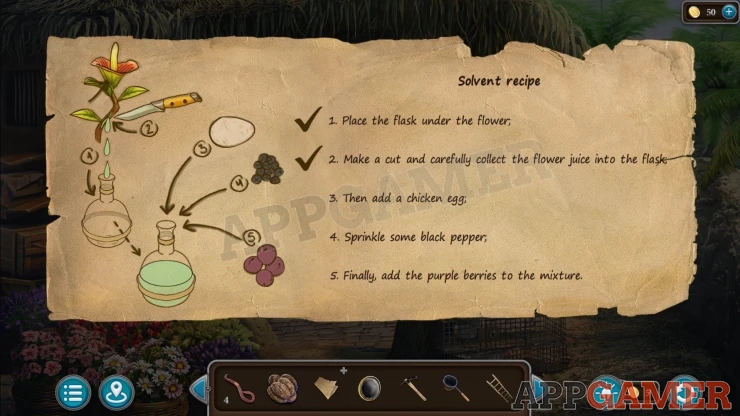
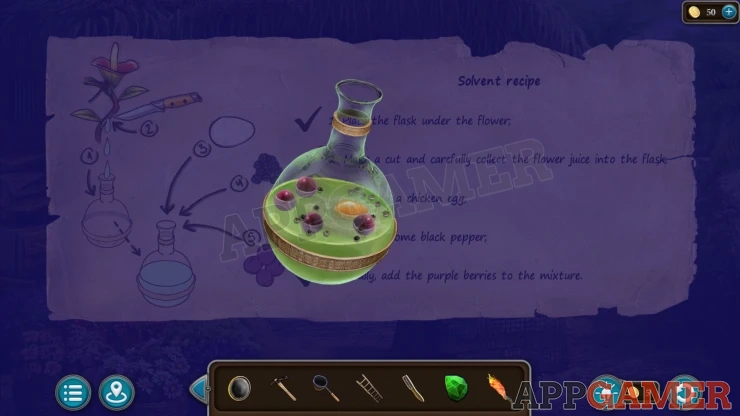
Add to it the flask and then the egg and the black pepper. The finally add the purple berries. You can then collect the Solvent.
Move to the small lake next to the village with the building in the center. Place the ladder here and you can then view the upper area.
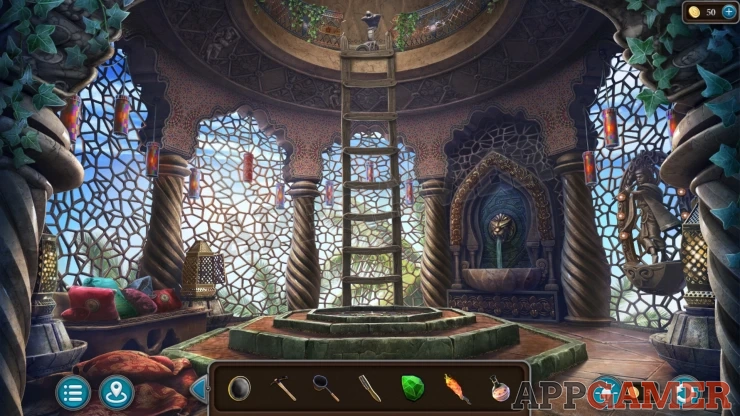
Collect a Bas-relief.
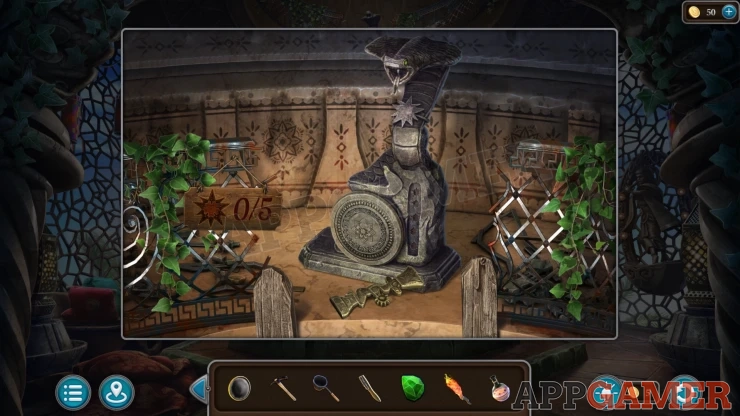
Return to the secret cave. Here look at the carving on the left wall.

Use the solvent on this and then a brush to clean it.
Collection Item: Statuette on the right.
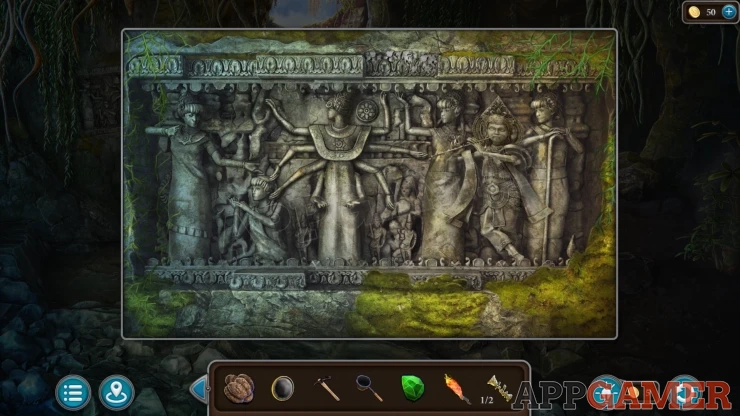
Notice the figure with the many arms, this is a clue.
Return to the temple. View the statue figure on the left that also has many arms.
Statue with Arms
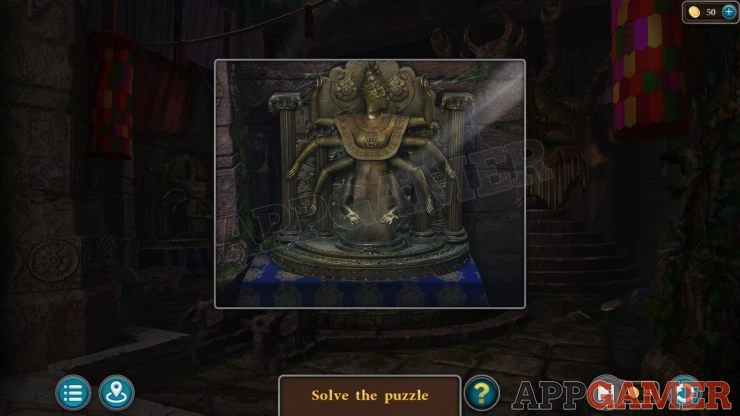
Tap to move each of the arms.
Arrange them to match the slue seen in the cave.
Solution: The solution in your game may be different.Show
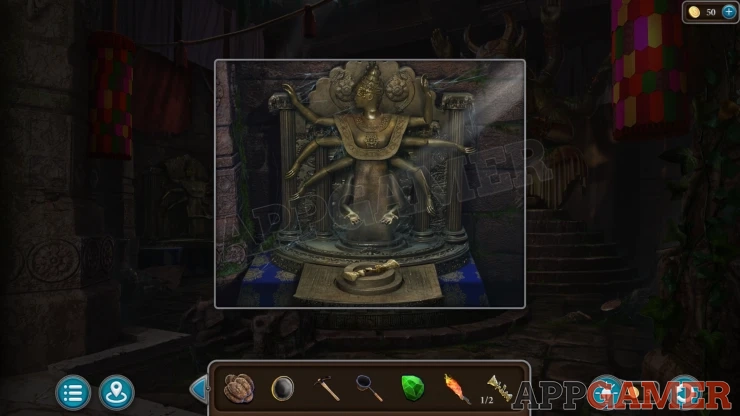
You can now collect a second Bas-Relief.
Next move a large red curtain to the right of the figure with the arms. Behind this you will find a round puzzle.
Add the 2 Bas-relief items to it to start.
Lotus Puzzle
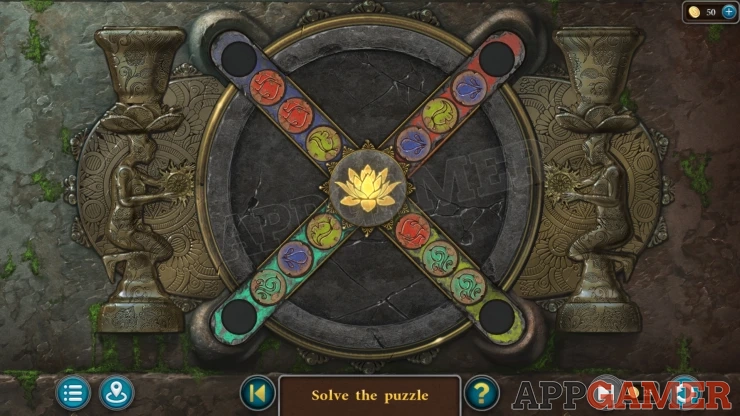
- There are 4 strips with different colors.
- One each one are 3 slots for the colored disks.
- You can move a disk to the outer edge and rotate the center to let you move the disks between the strips.
- Arrange all of the disks into the matching colored strips.
Solution:
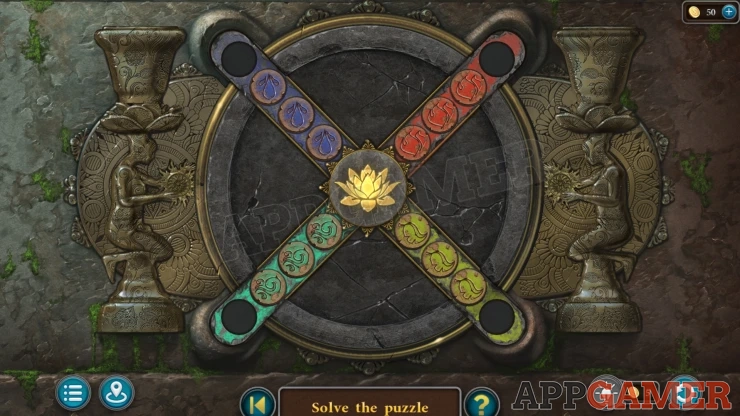
Once done you can view a picture that marks a spot in the cave to investigate. Also collect a Mold.
Return to the cave and view the rock that was highlighted. Use the Pick on it to break it open.
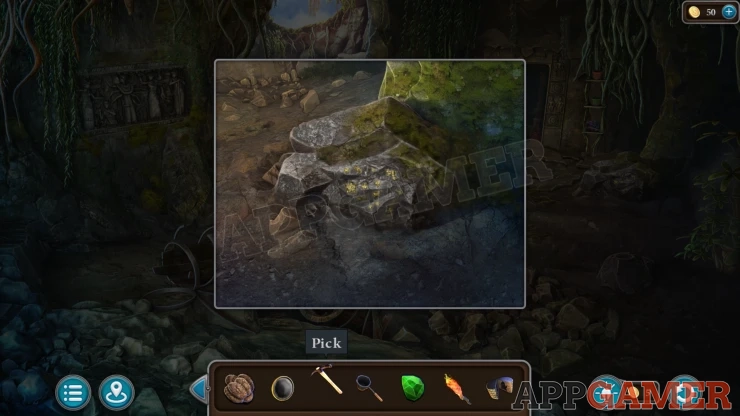
Collect the Gold.
Now return to the forge in the village.
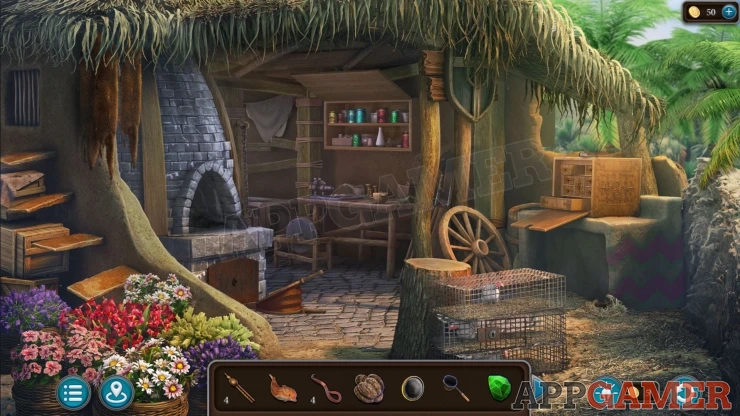
View the bottom of the stone forge on the left, and open the metal door. Put the Dry Manure inside and then use the Torch to light it.
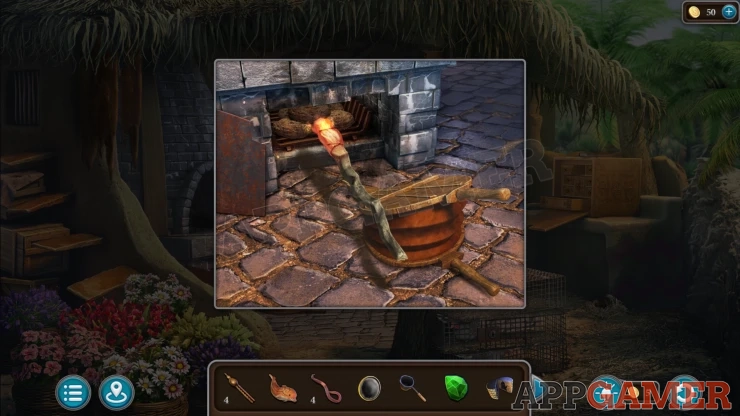
Tap on the bellows to get it burning fully.
Now view the top of the forge and add the crucible to the shelf, as well as the gold.
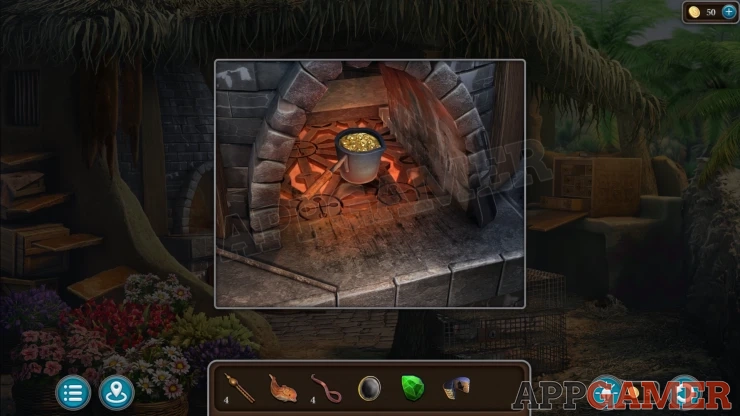
Once it melts you can collect the Molten Gold.
Now view the workbench sat the back. Place the Mold on the table. Close the mold and add the molten gold to it. Then use the ladle of water to cool it down.
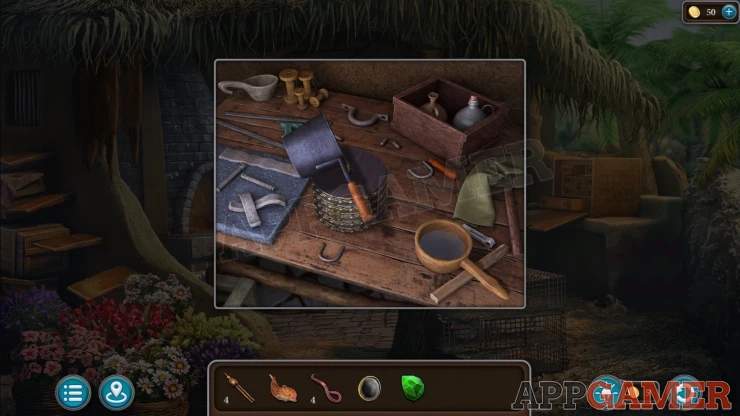
Collect the Golden Lotus.
View this lotus in your inventory and add the Emerald to it, then collect the Lotus with Emerald
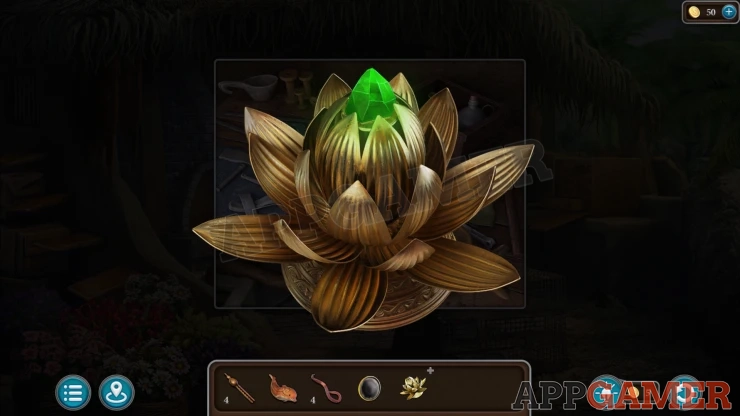
Travel back to the temple and view the small figure with the arms again. Place the lotus into the center dish.
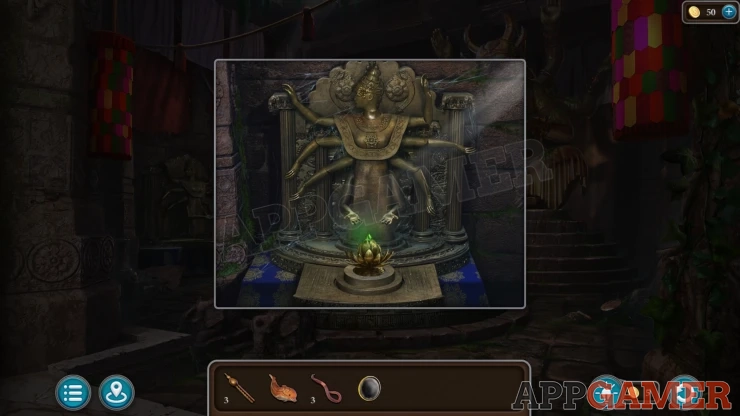
Next add the Lens to the figure to cast beams of light around the room.
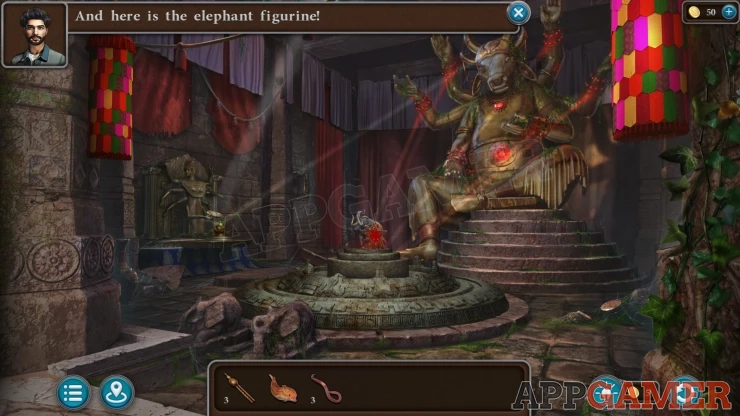
This now causes the center area of the temple to open up and reveal the Elephant Figurine, Collect the Star and the Figurine.
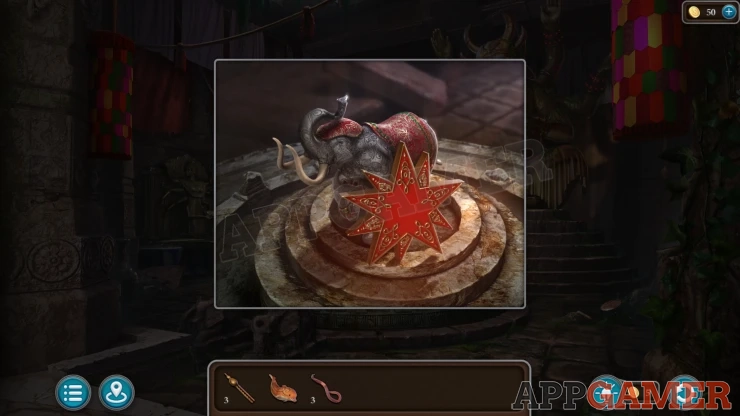
This completes Episode 1.
You can move on to Episode 2. Or continue in Episode 1 to locate and complete any of the extra stars and puzzles that you missed. Check out our Episode 1 Extra Stars Guide for more help.
We have questions and answers related to this topic which may also help you: Show all
 With 20 years of experience in creating video game content for the internet and over 30 years as a gamer, Mark is now a passionate mobile App Gamer. Loving a challenge, he is always ready to get stuck in to both survival builders and puzzle solving games. He has been providing content for AppGamer since 2014.