
Episode 3 Walkthrough - Viking Village
More Artifact Seekers
This is our guide to Viking Village, the third Episode in the puzzle adventure game Artifact Seekers, from Five BN. In this episode you are exploring a Scandinavian village to discover the local legends and monsters.
You will be looking for a way to defeat the bloodthirsty monster that is living in the lake and to make the village safe for the villagers to return to it.
Episode Three - Viking Village Walkthrough
Maxim will introduce the episode again and your first task is to find the local Jarl to explain what you need to do to get rid of the monster.
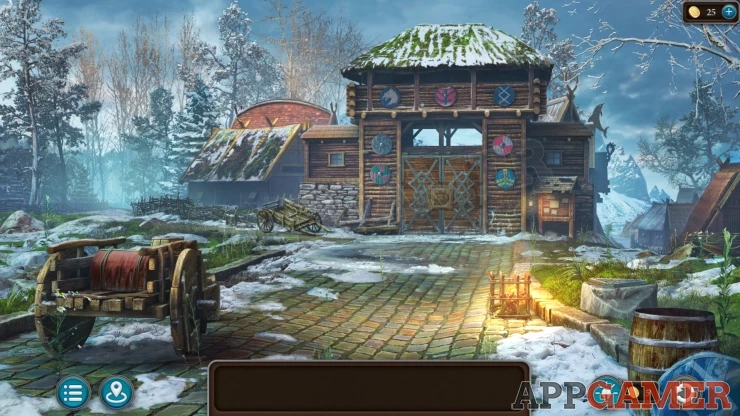
Morphing Object: Seahorse / dolphin symbol on the top right of the wooden building.
Collection Item Monster head symbol on the blue shield on the top left of the building.
First tap on the path on the far left side of the building to move though to a Camp.
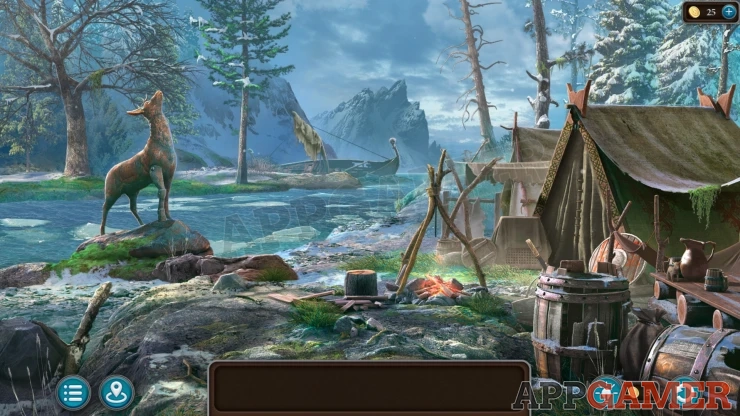
Morphing Object: a pattern of carving on the tent on the right.
Collection Item: Goat Figure on the table on the far right.
Collect a Knife that is stuck in the barrel on the right.
View the fire. Select the torch stick on the right and then tap on the fire to light it, you will collect the Burning Torch.
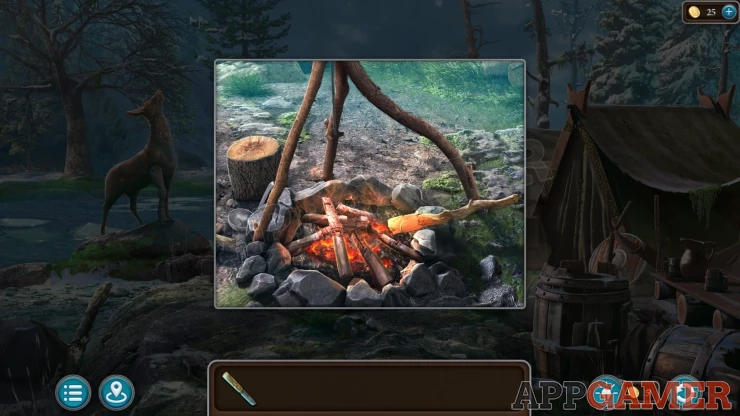
Now view a tree that is behind the tents and has been partially chopped. Collect the Stick.
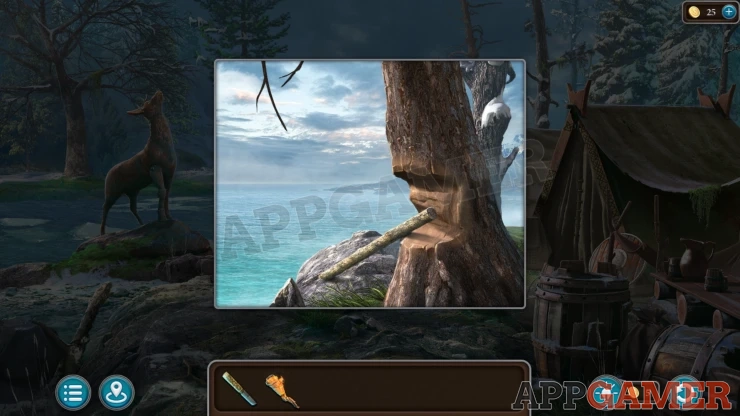
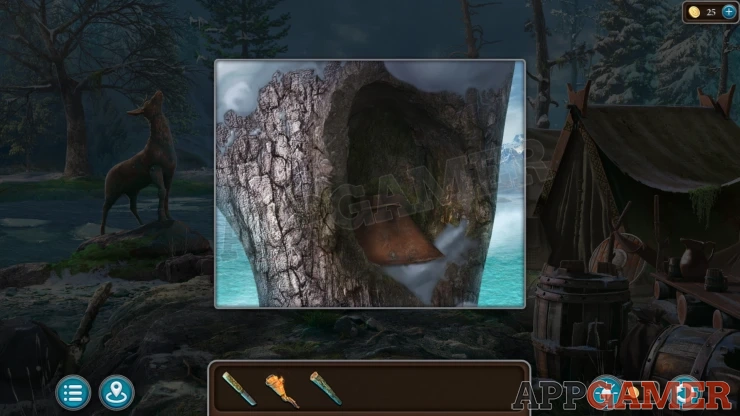
Powder: Tap in a small hole that is further up the tree to the right to see the a pouch of powder inside.
Next view the front of the large tent and you can use the knife on the stitching to cut it open.
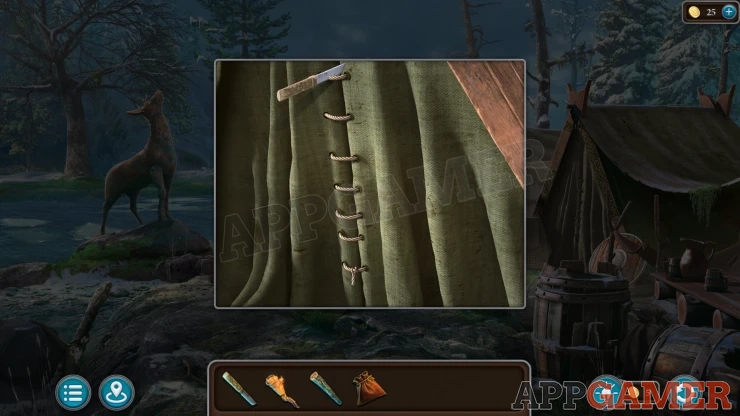
Inside is a box tap on this to start a puzzle.
Tent Box puzzle
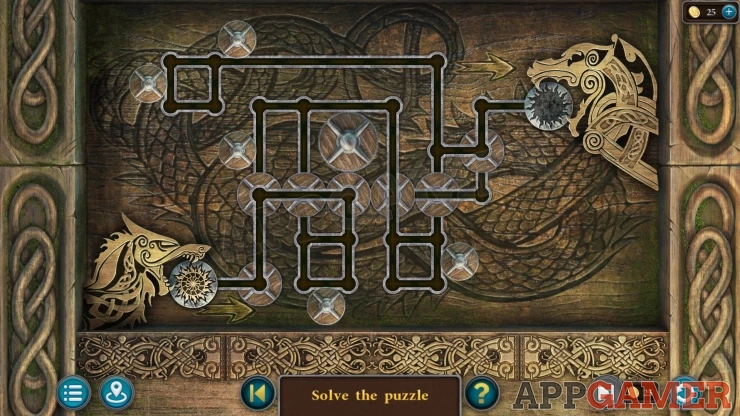
- Move the round amulet from the bottom left to the top right.
- There are junction pieces that connect the patch and can be moved.
- As you pass by the round pieces on the sides of the paths this will cause the junctions to turn and adjust the paths that you can take.
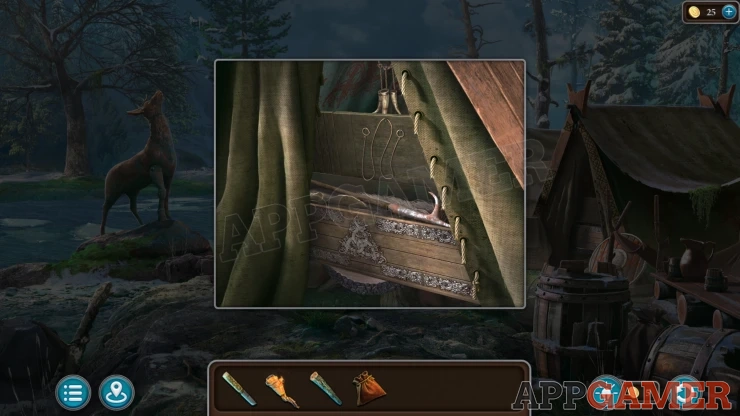
Once done you can collect a Pike Pole and a Bowstring.
Back up to the starting area and view the small broken cart near the center gates.
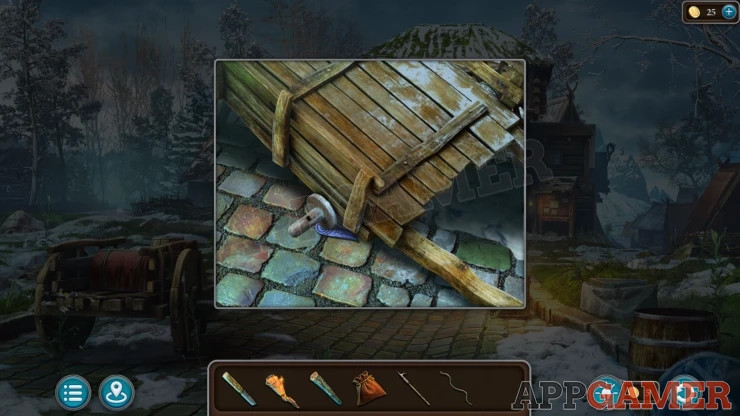
Use the stick to lift the cart and you can collect a Mosaic Piece.
Lighthouse: tap the green brick to the right to light it and find a lighthouse.
Now tap the path to the right of the building to travel to the lake area.
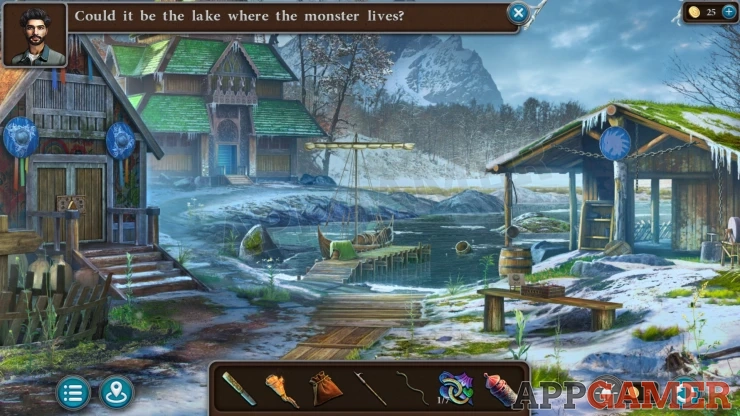
You will see the lake and the monster on a small island in the center.
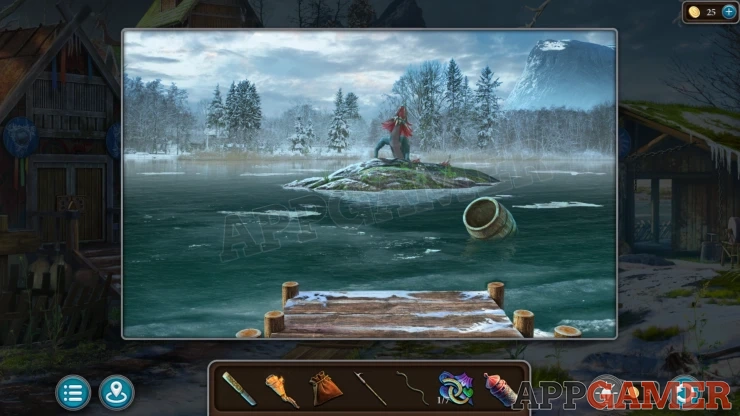
Morphing Object: Changing symbol on a fence post on the lower left.
Collection Item: Monster head on the blue shield on the building on the right.
Tap to view a rock to the left of the boat dock. It has moss growing on it.
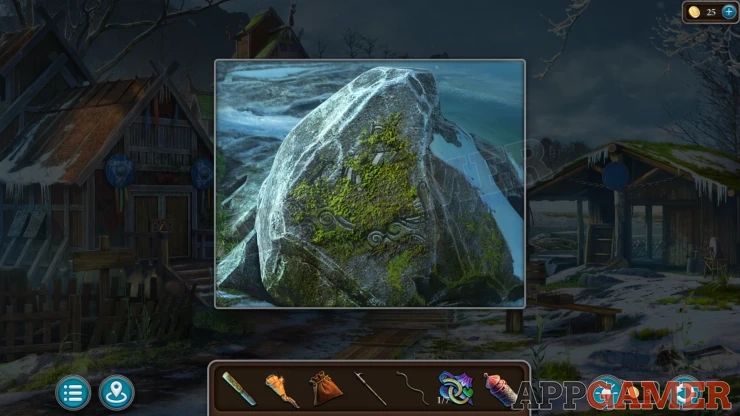
Use the knife to scrape off the moss and reveal a carving of a boat. Notice the 2 flower symbols on it.
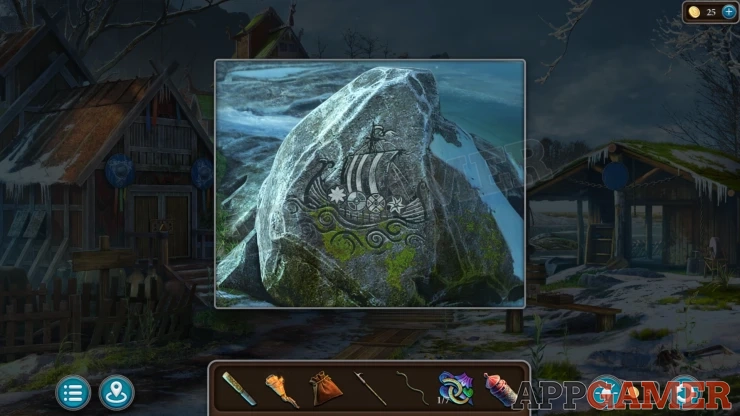
Tap on the blue door of the large building on the far side to enter the Great hall.
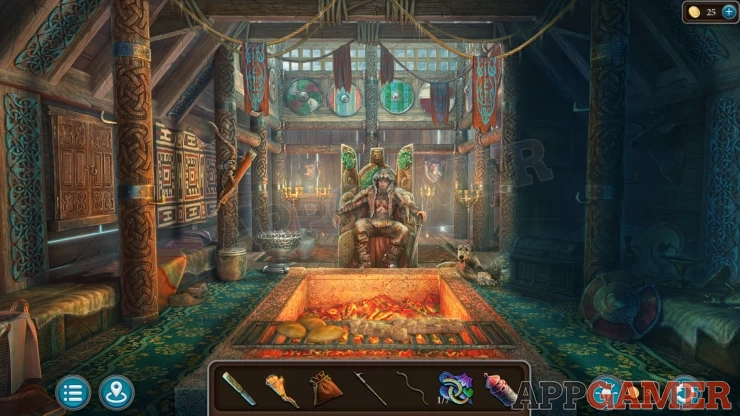
Talk to the Jarl. He will explain that you need to forge a special Ax, and then also find a witch to enchant it.
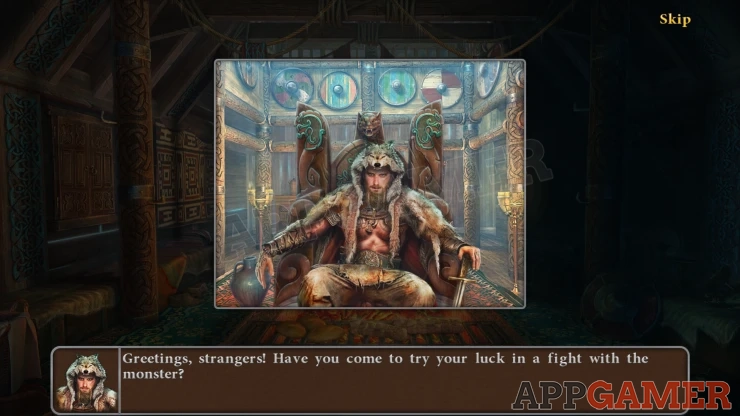
You will receive a Bird item.
Collection Item: Goat Figure on the floor to the left of the fire pit.
Look inside a silver bowl on the left of the throne, Collect some Runes.
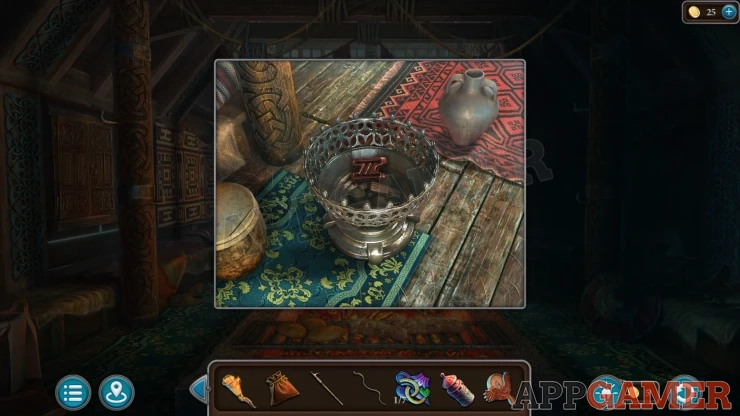
Lighthouse: Tap the skin topped drum to the left of the silver bowl to open it and find the lighthouse.
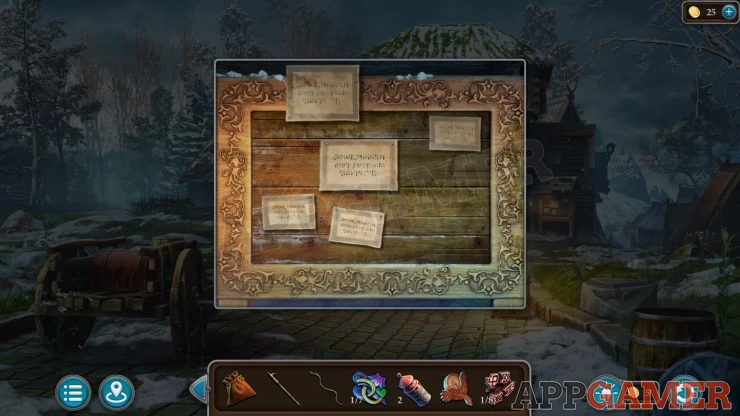
Back up to the starting area and view the Notice board on the right of the building and you can read the various notices about the village and the monster. Notice the carved flowers on the top under one of the notices.
Then view the large gates in the center.
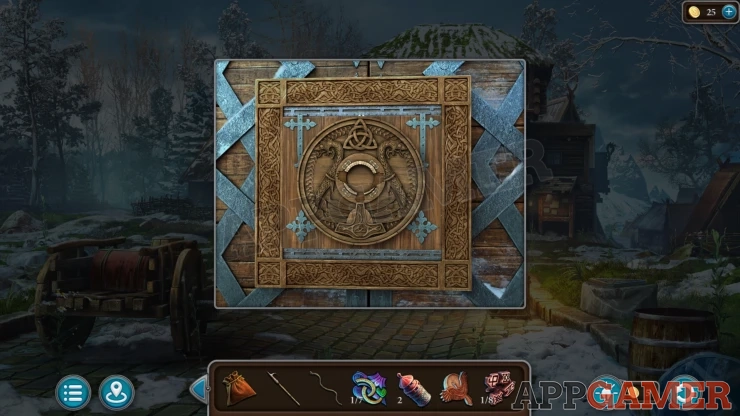
Place the Bird item into the center and then you can start another puzzle.
Crown Gems Puzzle

- There are four chains that you can move left and right to release the gens that are at the top.
- These need to fall down and land in the matching shaped slots in the crown at the bottom.
- When letting one fall be careful that you do not move other gens that will fall into the wrong location.
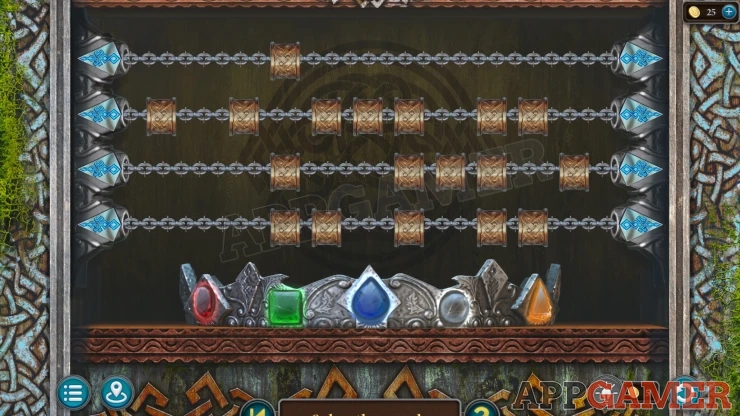
Once done the gate will open and you can move into the Village.
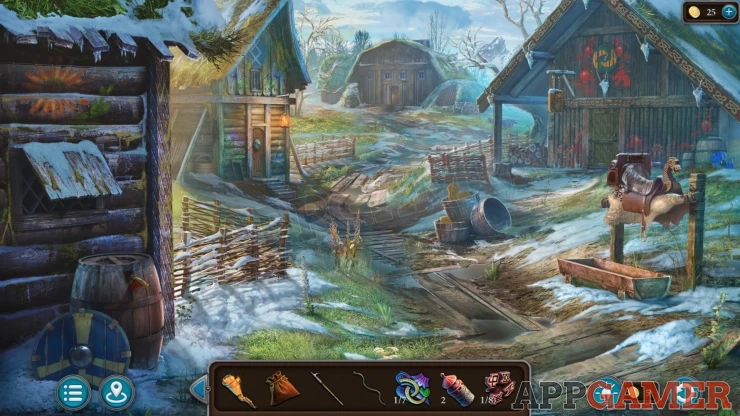
Morphing Object: small barrel / basket in front of the house on the left.
Collection Item: red monster head symbol on the front of the house on the right.
First tap on a mound to the right side of the building in the distance, top center of the scene. You will see a grate in the ground.
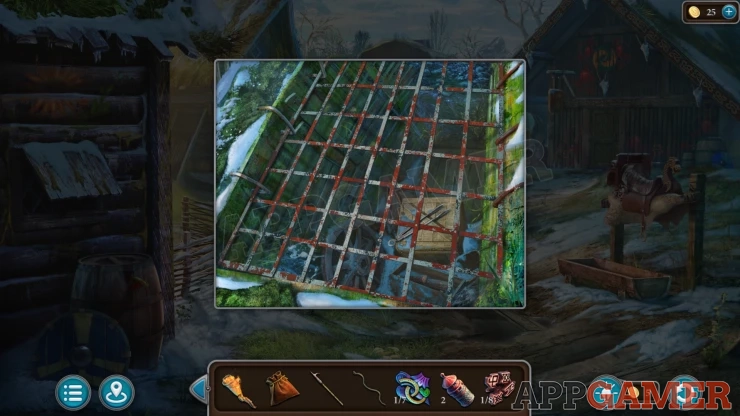
Use the Pike pole here to reach in and collect some Pincers.
Open the door to the large building on the right and then go inside a Banquet Hall.
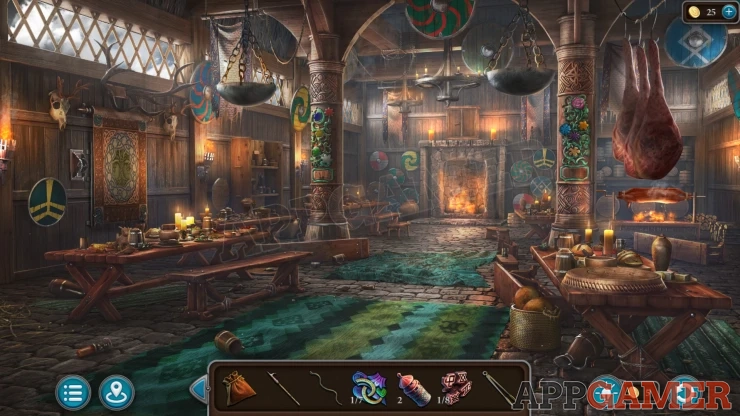
Morphing Object: carving on the top of the pillar on the right.
Collection Item: Goat figure on the table on the left.
Flowers Puzzle
Look on the right Pillar to see a decoration with different shaped flowers. You can also see a similar but different pattern on the left pillar.
In each pillar you need to select two flowers according to clues seen before.

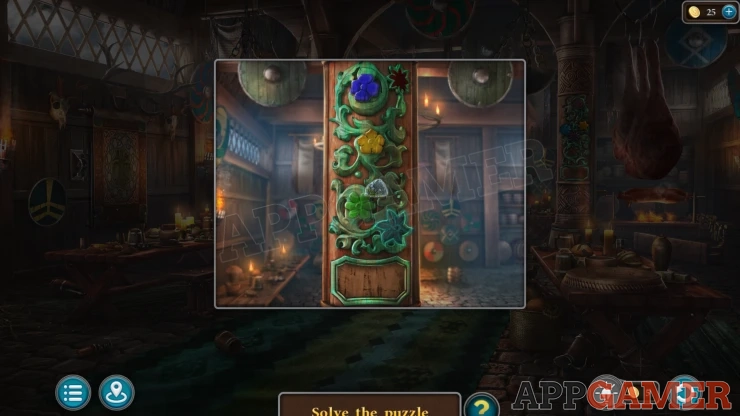
Solution: These can vary for your game so check the two locations for the flower clues. On the notice board and on the rock by the lake.Show
You can now collect a Key.
Next view a cabinet on the back wall above the fire.
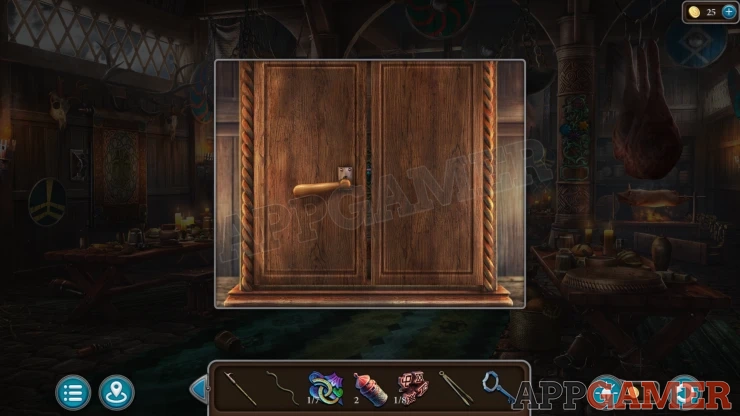
Try the handle, it will break, you can then use the knife to open the doors. Then find a puzzle inside.
Knights Puzzle
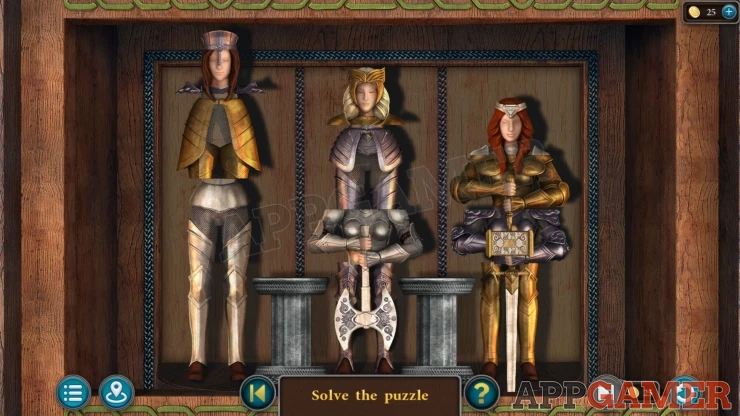
- There are three figures in armor, each one is made up of four sections that can be moved.
- The three figures are jumbled up so you need to rearrange the pieces into the correct positions.
- You can place pieces on to the 2 platforms between the figures to help you.
- You can only place pieces on top of lower level pieces, I.e. you cannot place a torso on top of a head.
Solution: Show
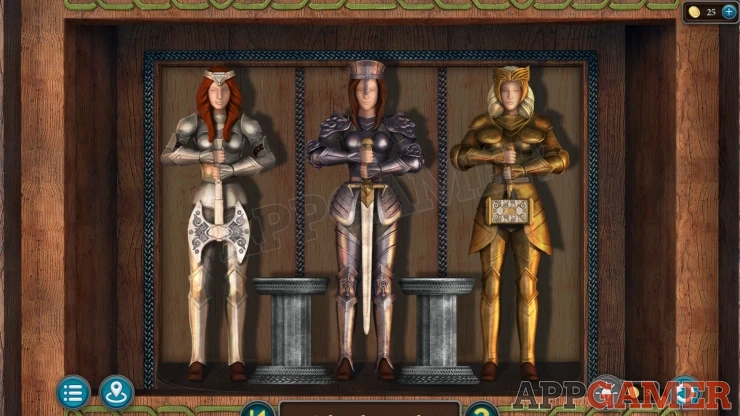
Collect a second Runes piece. Then look on the table on the left and collect a Plate.
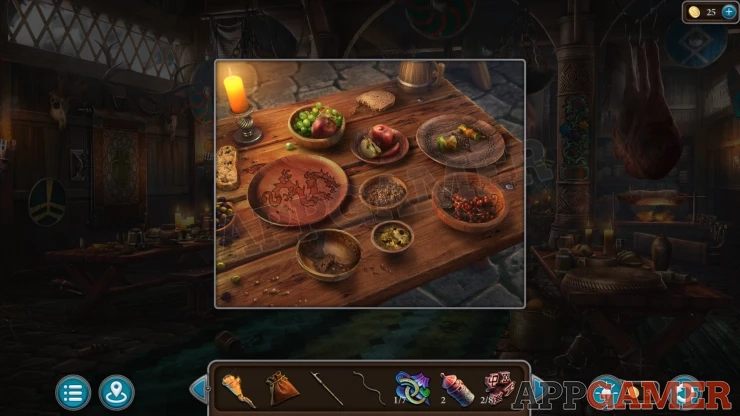
Back out again to the starting area and look in the back of the cart on the lower left. There is a red cloth with ropes.

Use the knife to cut the ropes, you can then use the key to open the chest. Collect a Cauldron and some more Mosaic pieces.
Go through to the Lake and view the water.
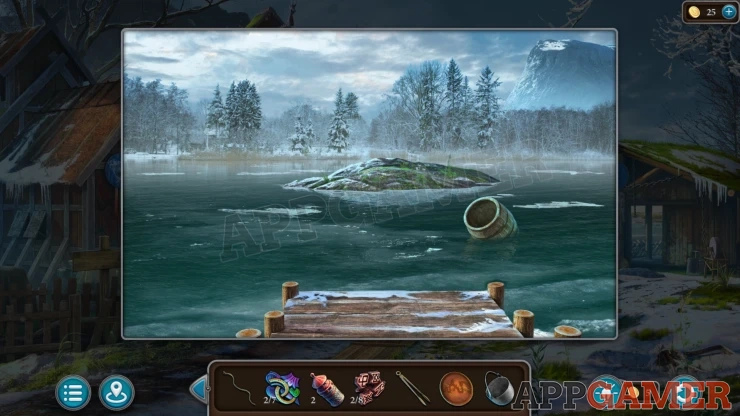
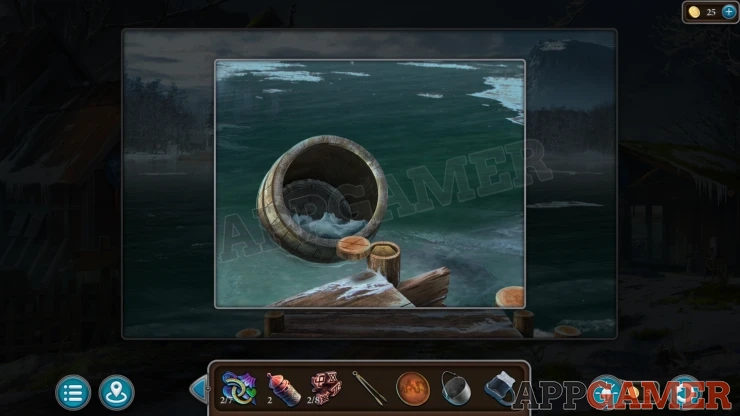
Use the pike pole on the floating bucket to pull it to you, then you can collect a handle.
Token: Notice that the round wooden post on the dock has an X on it. Tap this to open it and collect a Token.
Enter the great hall again with the Jarl. View the window shutters on the far left, add the handle to them and then you can open them.
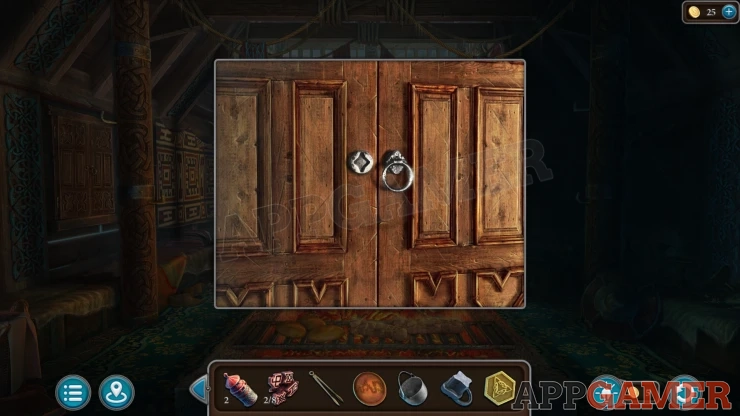
You can now see the right side of the hall that was in darkness.
Morphing Object: Symbol on the round shield on the floor on the right.
View the large chest that is on the right and collect a Key from the top.
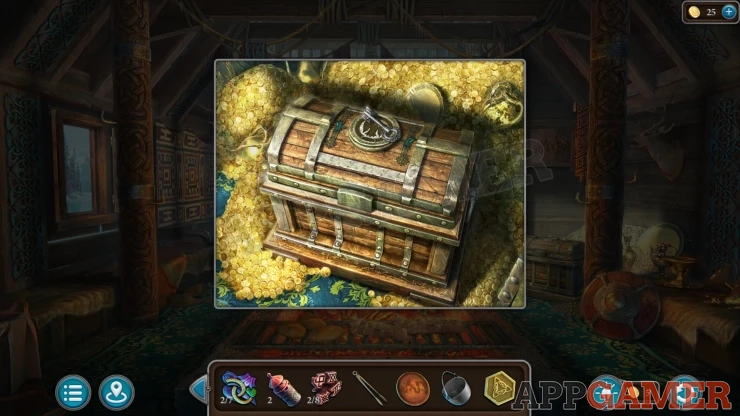
Then view a dragon picture on the wall above the chest.
Dragon Puzzle
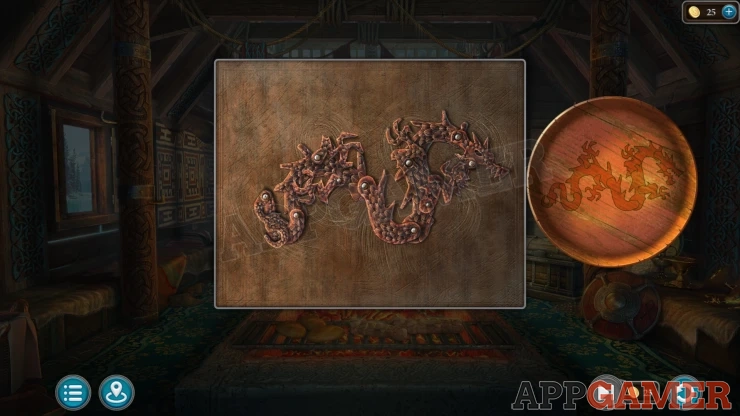
- Place the Plate here to see an image of a dragon on it.
- You can tap the parts of the dragon on the left to move them.
- Arrange them to copy the layout of the dragon image on the plate.
- This can be different for your game.
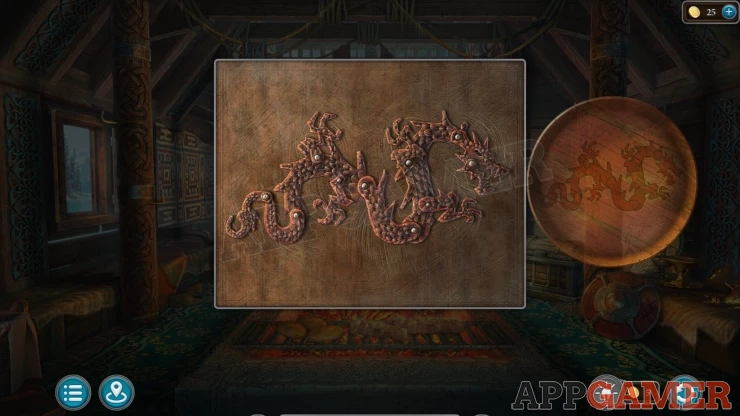
Once done collect another Runes item and a Handsaw.
Back out to the lake and tap on the small boat in the water. Use the Key to open the locked box. Then you can collect an Ax and more Mosaic pieces.
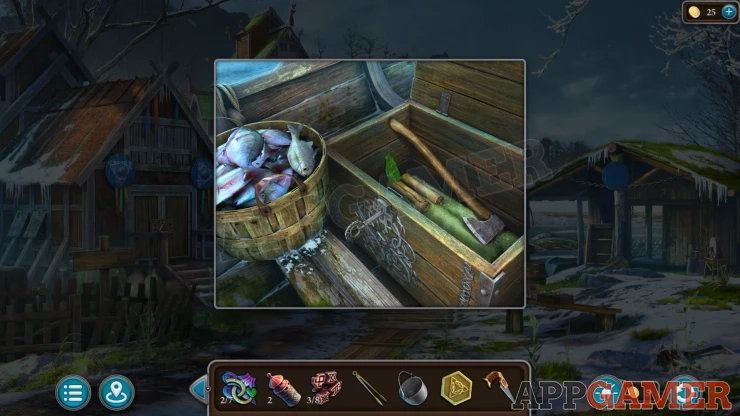
Go to the village and examine a large barrel on the left side.
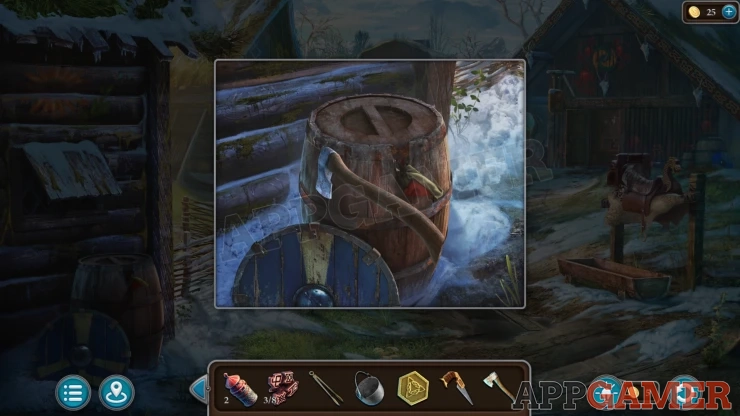
Use the ax on this to open the top and you can collect a Bundle.
View the bundle in your inventory and use the knife to open it.
You can then collect another Runes piece and some Crayons.
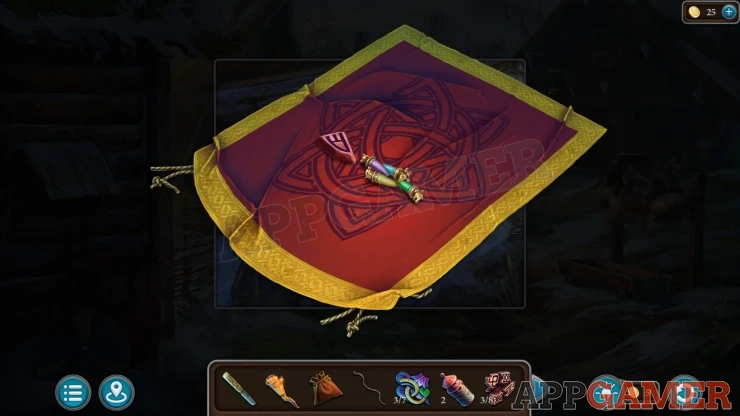
Go back to the camp area and view the half chopped tree in the distance. Use the Ax to chop it down and it will provide a bridge.
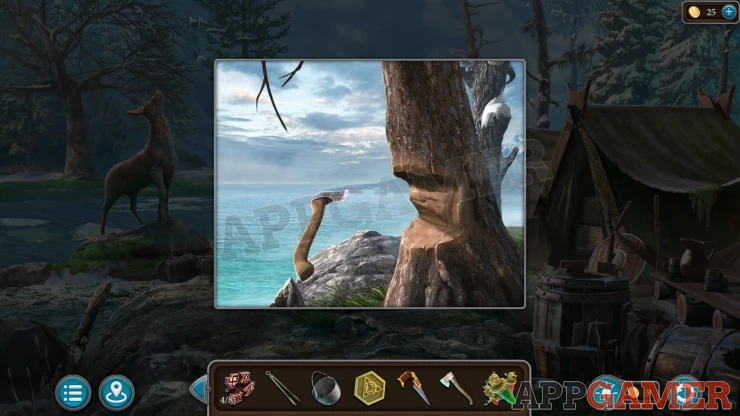
Move across to the Shipwreck.
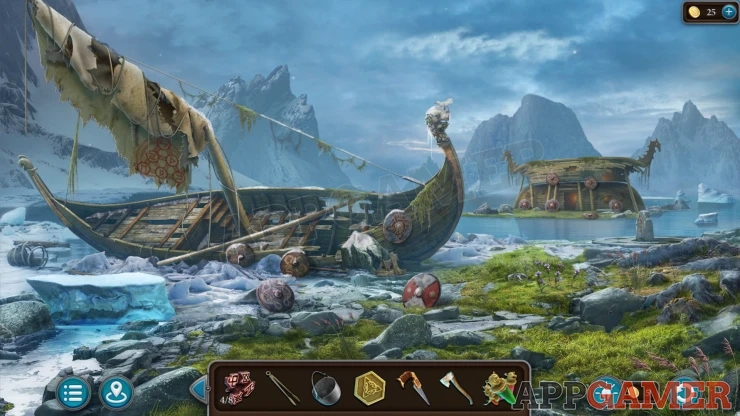
Morphing Object: Rock / ice burg in the water near the center, to the right of the large ship wreck.
Collection Item: Goat figure by the bow of the ship under a pile of wood.
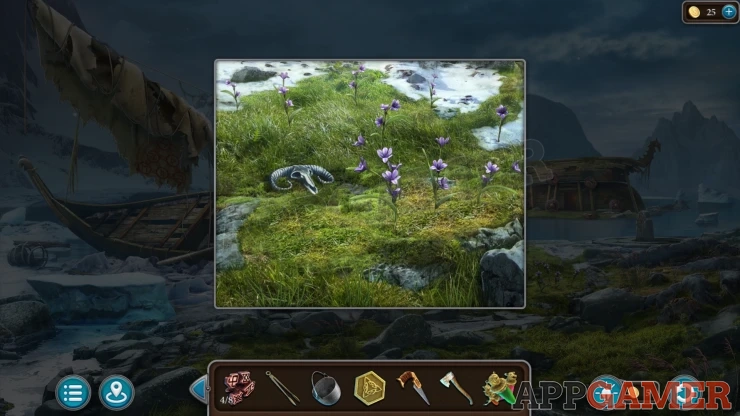
Look in the grass to the right of the large shipwreck to find a Skull.
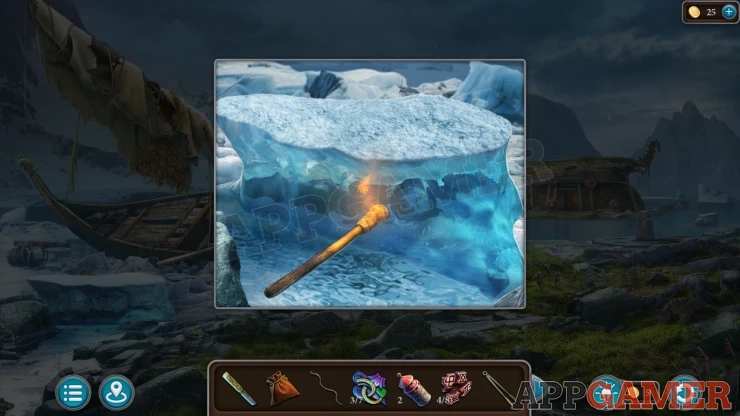
Then view an ice block on the lower left. There is something frozen into it. Use the burning torch on the side to melt some ice and then you can collect another of the Mosaic pieces.
Now look at the deck of the large ship. Use the Ax on it to break a hole into the hold.
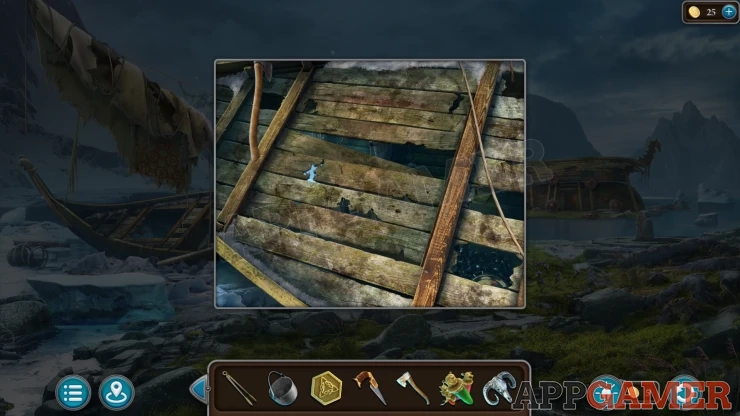
Enter the ship to start a Hidden object puzzle
Shipwreck Hidden Object
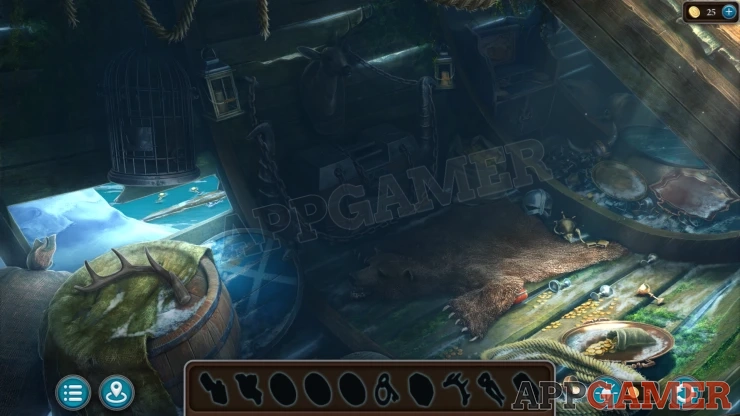
You are look for a Legendary Magic Rune. Locate the hidden object that match the shapes at the bottom. You will need to find some to then let you access others.
Collect a Horn (antler) from the barrel on the left.
Then collect a Lighter from the ground on the right.
Use the lights on the 2 lanterns on the back wall to light up the room.
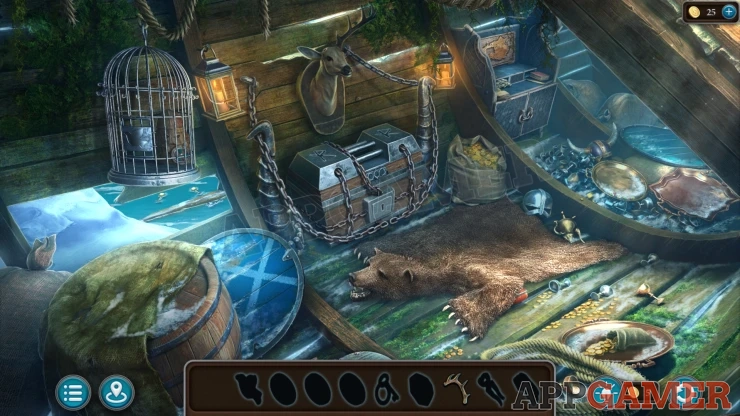
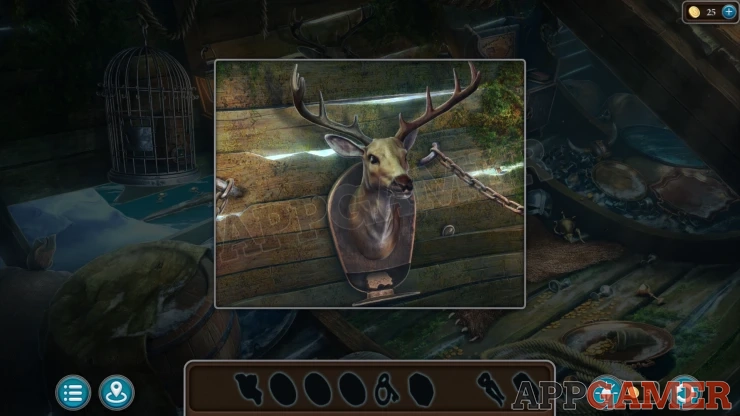
View the deer head on the wall and place the horn on to it. You can then collect a Detail.
Also collect a Chip from the wall on the right side of the head.
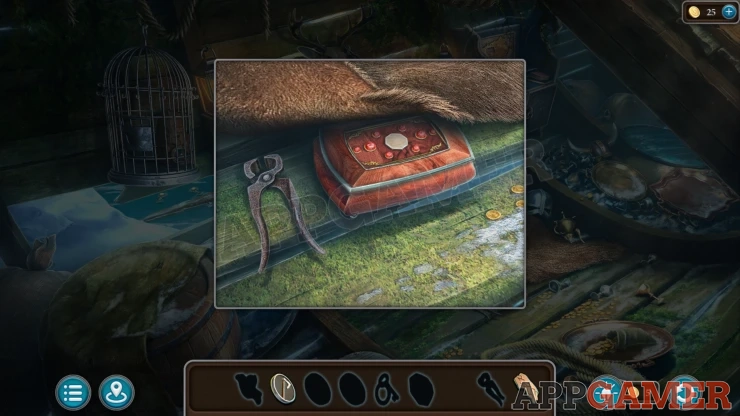
View the claw of the bear skin on the floor and lift it. Collect some Pincers. Notice the box with gems on it.
View a cabinet on the far right, place the detail into the map at the top. You can then collect a Key.
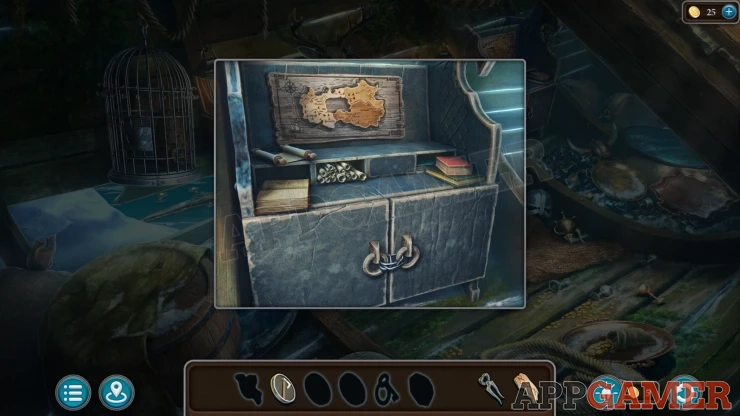
Use the pincers to cut the side on the bottom doors and open them.
Collect a Bird, and a Ruby.
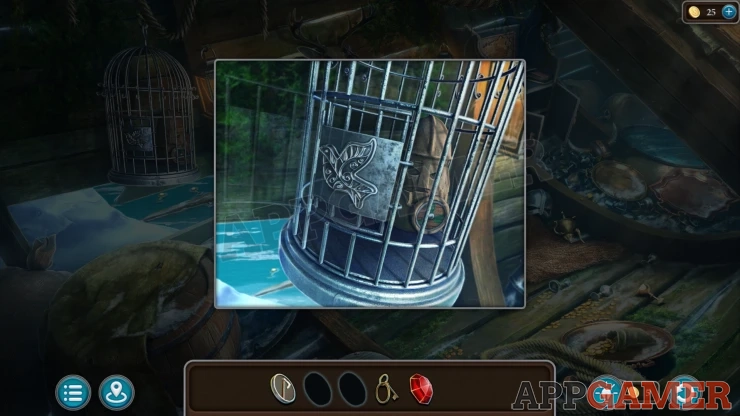
View a bird cage on the left and place the bird onto the door lock. Collect the Chip.
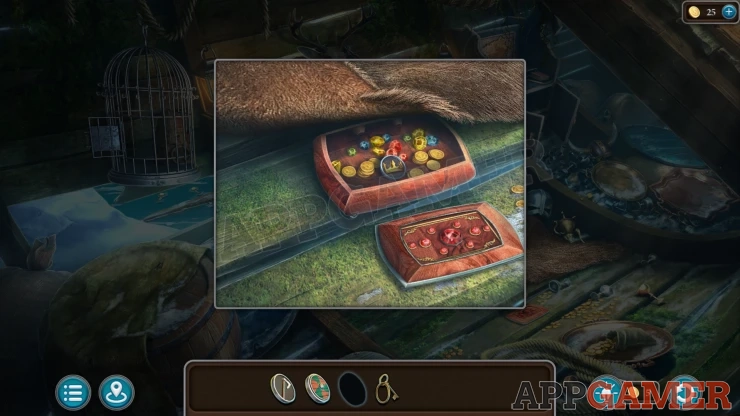
View the box with gems on the floor again and place the ruby on to it. It opens and you can collect another Chip.
Now view the strong box that is chained to the wall.
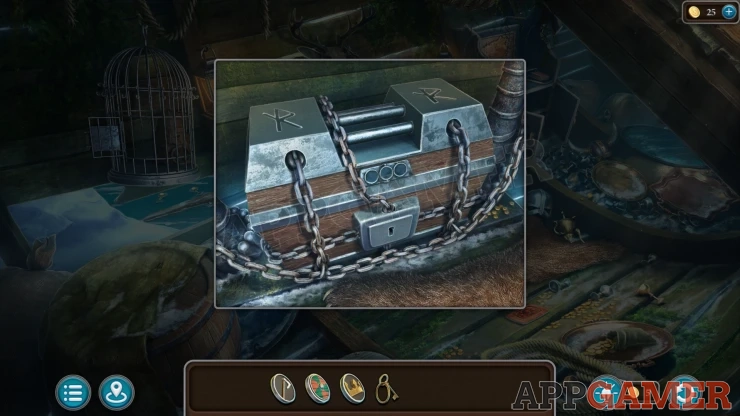
Use the key to unlock it and then place the 3 chips into the slots.
Collect the Rune Stone.
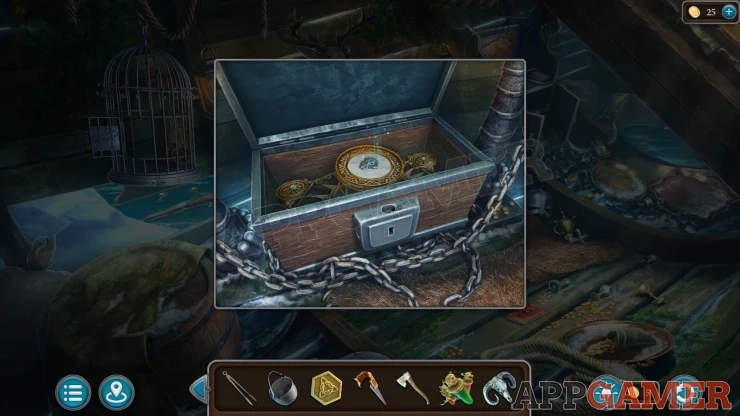
Before moving on look at the torn sail above the shipwreck. There is a triangular pattern on it with rune symbols.
Back up to the starting area and view a rock on the right next to the flame.
Triangle Rune puzzle
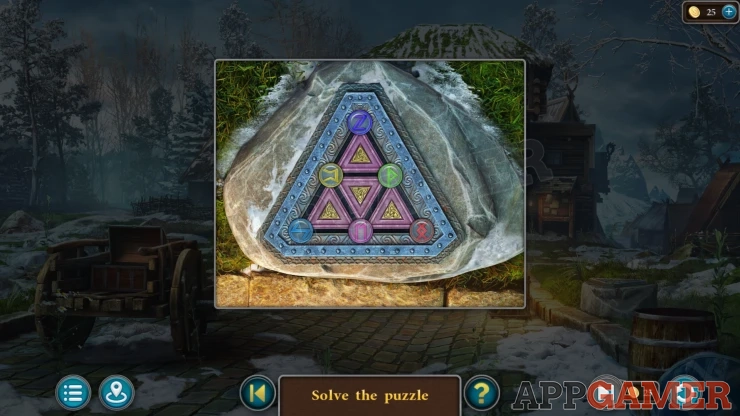
- There is a triangle here with 6 rune symbols.
- You can tap the yellow triangles to rotate the runes around it.
- Arrange them to match the clue seen before on the sail.
Solution: This will vary from game to game so check the symbols on the boat sail in your game.Show
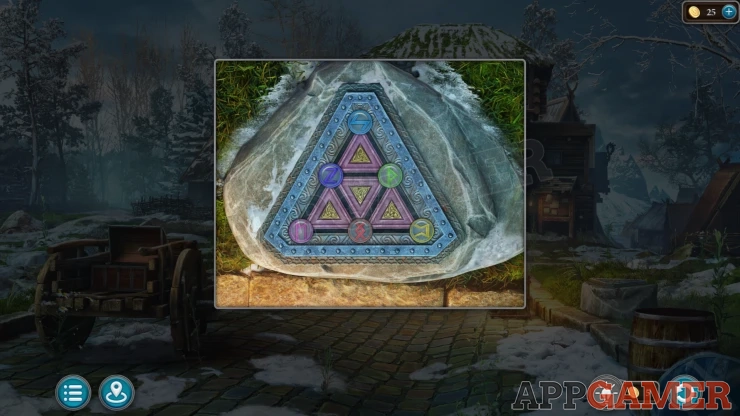
Once done collect the Pliers.
Now you can go through the gate to the village and view the door to the building in the distance.
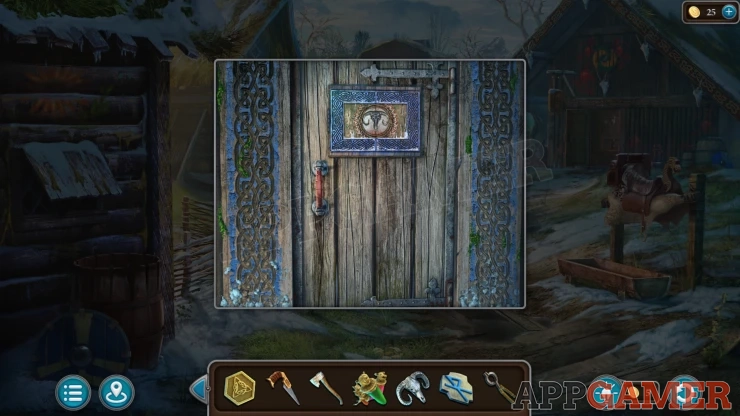
Place the Skull to unlock a puzzle.
Door Symbols Puzzle
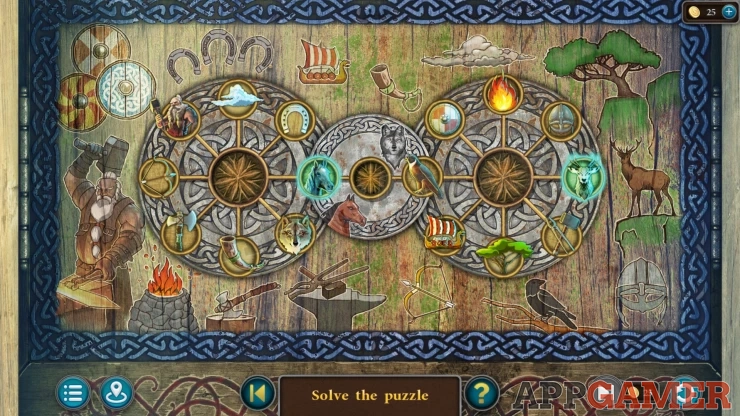
- There are 2 large circles that have 8 symbols on them.
- There are matching symbols on the background around the outside of the circles.
- You can use the small center circle to swap the symbols around between the 2 large circles.
- Arrange them all to match the pictures on the board
Solution: Show
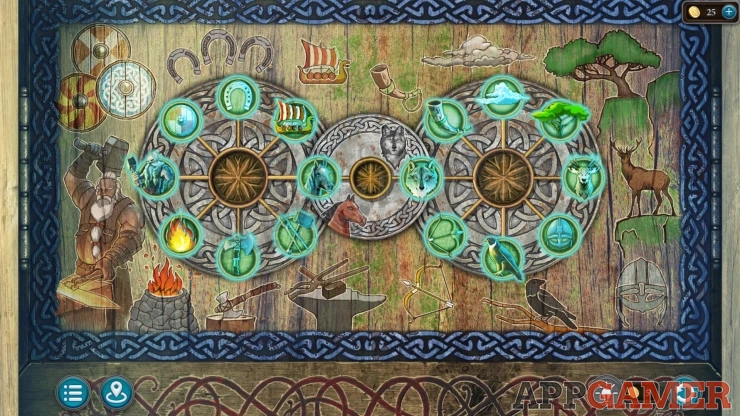
Once done you can enter the Tannery.
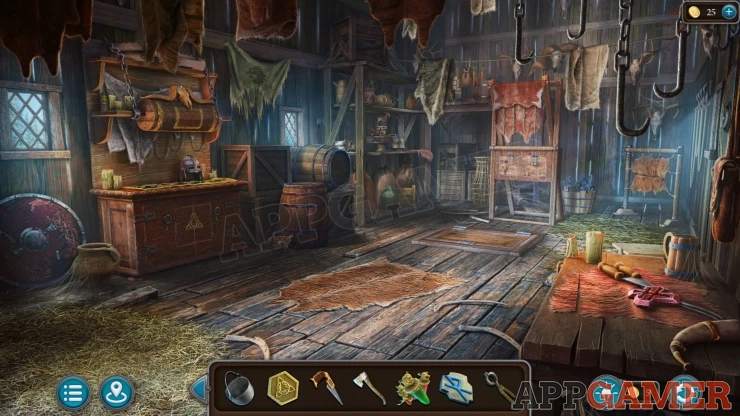
Morphing Object: Animal skull on the back wall between the hooks.
Collection Item: Monster head symbol on a green cloth on the left wall.
Lighthouse: On a high shelf on the far left next to a window.
Powder: a small pouch bag hanging from a line with hides at the back of the room above a trap door in the floor.
Token: View the shelf in the back left corner. This has the collection point for the Goat figures, but also look under a small cloth on the right to find a token.
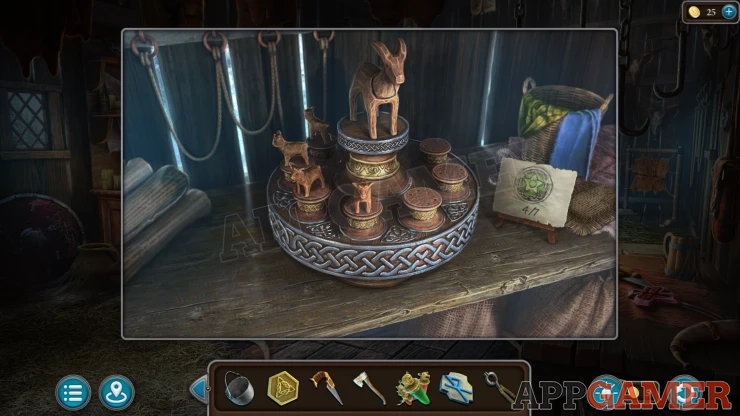
Collect another of the Runes from the table on the bottom right.
View the top of the cabinet on the left to see a puzzle.
Chains Puzzle
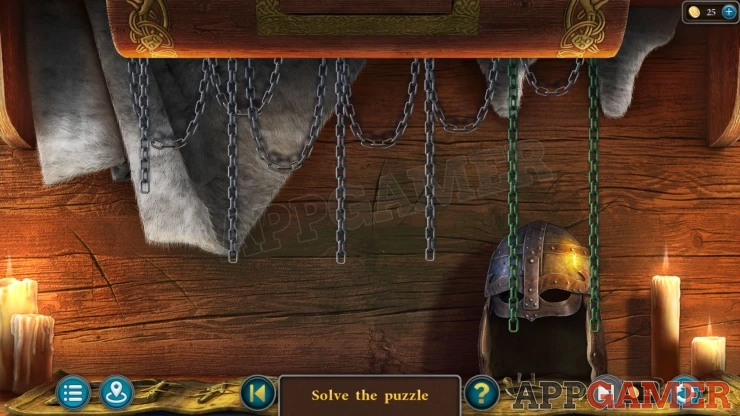
- You need to make all of the chains the same length.
- You can pull down any chain to make it longer, this may also pull other chains up or down.
- Move them all to the bottom (longest length).
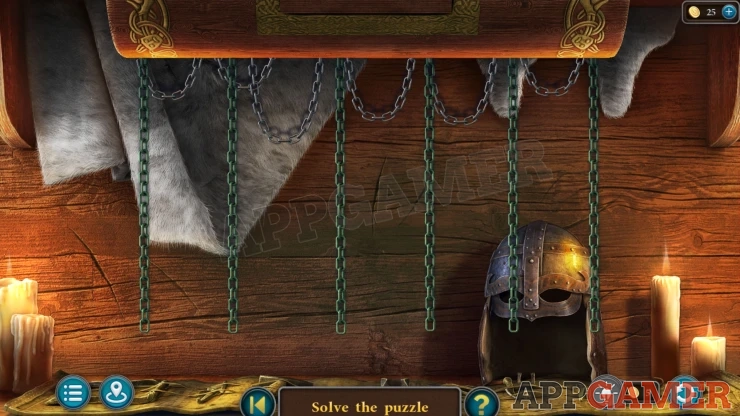
Once done a box opens and you can collect a Chip.
Head back to the shipwreck area and view a stone monument on the right. Add the Chip to it.
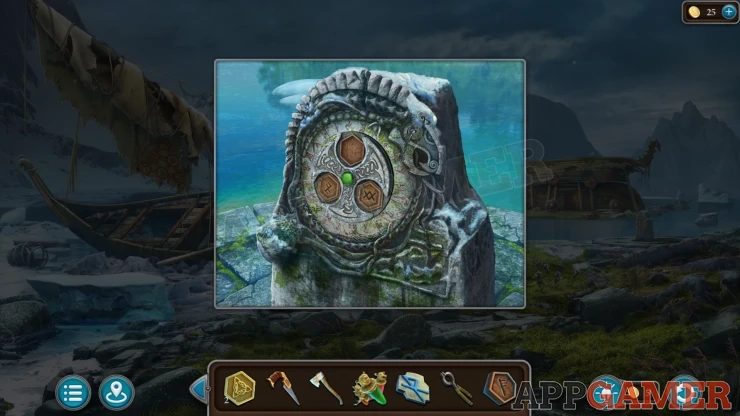
View it and tap the green button to open the front and find a puzzle.
Picture tiles puzzle
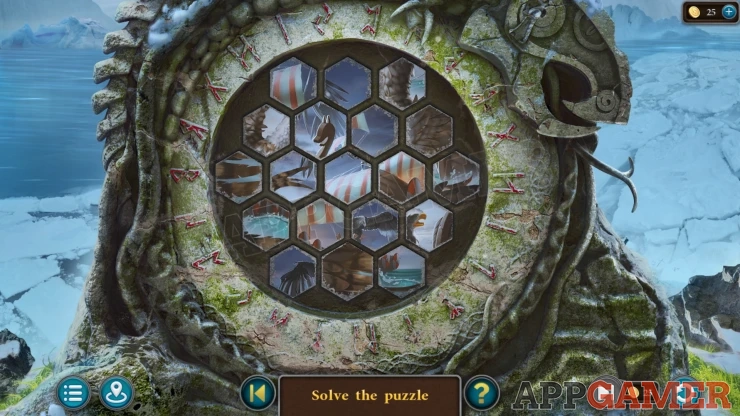
Tap pairs of tiles in the image to swap their positions.
After every change all of the tiles that are not in the correct positions will move around.
Keep moving the tiles until you have completed the image.
Solution: Show
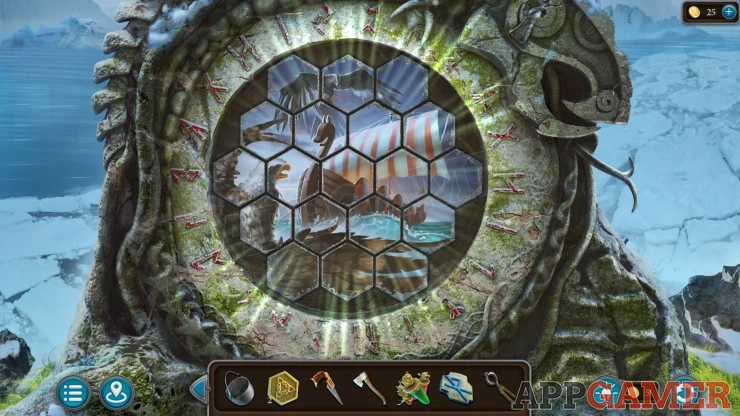
Stepping stones appear in the water and you can cross over the the island of the Witch.
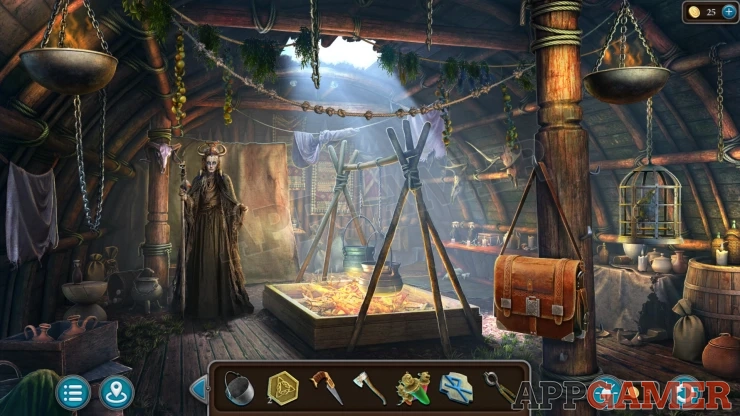
Talk to the witch, she tells you that you need to use meteorite metal for the ax and asks you to bring her a fur cape.
Morphing Object: a small vase/jug on a table on the far right of the room.
Tap the curtain behind the witch to open it and then view the table on the other side.
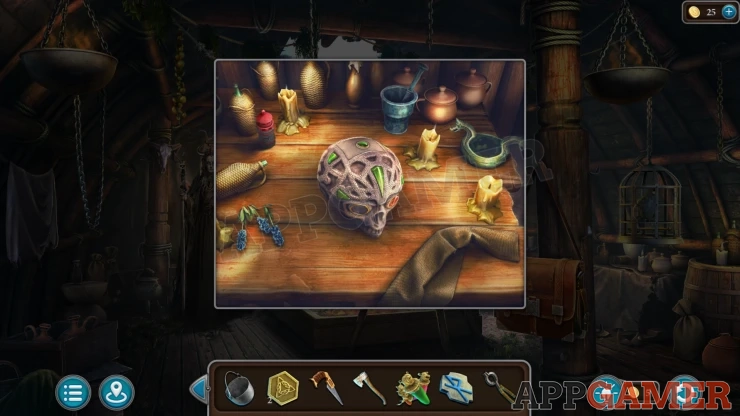
Collection Item: Monster head symbol in the small dish on the top right.
Lighthouse: Collect a lighthouse from the top left.
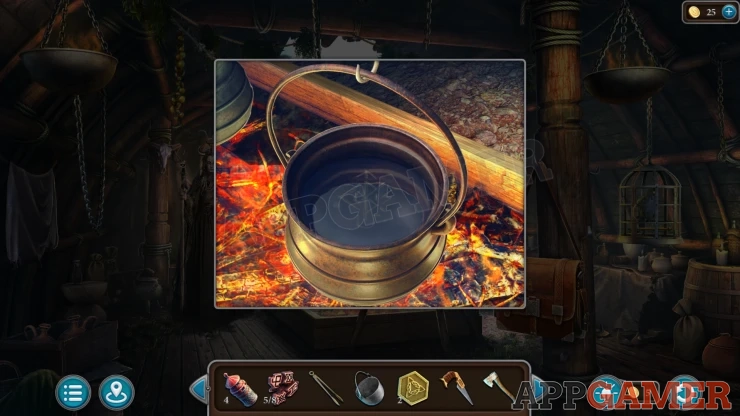
Next look in a cooking pot that is over the fire in the center of the room. You will see a 'runic stave' symbol in the water. This is a clue.
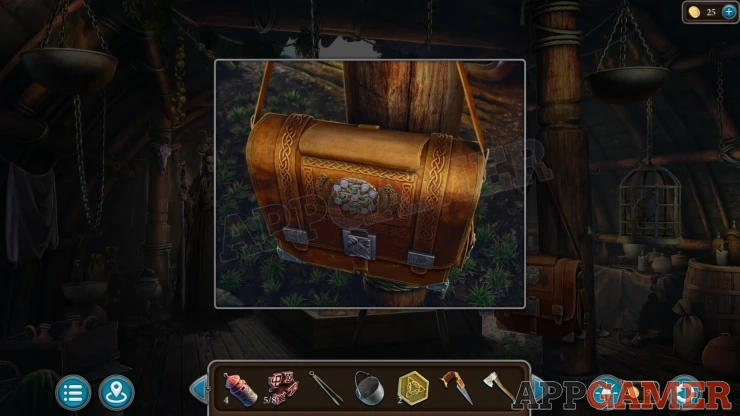
Now view the satchel that is hanging from the pillar on the right.
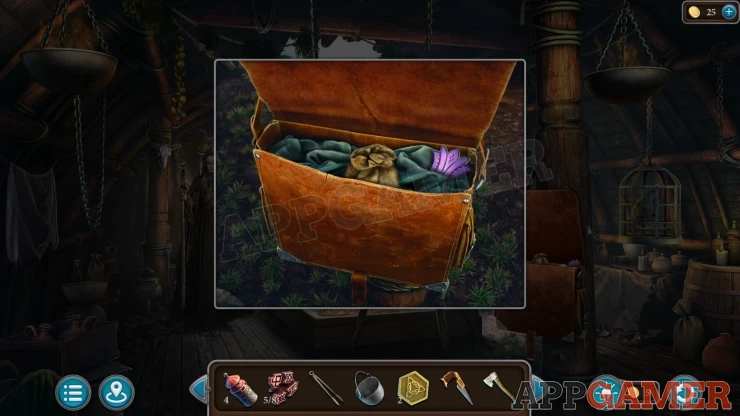
Open a flap at the top and you can find another puzzle
Satchel Puzzle

- There are 4 green buttons. Taping these will rotate various symbol parts around
- In the center is a combines symbols that is made up of the 4 parts.
- Set the correct parts to marge them into a full symbol that matches the one seen in the pot.
Solution: The full symbol may be different in each game.
Look inside the bag now and collect another of the Mosaic pieces and a Rod from the small pouch.
Now tap on a bench on the back just to the left of the satchel.
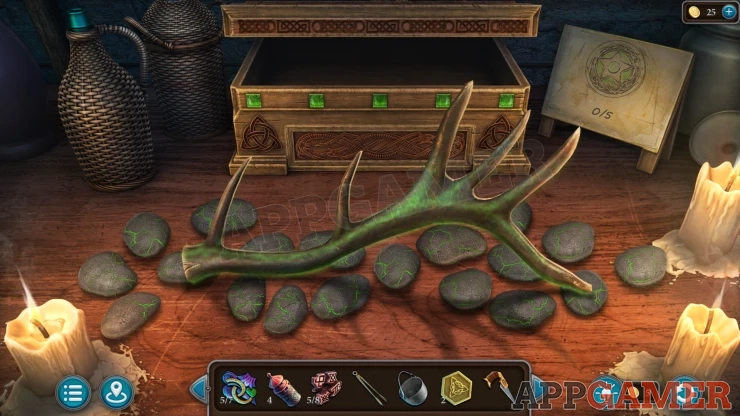
Collect the large Horn from here. This is also a place to play optional puzzle games.
Finally notice the rope hanging across the ceiling. It has knots in it in a pattern of numbers.
Back up to the Camp and view the Deer statue on the left. It is missing an antler. Add the large horn to it and the side panel will open.
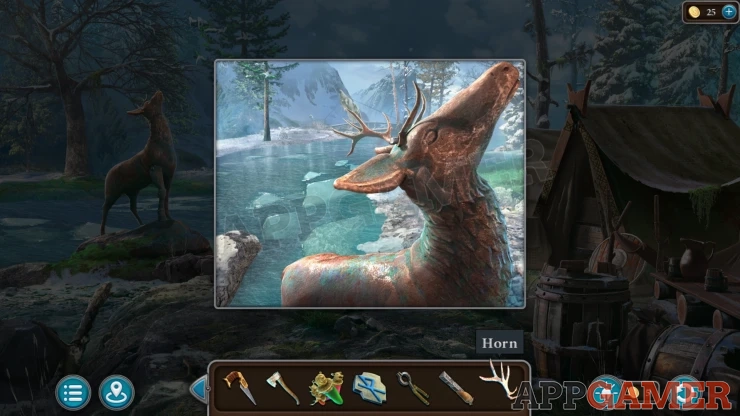
Deer Statue Puzzle
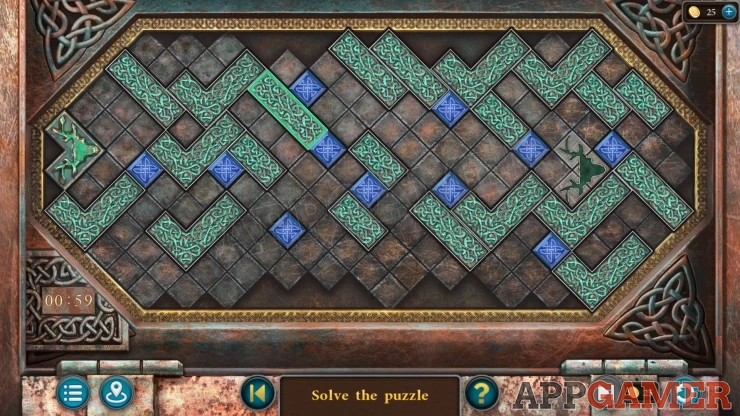
- This is a timed puzzle with an extra star reward if you can complete it in 1 minute. This is optional.
- The grid is full of blocks that can be slid around.
- There is a Deer head block on the left and a slot for it on the right.
- Move the blocks around to let you get the deer head block over to the slot to complete the puzzle.
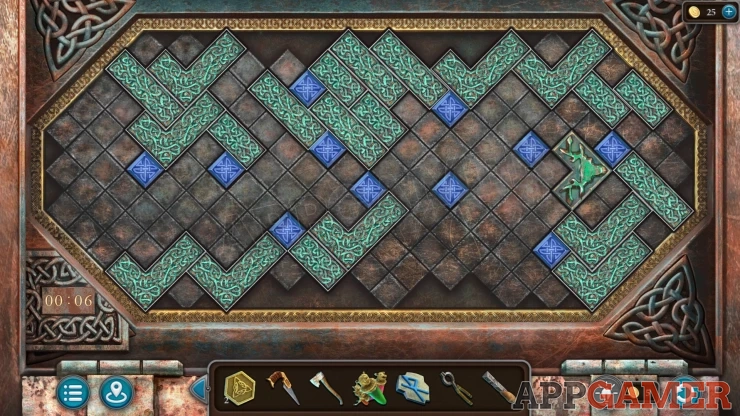
Once done a foot lifts on the statue and now you can collect a Gem from the base of the statue.
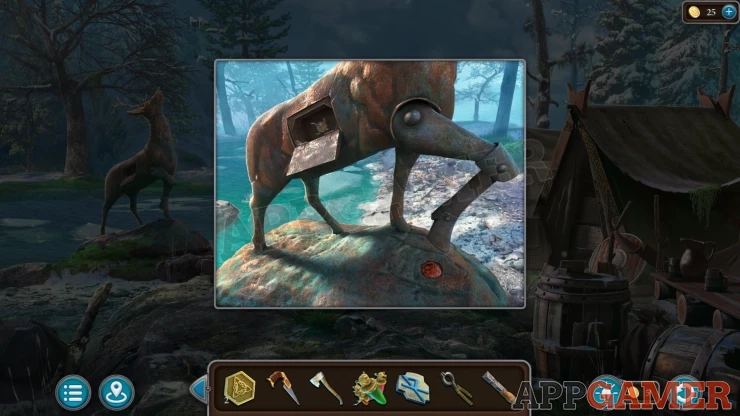
Go back to the Witches hut and view the table behind the witch again. Place the gem into the eye socket of the skull.
This reveals another puzzle.
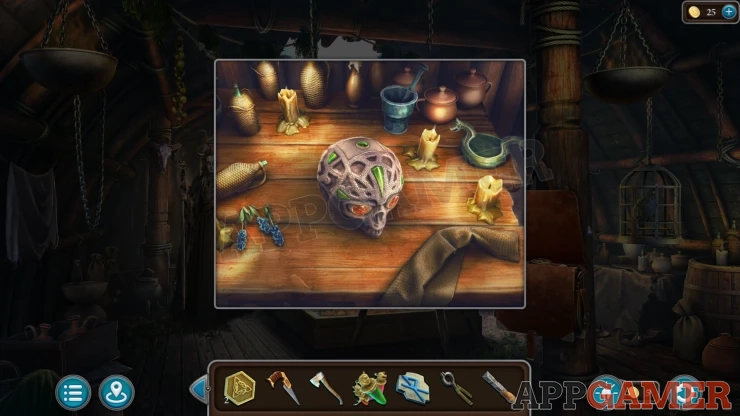
Witches Skull puzzle

- The puzzle has a board of hexagons. There is a green tile with arrows.
- Choose an arrow to move and fill in the grid with green tiles.
- You need to completely fill the board with green tiles without getting stuck.
- The starting point and layout can vary for each game.
- You can restart this puzzle if needed.
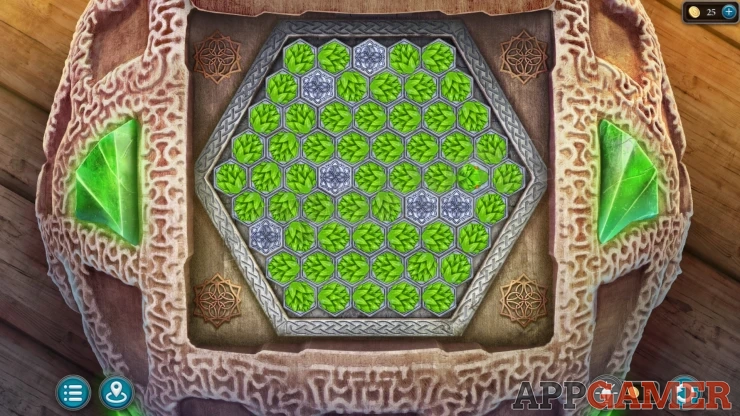
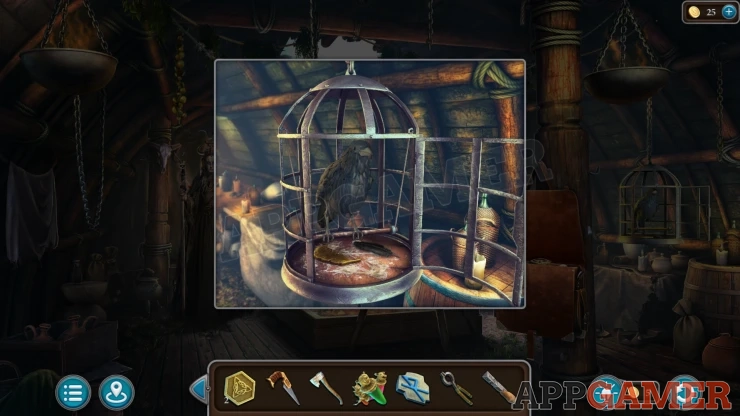
Once done collect more Runes and a Key. Use the key to open the bird cage on the right of the room. Tap the bird inside but it will not let you get anything.
Return to the banquet hall in the village and examine the hanging meat on the right.
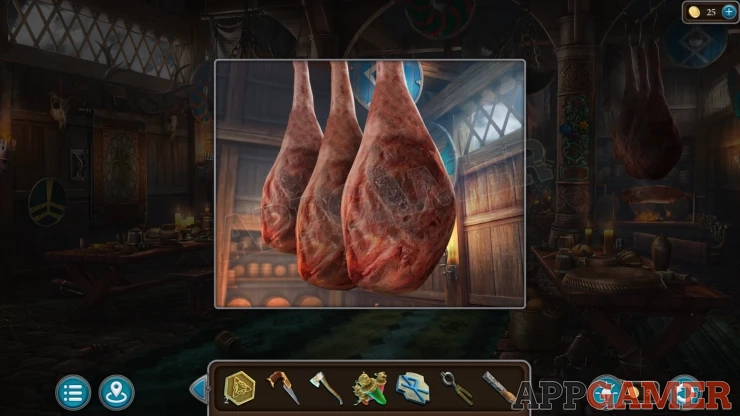
Use the knife to cut off a piece of the Meat. Return to the bird cage in the witches hut and give the meat to the bird. You can then collect a gold Feather.
Return to the village and go to the Tannery at the back. First look at the bottom of the cabinet on the left.
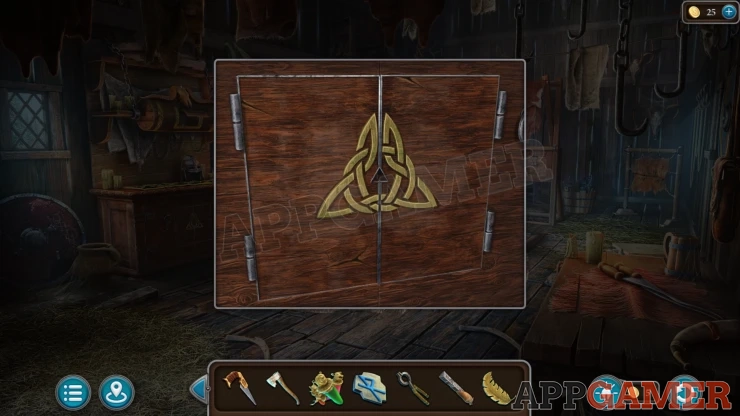
Add the Rod to the center to open the doors and find a puzzle.
Four Gems Puzzle
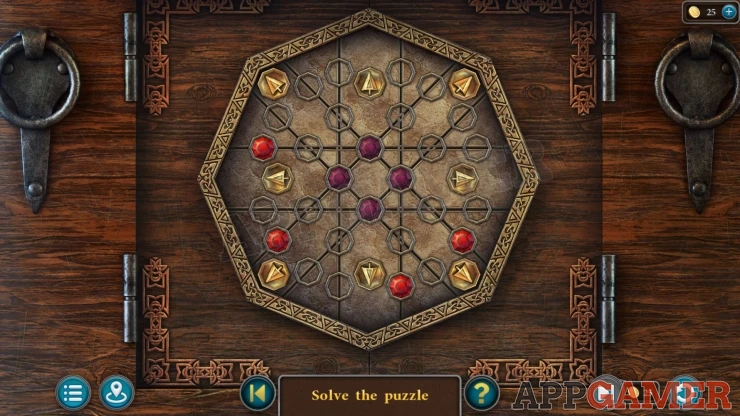
There are 4 red gems that you can move around the grid using the arrows.
Each of the arrows will move gems on 2 lines.
Use the arrow to arrange the 4 gems into the dark red slot in the center of the puzzle.
Solution:
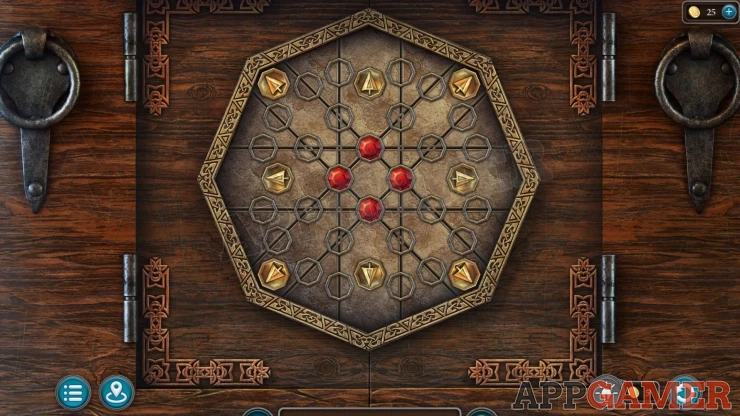
Once done you can collect a Fur Cape.
Now view the animal skin on the back wall of the room. It has 4 ropes hanging from it.
Rope Knots Puzzle
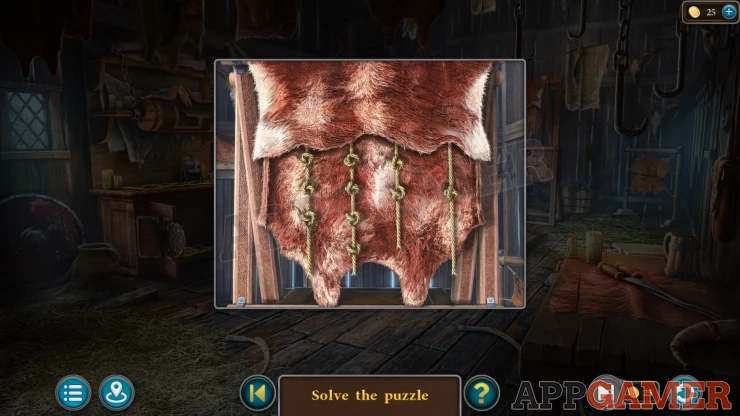
Each rope has a different number of knots in it.
Tap to pull the ropes in the correct order according to a clue.
Solution: The clue is seen in the Witches hut. It can be different for each game so check the order of the knots seen in the rope in your game, then repeat it.Show
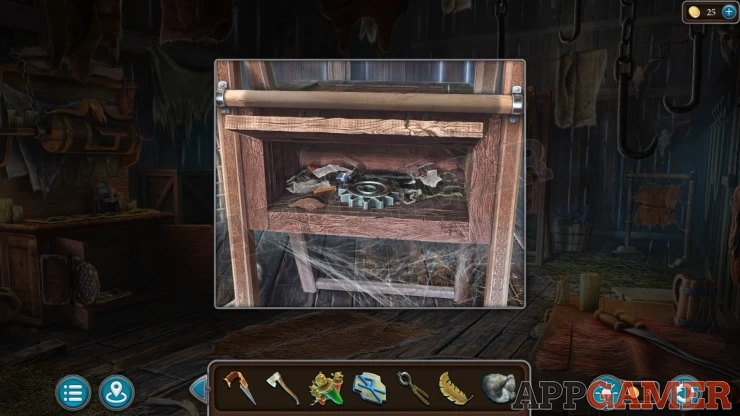
Once done you can collect a Gear.
Continue the guide in Episode 3 - Part 2
We have questions and answers related to this topic which may also help you: Show all
 With 20 years of experience in creating video game content for the internet and over 30 years as a gamer, Mark is now a passionate mobile App Gamer. Loving a challenge, he is always ready to get stuck in to both survival builders and puzzle solving games. He has been providing content for AppGamer since 2014.