
Episode 8 Walkthrough - Polar Station
More Artifact Seekers
This is our guide to Polar Station, the eighth Episode in the puzzle adventure game Artifact Seekers, from Five BN. In this episode you are in Antarctica to explore a small polar station where the crew have gone missing after a recent mysterious discovery.
You goal in this chapter is to find the the missing crew and discover the reason for their disappearance. As before there are collectible items to find in each area for extra stars.
Episode Eight - Polar Station Walkthrough
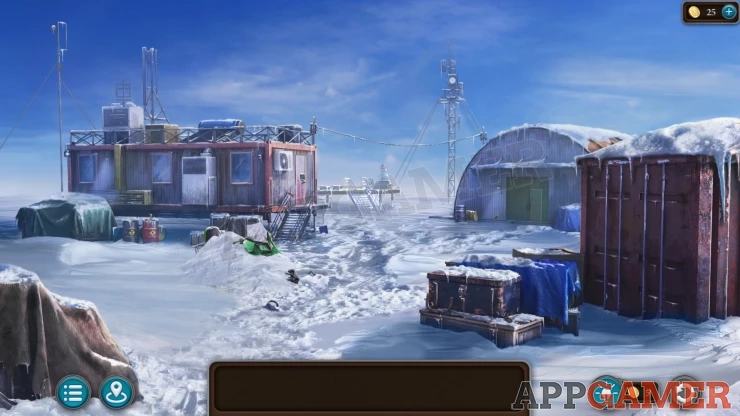
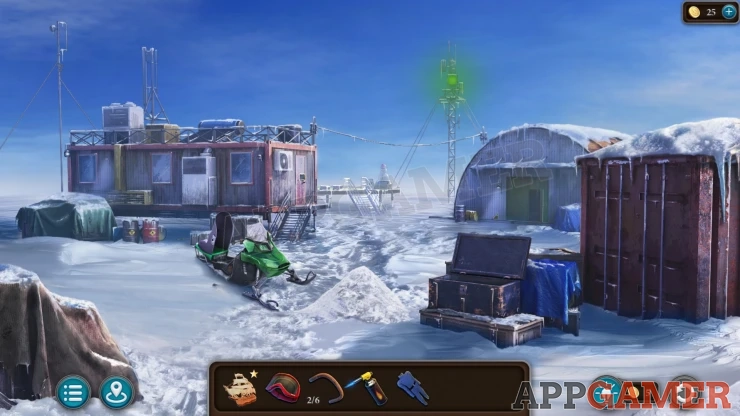
Morphing Object: Small Antenna on top of the building on the left.
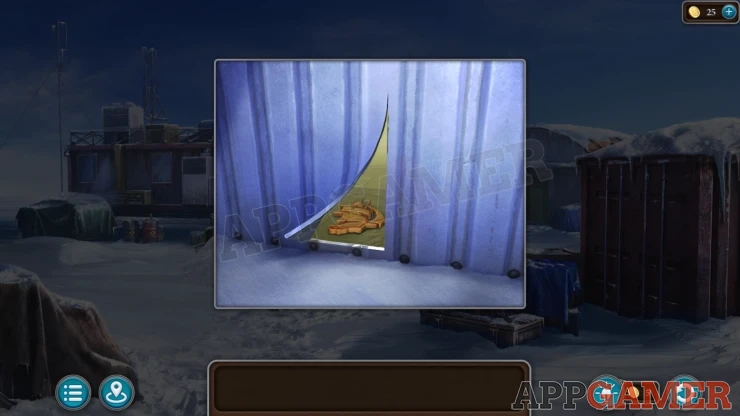
Ship Figure: tap on the large shed on the right to the left of the doors to see a small opening.
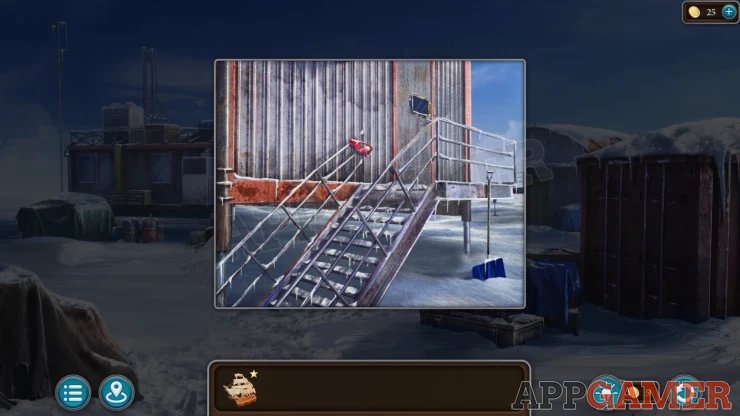
View the steps to the door to the large building on the left, Collect from the rails a Ski Mask from the hand rail and a Shovel from the snow.
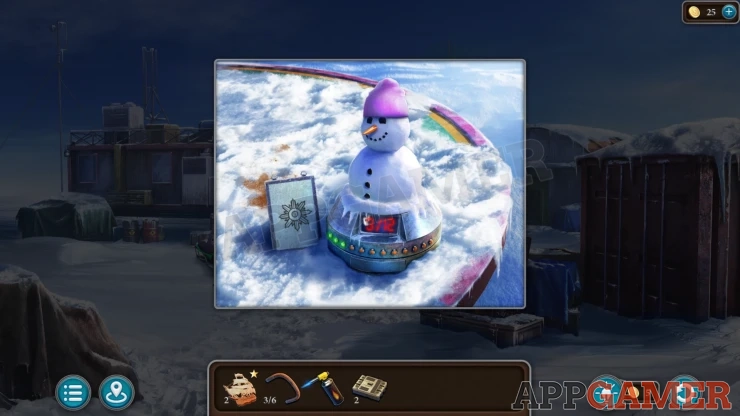
Next view a morphing snowman / rocket that is on the helipad behind the building on the left. Collect a Hat from the top of it.
Then view a box in front of the large container on the right. Collect from here a Key and a Bracket (1 of 6).
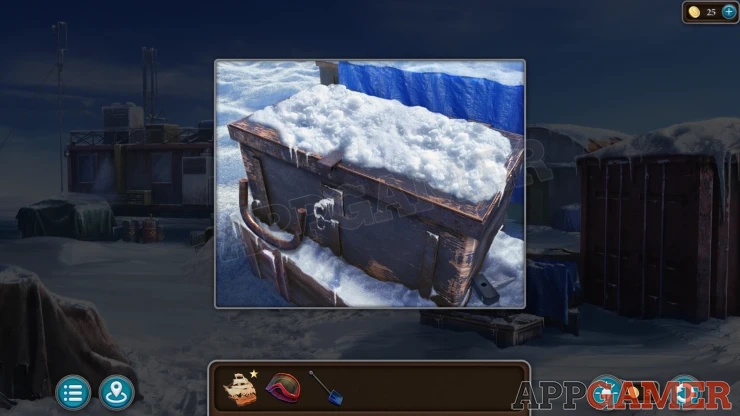
Now use the Shovel on the pile of snow in the center, there is a snowmobile under it. View the snowmobile, it is broken.
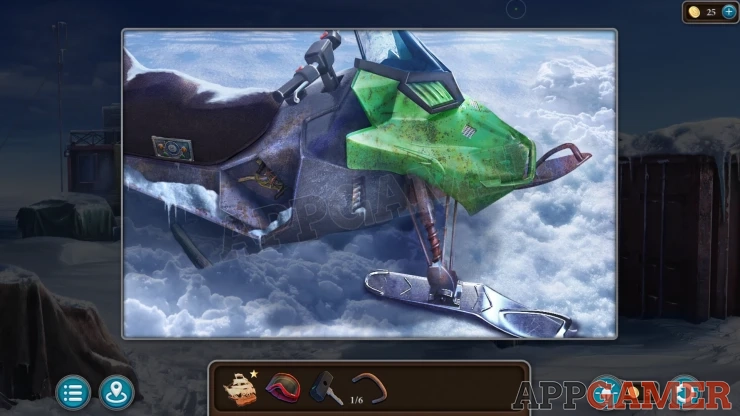
Tap on the Seat to see a puzzle lock. Add the Key to it to start the puzzle.
Snowmobile Seat Puzzle
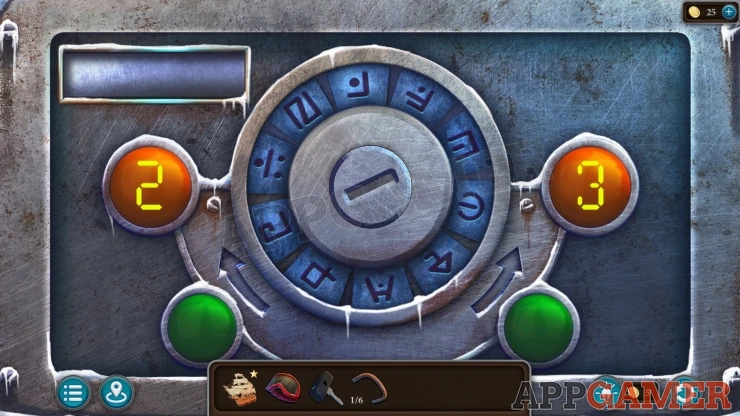
- There are two green buttons that will turn the key clockwise or anticlockwise.
- You can also select between the number 2 and the number 3.
- On the top left is a code of four symbols, these can be different for each game.
- Use the buttons to turn the turn to the four symbols to activate them. You can also deactivate symbols.
- Select 2 or 3 to change the number of symbols you will turn the key through in each move.
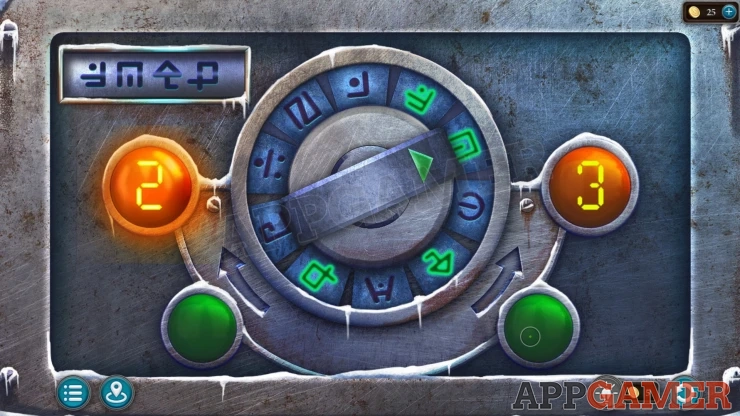
Once done the compartment opens and you can collect a Spark Plug and a Gas Canister.
View the two barrels on the left and collect from the top of the red one a Gas Burner.
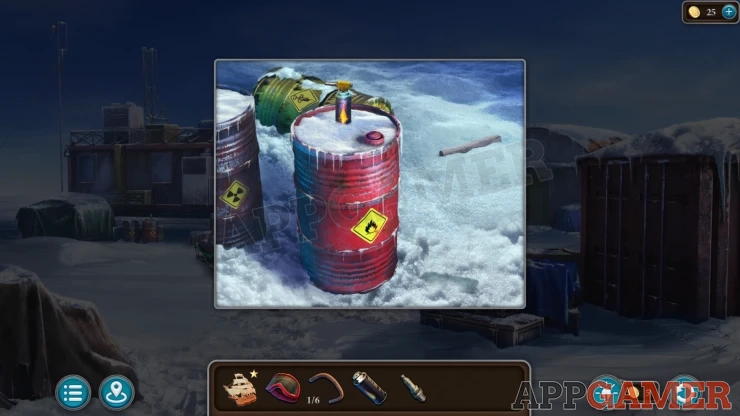
Collection Item: Syringe symbol on the barrel at the back.
View the gas burner in your inventory and tap the switch on the top right. It is out of fuel.
Then you can use the new gas canister on it to swap it and then collect the working Gas Burner.
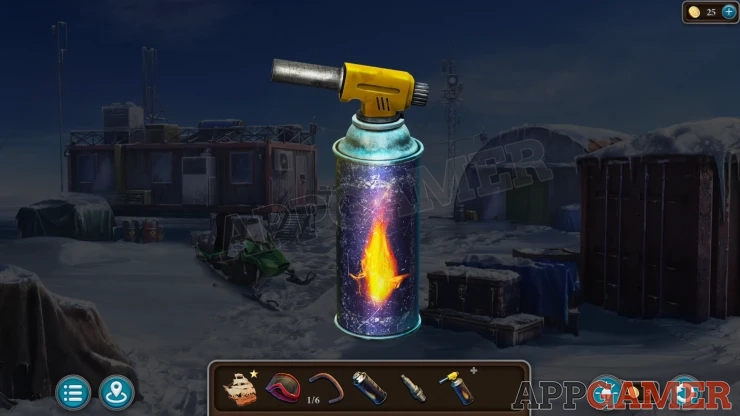
Go back to the small box on the right and use the gas burner to melt the ice on the key in the lock.
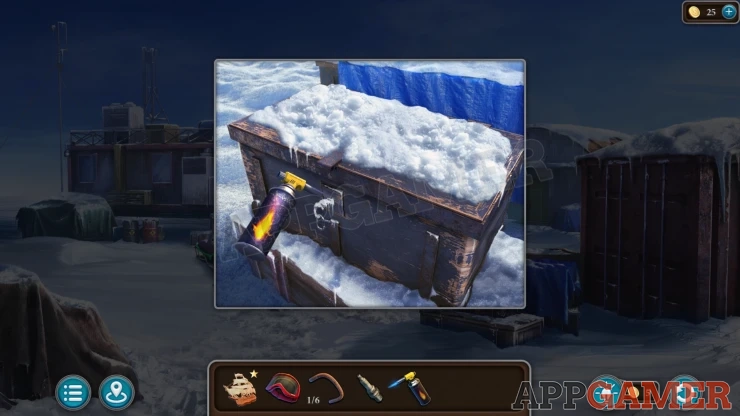
Open the box to find a diary with information about a cave. Then collect some Cutters and a Hose.
View the green doors to the large shed on the right. Use the cutters to remove the chain.
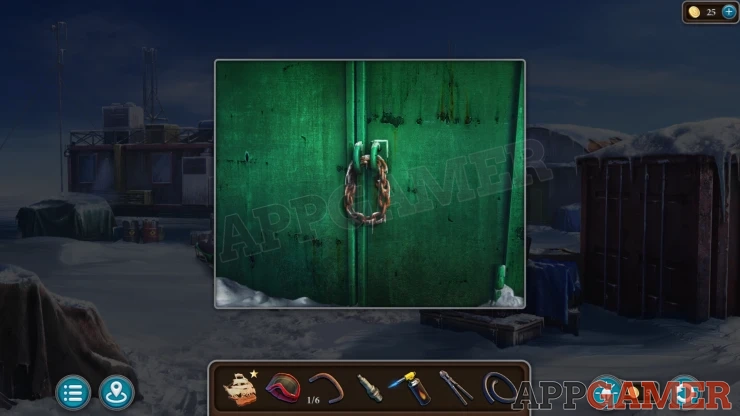
Enter the shed. Inside there is another snowmobile that you can repair.
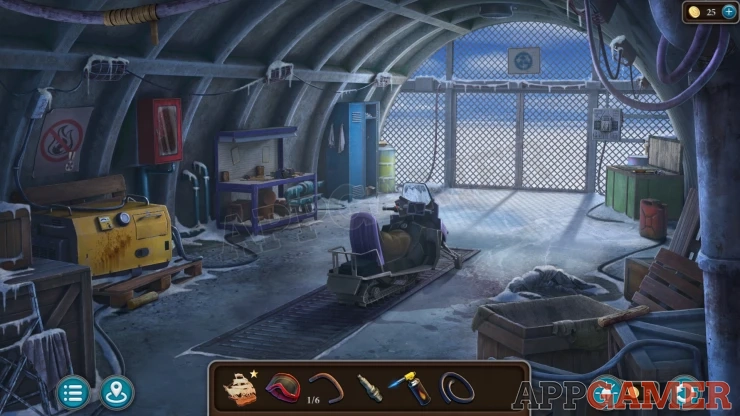
Collection Item: Medal symbol on a no flames warning sign on the left.
Morphing Object: changing blue roadside above the gates at the far end.
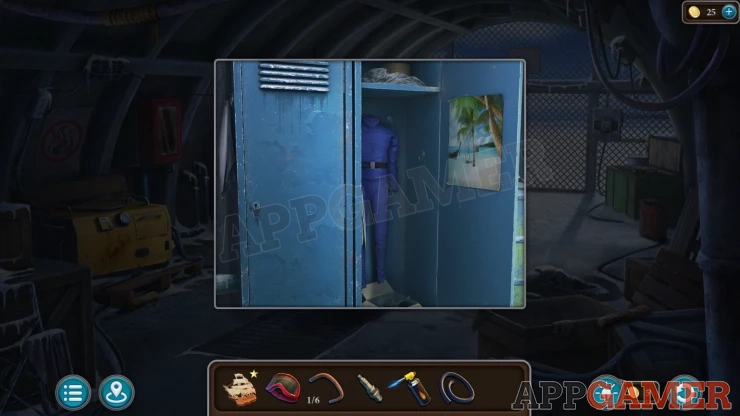
Then view the blue cabinet on the left at the far end and open it. Collect a Snowsuit.
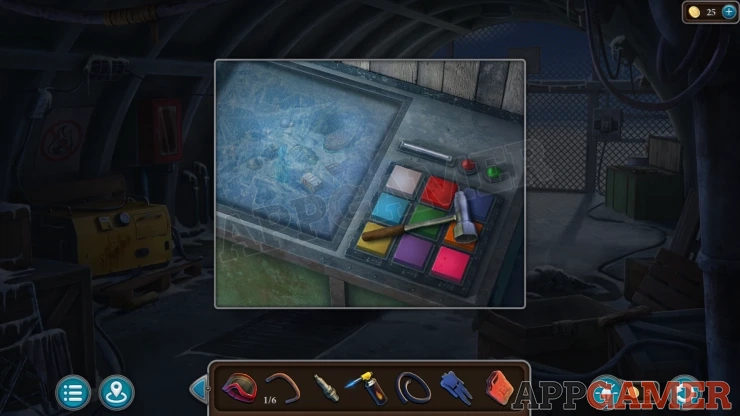
Collect a red Canister from next to the green box on the right side and then view the green box. Collect a Spark Plug Wrench.
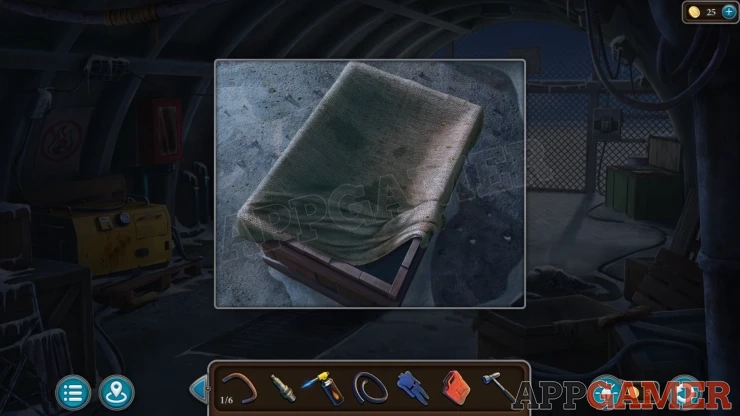
Next view a wooden crate on the lower right with a cover on it. Remove the cover and open a box inside to let you collect another Bracket (2 of 6).
Exit to the outside area and then view the red barrel on the left again. Place the Canister on the ground and open it. Then open the lid on the barrel and place the hose.
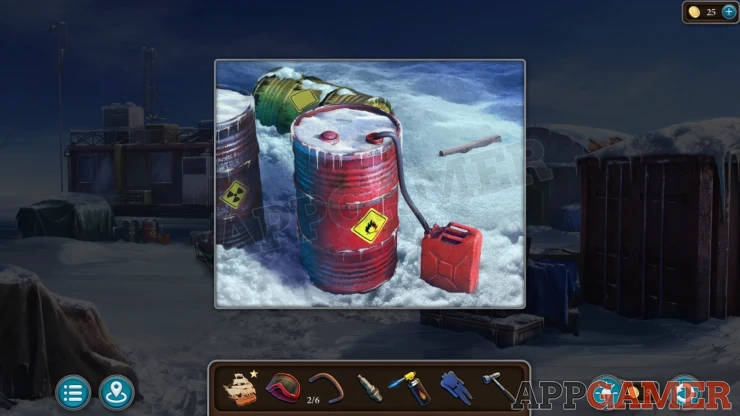
Now you can collect the Fuel Canister.
Go back intro the shed and view the yellow generator on the left. You need to press the button to try it first.
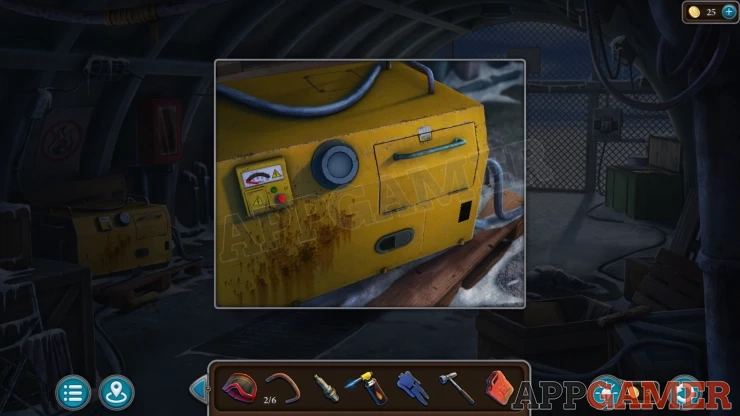
Open the cap and use the fuel canister on it to fill it. Then tap the button to start it.
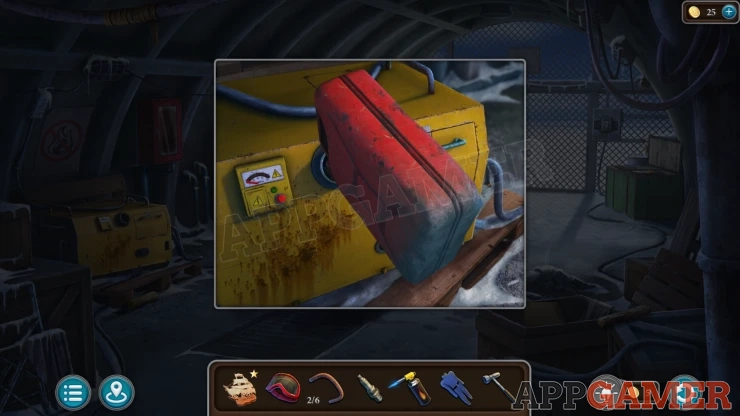
When it fails to start open the cover on the right side to see the spark plugs. Use the Spark plug wrench to remove a broken plug and then add the new spark plug that you have.
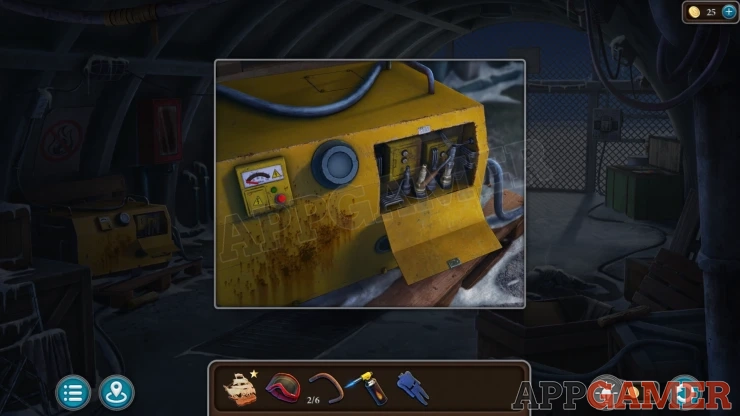
Start the generator.
Back out to the outside and now notice that there is a light flashing on the mast int he distance. It will show a sequence of colors.
Go back into the shed and view the green box on the right again. This has a panel with colored buttons.
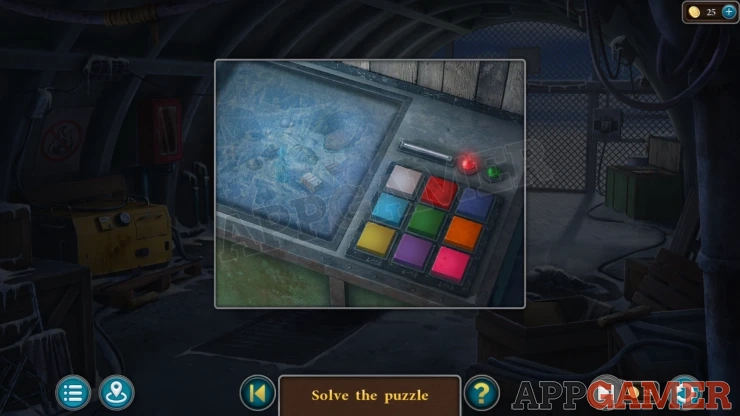
Tap the buttons that match the colors in the light sequence.
Solution: Green, Red, Dark Blue, White.Show
When the panel opens on the left view this to find a special puzzle area.
Station Model Puzzle
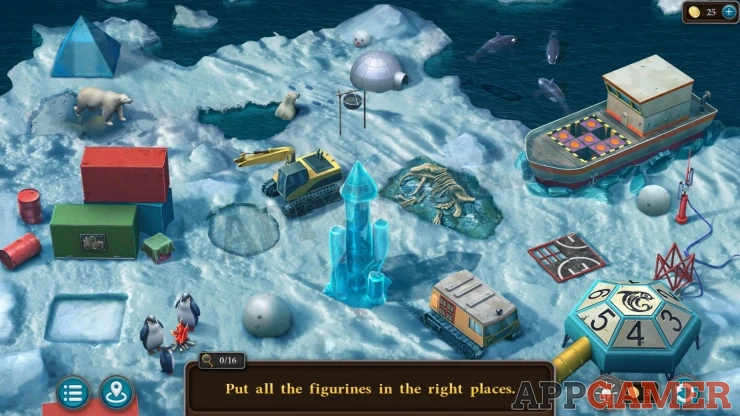
This is a model with pieces out of place and mini puzzles to solve.
Move the pyramid, top left, to the square slot on the lower left.
Move the Polar Bear, top left, to the foot prints by the igloo on the top center.
There are two round snow balls that you can move to the lower left by the penguins to reassemble a snowman.
Move the fire that is between the penguins to the frozen ice pillar in the lower center. This will melt the ice to reveal the top of a mast.
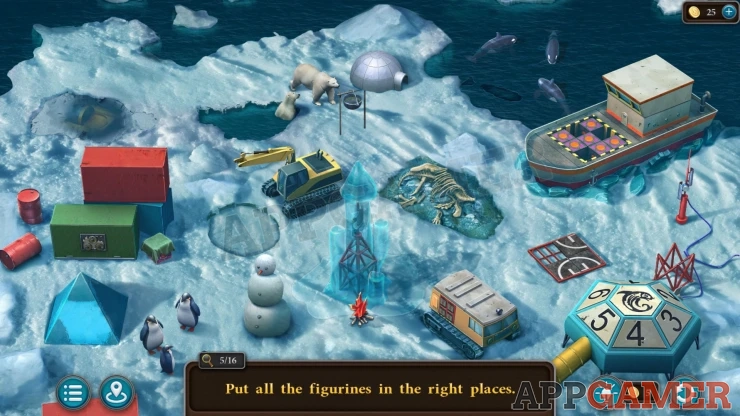
Move the Mast top to the mast base on the lower right.
Next move the fire under the cooking pot by the polar bears.
Tap the ice on the top left where the polar bear was to break it. A submersible will appear. Tap this to get an Orca from it and then place it with the other three on the top right.
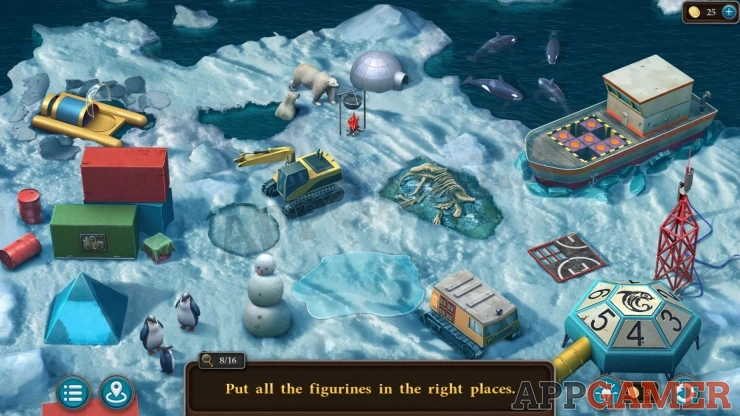
The Orcas in the water are a clue.
Now view the hexagonal block with numbers on it on the lower right. This has an icon of an Orca on it. Using the clue of the orcas you can then work out a four number code.
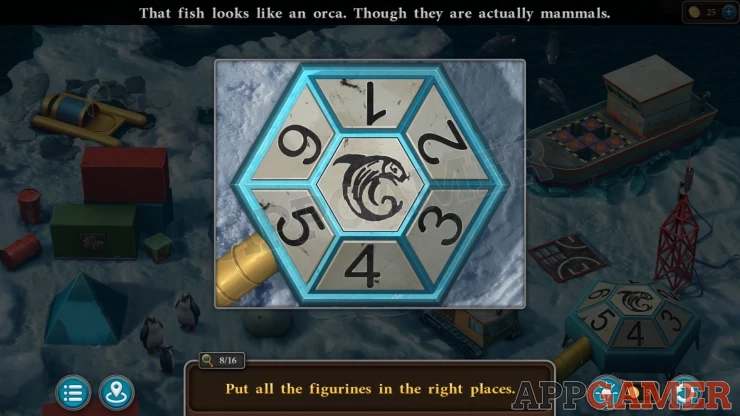
Then view the top of the tracked vehicle next to the Hexagon and enter the code here.
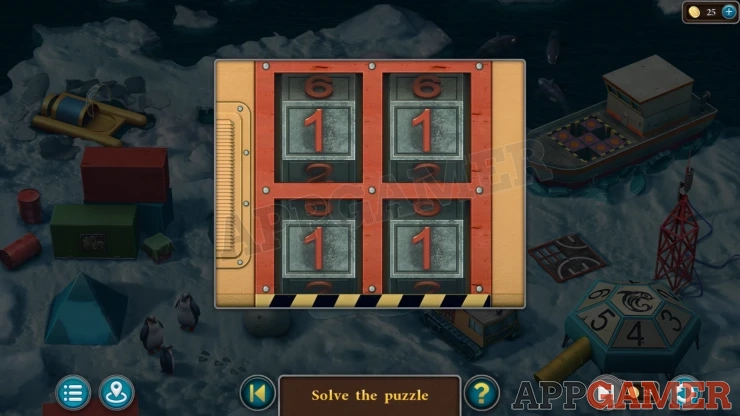
Solution: Look at the direction that the four orcas are pointing in the water. Show
Code:
2 4 3 6Show
The top opens and you can move a small cube over to the loading area of the ship model. You need two more.
Move the Igloo on the top right to find another cube and the final one is under a green cover on the left by the containers.
View the blocks in the ship. This is a light on puzzle where you need to tap the blocks to turn on all of the lights.
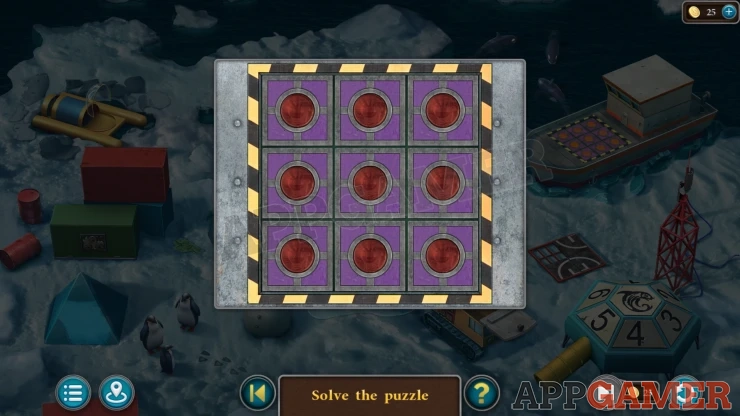
When you tap one it will change the light status on itself and all blocks to the left, right up or down of it.
Solution: Tap each of the corners and then the center block.Show
This opens the top of the boat. Move a penguin that inside over to the others.
Next look at the clue inside the top of the boat, this has shapes with red dots. Count the dots for a clue.
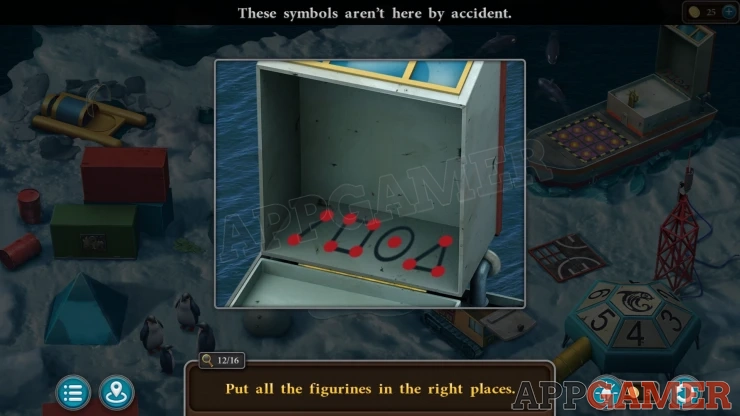
Now view the hexagon panel again and tap the buttons following the number clue. This opens the hexagon.
Code: This can be different in your game - for me it was 2413Show
Next view the side of the green container on the left. This has a puzzle with three dials.
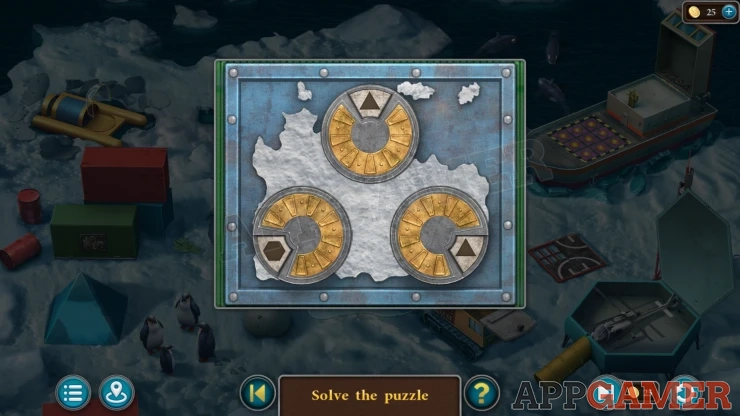
Each dial can be changed to show a different shape, they are arranged around a map.
Look on the model to find three shapes that you can use as clues.
Solution: Igloo, Pyramid, Hexagon.Show
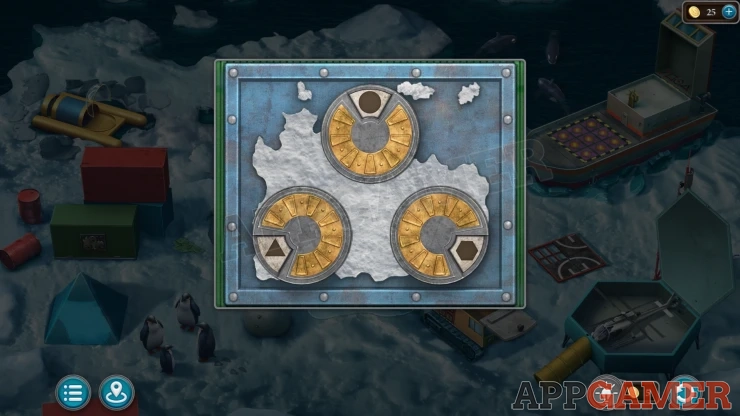
Now you can move a digger arm to the digger in the center and a tile to the square pad on the lower right.
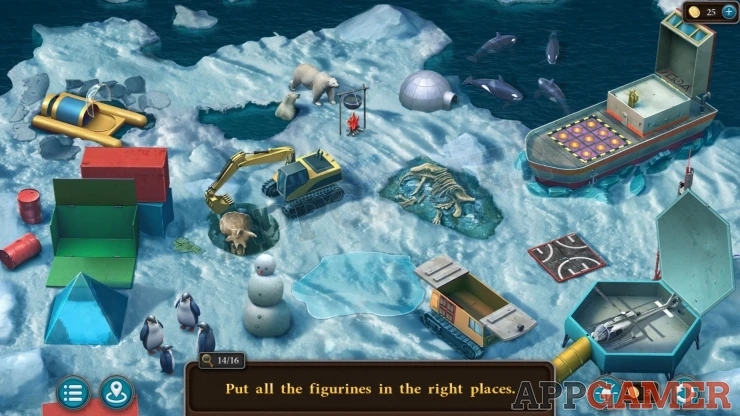
Tap the digger to make a hole in the ice, then move the Dinosaur skull to the rest of the skeleton.
Finally view the square pad on the right, tap the tiles on this to swap their positions to make an H, helicopter landing pad.
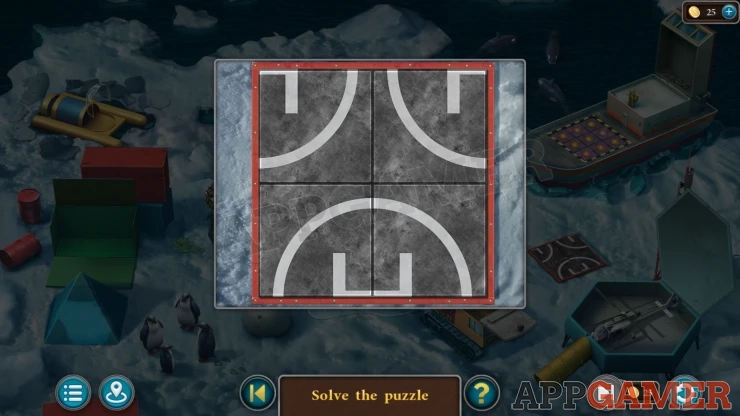
Then move the helicopter from the opened hexagon to the pad to complete the scene.
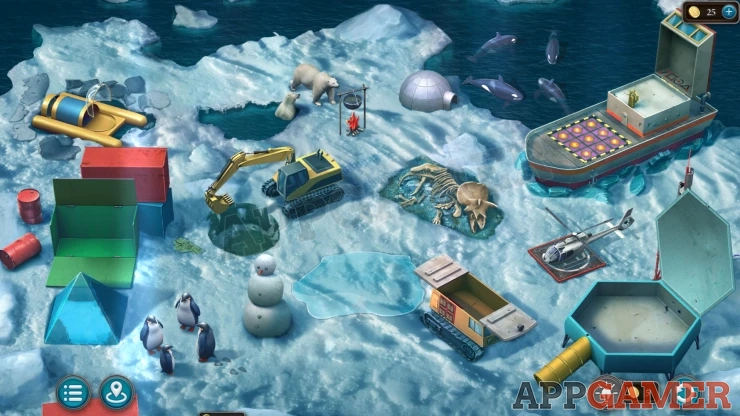
Now you can collect a Keycard.
Next view the snowmobile in the center, collect a Navigator (GPS screen) from it.
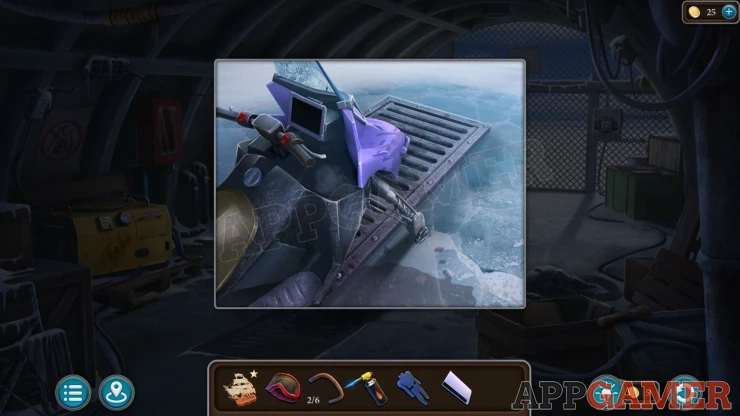
Exit and then view the door to the building on the left. Use the key card on this to reveal a puzzle.
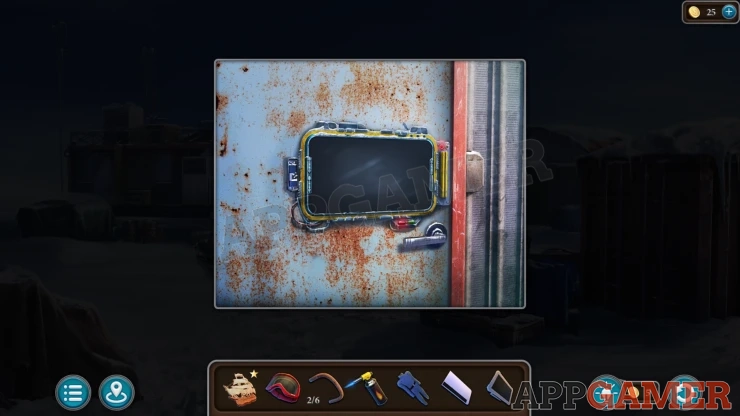
Keycard Door Puzzle
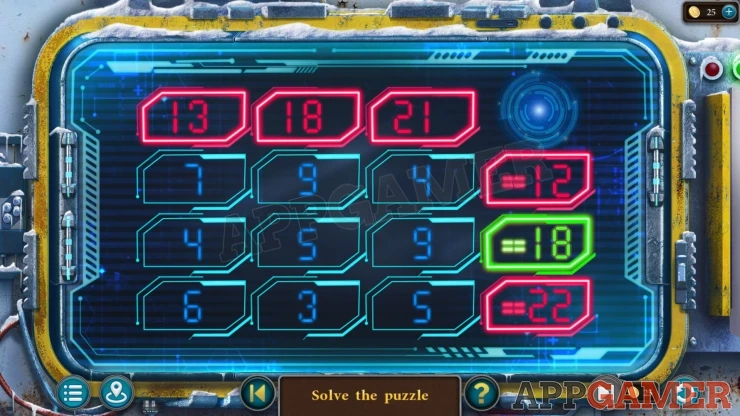
- There is a 3x3 grid of numbers that you can swap around.
- At the top and right side are values that show the sum of the numbers in each row or column.
- When the sums are correct the numbers will light up green.
- Move the number around to make all of the sums green.
Solution: You numbers can be different in your game.Show
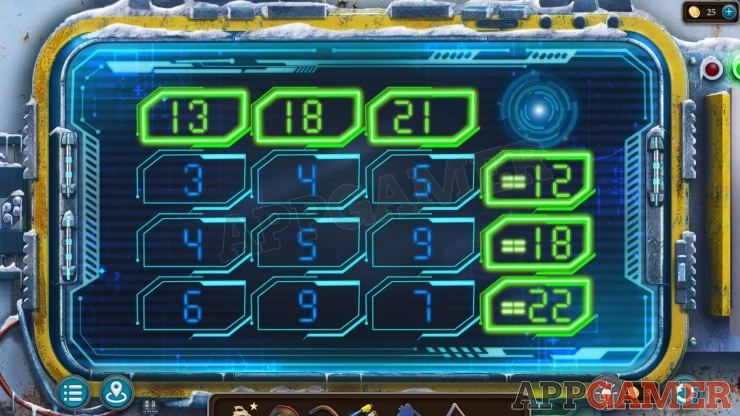
Now you can enter the living module.
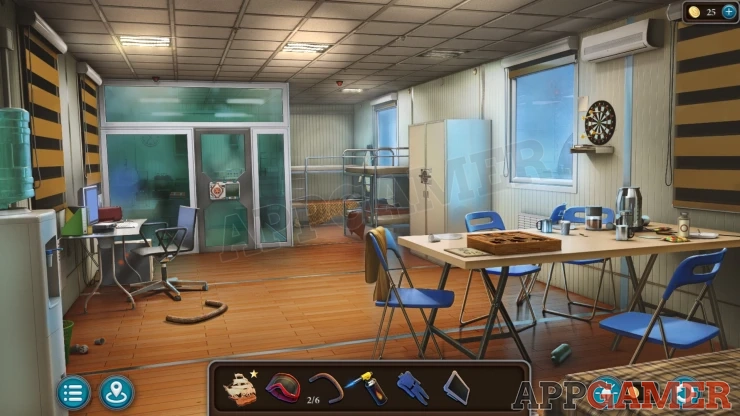
Morphing Object shape on the arm of the chair at the computer desk on the left.
Vial: On the right side of the table.
Collect a Bracket (3 of 6) from the floor on the left.
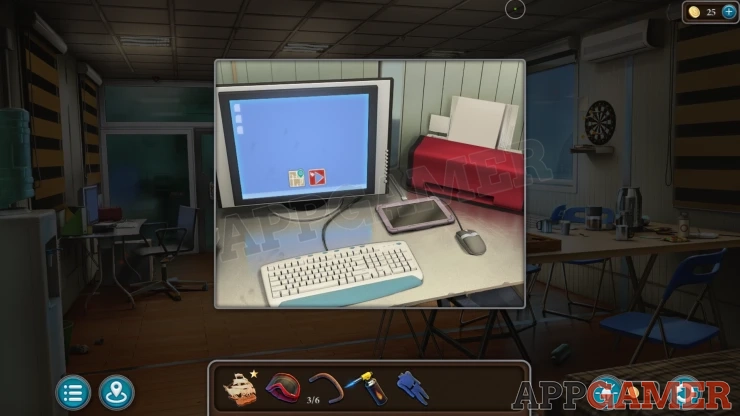
The view the computer on the desk on the left. Add the Navigator to it and a map file will transfer. Collect the Navigator with a Map.
View the bed at the back right and move the blanket. You can then collect a pair of Boots.
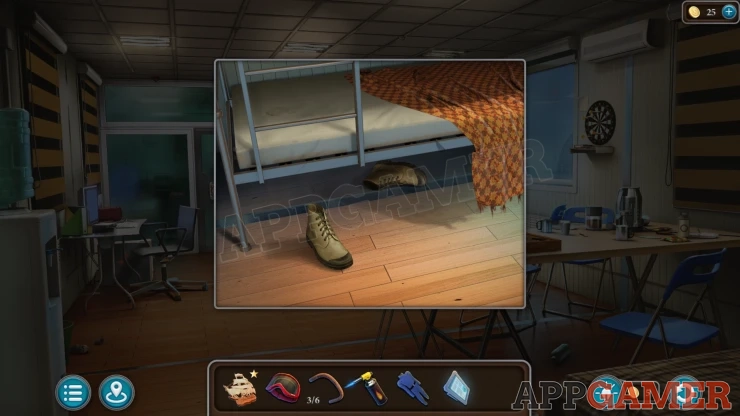
Then view the dartboard on the wall.
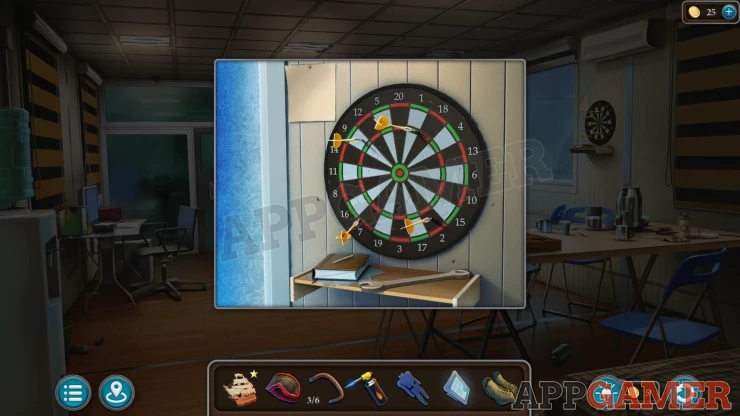
Collect a Wrench from here and then notice the positions of the darts on the board, there are four of them.
Exit to the outside and view the broken snowmobile again. Use the wrench on the ski to remove it and collect the Bent Ski.
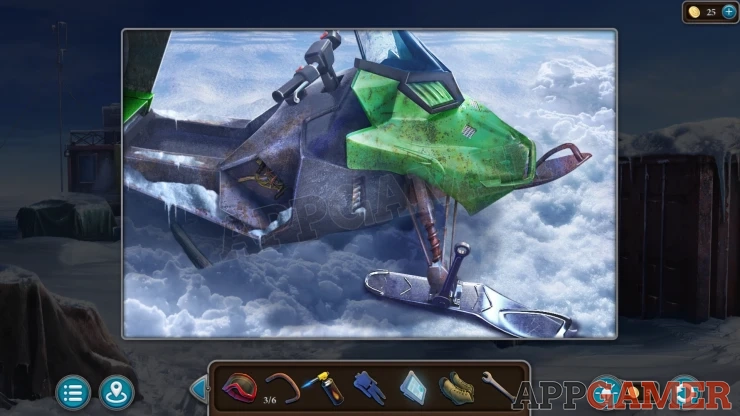
Then go into the shed again and view the workbench on the left, collect a Switch (1 of 2) from it.
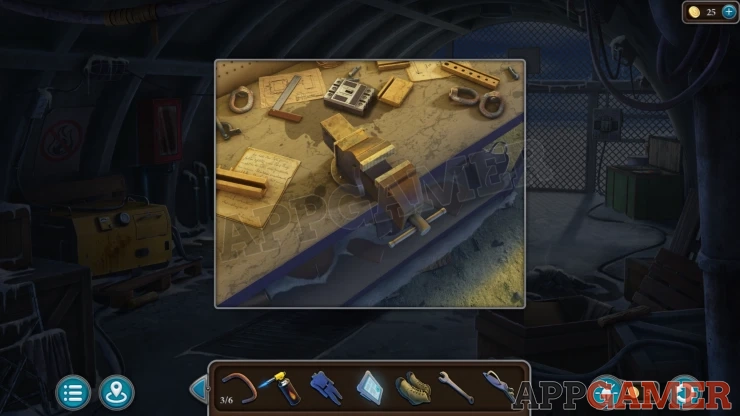
Add the bent ski to the vice. Then turn the handle to fix it. Collect the Ski.
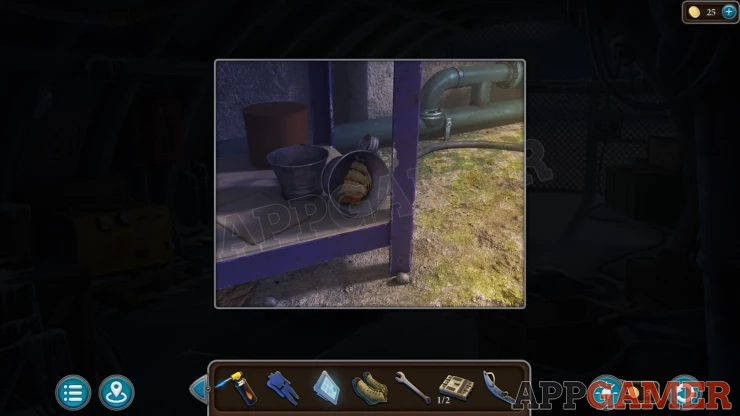
Ship Figure: view the lower right foot of the workbench to find it in a bucket.
View the snowmobile in the center and add the ski to it. Then use the wrench to fix it in place.
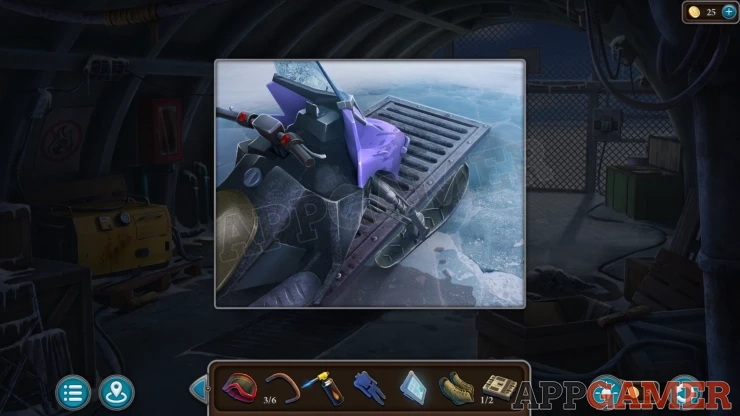
Add the navigator to the snowmobile. This completes it ready for use, it will move forward.
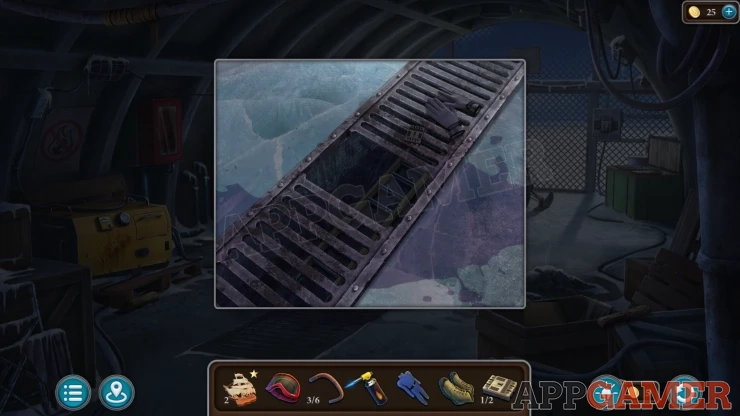
Look on the ground underneath it, collect some Gloves and another Switch (2 of 2).
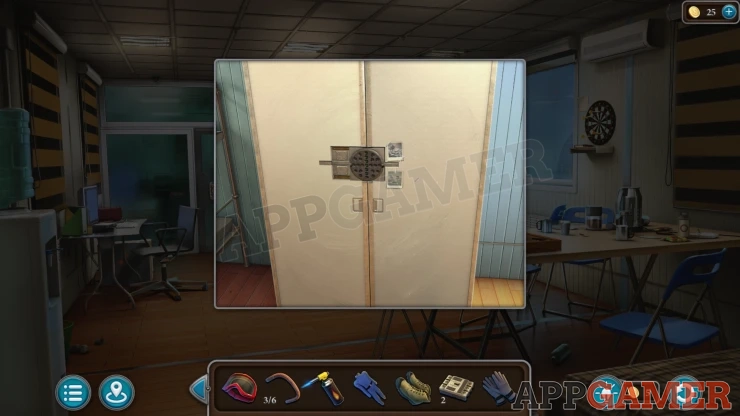
Go back to the living quarters and view a cabinet on the right to see a puzzle lock.
Living Quarters Cabinet Puzzle
- There are three circles that you can rotate. And a center bar that moves to the left and right.
- On the discs are five red balls that need to be arranged according to the clue on the lower left.
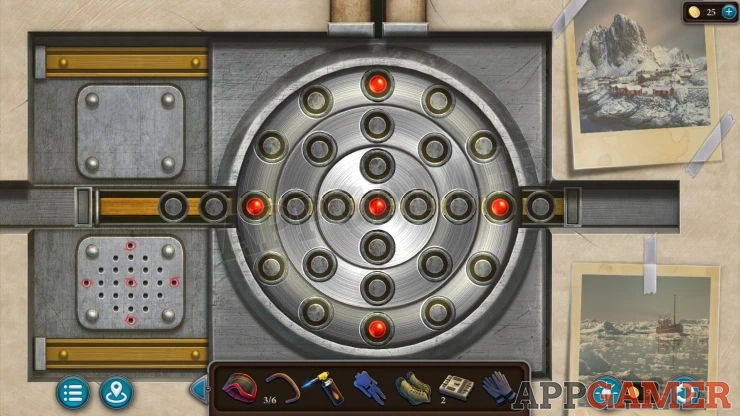
Once done you can open the cabinet . Place in side the snowsuit, the ski mask, the hat, the boots and the gloves.
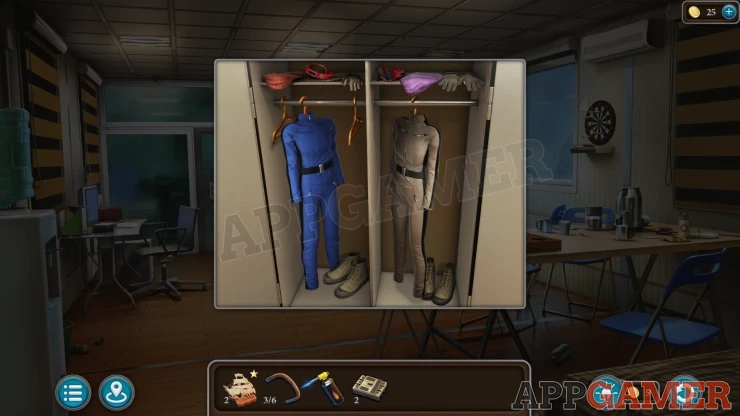
Now you can tap on the clothing to put them on.
Go back to the shed and view a panel by the gates at the far end.
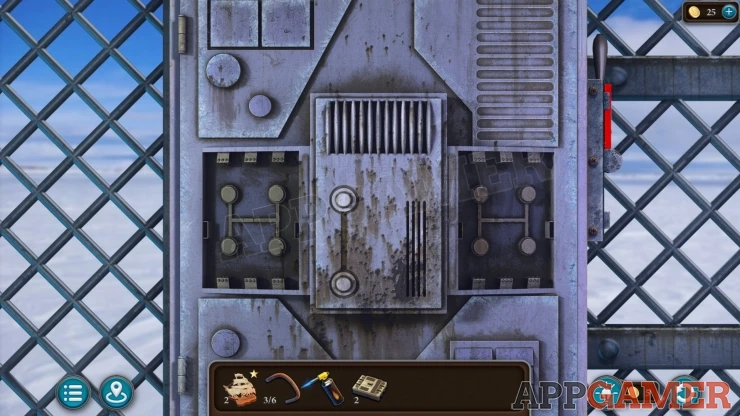
Add the two switches to the left and right and then tap them to turn them on. You then get a puzzle.
Shed Gates Puzzle
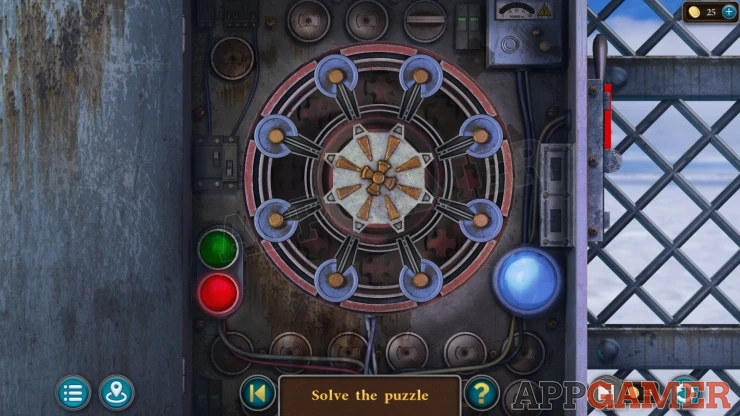
- There is a center dial with eight purple discs around it.
- Tapping a disc will move it onto the center dial. Then the dial will rotate by one position.
- You can move discs back and forth.
- You need to get all eight discs onto the center dial.
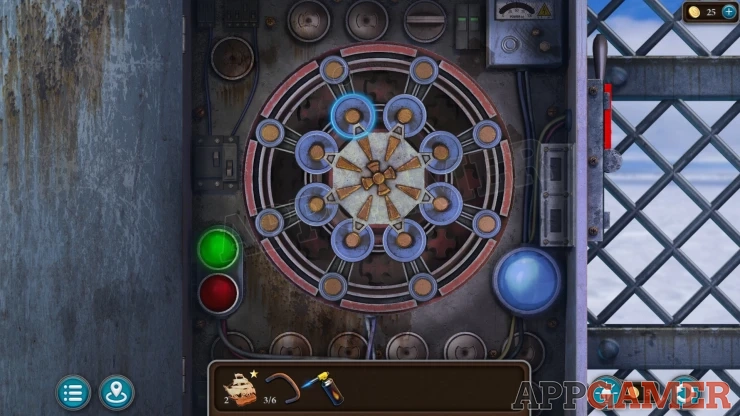
Once done the gates are open. Tap to start a mini game.
Snowmobile Mini Game
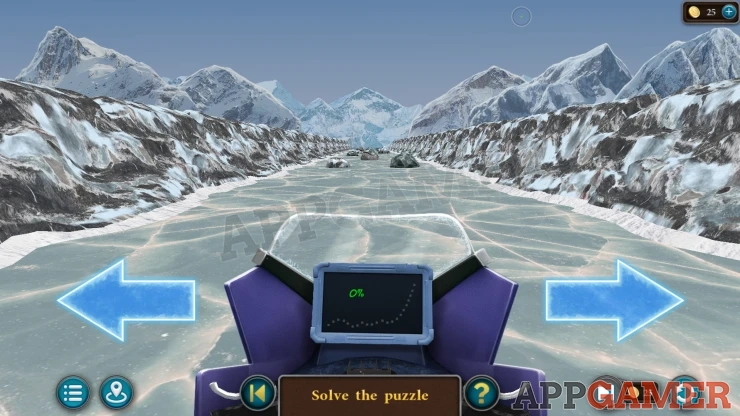
Guide the snowmobiles along the ice be sliding it to the left and right.
Avoid the rocks and other obstacles.
At the other end you reach a cave.
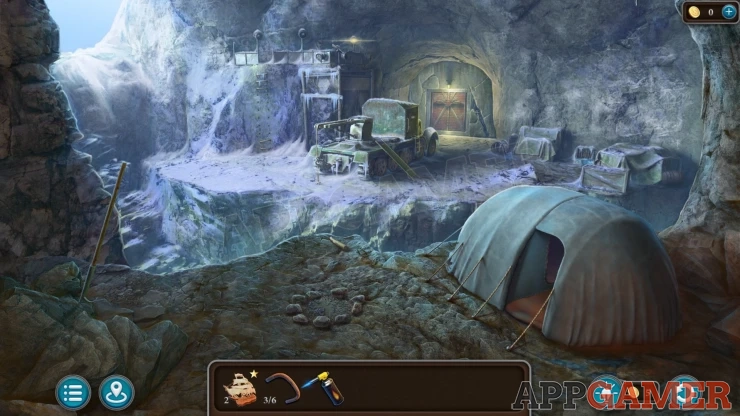
Morphing Object: Barrel/box on the right on the far side of the cave.
Collect a Pike Pole from the left. Then look in the tent on the right to collect a Rope (1 of 2).
Look over the ledge to see that there is someone down at the bottom.
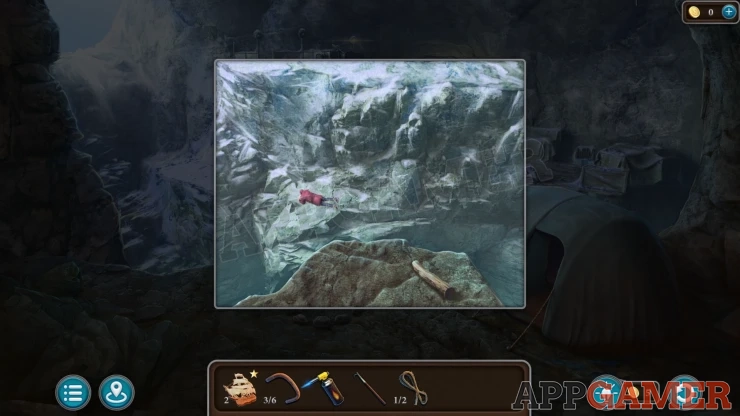
Back up to the shed and then view the ground in the center again, Use the Pike pole on the hole to collect a Stepladder.
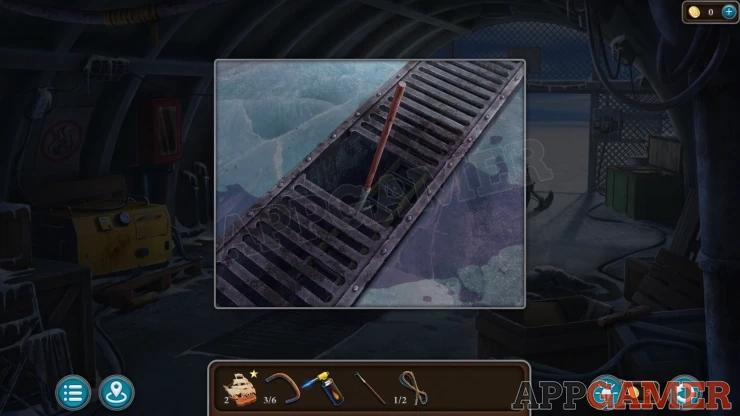
Return to the cave and view the ravine, add the step ladder here to allow you to cross.
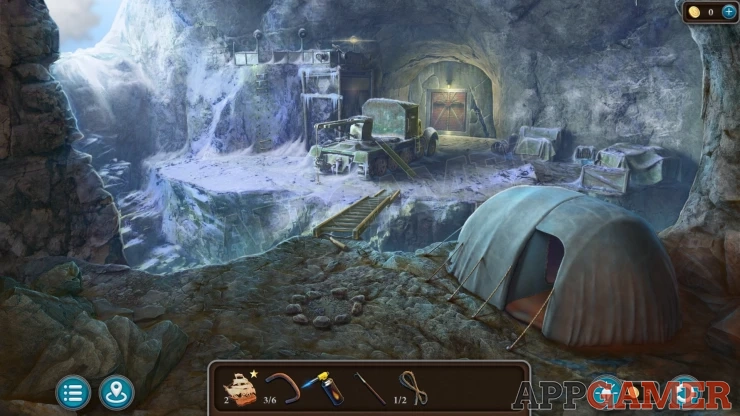
Collect a Stretcher from the right side of the vehicle on the far side, then tap the back of the vehicle to see a crane hook. Collect a Rope (2 of 2) from it.
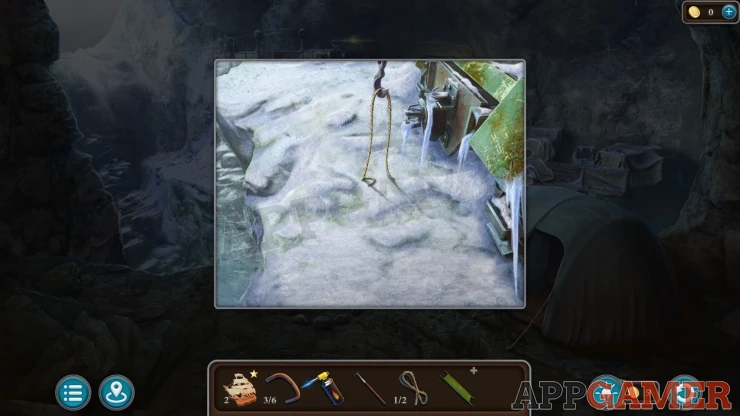
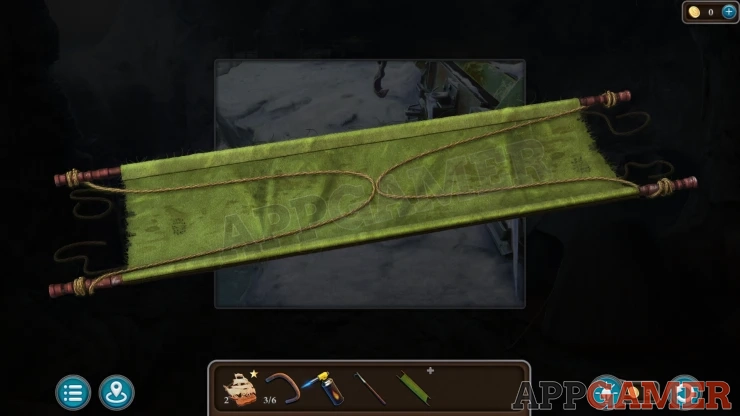
Now view the stretcher in your inventory and add the two ropes to it. You collect the stretcher again and then add this to the Hook on the crane.
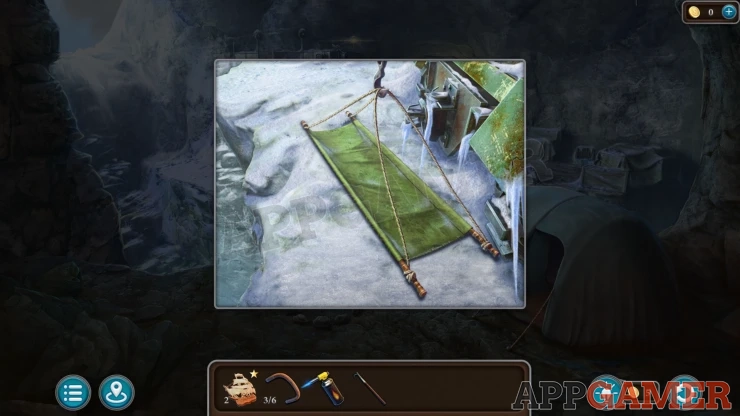
View the cab of the vehicle, there is a code lock on it.
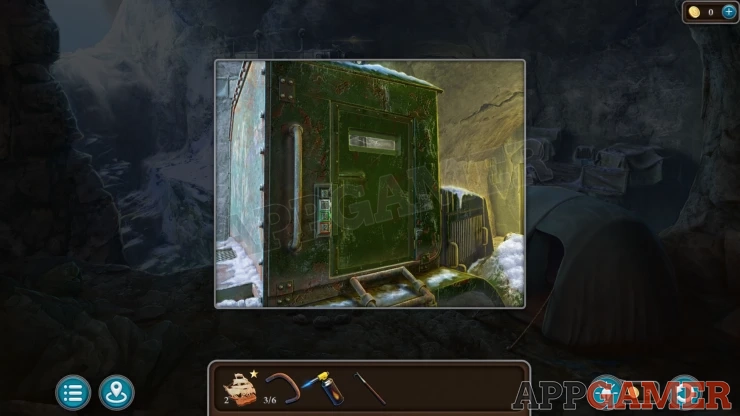
Cave Crane Door Lock
- There are 4 numbers and each number dial has a color.
- The colors match a clue seen before with four numbers.
Solution: Look at the four darts on the dartboard. Each one is in a different colored segment of the board. And related to a number. (Just the number of the segment not the darts score)Show
Code: 2917Show
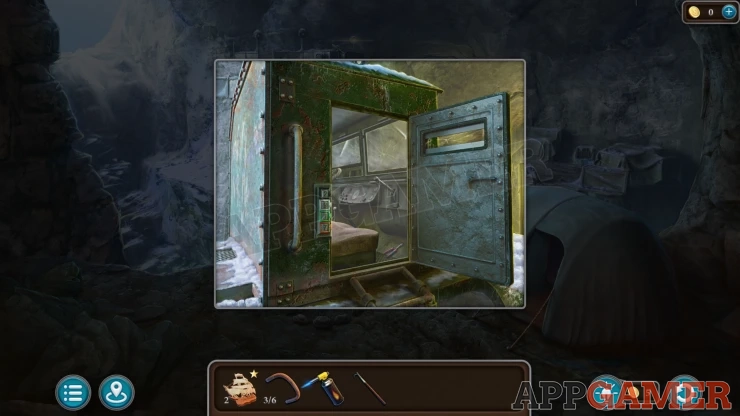
Open the cab door and collect some Wire Cutters. Then tap a lever to lower the stretcher.
After rescuing the person and moving them to to the tent, they will give you a Key and ask for painkillers. You also need to build a fire.
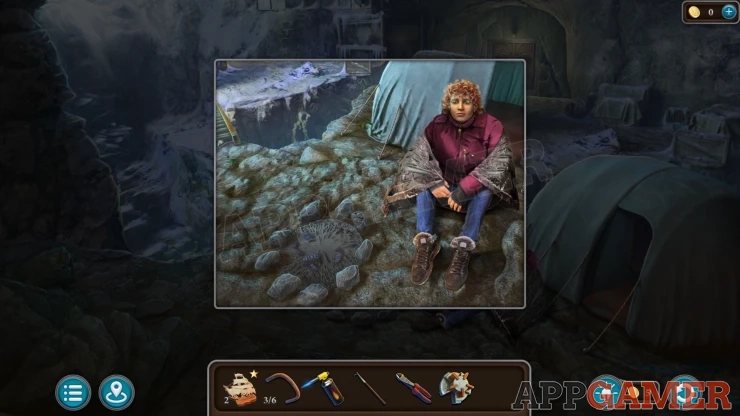
Look on the edge of the ravine again and collect a piece of Firewood (1 of 6).
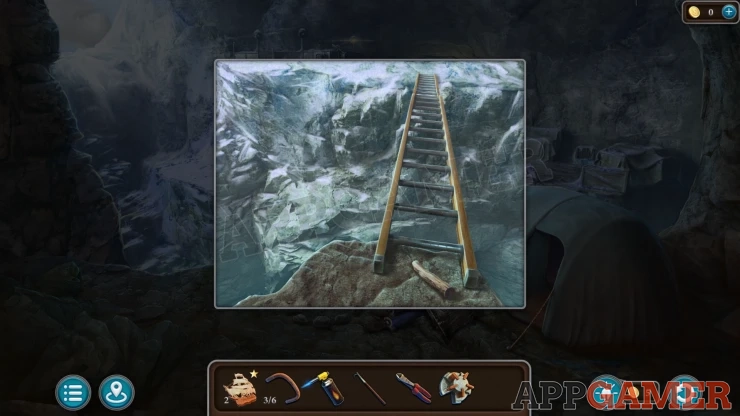
Then look at some boxes on the right on the far side of the ravine. Collect another Firewood (2 of 6). There is a vent here with bars. Use the pike pole on these to bend them and then you can collect a Bracket (4 of 6).
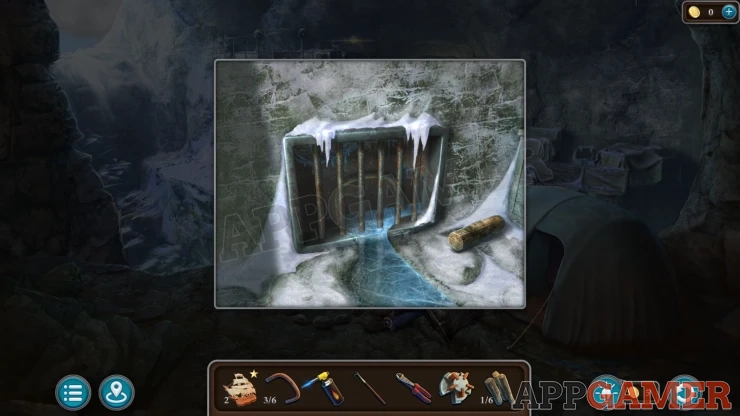
Back up to the shed. Collect more firewood from the boxes on the lower right (3 of 6), and the floor next to the generator. (4 of 6).
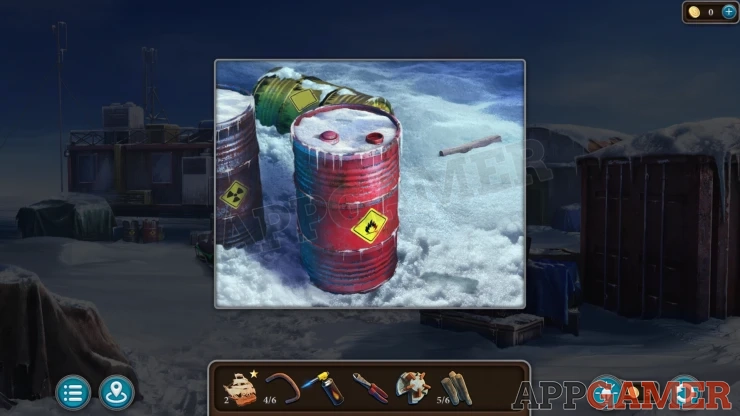
Exit to the starting area and then look under the snowmobile for another Firewood (5 of 6) and next to the barrels for the final piece (6 of 6).
Enter the living quarters and view the door to the laboratory on the left. Add the key here to start a puzzle.
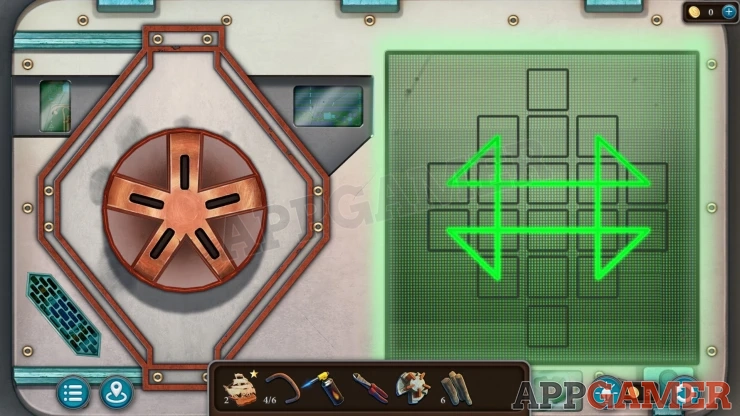
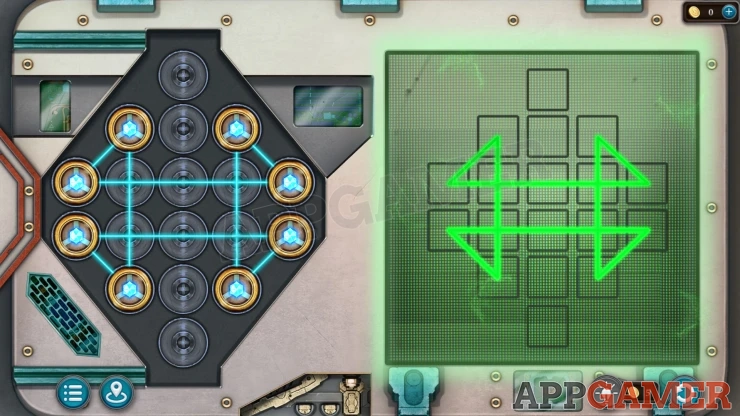
Living Quarters Office Door Puzzle
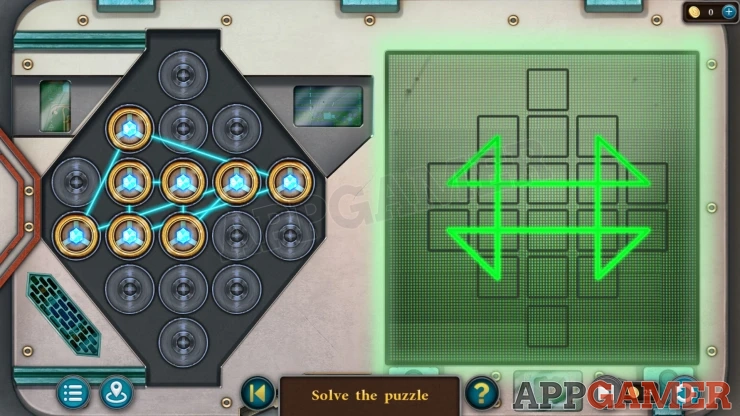
- On the panel on the left you can drag and move the circles. This will allow you to arrange a pattern of lines.
- Match the line pattern to the green lines on the clue on the right.
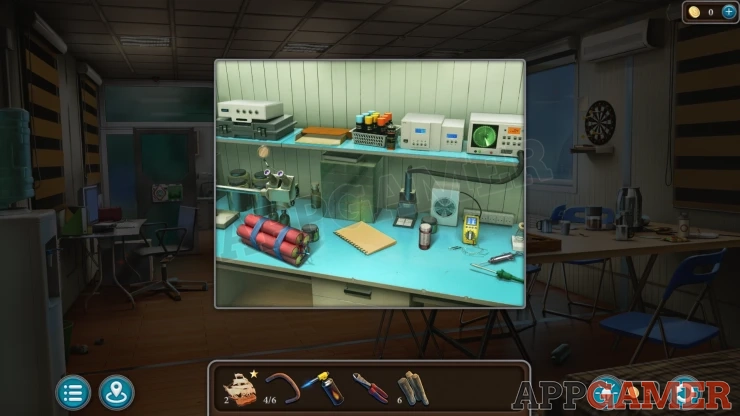
You can now look inside the lab. Collect the Dynamite from the desk, and a bottle of Painkillers.
Collection Item: Syringe on the desktop on the right.
Return to the cave and view the injured person. Place the firewood in the pit on the left and then use the Gas Burner to light it.
Next give the painkillers to the person. They will give you more information.
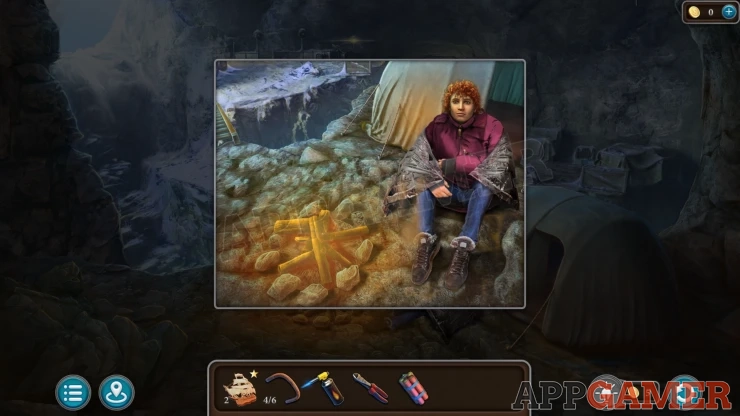
View the large door on the far side of the cave. Place the dynamite in the crack in the wall and use the gas burner to light it.
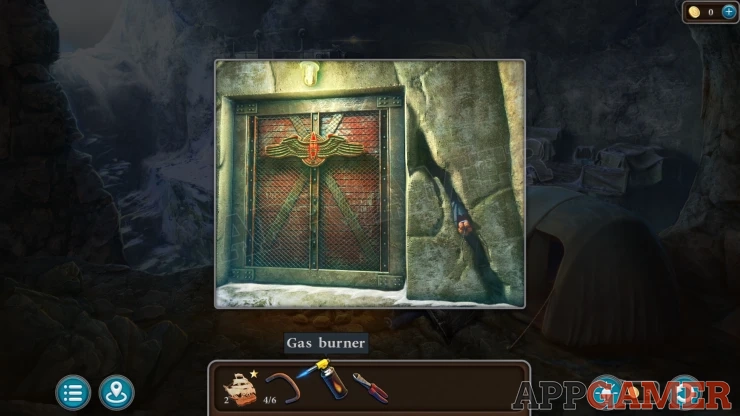
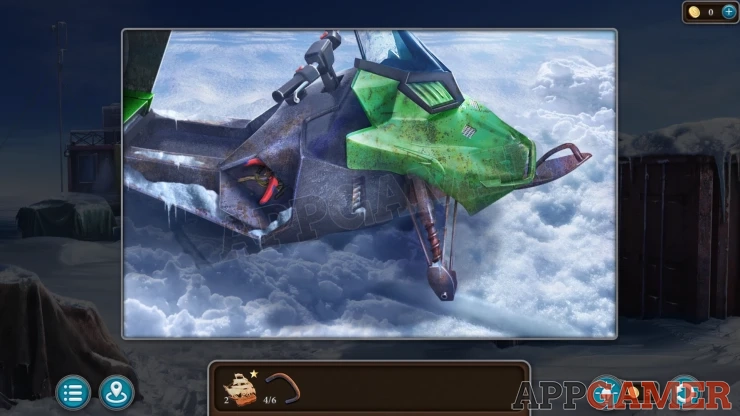
This will blow a hole in the wall. Before you go through, return to the starting area and view the broken jet ski. Use the Wire cutters on it to collect more Wires.
Go back to the cave and now go through the hole to find a secret bunker. This is Room A.
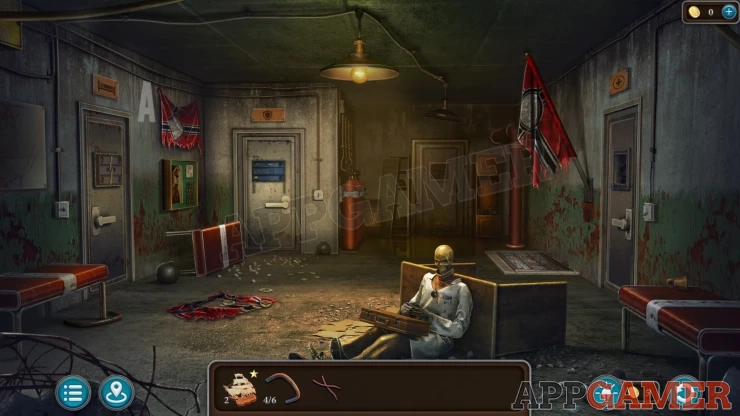
Collection Item: Medal on the floor on top of a red flag.
Morphing Object: small bell on the bench on the lower right.
Mascaron: View a small wooden sign above the door on the left. Tap to move the sign to find it.
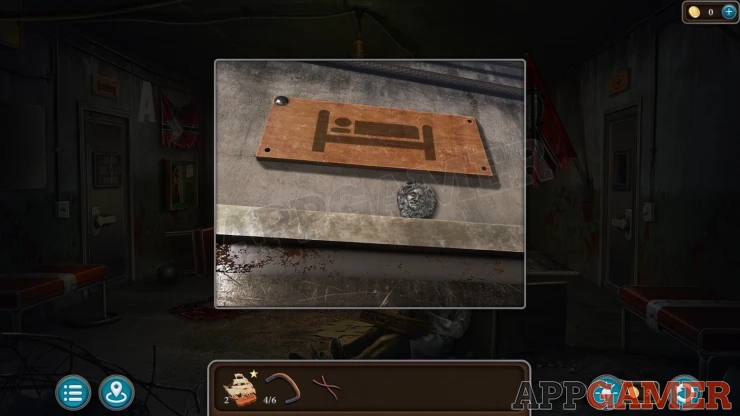
Collect a Bracket (5 of 6) from the floor by the bench on the left.
Then view the skeleton on the floor. Collect a Medallion (1 of 2) from the ground next to it.
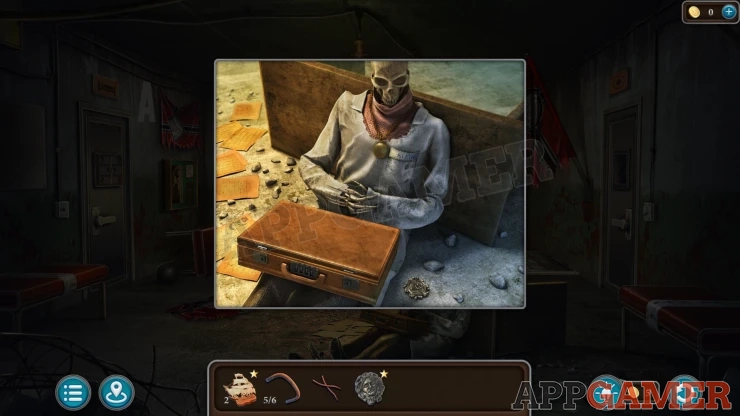
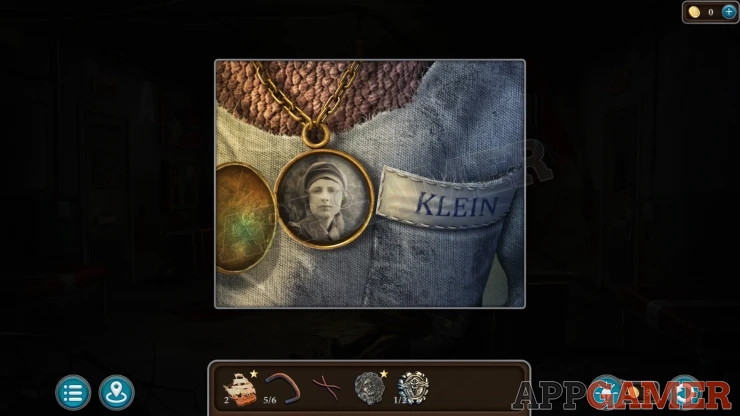
Then view the chest of the skeleton to see the name on the coat, open the locket to see a photo as well.
View the door on the right. You can open the door but it is dark inside.
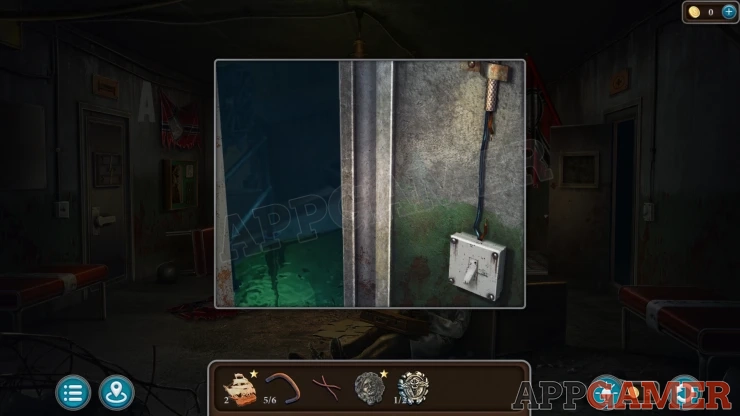
Add the wire to the light switch and then you can turn on the lights. Enter the old Lab - Bunker Room B
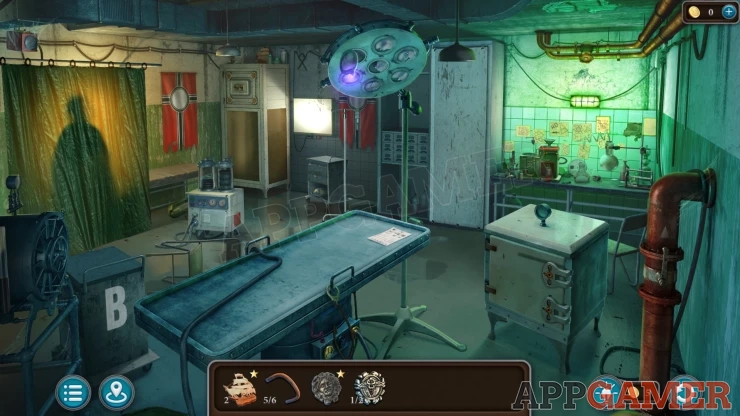
Ship Figure: on top of a tall cabinet by the flag on the left.
Morphing Object: shape in the wires on the wall to the right of the same tall cabinet.
Move the curtain on the left to find a hat and shirt on a stand. View the shirt.
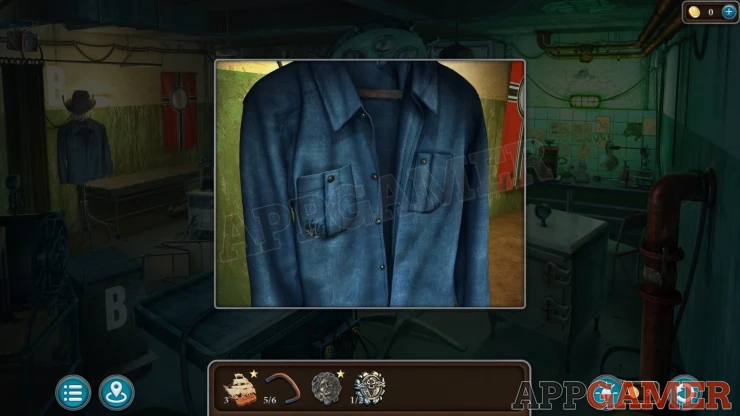
Tap the pocket on the left to remove it and then collect another Medallion (2 of 2).
Next look on the floor on the left by a white machine and collect another Bracket (6 of 6).
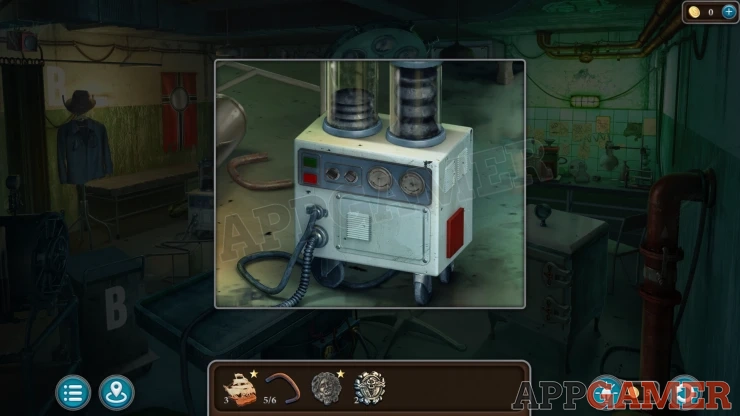
Then view the workbench on the right and collect a Cassette Tape.
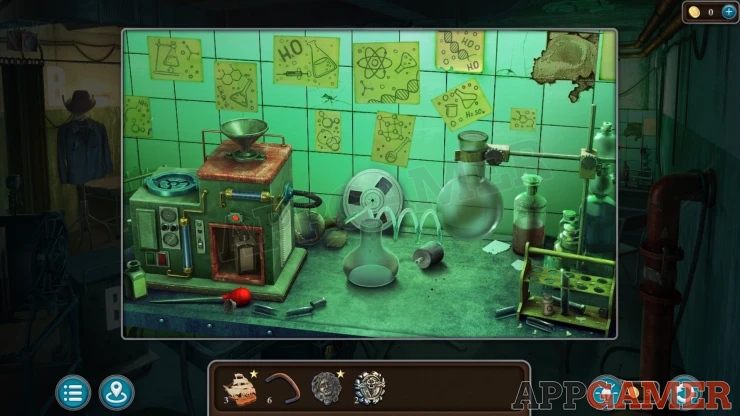
Collection Item: Syringe symbol on one of the yellow notes on the wall.
Vial: in the test tube rack on the lower right.
Next view a tall cabinet on the back left next to the flag.
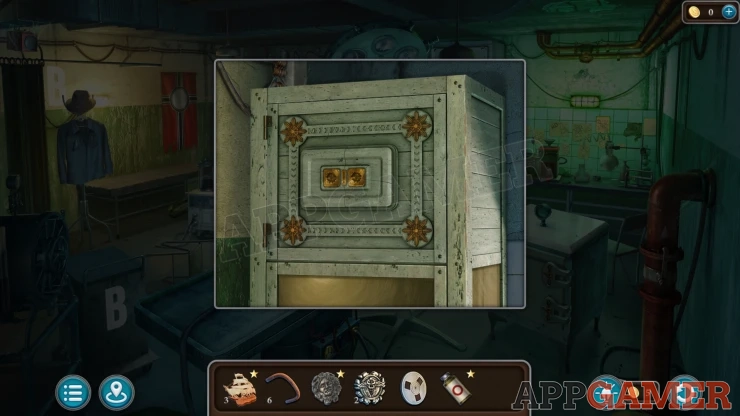
Place the two medallions here to open it an then find a puzzle.
Secret Bunker Lab Cabinet puzzle

This is an Extra Star Puzzle with a limit on the number of moves.
- There are two columns of sockets with symbols on them on the far left and right.
- Each of these has a separate plug attached to them with a symbol but these are mixed up.
- Use the arrow buttons to move the center arm up and down and then to grab up to two of the plugs from the left or right.
- You can also rotate the center arm.
- Arrange all of the plugs to place them into the matching sockets with the same symbol, this will complete the puzzle.
- If you compete this puzzle within the set number of moves you will earn an extra star for the episode.
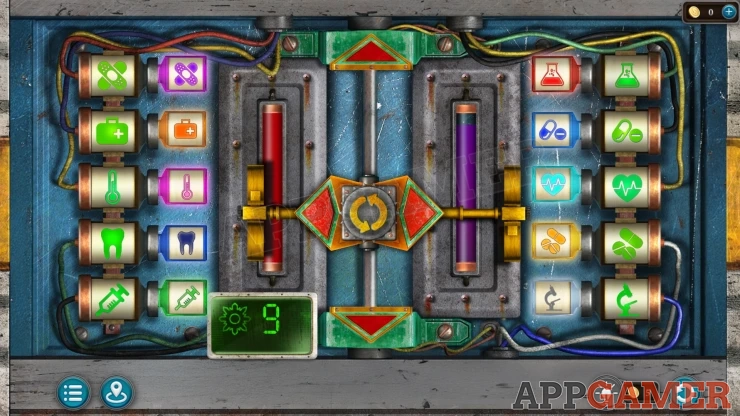
Collect a Hammer from the opened cabinet.
Back out to the cave and then view the wall to the left of the truck. You can place the brackets here and then use the hammer to knock them into place.
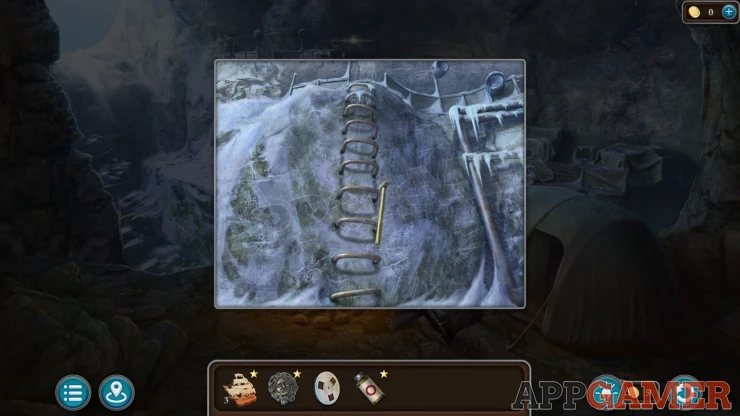
Go up to the platform at the top.
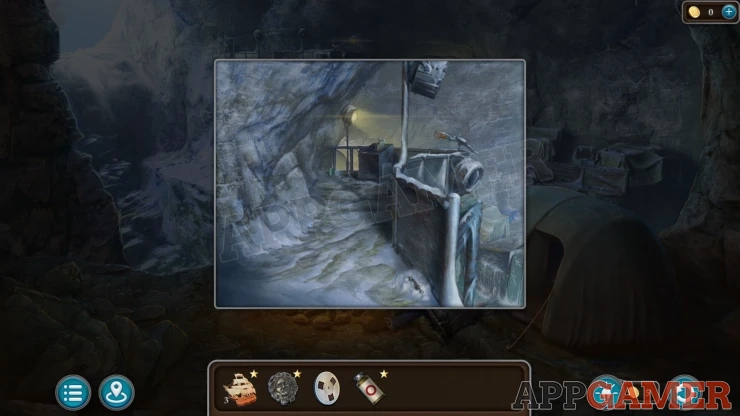
Collection Item: Syringe under a small pile of snow on the lower right.
Ship Figure: View a spotlight hanging from the guard rail on the right. Then open it
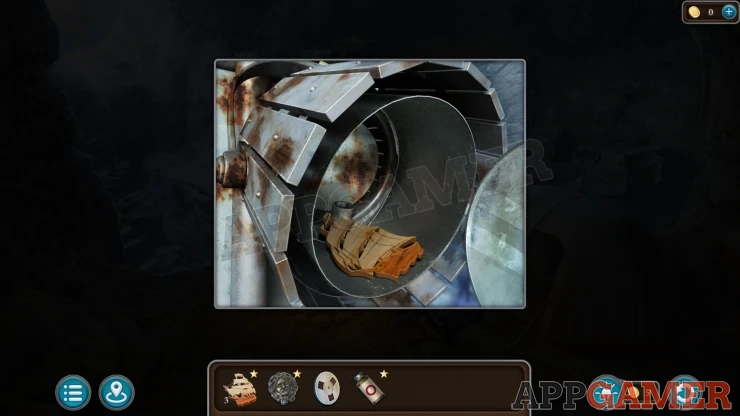
View the far end of the platform and then collect a Battery from the ground and a Key from the large switch box.
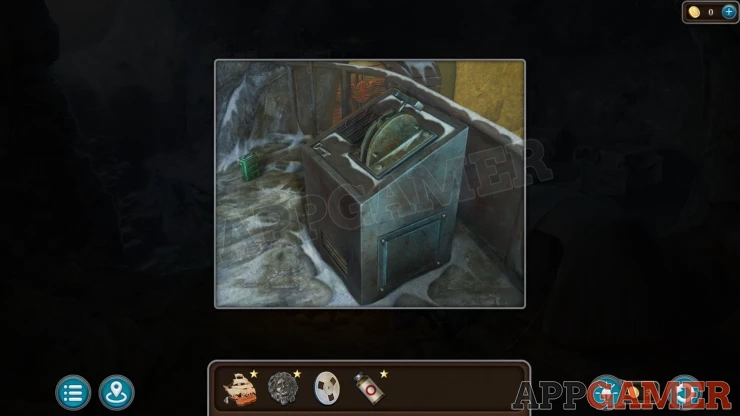
Go back into the bunker and now view the door to the left of the skeleton. There is a blue panel on it.
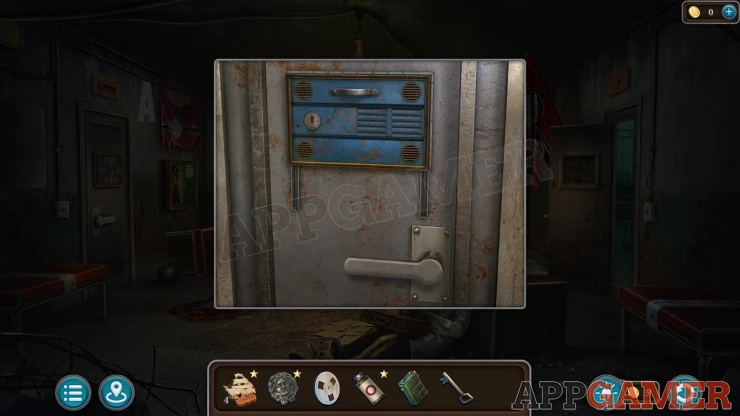
Use the key to unlock the panel and find another puzzle.
Bunker Door Blue Panel puzzle
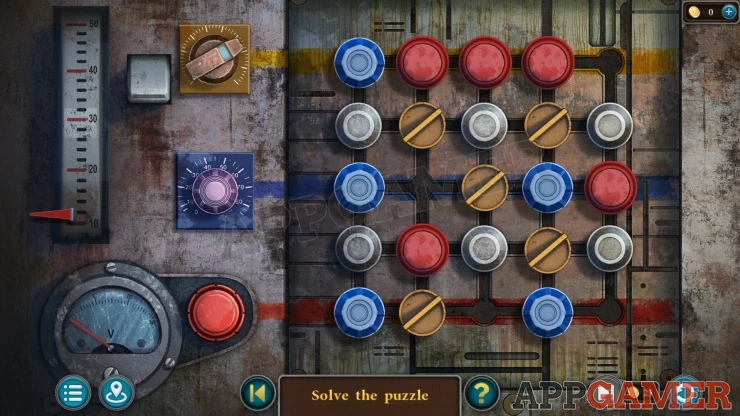
- There is a 5x5 grid of lines with different color switches on it.
- On the left are three dials that are yellow, blue and red.
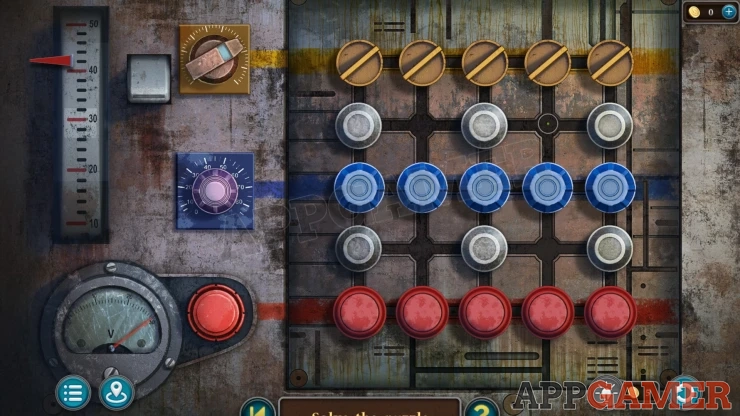
- Slide the switches around the grid to line them up in rows to match the colors of the dials.
- The white circles cannot be moved
Solution: Show
Enter Bunker Room C, there is a large door at the back with strange sounds.
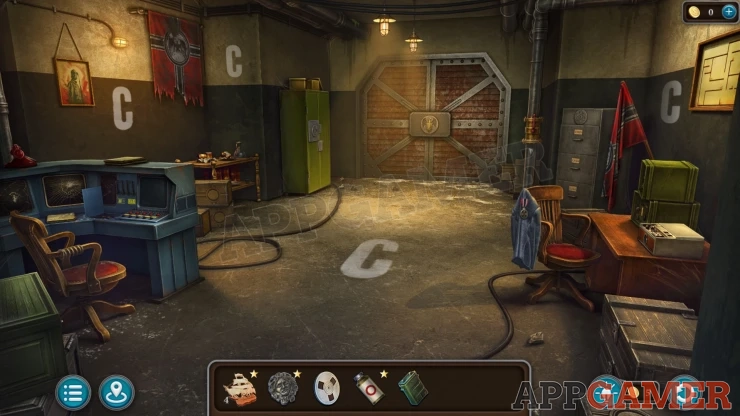
Collection Item: medal on the jacket on the chair to the right of the room.
Morphing Object: string on the arm of the chair on the left of the room.
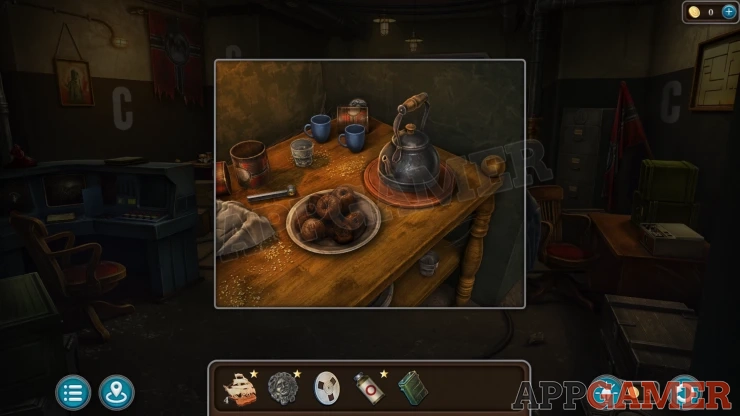
View a table on the left wall. Collect a Handle (1 of 2). and a Kettle.
Mascaron: move a small box in the back corner to find it.
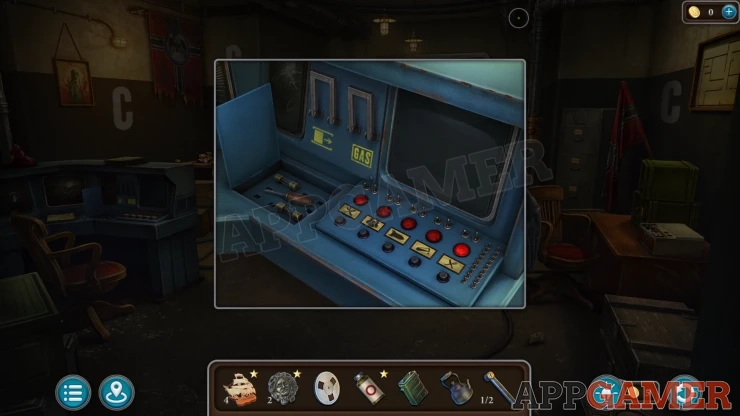
Then view the Blue control panel station to the left. Collect a Screwdriver.
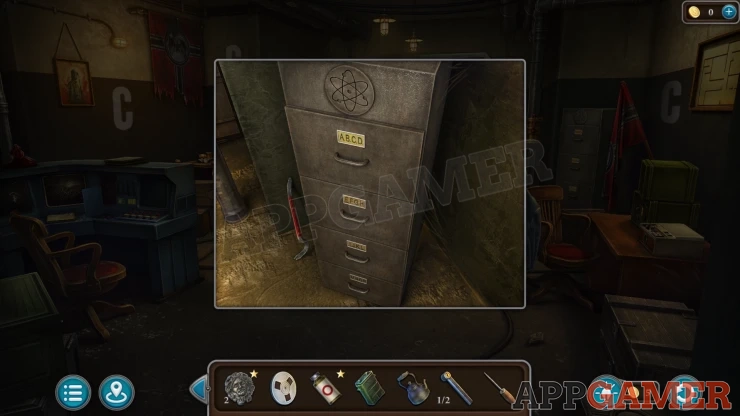
View the filing cabinet on the right side and collect a Crowbar.
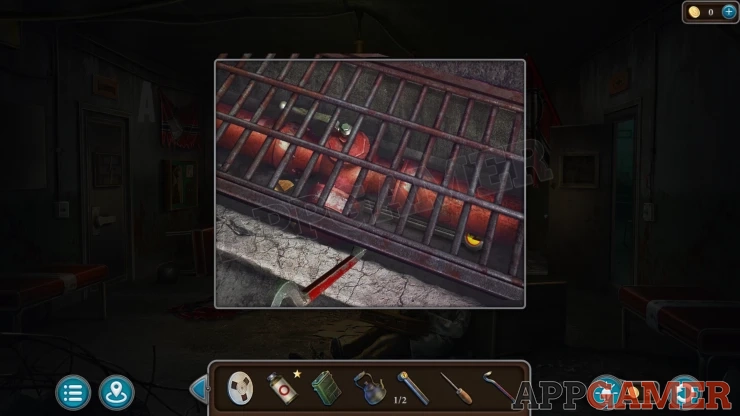
Back out to Room A and then view a grate in the floor behind the door on the right. Use the crowbar on this to open it. Then you can collect a Fuse (1 of 4) and another Handle (2 of 2).
Now view the door on the far left of room A. There is a panel with two slots.
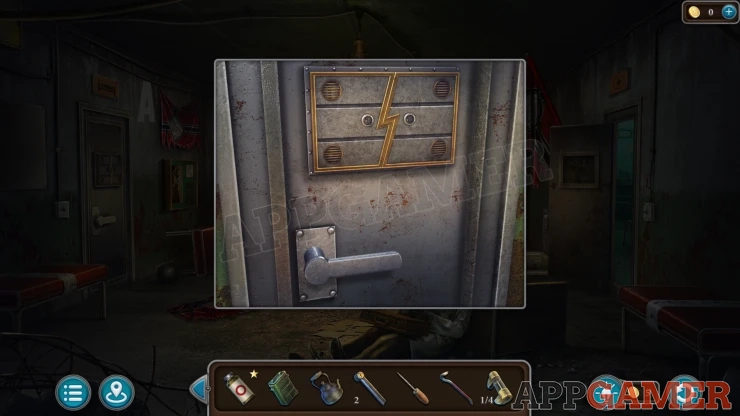
Add the two handles to it to open the panel and find another puzzle.
Bunker Left Door Rotation Puzzle

- There are two buttons on the left that will rotate the panel on the right clockwise or anticlockwise by 90 degrees.
- On the panel is a red + sliders and two blue - sliders.
- You need to get the Red + slider to the center red slot by positioning the others sliders to help direct its path.
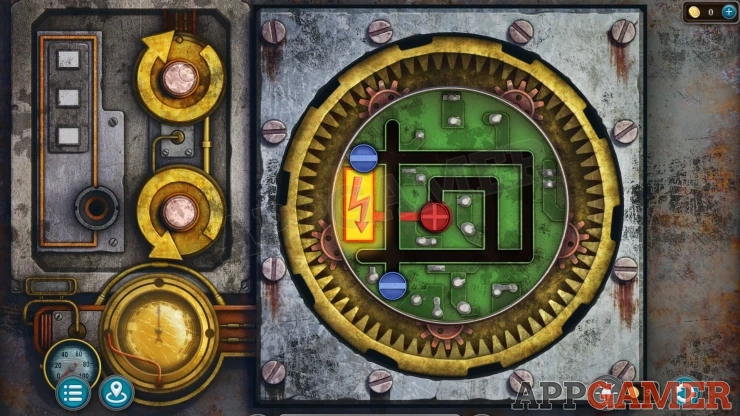
Once done the door it open and you can enter Bunker room D.
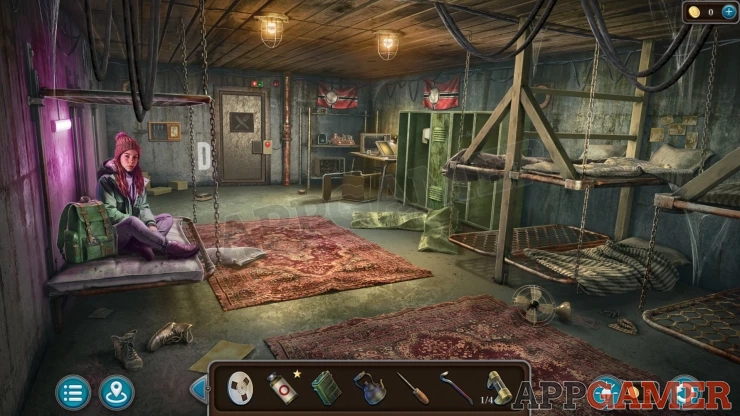
There is another person here, talk to them.
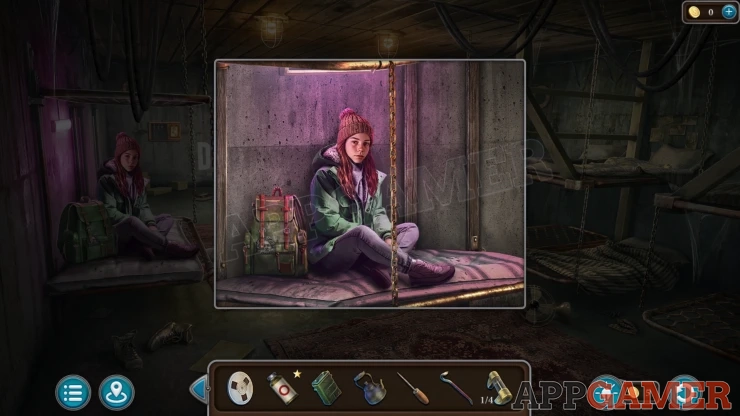
Morphing Object: on the floor on the right next to a fan.
Mascaron: on the backpack next to the person.
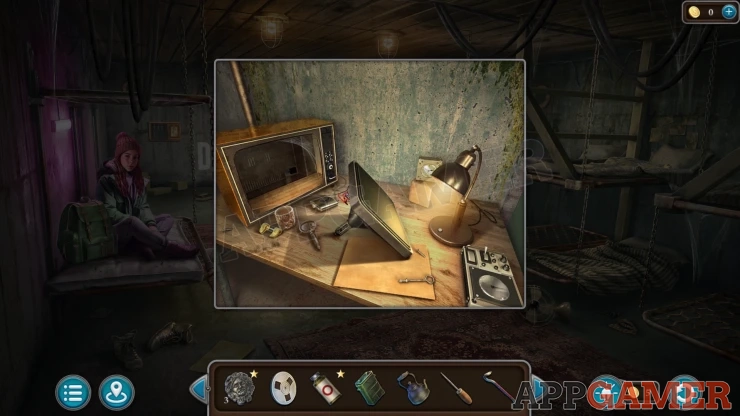
Look on the desk at the far end of the room on the right, there is a broken monitor. Collect a Fuse (2 of 4) from the table.
Look on the Top bunk bed on the right and move the covers to find a book.
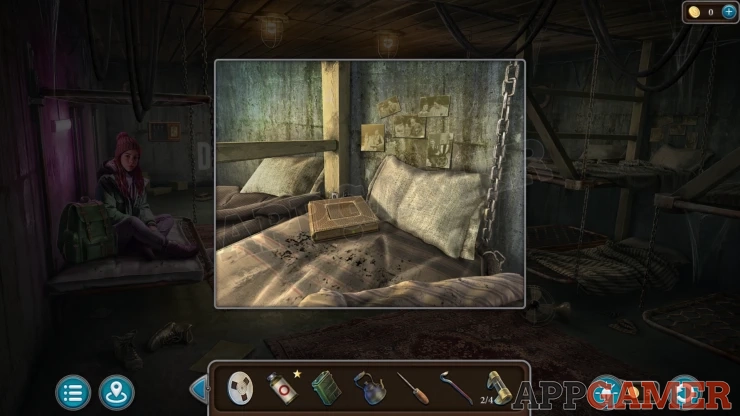
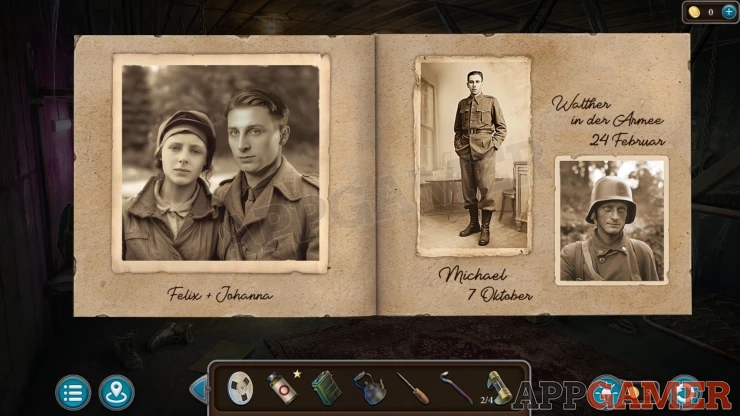
You can view this to see old photographs. Notice the image of Felix and Johanna, the face of Johanna matches the one in the locket. Turn the pages to find another photo of Johanna with a date.
Collection Item: Medal, on a photo on the wall above the pillow.
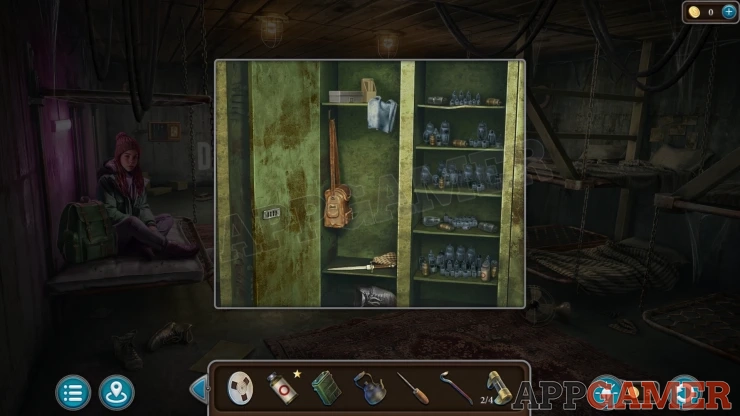
Now view the green cabinet to the left of the beds. there is a locked door that needs a four digit code.
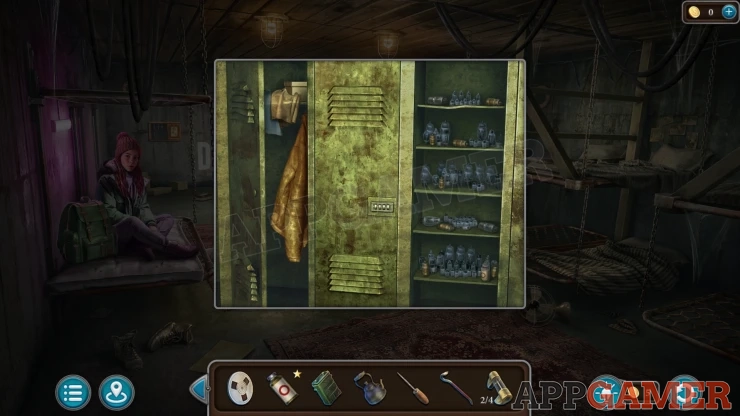
Get this from the photo clue.
Code: 2210 (22nd October)Show
Collect a Dagger.
Vial: on the lower right shelf.
Back out and return to the secret lab (bunker room B)
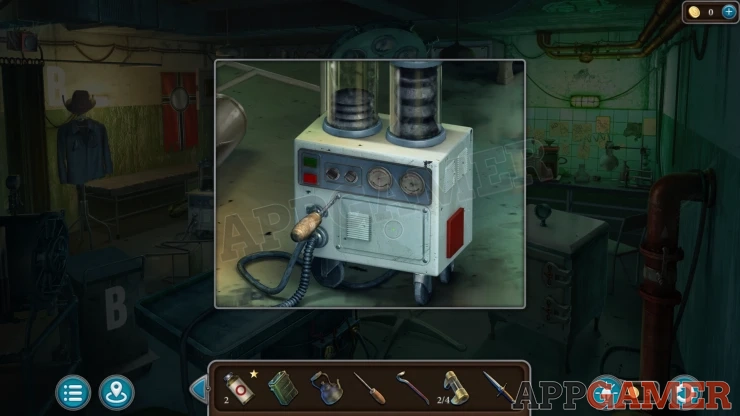
View the white machine on the floor on the left again an use the screwdriver on it to remove a panel.
Then look inside and collect a Fuse (3 of 4).
Then exit the bunker and look again on the top left platform in the cave. View the metal switch box and then you can use the screwdriver on the side panel.
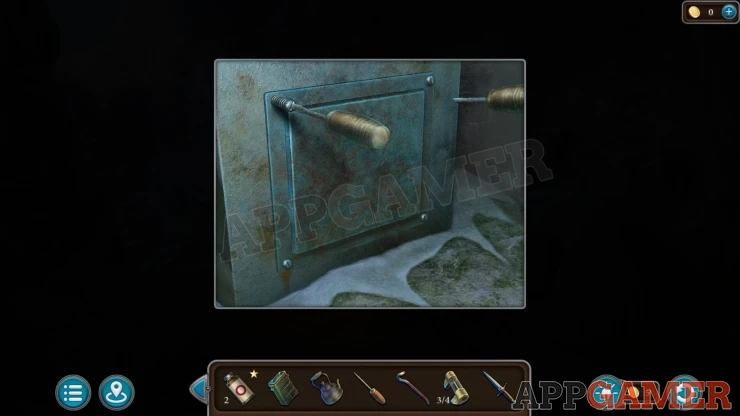
Collect another Fuse (4 of 4) from inside.
Go back to Bunker room C with the large doors. View the blue control panel on the left.
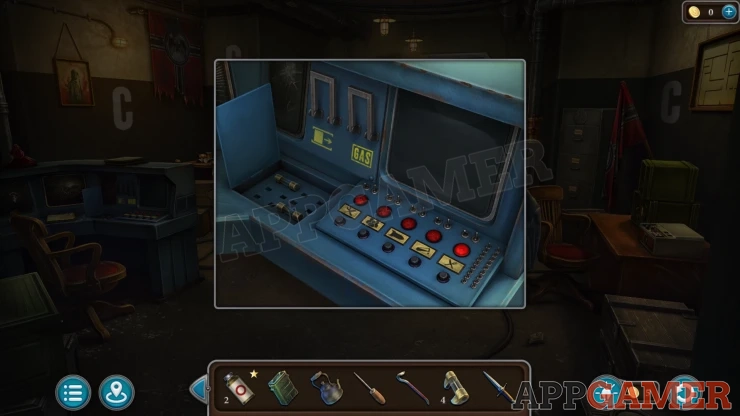
Add the four fuses to the open panel on the left this will activate the machine but the screen will break.
Return to bunker doom D with the beds. Look on the table in the far corner again and collect the Screen.
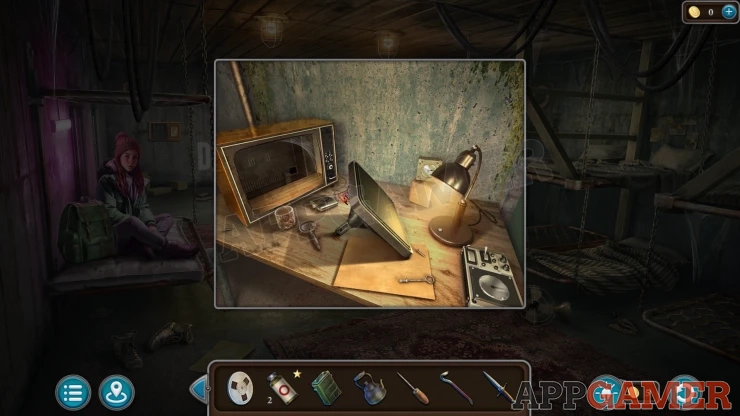
Return to Room C and view the control panel again. Use the dagger on the screen to remove it.
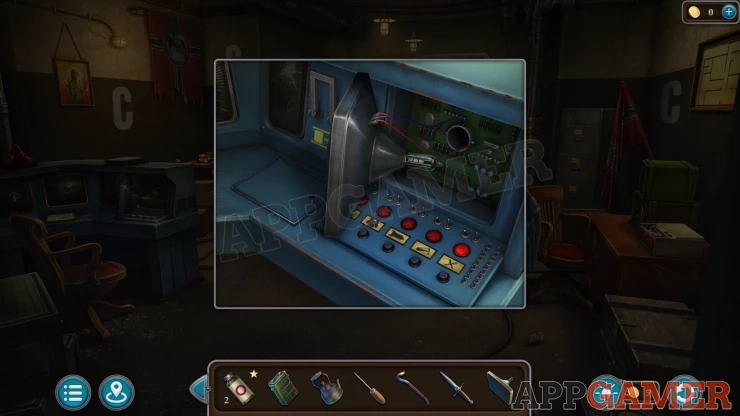
Then add the new screen and you will be able to see inside the sealed room.
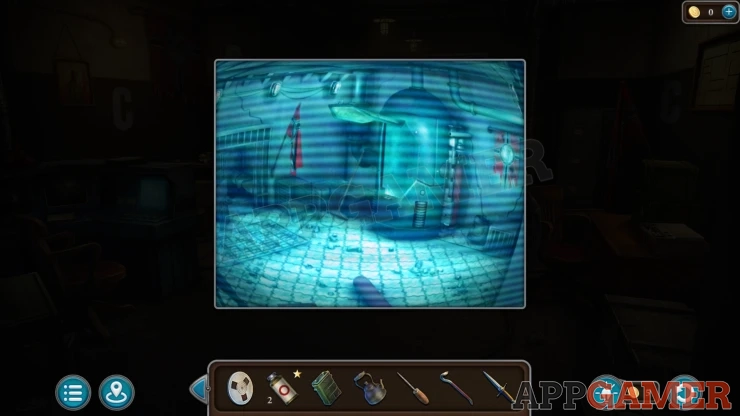
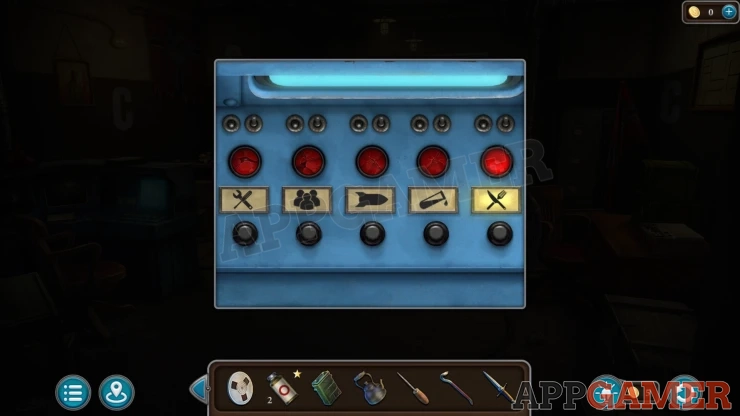
View the buttons below the screen, one of them is active. press this to open another door.
We continue the guide in part 2.
We have questions and answers related to this topic which may also help you: Show all
 With 20 years of experience in creating video game content for the internet and over 30 years as a gamer, Mark is now a passionate mobile App Gamer. Loving a challenge, he is always ready to get stuck in to both survival builders and puzzle solving games. He has been providing content for AppGamer since 2014.