
Episode 6 Walkthrough - Festive Town
More Artifact Seekers
This is our guide to Festive Town, the sixth Episode in the puzzle adventure game Artifact Seekers, from Five BN. In this episode you are visiting a town with an upcoming festival in a land of ancient legends.
You will need to help prepare for the festival and discover the secrets of the town. As before there are collectible items to find in each area for extra stars.
Episode Six - Festive Town Walkthrough
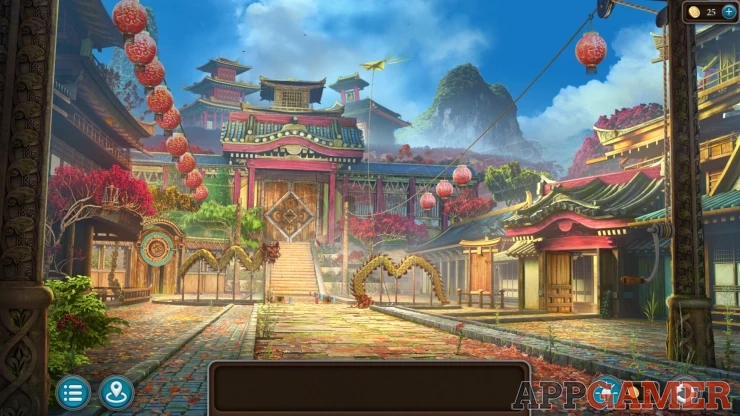
Morphing Object: Birdhouse/ branch on the tree with red leaves on the far left.
Tap the dragon model on the right of the steps, the head has collapsed. Tap the head to lift it back onto the pole.
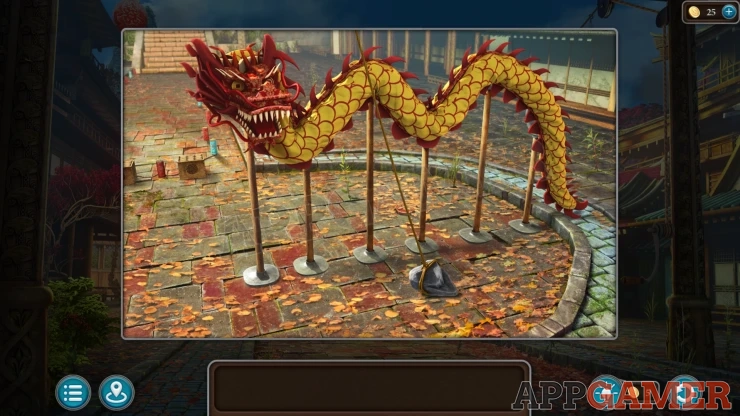
Collection Item: Coin, in the eye of the dragons head. (1 of 8)
Symbol of fire: Tap in the leaves on the ground behind the dragon behind the string to uncover it. (1 of 5)
Then tap the stone on the ground with the string tied to it. This will bring down a kite that is flying.
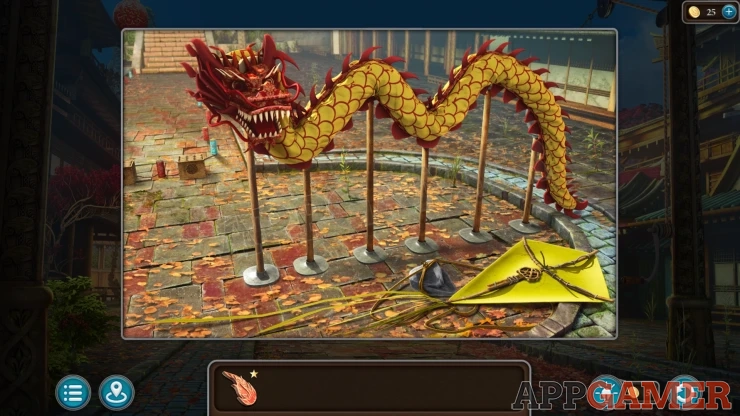
Now tap a doorway on the right side of the courtyard. You will move through to another town street.
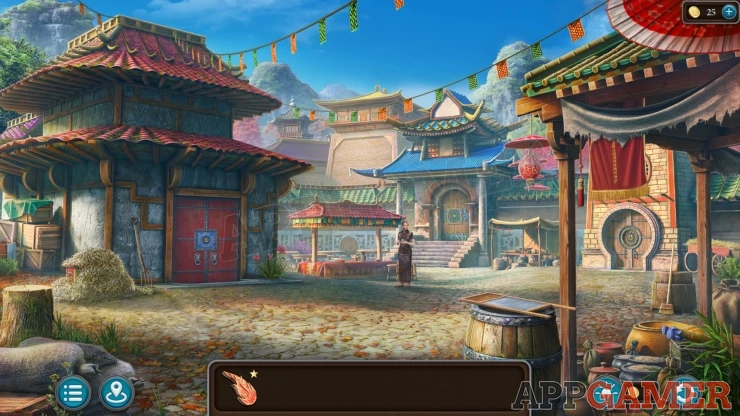
Morphing Object: Flowers by the building with the red doors to the left of the woman in the street.
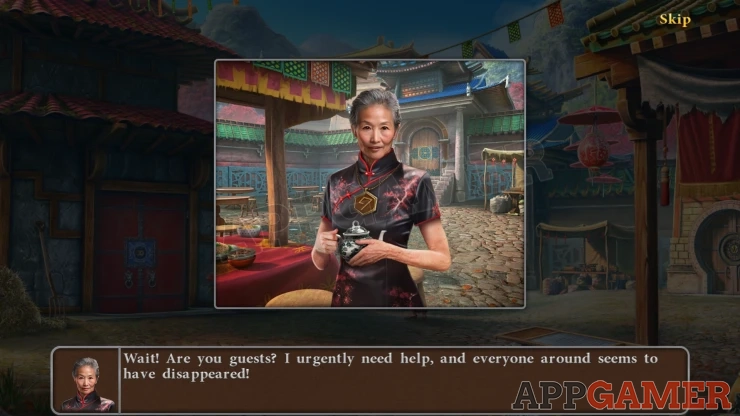
Talk to the woman in the street. She ask you for fresh Carp and her Recipe.
Notice the necklace she is wearing this is a clue.
View the table just behind the woman. Collect a Knife and a Stone Pineapple.
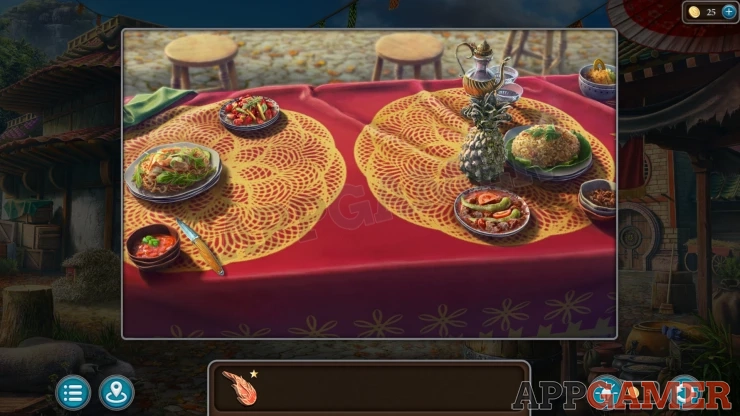
Collection Item: Coin, in a small bowl on the top right of the table. (2 of 8)
Back up to the first area and view the kite that you brought down to the ground again. Use the knife on this and you will cut some ropes to collect a Key.
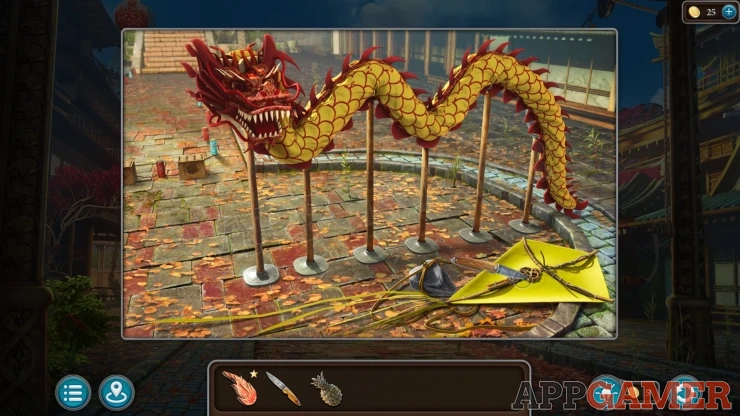
Go through to the street and then tap on a pitchfork on the left of the red doors of the blue building. Then use this on the pile of hay on the left.
This will reveal a large chest. View this and use the key to unlock it. You then have a puzzle to solve.
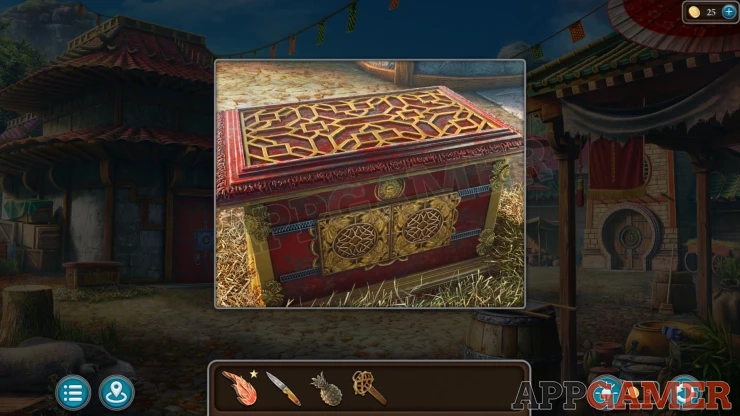
Chest Puzzle
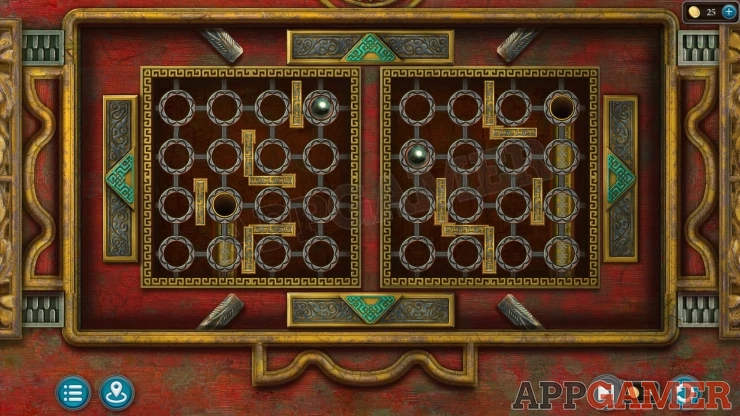
- There are two panels with rings in them.
- In each panel there is a silver ball in one of the rings. There are also target circles that you need to move the silver balls to.
- Tap the arrow buttons to move both panels at the same time to move the silver balls to the target circles.
- If there is a barrier in the way of the silver ball then that panel will not move.
- Move the balls to land on the target circles at the same time.
- The layout can vary in each game
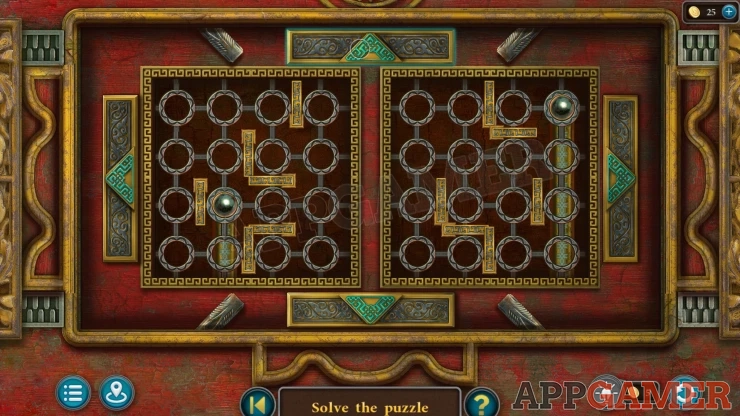
Once done the chest opens and you can collect Bamboo and a Lever.
Now, on the right of the street you can collect a red Lantern (1 of 5) hanging from the roof on the right of the street.
Tap the small red tassel hanging by the same post to pull it, this opens a curtain to show a window with a design on it, this is a clue.
Then also collect a Broom leaning against the other of the roof posts on the right.
Next view the barrel on the lower right.
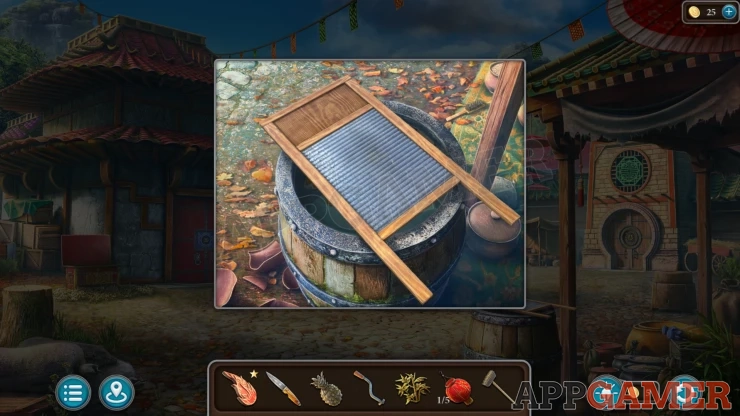
Tap the washboard to place it into the barrel and then you can collect a Brush from the ground on the upper right of the barrel
House: Open the small pot to the right of the barrel and collect a House. (1 of 5)
Go back to the starting area and view a door on the left with a round circle on it.
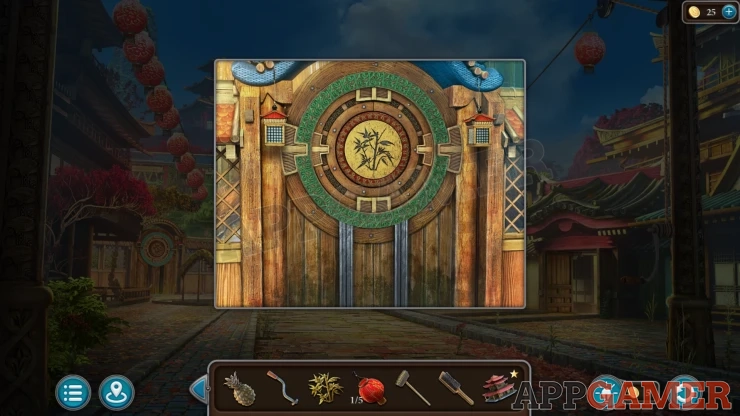
Place the bamboo into the center slot and this will reveal a puzzle.
Bamboo Puzzle
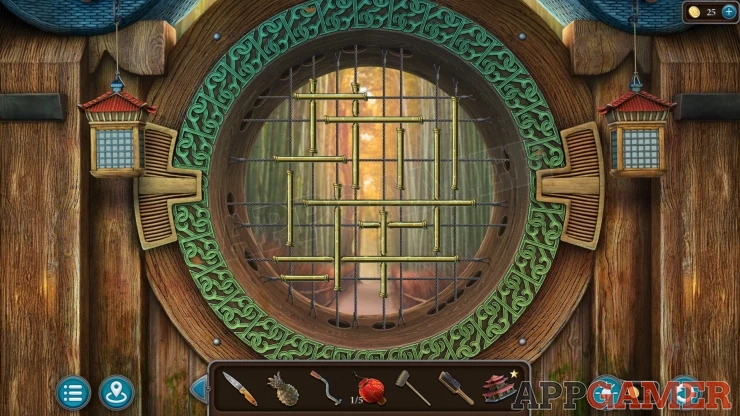
- There is a grid of wires with bamboo sections on them.
- Each bamboo piece need to be slid off of the grid through a hole that is at one end of each wire.
- Some of the bamboo pieces cross and block the others so you need to remove them in the correct order.
- The arrangement of bamboo can be different in each game
Once all of the bamboo pieces are gone the door opens. Go through to a lake with a waterfall.
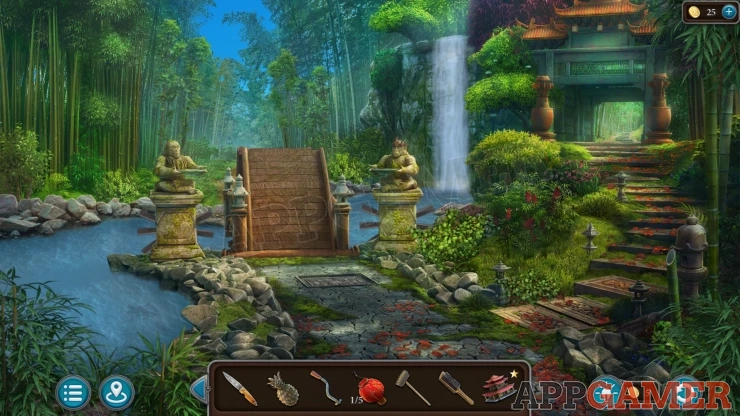
Morphing Object: small ornamental post by the steps on the right.
Look in the bushes with the red flowers by the steps on the right. Collect from the ground a Signet ring.
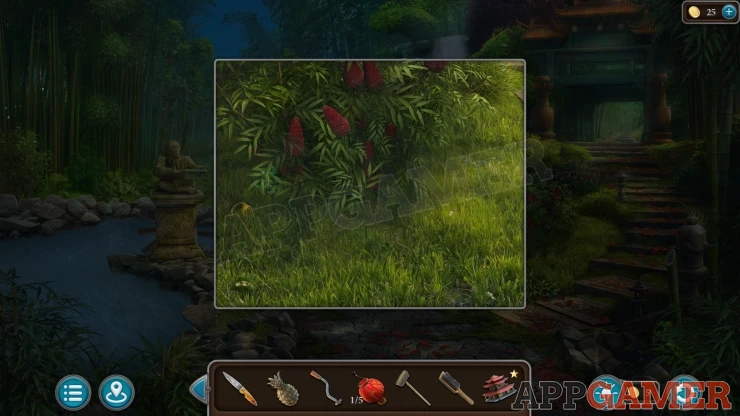
Collection Item: Jade Dragon, move some leaves on the lower left of the bush to find it. (1 of 5)
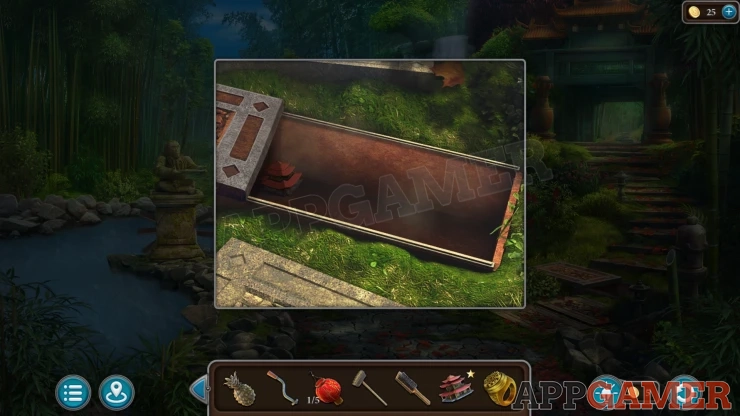
House: Tap on the third step up on the right and then again to open a cover. Collect a House (2 of 5).
Tap the top of the steps on the right to move on to another location with a beach and some ruins.
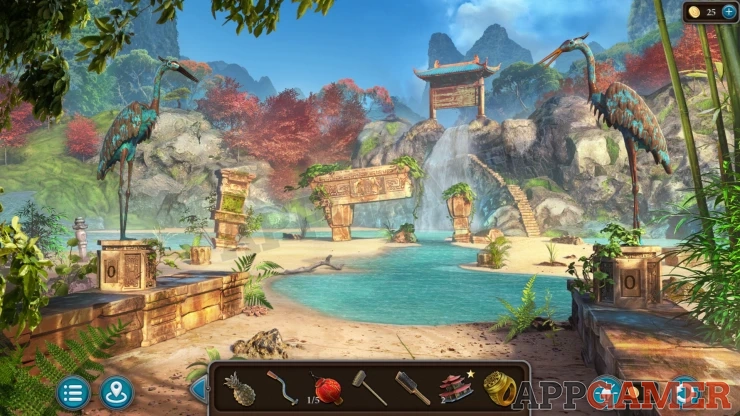
Morphing Object: Small tree below the head of the heron statue on the left.
Tap by the end of the low stone wall on the left to collect a Stone Plate.
Then view a tall stone column in the sand on the left to see that is has moss on it.
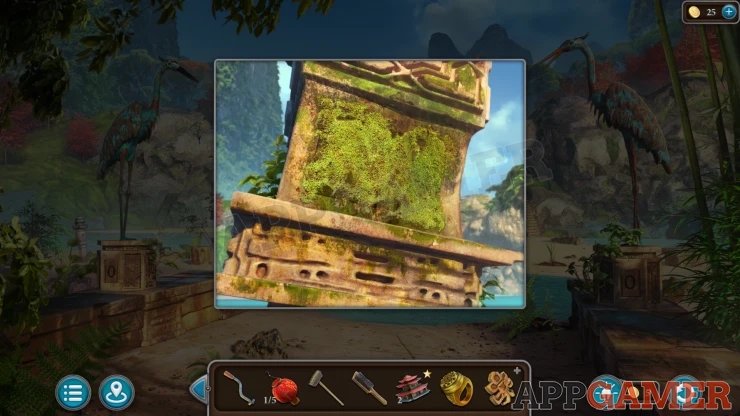
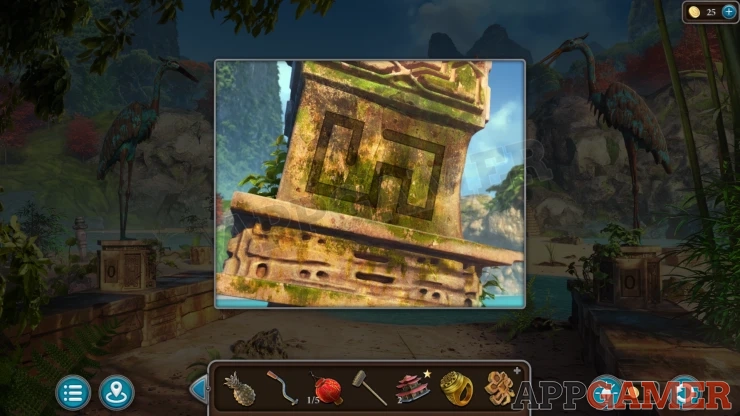
Use the brush on this to clean it and reveal a clue.
Show
Back up and go through to the street with the lady. Then view the door to the large building with the blue roof.
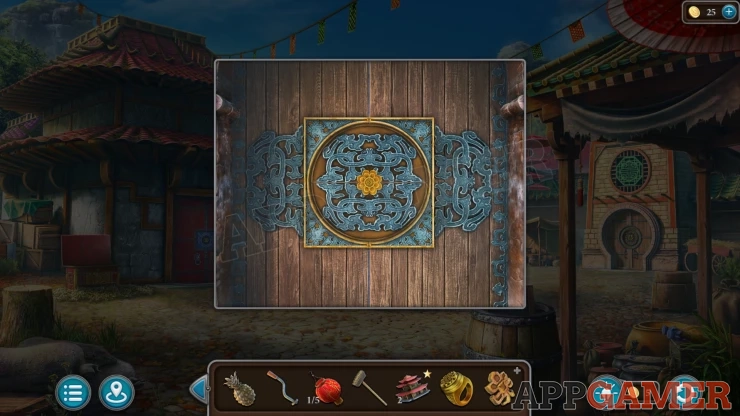
Use the signet on the door and you open a panel to find another puzzle.
Signet Puzzle
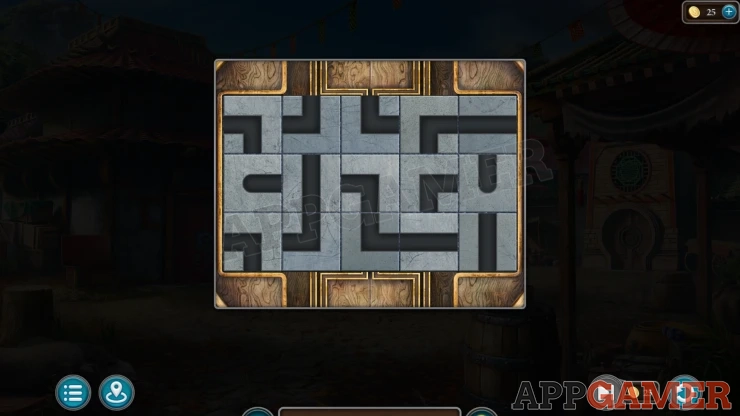
- This has a board with 15 squares that have slots in them.
- You can tap adjacent pairs of the tiles to swap them around.
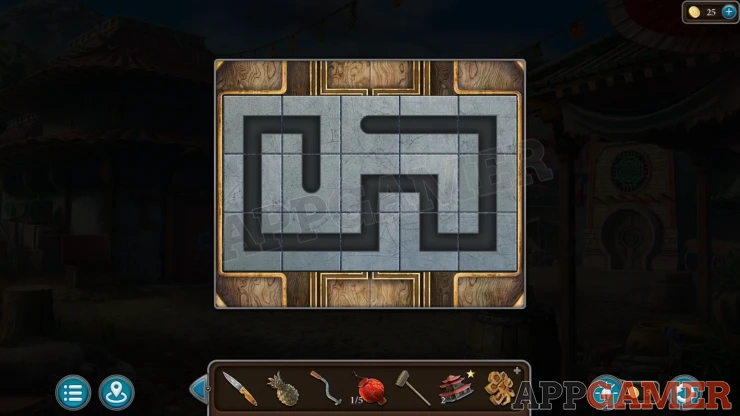
- Arrange them to connect the slots into a continuous line that matches the layout of a clue seem before.
Solution: The clue is seen on the ruins column that you cleaned. It can be different for each gameShow
The door opens and you can enter the Library.
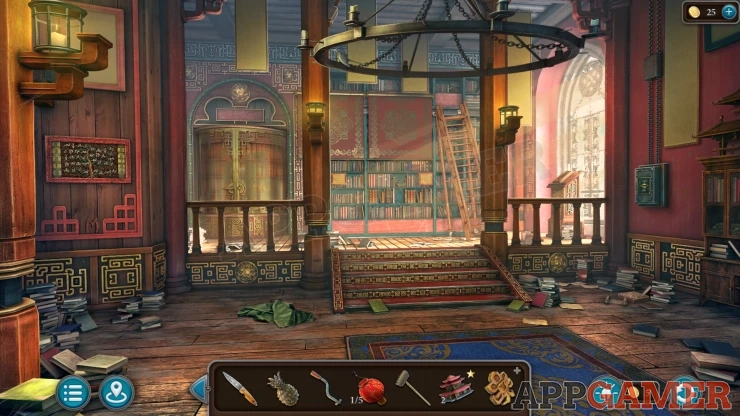
Collection Item: Coin on the floor under a green cloth to the left of the steps. (3 of 8)
Morphing Object: Book/bag on the floor on the right by some other piles of books.
Symbol: On the left wall below a picture.
Look on the right wall to find a mechanism with a small slot, Add the lever to this,
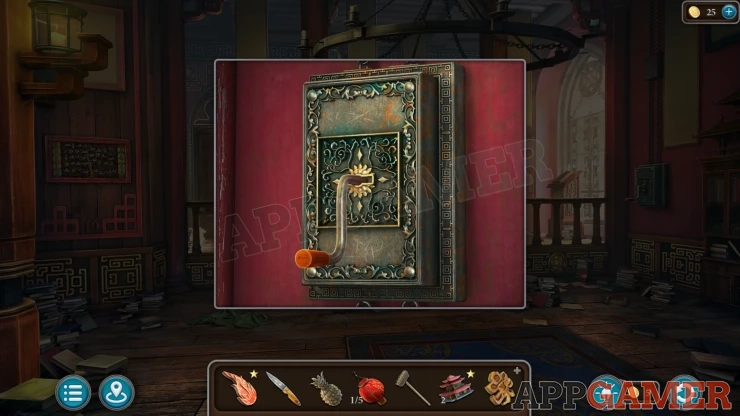
Turn the lever and the large chandelier will lower. View this and collect a Heron figure.
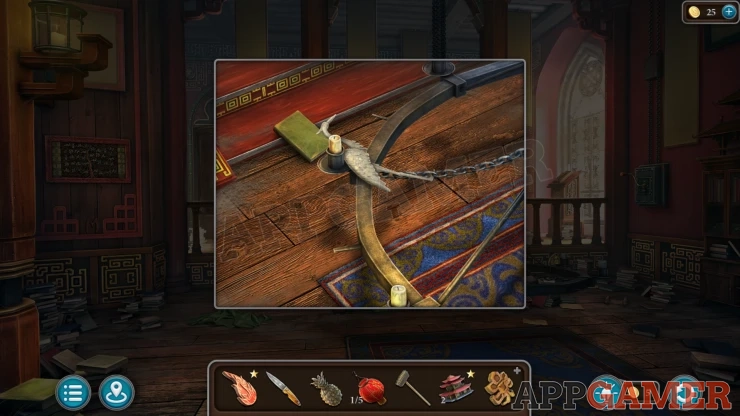
Travel to the Ruins area and look on the broken stone arch in the center. There is a panel with a missing heron figure.
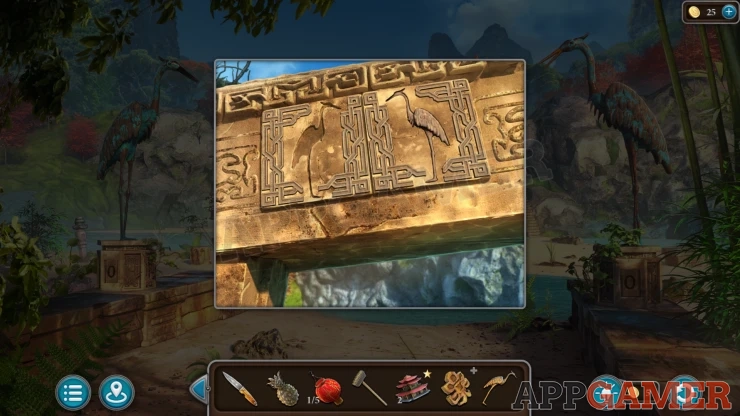
Place the heron here to open it and then you can collect a Feather and some Dirty Fabric.
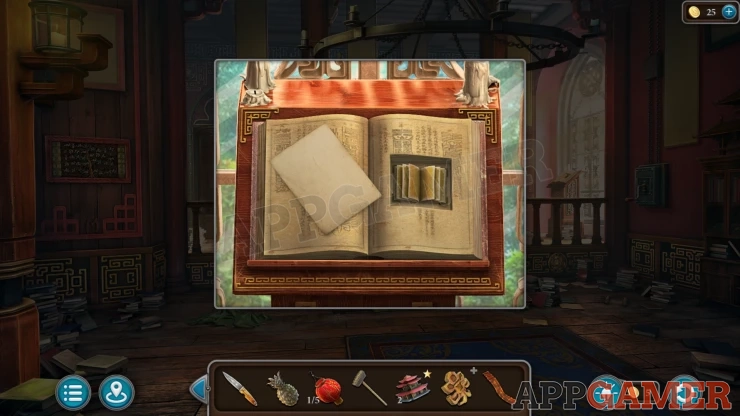
Return to the Library and then view the book on the stand by the window.
Place the feather into the slot to open the book, you can then read a note about the Scientist. Then collect the Book Figurine.
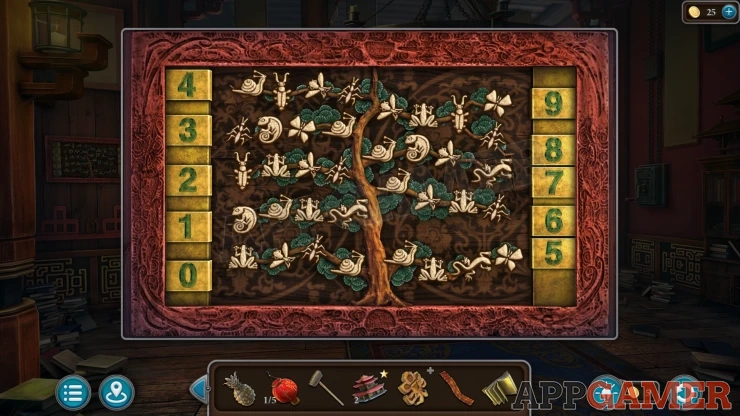
Next look on the wall on the left to see a board with some animal symbols on a tree design, each branch has a different combination and is next to a number, this is a clue.
Exit to the street and view the red doors to the building on the left .
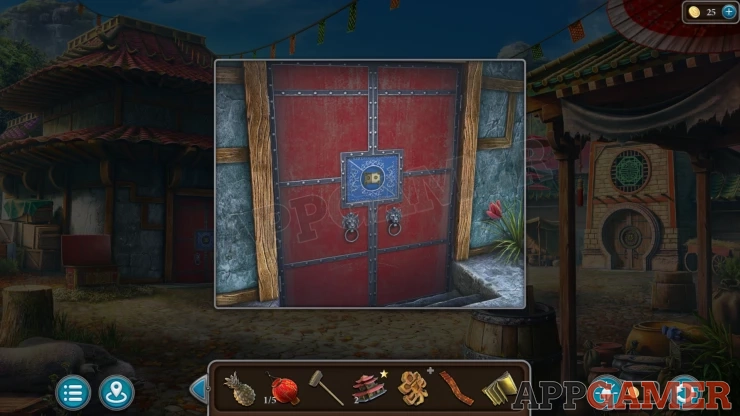
Place the book figuring into the slot to reveal a puzzle.
Scientist Door Puzzle
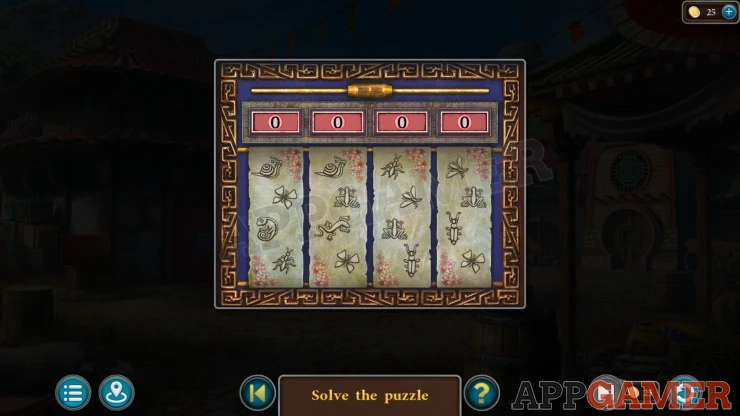
- You will need a four digit code.
- The clue for the numbers is the animal symbols below each one.
- Compare the four symbol in each section to the ones on the branches in the library clue.
Solution: This will vary with each game, check the images of the animal on the door. For me the code was 3529Show
Go inside to talk to the scientist. You will receive a list of Firework Components.
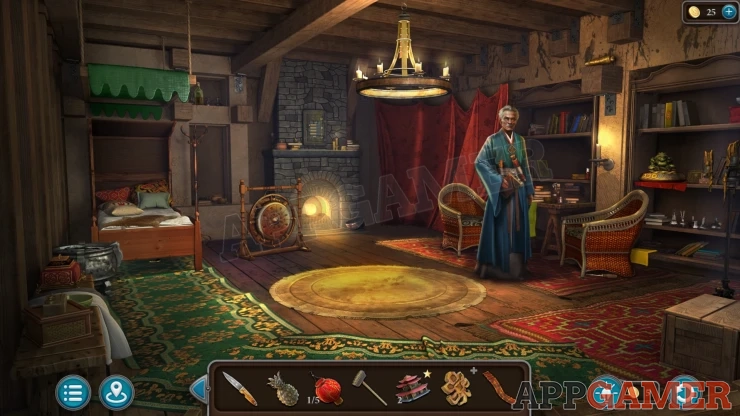
Notice the medallion that the scientist is wearing this is a clue.
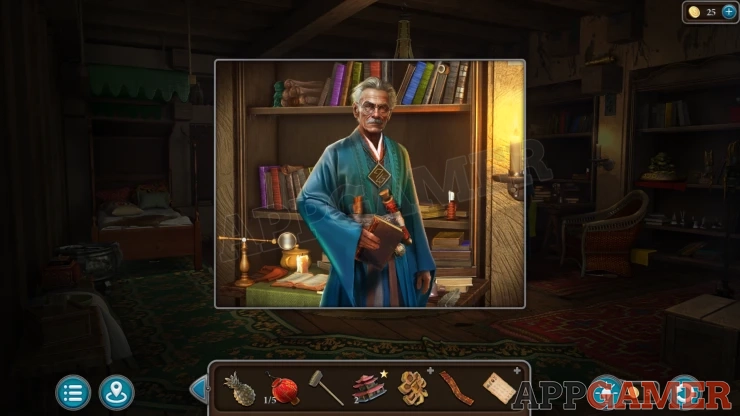
Collection Item: Jade Dragon, on the top shelf to the left of the scientist when you are talking to him. (2 of 5)
Morphing Object: Bottle on a high shelf to the right of the bed.
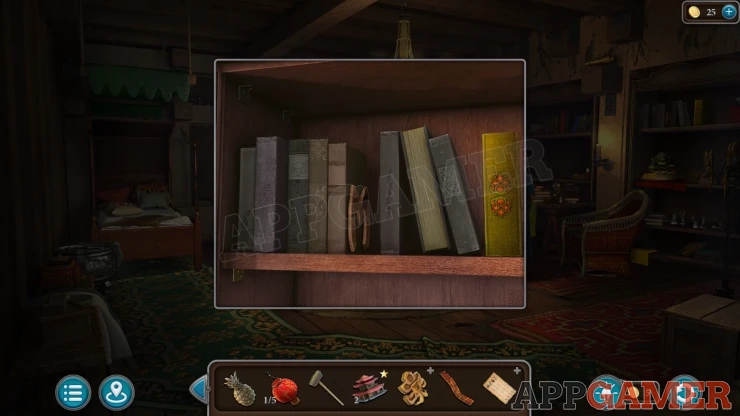
Symbols: View the top shelf on the far right, move the books and you can collect a Symbol. (1 of 5)
Use the broom on a small shelf to the right of the scientist to knock down and collect a Metal Carrot.
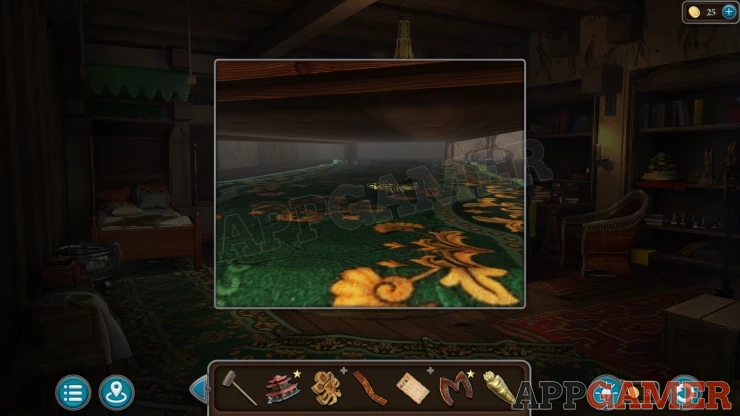
Then tap under the bed on the left to look under it. Use the Broom again here to collect a Dragon Head.
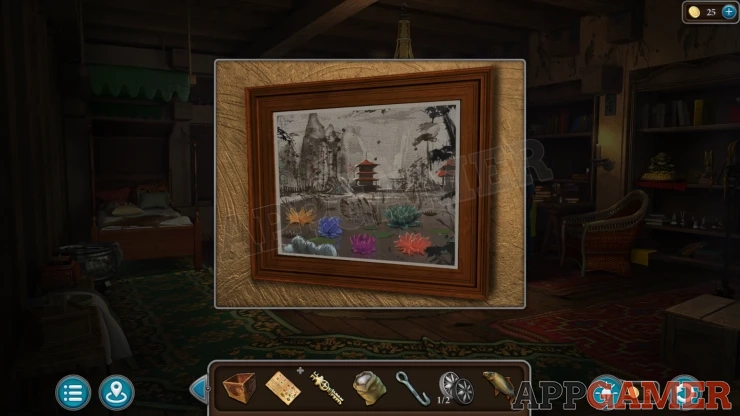
Open the red curtain behind the scientist and view the picture there, this is a clue.
Show
Then view the mantel above the fire. Collect a Handle from the left.
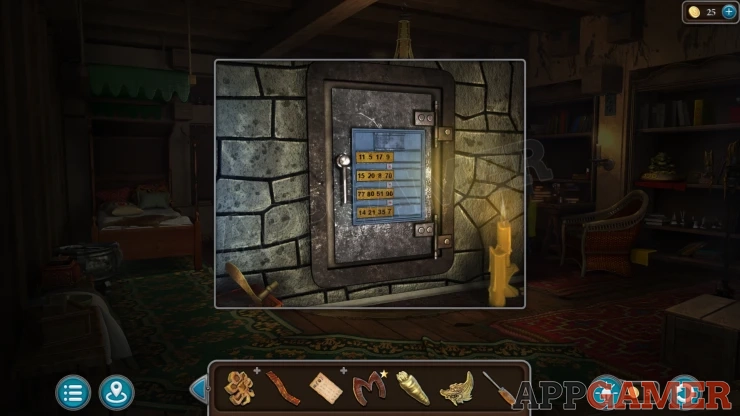
Collect a Screwdriver from under the chair to the right of the scientist.
Return to the library and view a cabinet on the back left with curved doors.
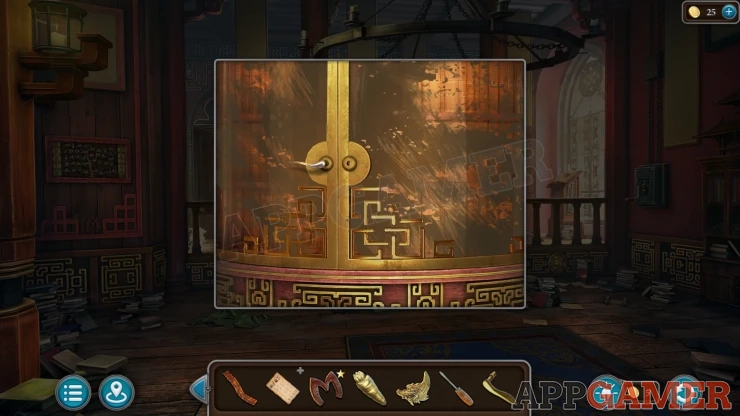
Add the handle to the door and you can open it to find a puzzle.
Library Cabinet Puzzle
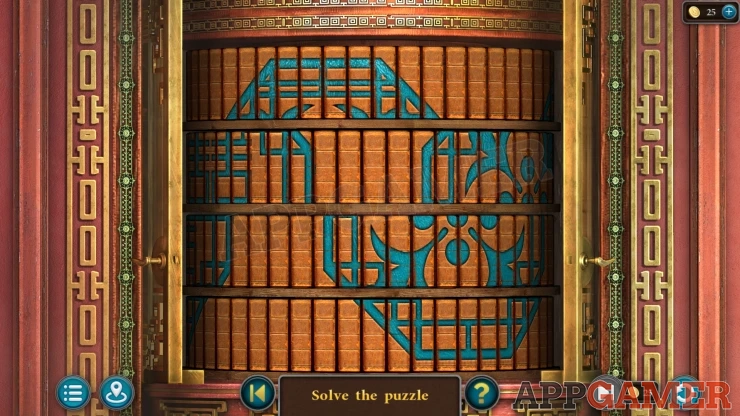
- There are four section to a cylinder that can be turned to arrange parts of a large symbol.
- Line up the correct four parts to match a symbol clue seen previously.
Solution: This can be different for your game. Check the design on the window in the street.Show
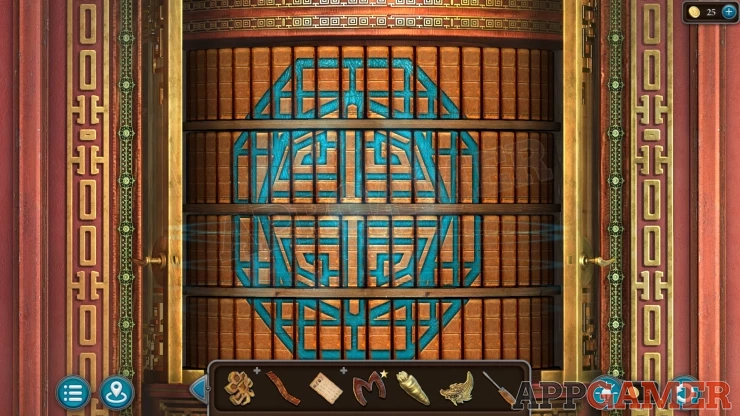
Once done a drawer opens and you can collect a Box and some Firework Tubes (2 of 9)
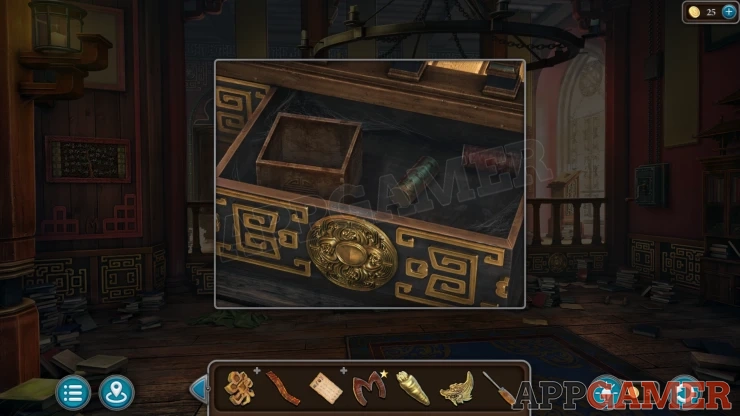
Exit to the street and look again in the opened chest on the left. Collect another Firework Tube (3 of 9).
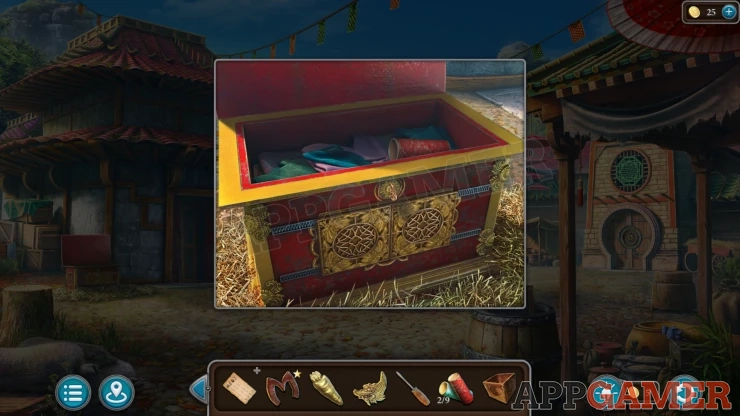
Now view the door on the right. Add the metal carrot to the slot to open the panel and find a puzzle.
Carrot Puzzle
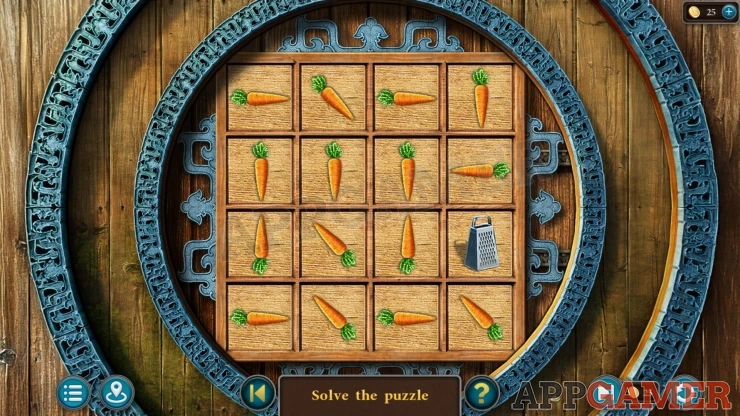
- On the grid a 15 carrots that point in certain directions.
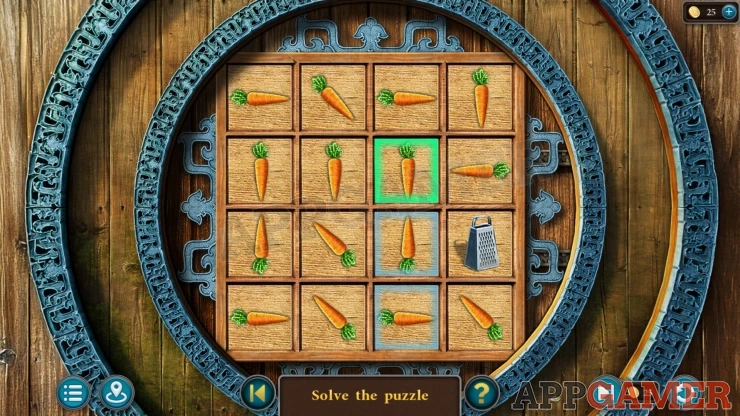
- Tap one to start and this will then highlight the other squares in the direction the carrot is pointing.
- You can then select another carrot from one of the ones that are highlighted.
- Continue like this to select all of the carrots on the board and then reach the Grater in the last move.
- You will need to work out the correct order to get the end without getting stuck.
Solution: The layout is different in each game. A good plan is to start with the grater and work your way back to find out which carrot to start with.Show
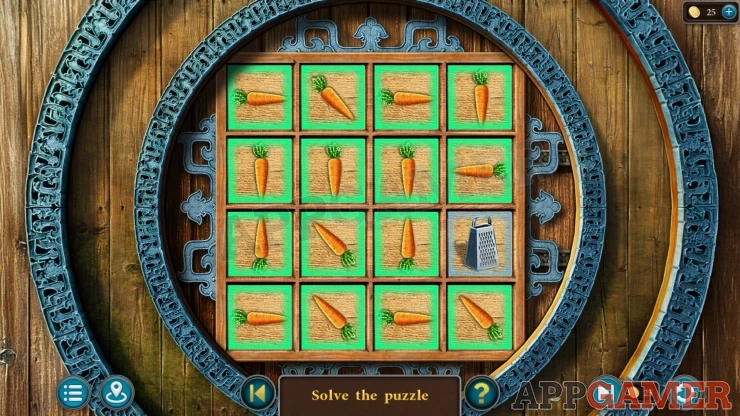
This will open the door, enter the Kitchen.
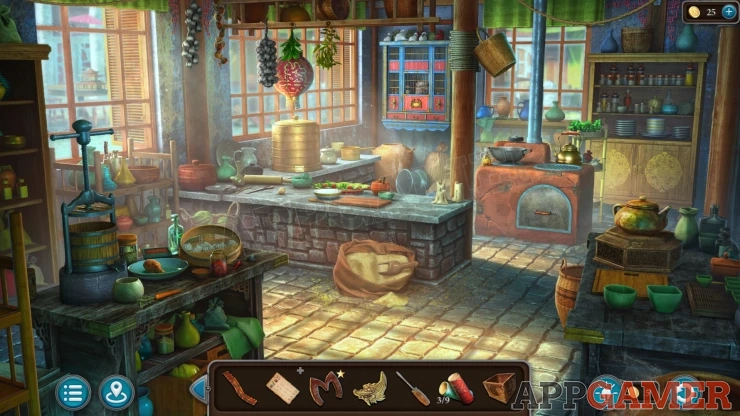
Collect a Lantern: hanging from the rack above the work surface towards the left. (2 of 5)
Morphing Object: jug on the window ledge of the small window on the right.
House: seen through the window on the top left. (3 of 5)
Collection Item: Coin. View a small counter on the right of the room with a tea pot. The coin is on a shelf below the tea pot. (4 of 8)
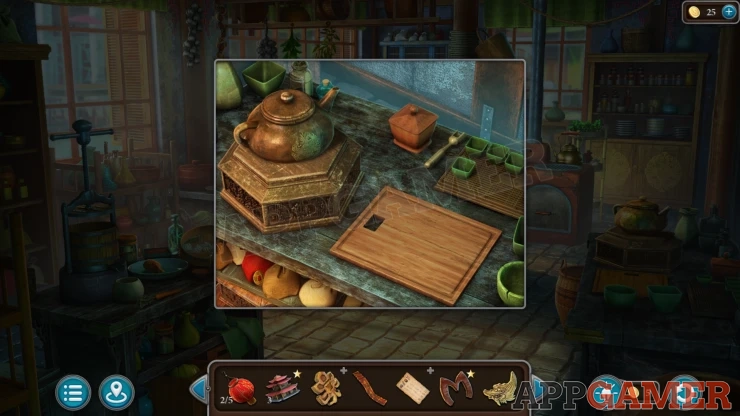
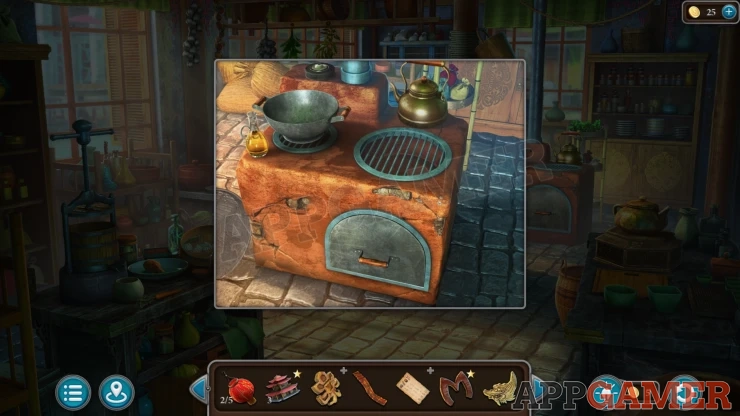
Now view the stove under the window on the right. Collect a Wheel from the top left.
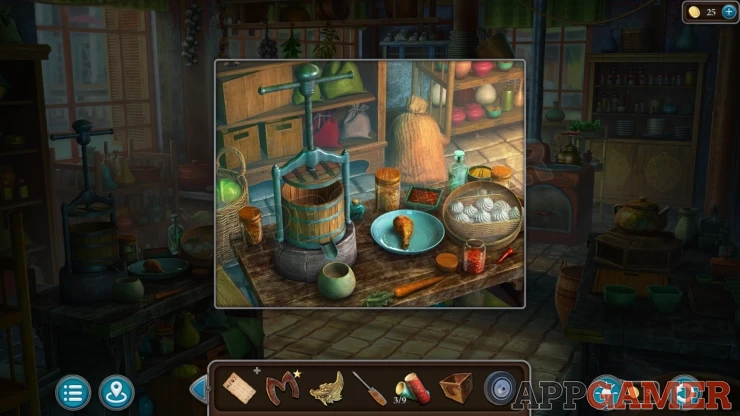
Then view the workbench on the lower left and collect from it a Sieve.
Return to the Library and view a broken wheeled ladder at the back. Tap the ladder to straighten it up.
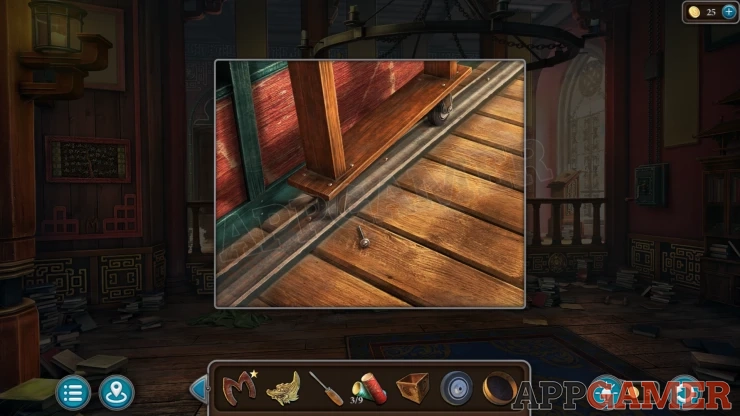
Add the wheel to this and then place the bolt that is on the floor. You can then use the screwdriver to fix it.
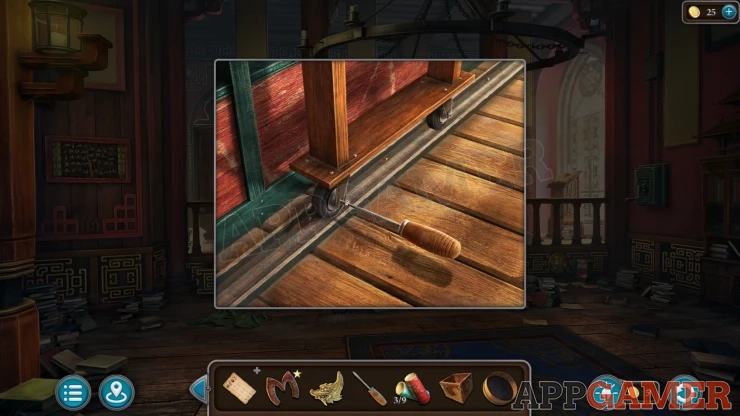
With the ladder fixed you can now tap the top left shelf at the back and collect a Crosskey.
Then also collect the Amber Carp Xihu recipe paper from between the books.
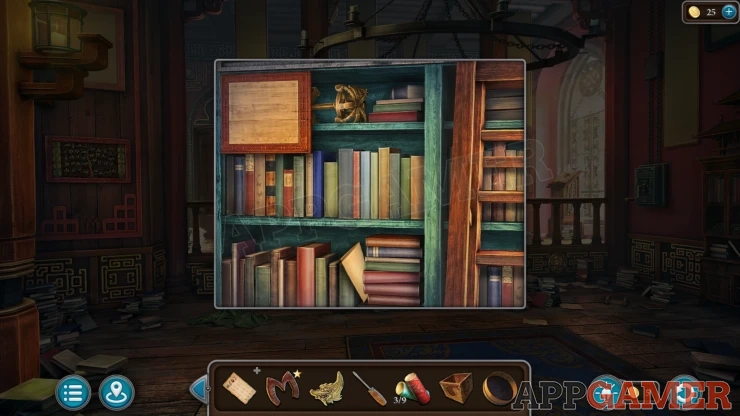
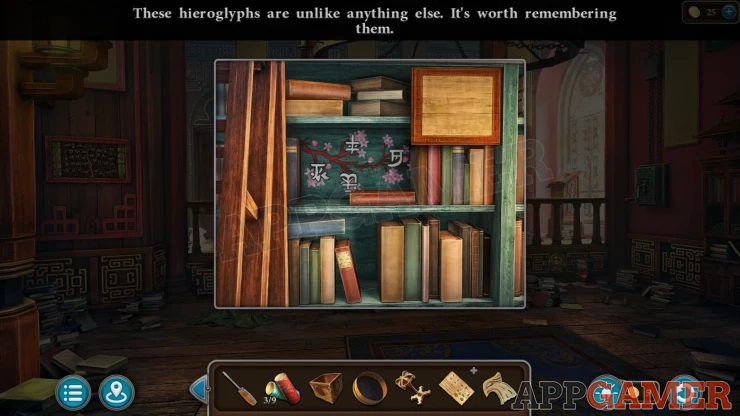
Next view a shelf to the right of the ladder, collect a Phoenix Head from the lower shelf then move the books on the middle shelf to find a clue.
Now go back to the Beach and Ruins area and look on the sand to the left of the pool of water in the center. There is a dragon item here.
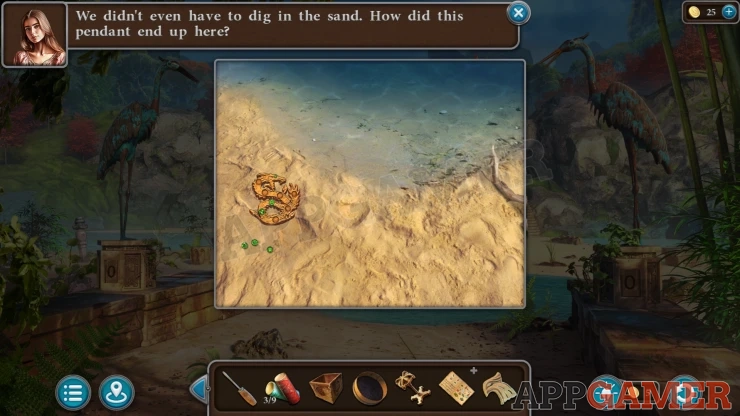
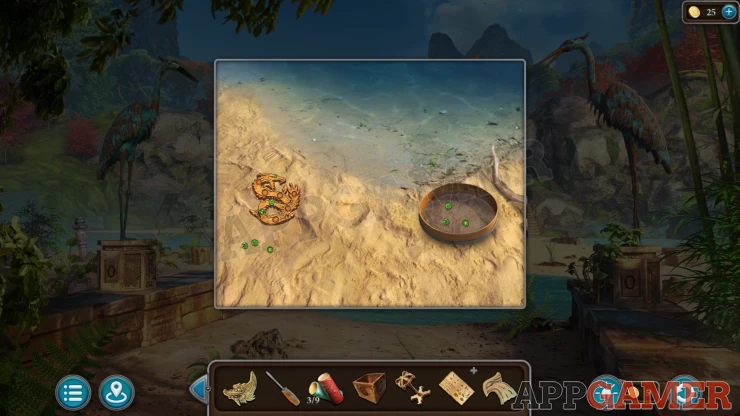
Use the sieve on the sand and you will find some gem stones. Then tap these and the others in the same to assemble the dragon piece and then collect the Dragon.
Go back to the starting area and view the large doors in the center at the top of the steps.
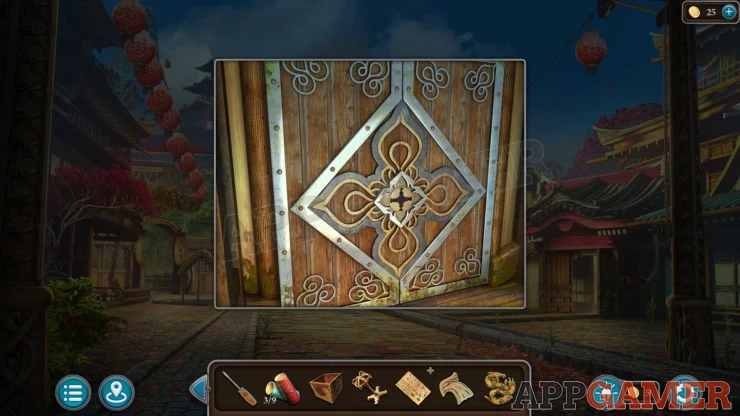
Use the Cross key here to open the doors, you can then go up the steps to find two temples at the top.
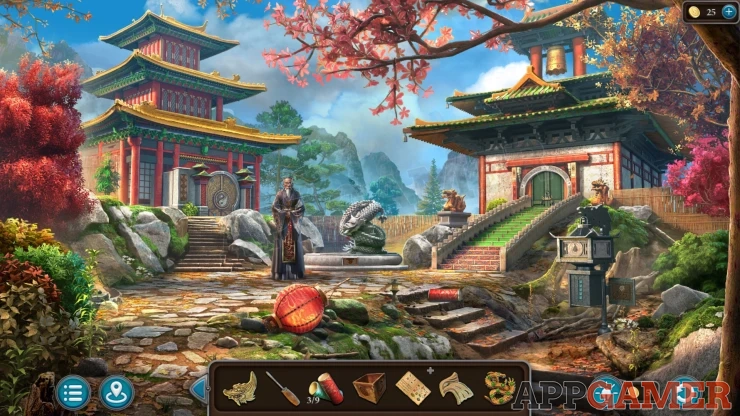
Talk to the man who will tell you that you need to find a musical instrument that was stolen by the monkey king. He will give you a Winding Key.
Notice the pendant worn by the man this is a clue.
Morphing Object: Stone turtle / blocks by the bushes on the left.
Collect the Lantern from the ground in front of the man.
Collect a Firework tube (4 of 9) from the lower steps on the right.
View the dragon statue to the right of the man.
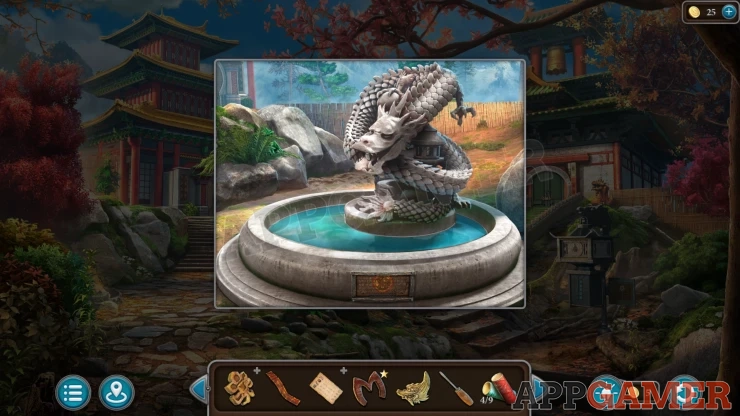
Collection Item: Jade Dragon, in the rocks on the left. (3 of 5)
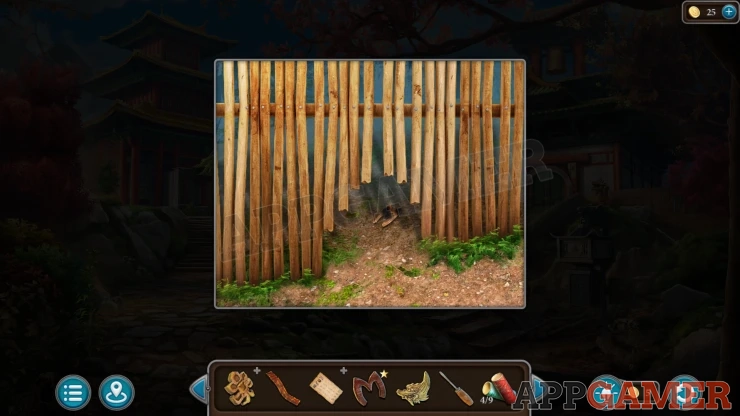
Symbol: view a small hole in the fence to the right of the statue.
Then view the panel on the front of the water pool. Use the screwdriver to open the cover.
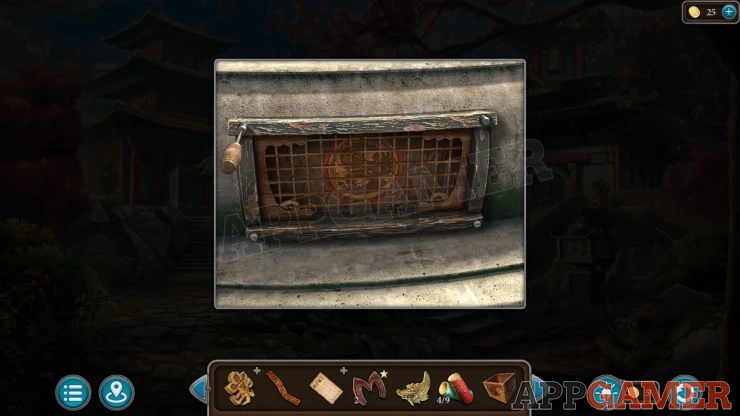
Place the Dragon into the slot to reveal a puzzle.
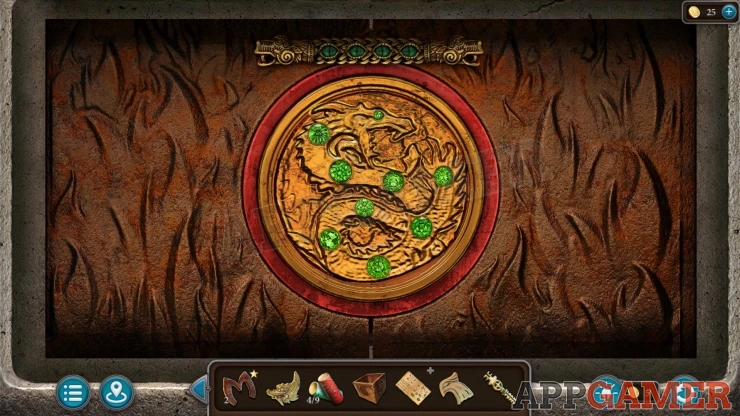
Dragon Fountain Puzzle
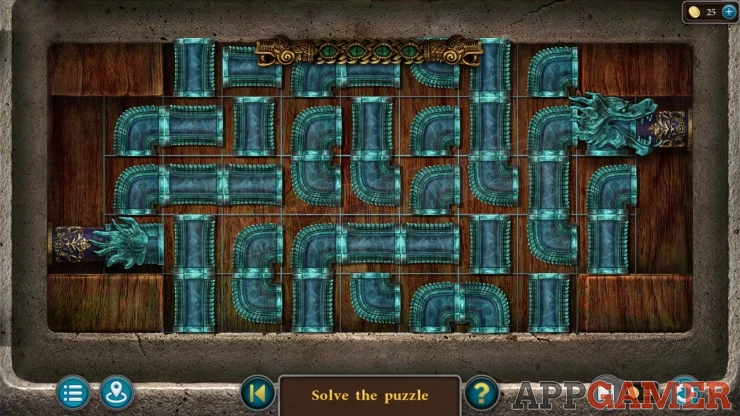
- This is a pipe puzzle, connect the pipes from the lower left to the upper right.
- Tap each square to rotate the pipe piece that is in it.
- You do not need to use all of the pieces.
Once you connect the first one there are three more puzzles to complete.
Solution: Each level can vary, these were my solutions.Show
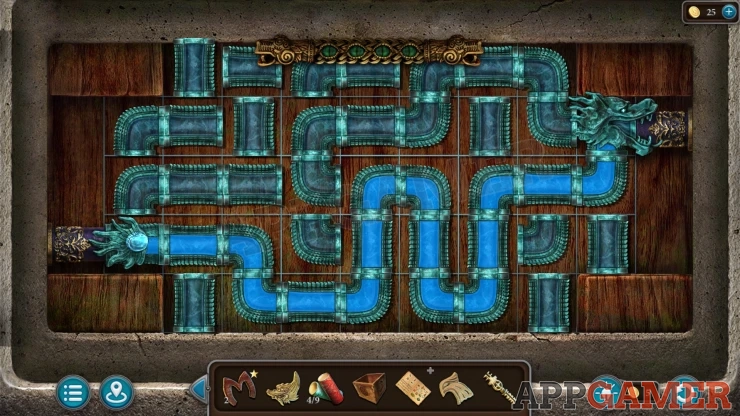
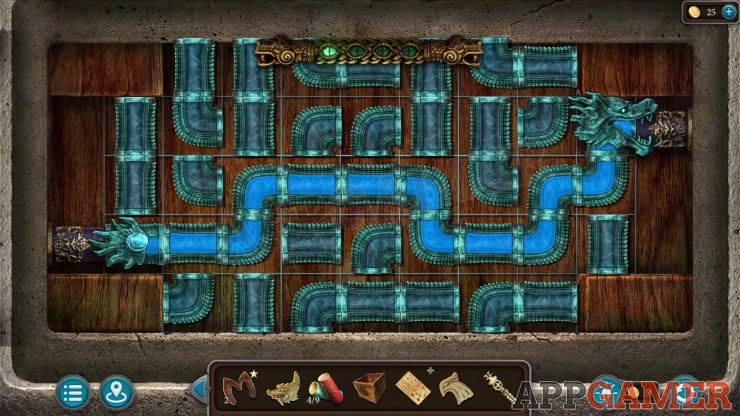
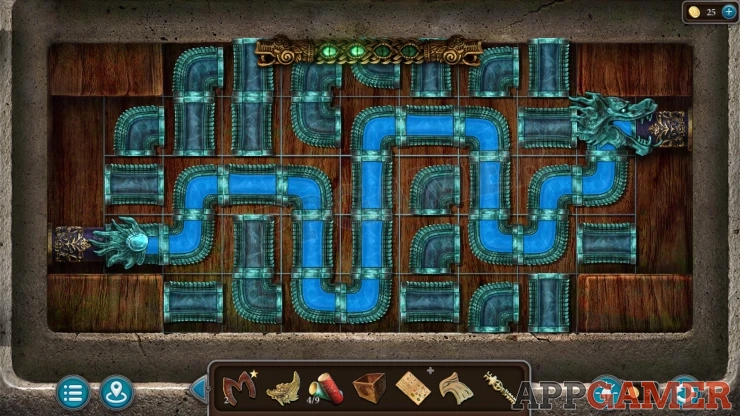
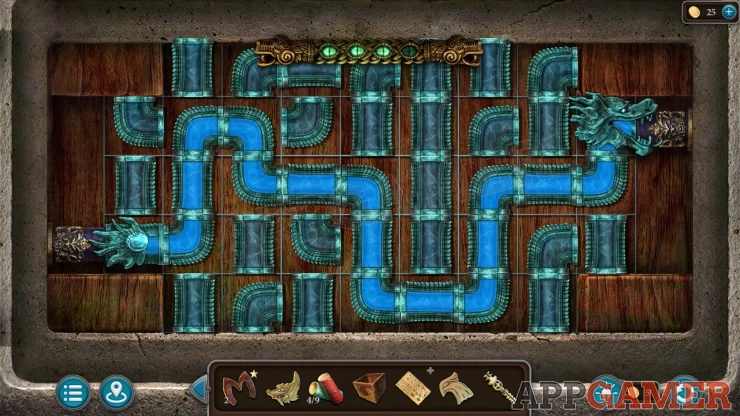
Once done the water is flowing in the fountain. You can then collect a Stone Banana from the water.
Now view the door to the temple building on the right.
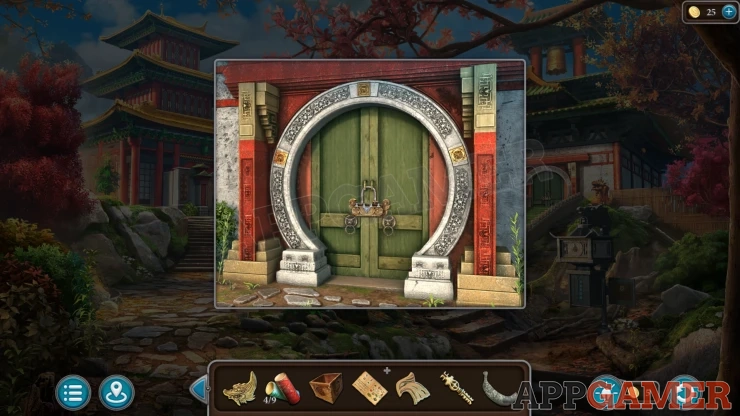
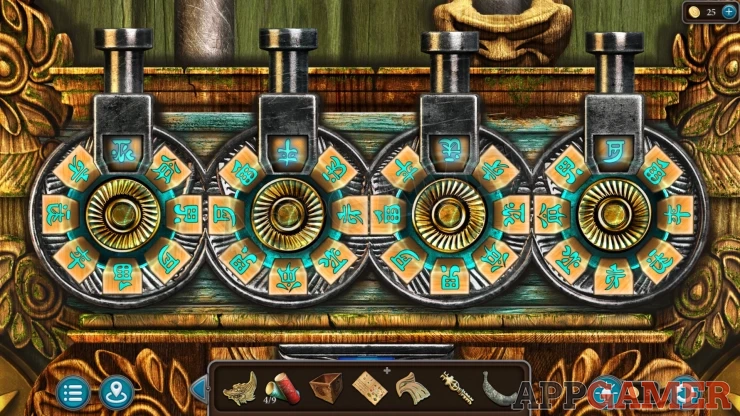
View the lock and tap it to open the cover.
Temple door lock

You need to turn the four dials and set the correct character symbol at the top.
You can find the clue for the correct combination in the library.
Solution: This will be different in each game.Show
Enter the temple, the roof has been broken here.
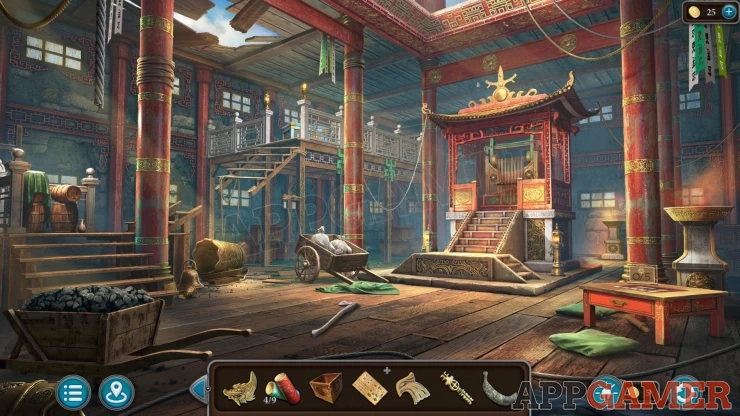
Morphing Object: Pot/bell next to the stairs on the left.
Symbol of Fire: Tap to view the middle step up to the structure on the right, There is a red piece of wood. Remove this to find the item.
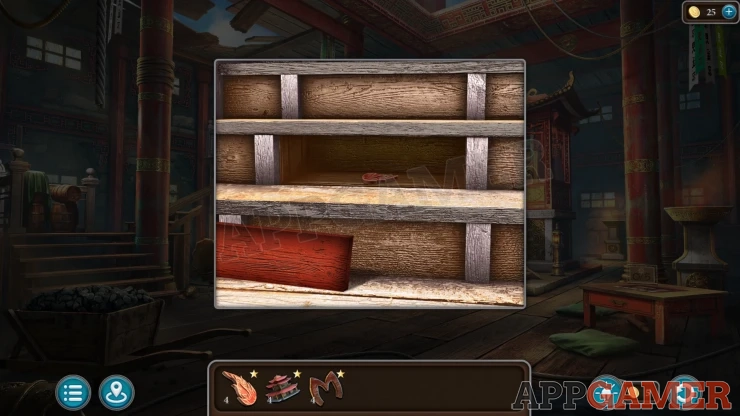
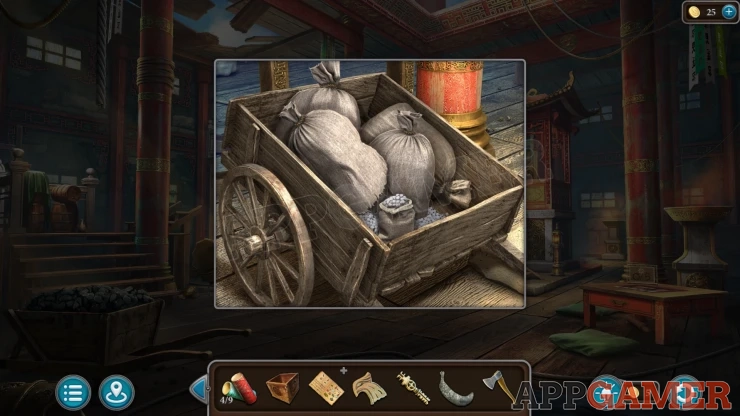
Collect an Axe from the floor. Then view a wooden cart with bags, Collect a Bag of Saltpeter.
Look on the stairs on the left.
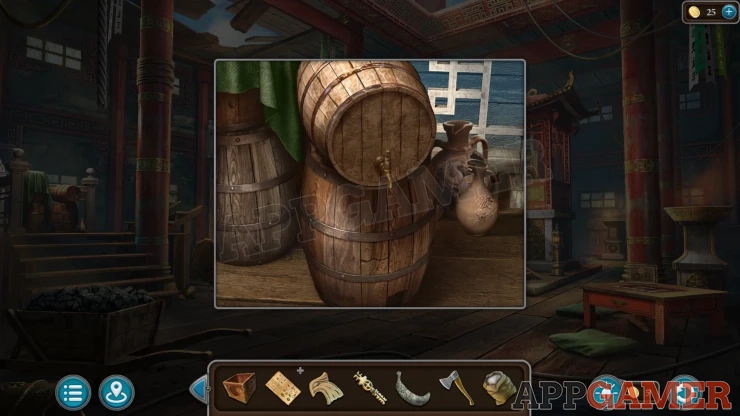
Collection Item: Coin, in the jugs to the right of the barrels. (5 of 8)
Back up to the start area and then go through the left door to the lake with the waterfall. On the left path there are two monkey statues with bowls.
View the left one and place the stone banana, and then place the stone pineapple on the right one.
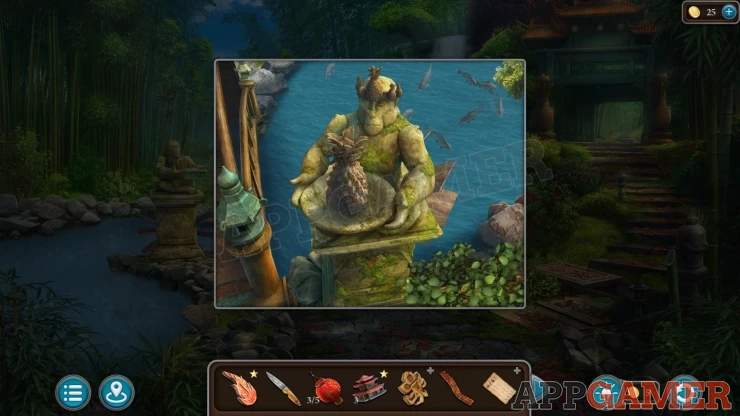
A panel opens in the path, view this for another puzzle. .
Monkey Gears Puzzle
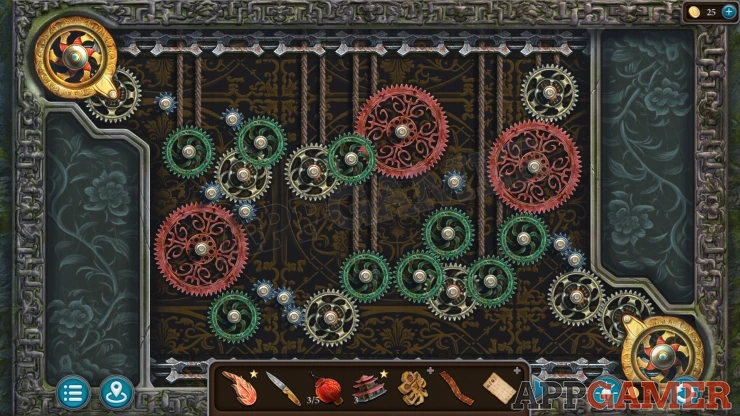
- Select and move each of the gears to change their positions.
- There are three different sizes / colors.
- Place all of the gears so that they are connected.
- All of the gears need to be fitted to make them turn, and there needs to be a connection from the top left to the bottom right.
Solution: Show
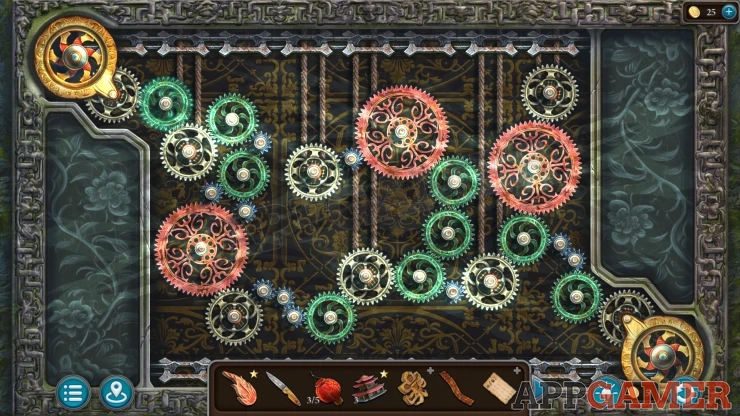
Once done the bridge lowers and you can cross over to a Swamp with an abandoned house and a Panda in a tree.
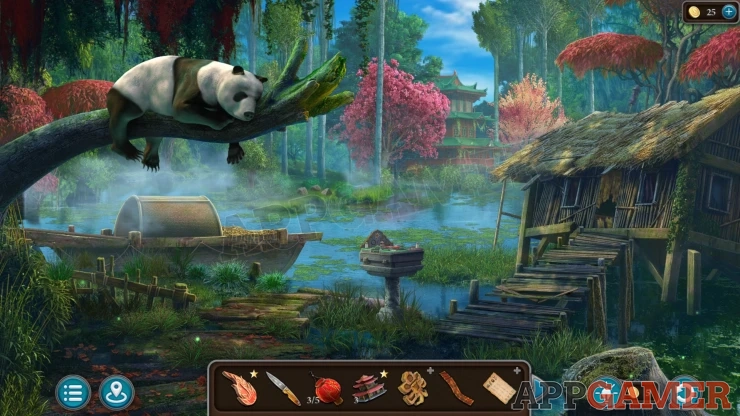
Morphing Object: Small chimney on the roof of the house.
Collection Item: Jade Dragon - view a small stone table in the center. It is on the ground to the left. (4 of 5)
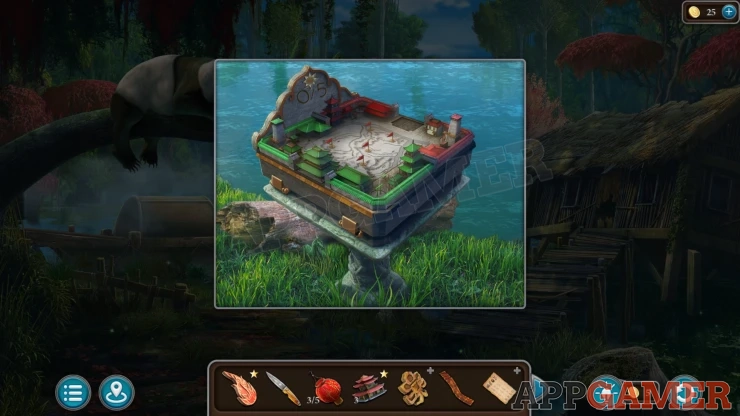
Symbol of Fire: view the walkway to the house on the right to find it between the planks.
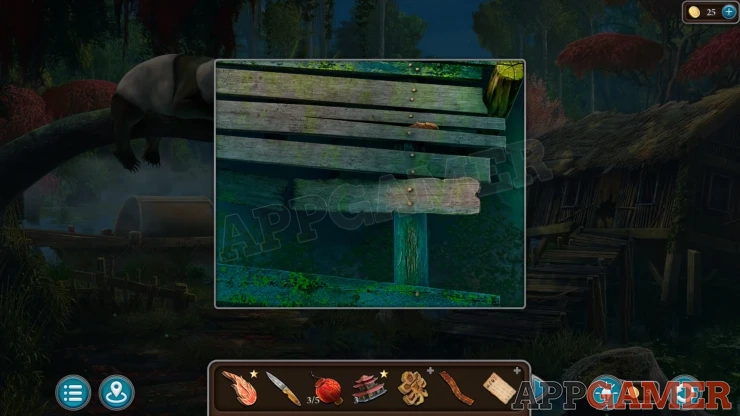
Tap the panda, it will growl at you. Then you need to return to the Kitchen. View the workbench on the lower left and collect from it a Carrot.
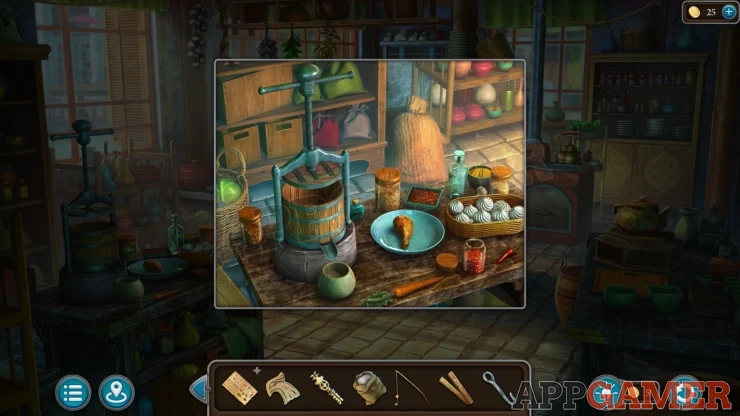
Give the Carrot to the Panda and then you can look in the boat that is under the tree branch.
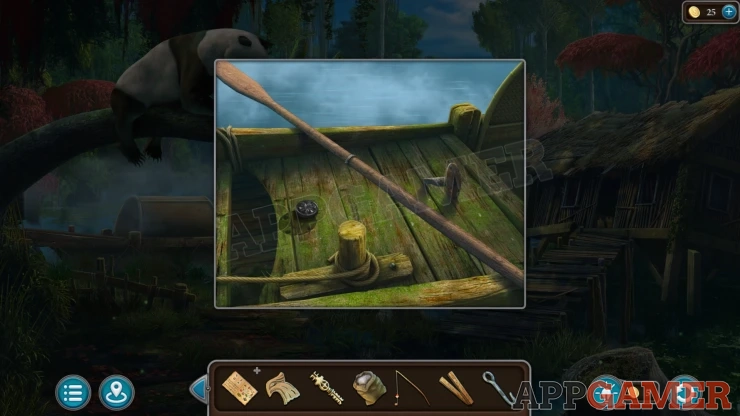
Collect the Chips (1 of 2)
Now view an abandoned house on the right. Use the axe to break open the door.
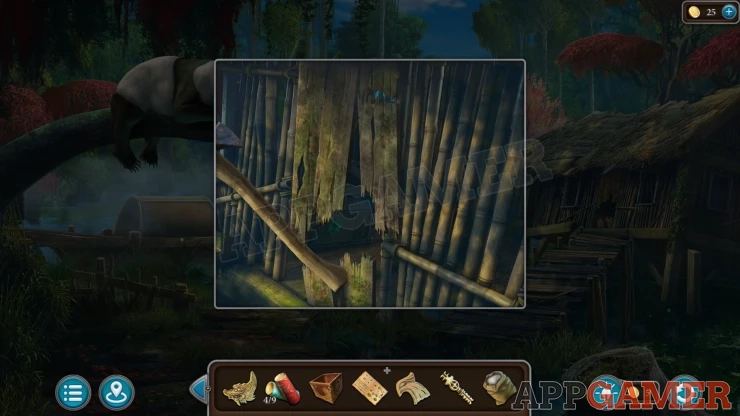
Collect a Fishing Rod, some Boards and a Hook.
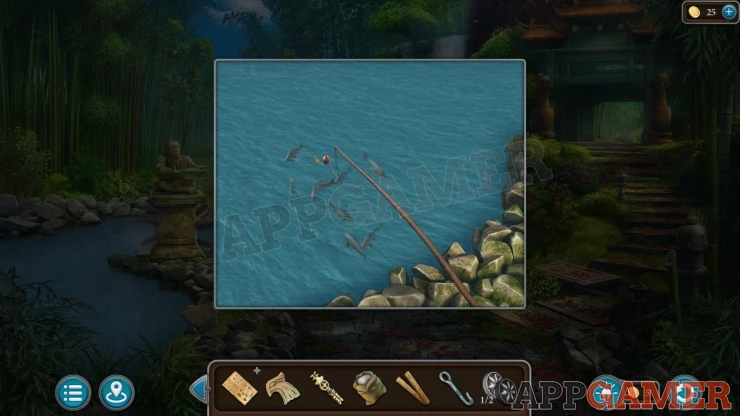
Back up to the lake with the waterfall. Look in the water on the left to see Fish. Use the Fishing Rod here and you will collect a Carp.
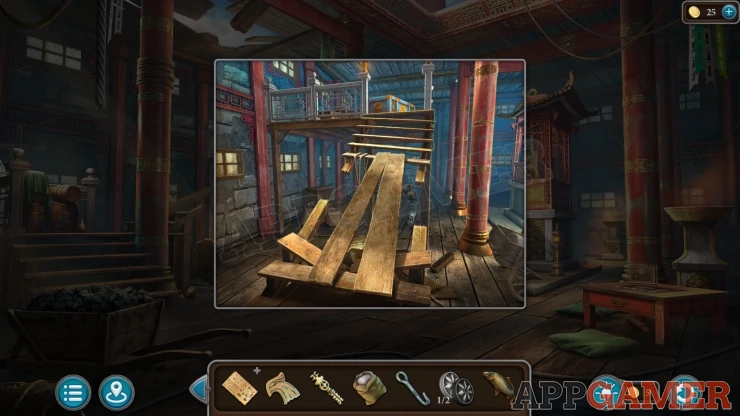
Now return to the broken roof Temple. View the broken stairs on the left side and place the boards here to make a way up.
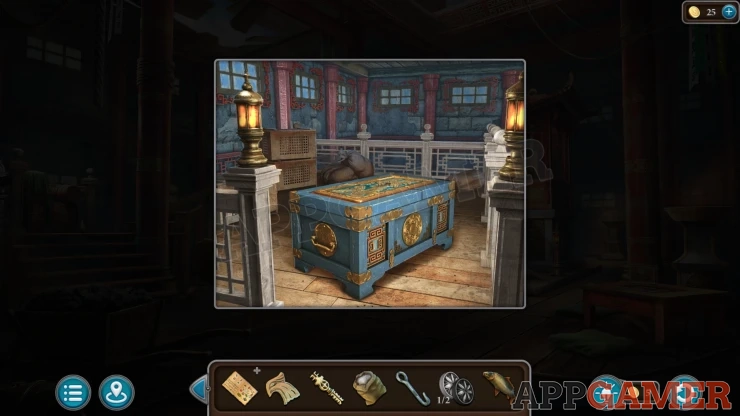
Then view the blue trunk on the top level. Phoenix head and the Dragon Head here to open a panel.
Temple Trunk Puzzle
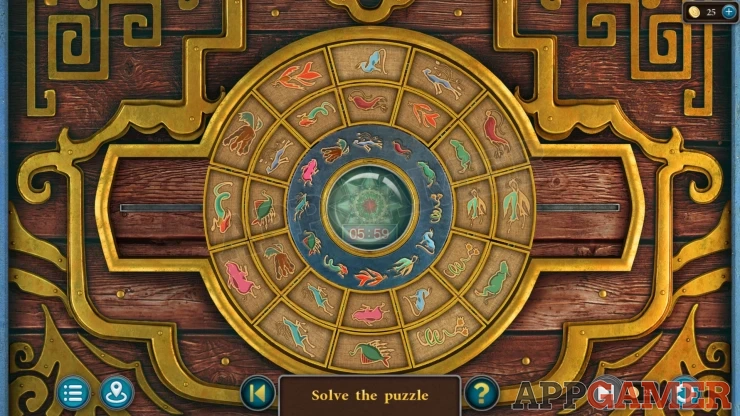
This is a timed puzzle, complete it within the time limit shown to earn an extra star for the episode.
- There are 2 rings of tiles with symbols on them. There are jumbled up.
- You can rotate the rings and slide pieces in and out on the left and right.
- The inner blue ring has an arrangement of the symbols.
- Swap the pieces around on the two outer tings so that they match the positions on the inner ring.
Solution: Show

When the chest opens look inside and collect the Bolts.
Go back to the swamp and view the boat below the panda again.
Tap a metal spike that is on its side on the right to move it to the left and then you can add the bolts to it to fix it in place.
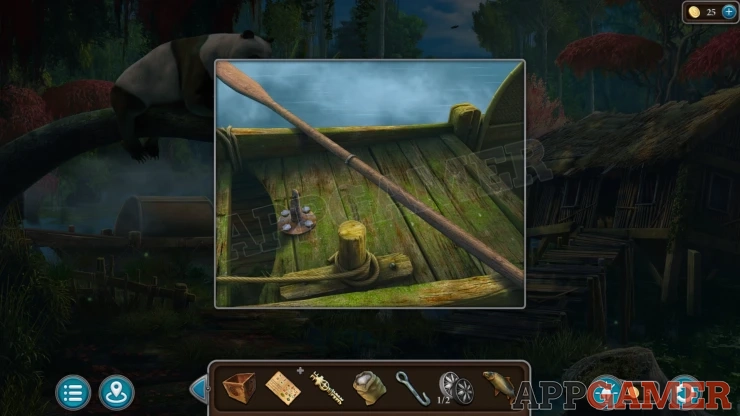
Now tap the oar to connect it to the spike and this will let you use the boat.
Tap the trees on the left of the far side of the water to cross over and see three rocks on the grass with symbols on them.

There is also a small pile of stones. Tap and place the stones one at a time next to the three large rocks. Place the correct number of stones by each.
Clue: The symbols on the rocks match those on the three pendants worn by the people you have met Each one has a different shape.Show
Solution: Count the sides of each of the pendant, this can be different for you.Show
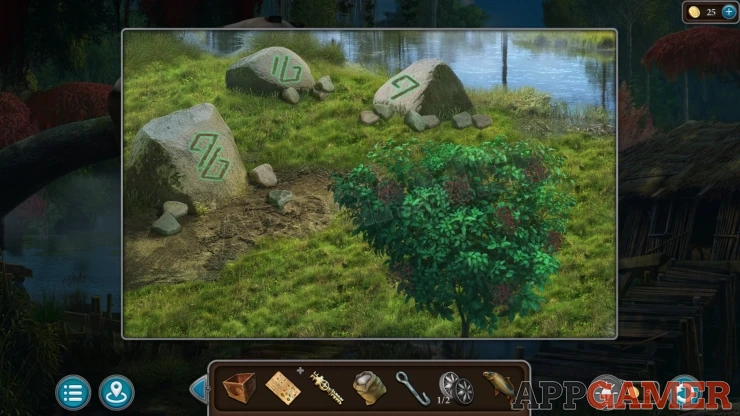
Once this is done a secret building will appear on the shore. Travel there again to find the Secret Room.
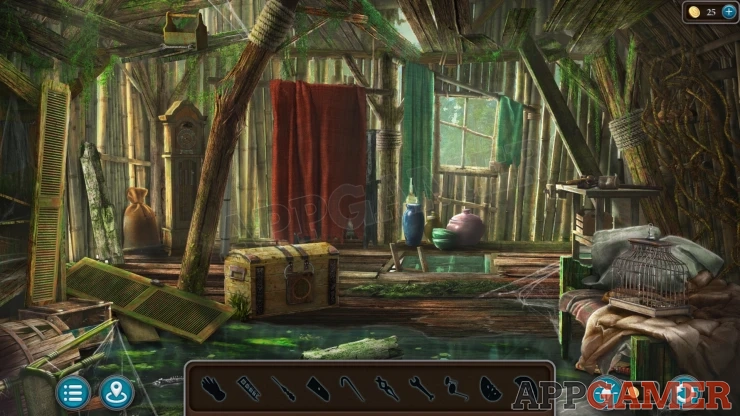
The secret room is an optional extra puzzle that you can compete to earn an extra star for the episode.
For help with it please check the Episode 6 Extra Stars Guide
We will continue the episode guide in Episode 6 - Part 2
We have questions and answers related to this topic which may also help you: Show all
 With 20 years of experience in creating video game content for the internet and over 30 years as a gamer, Mark is now a passionate mobile App Gamer. Loving a challenge, he is always ready to get stuck in to both survival builders and puzzle solving games. He has been providing content for AppGamer since 2014.