
Episode 13 Walkthrough - Dragon's Castle
More Artifact Seekers
This is our guide to Dragon's Castle, the thirteenth Episode in the puzzle adventure game Artifact Seekers, from Five BN. In this episode you are exploring a theatre that is cursed bvy an evil genius.
You goal in this chapter is to seek out the legendary sword - Doom Blade - that has been lost in a kingdom where men and Dragons used to fight side by side. As before there are collectible items to find in each area for extra stars.
Episode Thirteen - Dragon's Castle Walkthrough
You begin outside the castle with the drawbridge raised.
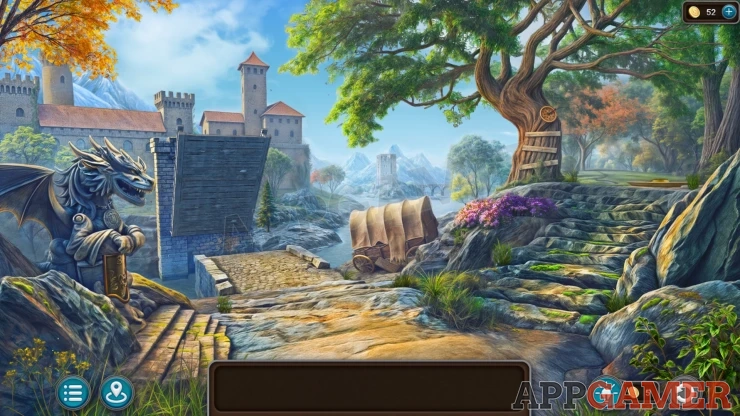
Collection Item: Tree on the right of the drawbridge.
Morphing Object: Medallion around the neck of the dragin statue on the left.
First view a round object on the tree on the right. Collect a Knife.
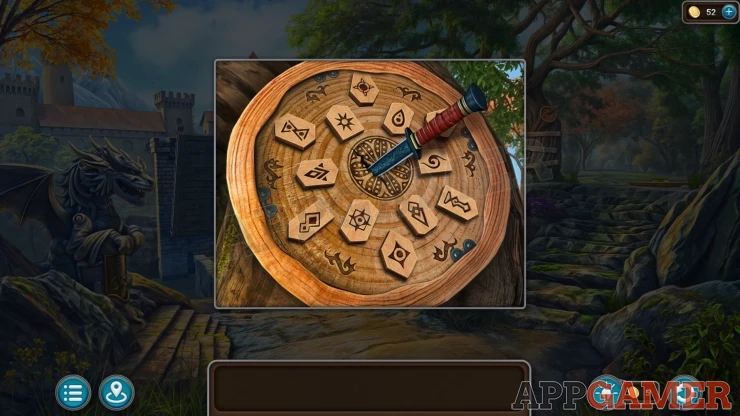
Then tap at the top of the steps on the right. You will find a metal disk. Collect a Medallion (1 of 3) from this.
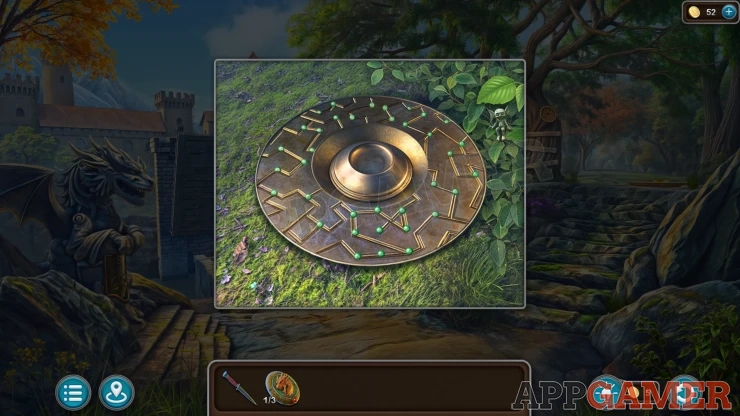
Pixie: move a leaf on the top right of the metal disk to find it.
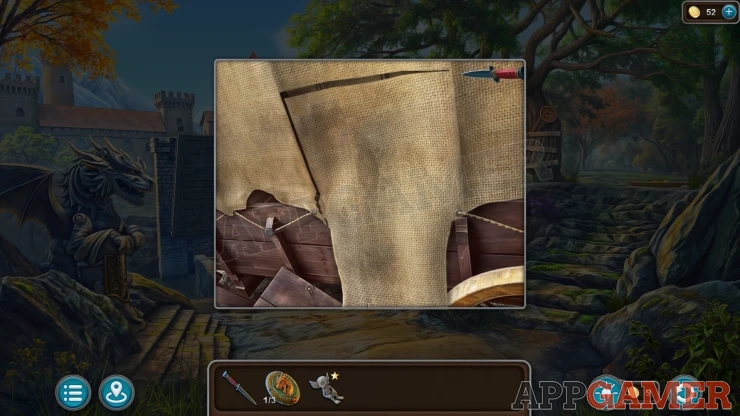
Next view the covered Wagon next to the drawbridge. Use the Knife to cut open the cover and view the chest inside. Collect a Medallion (2 of 3) from the top.
Tap the path into the woods on the top right and move to the next area. There is a cave and and altar here.
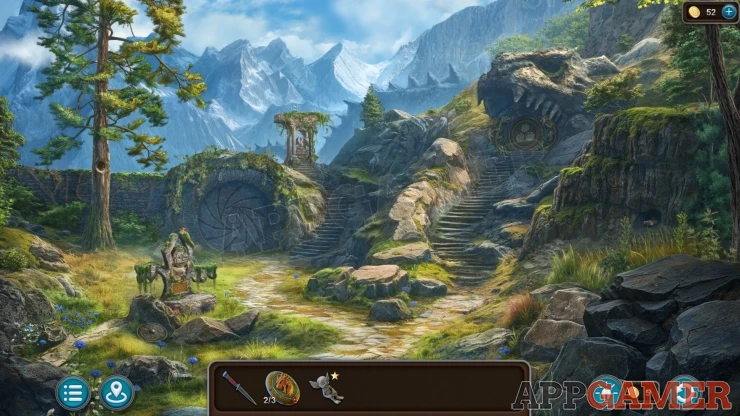
Collection Item: Tree on a rock outcrop above the left steps.
Morphing Object: Circular shield on the ground on the lower left.
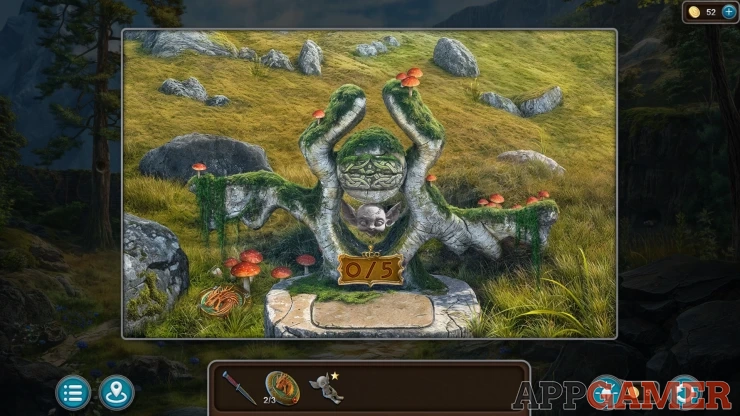
View a small totem figure on the lower left. Collect a Medallion (3 of 3) from here.
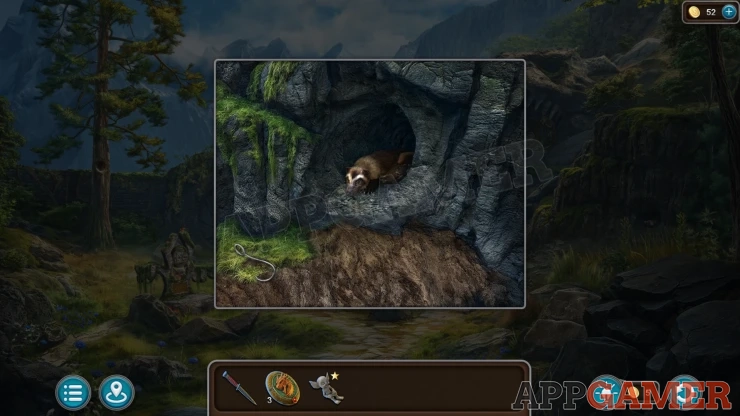
Next view a small burrow with a badger on the right. Collect a Hook.
Now look at a round door at the top of the steps on the right.
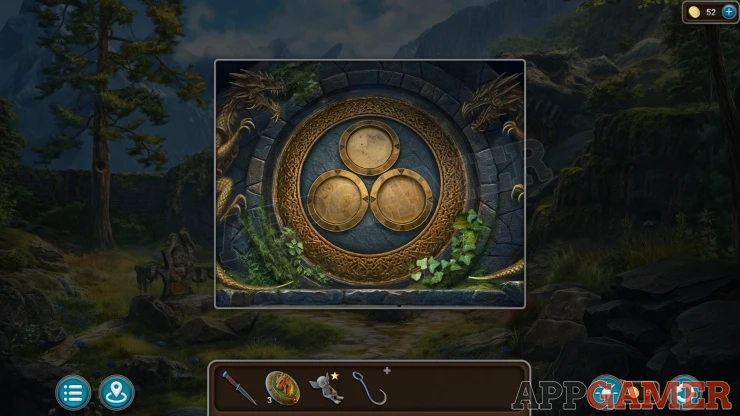
Place the three medallions here to reveal a puzzle.
Round Door Dragon Heads Puzzle
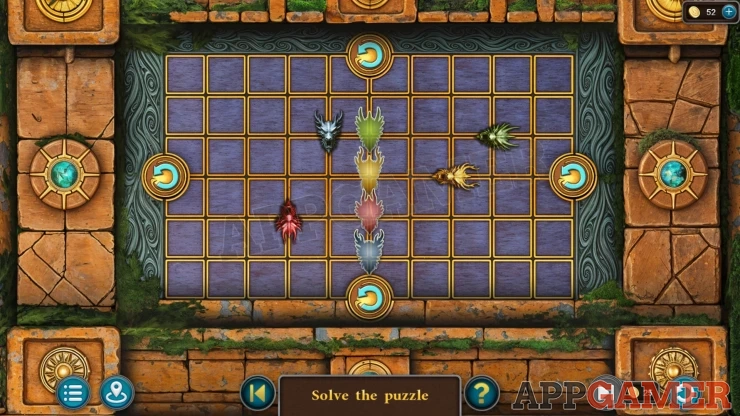
- There are four colored dragon heads on the board. The starting positions may vary
- In the center line are four matching colored clots to place them in.
- Tapping a head will move it in the direction it is facing.
- If you move it to one of the rotation arrows it will turn around and face the opposite direction.
- Yopu need to use some heads to move others into place.
- Line them up on the center line over the matching colors, you DO NOT need to have them in the correct orientation.
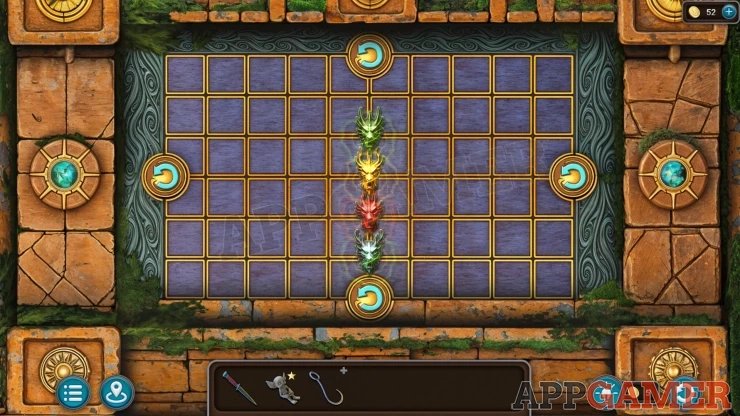
Once done the door opens and you can enter a cave.
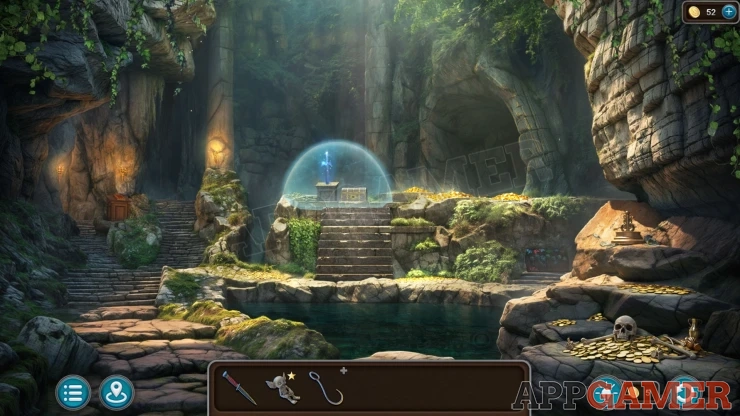
Morphing Object: Skull/Helmet on a pile of coins on the bottom right.
Dwarf: View the passage at the top of the steps on the left. Then move a small Rock.
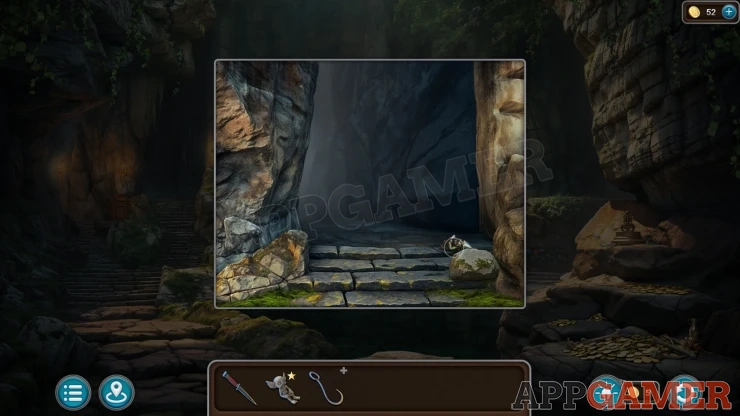
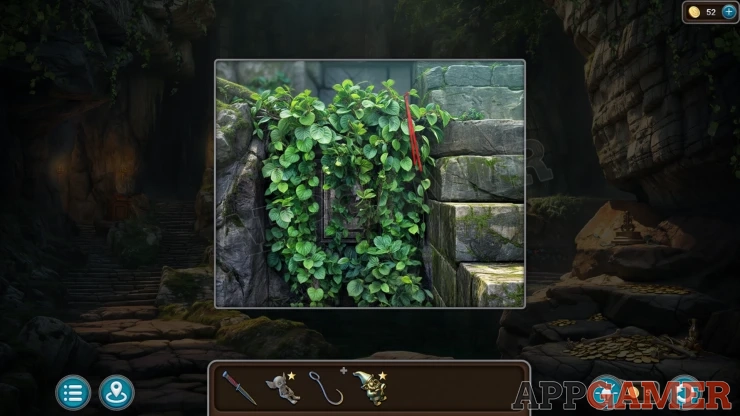
View some ivy growing on the left of the center steps. Collect from here a Ribbon.
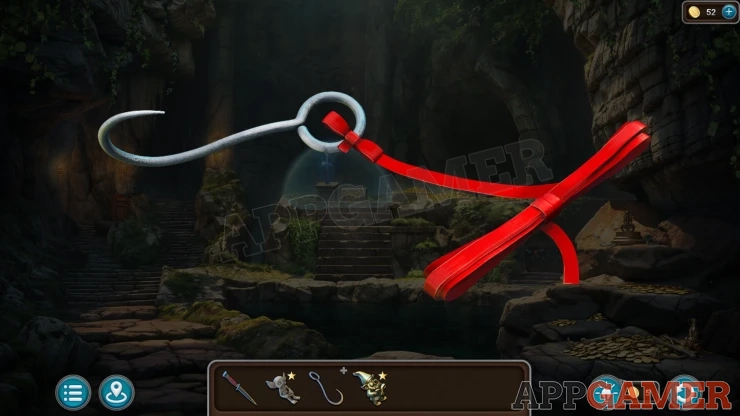
View the Hook and combine it with the Ribbon to gat a Hook (with ribbon attached).
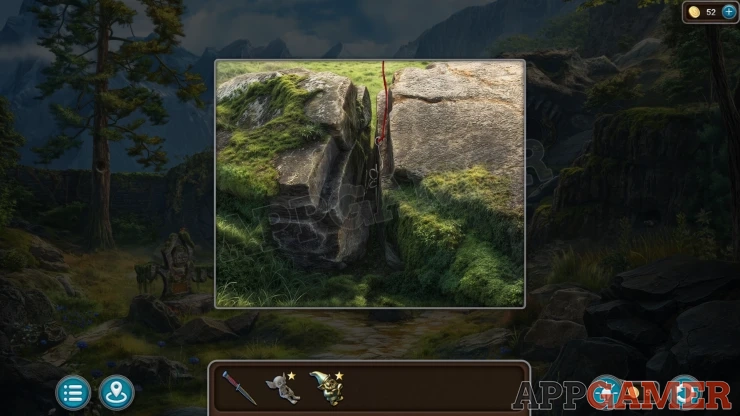
Now back up to the second area. On the ground beterrn the two sets of steps is a split rock. View this. Use the hook here to collect a Key that is between the rocks.
Back up again to the starting area and look again in the covered wagon. Use the key to unlock the chest.
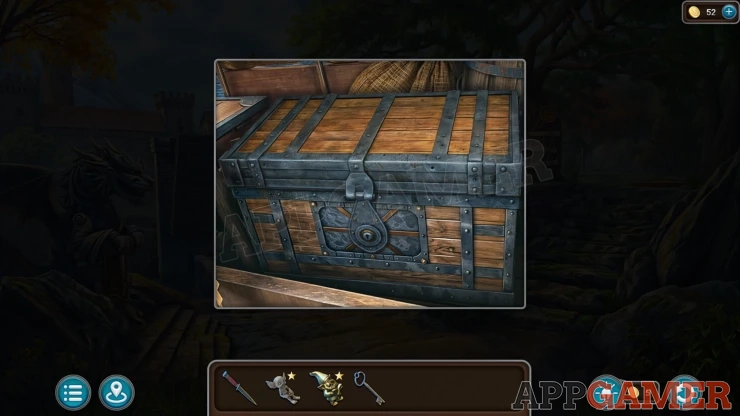
This unlocks another puzzle.
Wagon Chest Puzzle
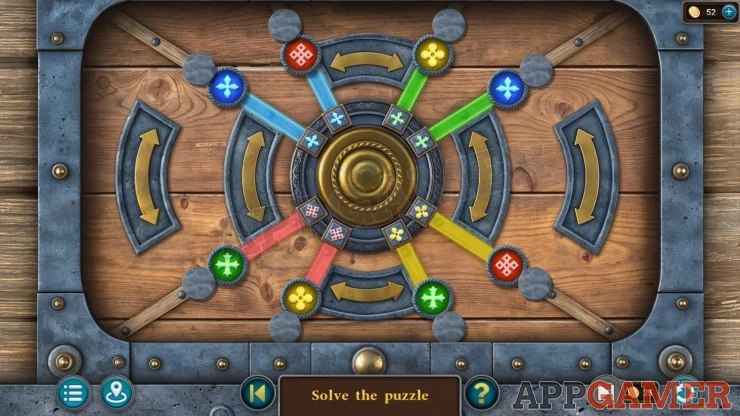
- You will see eight colored tokens with symbols around the edge.
- In the center are eight small symbols thie colored beams coming from them.
- Using the arrow buttons to swap around and rotate the various symbols, you need to arrange them so that the correcnt small symbol and colored beam is connected to the matching token on the router rim.
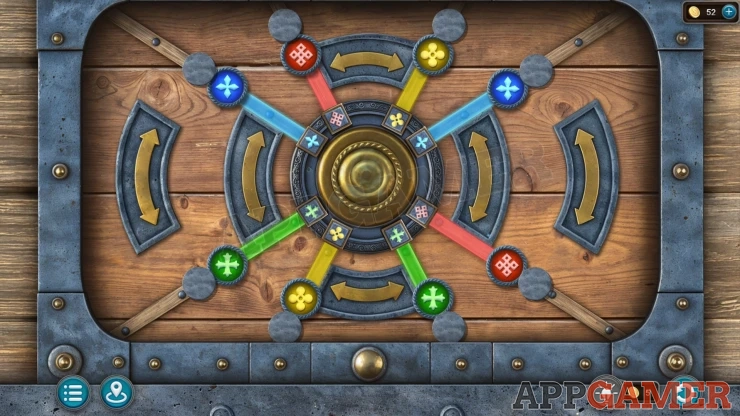
Once done the chest opens and you can collect a Gear, a Stone Leaf and a Hacksaw (broken).
Return to the cave and view the area with the Ivy again. Use the knife here to cut back the ivy and reveal a leaf shaped slot.
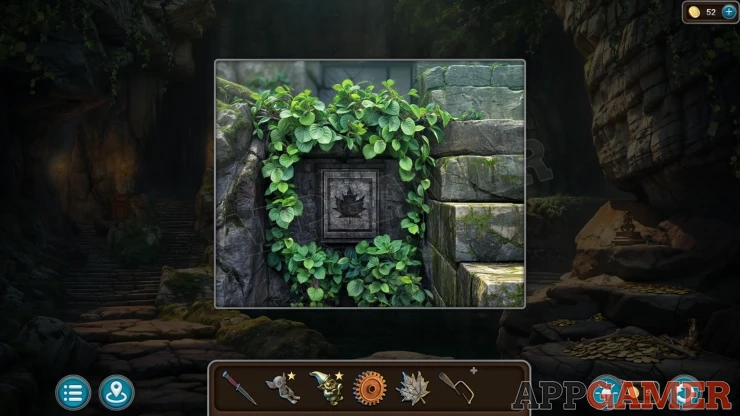
Place the Stone Leaf in the slot and the field around the sword will disappear.
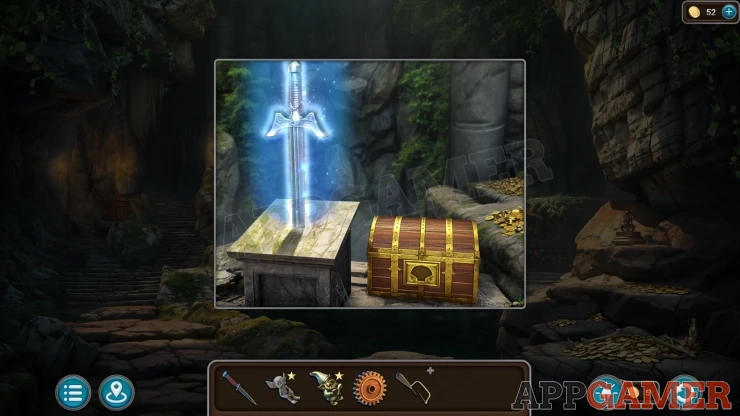
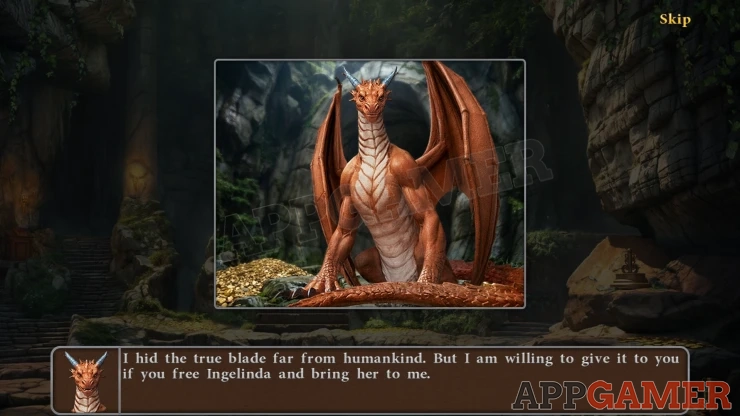
View the sword in the center and tap on it. It will disintegrate. Then a Dragon will appear. Follow the conversation.
You will receive a Heraldic Lily.
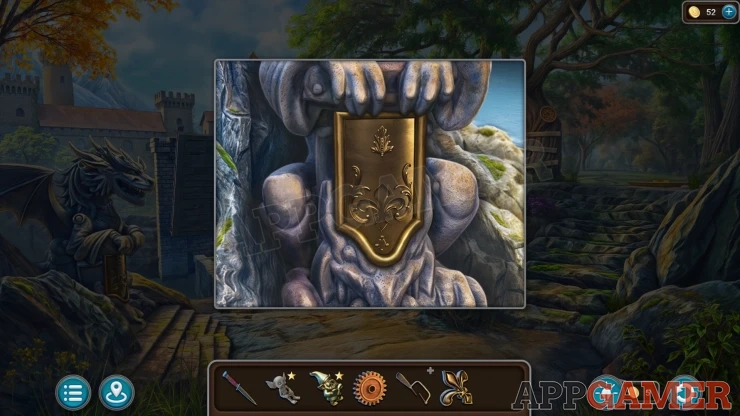
Return to the starting area and view a Stone Dragon head on the left. Place the Heraldic Lily on the shield. This reveals another puzzle.
Drawbridge Dragin Puzzle
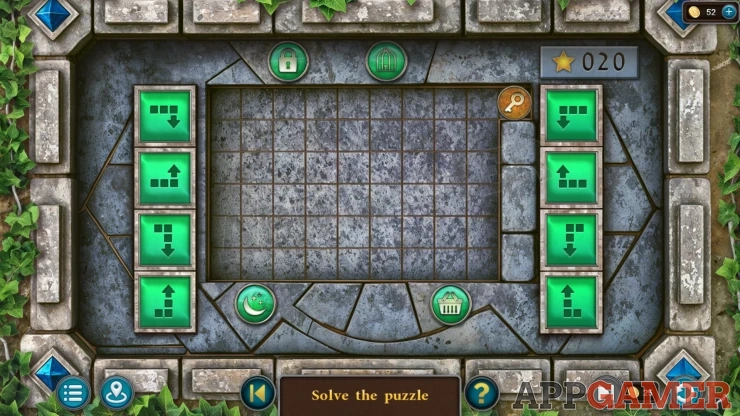
This is an Extra Star puzzle. complete it in 20 moves to earn an extra star for the episode. You do not need to do this to continue with the chapter.
- On the board of squares you will see a round token on the top right with a symbol.
- There are eight buttons that have specific moves marked on them Tapping a green button will move the token in the way shown on the button (if possible).
- At the top and bottom are 4 green symbols. Move each new token in turn to the related green symbol.(Key to the Lock for example) There are 4 in total
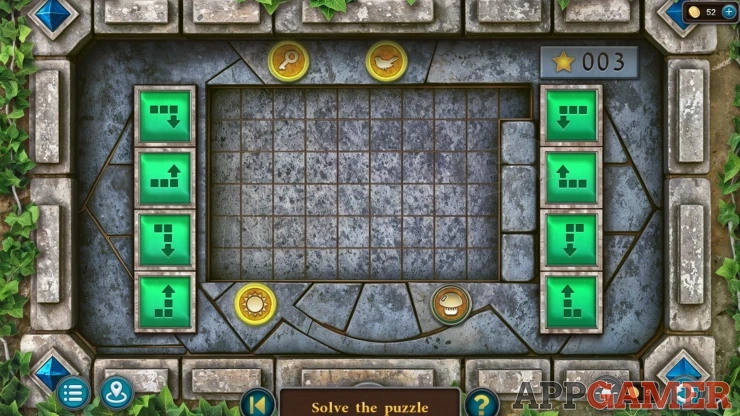
Once done the drawbridge will lower. Enter the castle grounds. There is a statue of the king on the left.
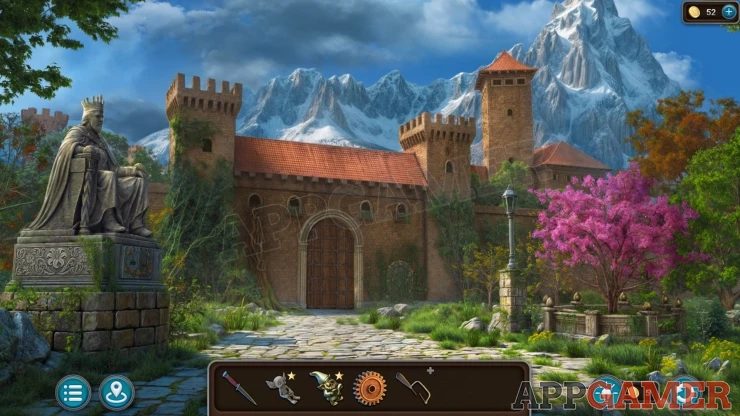
Morphing Object: flower carving on the left of the statue base.
To the left of the castle door is a window with roots groing out of it. View this.
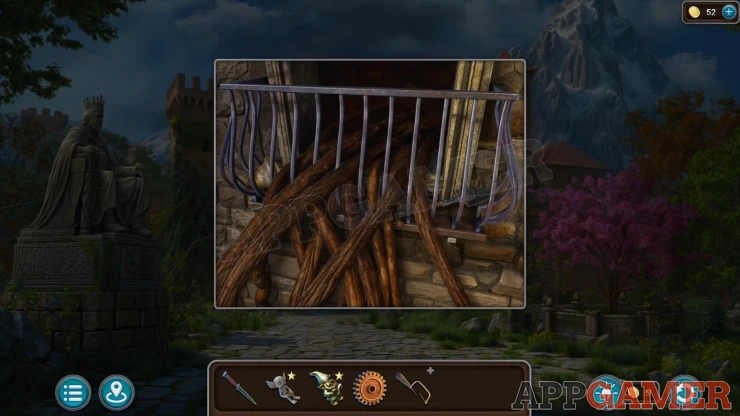
Collect a Bell (1 of 6) and a Shovel.
Then to the right of the large castle door and a smaller door covered with Ivy. View this.
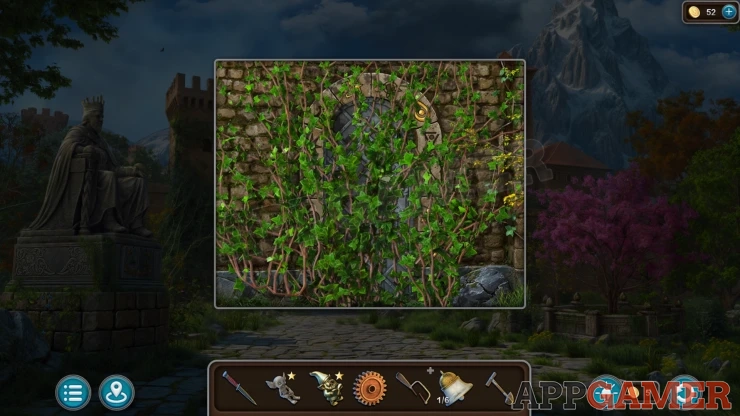
Use the knife here to cut away the ivy and reveal the door, notice the symbols around the edge, some are gold
Dwarf: move a large stone on the ground to the right of the door.
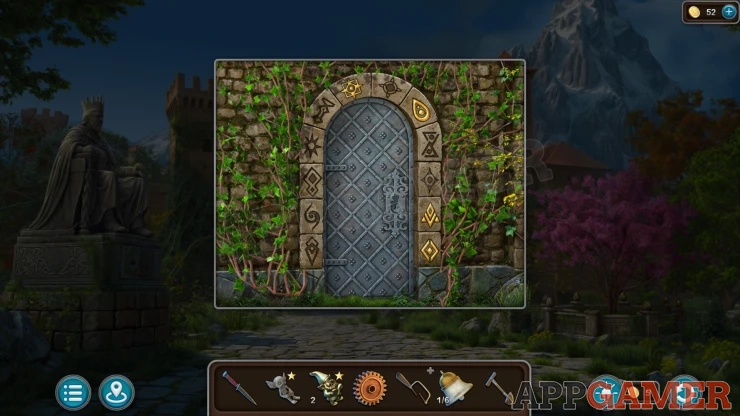
Go back to the starting area and view again the round board on the tree on the right. This has blocks with symbols on them
Tree Board Puzzle
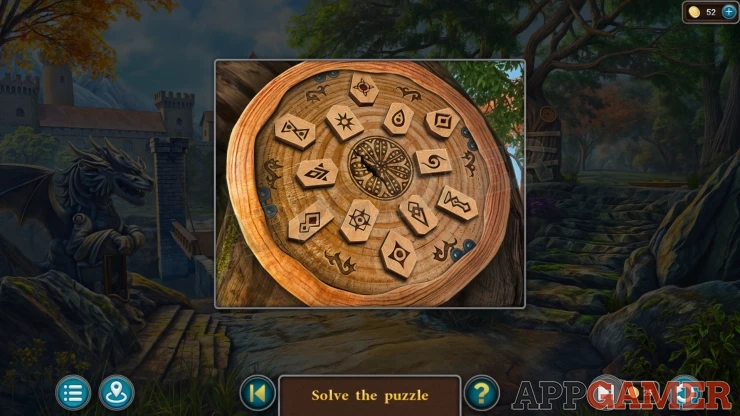
- Tap the four blocks with symbols that match the gold ones from the door you uncovered.
- These can be different in your game.
Once done you can collect a Salamander.
Go back to the door with the symbols and view the lock. You can place the Salamander here to open it.
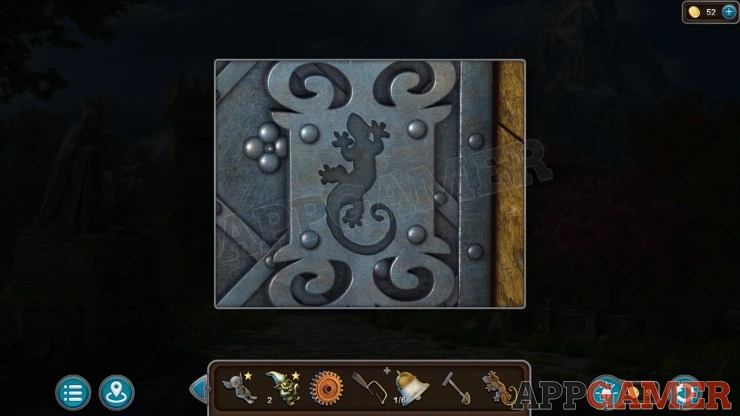
Inside is a mechanism with many gears.
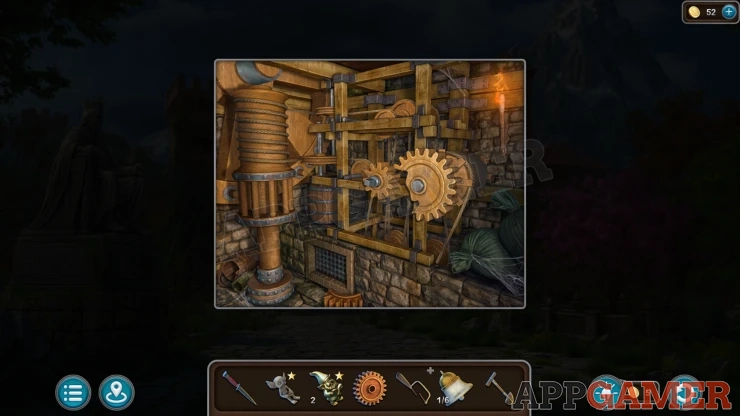
Collection Item: Bottle on the floor on the left.
Tap the broken gear to remove it and then add the one you have to replace it. Collect a Torch from the top right.
Go back to the second area with the altar and the cave entrance. Tap on the eye of the skull shape on the cliff on the top right above the round cave door. There is another small hollow.
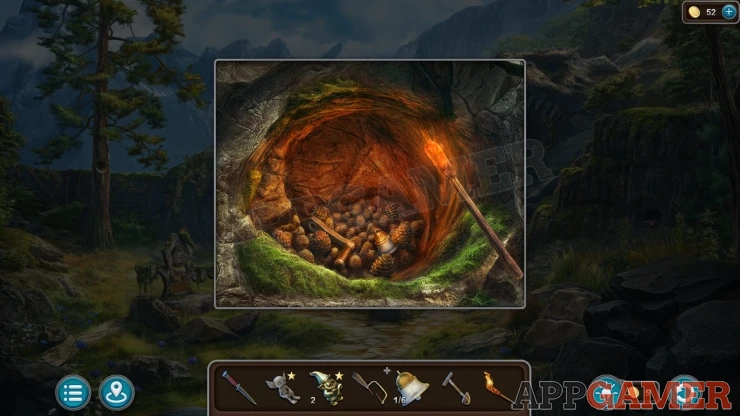
Use the Torch here to illuminate the hollow, then you can collect another Bell (2 of 6) and a Handle.
Go back to the small room with the mechanism and add the handle to the center. Tap it to open the grate below.
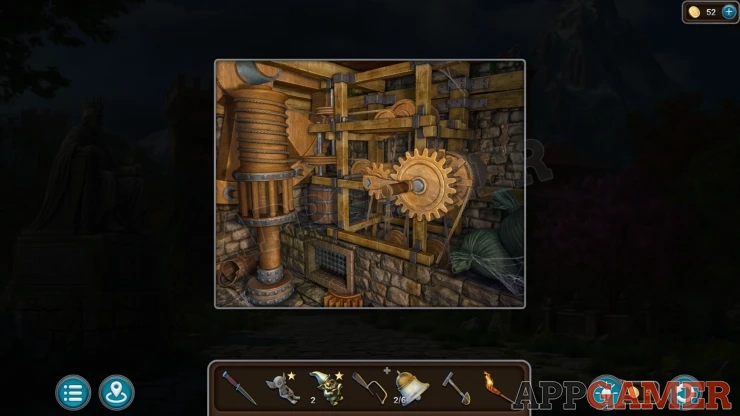
Look inside the grate to find another puzzle.
Mechanism Gear Puzzle
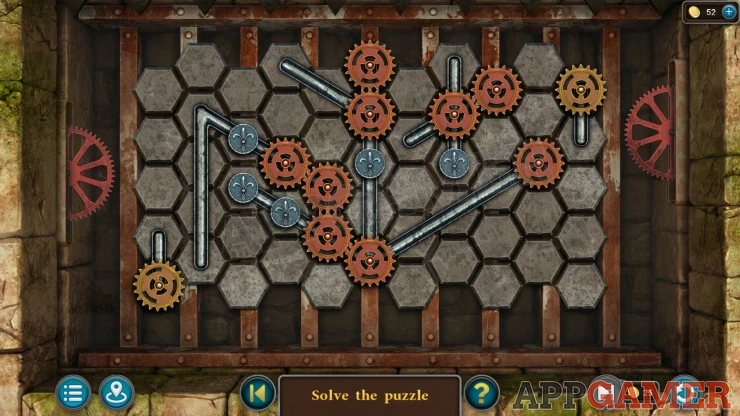
- There are a number of gears that can be moved around by sliding them along the marcked rails.
- On gear on the lower left is turning.
- Arrange the gears so that they touch and link up to power the gear on the top right.
Soluition: Show
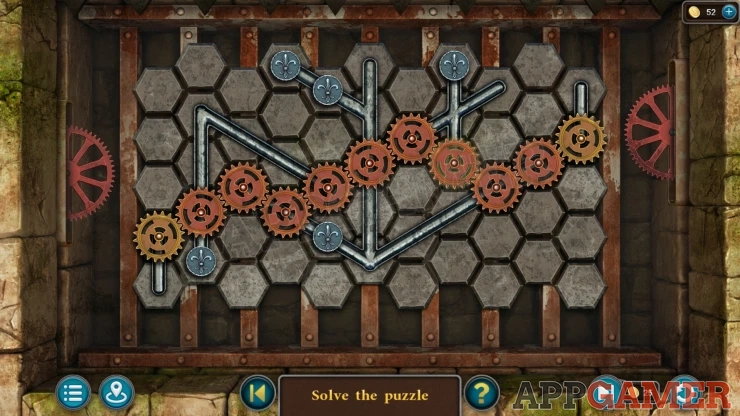
Once done the mechanism operates and opens the large castle doors.Go through to a courtyard.
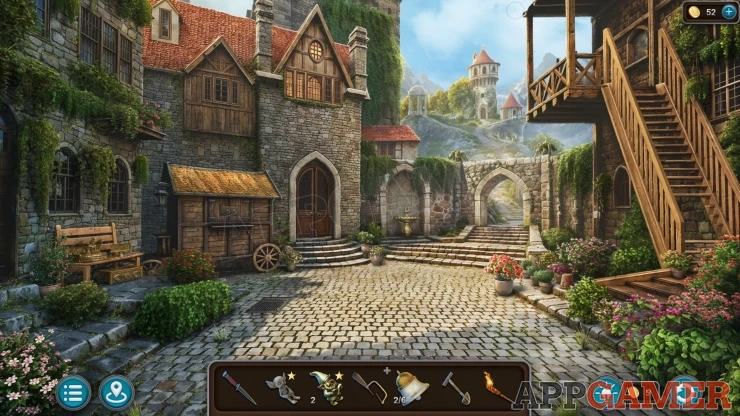
Morphing Object: small window at the top near the center.
Precious Flower: Tap an upside down pot in the various flowers on the right below the steps. Then look under it.
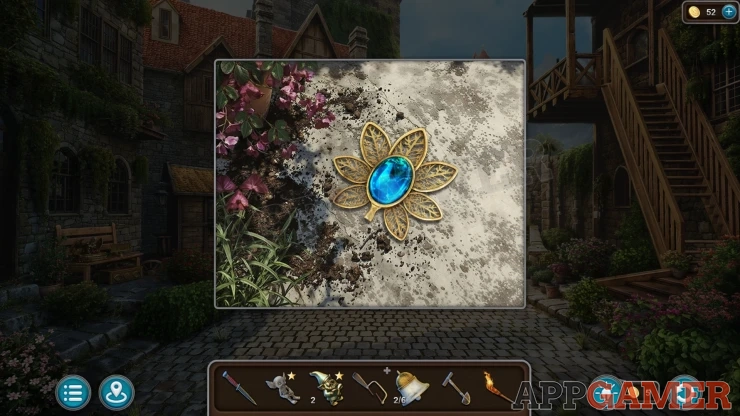
View a flower pot on the path on the right. Collect another Bell (3 of 6) from it.
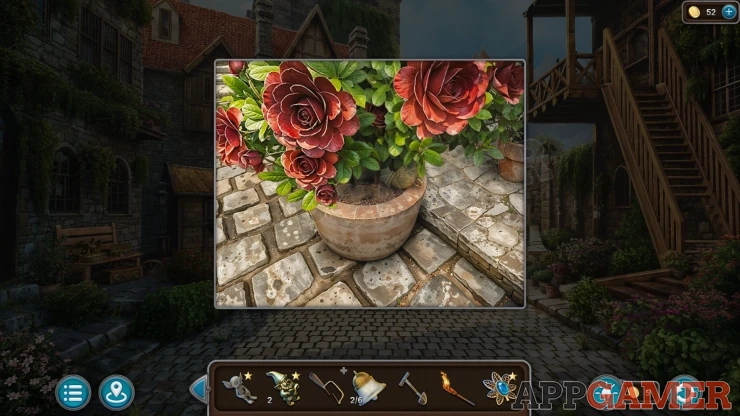
Then view the doors on the left. Collect a Crowbar.
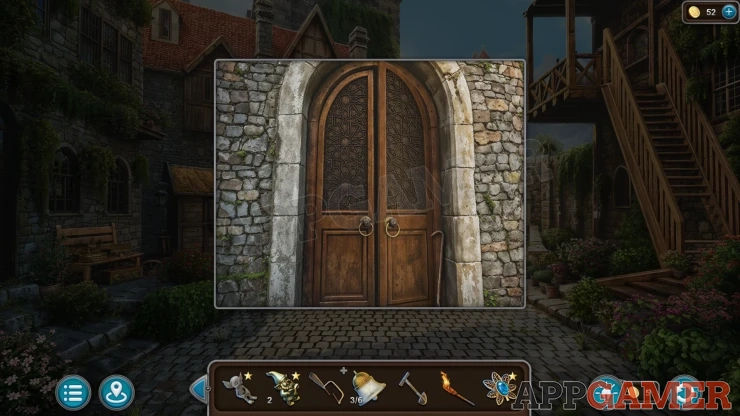
Tap the archway on the right to move through to a hillside with towers.
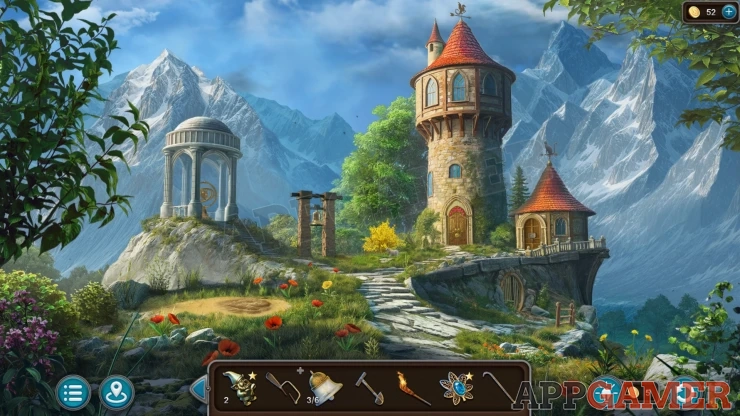
Collection Item: Tree between the two towers on the right side.
Morphing Object: Weather vane on the lower tower on the right.
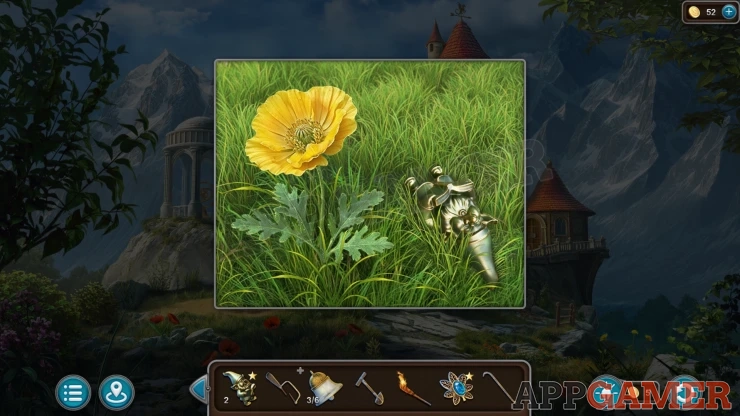
Dwarf: view a large yellow flower to the left of the lower path.
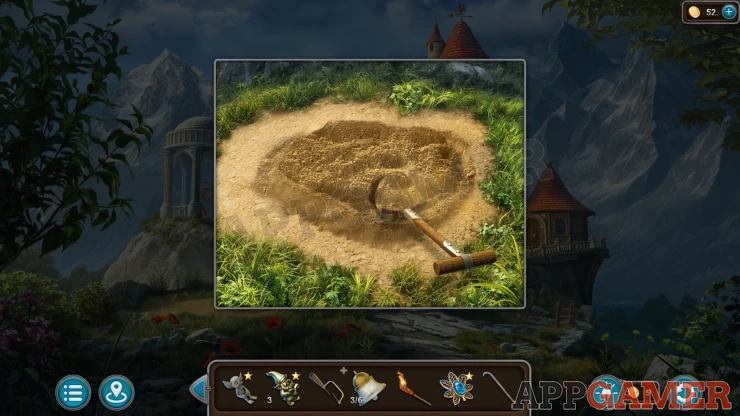
View a small sandy patch on the left of the path. Use the Shovel here to dig. Collect a Sphere and some Planks.
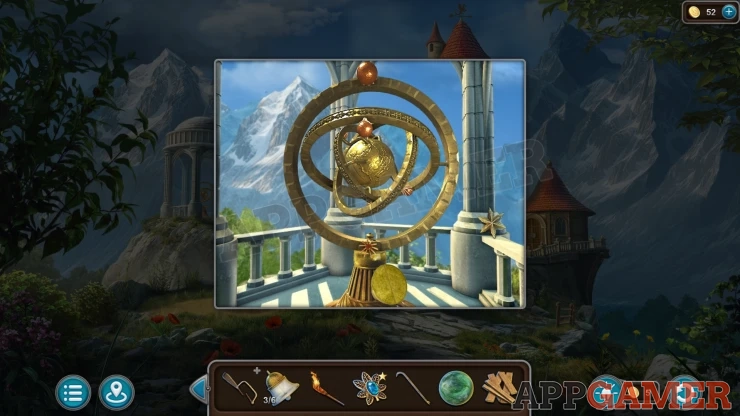
View a gold sculpture in the stone rotunda on the left, collect a gold Star from the guard rail on the right.
Travel back to the starting area and look at the round metal shield again that is on the ground at the top of the steps on the right. Place the Sphere into the cetrner of the shield.
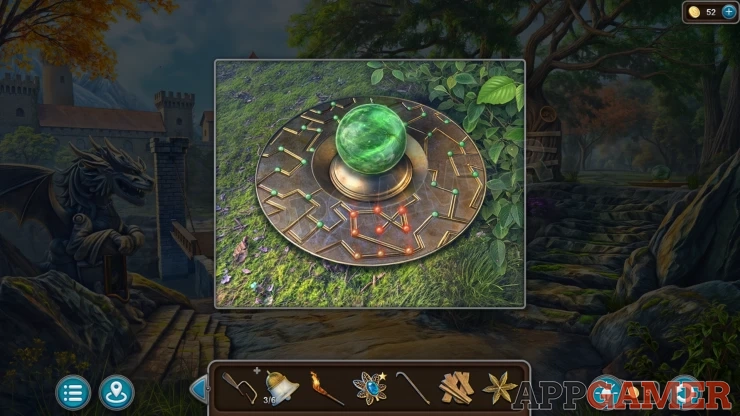
This will make a pattern of the green points light up. This is a clue.
Travel to the area outside the cave, then look at the top of the left steps to find an altar with a dragon statue.
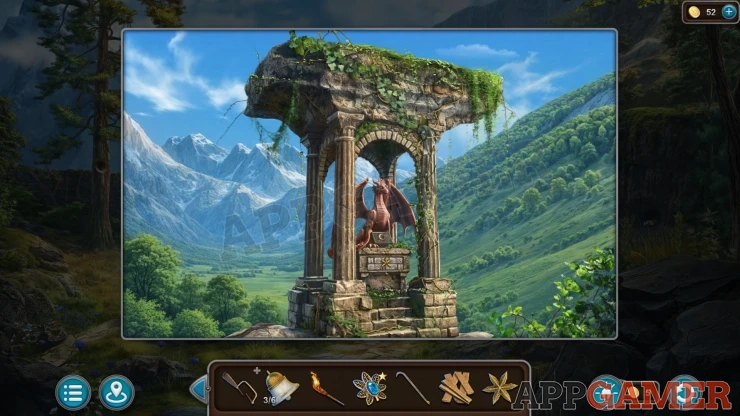
Tap the base of the statue and place the Star here to reveal another puzzle.
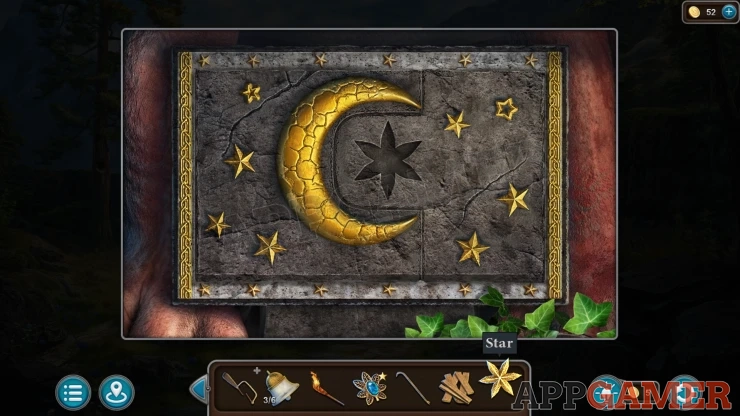
Dragon Altar - Star Puzzle
- Tap the stars in order to connected them with lines.
- Match the pattern of stars and lines to the clue see in the shield.
Solution: This may be different in your game.Show
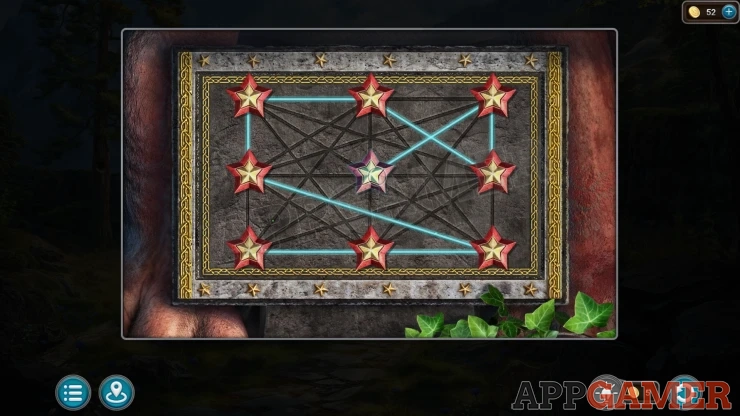
Collect an Apple Relief (1 of 2) and a Triangular Key.
Now go back to the castle courtyard. Look on the ground on the left to find a drain cover.
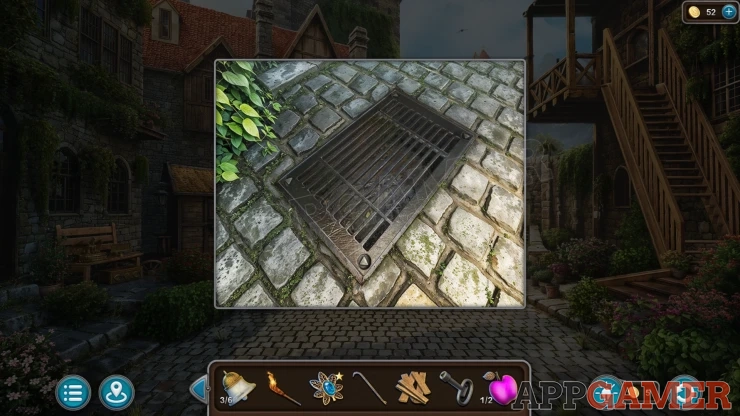
Use the Triangular key to open the cover, then collect some Pliers.
Now view the Wooden stall on the left. Use the pliers to cut the wide on the front and reveal a puzzle.
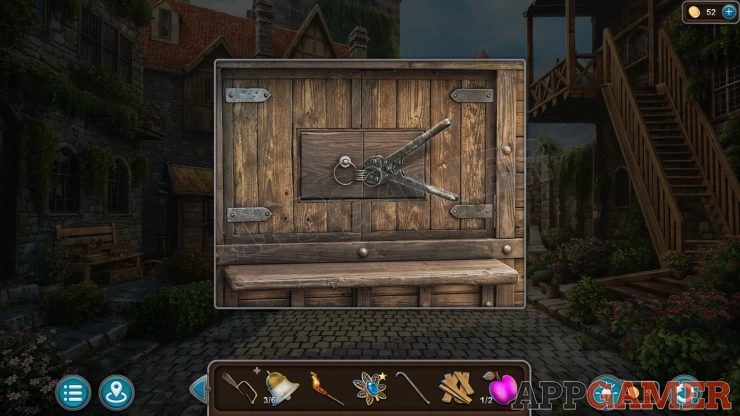
Courtyard Stall Puzzle
- You need to move the gold token from the lower left to the gold slot on the upper right.
- Tap an adjacent circle to move the token to if it is connect by the lines.
- When you move the circle you move to will turn in the indicated direction and this will change the paths that you can move on.
- You can move the token back and forth along the marked lines.
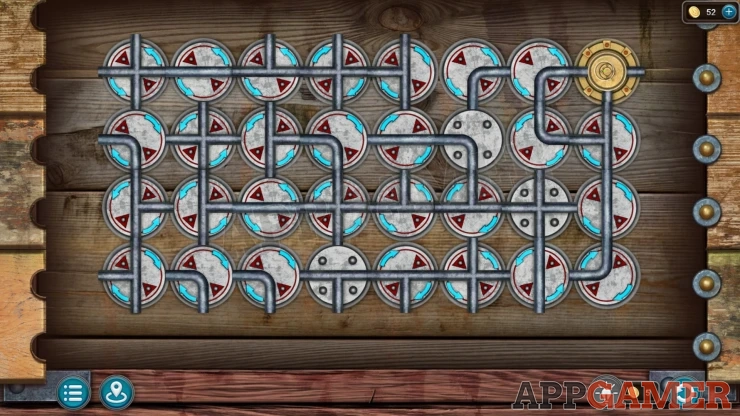
Once done the doors will open.
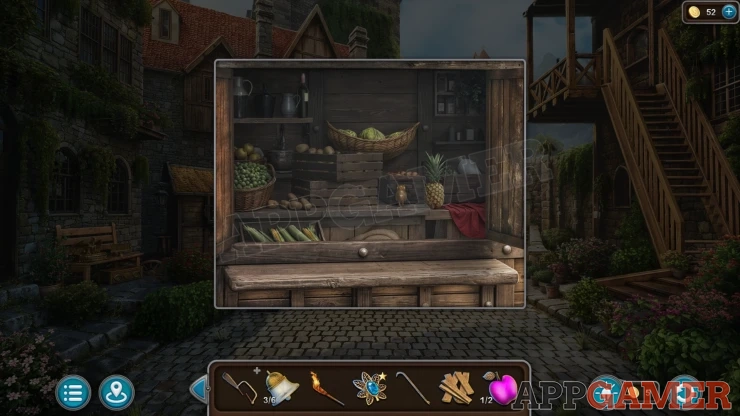
Collection Item: Bottle on the top left shelf.
Pixie: move the Pinepple on the lower shelf to find it.
Collect an Owl (1 of 4) and move the items in the top basket to then collect a Cabbage.
Go through to the hillside and view the yellow bush in the center. There is a goat here.
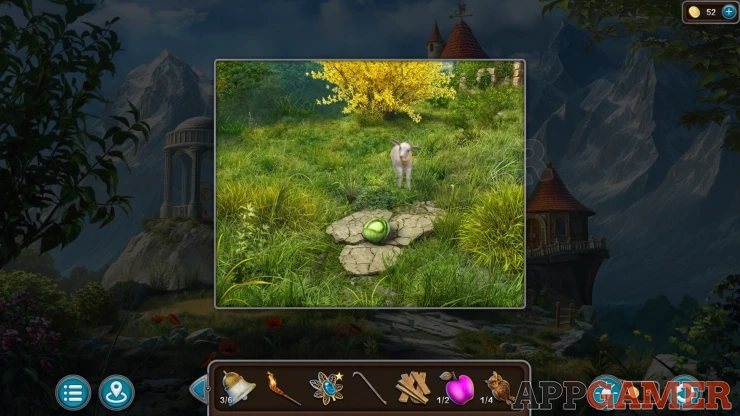
Place the cabbage on the ground and the goat will approach to eat it, then you can collect a Handkerchief with a clue on it from the goat.
Next view the door to the lower tower on the right. There is a puzzle here.
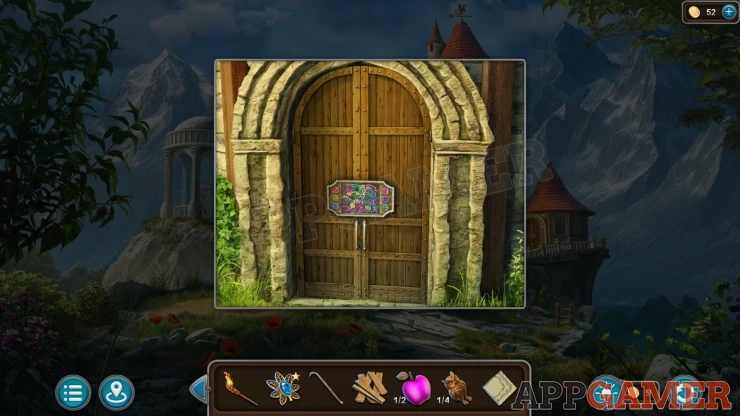
Small Tower Door Puzzle
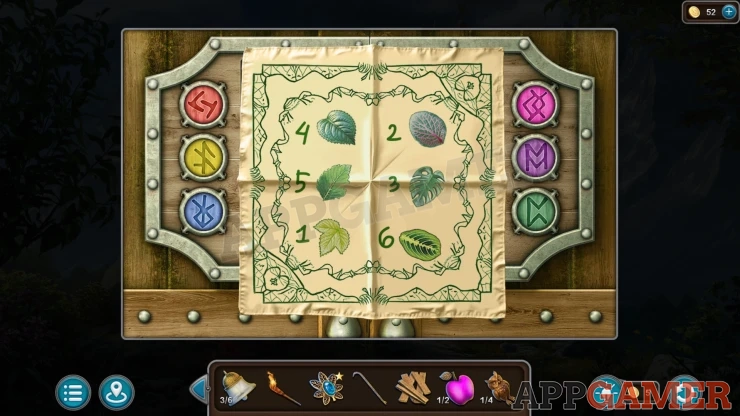
- Add the handkerchief as a clue. This shows six leaves with numbers.
- On the puzzle you will see the six leaf shapes and they are connected to color buttons via lines.
- Match the leaves and the buttons and then tap the buttons in the order of the numbered leaves.
Enter the small tower.
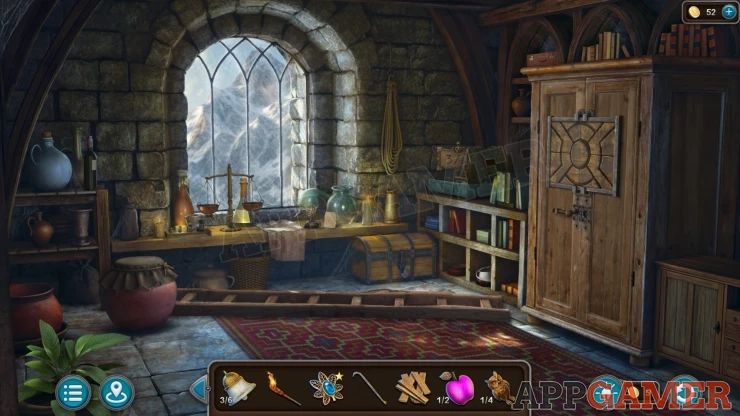
Collection Item: Bottle on the top shelf on the far left.
Morphing Object: Case / book on top of the tall cabinet on the right.
Precious Flower: Tap the bottom of the tall cabinet on the right to look underneath it.
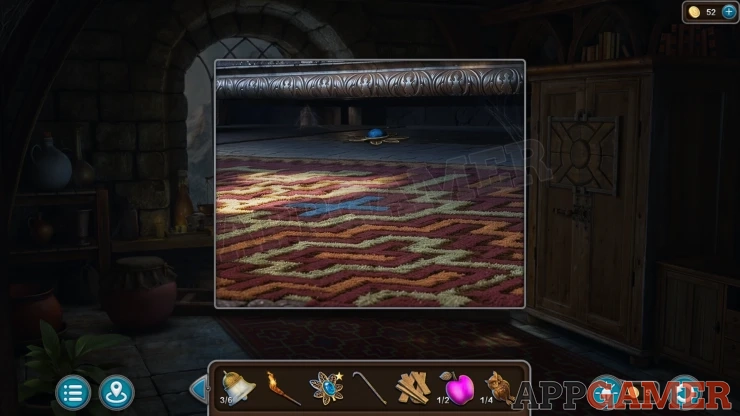
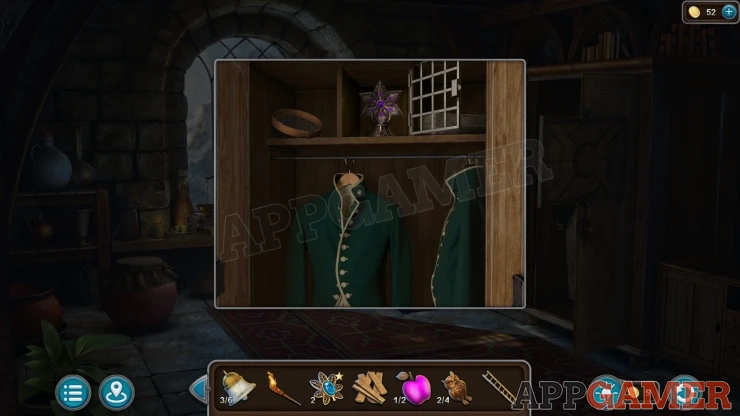
Collect a Ladder from the floor. Then tap the lifted corner of the rug to find a loose flag stone in the floor.
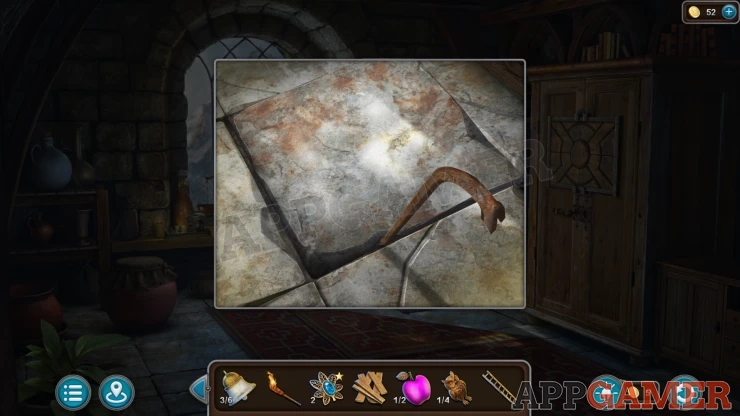
Use the crowbar to lift it and then collect a Handle and an Owl (2 of 4).
View the door to the tall cabinet on the right and add the handle to it. This will start a puzzle.
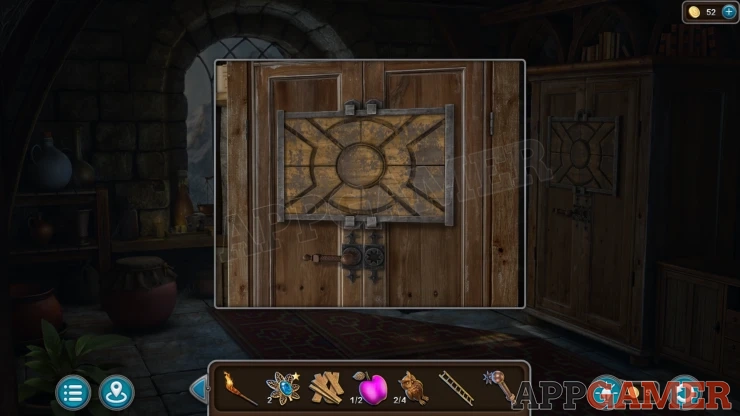
Cabinet Puzzle - Small Tower
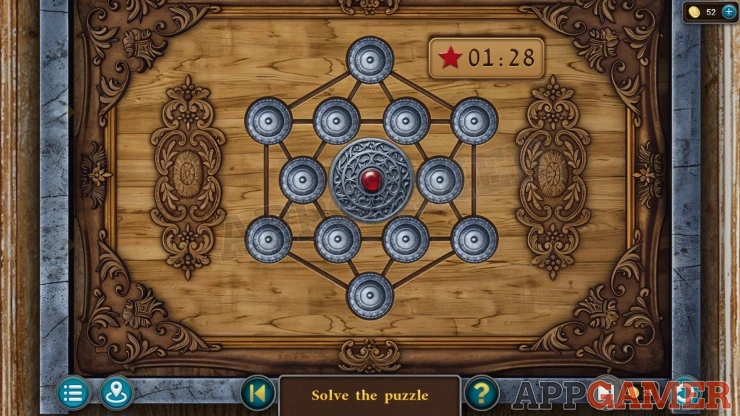
This is an Extra Star puzzle. Compllete it within the time limit to earn the extra star. You can restart the puzzle if needed.
- This is a matching pairs game.
- Tap two of the circles to turn them over and try to find the matching pairs. After each try the inner and outer ring of circles will move around in opposite directions.
- Each pair has one on the inned ring and one on the outer ring.
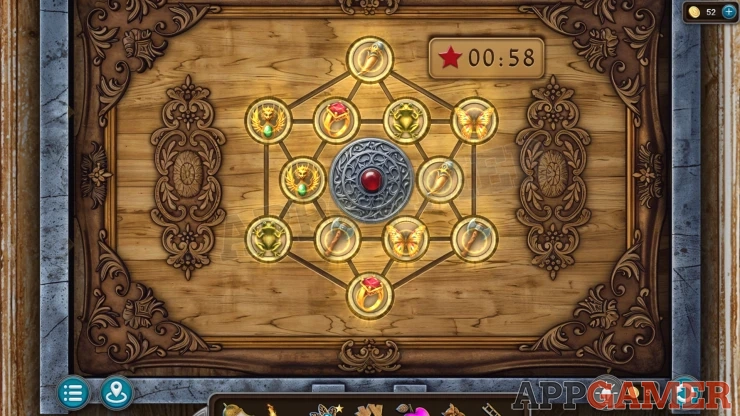
Once done collect a Sieve and the two Uniforms.
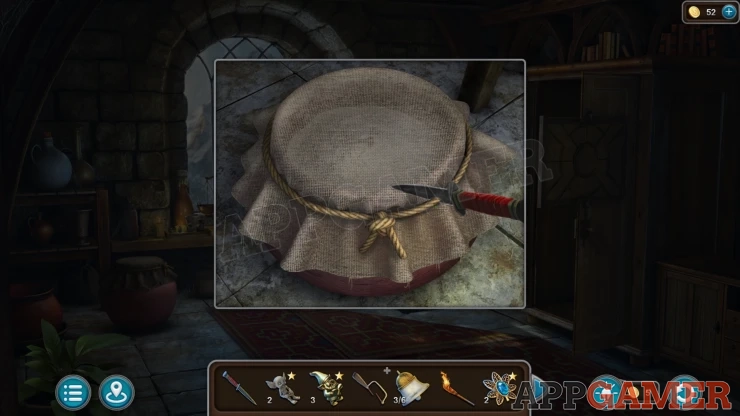
Next view a red pot on the floor on the leff and use the knife to remove the cloth cover.
Use the Sieve on the flour in the pot to collect some Nails.
Then view the table under the window. Read a note on the right around Birth of the Phoenix.
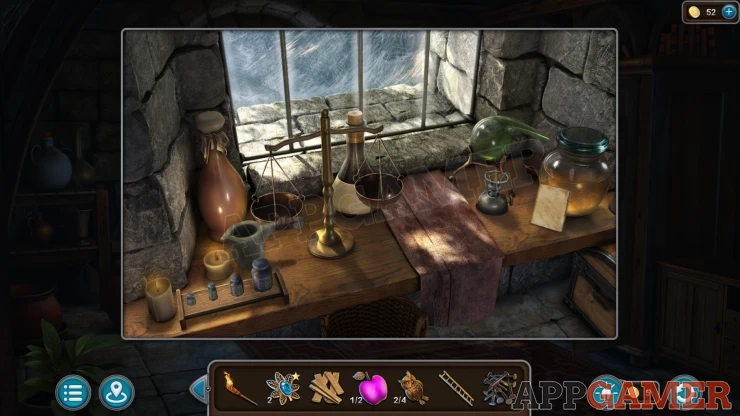
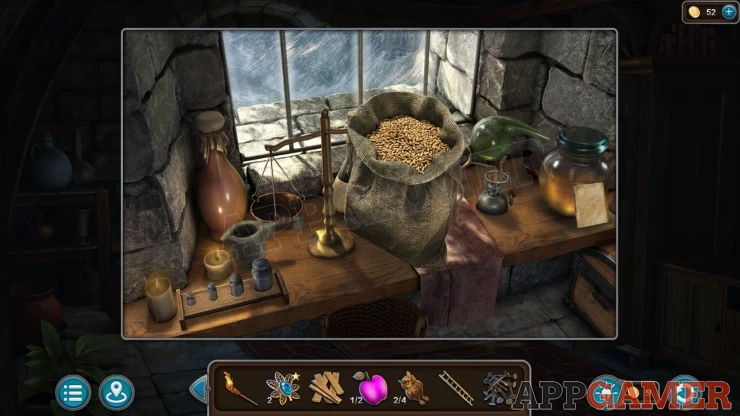
View the table again and tap the small bag on the right that was behind the note to collect the Millet.
Travel to the area outside the cave. There is a tree on the left side with a hole in it high up.
Place the ladder here and then you can collect a Crown and a Bell (4 of 6).
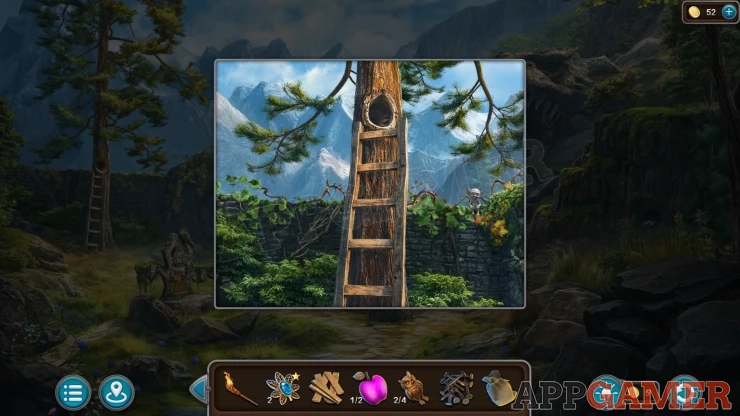
Pixie: while looking at the tree move some leaves on top of the wall on the right.
Go back to the castle grounds and view the base of the kings statue. There is an empty crown slot.
Place the crown to find a puzzle.
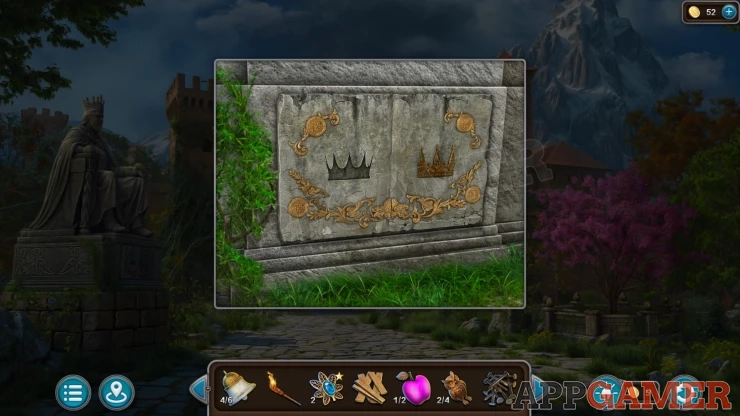
Statue Crown Puzzle
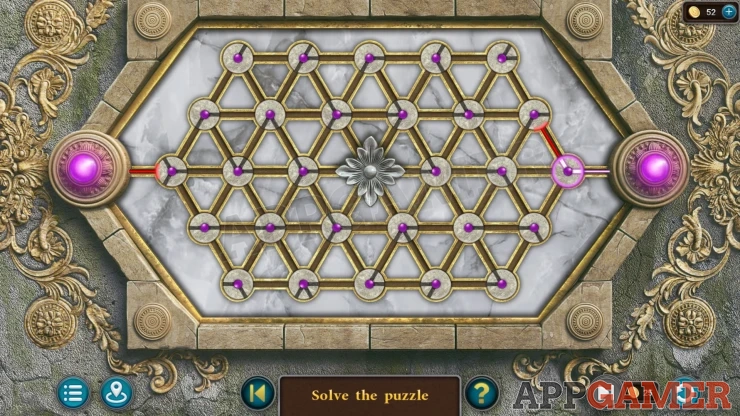
- The board has a number of circles with connector lines on them.
- Tap the circles to rotate them and changfe the position of the lines.
- A pink light passes thrrough from the left. Arrange the lines to let it pass through to the right side.
- You must also ensure that all the lines connect up so that there are no red sections where the pink light does not connect to another circle.
Solution: Show
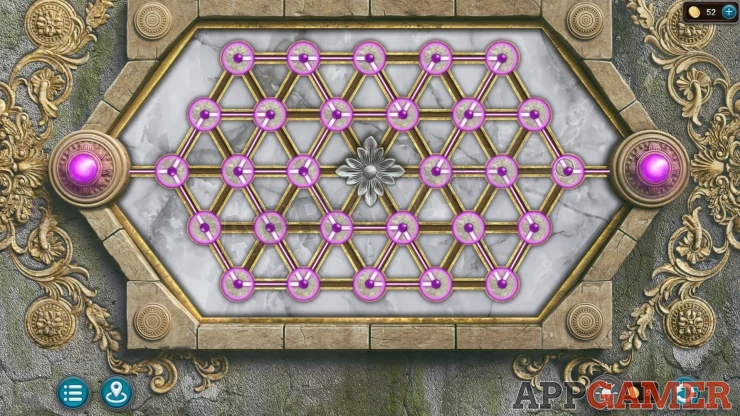
Collect an Emerald and a Hammer.
Enter the courtyard and then go through the doors on the left into the castle. A guard will talk to you.
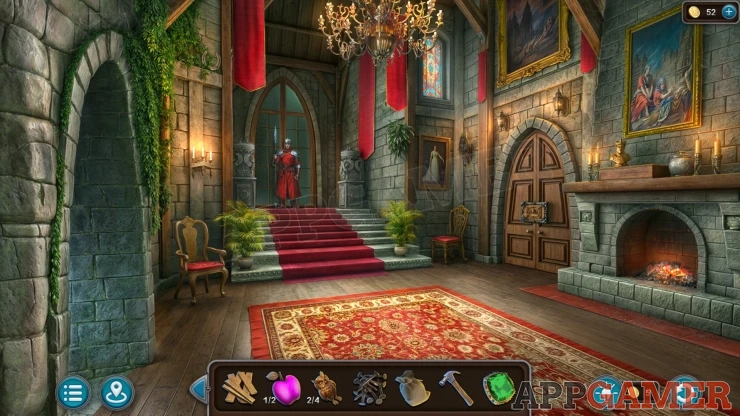
Collection Item: Bottle, in the large painting over the fire place on the right.
Morphing Object: A small gear / horseshoe by the ivy growing on the top left. Near a red banner.
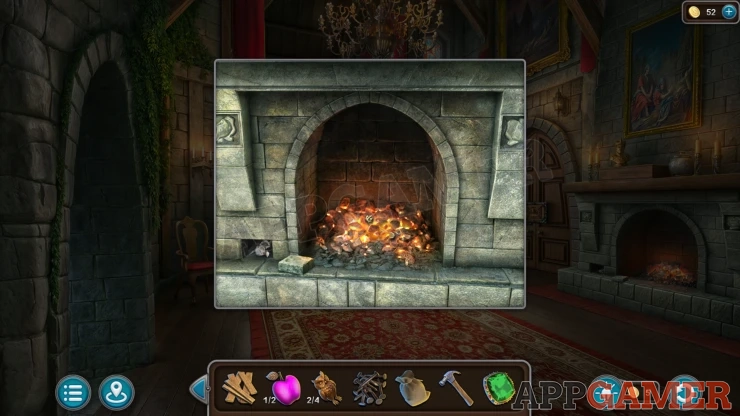
Pixie: View the fireplace on the right and move a loose stone block on the bottom left.
View a painting of a woman to the right of the steps. Tap to move it and find a hidden switch.
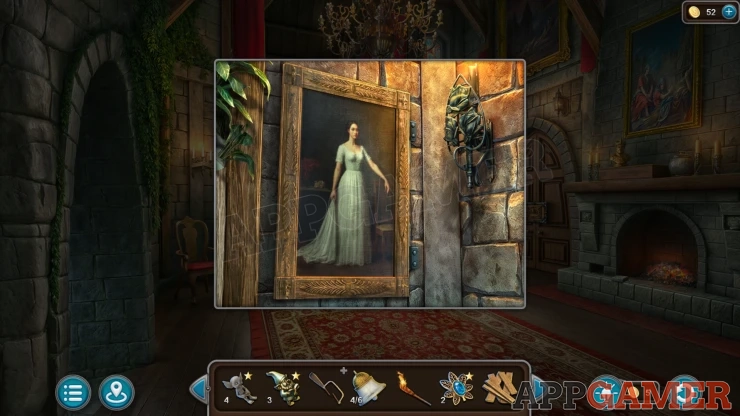
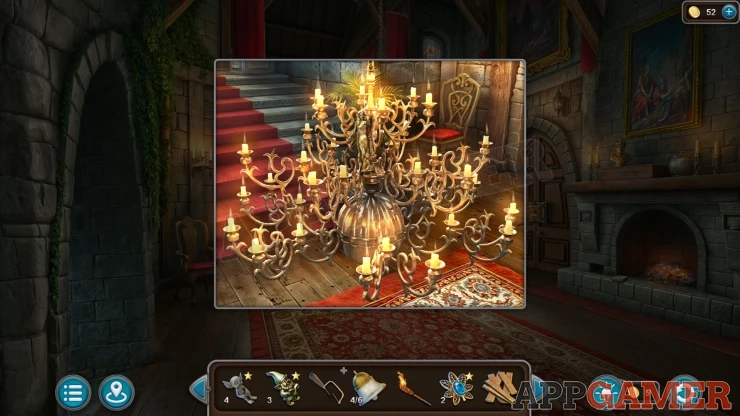
Tap the switch and the chandelier will lower from the cieling. View this. Collect a Statuette from it.
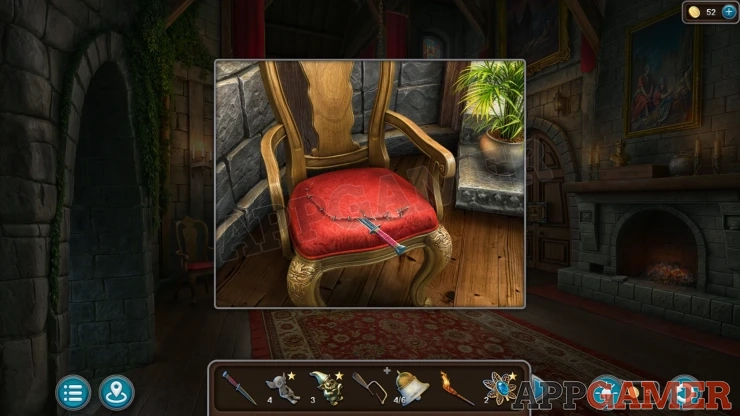
Then view a red chair on the left of the hall with a torn sear. Use the knife on it to cut it open and collect a Bull Skull.
Now tap the archway on the left side to move into a dark store room. Use the torch on the unlit torch on the right to light it and light up the room.
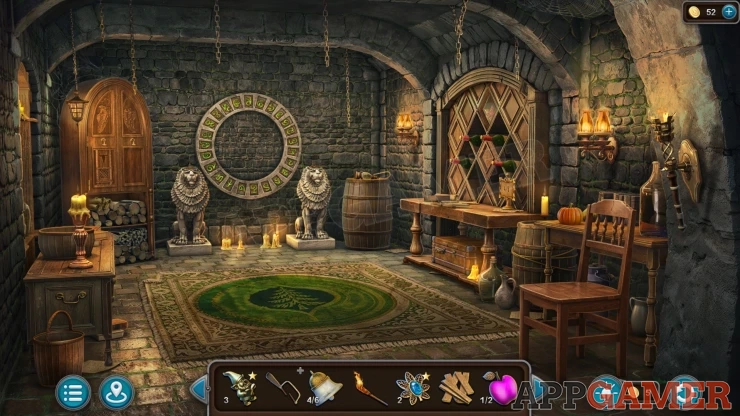
Collection Item: Tree in the center of the rug pattern.
Morphing Object: Small jug/vase on the floor by the chair on the right.
Precious Flower: Tap the top left corner of the floor rug to lift it and collect it.
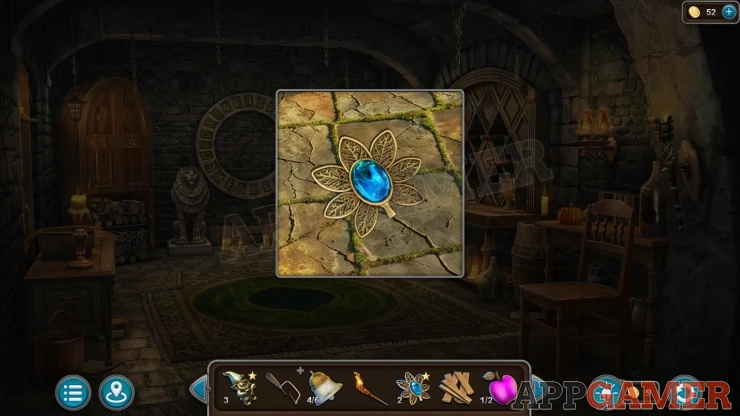
Dwarf: tap on the left lion statue at the back to look behind the cabinet. Then move the Mop.
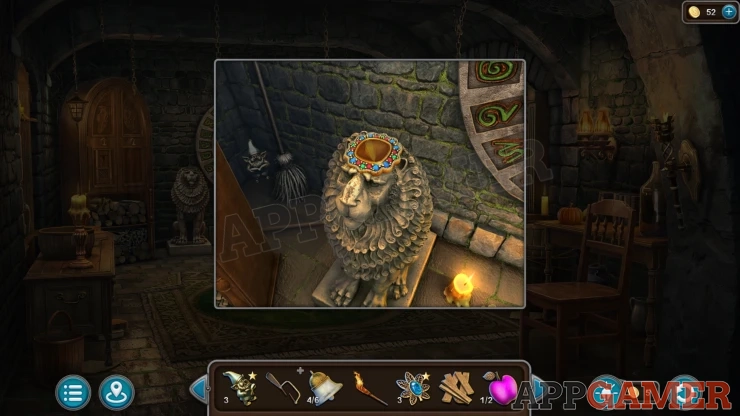
View the cabinet on the top left of the scene. Place the Bull Skull into the slot on the left side to open it.
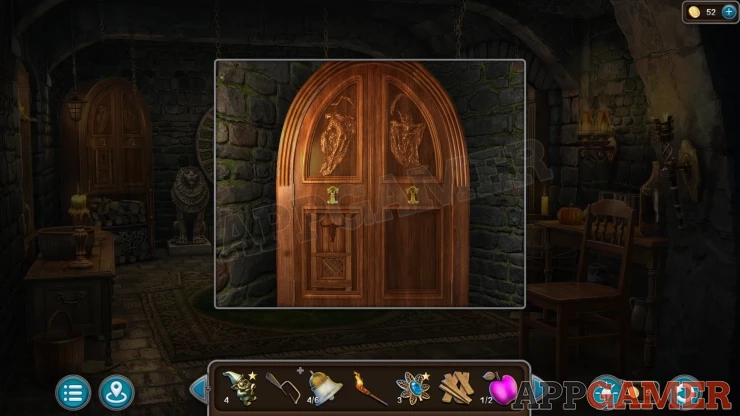
Bull Skull Cabinet Puzzle
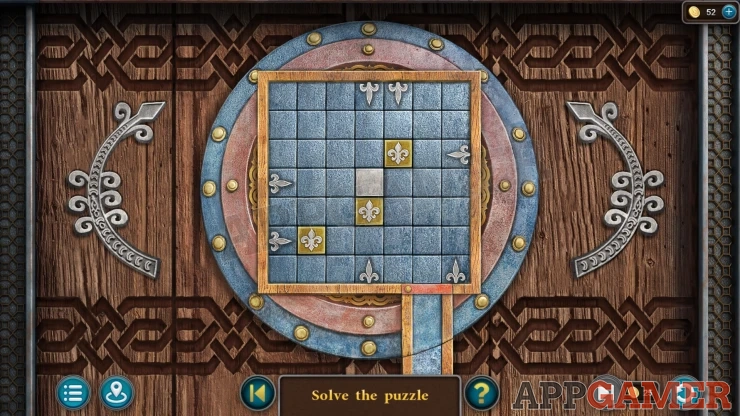
- There is a square board with fixed yellow blocks in the middel and fixed motifs around the edges.
- You can rotate the board with the arrows on the left and right.
- On the board is a whgite square that will fal down as you turn the board.
- Manauver the square aroudnthe board to get it to fall through the exit hole.
- There are three levels to complete as the quare passes on to further boards.
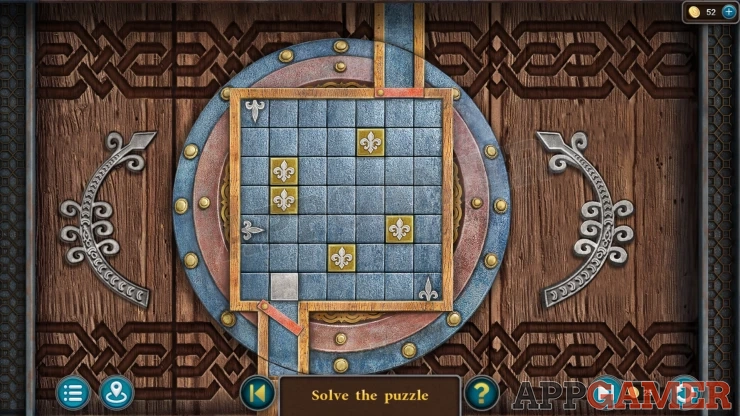
Once this is done you can collect some Perfume and some Dried Meat.
Then view the log stack that is at the bottom of the cabinet on the left. Collect from here some Tongs.
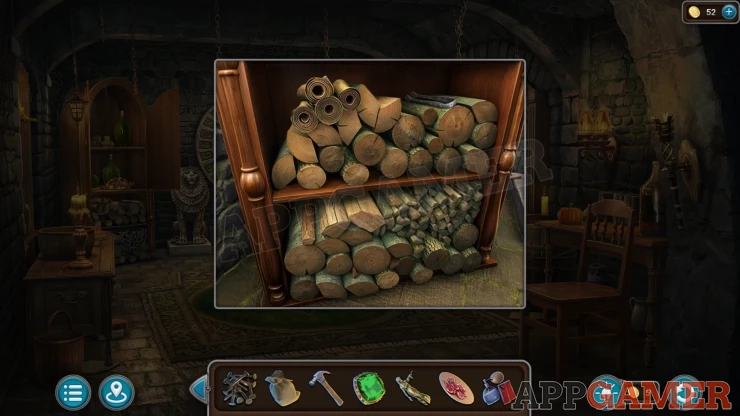
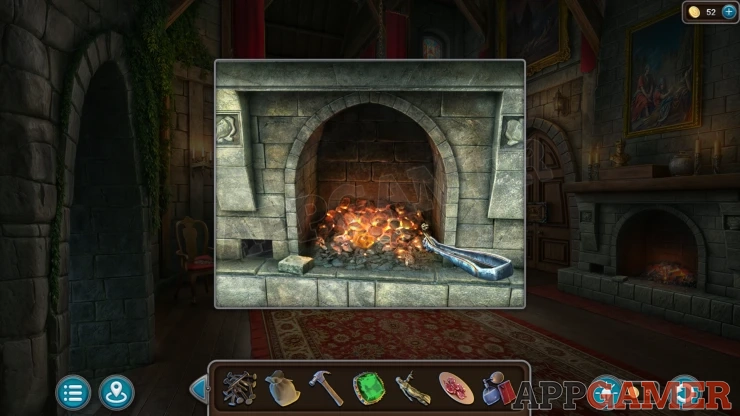
Back out to the hall and view the fire place on the right. Use the tongs on the coals to collect a Handle.
Go back into the side room and view a trunk under the wine rack/table on the right wall.
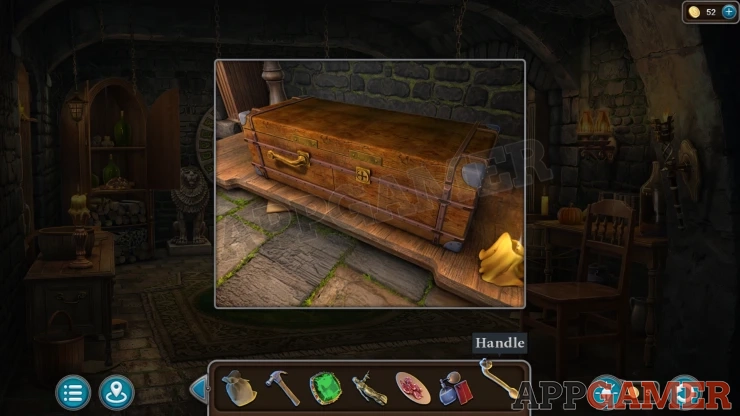
Add the handle to open it and then you can collect an Emerald.
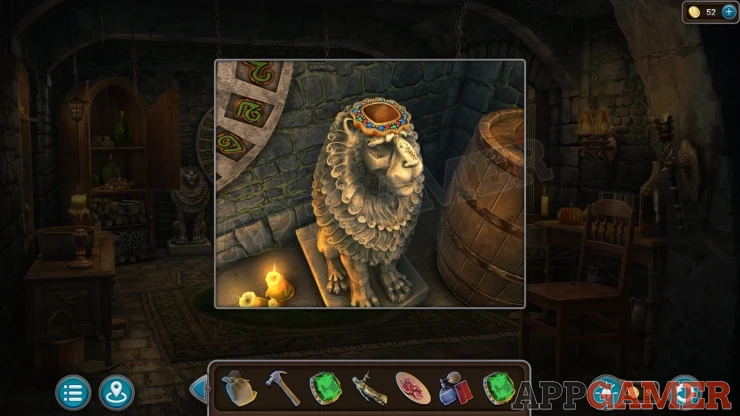
Now you can view the heads of the two lion statues on the back wall. Add an Emerald to the top of each. this will reveal another puzzle.
Lion Emerald Puzzle
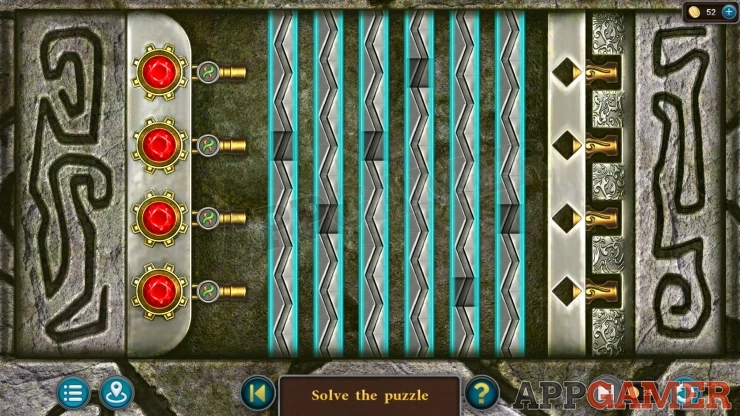
- There are four extendable rods on the left side and four buttons on the right.
- In the center are six bars that you can slide up and down. Each one has a gap in it that the rod will pass through.
- Move the bards up and down to line up the gaps so that each rod can slide accorss and press one of the buttons.
- Moving some bars will also cause others to move.
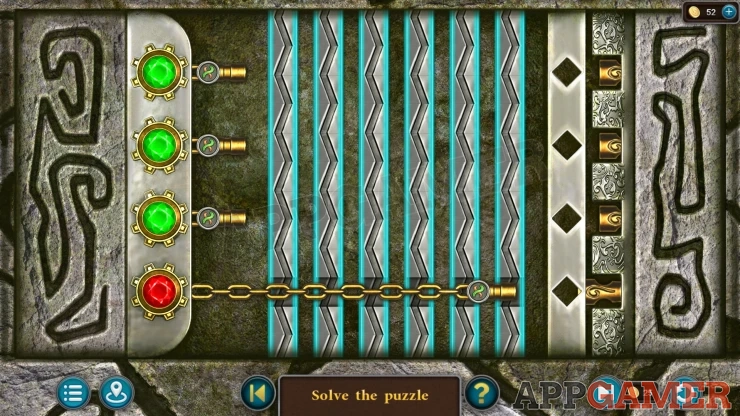
Once done you can collect the Copper Ingots.
This walkthrough continues in Part 2
We have questions and answers related to this topic which may also help you: Show all
 With 20 years of experience in creating video game content for the internet and over 30 years as a gamer, Mark is now a passionate mobile App Gamer. Loving a challenge, he is always ready to get stuck in to both survival builders and puzzle solving games. He has been providing content for AppGamer since 2014.