
Episode 12 Walkthrough - Haunted Theatre - Part 2
More Artifact Seekers
This is the second part of our guide to Haunted Theatre, the twelfth Episode in the puzzle adventure game Artifact Seekers, from Five BN. In this episode you are exploring a theatre that has fallen under a curse.
In Episode 12 Part 1 you have raised the chandelier in the auditorium hall and discovered a hole under the stage. You also collected some items from some balcony seats above the stage.
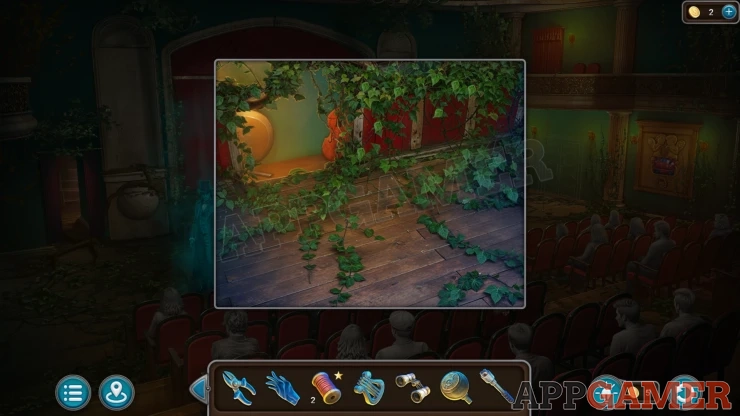
Episode Twelve - Haunted Theatre Walkthrough - Part 2
From the auditorioum hall proceeed through the hole under the stage to go to a Music Room. There are roots covering everything.
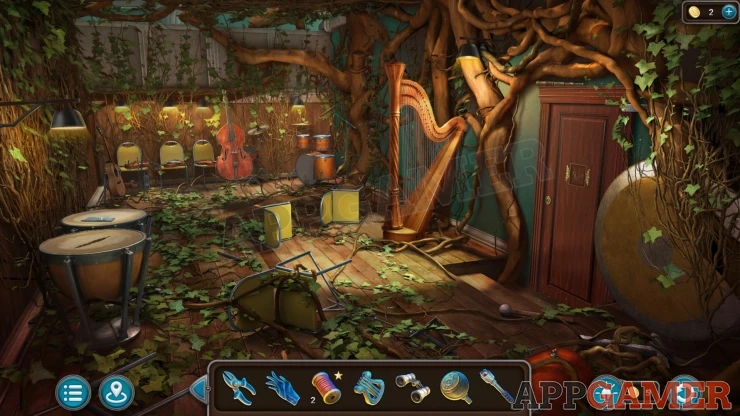
Collection Item: Top hat seen in the large root on the back corner above the drum kit.
Morphing Object: Flute above the door on the right.
View a door on the right. Add the Door Handle to it to start a puzzle.
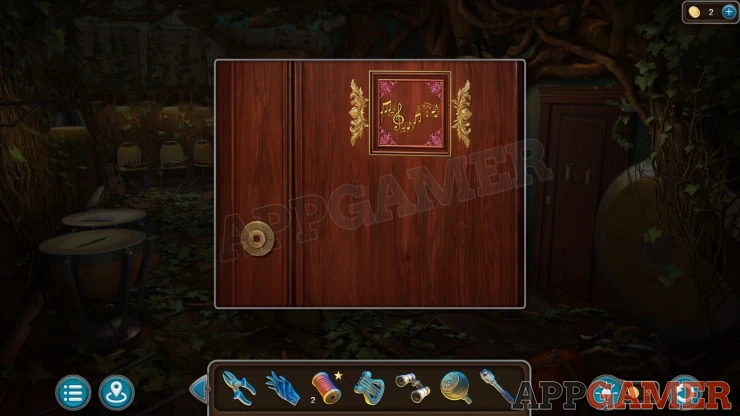
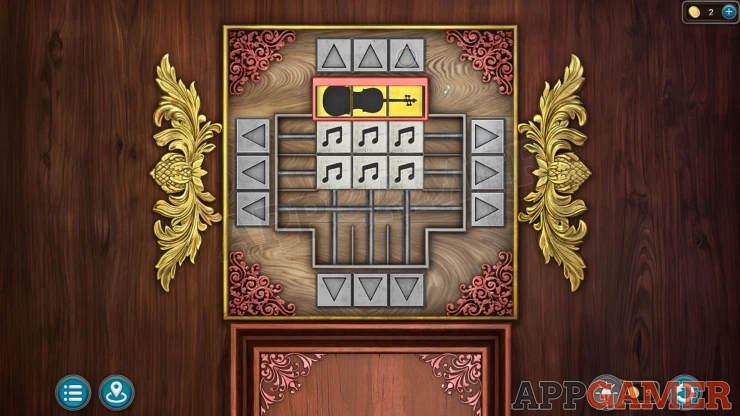
Music Room Door Puzzle
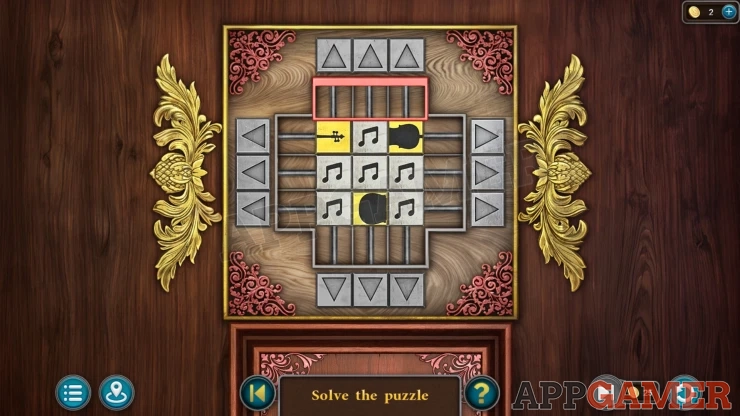
- There are quares with musical notes or parts of an instrument (yellow).
- You can use the arrow buttons to move the rows and columns to let you move the quares around.
- Ypou need to arrange the squares so that the three musival instument blocks fit into the top red section in the correct order and also line up the notes below it in the center as shown below.
You enter a dark strore room.
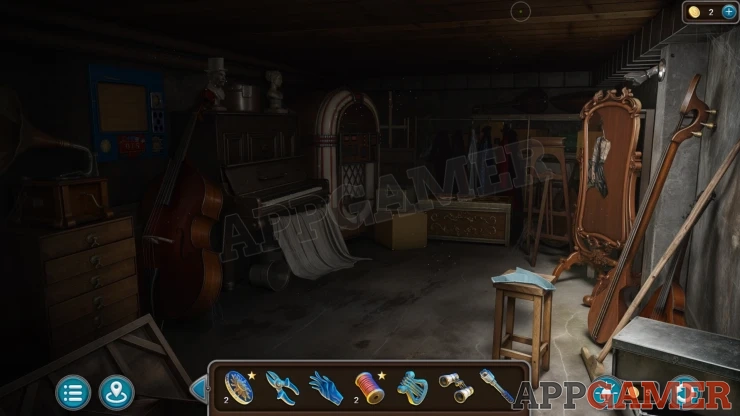
Collection Item: Top Hat on a bust on the the top of the piano on the left.
Look on the wall on the top right to see a broken bulb. Tap to remove this.
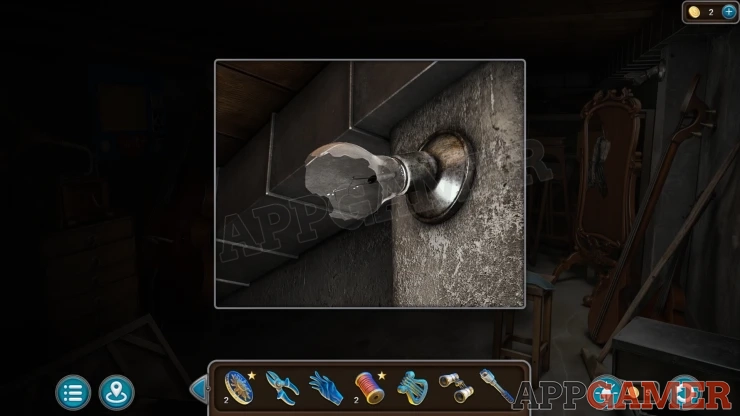
Next travel to the dressing room again and view the Mirror on the right. Use the Rubber Glove here to collect the smaller Light Bulb on the right.
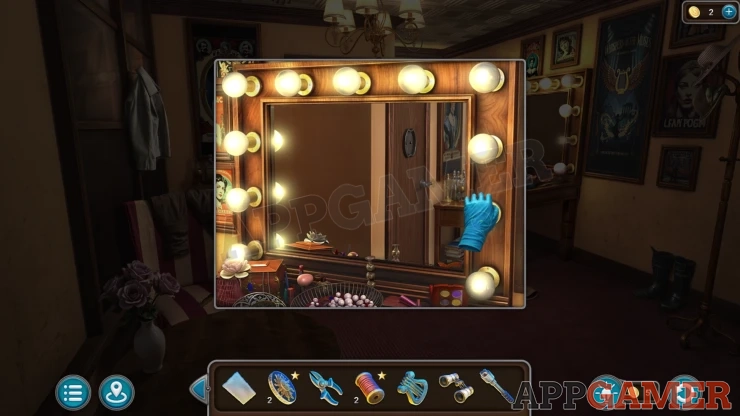
Go back to the dark store room and add the light bulb that you have to the empty socket.
Now you can view the broken mirror on the right. You need to find the Mirror Shards to fix it.
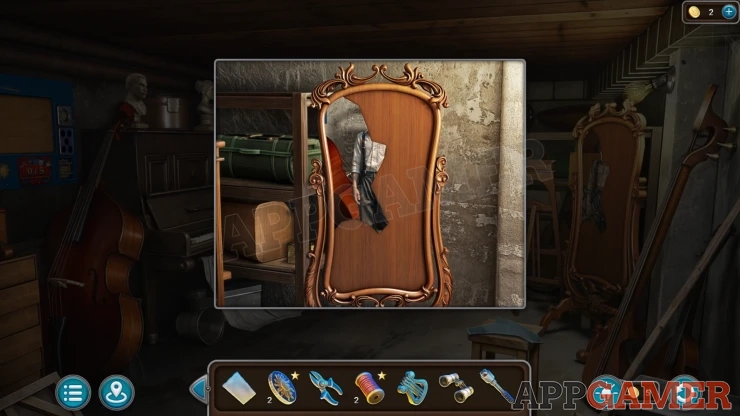
Archer: on a shelf on the left of the mirror as you look at it.
Mirror Shard: On the stool in the store room.
Morphing Object:: Cut out shapge on the front of the large Double Bass.
View a box on the floor in front of the jukebox in the back corner, open this to collect a Music Stand.
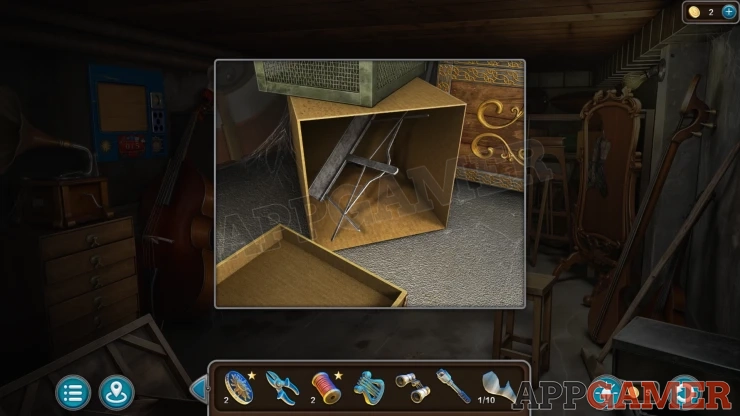
Then look on the larger wooden box to the right, Collect from the top a Ticket Register Figurine.
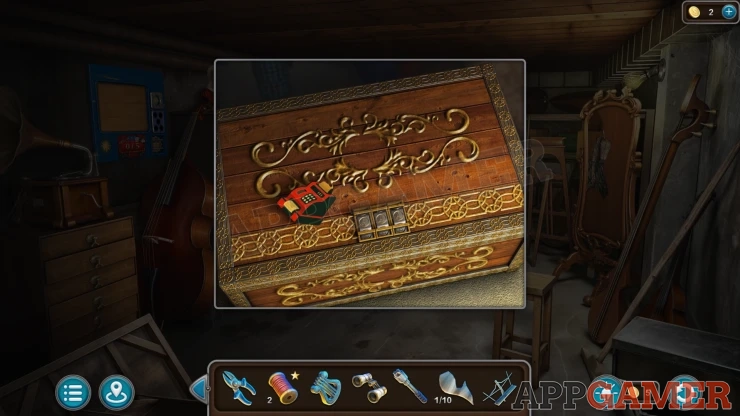
Back up to the music room and view the drums on the left.
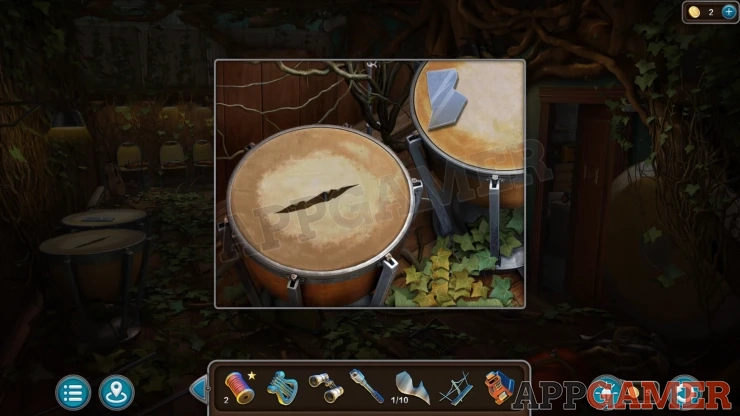
Mirror Shard: on the right drum.
Use the knife on the left drum to cut the top skin and then collect a Hose.
Threads: move the leaves on the floor below the drums to find it.
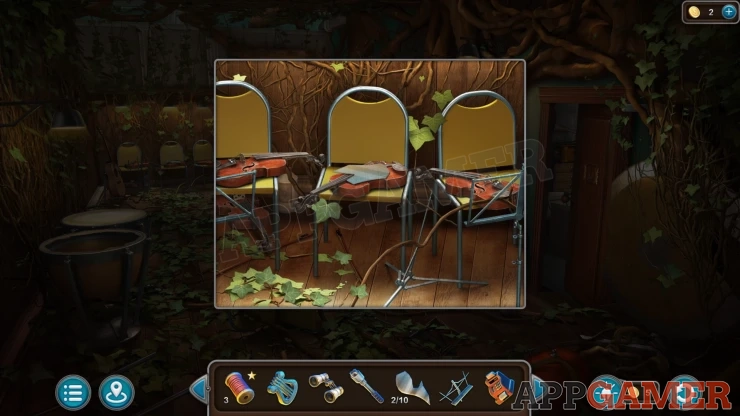
Then view the chairs on the back left of the room. Mirror Shard: on the center chair.
Collect a bottle of Solvent.
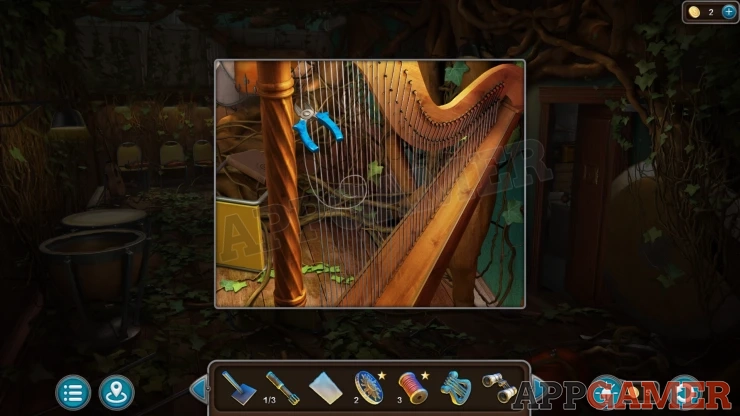
Next view the Harp on the right, use the wire cutters again to collect a String, then also collect a Book (2 of 4) from the left.
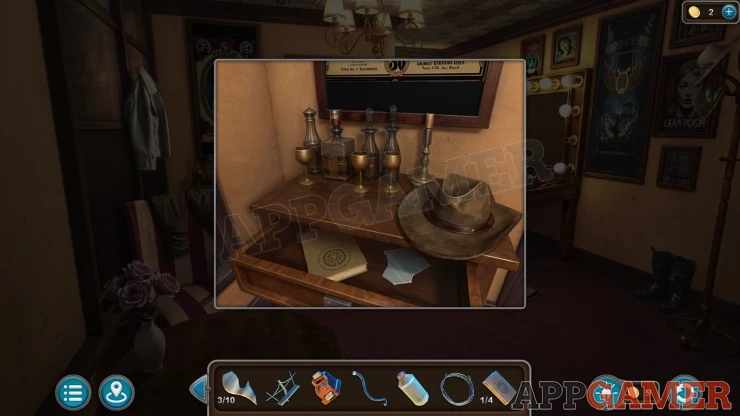
Return to the dressing room. View a small table behind the chair on the left. Open the top drawer and collect a Book (2 of 4). Mirror Shard: in the drawer.
Then view a sewing table on the back right. Collect a Lever (2 of 3). Mirror Shard (4 of 10): on the left of the sewing machine.
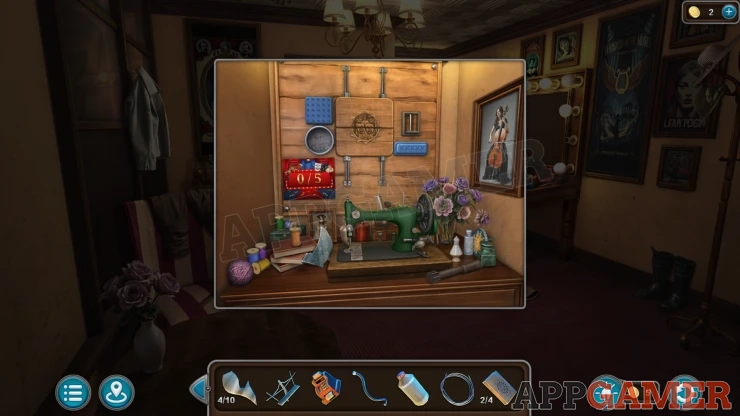
Sun Symbol: behind some small containers on the right of the sewing machine.
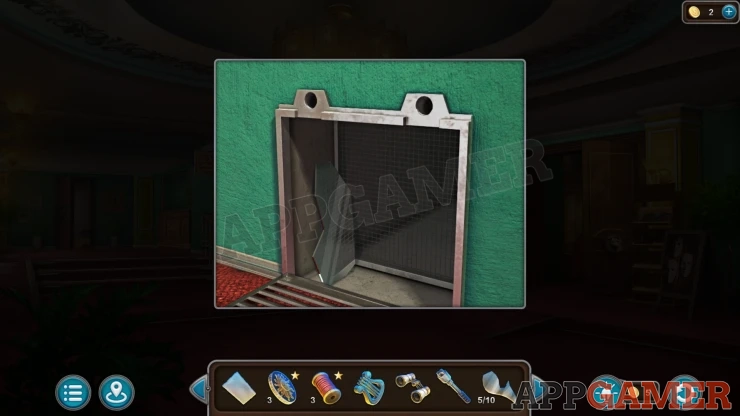
Go back to the theatre Lobby. Look in the opened vent behind the sofa again. Mirror Shard in the vent.
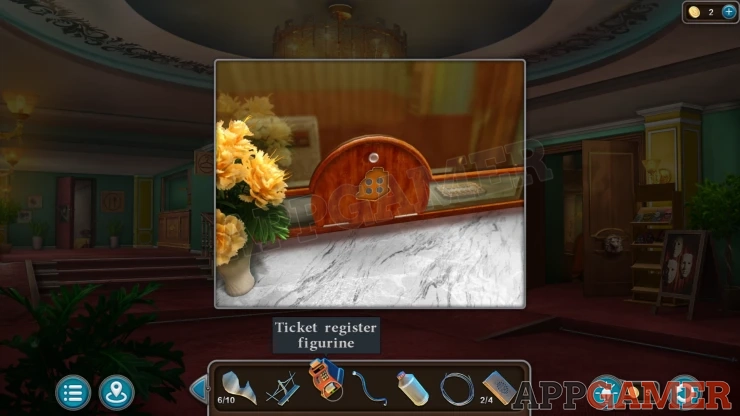
View the ticket window again and place the ticket register figurine onto the round wooden board to open it. Collect a Ticket.
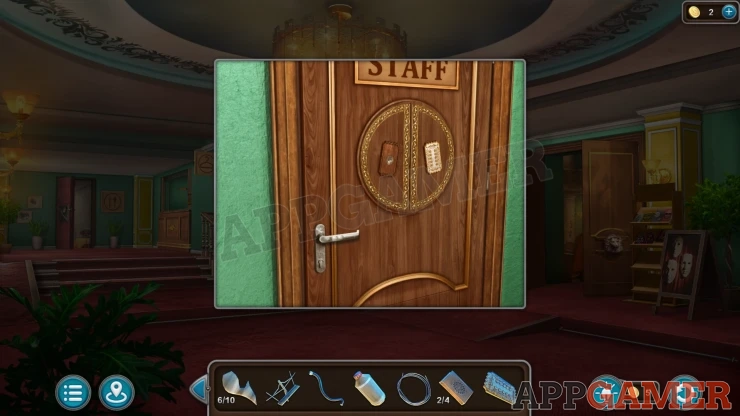
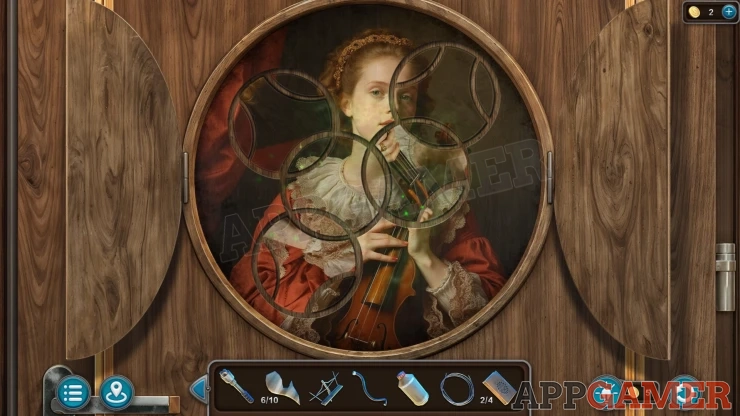
View the 'Staff' door on the right of the window and place the Ticket on to the panel. This will reveal a puzzle.
Staff Door Puzzle
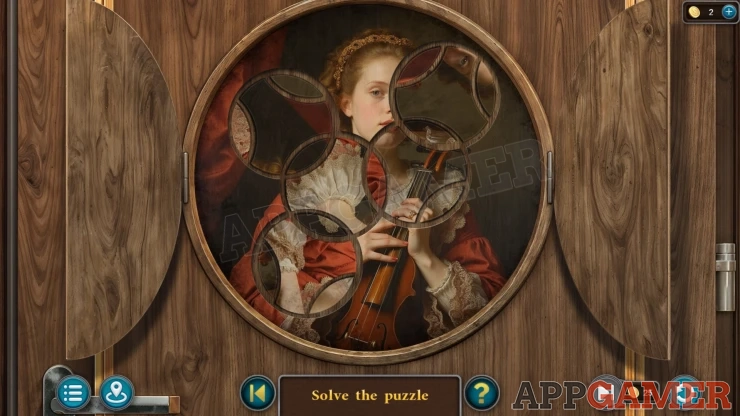
- There are five circles that you can tap to rotate.
- Each circle has three segments that can be swaped to arrange them into the correct locations.
- Move all of the pieces to assemble the full picture as show below.
Solution: This completed for me even with one of the circles in the wrong position.Show
You can then enter the staff room. There is a door to the Directors office.
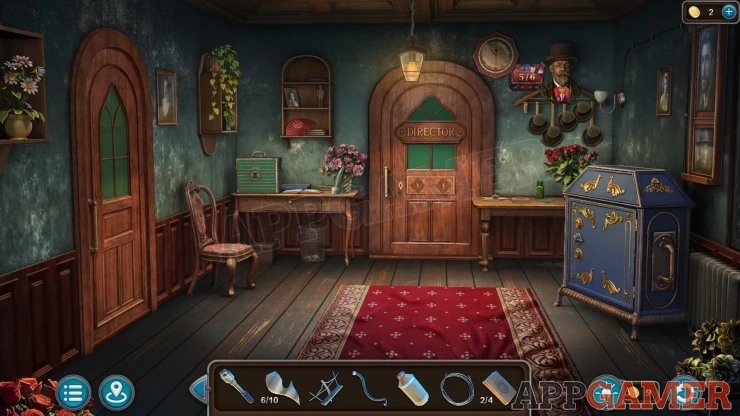
Collection Item: Fan, on the small shelves above the desk on the left.
Morphing Object: Glass on the desk on the left next to the flowers.
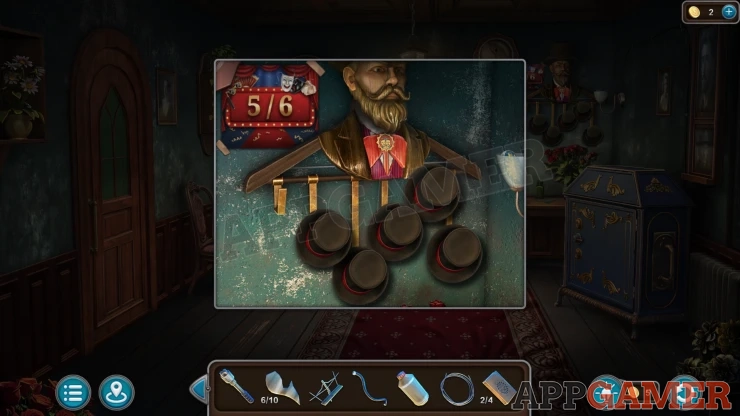
Sun Symbol: view the hat rack on the right above the safe. It is in the sconce on the right side.
View the desk and then add the Harp Figurine to the green box to open it. Collect a Ball with a Key.
Open the drawer of the desk to find a Mirror Shard (7 of 10)
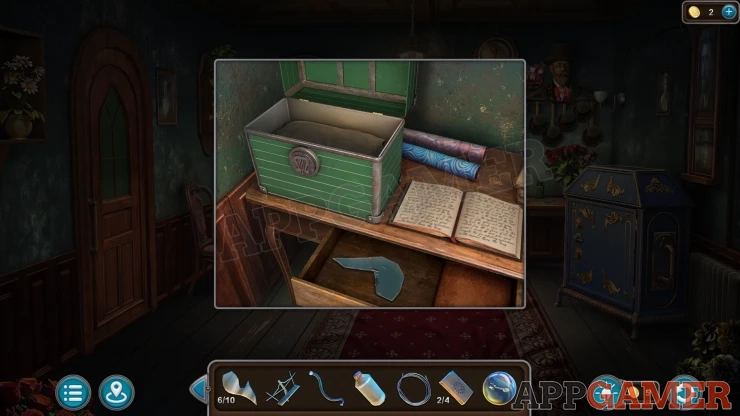
Next view the table on the right. Mirror Shard (8 of 10) on the table. Collect a Book (3 of 4).
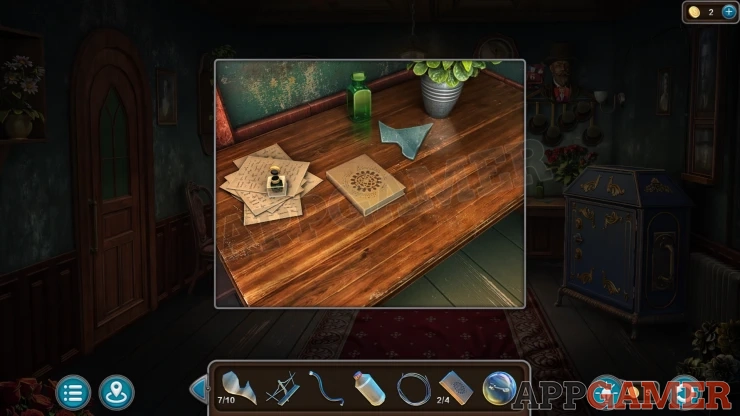
Then view the door on the left wall, open this to see a small office inside.
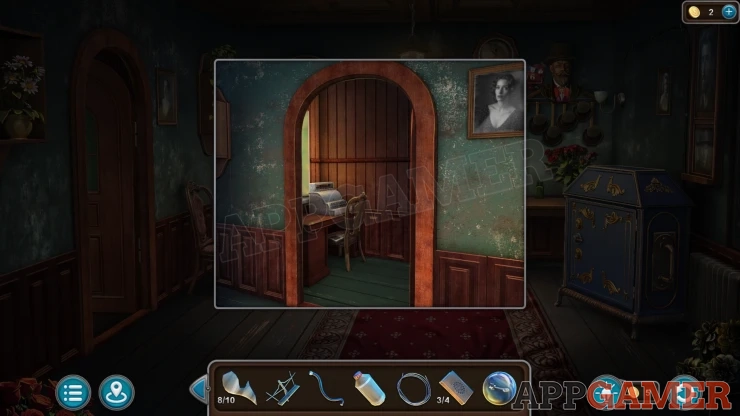
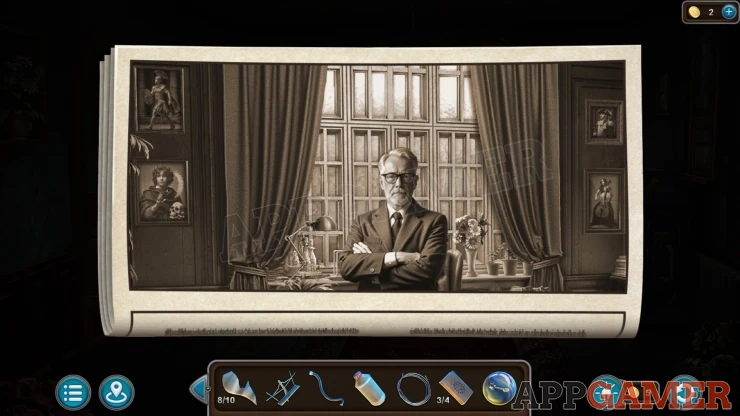
View the Cash register on the table and then you can view a news paper below it with a picture. This is a clue.
Go to the auto repair garage with the bus. Look on the workbench on the back left.
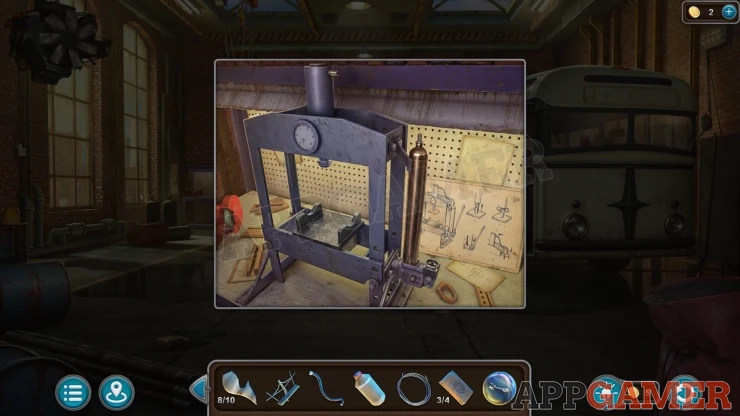
Assmeble the hydraulic press, you need to add the Press Pate, the Press Arm and the Hose. Then place the Ball with key in the press and tap the arm to crush it.
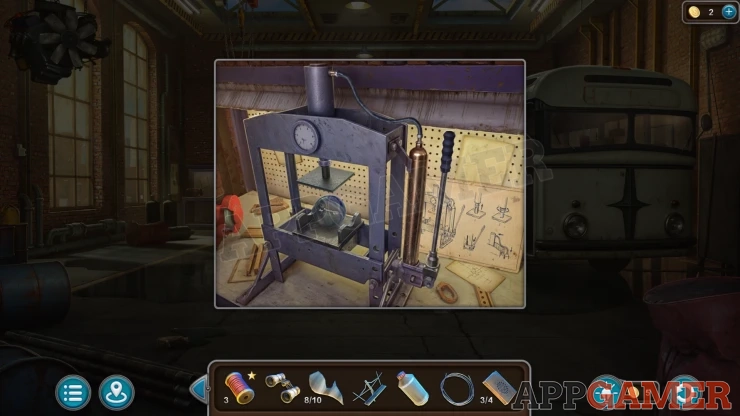
You can then collect the Cross-Shaped Key.
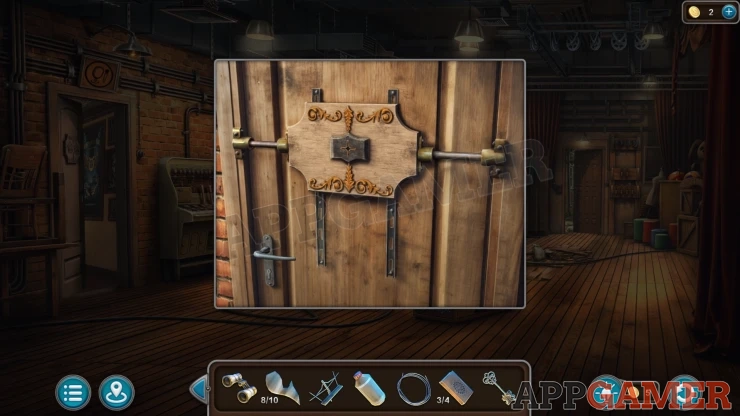
Go to the backstage area and view a dopor to the left of the Large cylinder. Use the craoos shaped key to unlock a puzzle panel.
Spot the Difference Puzzle
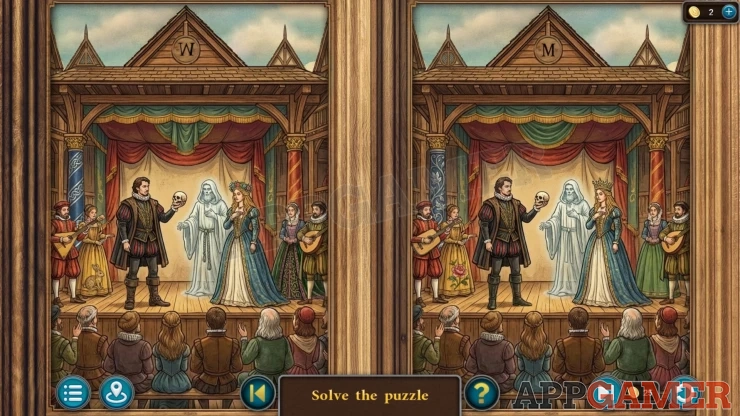
- There are two similar picutes with 10 diferences in them.
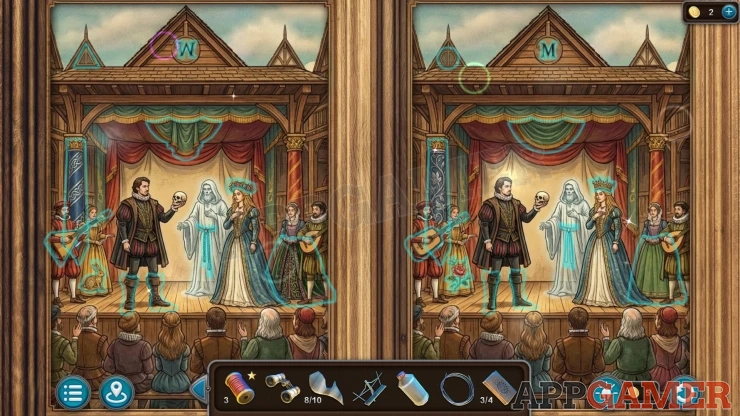
- Tap on the locations on either frame where a differnce appears to mark it.
Solution: Show
Enter the workshop.
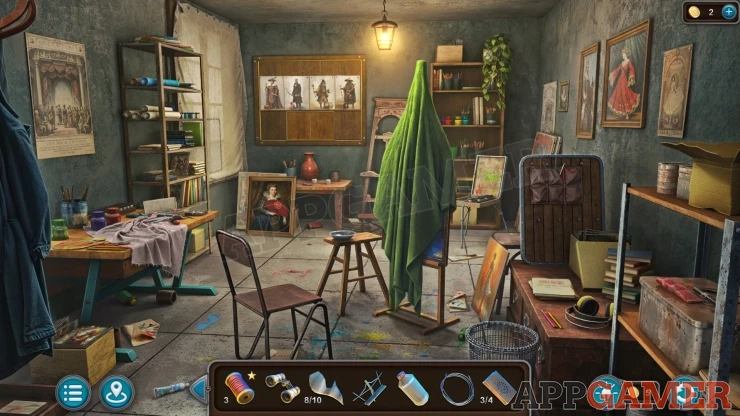
Collection Item: Fan in a painting with a lady on the floor near the back left.
Morphing Object: blue hand print on the floor on the left.
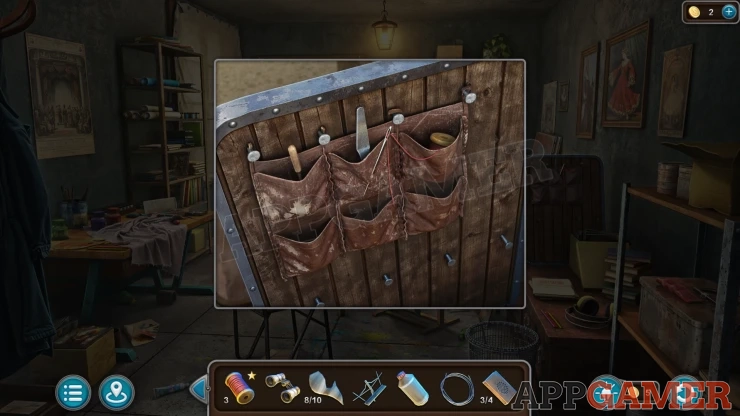
Threads: Look in some pockets on a wooden board on the right.
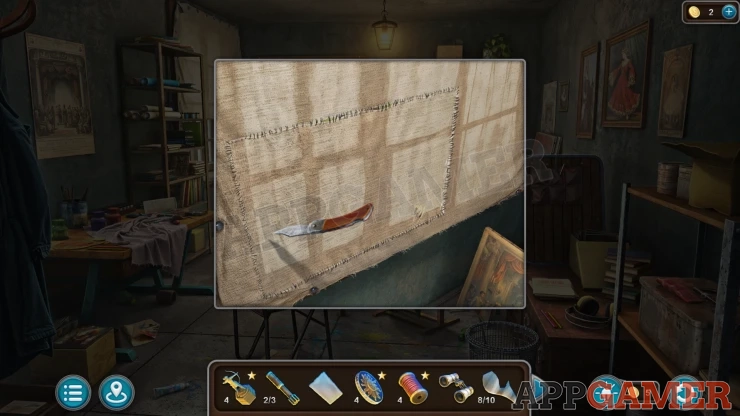
View the window on the left covered with fabric. Use the knife here to cut aware the left corner and you can collect a Stiff Sponge and a Mirror Shard (9 of 10).
Then view a panel on the back wall with four pictures on it, this is a puzzle.
Four Professions Picture Puzzle
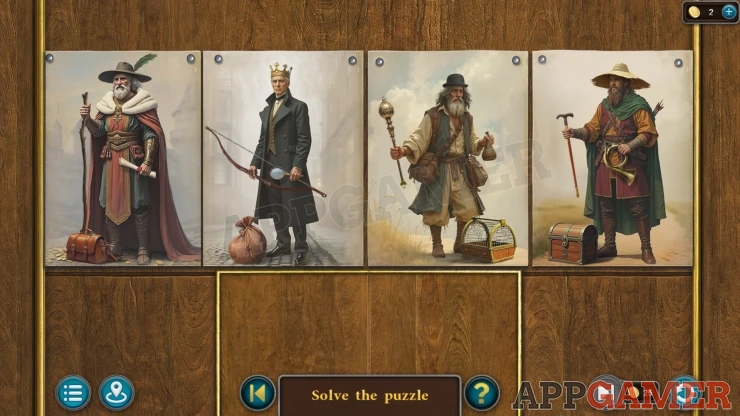
- There are 4 people with different profressions.
- Each one has a hat, items in the hands and a bag / box on the floor. These items have been mixed up.
- Swap them arround to arrange all of the items to match the correct person.
Solution: Show
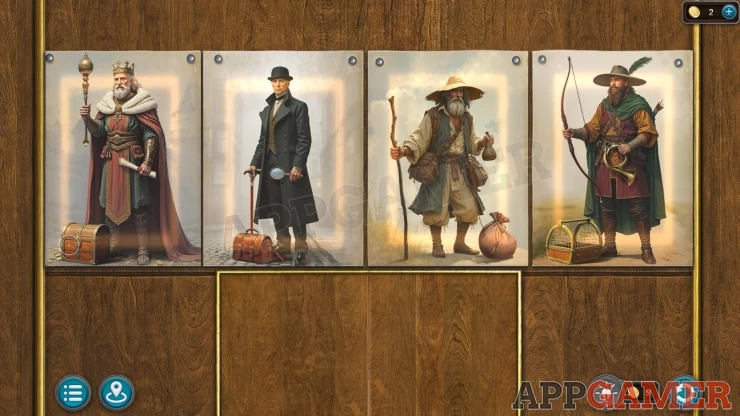
Collect the Final Mirror Shard (10 of 10)
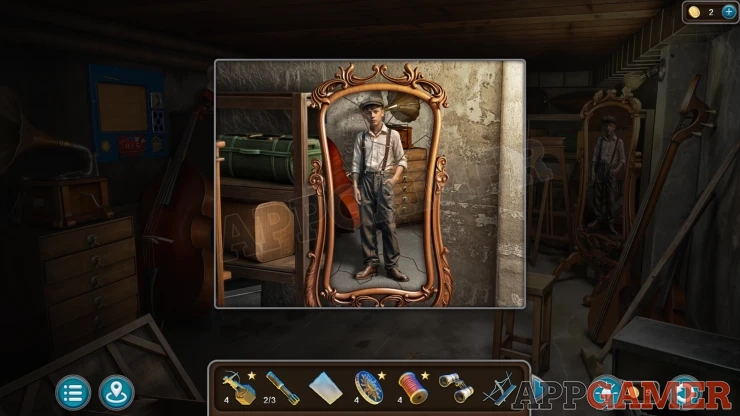
Now go back to the music store room and view the broken mirror agian. Place the 10 shards to repair it. You learn more about the mask.
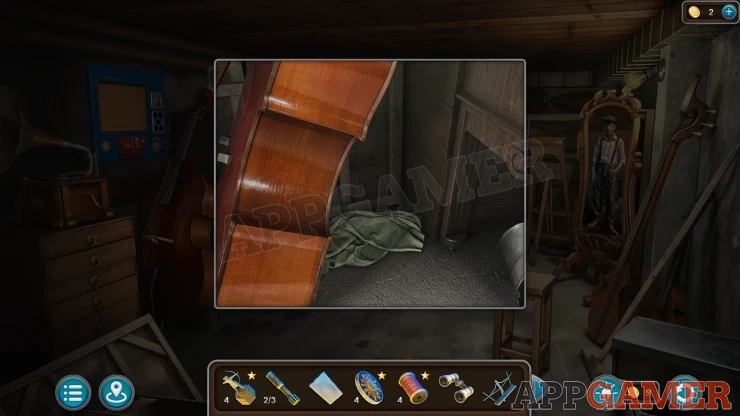
View the double base on the left and move the cloth on the floor behind it to then collect the Lockpicks.
Go back to the staff room and virew the door to the directors office. Use the Lockpicks here.
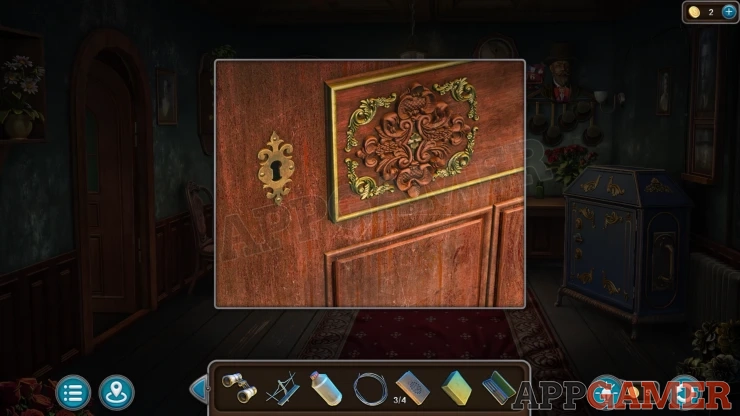
Lockpick Puzzle
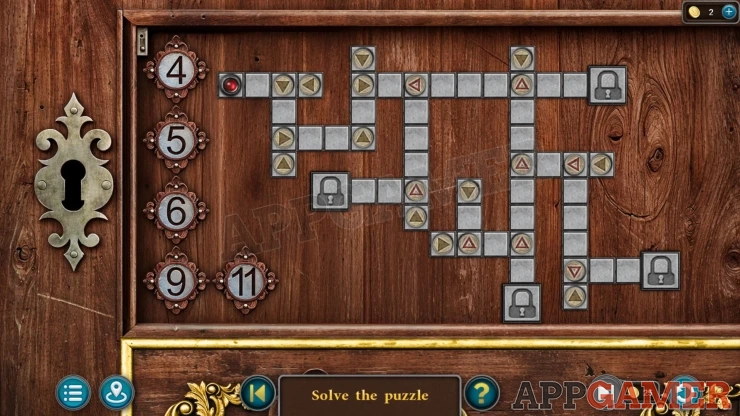
- On the right is a maze of pathways with arrows.
- On the left are buttons with numbers.
- Tap the buttons to move the red counter the set number of spaces through the maze. When the coiunter reached an arrow it will continue in the direction shown.
- After each move the arrows that you pass over can change direction.
- Around the maze are padlock symbols. You need to reach each of these to unlock it.
- Once all of the locks are open you will complete the puzzle.
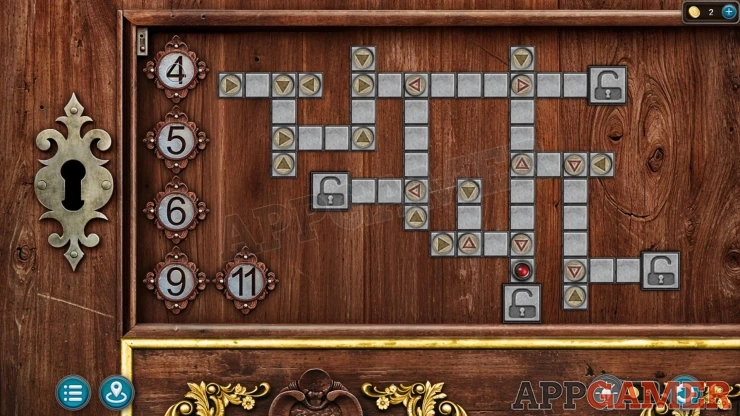
This will open the door. Enter the Directors office.
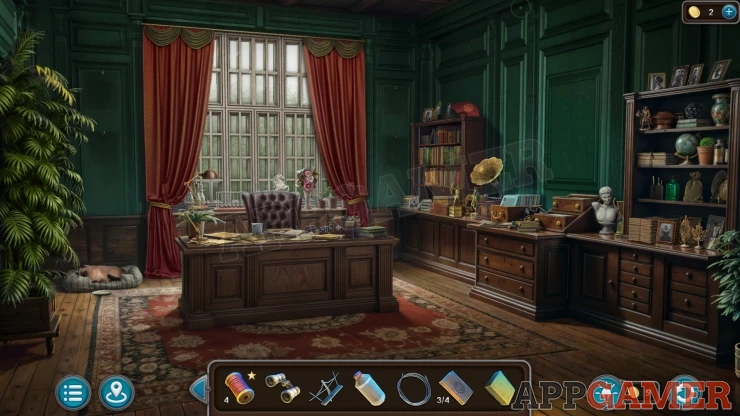
Collection Item: Fan on top of the bookshelf on the right of the window.
Morphing Object: small figurine on the shelves on the far right.
Archer: statuette on the cabinet on the right of the desk right next to a Gramophone.
View the desk, here you can view another newspaper article with a photo.
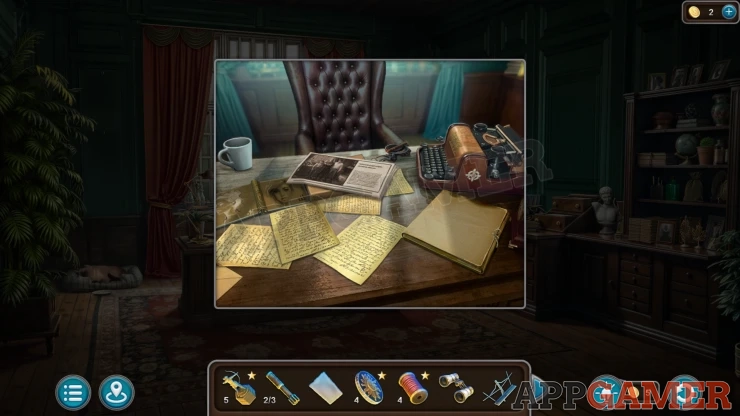
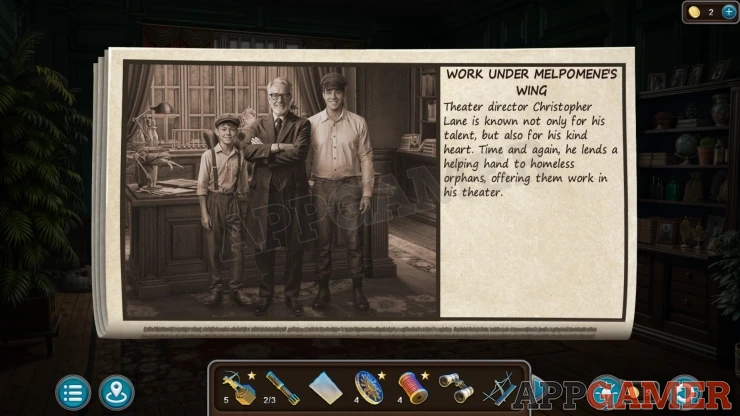
Thread: inside the white mug on the left.
Collect a Book (4 of 4) from the desk. Then view the typewriter.
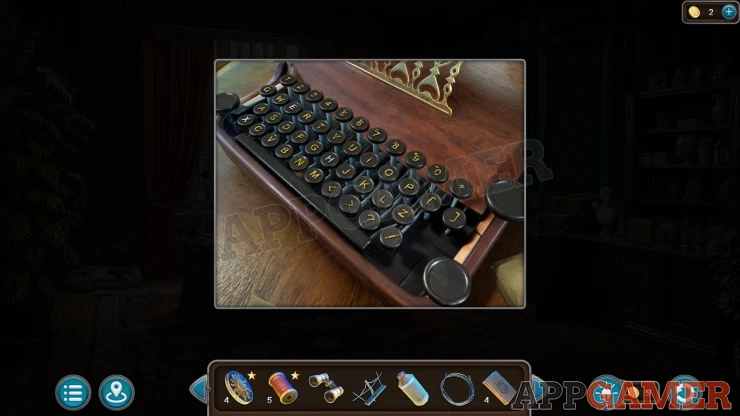
Notice that there are three keys where the letters have been used and the gold coloring worn off. This is a clue.
Then view the bookshelf on the right of the desk.
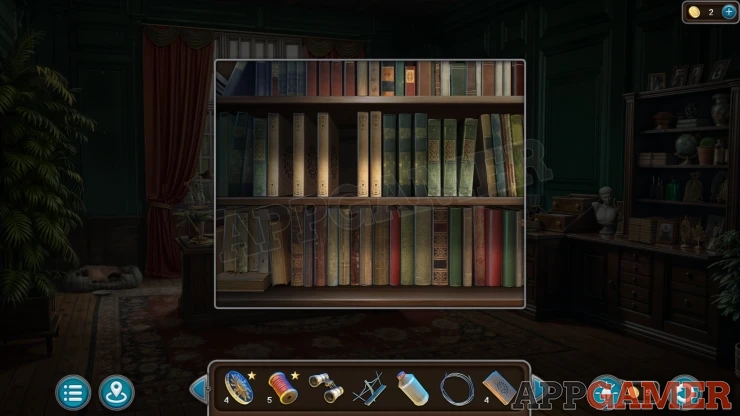
Place the four books onto the middle shelf to reveal a puzzle.
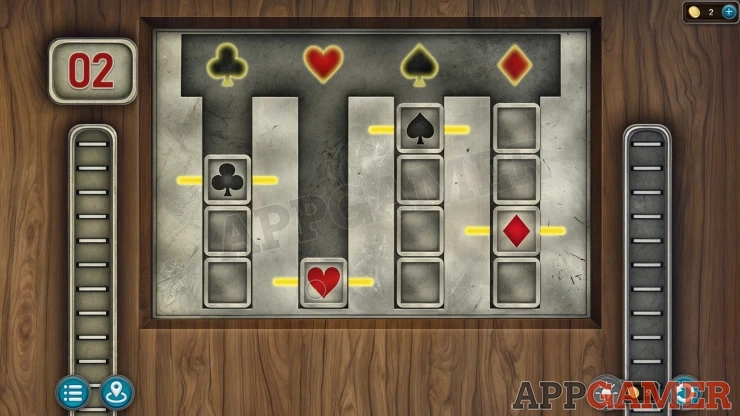
Directors Bookshelf Puzzle
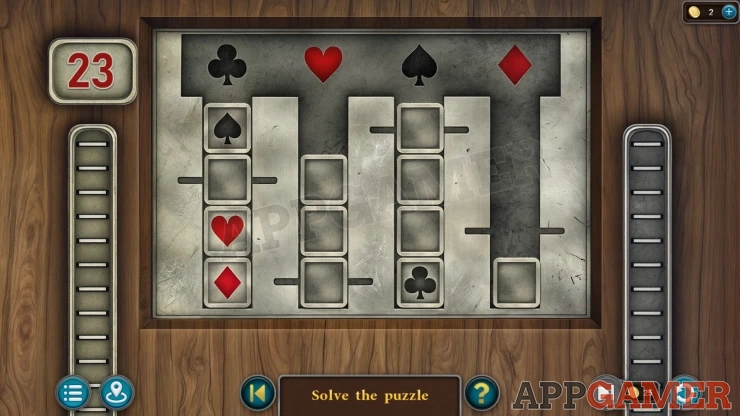
- There are four columns with playing card suit symbols at the top.
- On the columns are a number of blocks. Four of these have the matching symbols.
- Move the blocks from one column to another to arrange the ones with the symbosl to be in the correct column and at the height of the line marking on each column.
- If you solve this within the 23 moves you will eanr an extra star. You do not need to do this to complete the puzzle and move on with the story.
This is a special puzzle where you can earn an extra star in the episode. Complete it within the number of moves.
Solution: Show
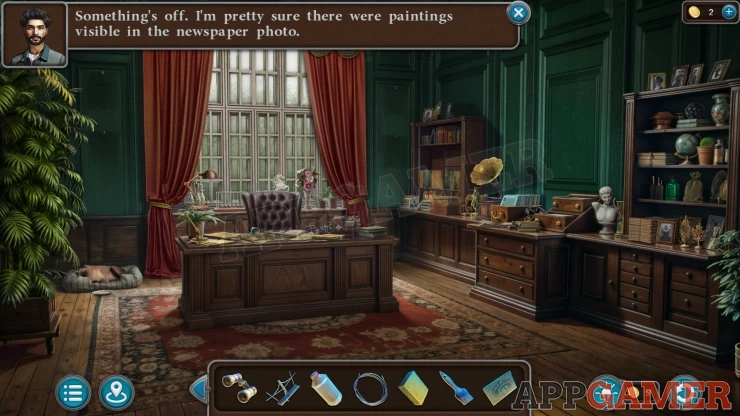
Collect the Sheet Music and a Paintbrush.
Tap on the wall behind the desk to the left of the window. You will see a comment about missing pictues, we need to find these.
Go back to the Music room below the stage and view the drum set in the back corner. Place the music stand here and then add the Sheet Music.
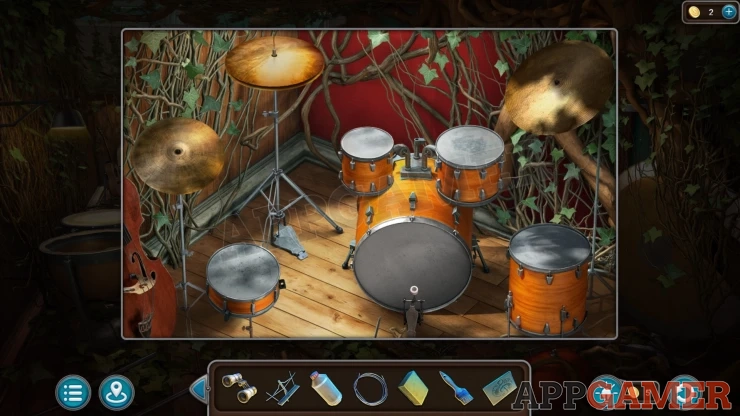
Drum Set Puzzle
- Follow the sheet music and tap the correct drum or cymbol to play the notes in order.
- You may need to use trial and error to find the correct item to tap for each note.
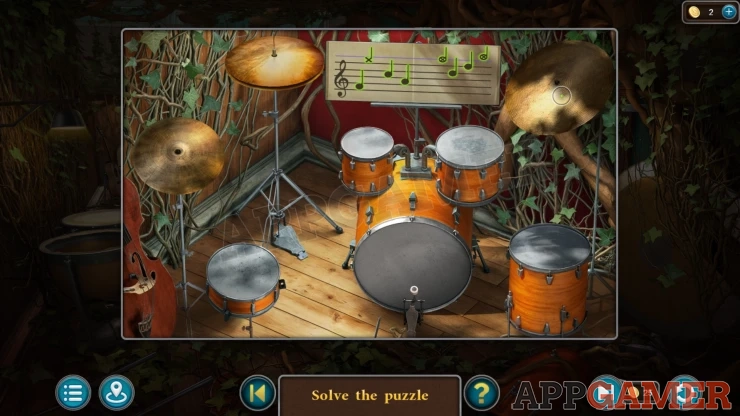
Once done you can collect an Ornate Plate (1 of 2).
Go through to the store room and view a chest on the floor to the left of the mirror. It has a three letter combination lock.
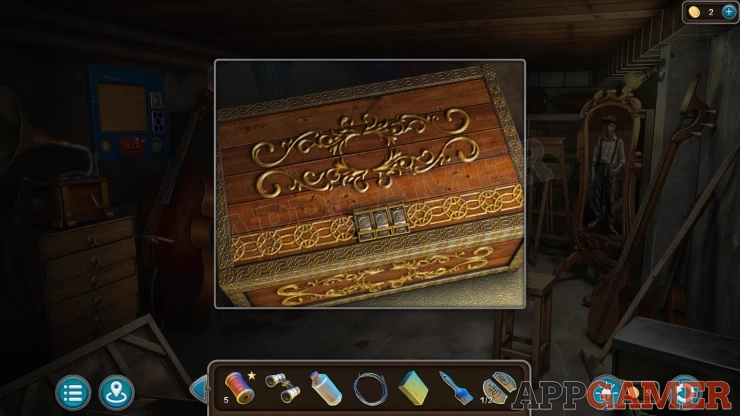
Use the clue from the typewriter to open it.
Code: XHEShow
Collect a Lever (3 of 3)
Go to the backstage area and view the device between the doors on the left wall. Place the three levers here to start puzzle.
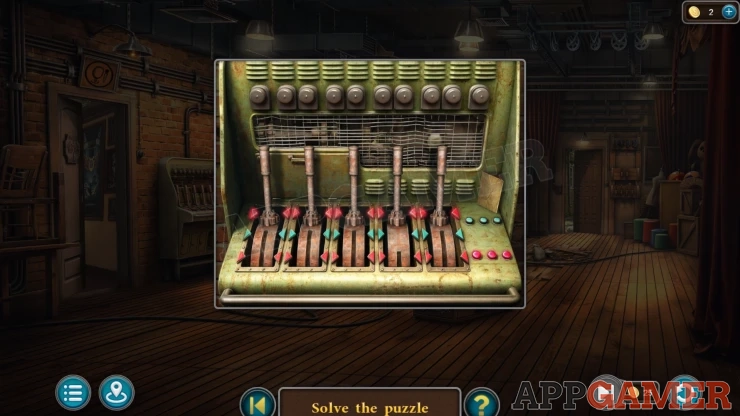
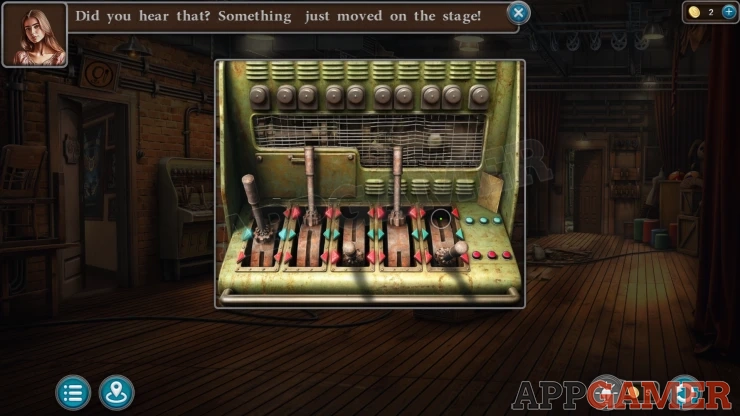
Levers Puzzle
- Place the stage Diagram paper onto the control board with the levers and then you can view it to see a set of numbers.
- Use the clue to set the five levers to the correct positions.
- 0 is in the center, +1 is at the top and -1 at the bottom.
Solution: Show
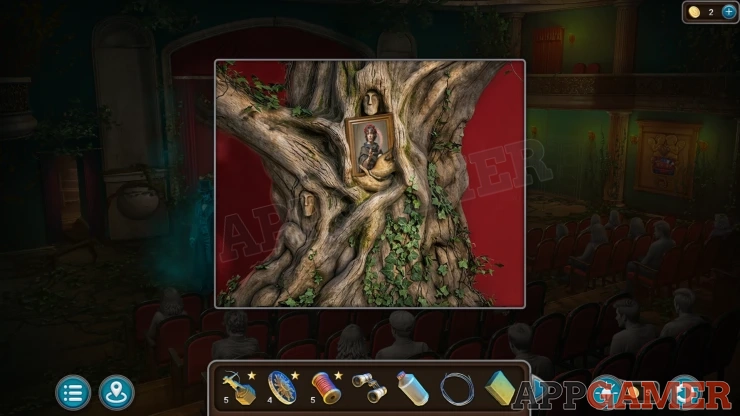
Go to the autditorium and view the stage, there is a large tree. Collect a Boy's Portrait from the tree, this is one of the missing pictures.
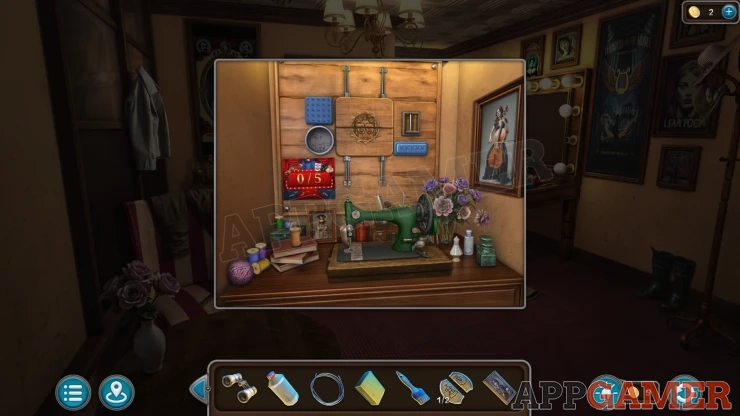
Go to the dressing room, view the sewing machine on the back right and you can collect the Musician's Portrait.
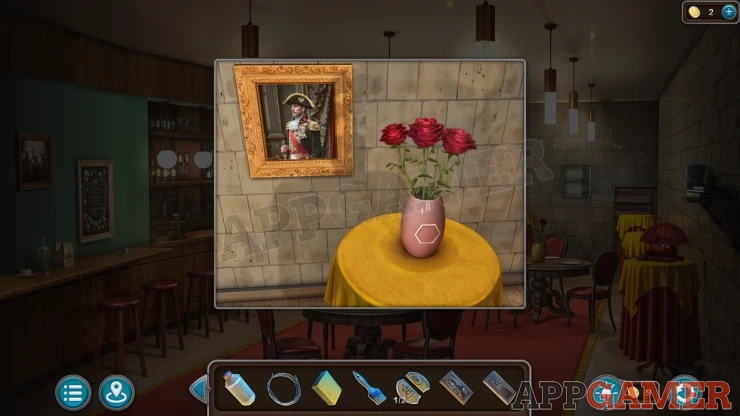
Go back to the Restaurant ans view a table on the back wall to collect the General's Portrait.
Then go to the workshop, move the green cloth to find a painting on the right that has been covered with blue paint.
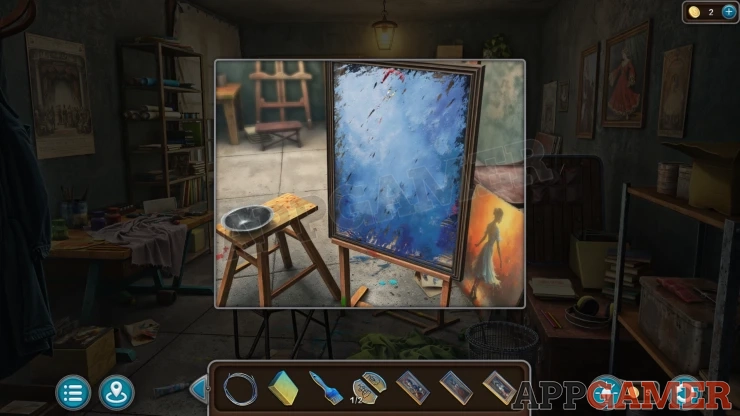
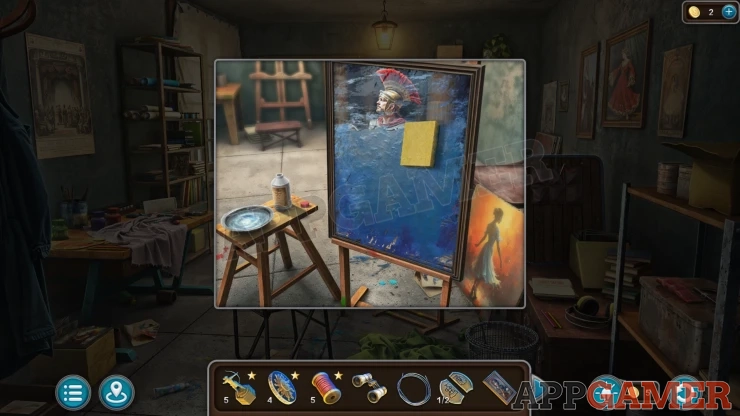
Place the colvent on the stool onm the left to add it tot he bowl. Then use the paintbrush on thie to cover the blue paint in the solvent.
Finally use the stiff sponge on the picture to clean away the blue paint. You can then collect the Warrior's Portrait.
Go back to the directors office and place the four pictures on the wall.
Directors Pictures Puzzle
- Tap pairs of pictures to swap their positions.
- The clue to the correct positions is on a news paper seen in the side room of the staff room under the register.
Solution: Show
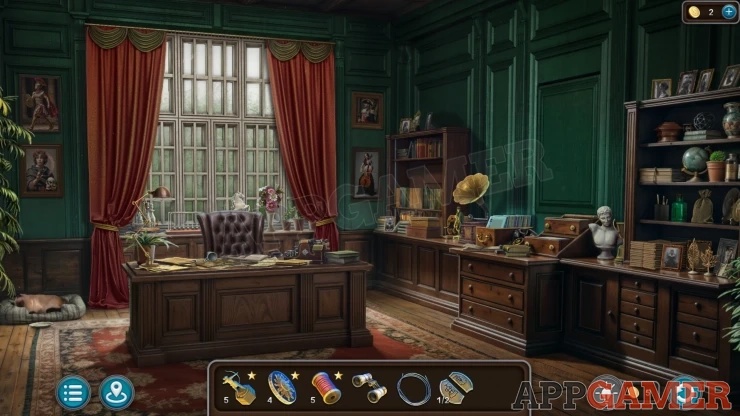
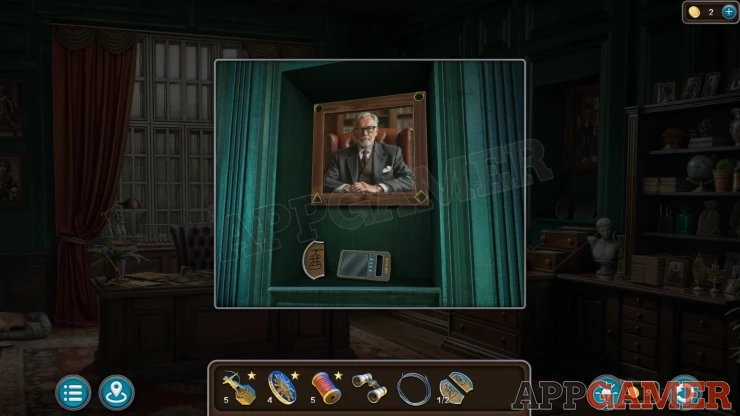
When the secret panel opens collect a Magnetic Card and another Ornate Plate (2 of 2).
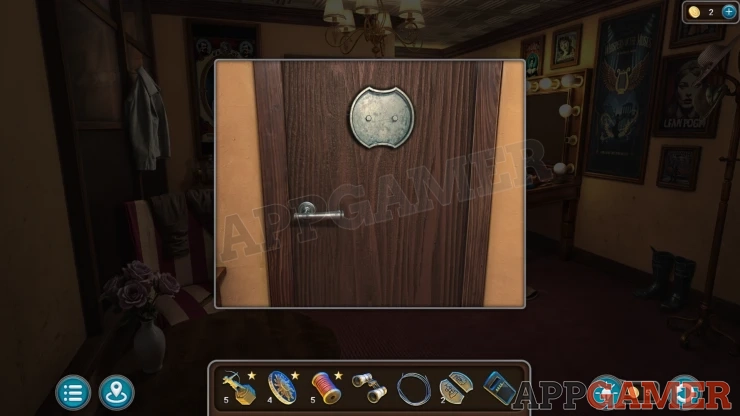
Go to the dressing room and view the door at the back. Place the two ornate plates here to open the door.
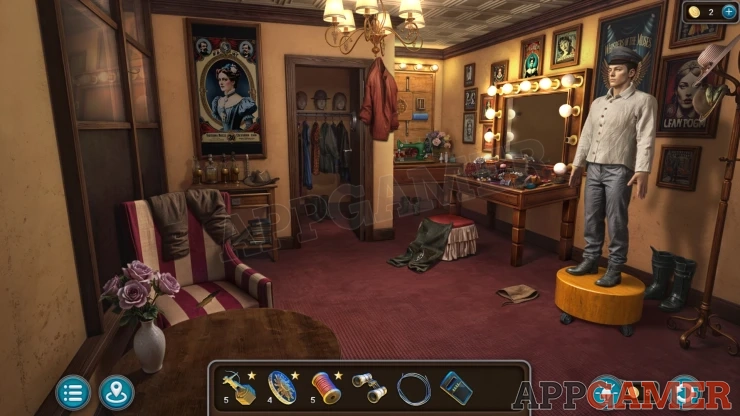
Inside is a mannequin. It will then be placed in the dressing room.
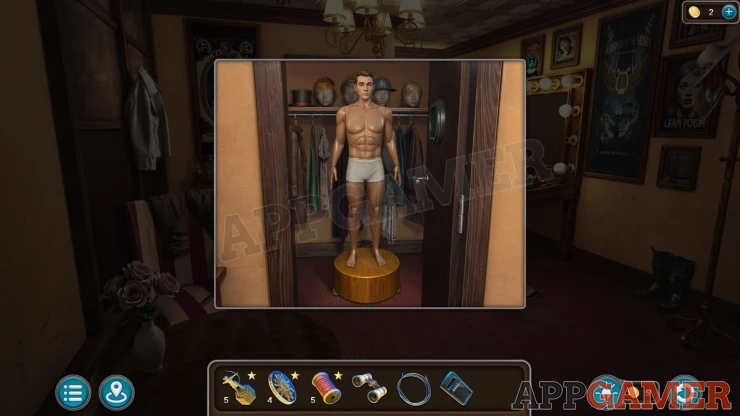
Mannequin Puzzle
- Tap on the items of clothes seen around the room to place them on the mannequin.
- Dress it upaccording to the clues given.
- The menequin needs to mimic the look of the second homeless boy from the directors photo.
Solution: Show
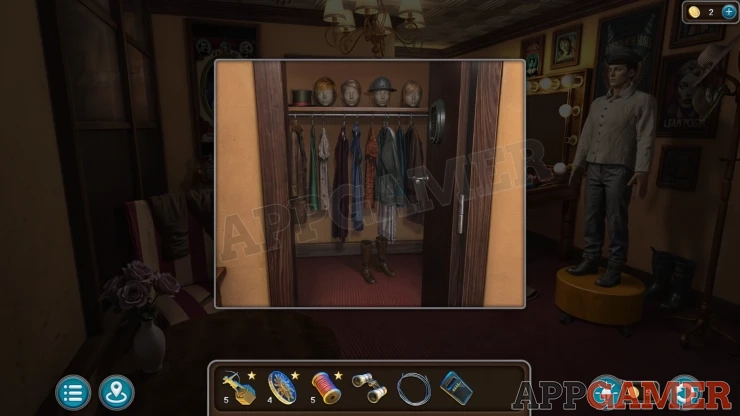
Collection Item: Top Hat, on a head inside the opened cupboard.
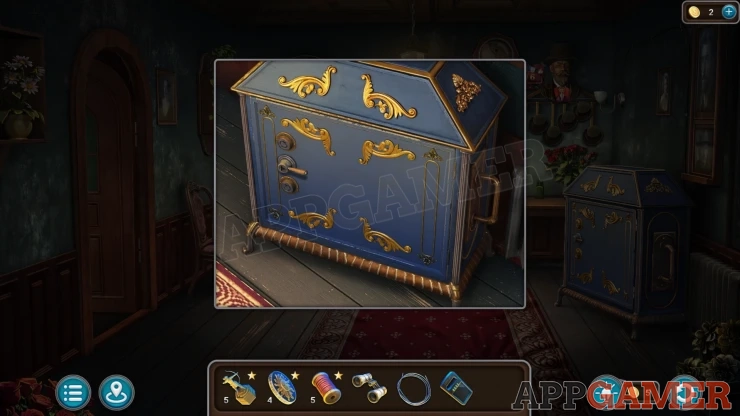
After you talk to the mannequin return to the staff room. There is a blue safe on the right.
Directors Safe Puzzle
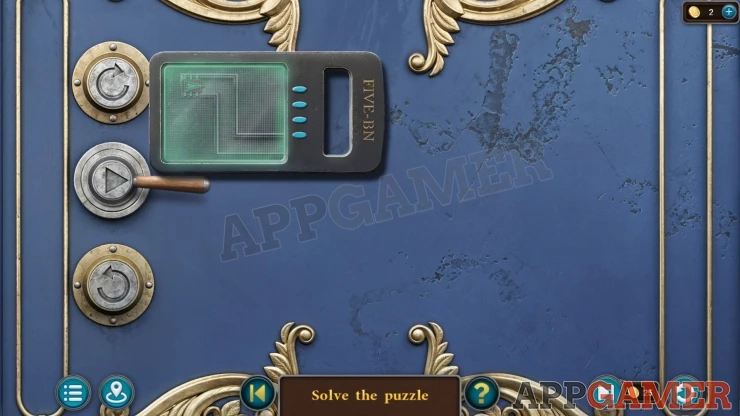
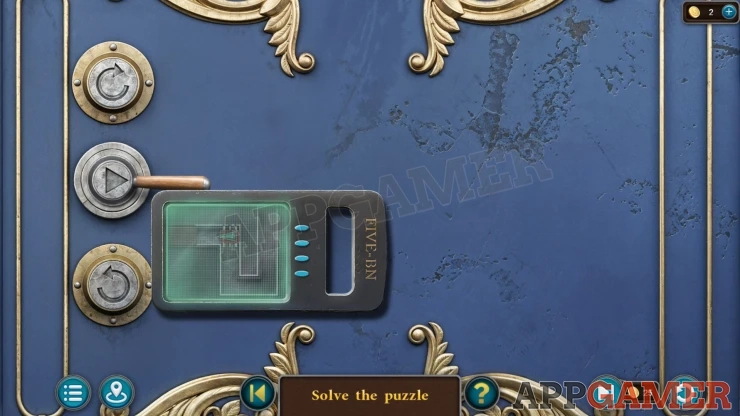
- Use the Magnetic card on the safe and you will be able to move it around to see an X-ray image of a path inside the door.
- You can only see inside when you are holding the card.
- There is a small arrow token that you need to move through the maze.
- Use the three buttons to turn the arrow left or right and then move it forward in the direction it is pointing.
- When the tken reaches the end of the path you can open the door.
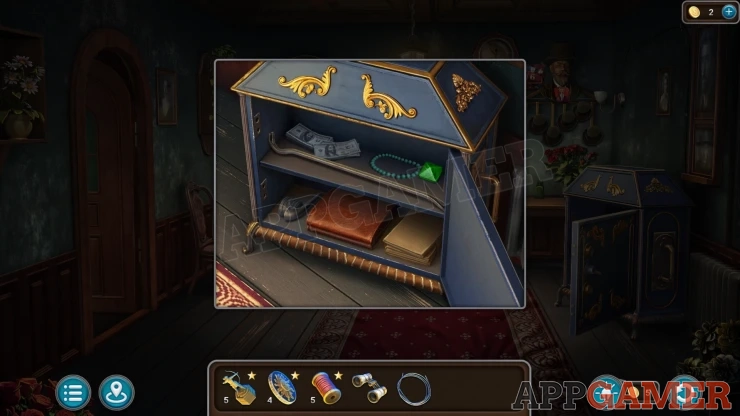
Collect a Crystal (1 of 4) a Crowbar and a Handle.
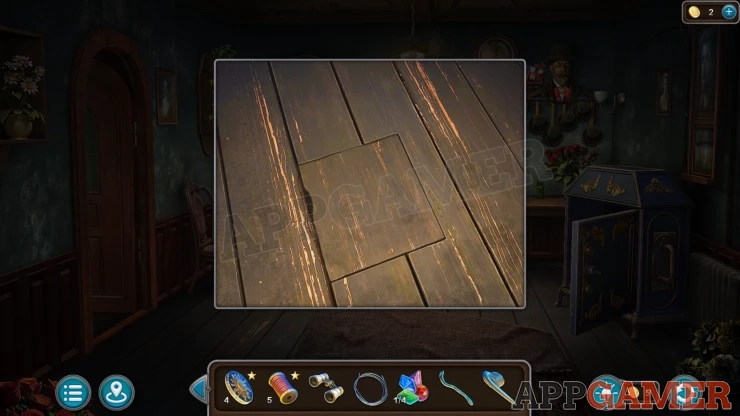
Tap the rug on the floor of the room to move it and then view the floorboards underneath. Use the crowbar here to lift a small section. Collect a Magnet.
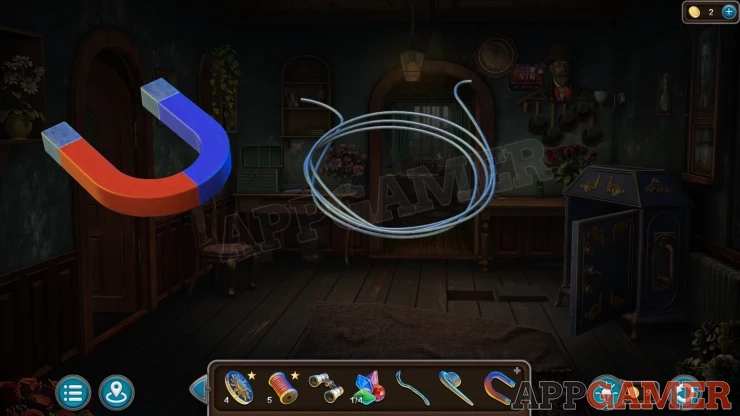
View the magnet in your inventroy and add the string to it.
Next go to the restaurant and view behind the bar on the left. Add the handle to the silver fridge door.
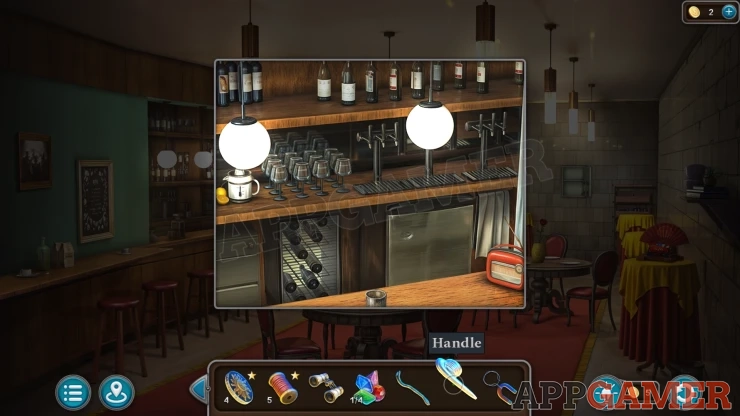
Open the fridge and collect a bottle of Milk.
Then go to the inner courtyard and look on the ground on the left of the car. There is a drain.
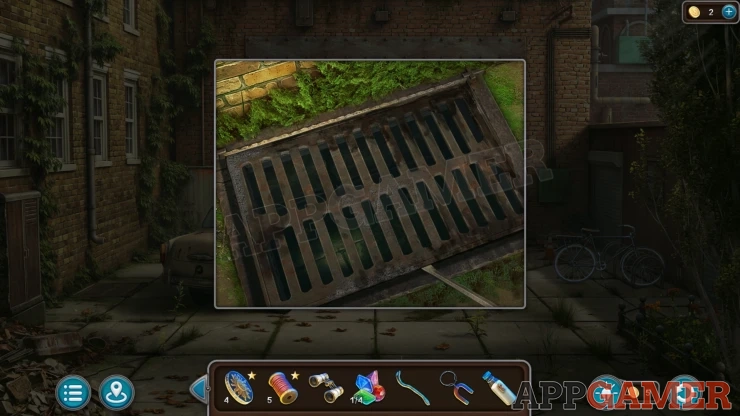
Use the Crowbar to lift the cover of the drain and then use the magnet on the string to collect a Key with Tag.
Go back to the staffroom and look in the side room again with the cash register. Use the key here to unlock the drawer and then collect a Music Token and another Crystal (2 of 4).
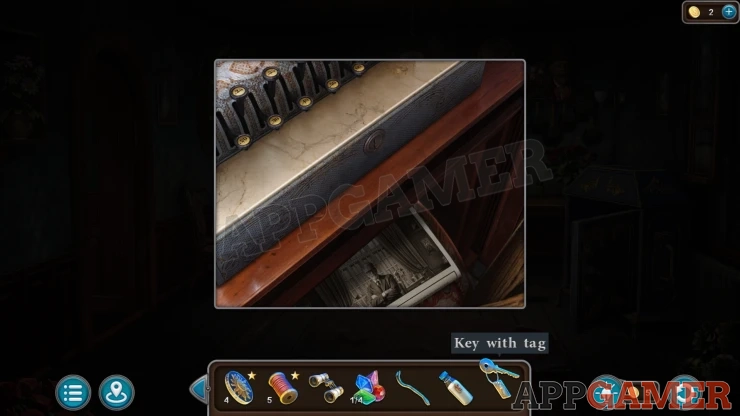
Next go to the Music store room (with the mirror) and view a Jukebox in the back corner.
Use the music token here to start a puzzle.
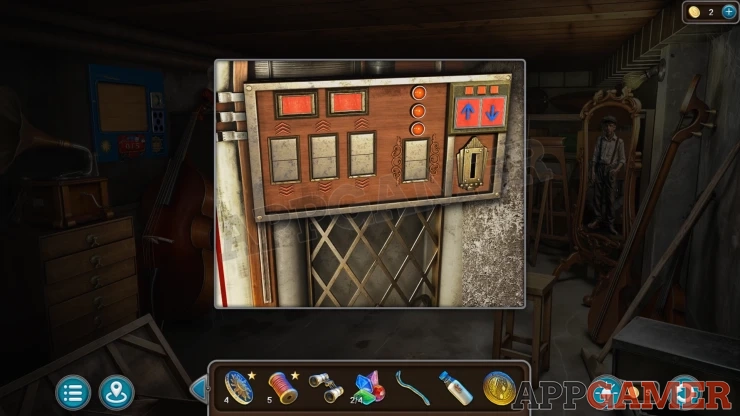
Jukebox Puzzle
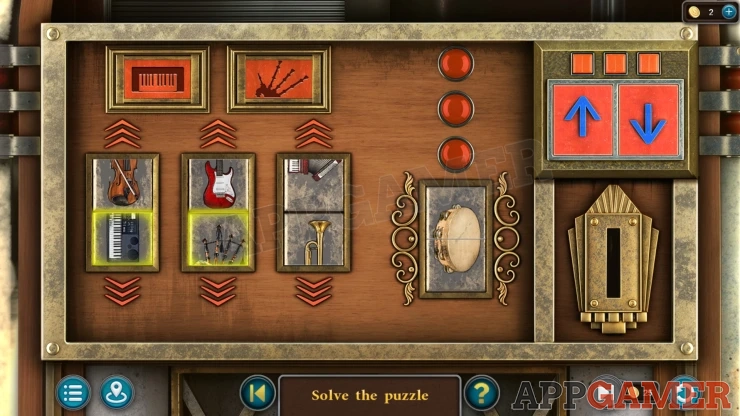
- Use the blue arrows keys to slide the three columns of instrument images on the left us and down.
- You can swap the pieces of each image with each other and the pair that are below the three round lights.
- Arrange the pices to complete the correct imstruments, these need to match the samples shown at the top.
- Note: I had trouble with this puzzle. Parts of the images disappeared freunqently making it impossible to complete manually.
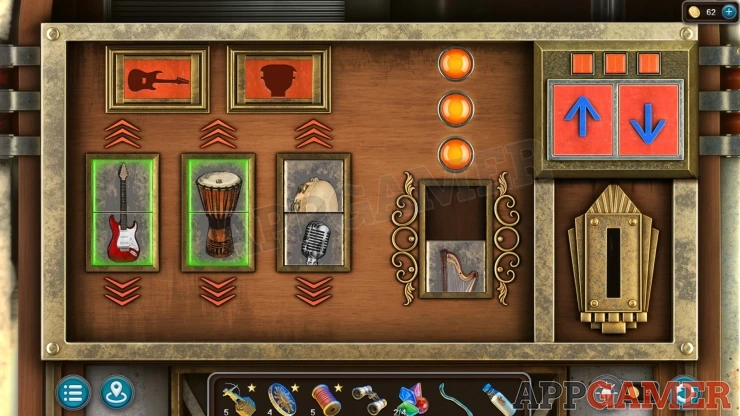
Once done collect another Crystal (3 of 4).
Go back to the Directors office and view a cat sleeping in a bad on the left of the desk. Use the Milk here to fill the saucer.
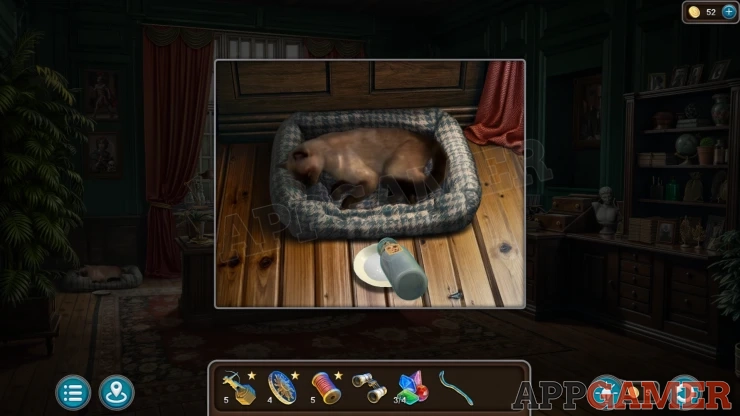
When the cat gets up you can collect another Crystal (4 of 4).
Now view the picture of the Director on the right wall again and place thge four crystals onto the corner slots. You can then talk to the Director.
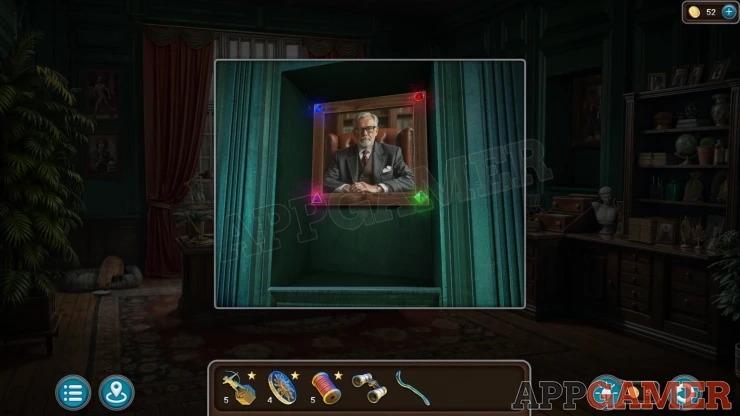
Go to the Inner courtyard and view the back of the car.
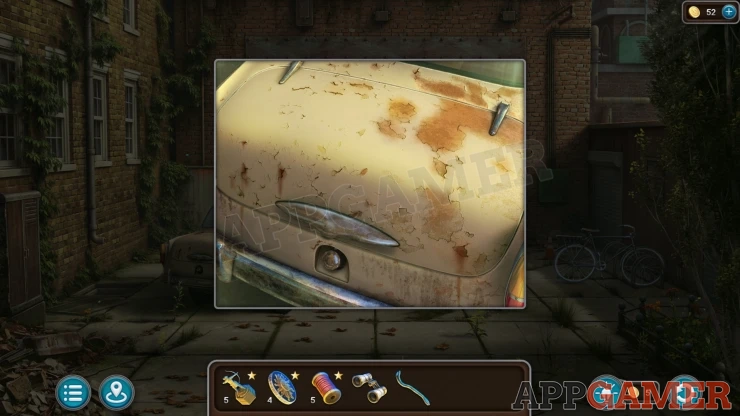
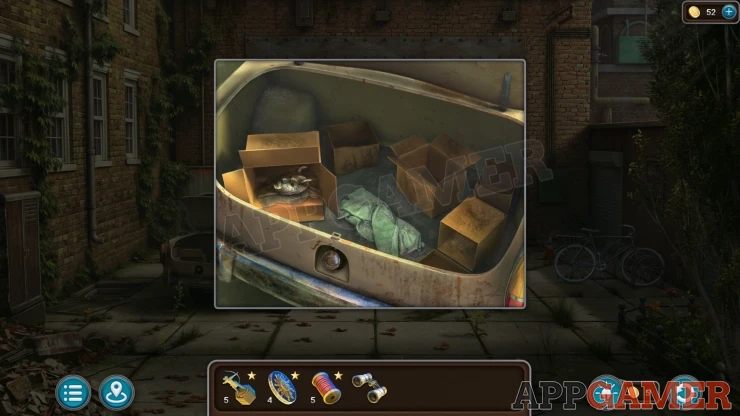
Use the Crowbar here to open the trunk. Collect the Mask from a box inside.
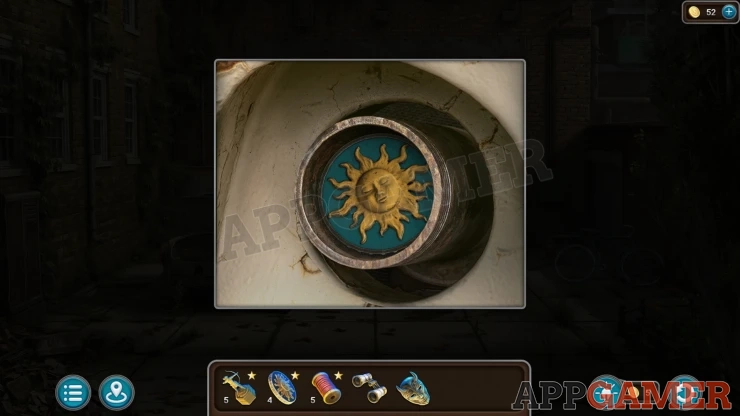
Sun Symbol: view the back of the car and unscrew the fuel cap.
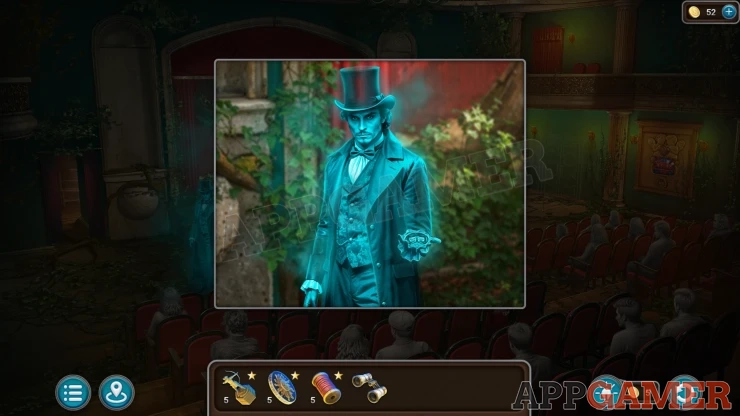
Return to the auditorium and you can now give the Mask to the Ghost. This will complete the episode and you will receive the Star.
For help with completing the other puzzles and the Secret room of this episode please check the Episode 12 Extra Stars Guide.
We have questions and answers related to this topic which may also help you: Show all
 With 20 years of experience in creating video game content for the internet and over 30 years as a gamer, Mark is now a passionate mobile App Gamer. Loving a challenge, he is always ready to get stuck in to both survival builders and puzzle solving games. He has been providing content for AppGamer since 2014.