
Episode 8 Walkthrough - Polar Station - Part 2
More Artifact Seekers
This is our guide to Polar Station, the eighth Episode in the puzzle adventure game Artifact Seekers, from Five BN. In this episode you are at a Polar Research station looking for a missing crew.
In Episode 8 Part 1 you have discovered a secret bunker in a cave and found your way into several rooms. Now you have just unlocked another room at the control panel in Room C.
Episode Eight - Polar Station Walkthrough - Part 2
After pressing the button to unlock the next room, go back into bunker room D with the beds and then go through the opened door at the far end to reach a kitchen.
You can move a poster on the left wall to see that this is room E.
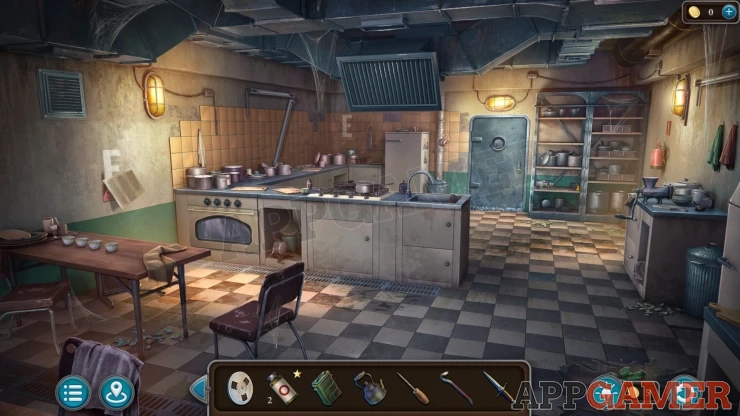
Morphing Object: Pot/pan in an open cupboard to the right of the Oven.
Ship Figure: view the floor to the right of the oven and then remove a broken tile to find it.
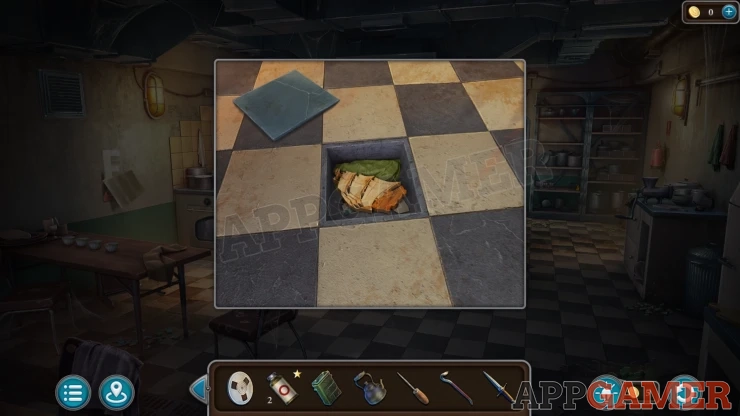
Collection Item: Syringe symbol. View a pipe on the back wall next to the door, it is on a picture to the left.
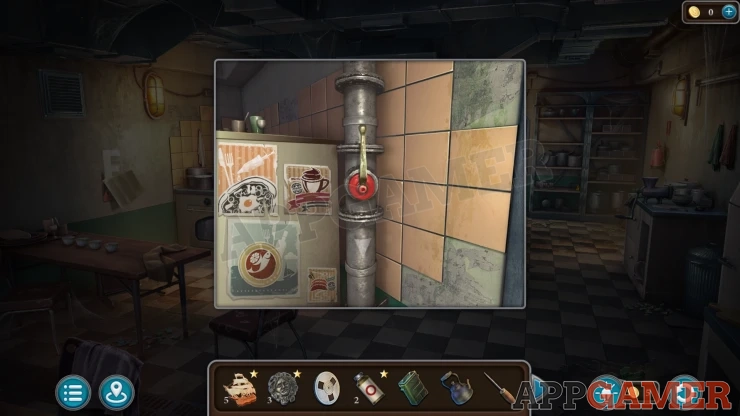
First view a small vent cover on the left wall. Use the screwdriver to open this.
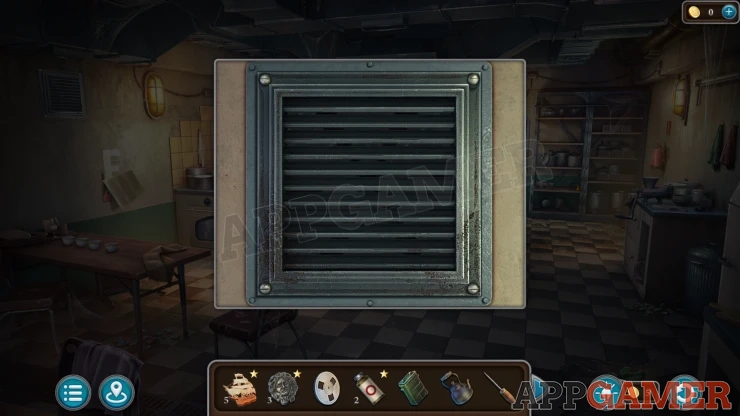
Inside is a spinning fan. Use the crowbar to stop it and then you can collect a Panel.
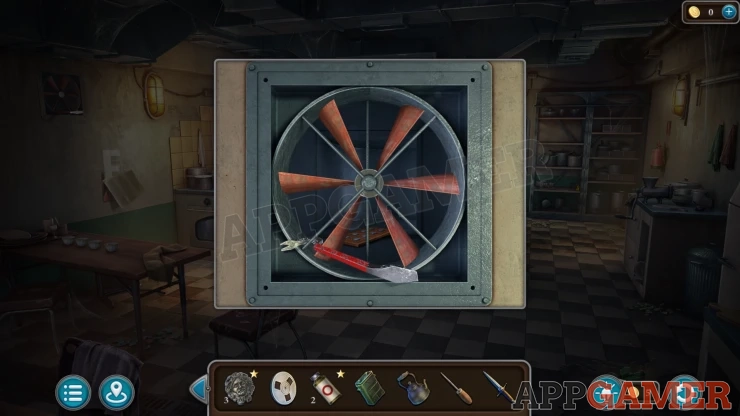
Next view a larger vent cover over the center of the kitchen.
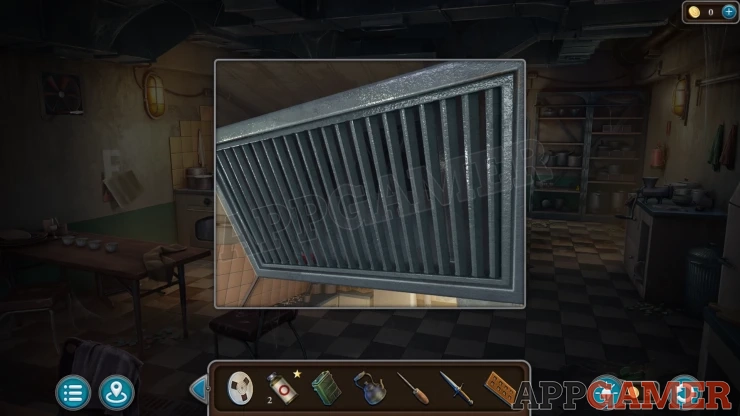
Open the cover and then you can collect a Valve handle.
Now view the shelves on the back right of the room and collect an Oil Can.
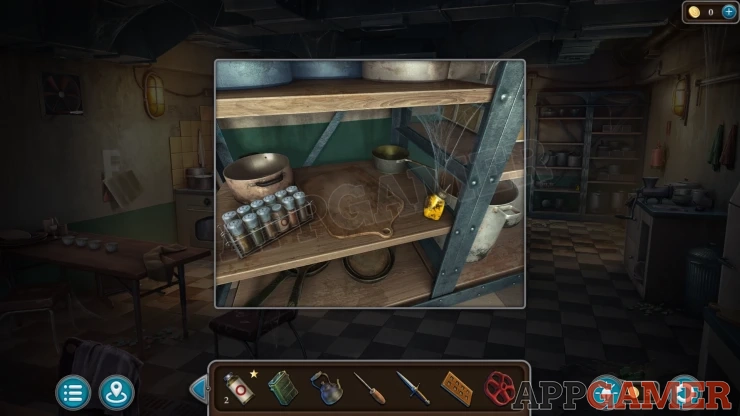
Vial: in the rack on the left on the shelf.
Then view the metal door to the left of the shelves. Collect a Magnet from the handle.
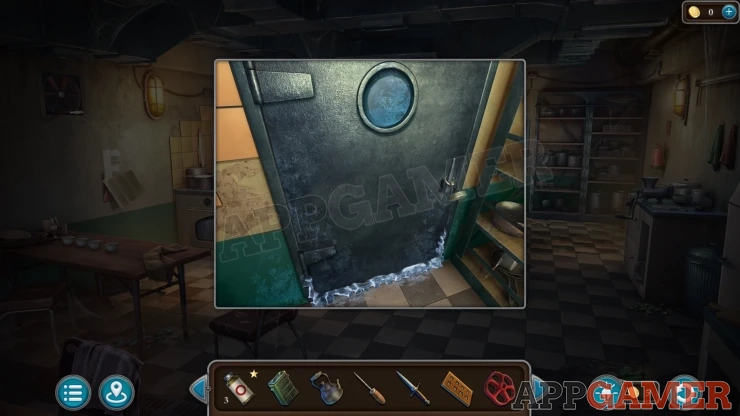
Then view the sink in the center of the room. Place the Kettle into the sink and then add the Valve handle to the valve on the faucet.
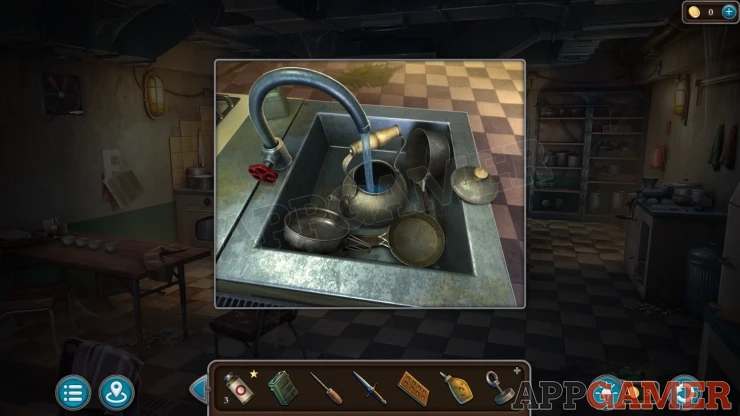
When the kettle is full collect the Kettle with Water.
Now view a hob next to the sink. There is one space to place the Kettle.
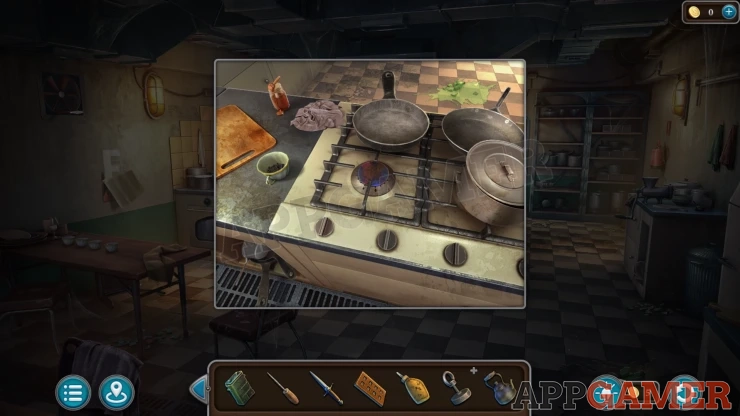
Add the kettle, then tap the control next to the kettle to turn it on and then when the water boils you can pour it into the cup and collect the Tea.
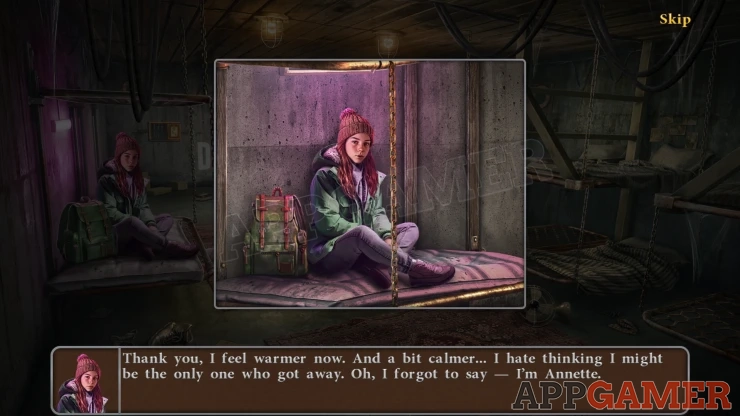
Back out to Bunker Room D and then give the Tea to Annette. You will then receive the Flashlight that needs repairing.
Go to Bunker Room B (lab) and then view the light above the table. There is one working bulb.
Use the oil can on the screw holding the over and then you can collect the UV Bulb.
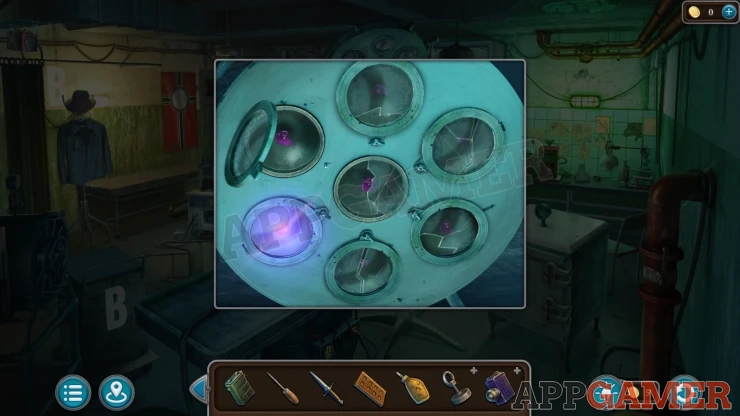
Now view the Flashlight in your inventory and add the UV bulb to it. Then you can remove the front lens and replace the broken bulb.
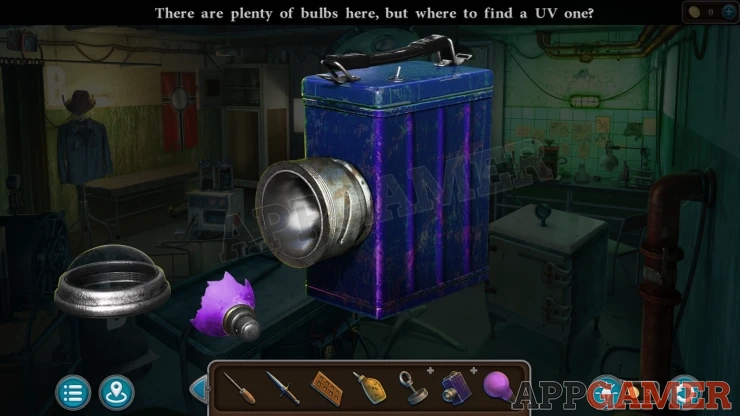
The battery is dead, add the Battery you have to the flashlight and then you can open the top and replace the battery.
Collect the UV Flashlight.
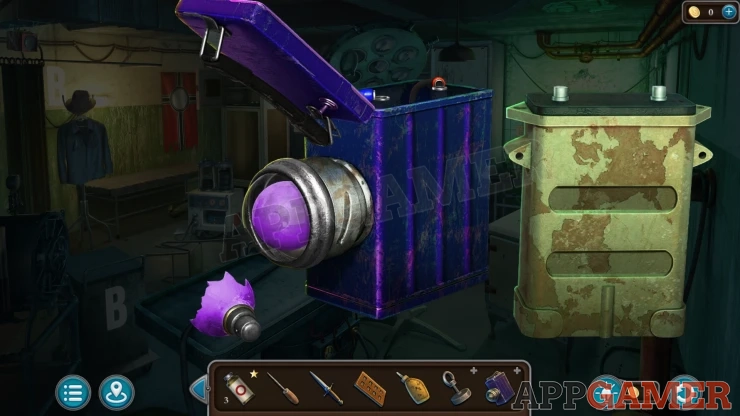
Return to the Kitchen and look in the opened large vent above the center. Use the UV Flashlight here and you can enter the vent.
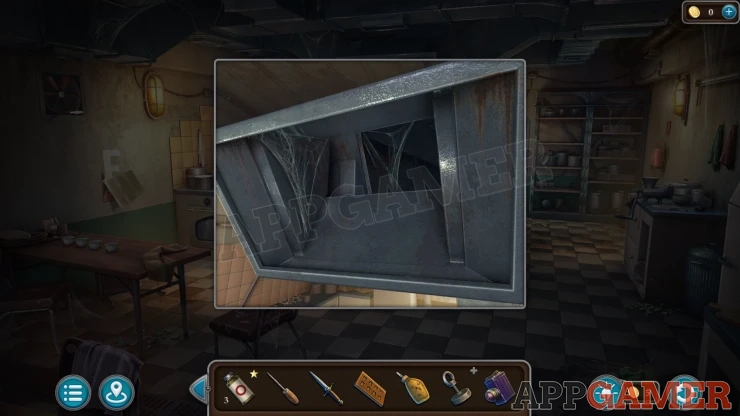
Vent Maze
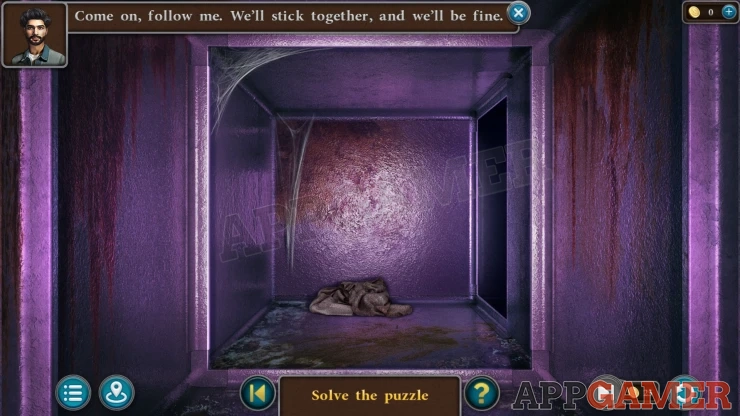
This is a maze puzzle to work your way through.
Solution: Right, left, left, second right, right, leftShow
When you reach the end you will see the monster.
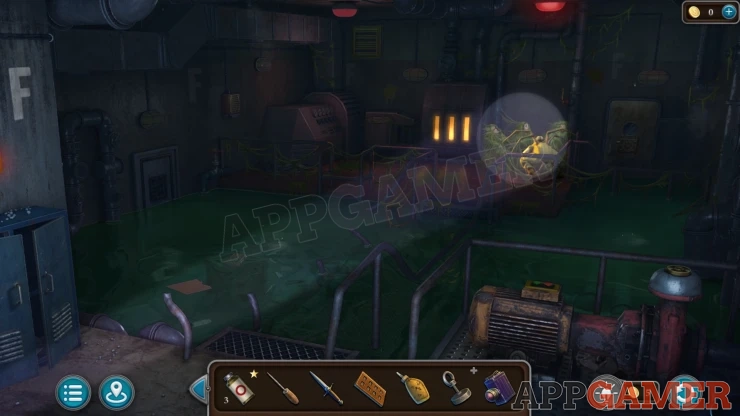
Once it leaves press the red button on the left wall. You are in Room F.
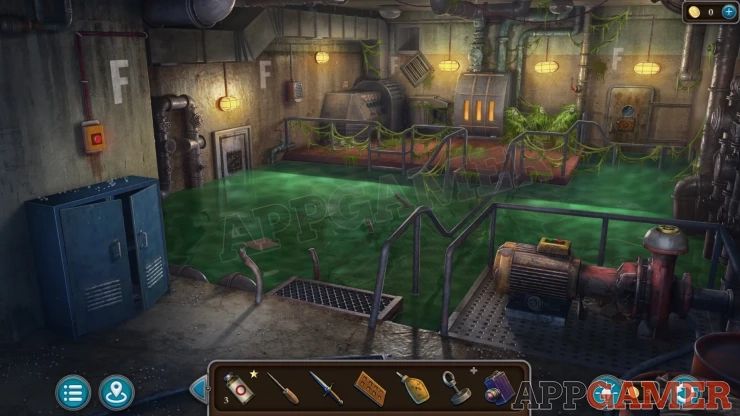
Collection Item: Medal on the top of the large pump on the lower right.
Morphing Object: small pipe sticking out the top of a pipe in the water on the left wall.
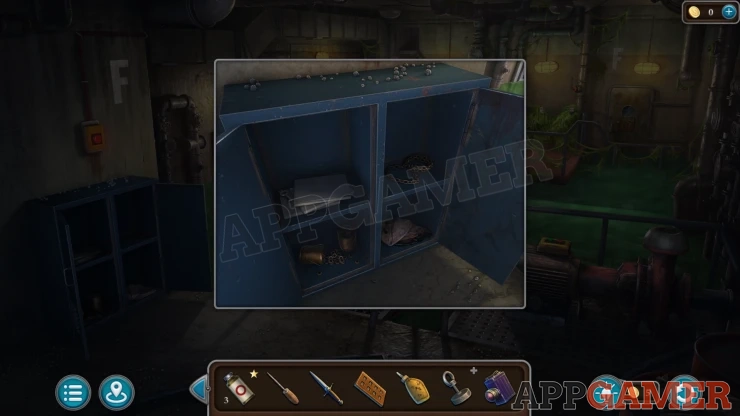
Look inside thee blue cabinet on the left wall and collect a Small Key and a Chain.
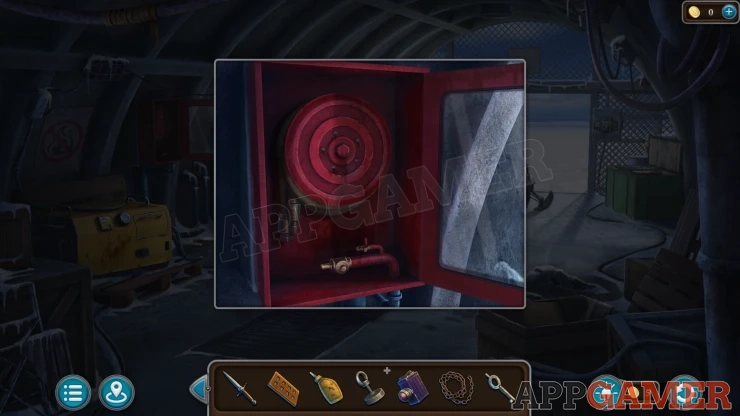
Back up to the large shed at the main camp and look on the left wall. Open the red fire cabinet and collect a Hose.
Next, return to Bunker Room B (lab) and view the side of the table in the center. Use the small key here to open and then collect the Handcuff.
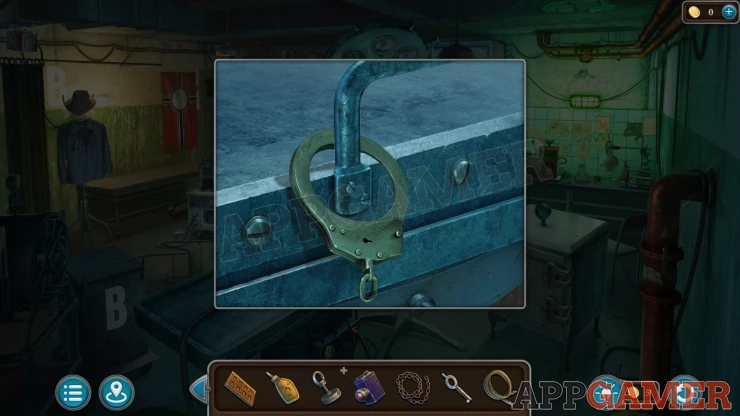
Then return to the Bunker Room F and view the yellow pump on the lower right.
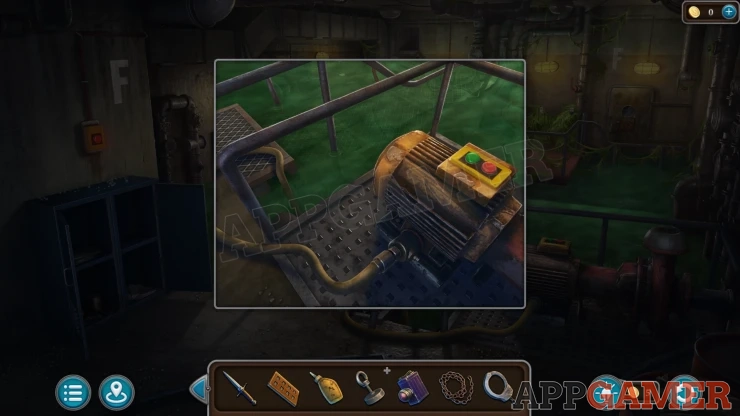
Add the Hose to this and them press the button to drain out the green water.
Vial: With the water level drained view the Pump and then tap on the walkway to the left to see a hole.
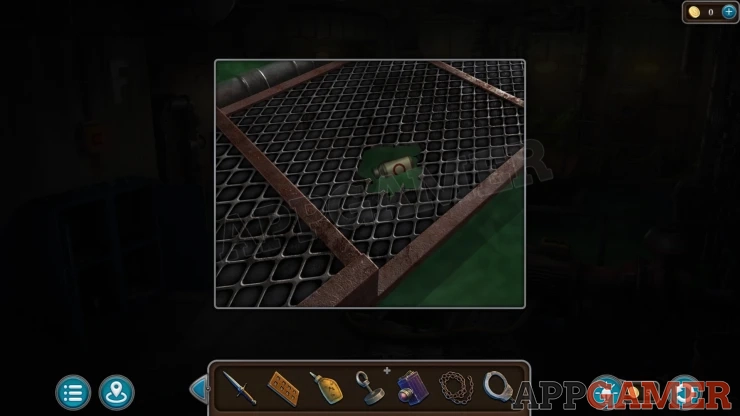
Now you can view the people on the other side.
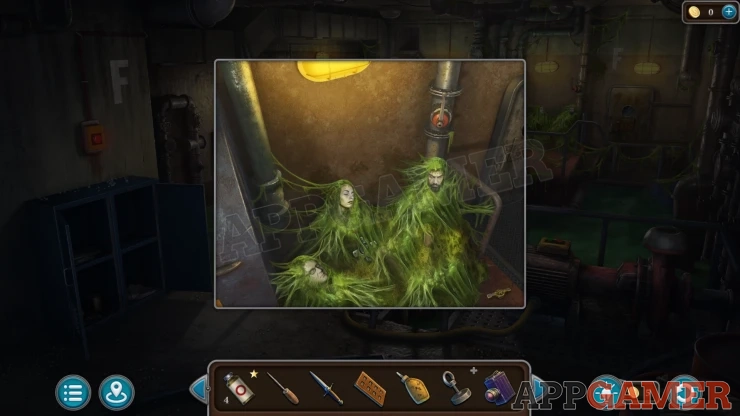
Collect a Valve handle from the ground to the right.
View the magnet in your inventory and add to it the Chain and the Handcuff. These will combine and you will collect the Chain with Magnet.
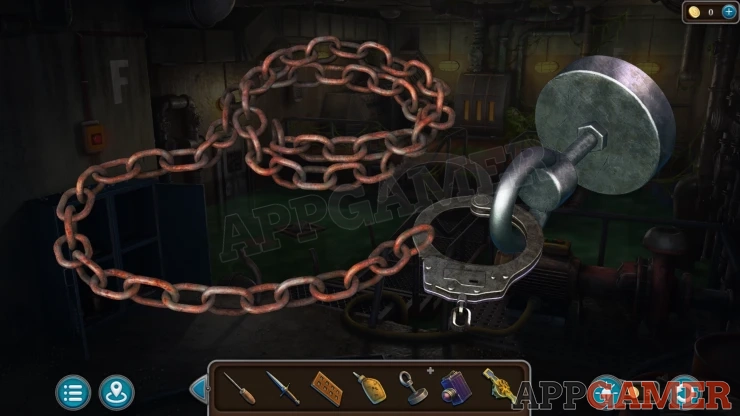
Look in the water on the left side of the walkway, there is a wooden box floating. Use the Chain magnet on this and then you will collect a Box.
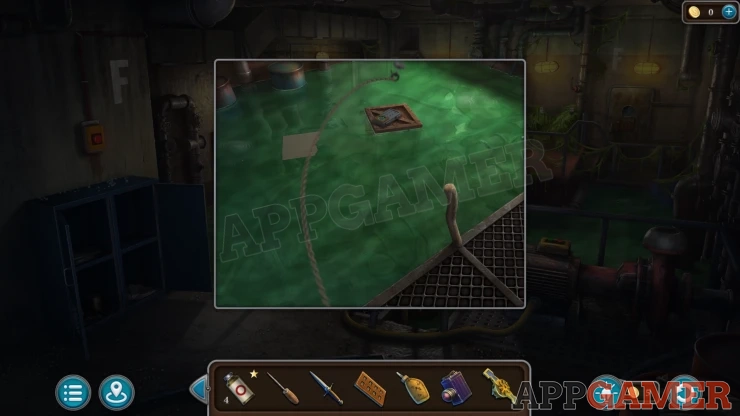
View the Box in your inventory and then add the Panel to it.
Box Puzzle
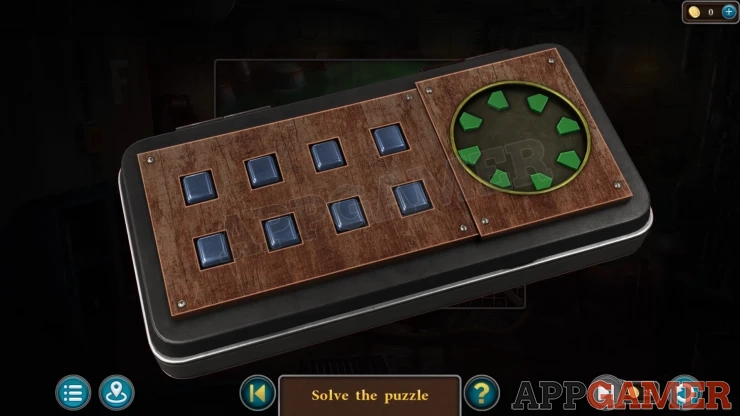
There are eight buttons on the left panel. Pressing these in the correct order will light up the green lights on the right.
This is done with trial and error to find the correct order.
Solution: The order can vary for each game. For me it was 4 7 8 6 2 1 3 5Show
Collect a Pattern.
Next look on the left wall on the far side of the water to see a speaker box. View this.
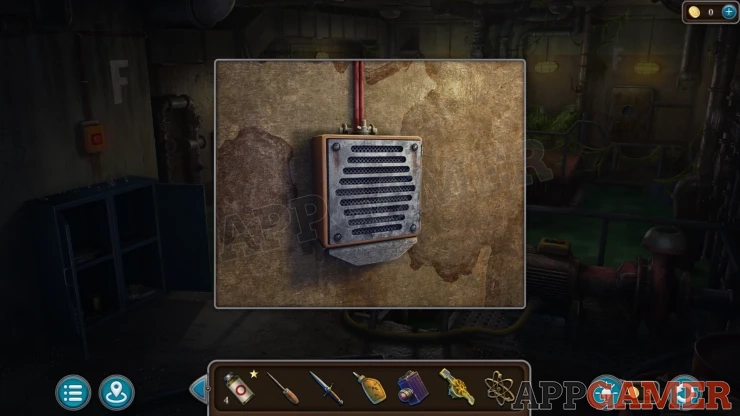
Open it and then use the dagger to cut the wires and collect the Speaker.
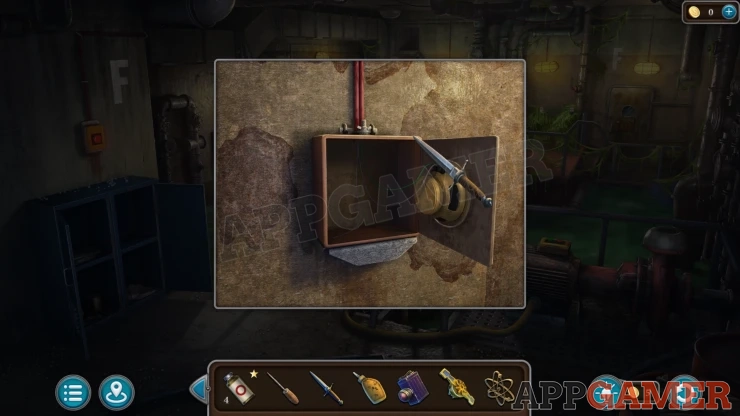
Now view the door on the right, next to the trapped people. Add the Valve (handle) to the top let to reveal a puzzle.
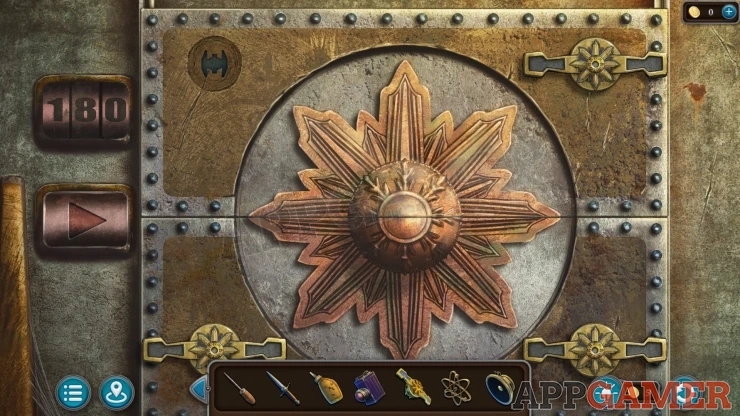
Pipes Puzzle
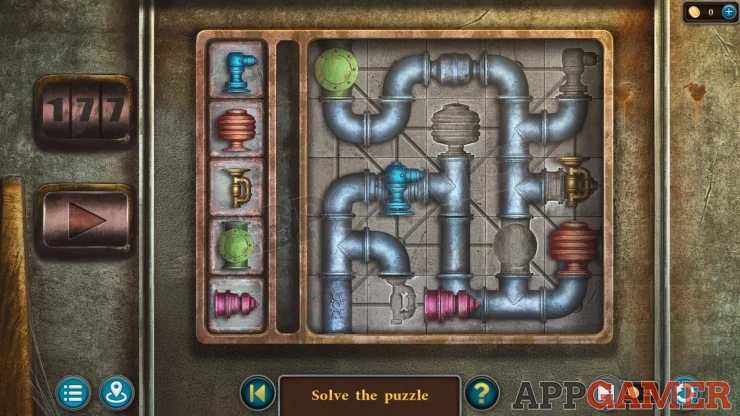
This is another time limit puzzle where you can earn an extra star.
- There are five colored pipe pieces on the grid on the right.
- There are also five slots with matching shapes in the pipes on the grid that these need to be moved into.
- Tap any of the five colored pipe symbols on the left to highlight a colored track on the grid.
- You can then tap the arrow button on the left to move any of the pieces on the track around it in a clockwise direction.
- Arrange all of the pieces into the correct slots to complete the puzzle.
- If you complete it within the time limit you also earn an extra star for the episode.
- You can restart the puzzle before the timer runs out
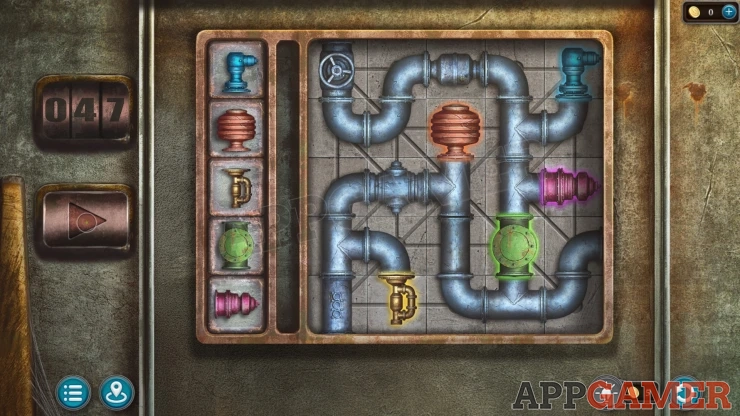
When the door opens you can enter the Rocket Launch Hall - Room H.
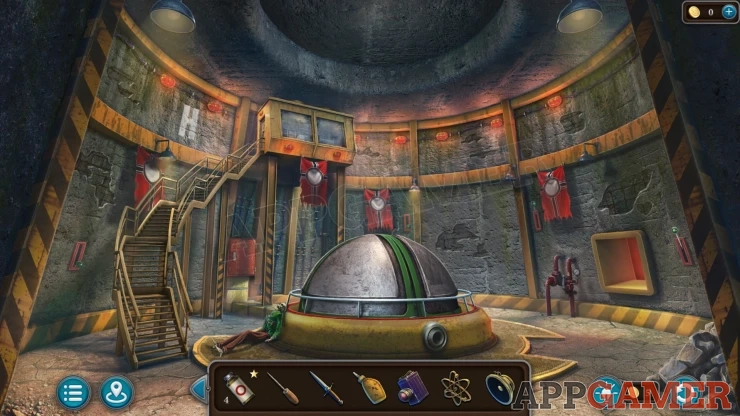
Morphing Object: Star/Heart shape on the wall on the right.
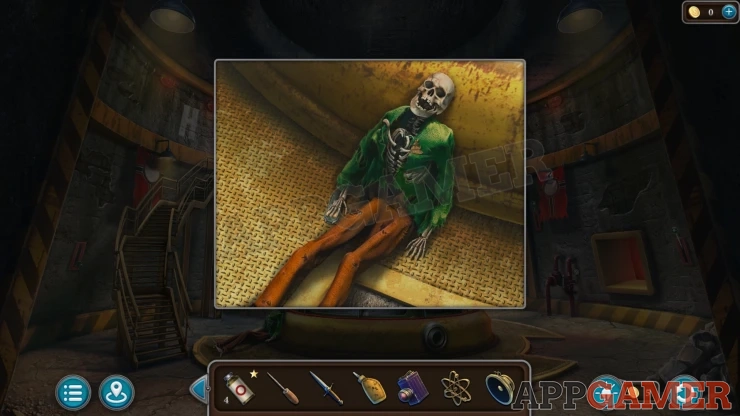
There is another skeleton on the floor on the left. View this and collect a Voice Recorder and a Wing (1 of 2).
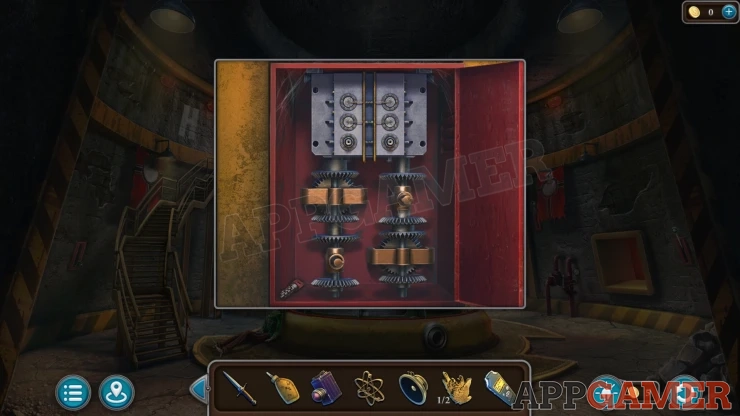
Next view a red box on the left wall below the stairs and open it. Collect a Launch Key.
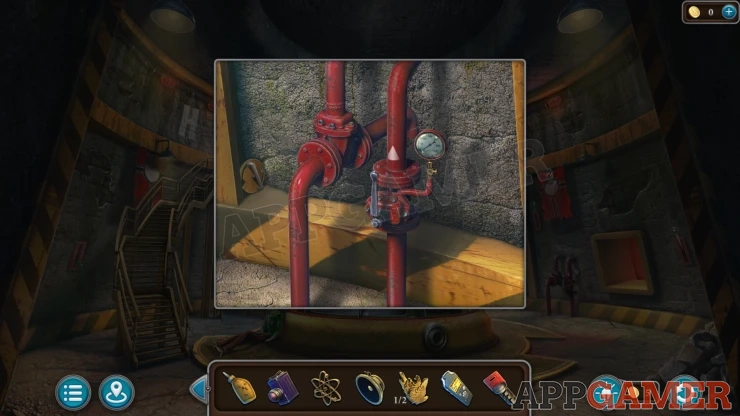
Then view two red pipes on the right wall. Collect from there a Key-turn Valve.
View the door at the top of the steps on the left and use the key turn valve on it. You can then open the door.
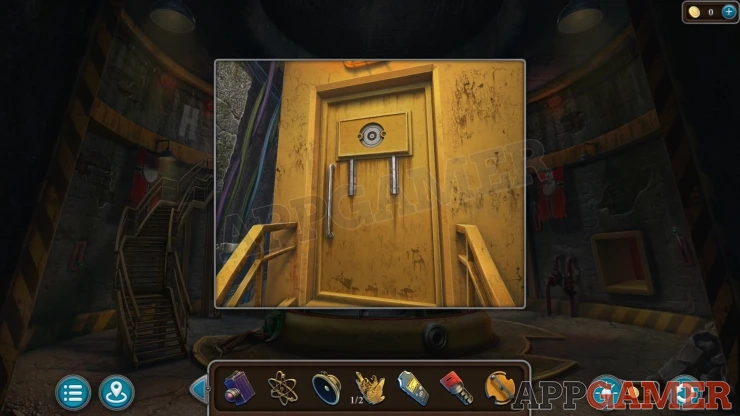
Look inside.
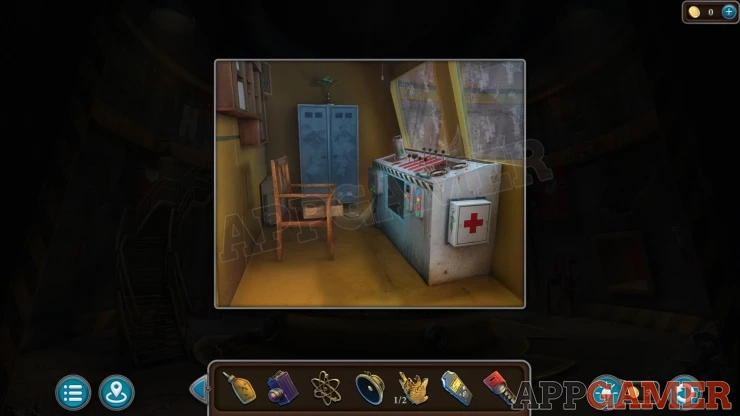
Collection Item: Syringe Symbol on the side of a First aid box, on the side of the control panel desk.
View the control panel. Collect a Rivet (1 of 2)
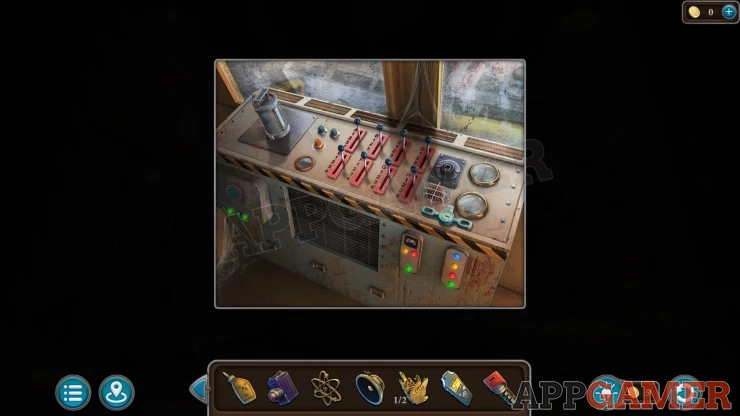
Mascaron: on the lower left of the control panel desk is a small panel with four lights. Some of these will be green.
Look around the Rocket hall to see four levers on the walls. You can switch these up and down. Find the correct position to turn all four lights green. Then you can tap the button to find the mascaron. The positions can vary in each game.
Now back up and return to Room C with the Doors. On the right is a filing cabinet. View this and add the Pattern to the top to unlock it.
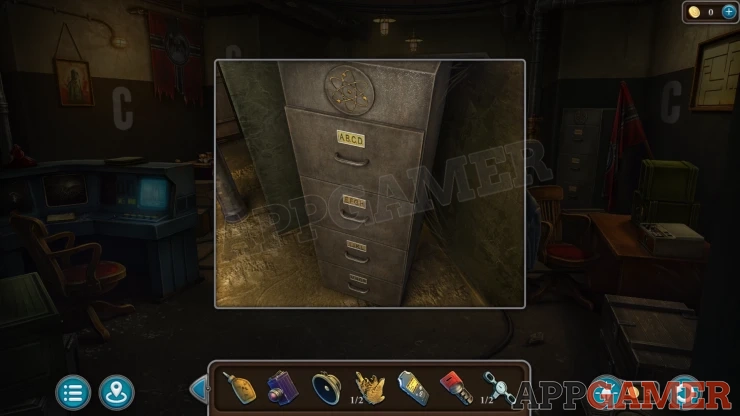
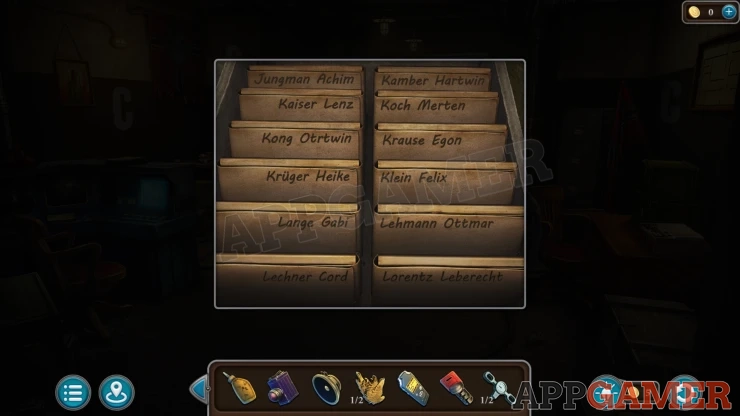
Now you need to find a record for one of the people. The skeleton in room A has the name Klein and we identified him as Felix Klein from the photos. Look in the correct drawer for his folder and then you can collect an X-ray Image.
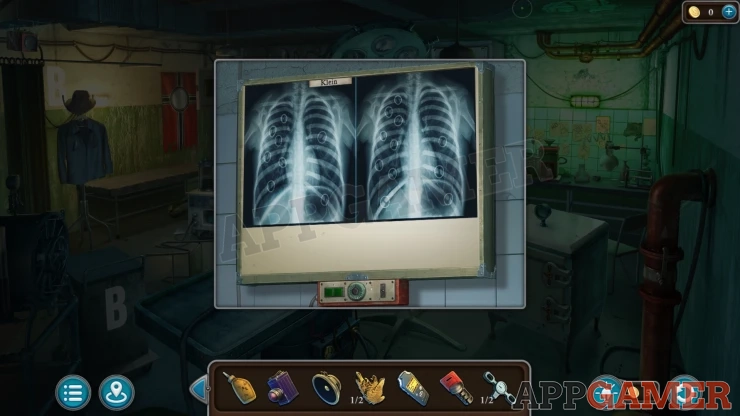
Go back to Room B and then view the X-ray Viewing Box on the wall. Add the Image to it and you will see a clue.
Show
Now return to the Skeleton in Room A and view the case it is holding. This requires a 4 digit code.
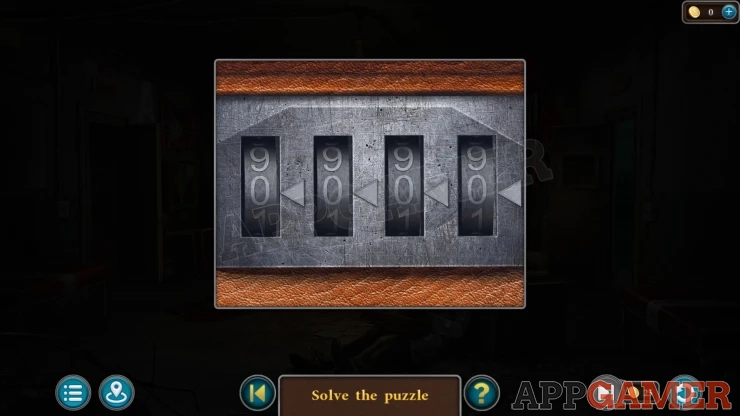
Solution: Count the marked ribs in the 4 columns on the X-ray image. This can be different in each game. Show
Open the case and you can collect the Pressure Plan and another Wing (2 of 2).
Go back into Room C and view the Large doors at the end. Place the two Wings here to reveal a puzzle.
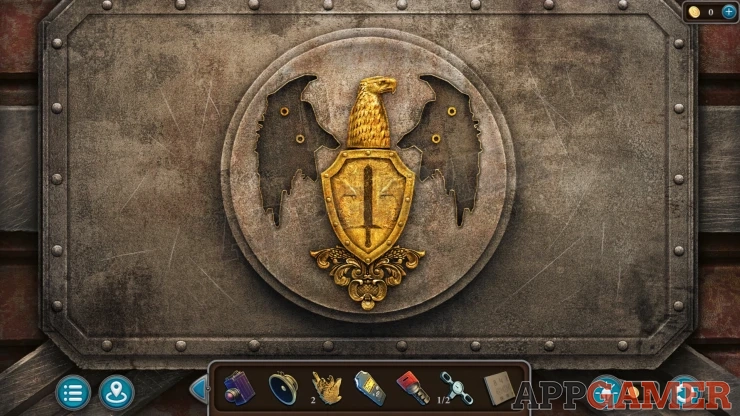
Wings Door Circuit Puzzle
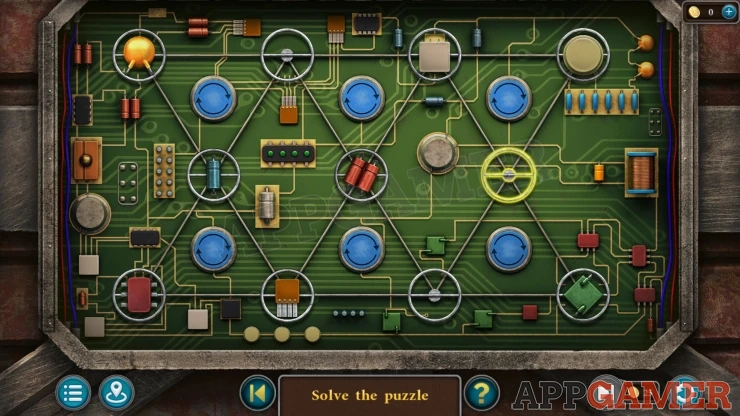
- There is a circuit board with various components arranged around a triangular grid
- Tap the blue arrow buttons to rotate three components around each triangle.
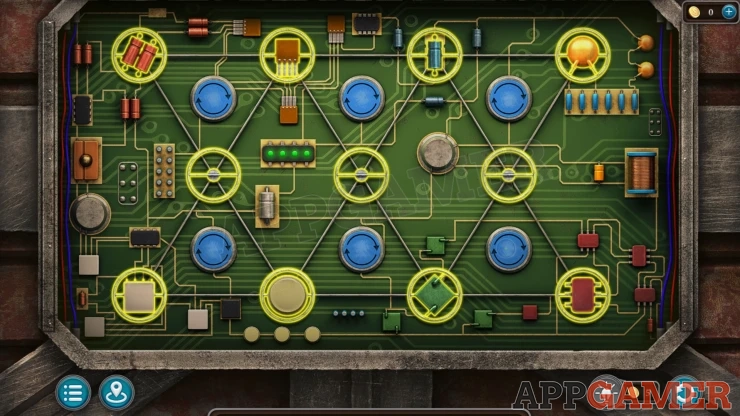
- Arrange each of the components into the correct locations.
- The ones on the top and bottom rows need to match other smaller components next to each position.
Solution: Show
The doors open and you can enter Room G, with the chamber for the monster.
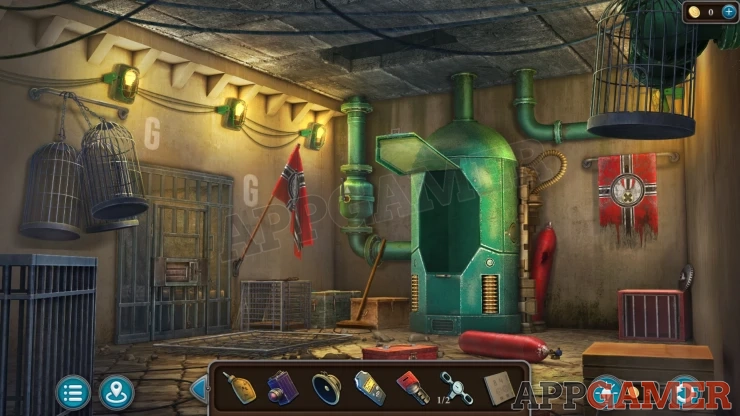
Collection Item: Medal on the flag hanging to the right of the chamber.
Morphing Object: Shame in the wide on the bird cage hanging on the top right.
Look on top of a small cage to the left of the chamber. Collect a Saw and another Rivet (2 of 2)
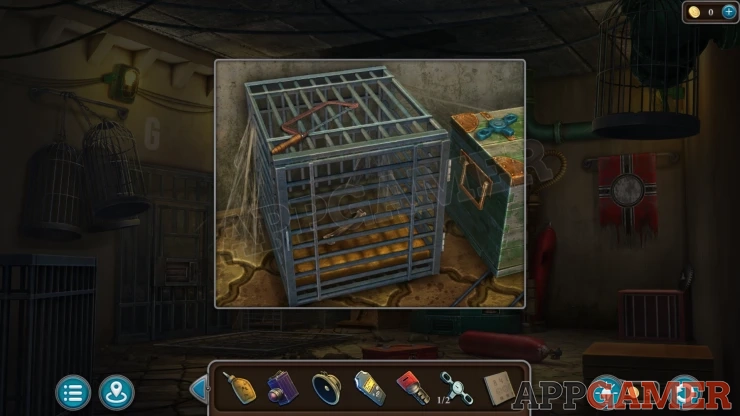
Then collect a Mop from a box on the left of the chamber, and a Gear (2 of 2) from the red box on the right of the chamber.
Back up to Room A and then view the red gas tanks on the wall in the center, below the ceiling light.
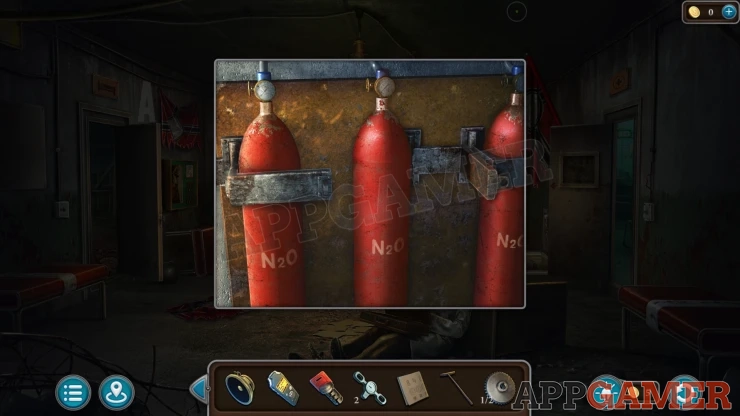
Use the Saw on the bracket holding them and then you can collect a Cylinder.
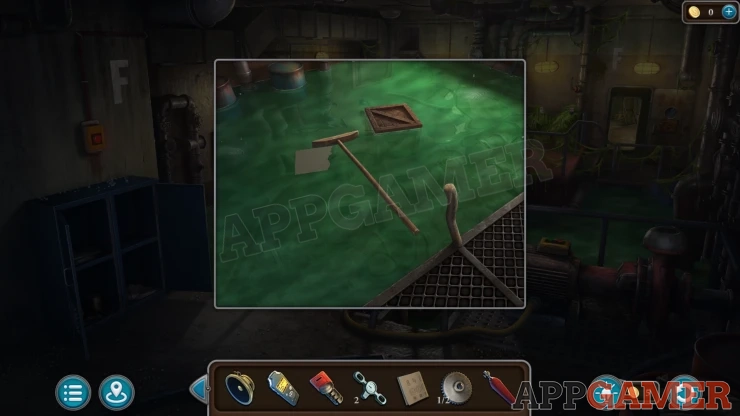
Go to Room F with the flooded floor and then look in the water on the left again. Use the Mop here to collect a Diagram (1 of 2) that is floating in the water.
Go to Room B (lab) and view the small cabinet to the right of the table.
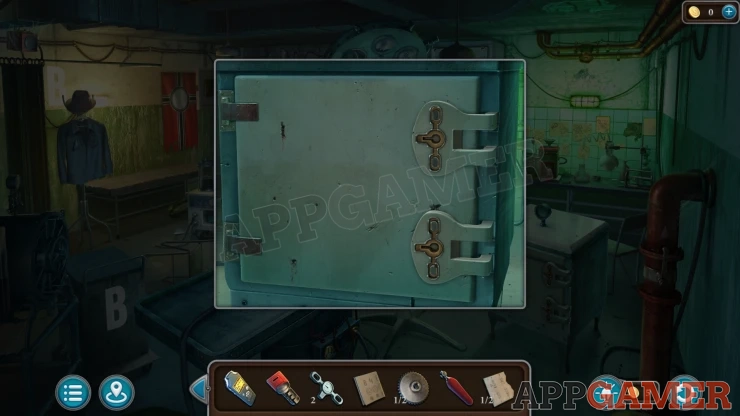
Add the two rivets to the door and it will open. Collect another Diagram (2 of 2). You now have the Circuit Diagram.
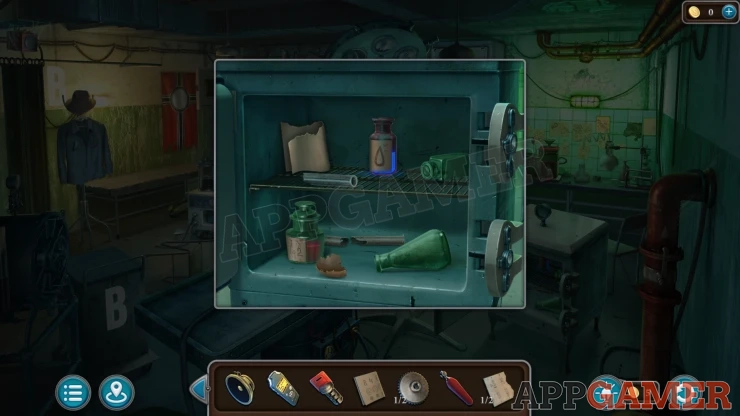
View this in your inventory to see that is shows eight valve handle positions. Each with a Letter.
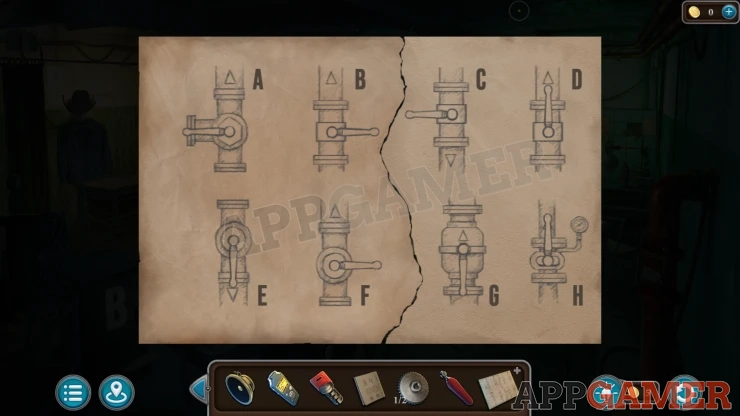
Now you can go to each of the Lettered rooms and locate the large pipes (they may be red, green or grey). View the pipes to set the handle position as shown in the diagram. Your diagram may show different positions.
E is the Kitchen
The pipe in room A is below the grate in the floor on the right.
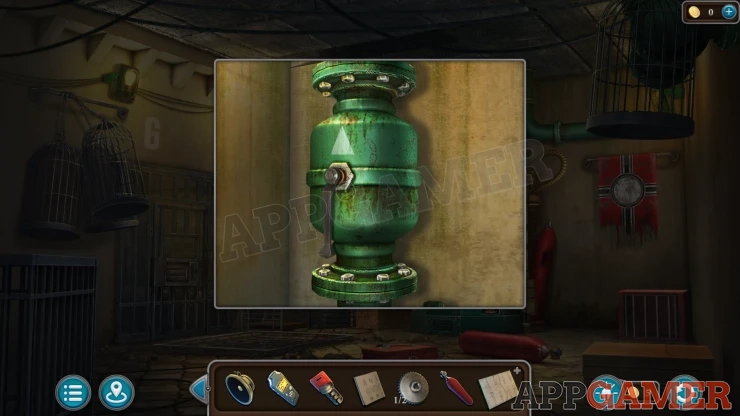
Once they are all set go to Room G (Monsters Chamber) and view the broken red cylinder on the right of the chamber.
Add the new Cylinder to this.
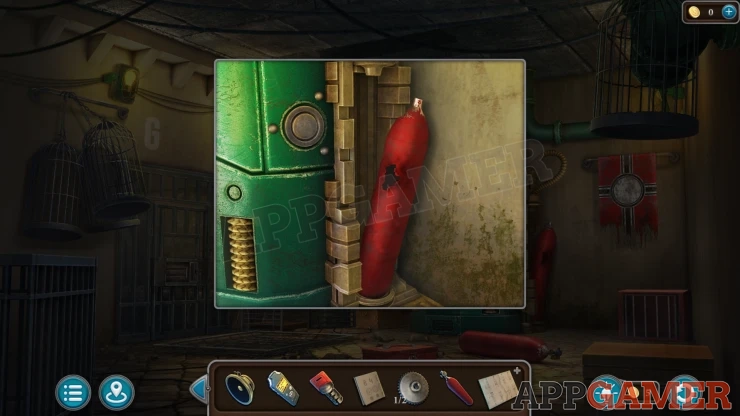
Mascaron: tap and hold the large round button on the side of the chamber until the three lights go out.
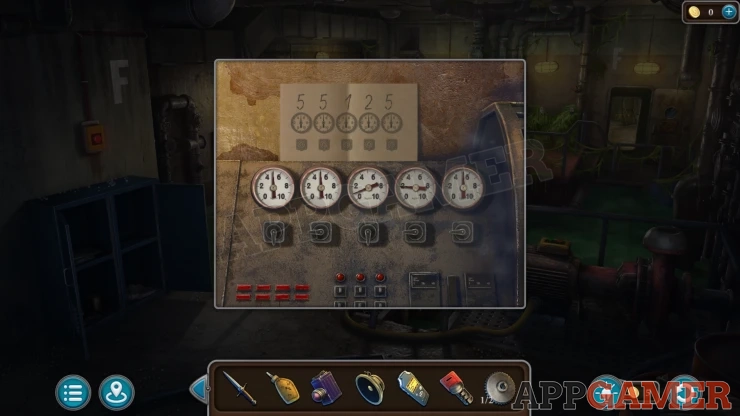
Next go to Room F and view the boiler on the back left. Add the Pressure Plan paper to it.
Boiler Pressure Puzzle
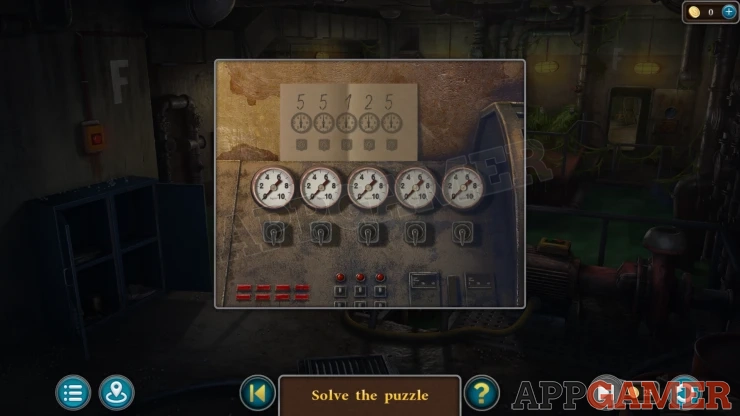
- There are five switches below the gauges that you can tap to alter the pressure reading on the gauges
- Changing each switch will affect more than one of the readings.
- Find a setting to set the gauges to read the same as the values on the paper.
Solution: Your game may have different readings.Show
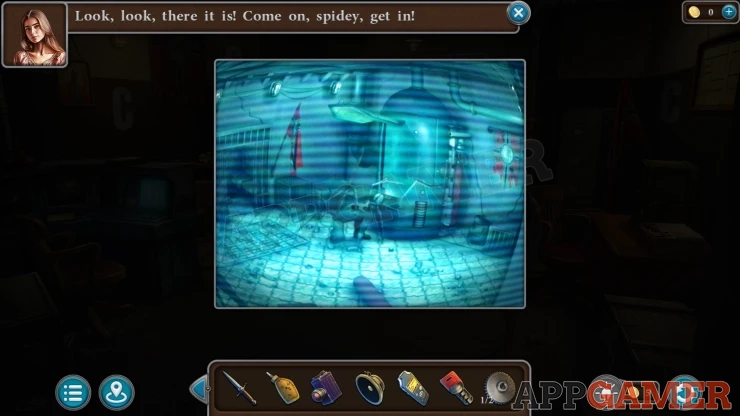
Go to Room C and look at the monitor on the control panel. You will see the monster appear and then go to sleep.
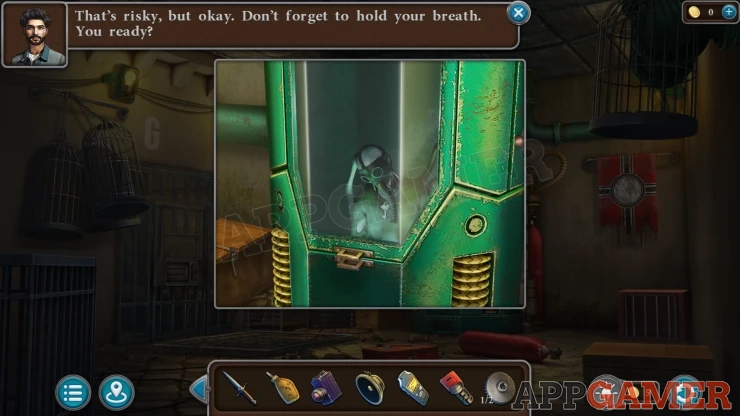
Go to Room G and look at the monster in the chamber. Next you will collect a Key from the Monster.
On the left wall of the room is a metal cell door with a lock. View this.
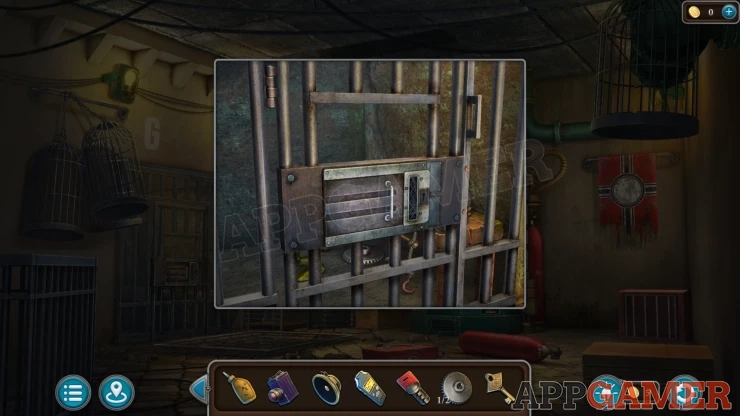
Use the Key on it to open the panel and find a puzzle.
Cell Door Block Puzzle
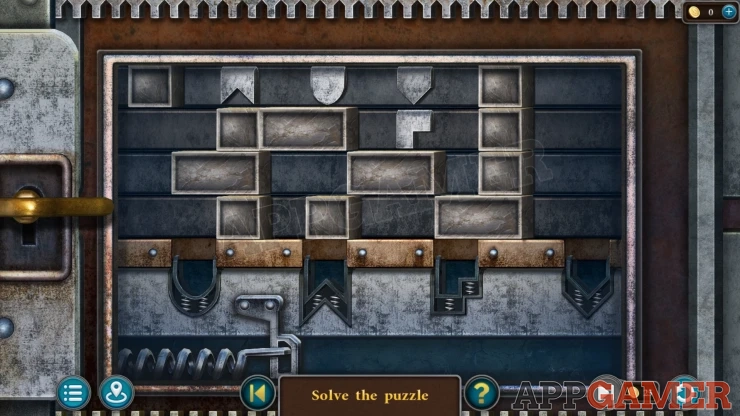
- There are four shaped blocks that are positioned on the three levels of the puzzle.
- At the bottom are four slots for the blocks, only one of each will fit in each hole.
- Slide the three rows left and right to move the blocks and allow them to fall into the holes.
- Once all four are in the correct slots the puzzle is complete
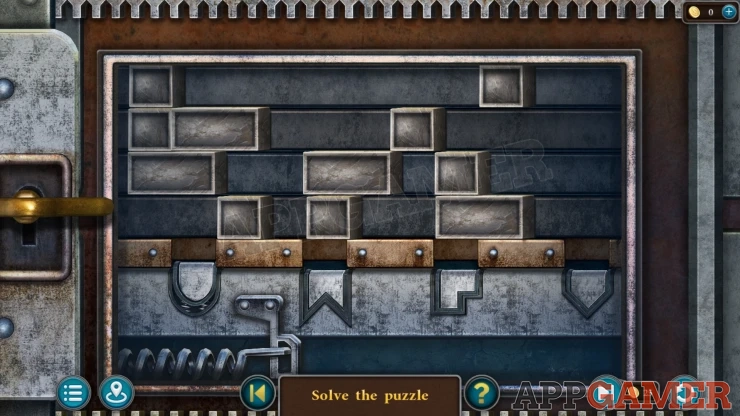
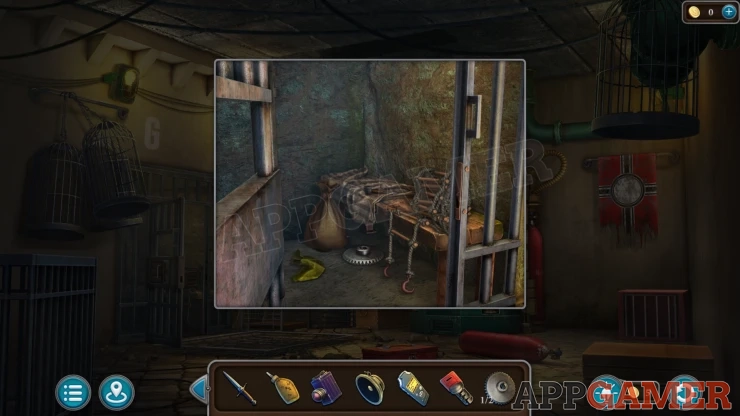
Once done the door opens and you can look inside the cell. Collect another Gear (2 of 2), a Ladder and a Soldering Iron. Then tap on the sack on the left to open it and collect some Charcoal.
Back up to room C then look on a table on the right wall, on top is a cassette player.
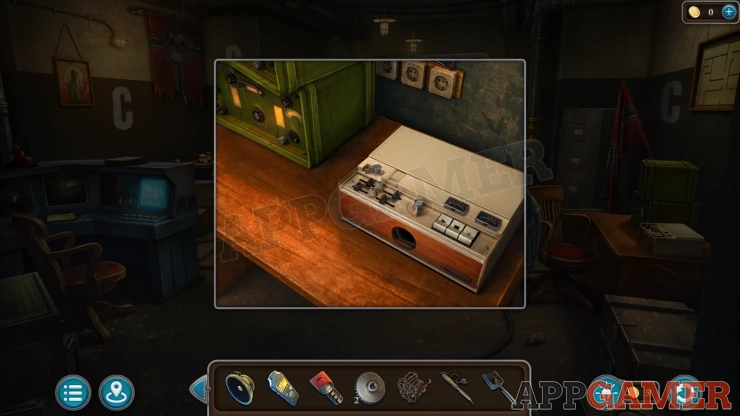
Open the top and add the cassette tape to it.
Then open the front and add the Speaker. Finally add the soldering iron to the table and you can solder the wires for the speaker.
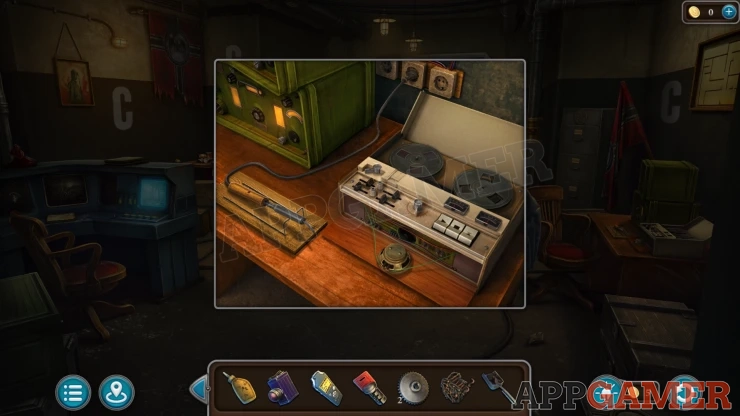
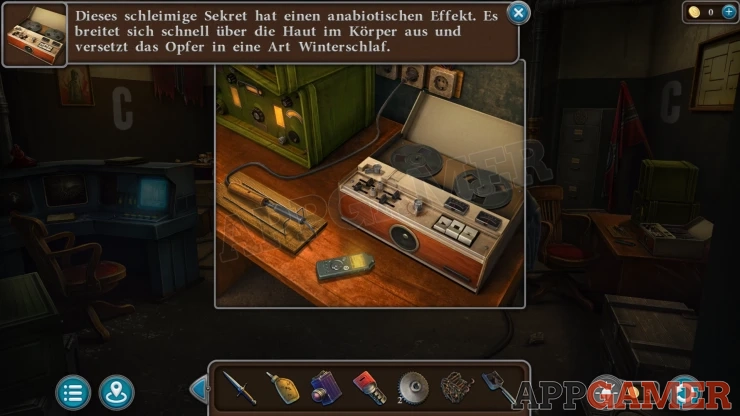
Play the tape to hear German. You can then use the Voice Recorder on this to collect a Voice Recording.
Return to the Living quarters of the Polar station and view the Computer on the left. Add the Voice recording.
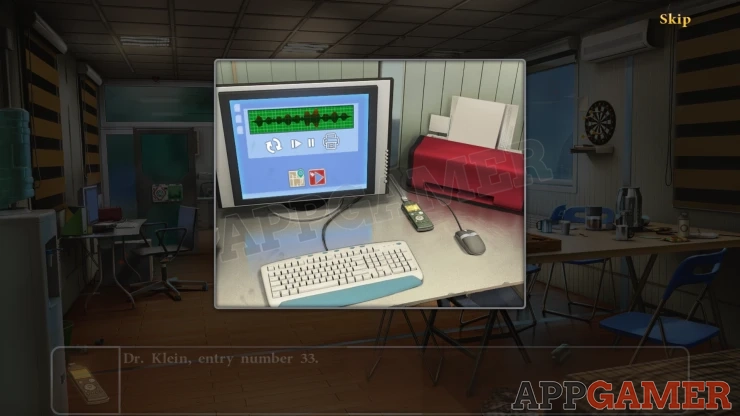
You learn about an antidote.
Return to Bunker Room B (lab) and now collect the Antidote Recipe paper from the table. You need to collect the ingredients.
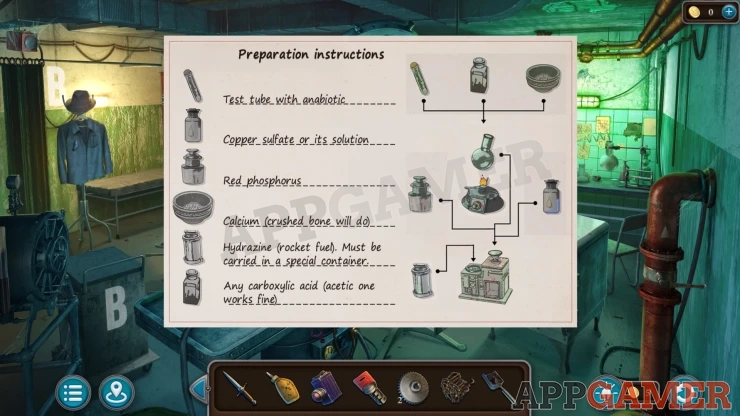
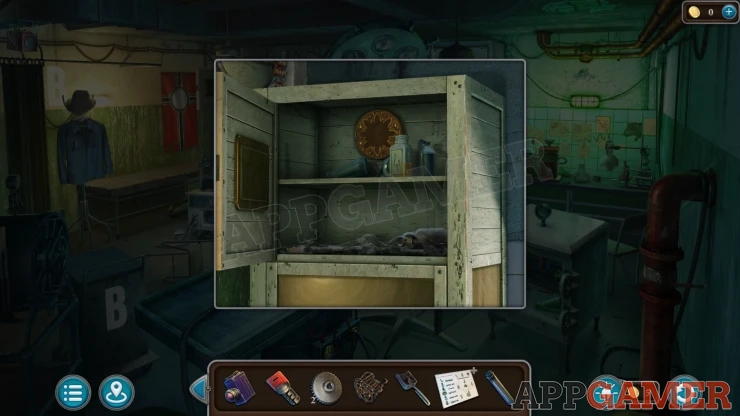
Look in the tall cabinet on the left again and collect a Test Tube and Acetic Acid.
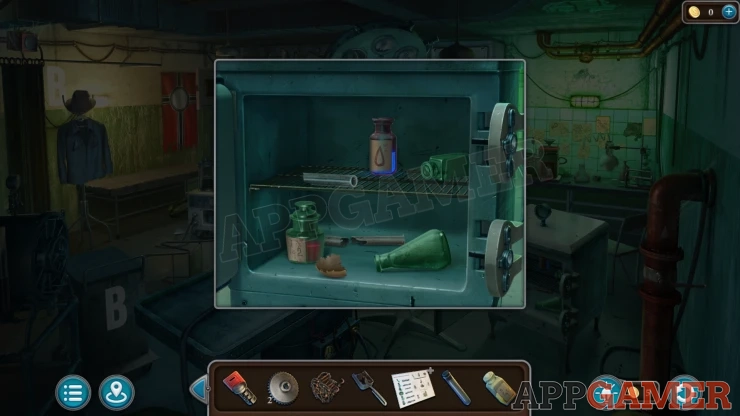
Then look in the small cabinet on the right again and collect Copper Sulfate and Red Phosphorus.
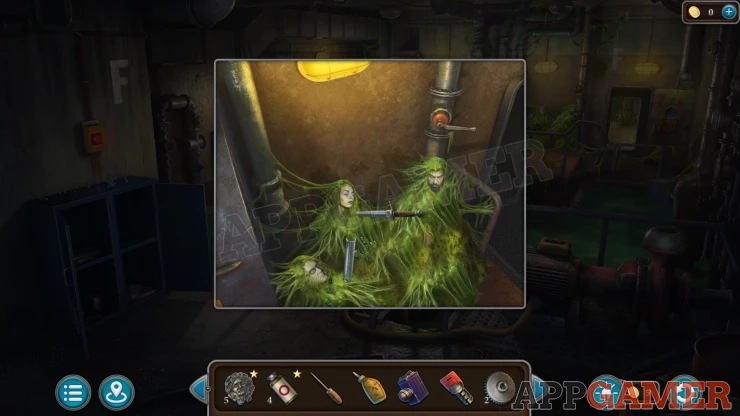
Go to Room F and view the cocooned people on the far side. Add the Test tube to this and then the Dagger to cut and collect Anabiotic Slime in the test tube.
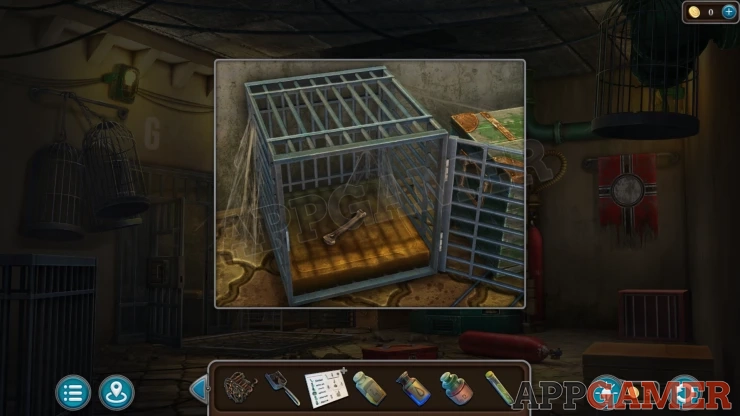
Go to Room G and view the small cage to the left of the chamber again. Open it and collect a Bone.
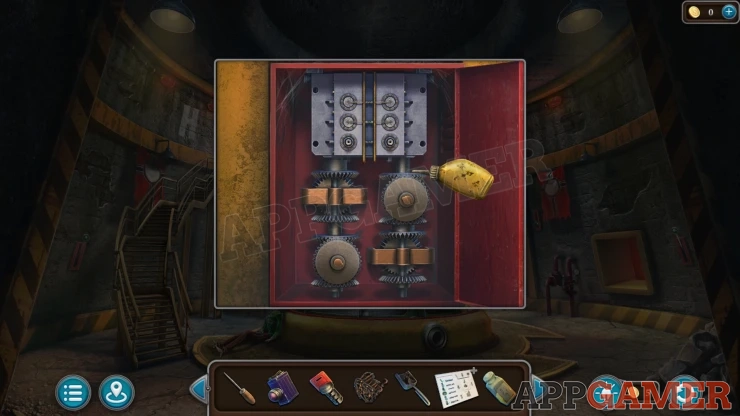
Go to Room H (rocket) and view the red cabinet below the stairs. Add the Two gears here and then use the oil can on them to make the mechanism work.
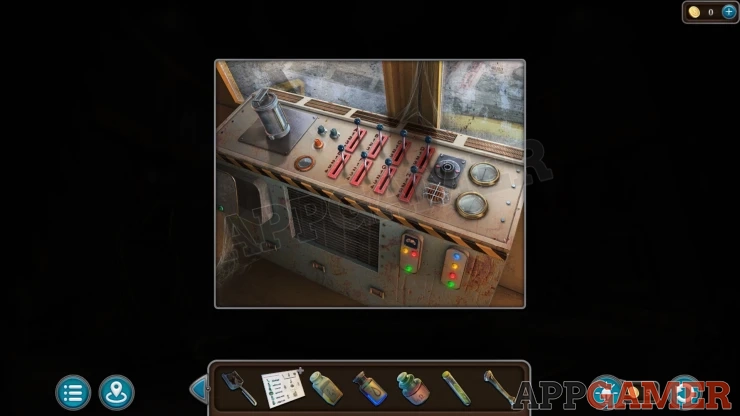
Then look inside control room at the top of the steps. Collect a Container from the control panel and then use the Launch Key on the panel to add it. Turn the key, the cover in the center of the room will open. Look inside the Silo to see the rocket.
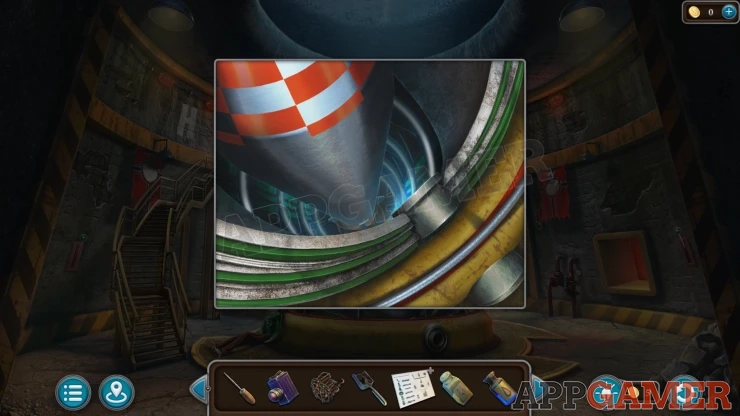
Place the Ladder here then you can go down to find a hatch. Use the screwdriver to open it.
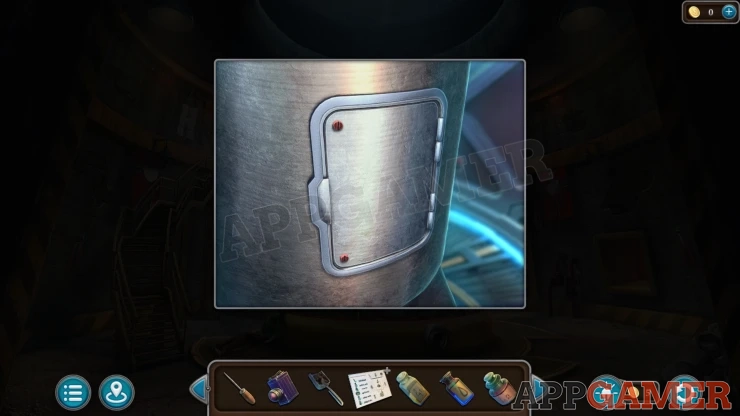
Place the container inside the opened hatch and then you can collect the Hydrazine.
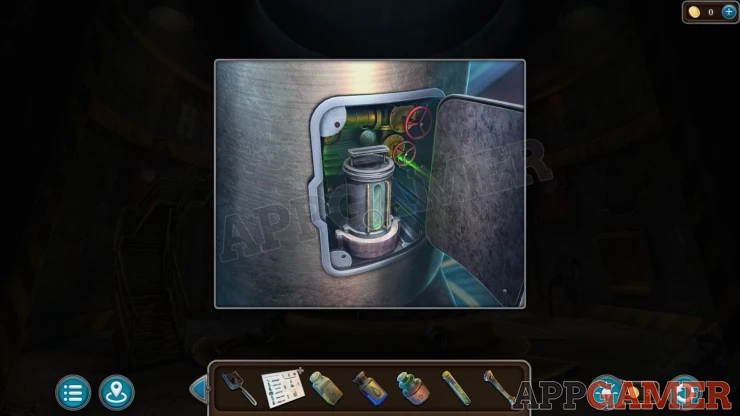
Now go to the Kitchen. Look on the counter on the right to find a grinder. Add the Bone to this, then you can collect the Crushed bone.
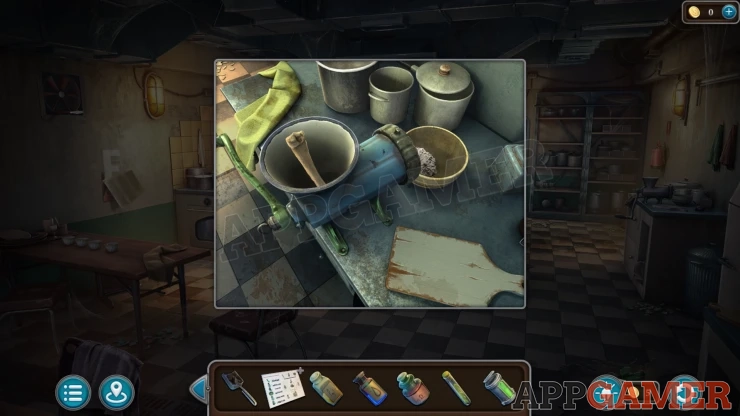
Next look on the table on the lower left, there are four cups here. This is a clue.
Show
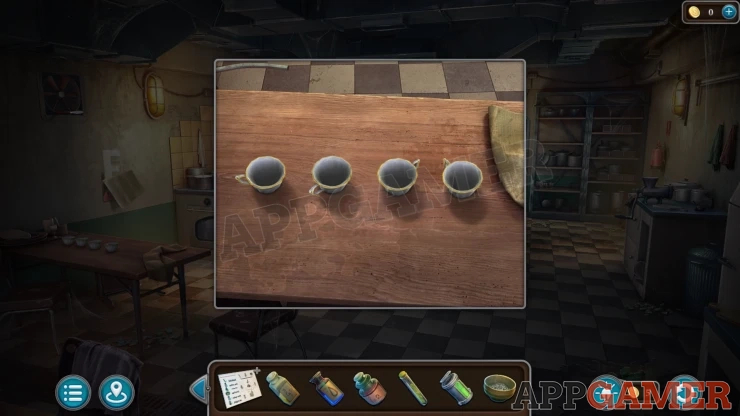
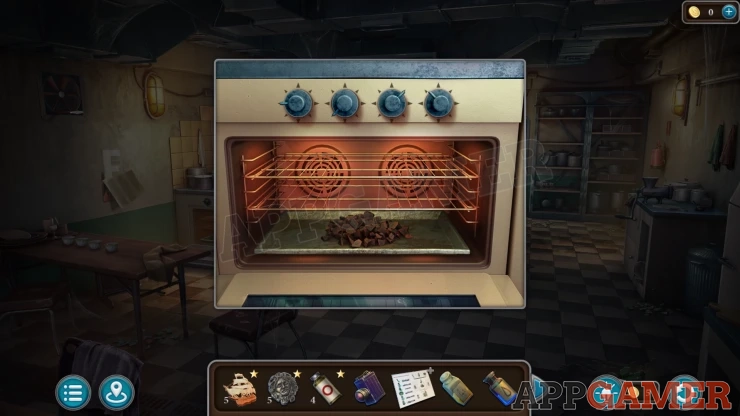
Then view the oven on the left. This has four knobs that you can turn. Set these to the correct positions.
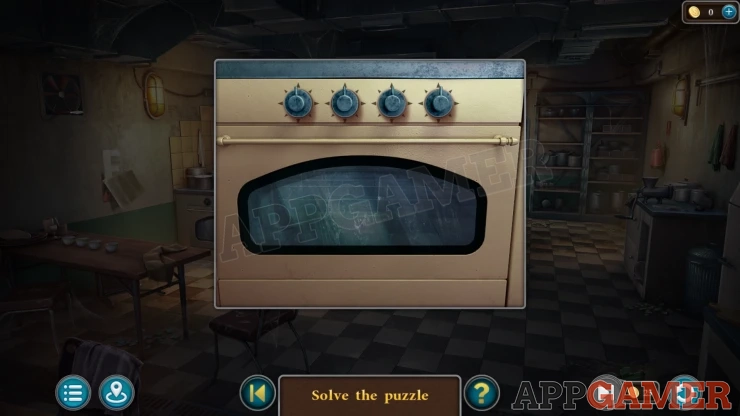
Solution: Match the positions of the handles on the four cups.Show
Open the oven, place the charcoal inside. It will be heated, collect the Hot Charcoal.
View the door at the back of the room again and then place the hot charcoal on the ice at the bottom.
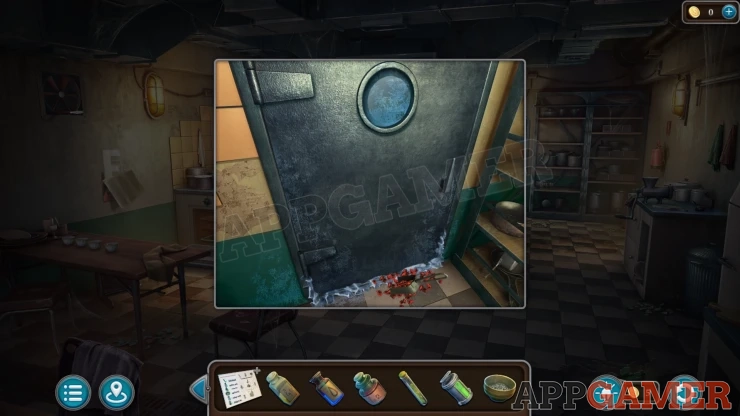
The ice melts and you can open the door, look inside the freezer.
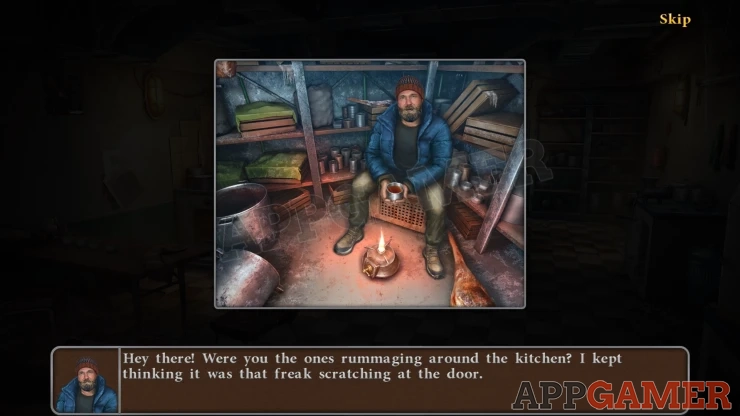
Talk to David, then you will receive the Alcohol Burner.
Now view the Preparation instructions in your inventory and add to it all of the ingredients that you have collected. You will collect the Reagents.
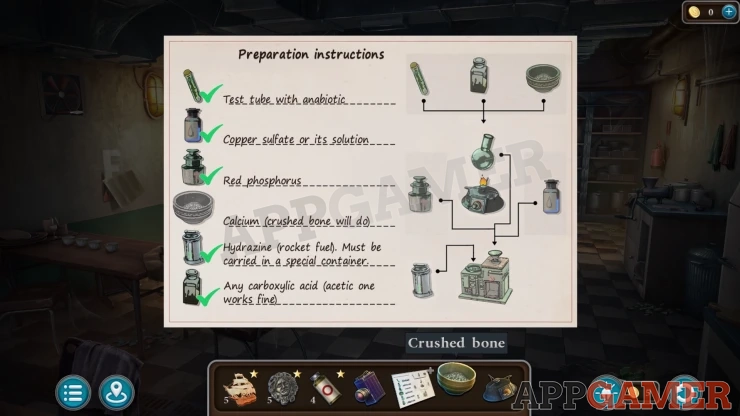
Go to Room B (lab) and view the workbench on the back right. Add the Reagents to it.
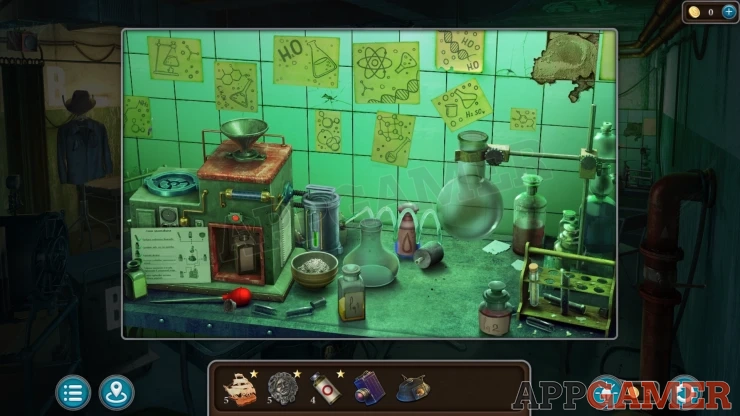
Now follow the instructions to complete the antidote.
- Add the Bone, Acetic Acid, and Test tube to the flask.
- Then add the condensing tube from the desk to the top of the flask and place the alcohol burner under the flask to heat it.
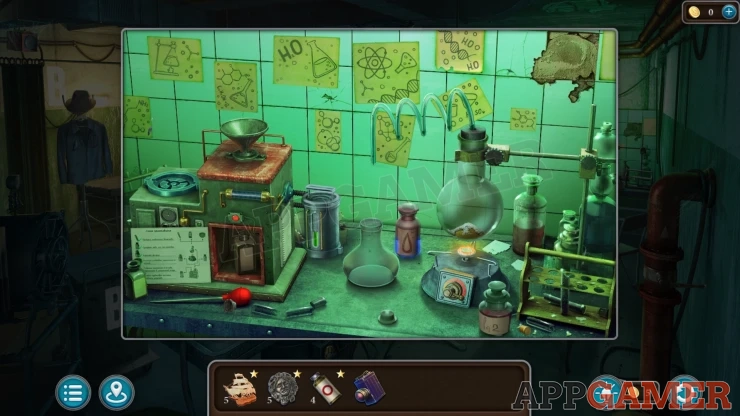
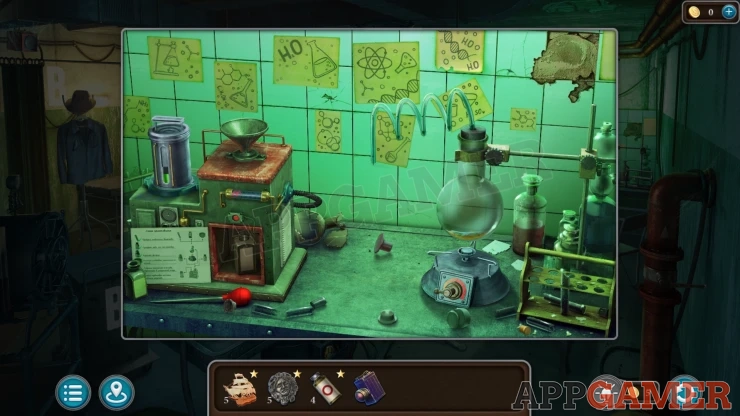
- Once a liquid is produced place this and also the Red Phosphorus and copper sulfate into the funnel on the device on the left.
- Add the Hydrazine container to the top of the device on the left.
- Then press the red button to produce the Antidote to collect.
Go back to Room F and view the unconscious people. Add the Antidote to them.
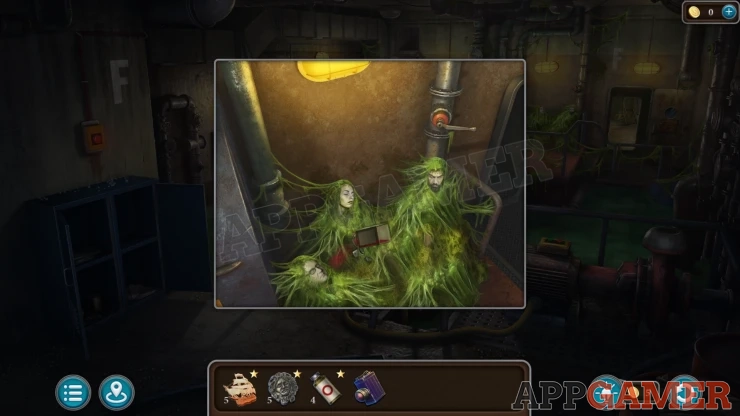
Collect a Cross.
Once everyone is assembled go to Room C and view a green cabinet to the left of the doors.
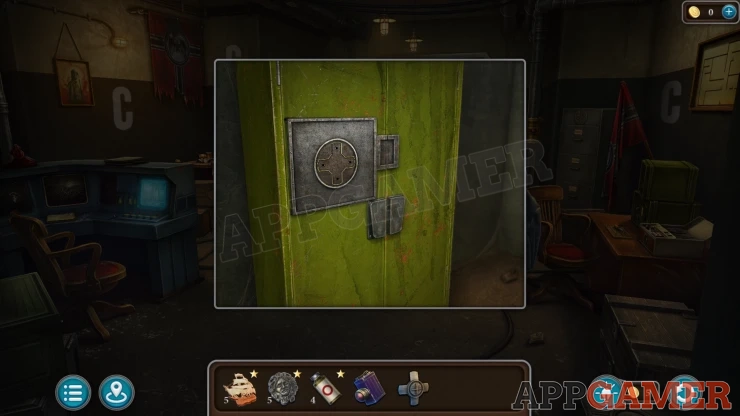
Add the cross to the front to reveal a puzzle.
Room C Green Cabinet Puzzle
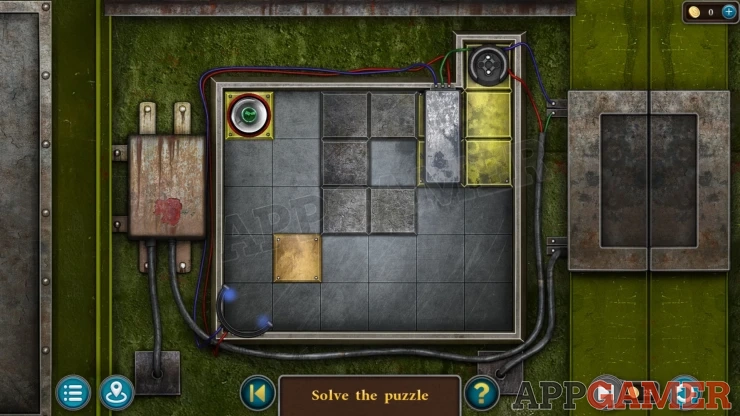
- There is a board with squares and there are gold and grey blocks on the board. You can move the grey blocks around
- There is a green token on the top left that needs to be charged and then moved to the end spot on the top right.
- It can only be moved onto other blocks.
- Slide the grey blocks around to make a path to move the token down to the lower left corner where it is charged up.
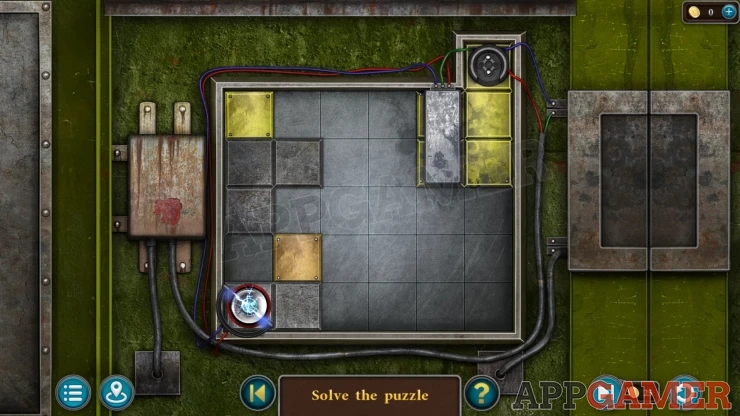
- Then make another path to move it to the top right.
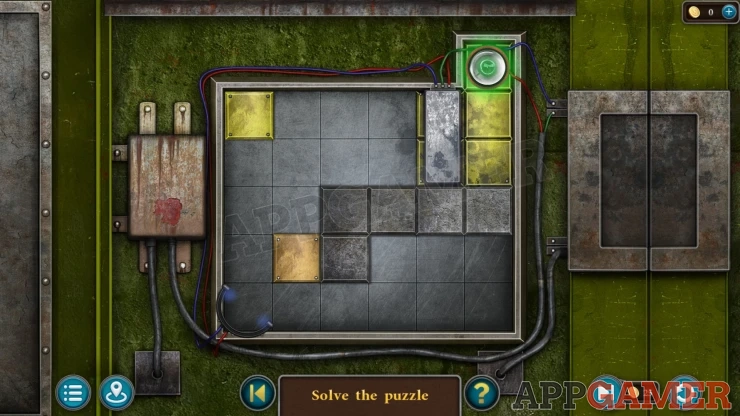
Once done the cabinet is open collect a Signal Flare.
Return to Room H
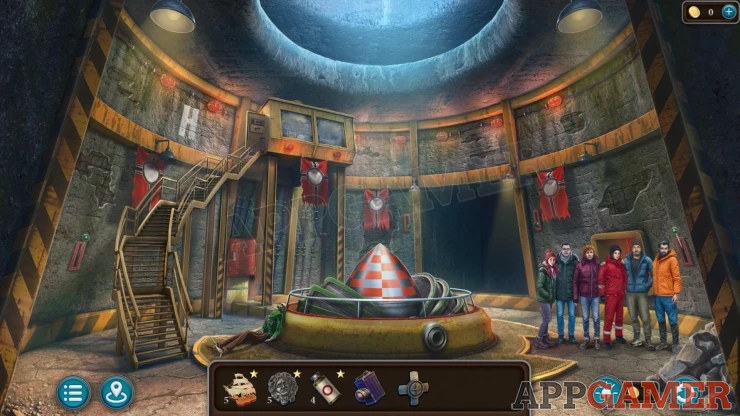
Secret Room
The secret room can be found here in Room H. To unlock it you need to set some switches in the control room at the top of the steps.
For help with this and completing the room please see the Episode 8 Extra Stars Guide.
Now view the hole in ceiling. Use the Flare here to fire it.
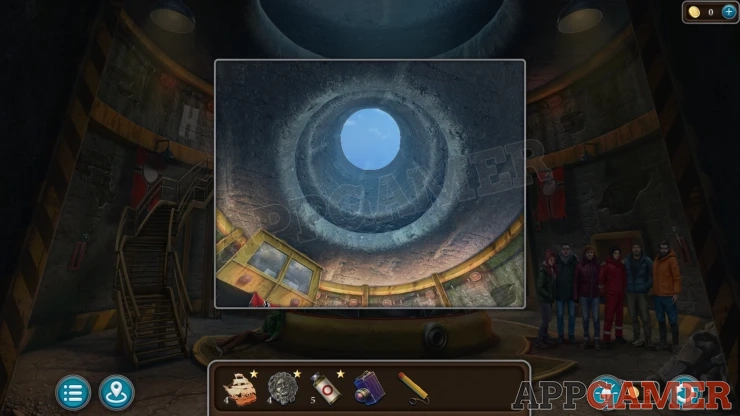
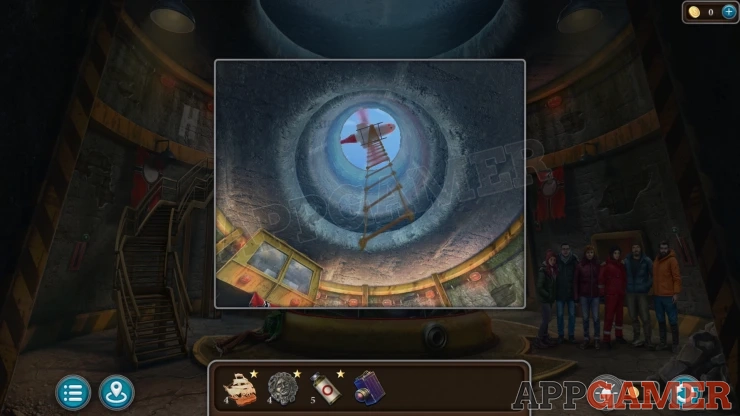
A helicopter will arrive to rescue you. That completes the episode.
Move on to Episode 9.
We have questions and answers related to this topic which may also help you: Show all
 With 20 years of experience in creating video game content for the internet and over 30 years as a gamer, Mark is now a passionate mobile App Gamer. Loving a challenge, he is always ready to get stuck in to both survival builders and puzzle solving games. He has been providing content for AppGamer since 2014.