
Episode 11 Walkthrough - Santa's Manor
More Artifact Seekers
This is our guide to Santa's Manor, the eleventh Episode in the puzzle adventure game Artifact Seekers, from Five BN. In this episode you are exploring the home of Santa Cause to help him on his Christmas mission..
You goal in this chapter is to stop the villain that is trying to ruin Christmas and help Santa to prepare to deliver the presents. As before there are collectible items to find in each area for extra stars.
Episode Eleven - Santa's Manor Walkthrough
You begin in the front of Santa's Manor house.

Collection Item: Candy Cane on the green tree shaped roof of the house above the clock.
Morphing Object: Wreath on the front of the Barn on the right of the house.
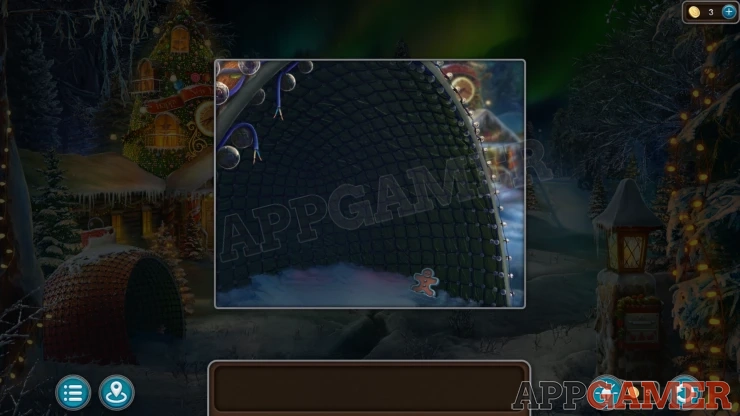
First look inside the curved structure on the left and collect a Gingerbread Cookie (1 of 3).
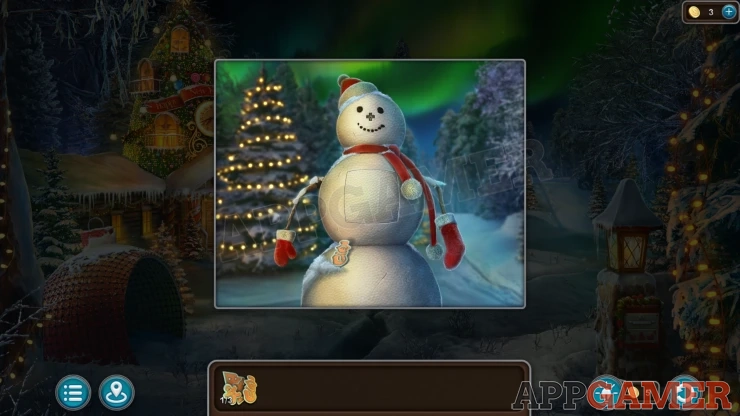
Then view the snowman that you can see in the distance to the right of the house. Collect a second Gingerbread Cookie (2 of 3) from here.
Christmas Stocking *: On the arm of the snowman.
Now tap the path on the right to move forward to an area with a Signpost, the signs are missing.
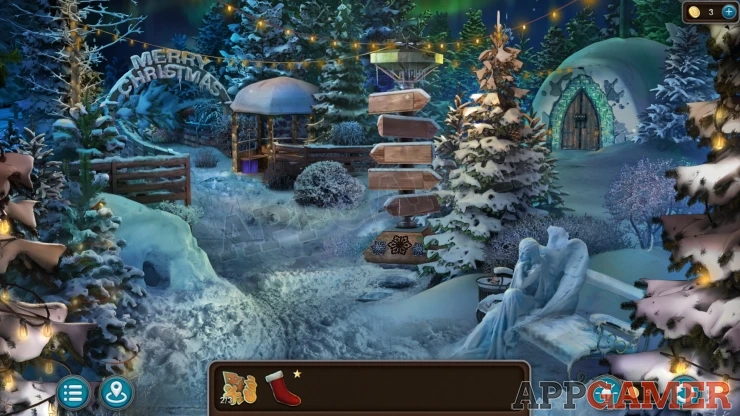
Morphing Object: Pine cone on the christmas tree to the right of the sign.
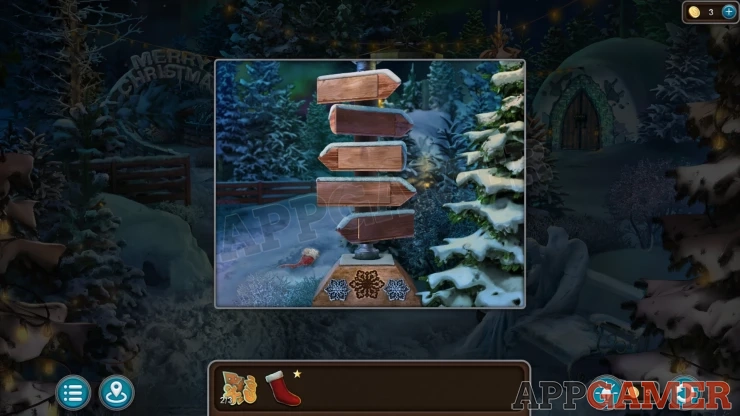
Christmas Stocking *: View the signpost and then tap on the snow on the lower left to find it.
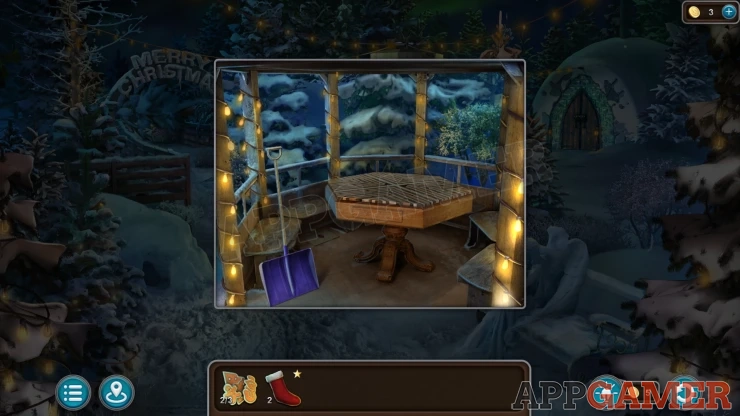
View a small gazebo to the left of the sign post. Collect a Shovel from here.
Collection Item: Letter, under the benches on the left.
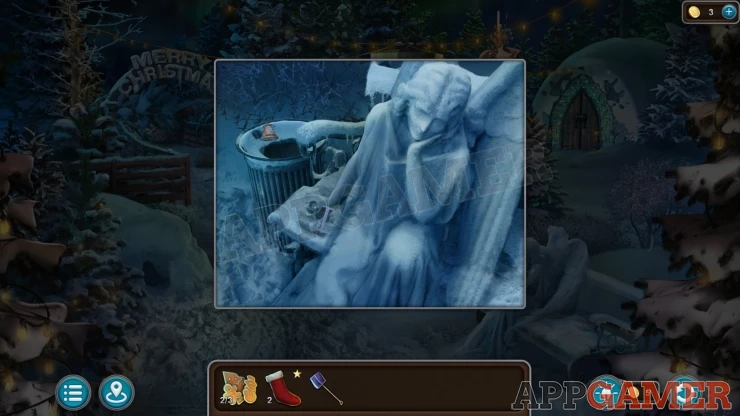
Then view the Angel statue on the bench on the lower right. You can collect a Bell (1 of 3) from the bin on the left of the bench and a Number (1 of 5) from the bench seat.
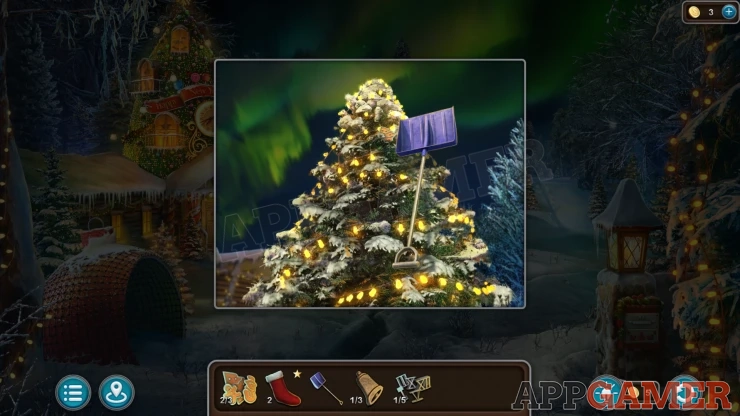
Back up to the front of the house and view the large chrsitmas tree to the right of the front door. Use the Shovel here to collect another Gingerbread Cookie (3 of 3) from the top.
Now view the front door to the house. You can place the three gingerbread cookies her to start a puzzle
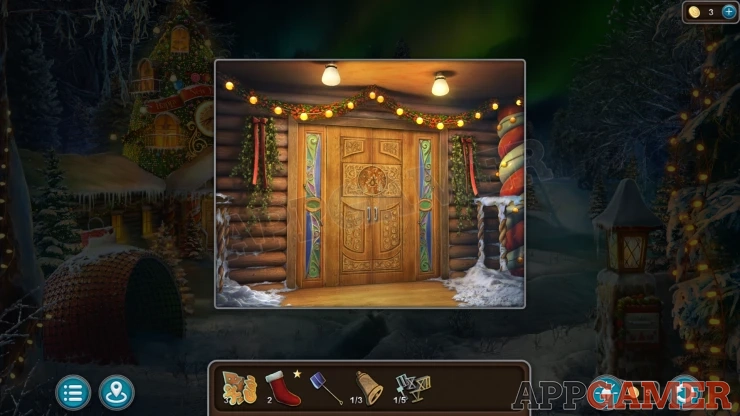
Front door Lightbulb puzzle
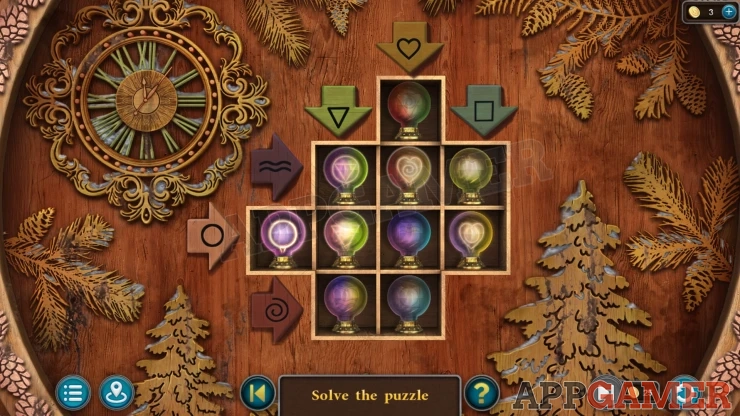
- There is a grid of lightbulbs that have blured symbols.
- Each row or colum has an arrow with a symbols.
- Tap pairs of lightbulbs to swap their positions. Find the correct posisiotns for each bulb so that the shape or shapes inside it will fit with the symbols on the row and column it is in.
Solution: Show
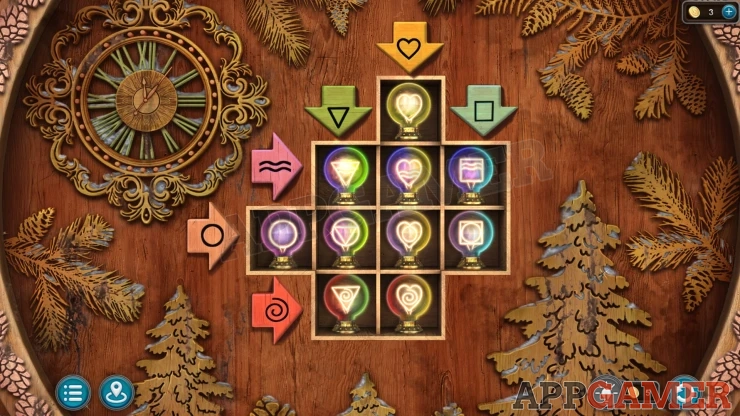
Enter the house.
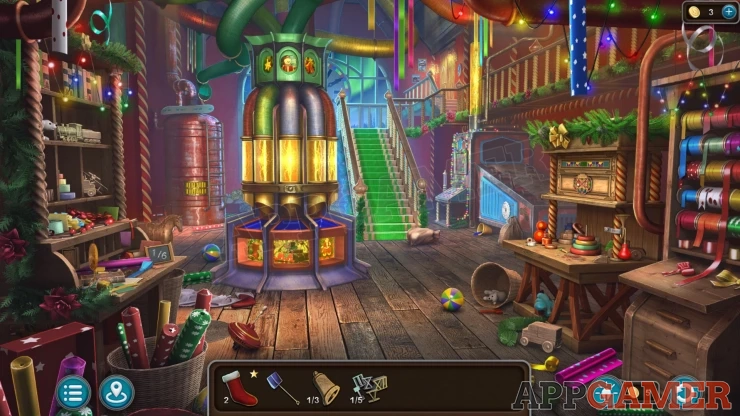
Morphing Object Blue Star / Toy on the floor under the workbench on the right.
Christmas Stocking*: on the floor to the left in front of the center pneumatic post.
Nut* : View the ball on the banister of the stair on the right. Tap top open it.
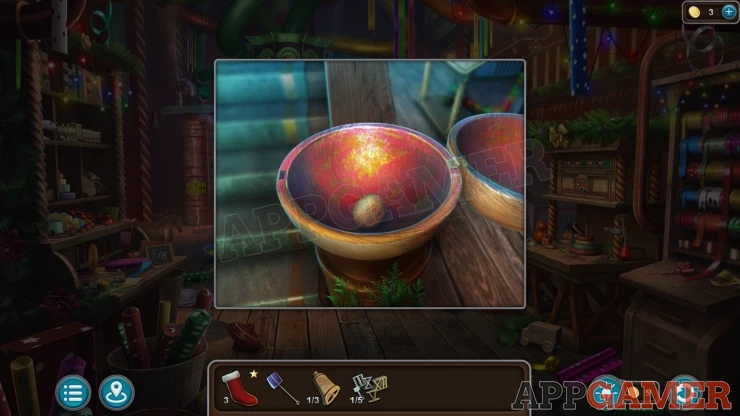
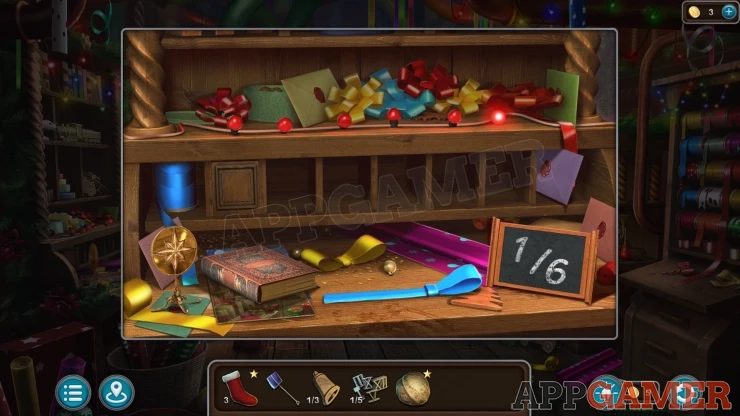
Look on the shelf on the left side of the room and collect a Book (1 of 3).
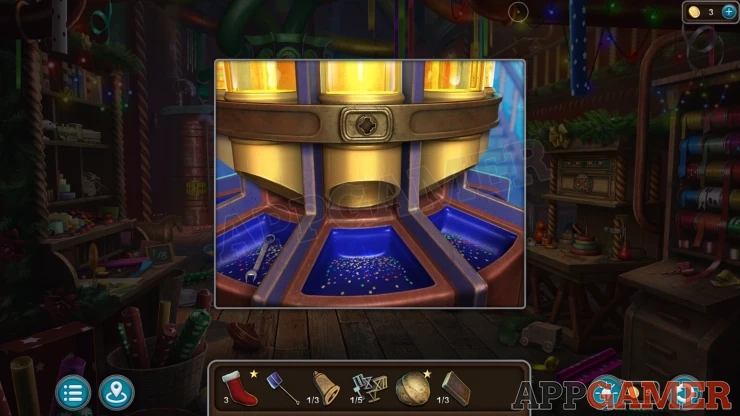
Then look at the large Pneumatic Post in the center of the room. Collect a Wrench from the left side.
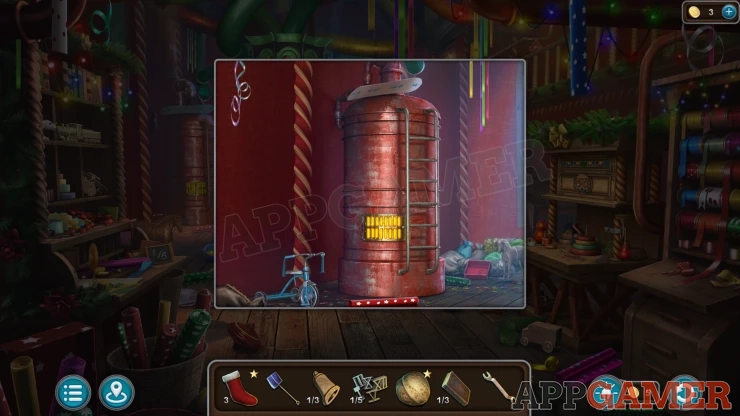
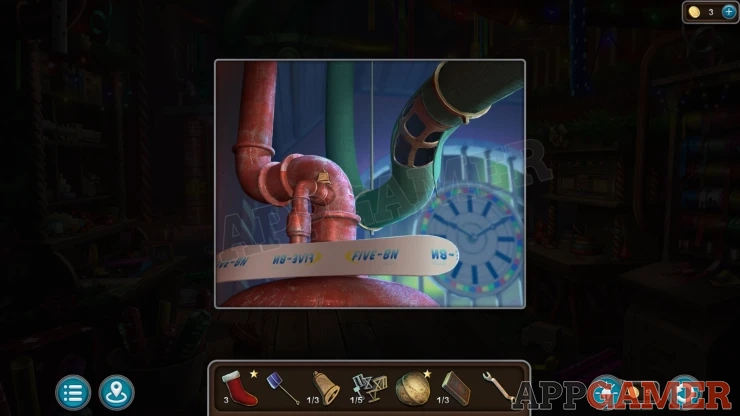
View the large red cylinder on the back to the left of the center pneumatic post, collect a Snowboard from the top of it and another Bell (2 of 3).
Then look on a work bench on the right side of the room.
Collection Item: Candy Cane on the lower shelf
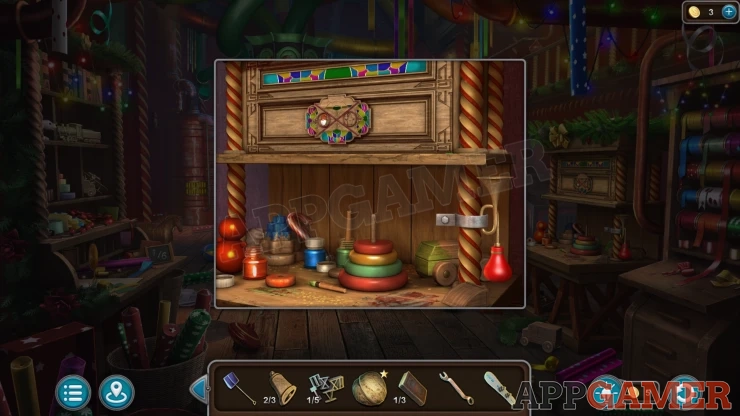
Use the wrench on a metal bracket on the right side, this will release it and you can collect a Horm.
Back up to the front of the bouse and then view the barn doors on the right side. There is a snow pile in front. Use the Shovel here to remove the snow.
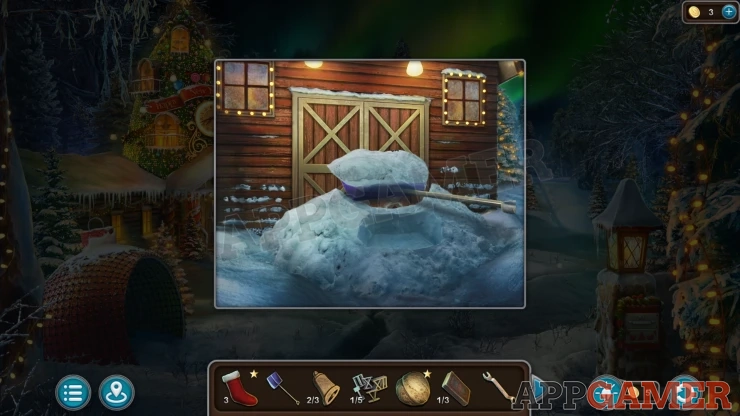
Enter the Barn to find Santa. He will explain the problems that you need to help with.
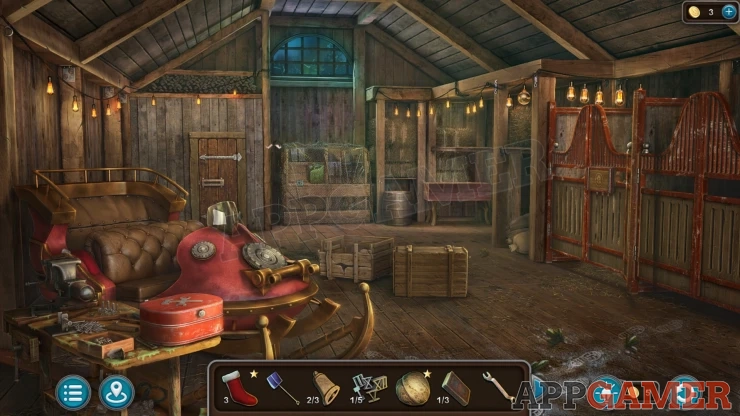
Morphing Object: Round/Star lightbulb on the string of lights on the right.
Christmas Stocking*: on the side of the sleigh on the far left.
View a red Case on the workbecnh on the lower left. Use the Wrench to open this.
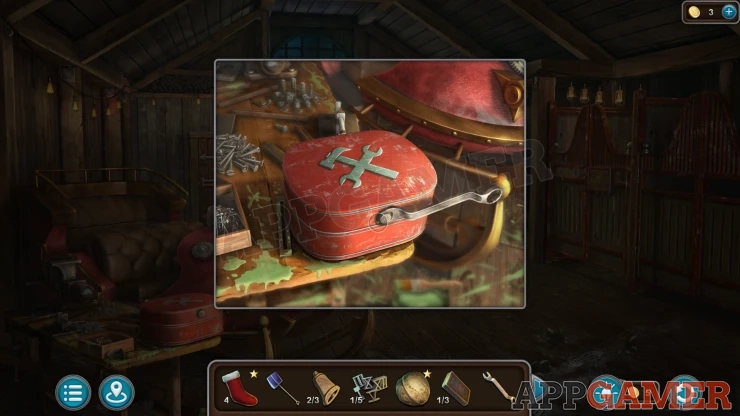
Collect a Cordless Drill and a Knife. Next view a door on the back left of the room. Use the Drill on the lock to let yopu open it.
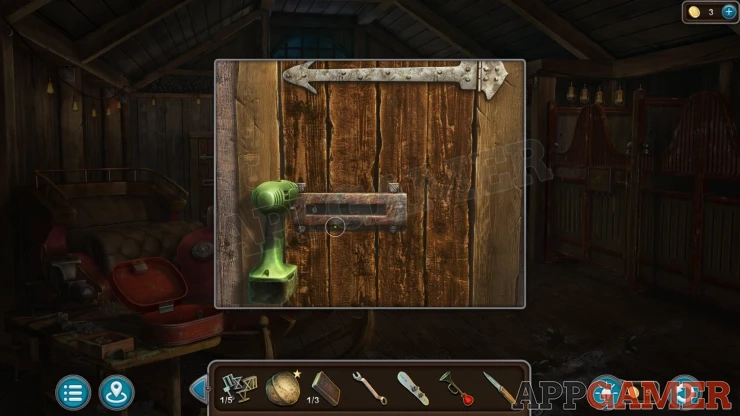
Collect another Bell (3 of 3) from inside.
Then view a net covered crate on the right of the door. Use the knife on this cut open the netting.
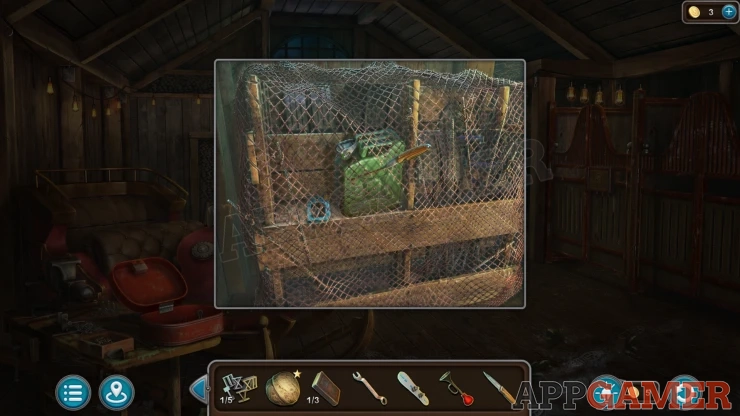
Collect a Jerrycan with Fuel and a Stapler.
Now you can view the reindeer stable door on the right side. Add the three Bells to start a puzzle.
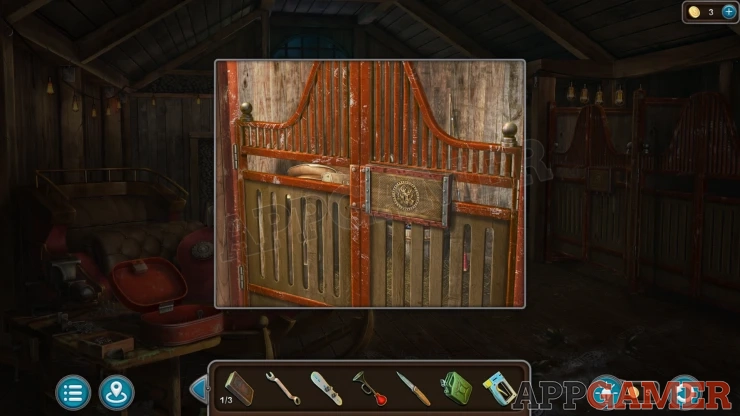
Stable Door Puzzle
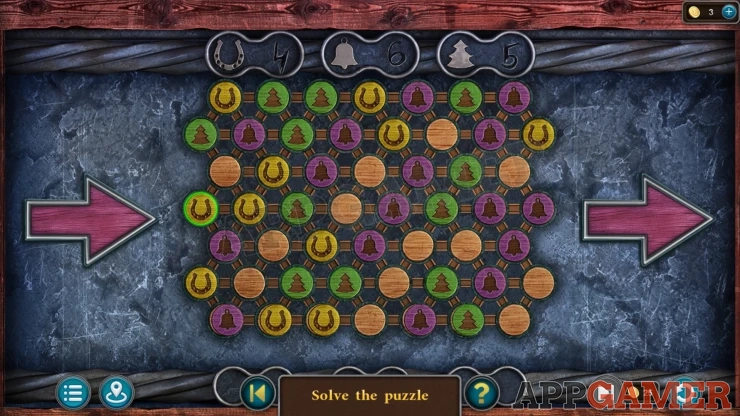
- There is a grid with circles with three different symbols on them.
- At the top you will see the symbols with a number.
- Starting from the left you need to make a path by tapping on the circles, you must use the same number of each symbol as is shown at the top.
Solution: Show
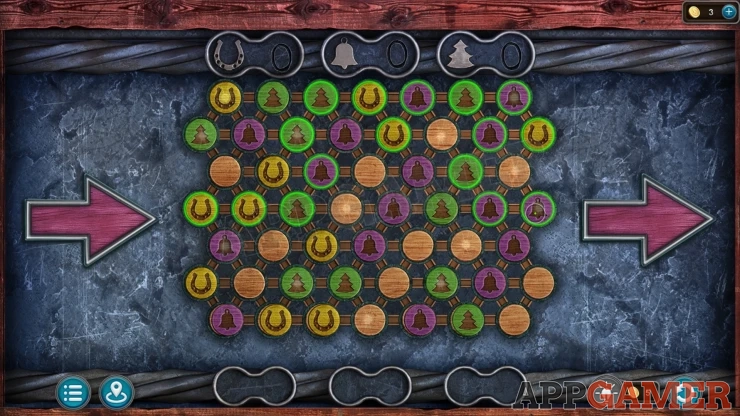
Once the stable is open collect a Hammer and a Fishing Rod.
Nut*: in the bucket in the corner.
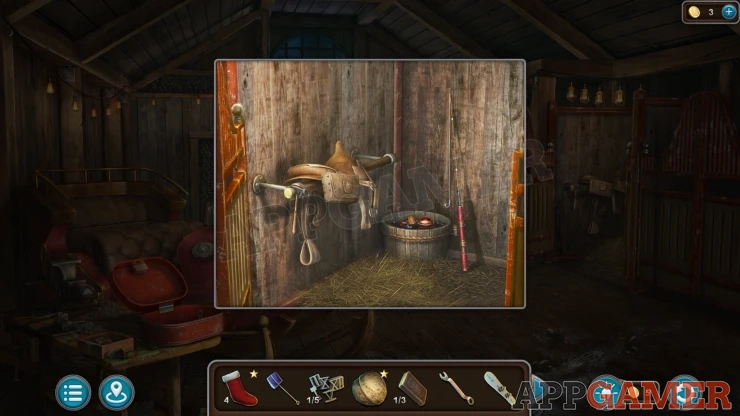
Next view a crate on the floor of the barn, use the Hammer on this to open it. Then collect a Chainsaw.
Notice a number and symbol on the floor on the left.
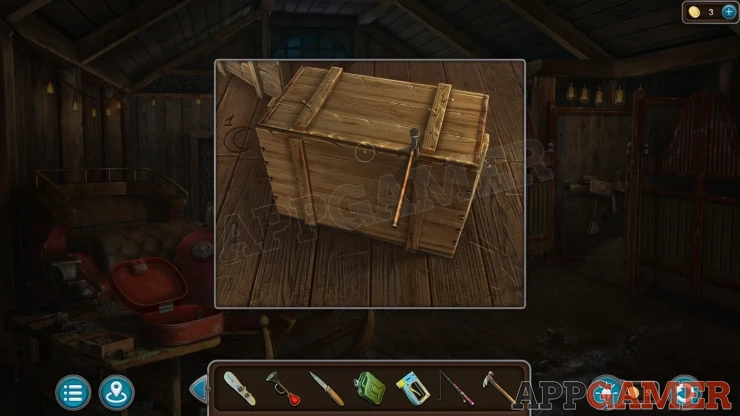
View the chainsaw in your inventroy and add the jerry can with fuel to fill it up.
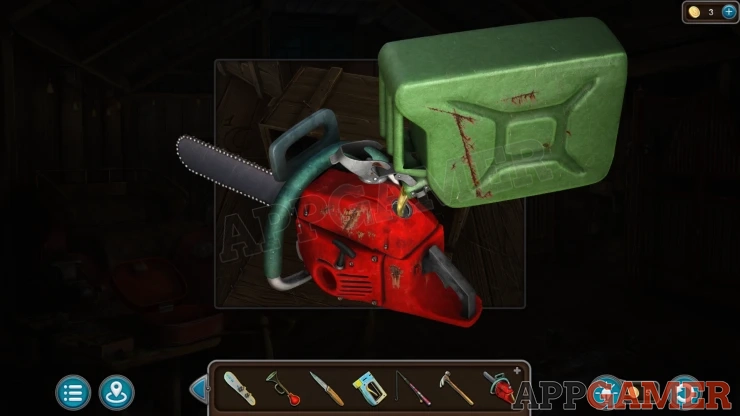
Next go through to the area with the signpost again and then tap on a fallen tree below the Merry Christmas sign on the left. Collect a Wooden Piece from under the tree.
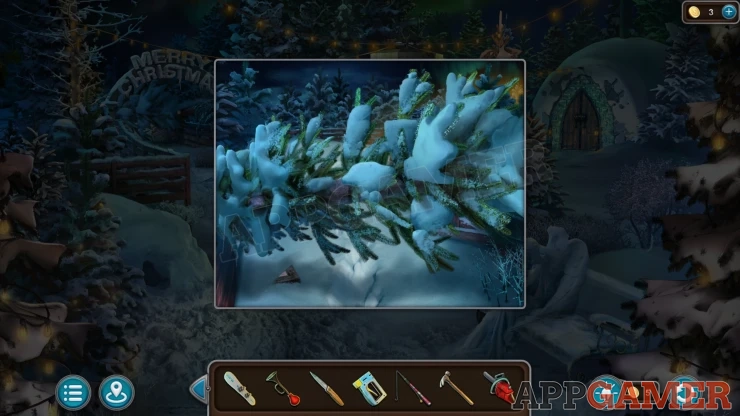
Next use the Chain saw on the tree to cut it away. Then you can move on to the Frozen Lake.
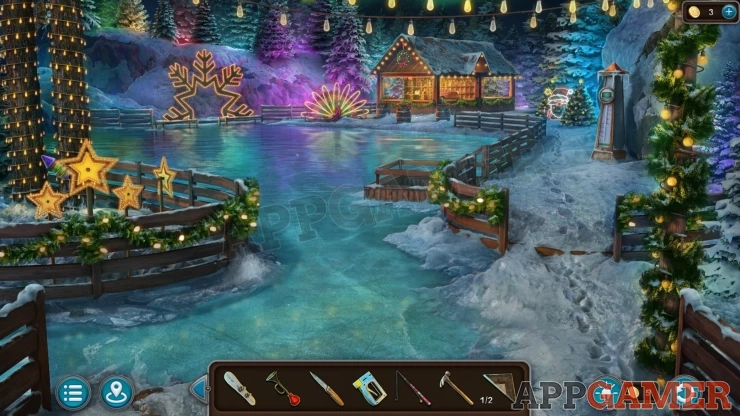
Morphing Object: Neon sign on the back right to the right of the cafe building.
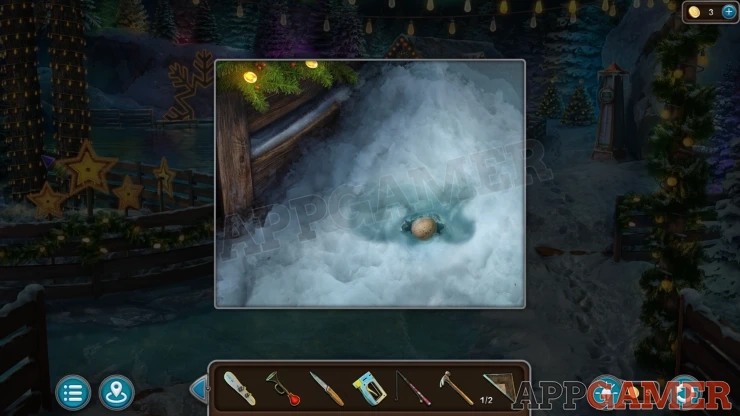
Nut*: look at a small pile of snow in front of the fence on the left. Tap here to dig in the snow to find it.
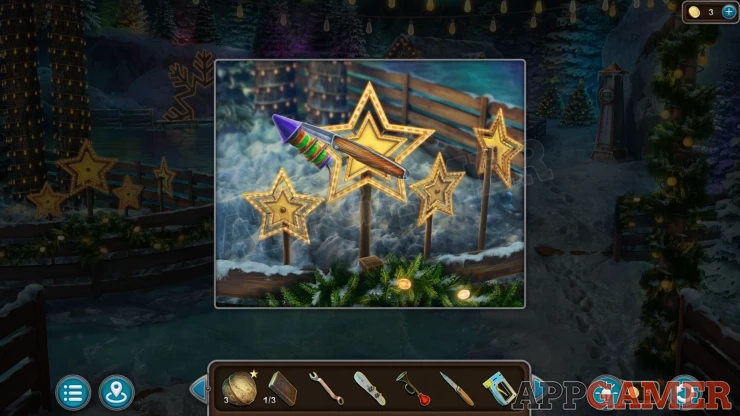
View the illuminated stars behind the fence on the left, use the knife here to cut and collect a Firework.
Deer Figurine*: in the snow below the star on the right.
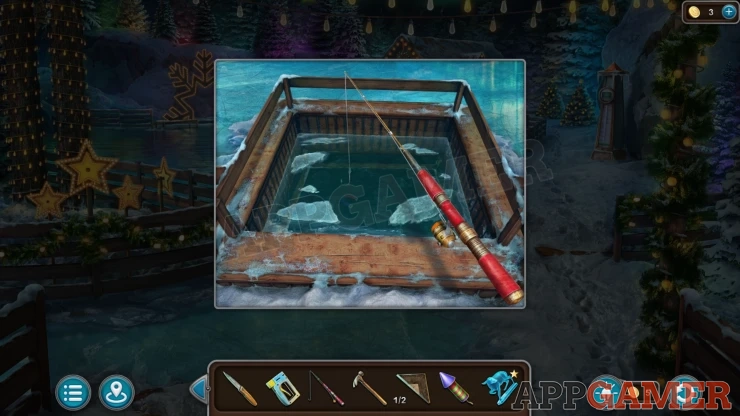
Then view a small square section to the right of the lake which is an ice hole for fishing. Use the fishing rod here and you will collect a Magnet.
On the back left of the frozen lake is a snowflake shaped gate way, view this. There is a small unfrozen stream to cross.
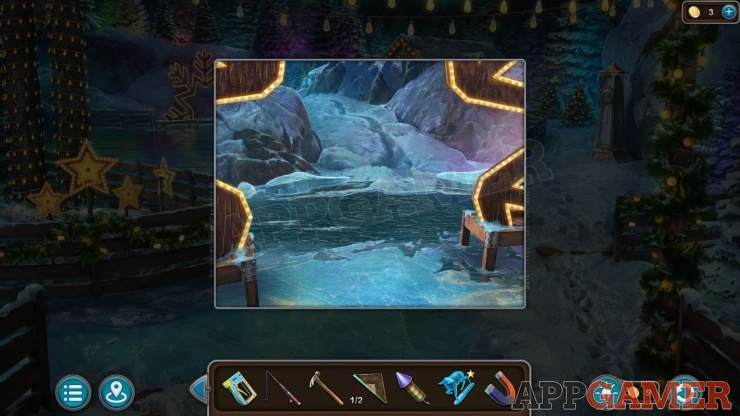
Use the snowboard here to make a bridge, then you can cross over and move on to a dead end with a tent and an overturned sledge.
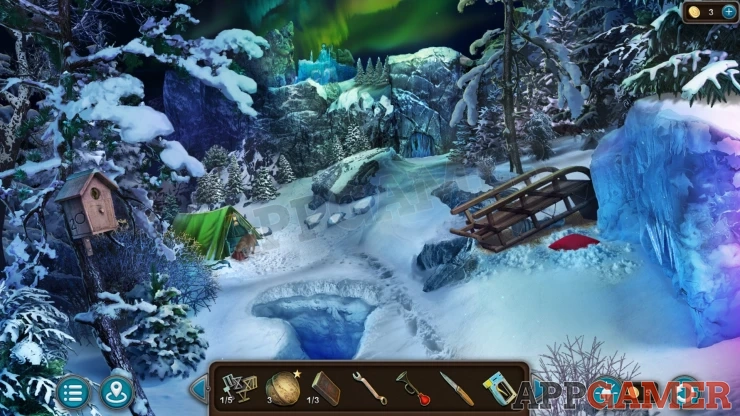
Morphing Object: changing bush on the left above the green tent.
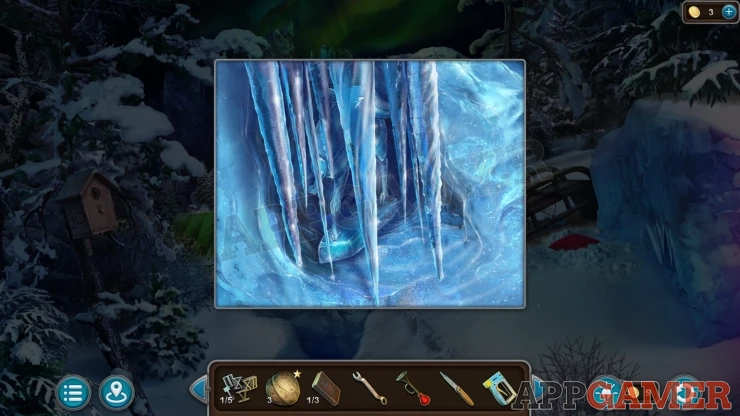
Deer Figurine*: At the bottom of the Ice wall on the far right of this scene is a small hollow covered by icicles. View this and break the icicles to find the item.
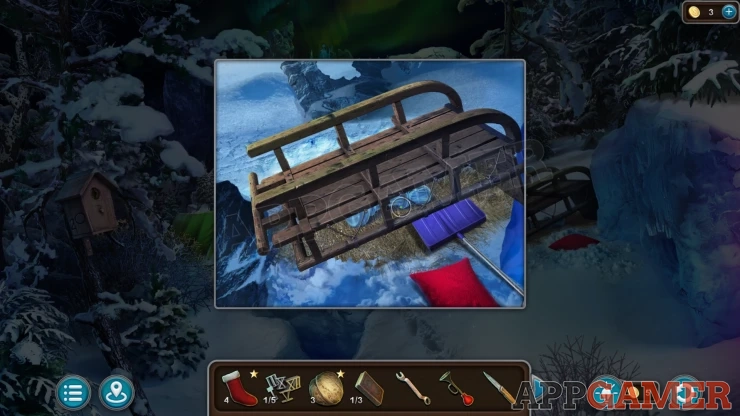
View the sledge and use the shovel on it to turn it back over. Then you can collect a Chess Piece from under it.
Next view the tent. There is a wolf in front. Use the Horn on the wolf to scare it away.
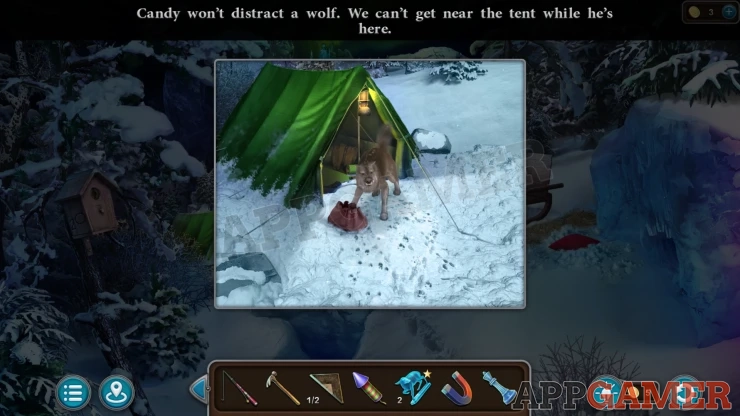
Then you can look inside the tent.
Collection Item: Letter, on the books on the top left.
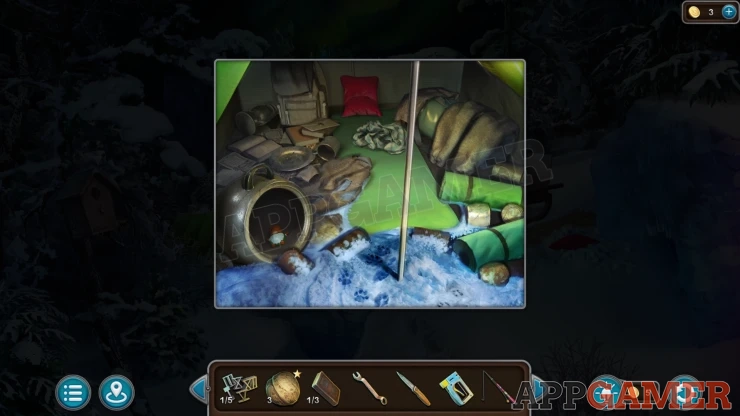
Collect a Little Gnome from the brass pot on the left.
Back up to the inside of the house and then view the top of the cabinet on the right side of the room. There is a panel at the top where you can place the little gnome.
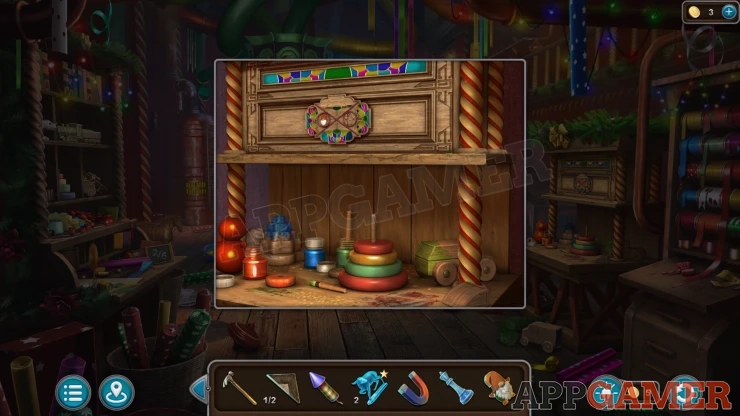
Little Gnome Puzzle
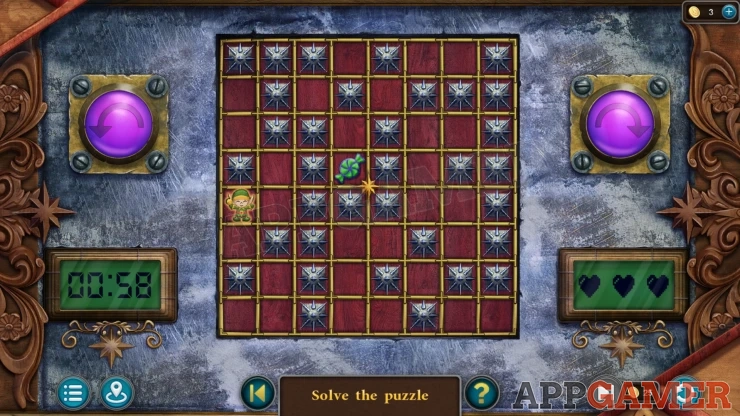
This is a special puzzle where you can earn an extra star for the episode. You do not need to earn the star to complete the puzzle.
To earn the star you need to complete it within 1 minute. You can restart the puzzle if needed.
- Tap on the small elf figure and then you can chose a direction to move it in. You need to arrive at the green sweet near the center.
- Your path will be blocked but you can use the purple rotation buttons to turn the gold grid and move the elf to a new location on the board if there is a space to move to. Try not to land on one of the spike blocks when you do with as you will lose a life.
Solution: Move Right, Up. Rotate clockwise, Rotate Clockwise. Move Left, Up. Rotate Anti-clockwise. Move Down.Show
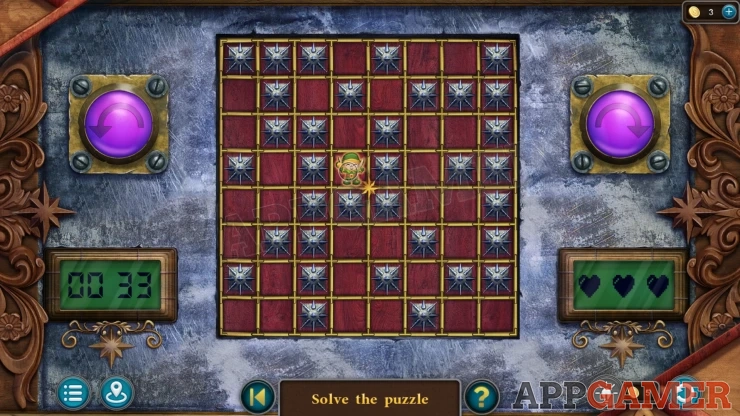
Collect another Book (2 of 3) and a Toy Gun.
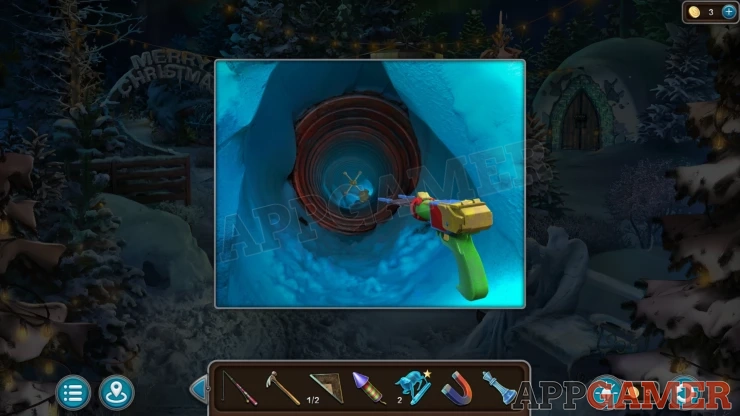
Move through to the area with the signpost. In a snow bank on the left side there is a small hole. Look in here to find a well shaft.
Use the Toy Gun on the hole and you will collect first an Activation Button (1 of 3) and then a second time to collect a Valve.
Go back inside the house and view the pneumatic post again. Add the Valve to the slot on the front and turn it. You will find that the machine is broken.
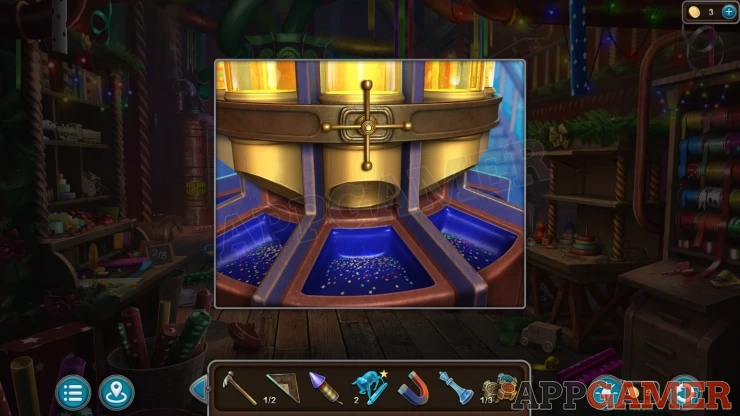
View the top of the large red cylinder on the left again and use the stapler on the broken pipe, this will fix it.
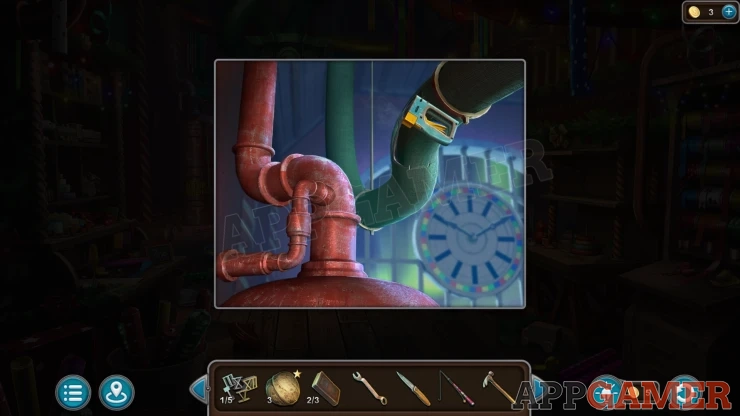
Then try the pneumatic post valve again and you will be able to collect a Carrot.
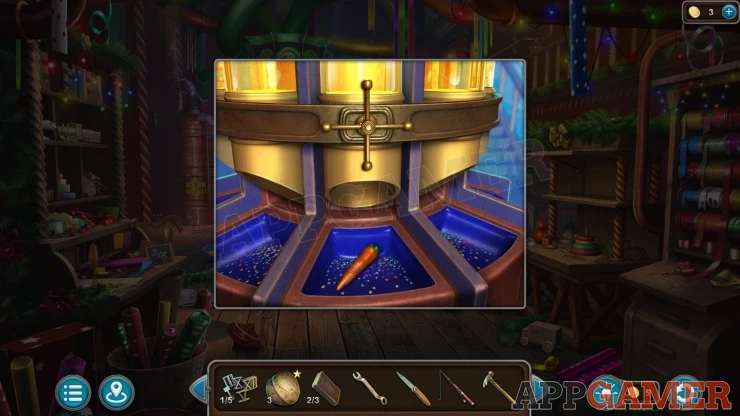
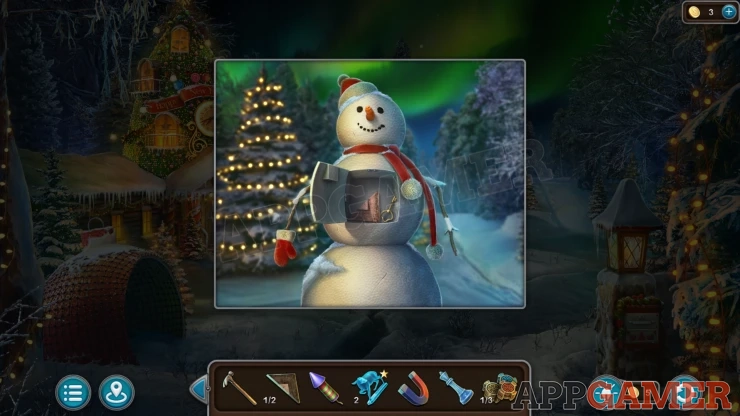
Exit the house and view the Snowman again. Place the Carrot onto the face and a panel will open. Collect a second Wooden Piece (2 of 2) and a Key.
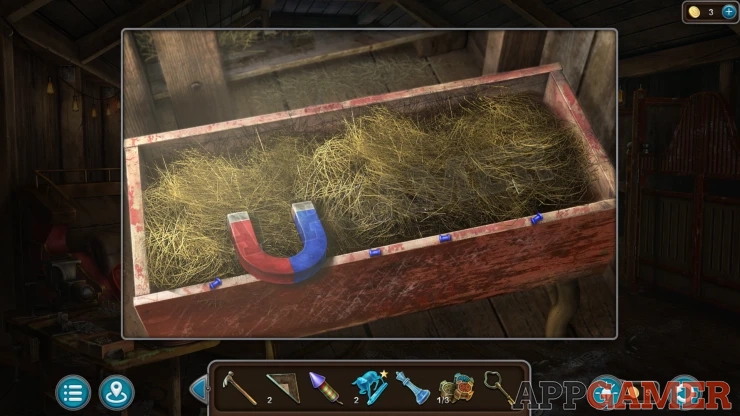
Go into the barn and view a red hay trough on the back right of the room. Use the magnet on this and you will find and collect 5 Paper Pins.
Now move to the area with the sign post and look inside the gazebo where you found the shovel.
Tap on the table and then add the two wooden pieces to it to start a puzzle.
Wooden Table Puzzle
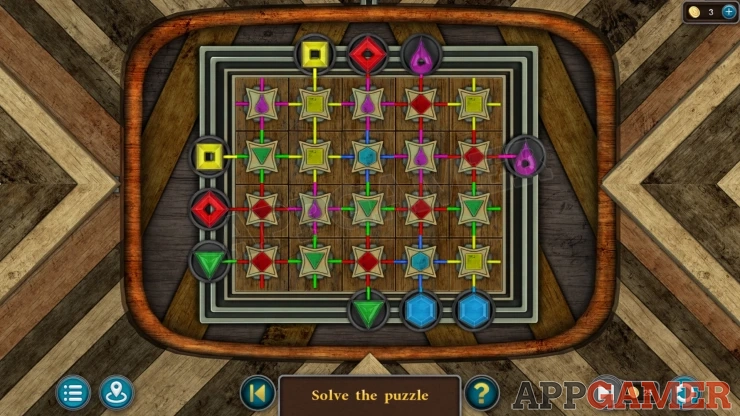
- The grid contains rows and columns of colored symbols.
- You can slide each row or column to rearrange the symbols.
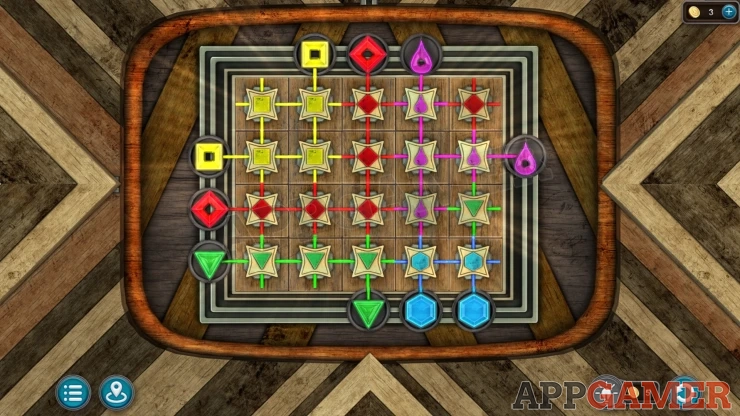
- Around the edges are similar symbols, you need to arrange the onces on the grid to connect the matching colors around the sides.
Solution: Show
Collect another Key and another Book (3 of 3).
Go through to the frozen lake and then look in the cafe at the back.
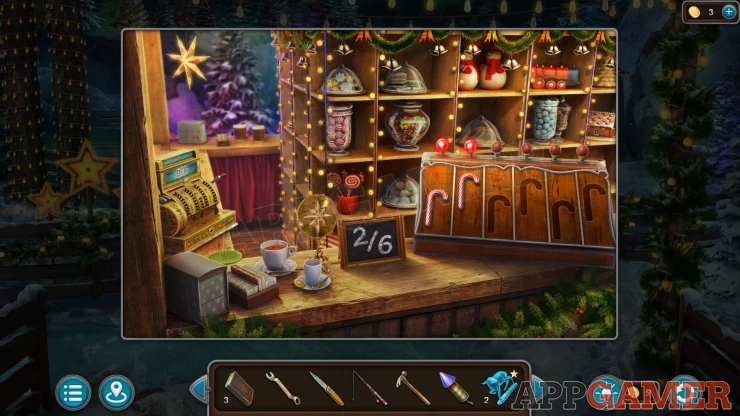
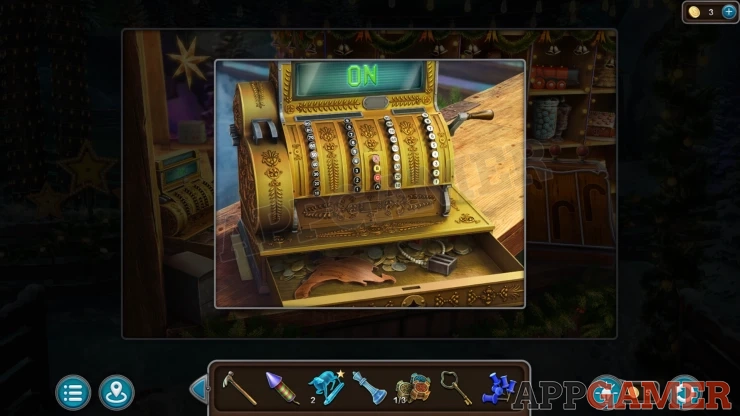
View the Cash register and use the latest key to open the drawer. Collect a Continent and another Number (2 of 5).
Collection Item: Letter under the left side of the register. Tap it to slide it out.
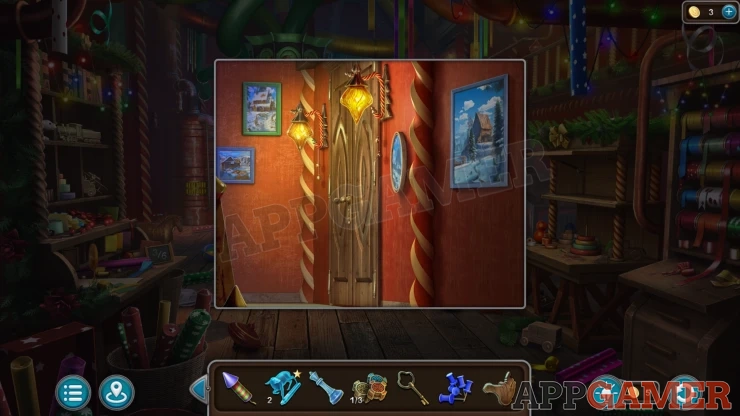
Now go back into the house and tap at the top of the stairs on the back right to see the door at the top. Use the key here to open it.
Enter the Study.
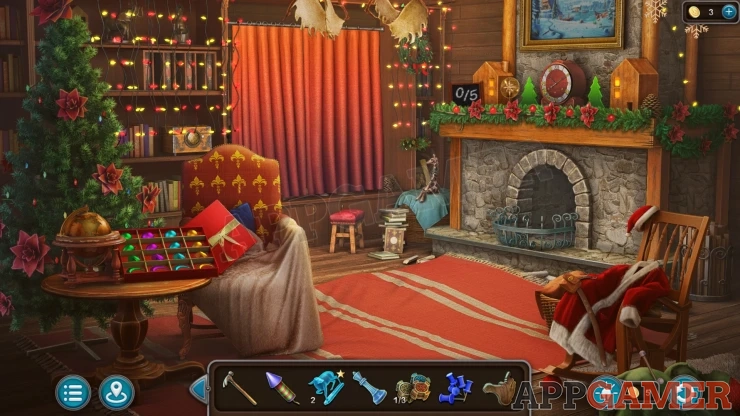
Morphing Object: Toy giraffe/rabbit on a blue cloth to the left of the fireplace.
View the table on the left, there is a globe here.
Collection Item: Candy Cane on the gold pattern of the red chair on the top right.
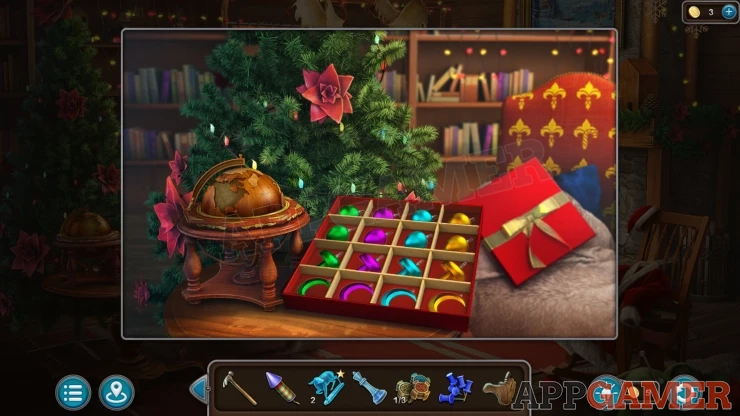
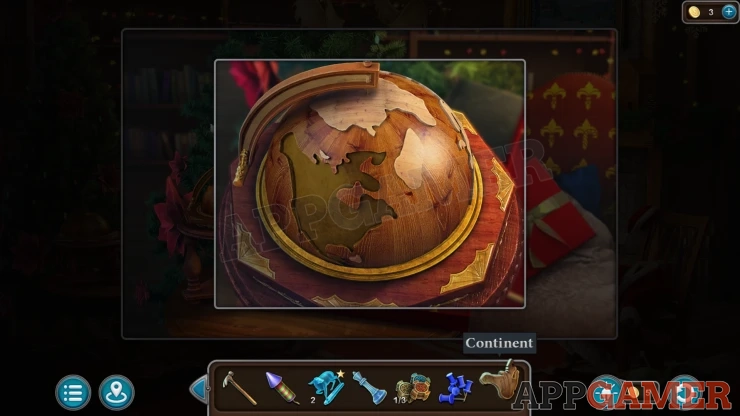
View the small globe on the table on the left. Add the Continent to this to complete it. When it opens collect the Snowflake.
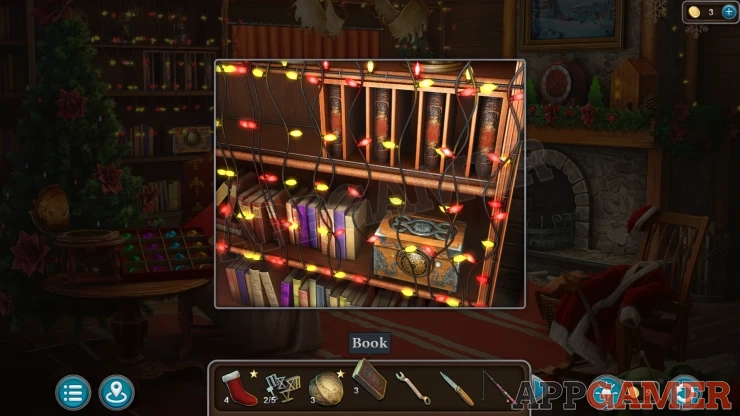
Next view the bookshelf above the globe. Add the three books to this and a section will open. Collect an Activation Button (2 of 3).
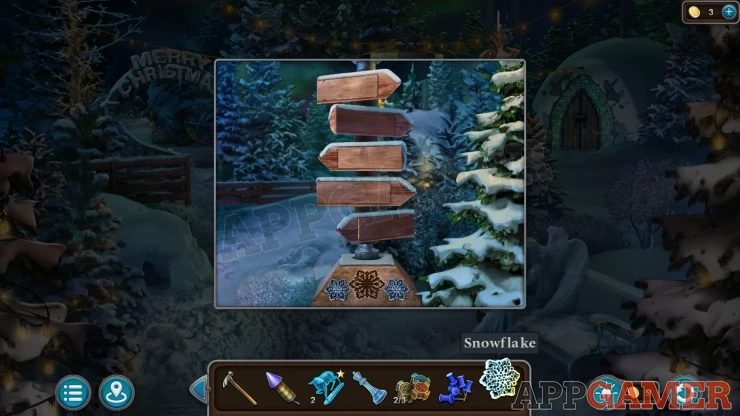
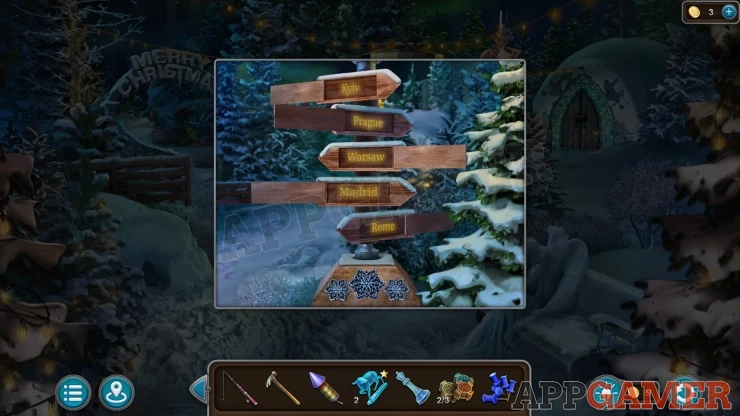
Go to the area with the signpost and view the base of the signpost. You can place the Snowflake here and the signs will be revealed. This is a clue.
Show
Then return to the study. Open the large red curtain to find a map and then view this.
Map Puzzle
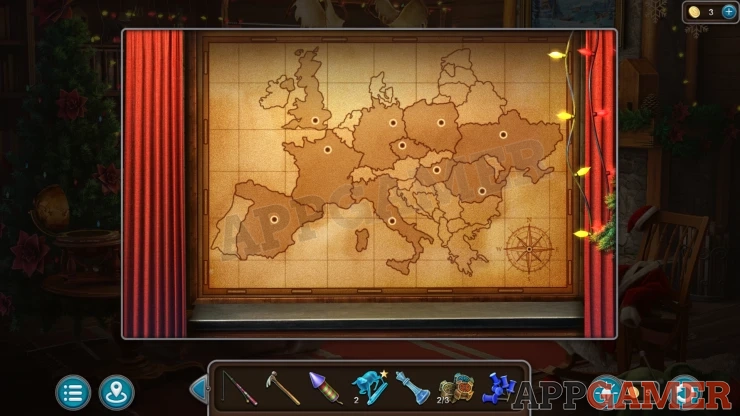
- Add the Paper pins to the map and then you can select them one at a time and ad the to the holes in the map.
- You need to select the five capital cities shown on the sign post.
Soluition: Show
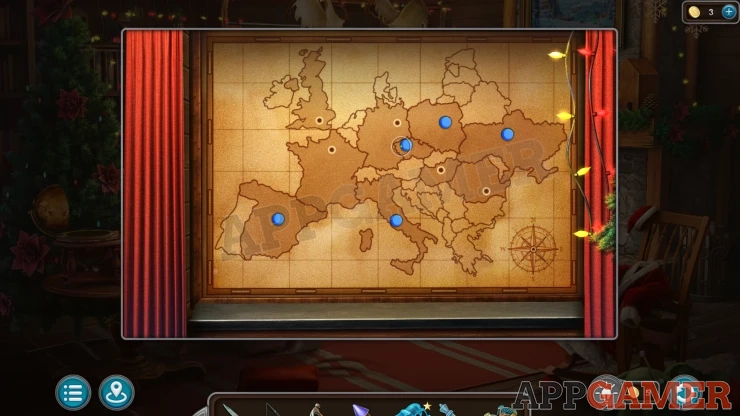
Collect the Little Bird.
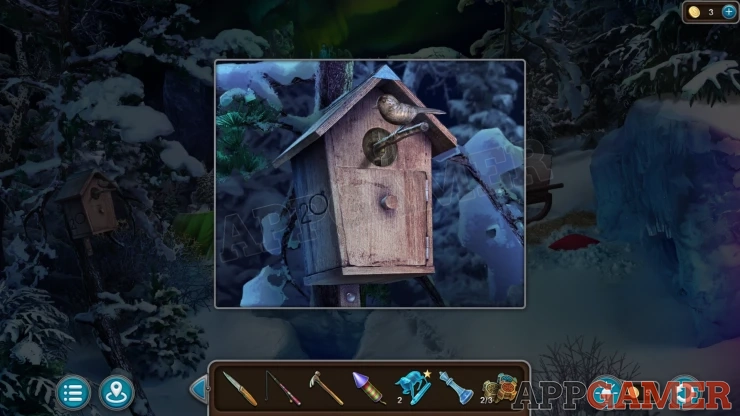
Return next to the dead end area with the tent. There is a bird house on the left, view this.
Add the little bird to the front and then tap it to open the house. Collect a Figurine. Notice also the number and symbol on the side.
Go back to the study room in the house and tap on the chair on the right to see a small satchet. Add the Figurine to the lock to open it, then collect another Key and some Matches.
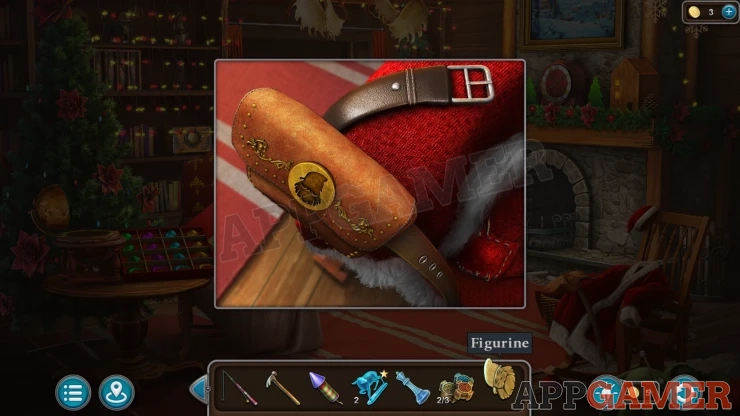
Nut*: on the bottom right of the satchel is a stiched pocket. Tap this to undo it and find the nut.
Now exit to the front of the house and view the postbox on the right. Use the Key to open this. Notice also another number and a symbol on the right.
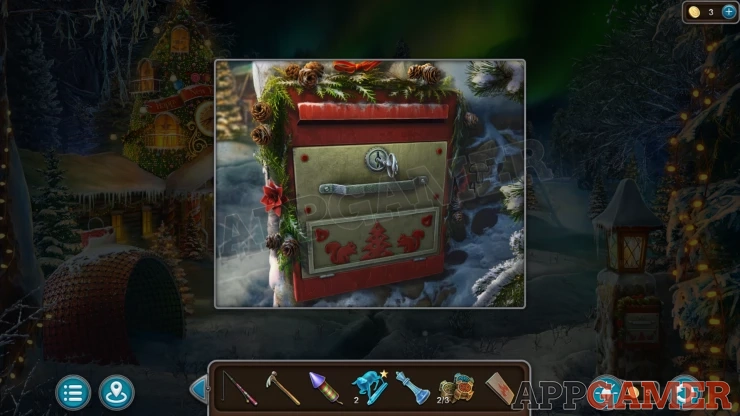
Collect another Activation Button (3 of 3) and another Number (3 of 5).
Then view the lamp above the post box and use the knife to open the front. Collect a Sun (1 of 2)
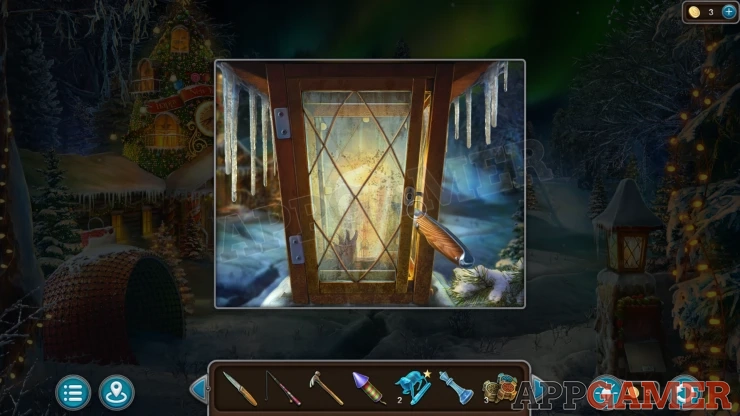
Now enter the house again and then view a Conveyor machine on the right wall.
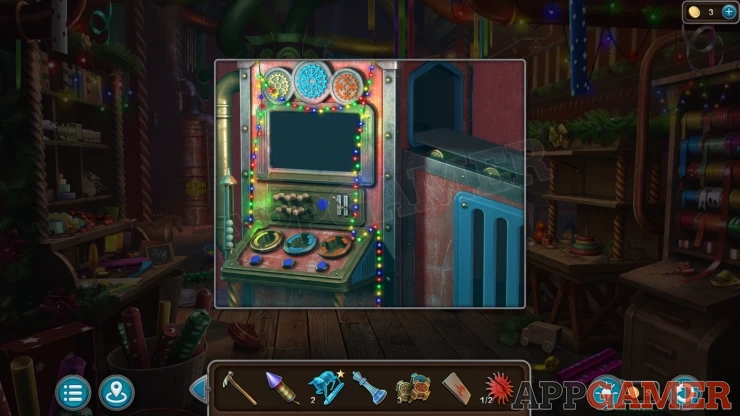
Add the three activation buttons to it. Then you can view the screen to see there is an Elf inside.
Press the button to start a puzzle
Conveyor Puzzle
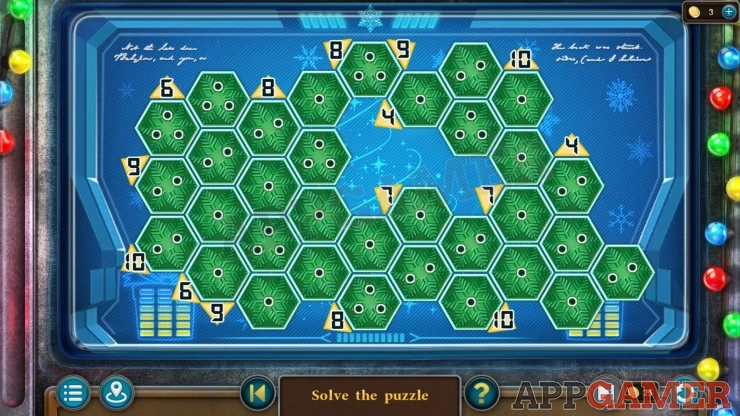
- There is a board of hexagons, each one has a number of dots on it.
- You can tap the hexagine to change the number of dots displayed.
- Around the edges are yellow arrows with numbers. The arrows point away from lines of hexagons.
- You need to set all of te hexagons so that the number of dots in the line that leads up to an arrow is the same as the number on the arrow.
Solution: Show
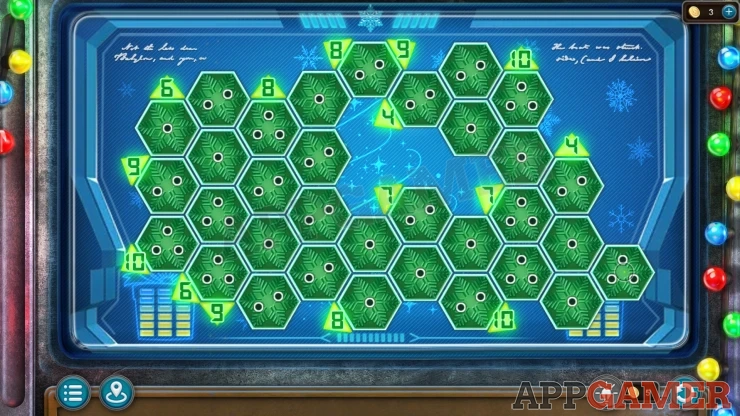
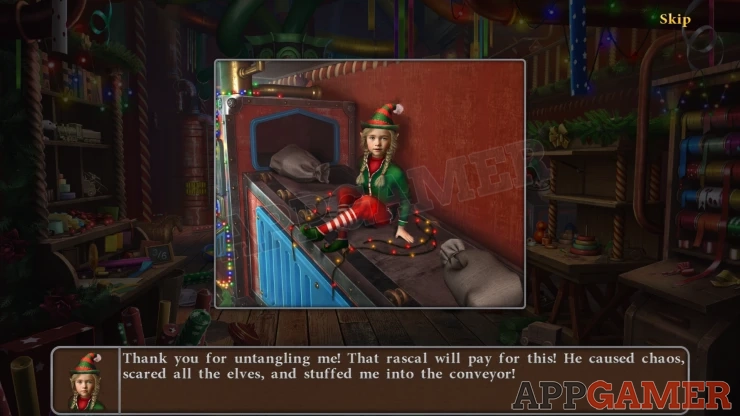
Once done the conveyor activates and you can rescue the Elf (Elfie) from it. Talk to her and she will give you a Rubber Glove.
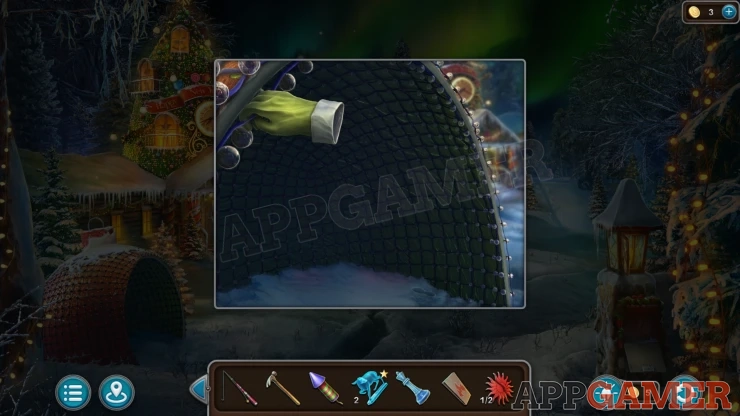
Exit to the front of the house and look in the curved structure on the left again. There are some lose wires on the top. Use the rubber glove on these to let you connect them. All the lights will come on inside and you will see a clue number.
Now go to the Frozen lake and then look on the right side to see a large thermometer showing -20.
Thermometer Puzzle
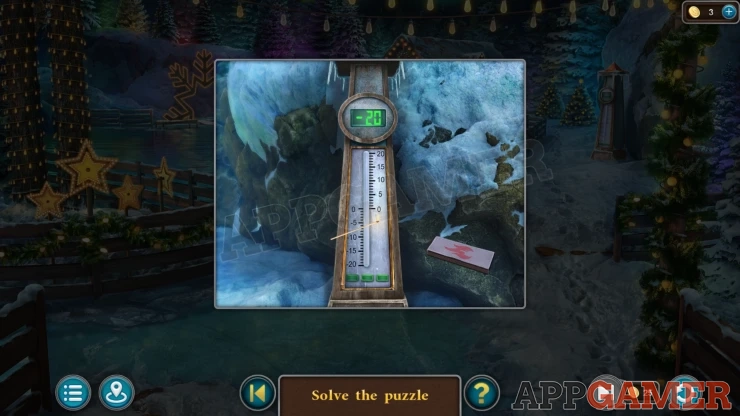
- Use the matches here to light one and then hold it next to the scale.
- You need to get the temperature reading to reach the same number seen in the clue abaove.
- Move the match to the bottom of the tube to make the temerature rise, move it up when you want it to hold steady.
Once it reaches there hold it steady and then a panel will open, collect a Horseshoe and some Straps.
Go back to the barn and look in the stable. View the saddle bag on the left.
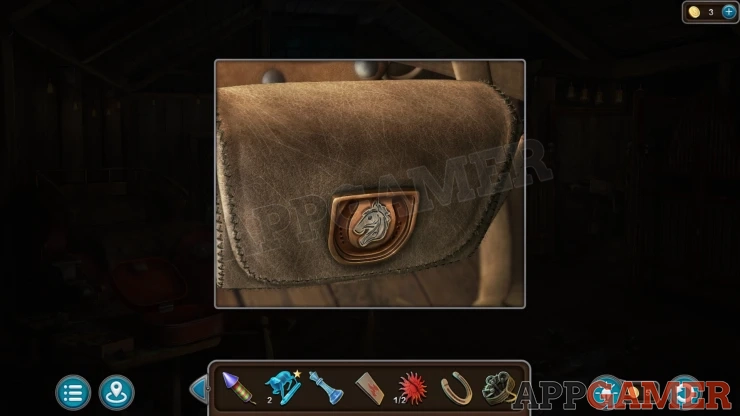
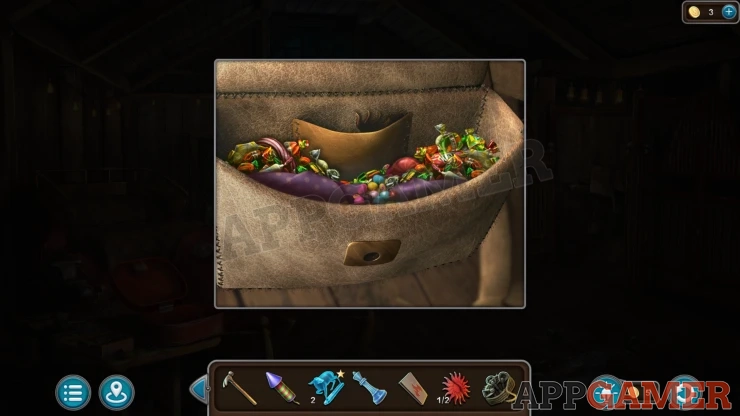
Add the horseshoe to this to opwn it and then you can collect another Sun (2 of 2).
Collection Item: Candy Cane, in the saddle bag on the left.
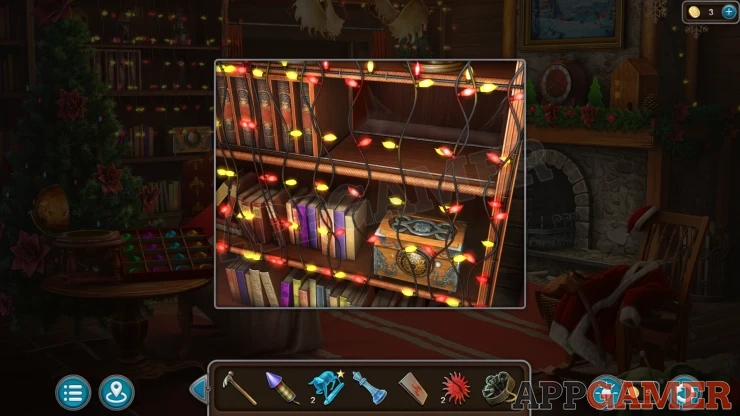
Go to the study and look on the bookshelf again. There is a box. View the box and add the sun to it.
Sun Box Puzzle
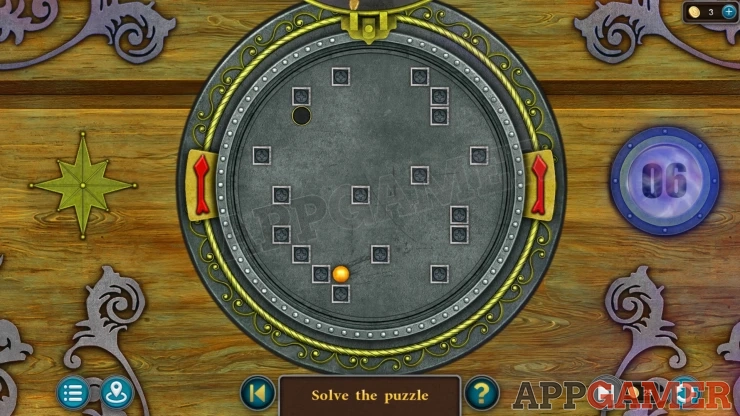
This is an extrra star puzzle for the episode. You can complete it without earning the star. To get the star you must complete it within the number of moves shown on the right.
- There is a large disk with a yellow ball on it.
- There are also square blocks that the ball can sit on.
- Tap the left or right arrows to rotate the disk by one quarter. This will cause the ball to fall to land on another block.
- You need to move the block to the round hole without dropping it to the edge of the disk.
Solution: Left arrow 4x, then Right arrow 2xShow
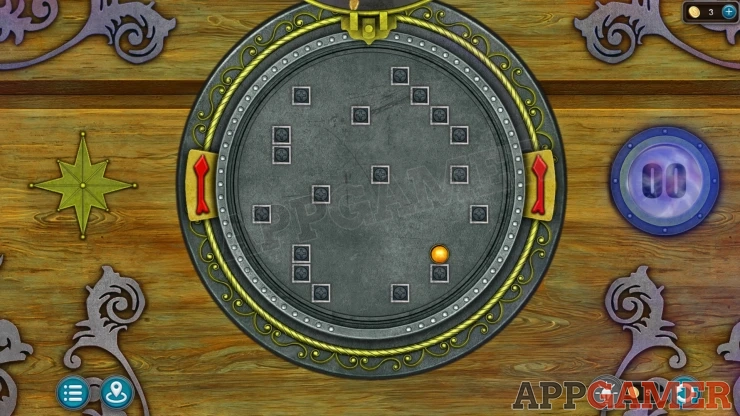
Collect a Flashlight.
Now travel to the dead end with the tent. There is a large hole in the ground.
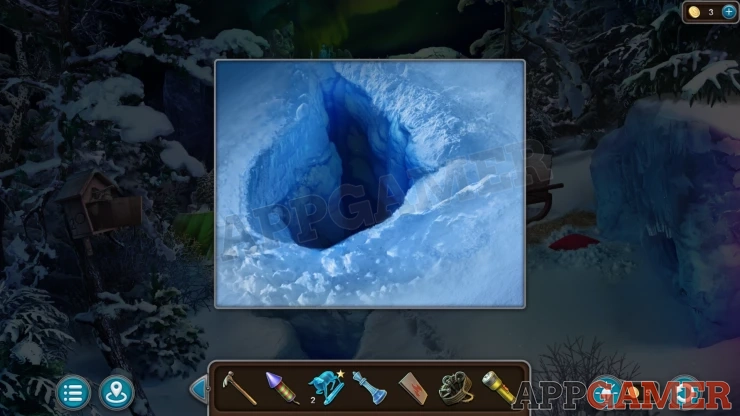
Look inside and use the flashlight to see clearly. Then use the fishing rod to pull out a bucket.
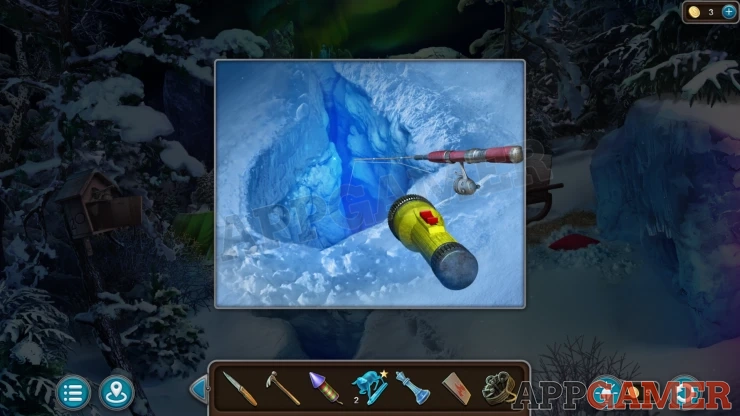
Tap the bucket to collect a Crystal Droplet, and then also a Bucket of Sand.
Now we need to get to Krampus. Continue the guide in Part 2.
We have questions and answers related to this topic which may also help you: Show all
 With 20 years of experience in creating video game content for the internet and over 30 years as a gamer, Mark is now a passionate mobile App Gamer. Loving a challenge, he is always ready to get stuck in to both survival builders and puzzle solving games. He has been providing content for AppGamer since 2014.