
Episode 13 Walkthrough - Dragon's Castle - Part 2
More Artifact Seekers
This is the second part of our guide to Dragon's Castle, the thirteenth Episode in the puzzle adventure game Artifact Seekers, from Five BN. In this episode you are exploring a Castle to find a legendary sword but first you need to rescue a princess.
In Episode 13 Part 1 you have been asked to rescue the princess from a tower of the castle. You have accessed the castle but now need to find a way into the locked tower.
Episode Thirteen - Dragon's Castle Walkthrough - Part 2
You were last in the storeroom of the castle and have acquired from Copper Ingots. Back out to the courtyard and view a small bronze fountain to the right of the doors. Place the statuette on the top with the other two.
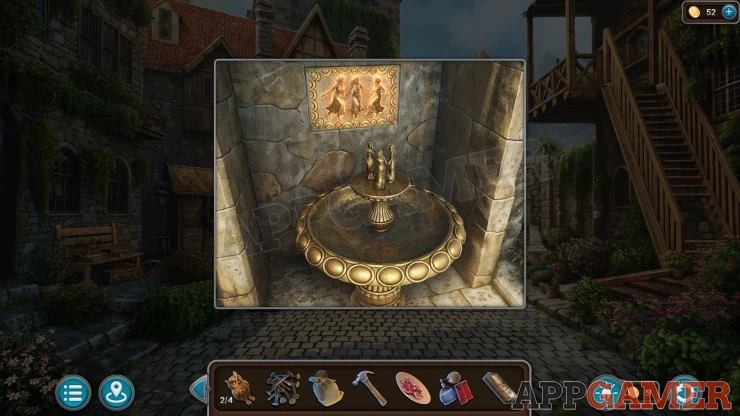
Then you can tap the glowing panel above to find a puzzle.
Statuette Puzzle
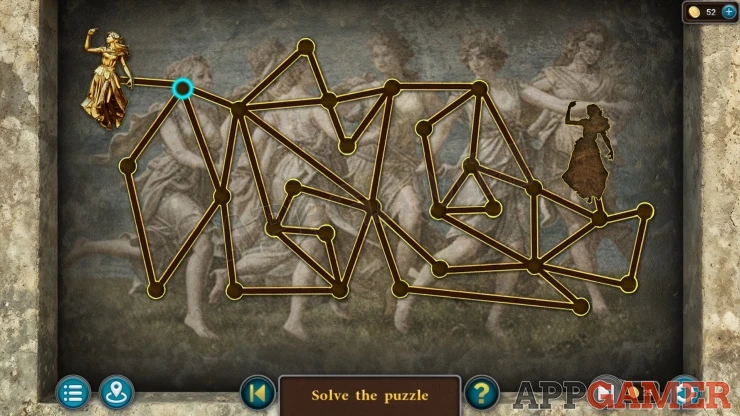
- Tap to move the figure from the top left over to the slot on the right.
- You must move the figure along every line, once to fill it in and pass trough all of the nodes.
- You cannot move over the same line twice.
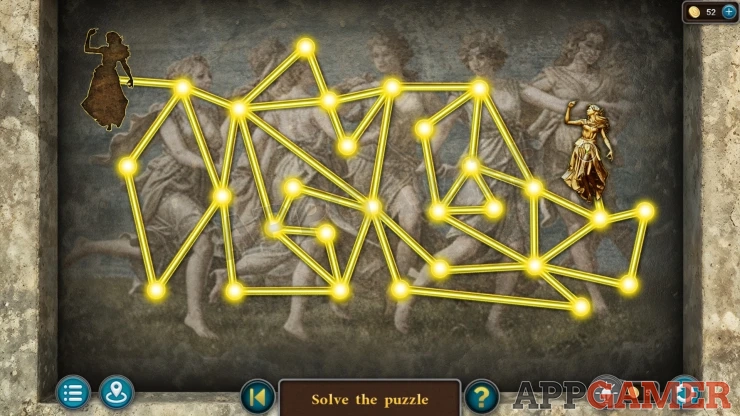
Once done the water will flow and you can collect a Feather from the base.
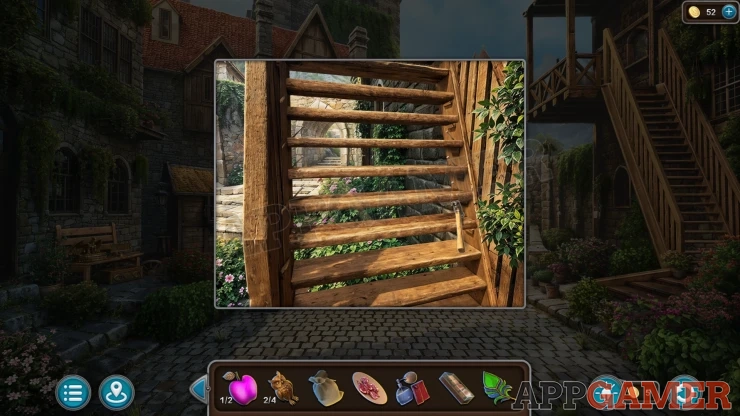
Then view the broken set of wooden steps on the right of the courtyard.
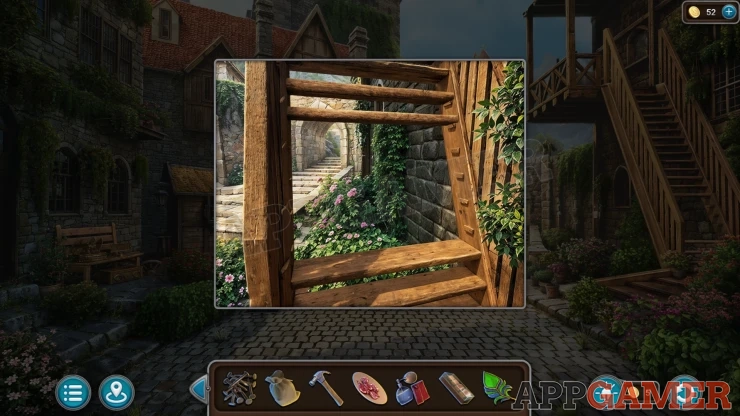
Place the planks here, then add the nails and the hammer to fix them.
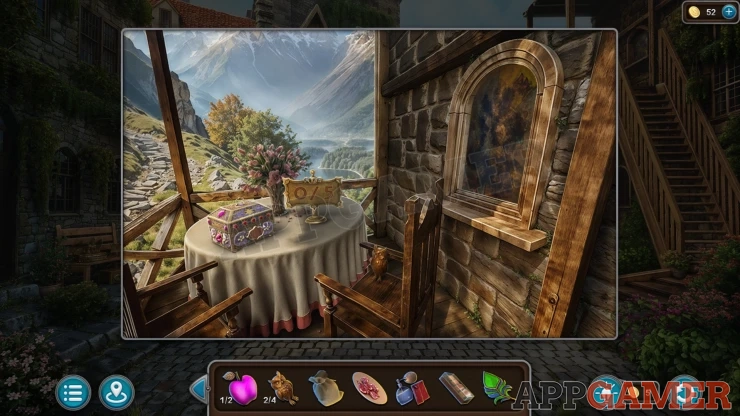
View the balcony at the top of the steps. Collect an Owl (3 of 4)
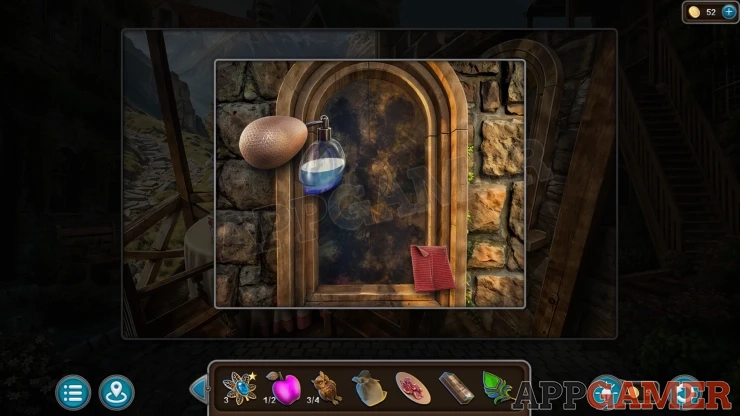
Then view the stained glass window on the right. Use the perfume on it to clean it. You will see a pattern of symbols that is a clue.
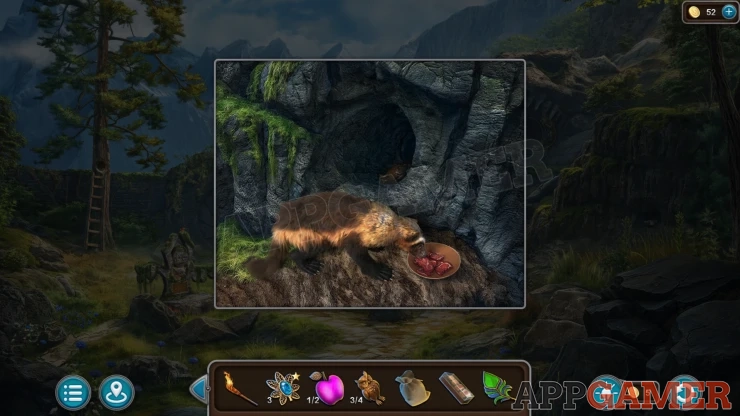
Go back to the area outside the cave and view the burrow on the right with the badger again. Place the dried meat here for the badger to eat, then you can collect another Owl from the burrow.
Return to the castle hall and view the doors on the right. Place the four owls on the the door panel to start another puzzle.
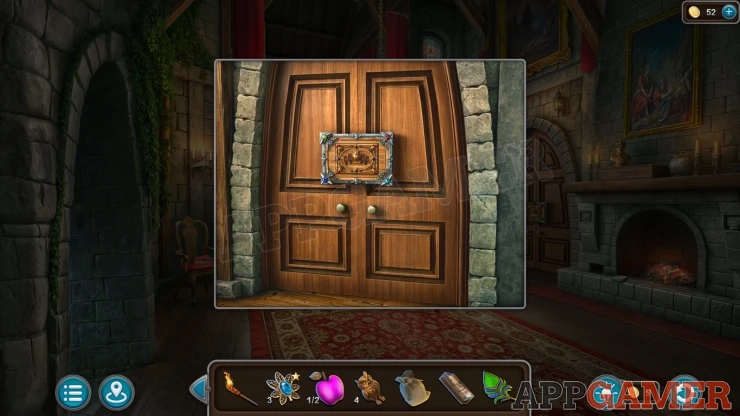
Owl Doors Puzzle
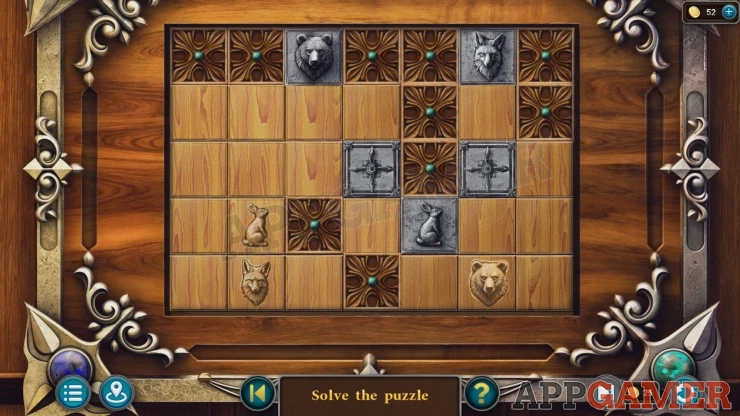
- On the board are three grey animal blocks as well as two more blocks with symbols.
- There are also three wooden squares with matching snimal head symbols.
- Swipe up, down left or right to move all of the grey blocks in the chosen direction. They will only move if there is room to move to.
- Arrange the grey blocks so that the three aniimal heads are placed on the matching symbols.
- The position of the symbols can be different for your game
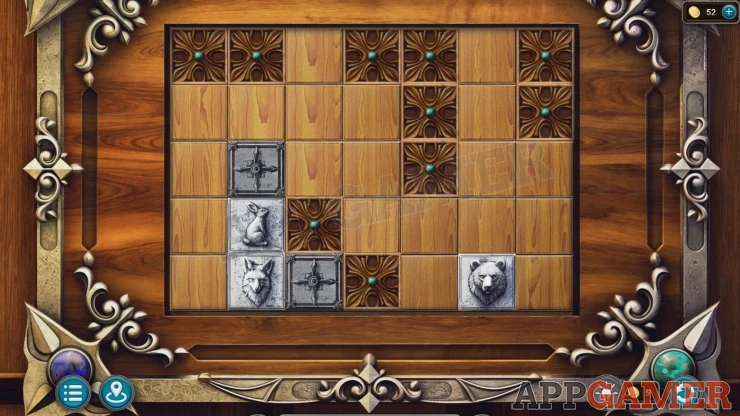
Once done the doors open and you can enter a library with a large staircase.
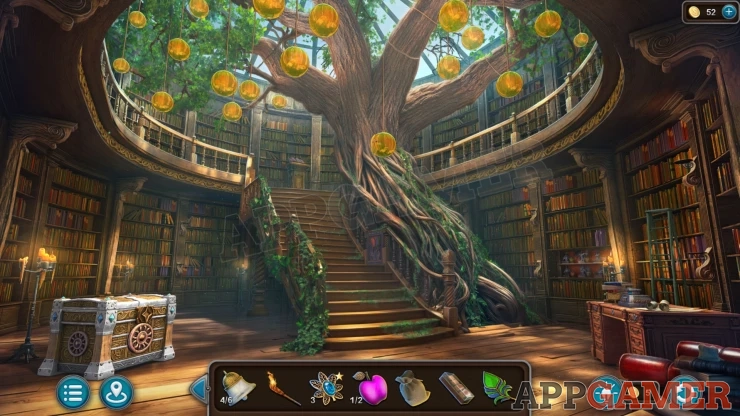
Morphing Object: shaped finial on the stair case banister on the right.
View a panel on the right banister of the stairs about half way up, this has an image of some birds.
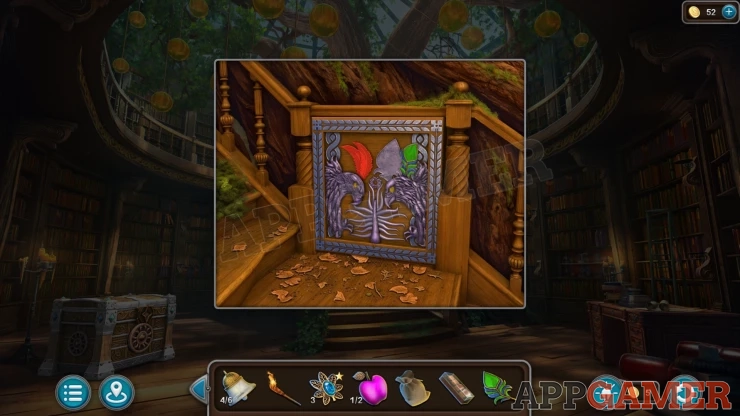
Add the feather to the bird ont he right and it will open the panel. Collect a Turquise Star.
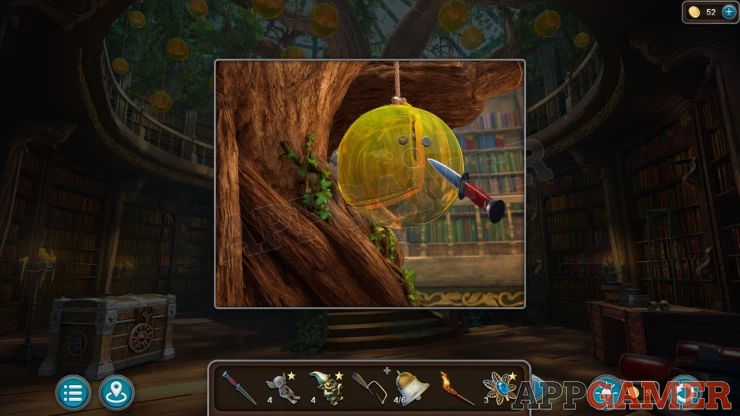
Next hanging from the tree directly above this in the center is a yellow globe, tap to view this. Use the knife to open it and you can collect a Planet.
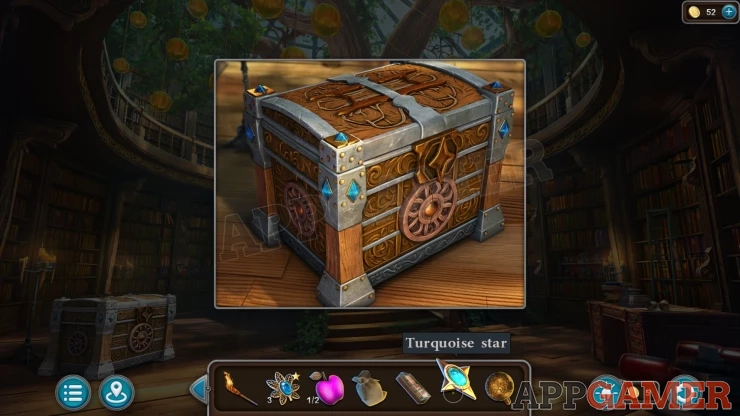
Now look at the large chest on the left of the room. Place the Turquise Star on the lock.
Model Harbour Puzzle
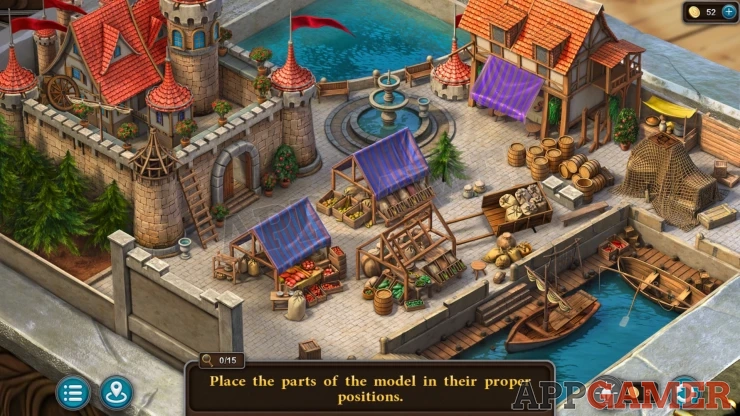
- To complete the puzzle you need to arrange all of the items back into the correct locations.
- There are 15 items that are in the wrong place, these include barrels, trees, awnings, a sack, a ladder and more.
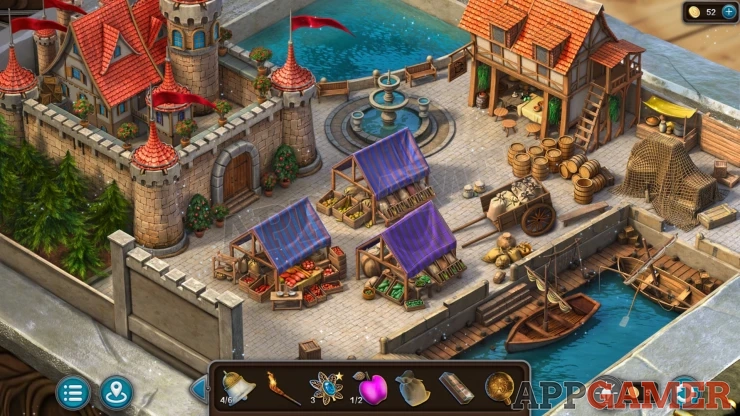
Once the model is complete you can collect another Bell (5 of 6), and a Clock Hand.
Next view a shelf on the right with no books, it has some small figures.
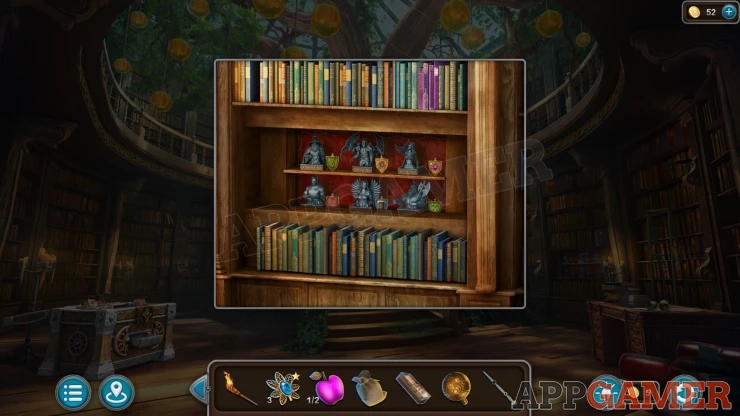
Pixie: Move four purple books on the top right to find it.
Then tap on the statuettes. This is a puzzle
Coats of Arms Puzzle
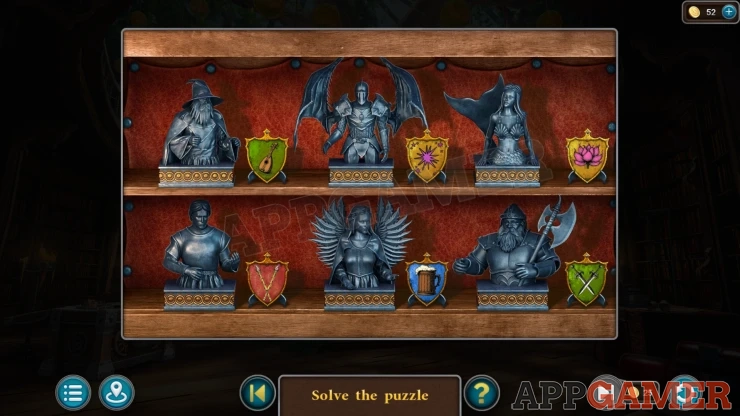
- Arrange each of the coats of arms next to the correct statue.
- Tap pairs of the coats of arms to swap their positions.
- The clue for this is the images on the stained glass window seen previously.
Solution: Show
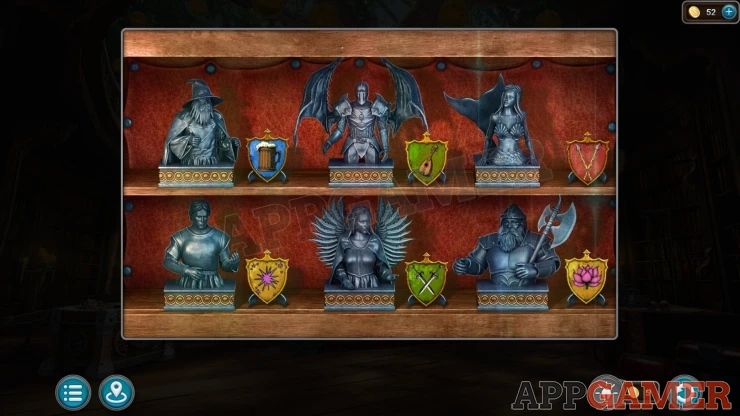
You can now collect a Keyring.
View the desk on the right of the room and use the keyring on it. this will open three drawers.
Collect a Casting Mold and a Carved Heart.
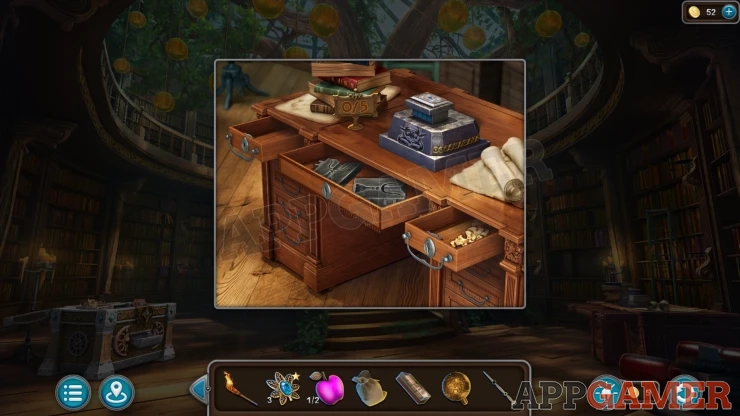
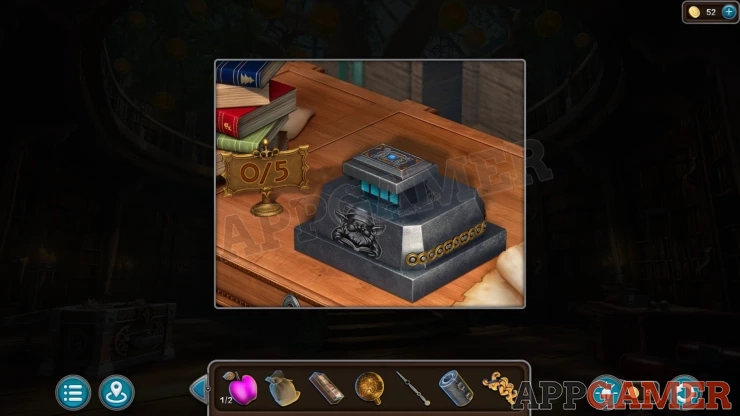
Collection Item: view the top of the desk and find a Tree symbol on the side of one of the books.
Next tap at the top of the stairs to view a book. This shows star constellations. View the blook closer to see that three of them are highlightted. Swan, Horse, Dragon.
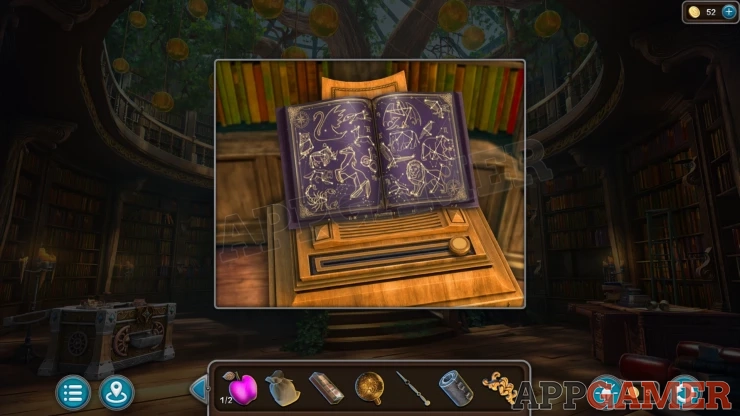
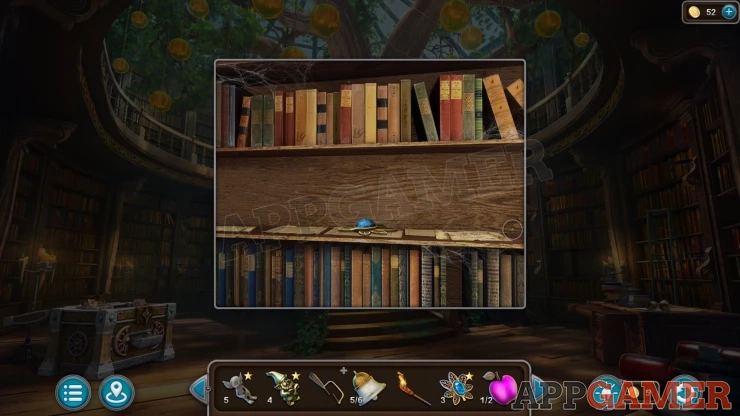
Precious Flower: Slide the knob below the book to the left to unlock a secret panel in a book shelf downstairs on the right. You must collect this quickly before the secret panel closes.
Travel to the Hillside area and view the door to the Large Tower.
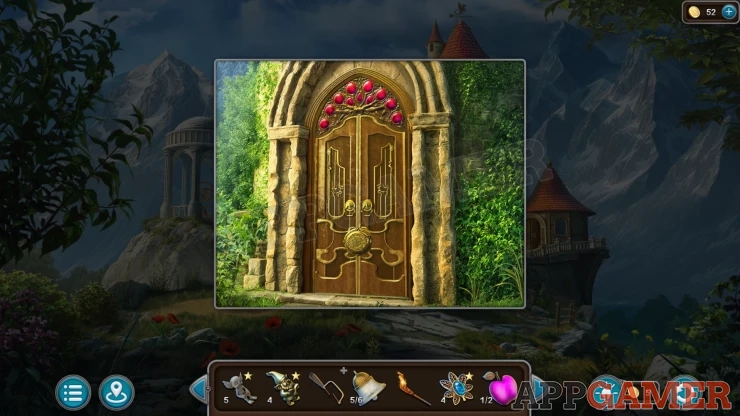
Add the Carved heart to the center to reveal a puzzle.
Large Tower Door Puzzle
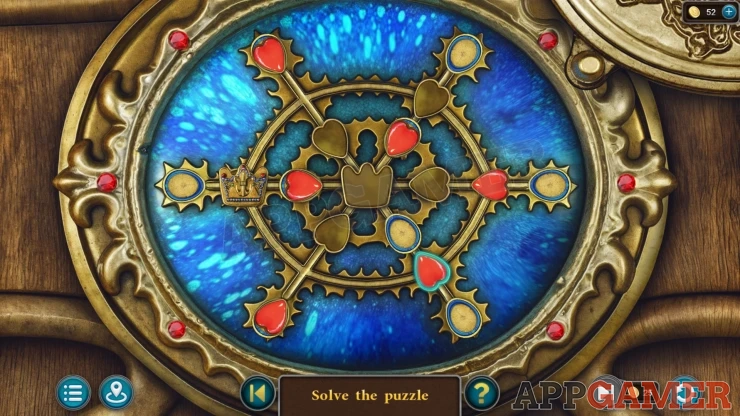
- This is a circular board with a Crown token and six heart tokens arrange on it.
- The tokens can be moves along the three straight lines or arond the inner or outer circles.
- Move the crown to the cetner spot and the six hearts need to be positioned in the slots around the outer circle
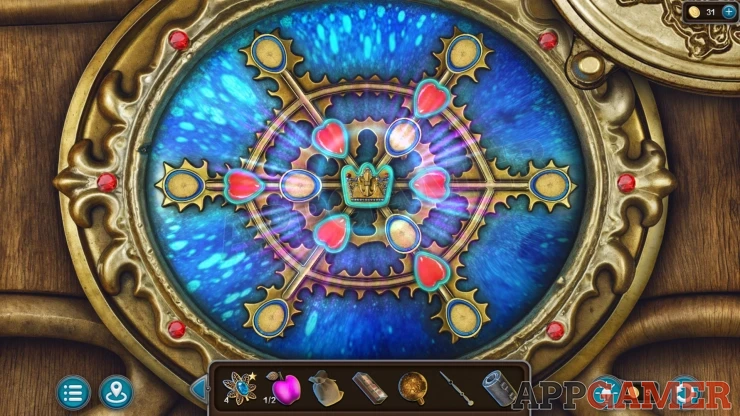
The door opens and you can enter the tower. You cannot go up to the top yet.
Now return to the hillside and look in the Rotunda on the left again. Add the Planet to the gold ring monument and a panel will open.
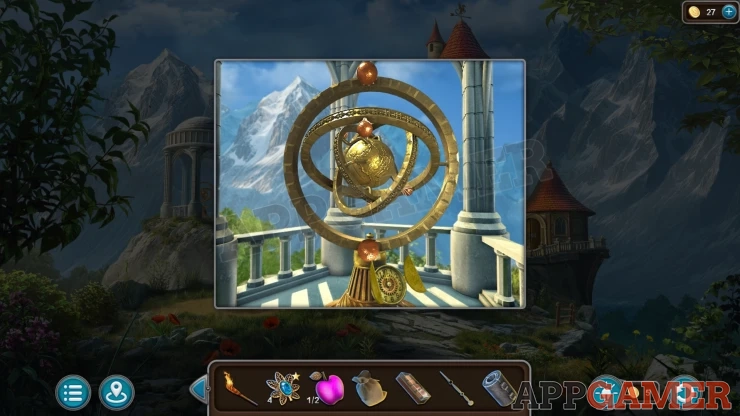
Ring Monument Clock Puzzle
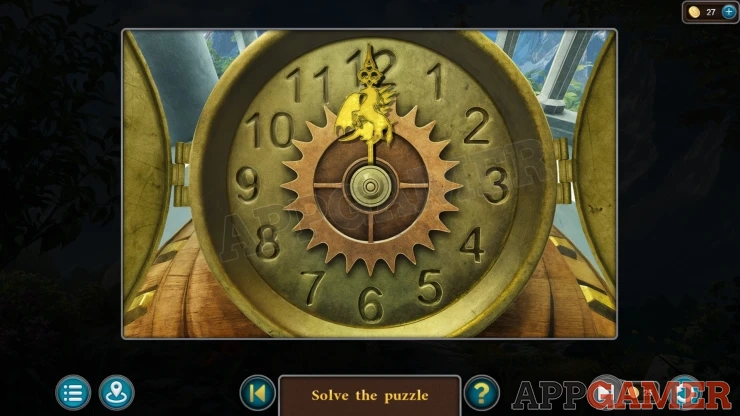
- Inside is a clock face with three hands, each hand has a symbol on it.
- The symbols match those seen in the book of constellations.
- Move the hands to the correct positions.
Solution: Count the stars in each of the three matching constellations to get the number to move the hand to. Your game may have diffrent numbers of stars.Show
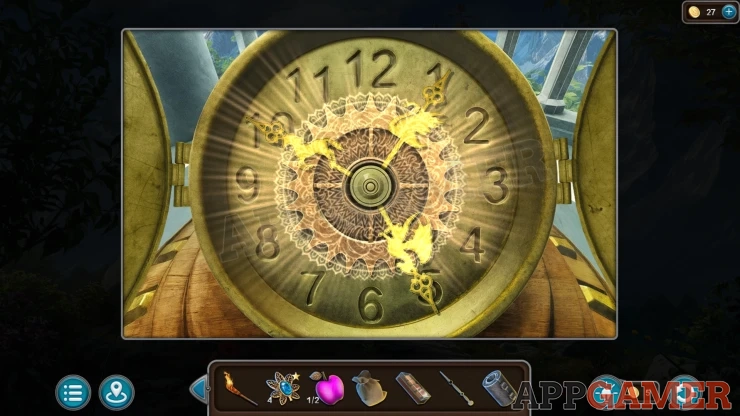
The sculpture moves and then you can collect a Royal Ring.
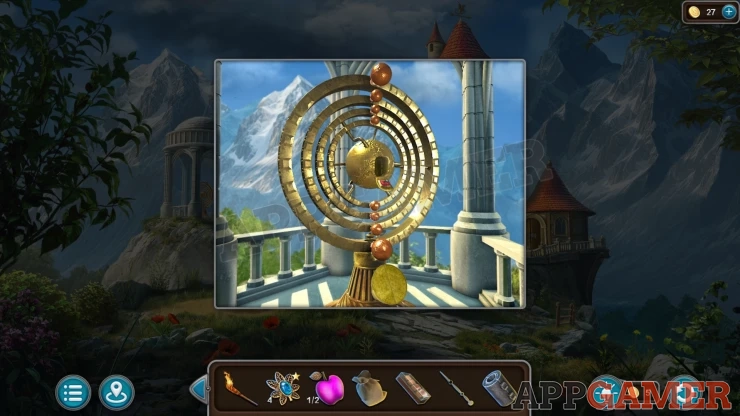
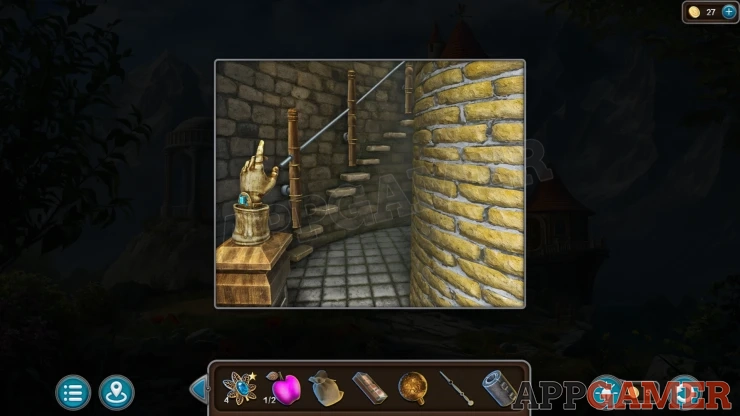
Now go back into the tall tower and place the ring on the finger of the hand on the left. The stairs will appear.
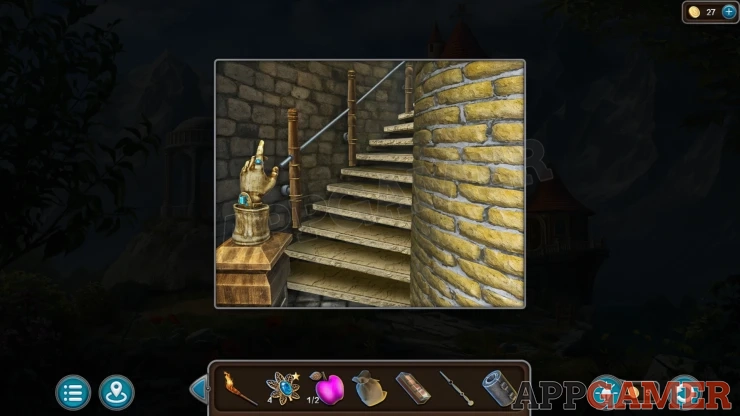
Go up to the top of the tower and talk to the princess.
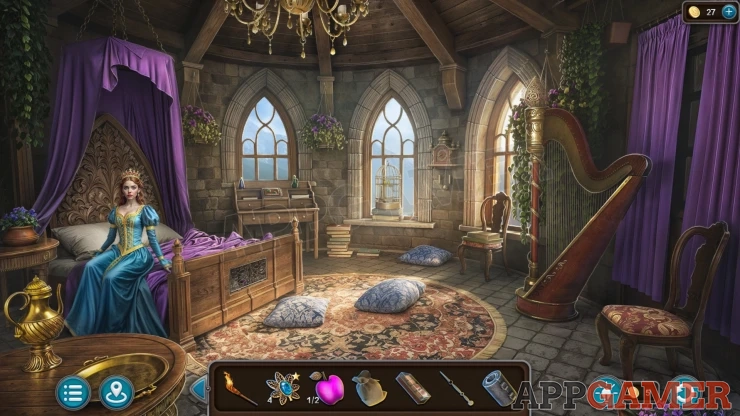
Morphing Object: Decorative ball on the top of the Harp.
View a decorative grate at the foot of the bed. Use the knife to open this and collect an Apple Relief (2 of 2).
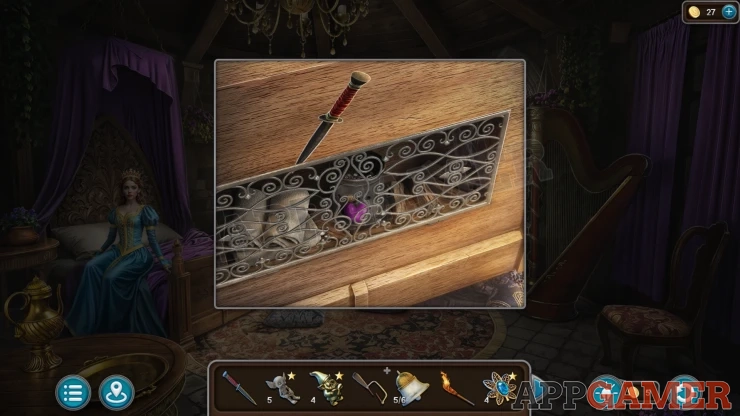
View the desk on the far side of the bed. There is a small panel in the center. Add the two Apple Relief's here to start a puzzle.
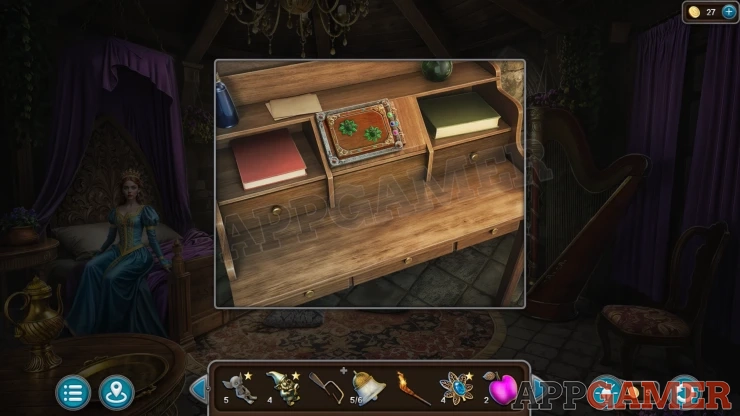
Tower Desk Puzzle
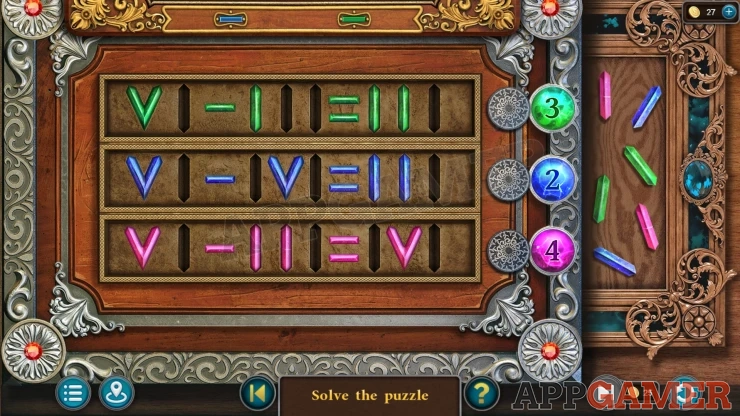
- There are three rows with roman numberals and a number on the right.
- Use the spare colored line on the right to alter the numberals and set the correct answer matching the numbers on the right.
Solution: [spoilerYour numbers may be different.
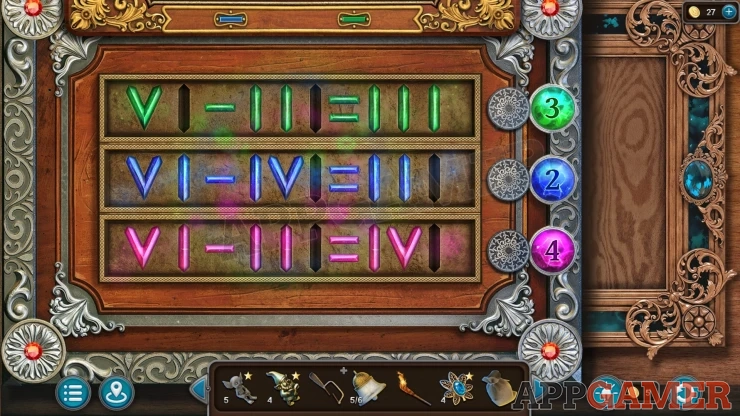
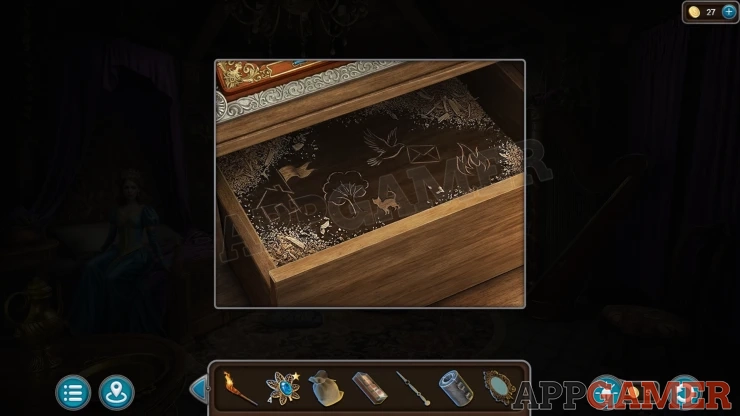
A drawer opens, collect a Mirror and notice the clues in the base of the drawer.
Show
Next view the birdcage on the window ledge. If you try to open it the birds cfly around.
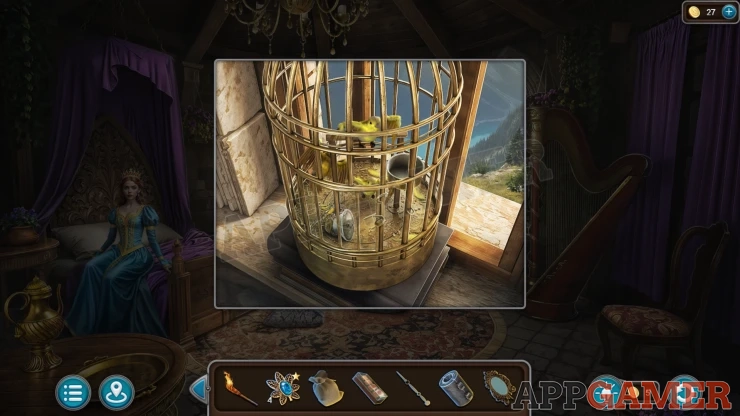
Add the Millet to the food bowl to calm the canaries and then you can open the door and collect a Bell. (6 of 6).
Collection Item: Tree seen out the window to the right.
Travel back to the cave with the Dragon. On the right below the dragons cave is a small section with a bell.
Add the other six bells to this.
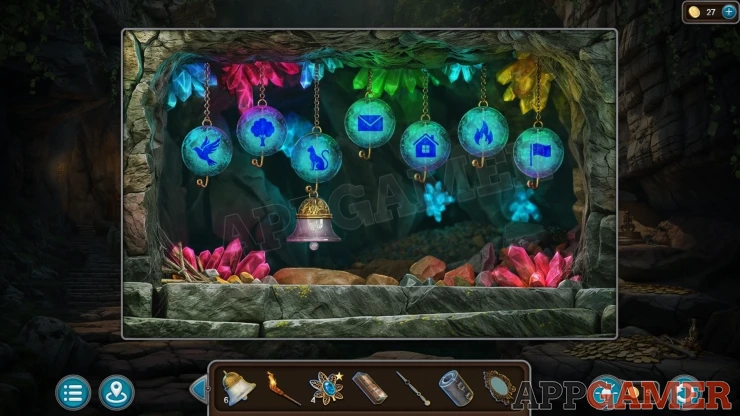
Bells Puzzle
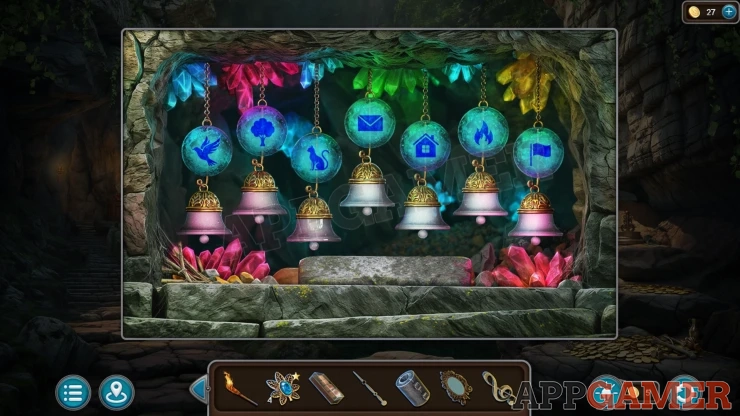
- There are seven bells each with a symbol.
- You need to tap the bells in the correct order.
- Find the order clue in the drawer in the tall tower.
Solution: Follow the symbols in the drawer from left to right. Mine were, House, Flag, Tree, Cat, Bird, Envelope, Fire. But your game may have a different order..Show
Collect a Treble Clef.
Next look on the rocks on the right of the cave above the piles of coins, there is a small stand here.
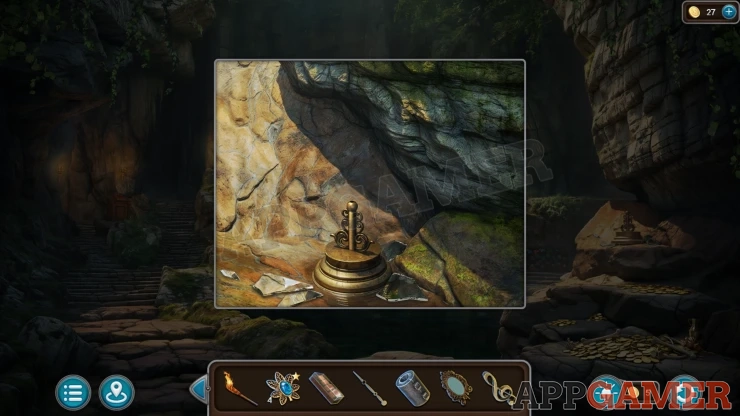
Add the Mirror to the stand and then you can tap it to direct a eam of sunlight into the pool of water.
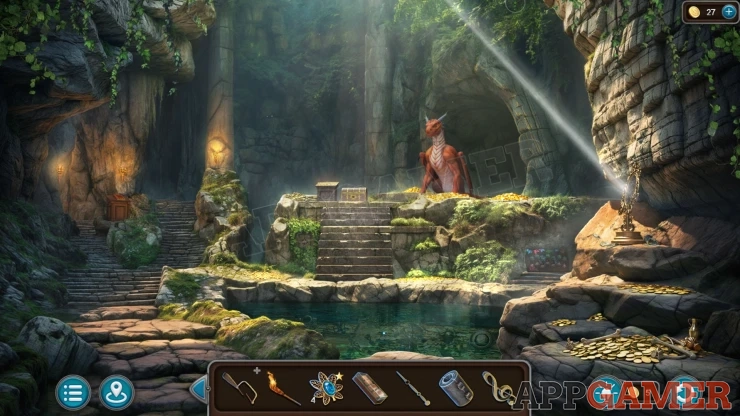
Look in the water to see a clue with a clock face.
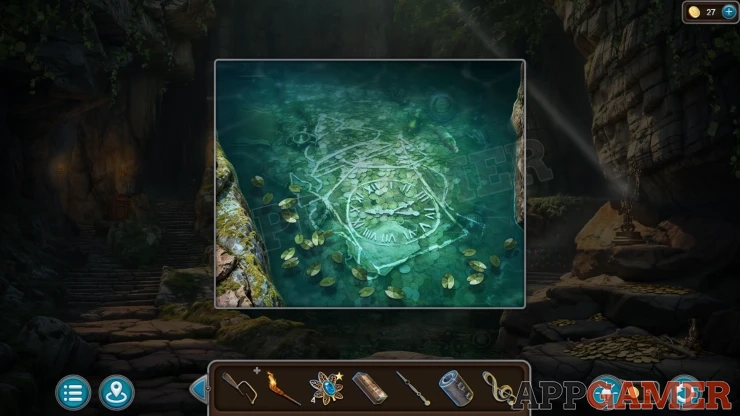
Collection Item: Bottle in the water, top right.
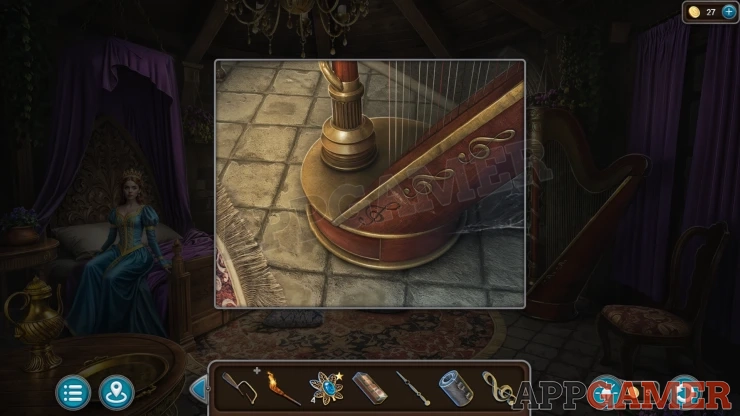
Go back to the Princess's room and view the base of the Harp on the right, add the Treble Clef here and then you can collect a Dragon Coin (1 of 2).
Then view the Clock on the wall between the windows.
Tall Tower Clock Puzzle
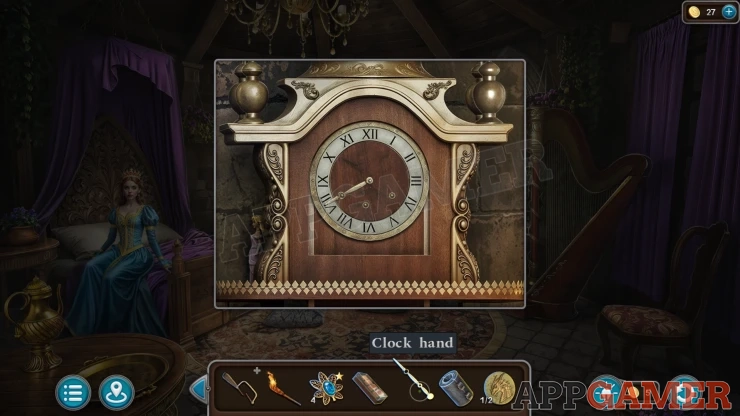
- Add the Clock hand to this clock and then you can solve the puzzle.
- Move the two hands to match the positions in the clue in the cave.
Show
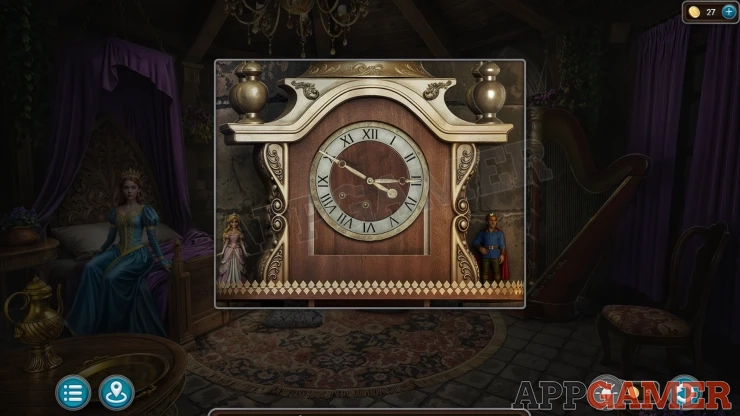
Once done you can collect the Queen.
Precious Flower: Tap the decoratve finial on the top right of the clock to open it.
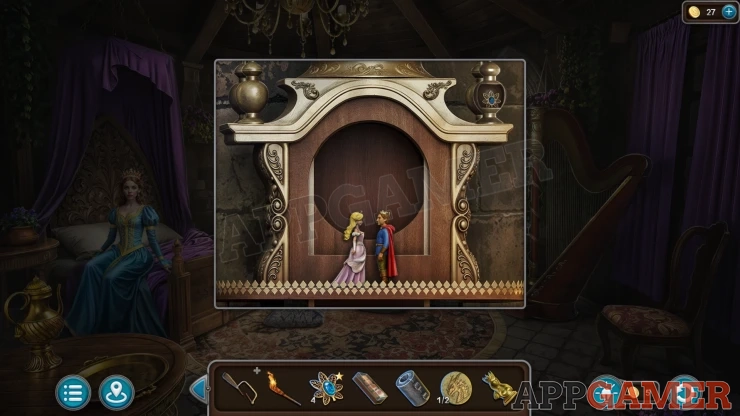
Go back to the entrance call of the castle and view the top of the mantel piece on the right.
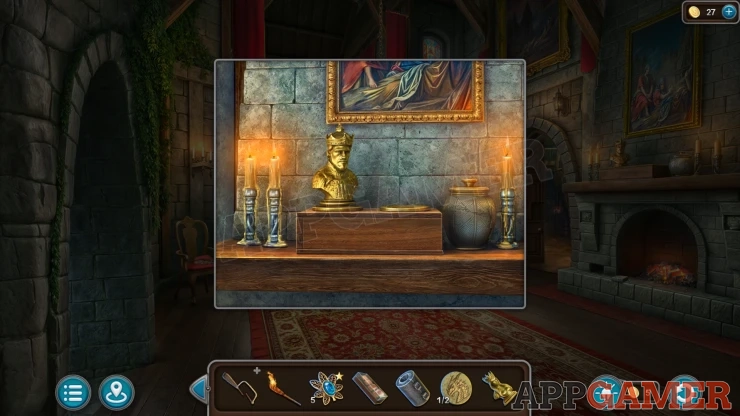
Add the Queen figure next to the King and the box will open. Collect a Dragon Coin (2 of 2).
Back out to the courtyard and then view a bench on the left. Under the bench is a box.
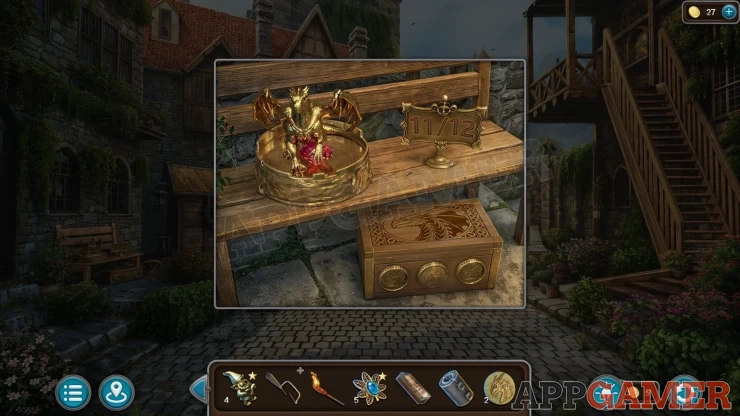
Add the two dragin coins to the box to open it. You can trhen collect a Hacksaw Blade.
View the broken hacksaw in your invetory and use the Hacksaw blade to repair it.
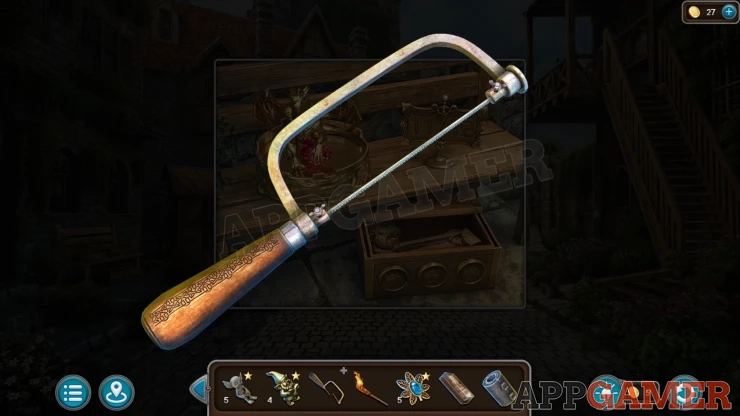
Go through to the hillside and then view a round barred gate on the cliffside below the towers.
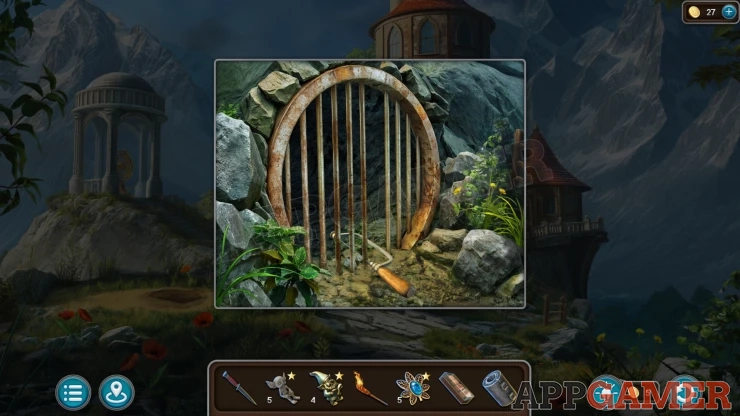
Use the Hacksaw to cut the bars then you can enter the tunnel. It is dark. Use the Torch here to light it and see that it is clear.
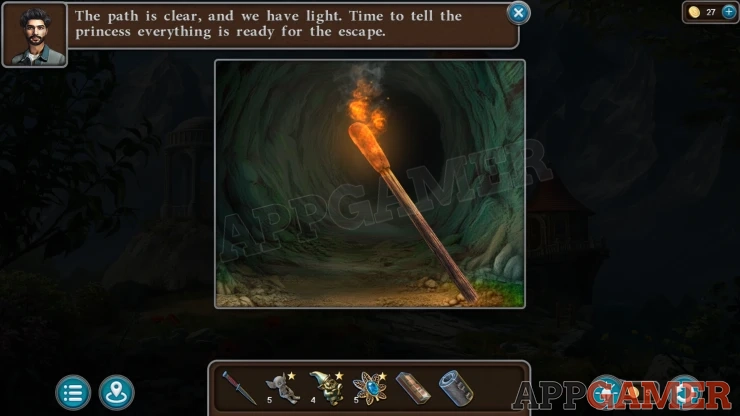
Go back to the Princesses room and talk to her. Then go back to the tunnel, use the Torch to see.
Tunnel Maze PuzzleShow
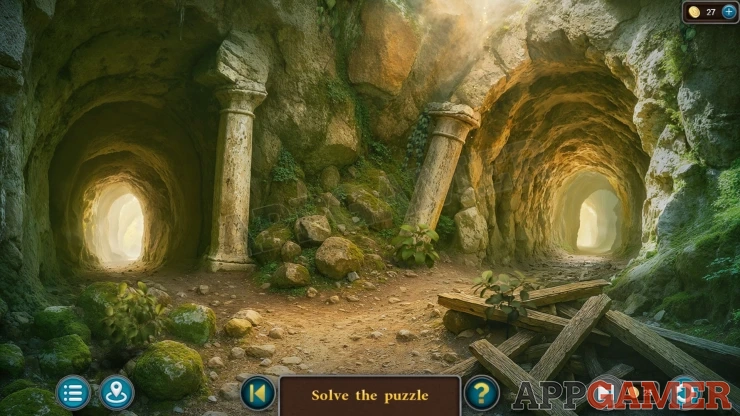
- First move to the left to find a blocked path. There is a puzzle to solve with four dragnon symbols.
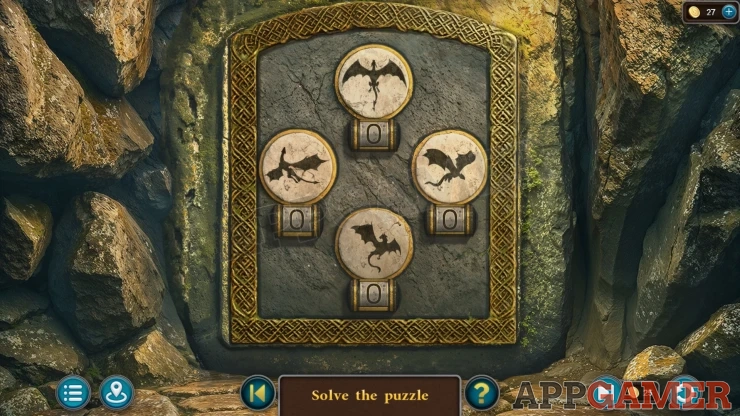
- Now back up and look around the first area for matching symbols. Move rocks, plants, ivy, and other items in the scene to look for them. There may not be any in this location.
- Then you need to go to the right into a maze of paths and caves to continue looking. The symbols may be hidden in many different locations in each game. Pay attention to the different symbols and count the number of each that you find.
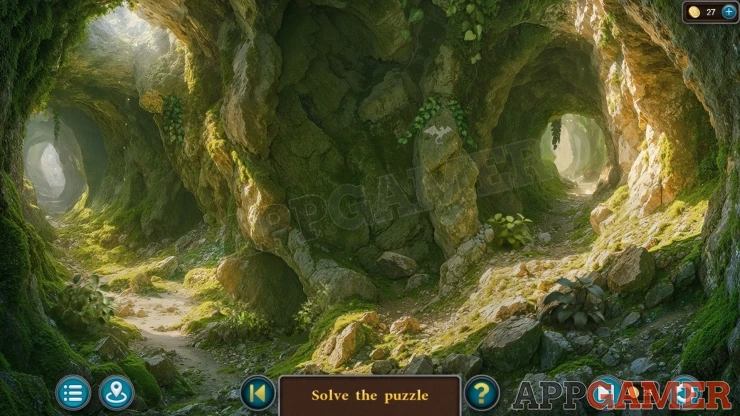
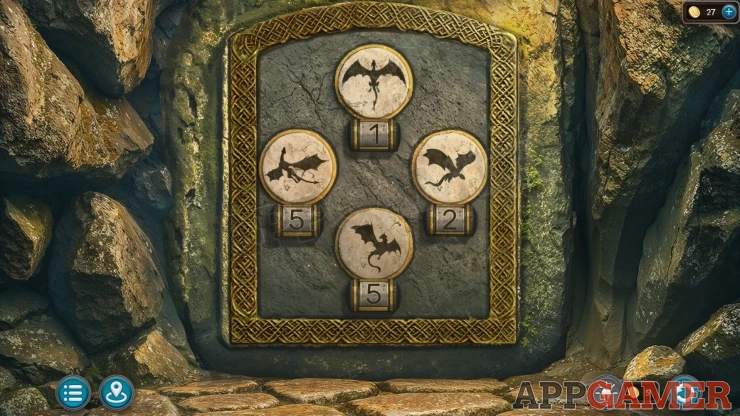
- When you have checked every location in the maze go back to the start and to the locked exit door.
- Enter the numbers for each symbol to open the door.
- If you try the numbers but get a message that you still don't know how the dragons relate to the exit then you have not yet found all of the symbols.
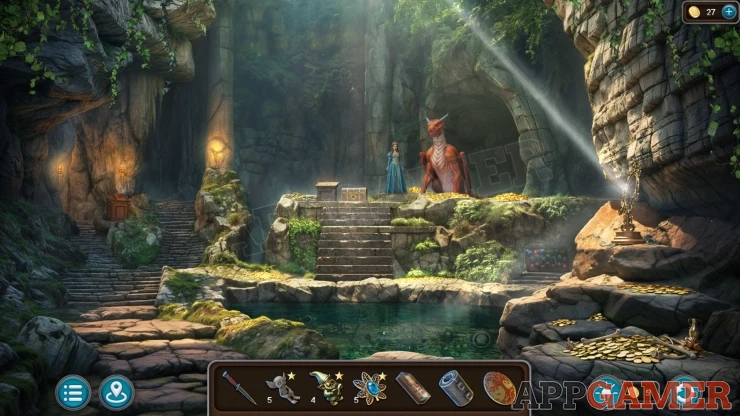
Once you pass through you will return to the dragons cave. You will receive a Dragon Stone.
Back out of the cave and look at the round door on the left. Place the Dragon Stone here to find a puzzle.
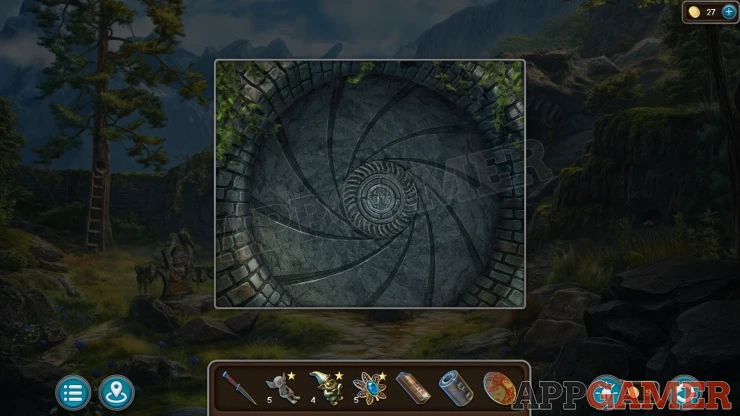
Dragon Stone Puzzle
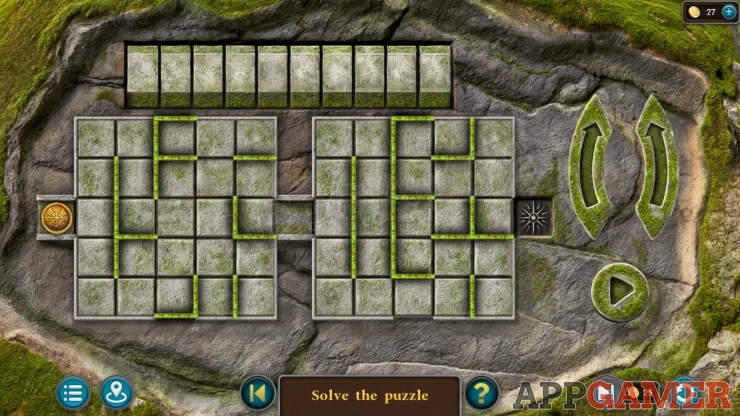
- There are two square maze sections to this puzle.
- You need to use the arrow buttons on the right to program a sequence of moves that will turn the square clockwise or anti clockwise. Then press the play button to start the sequence.
- The square will turn and after wach turn the gold token will move forwards (towards the right).
- You need to set the correct sequence of turn so that the gold token will pass out the other side of the left square.
- After doing this once you then need a second sequence to pass through the right square.
Solutions: The paths in your game may bev different.Show
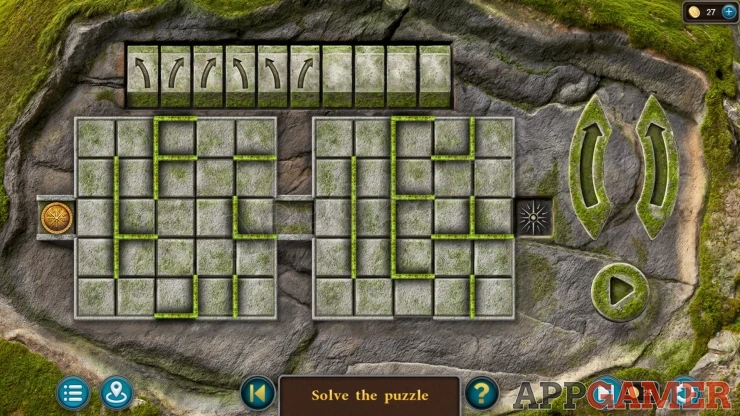
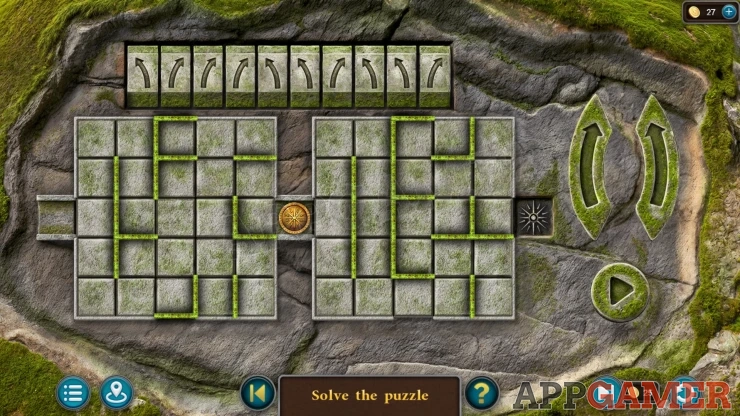
The door opens and you can pass through to Crystal Lake.
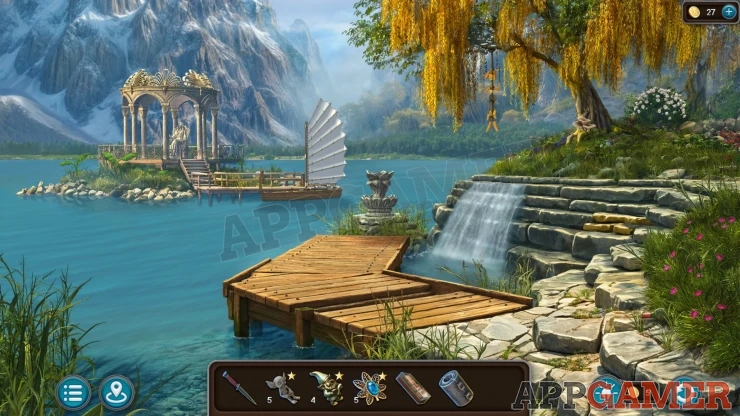
Collection Item: Bottle in the grass on the lower right.
Morphing Object: Mushrooms at the base of the tree on the top right.
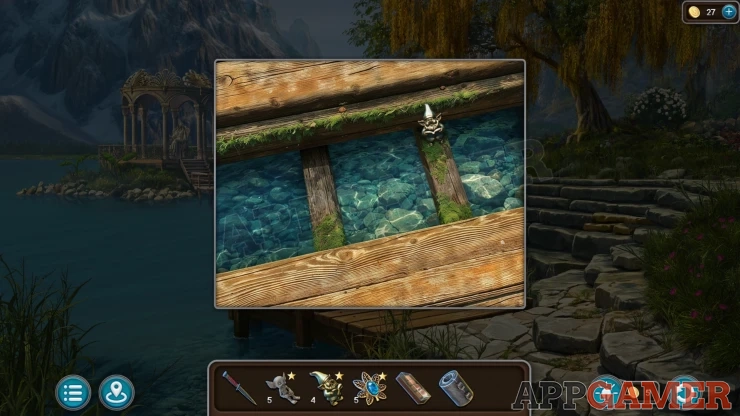
Dwarf: view a gap in the wooden walkway.
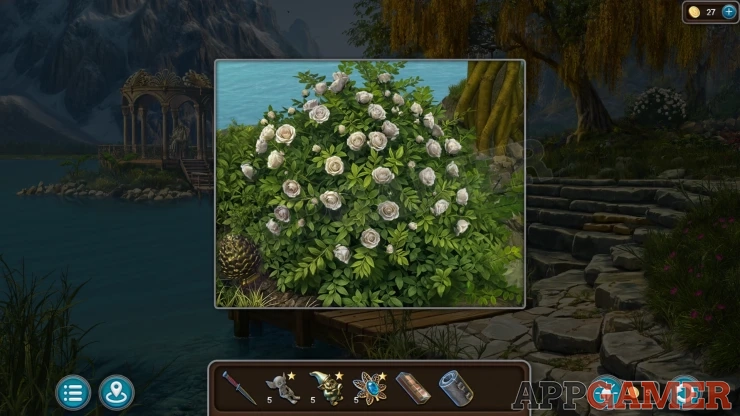
View the bush with white flowers on the top right. Collect a Pinecone.
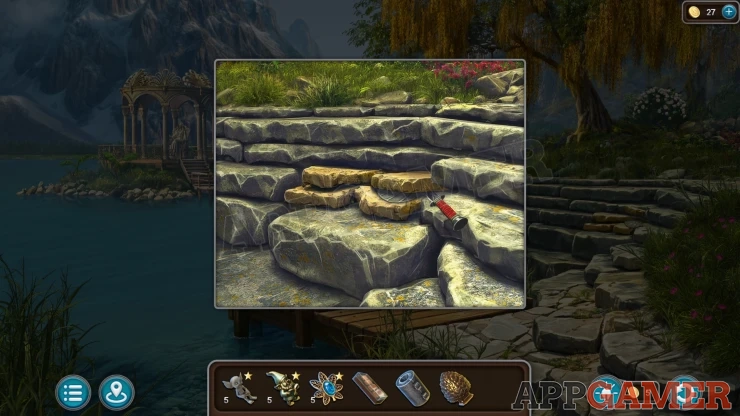
View some stone steps on the right with a diffrent color. Use the knife on these to move them and collect a Stone Petal (1 of 3).
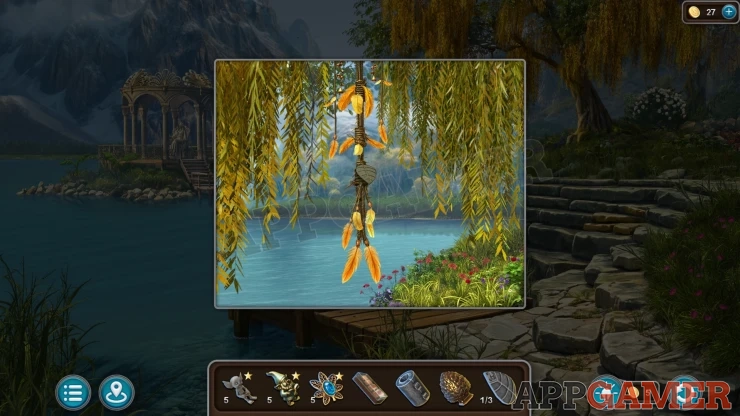
View an item hanging from the tree, collect another Stone Petal (2 of 3)
Now travel back to the castle grounds with the Kings statue. On the right is a pink tree with a low stone wall around it.
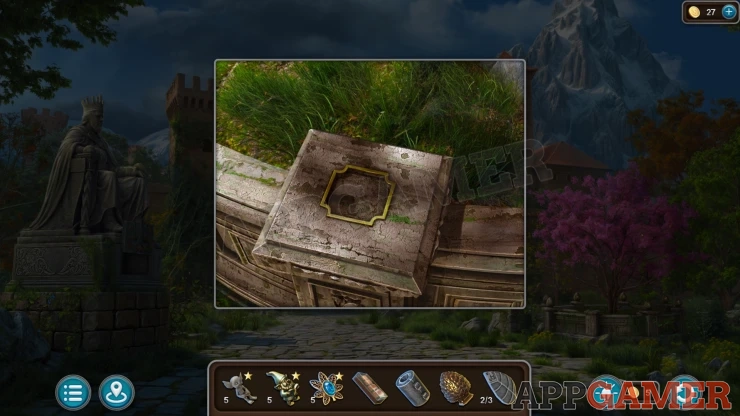
Tap to view the wall. Place the Pinecone into a slot on the wall. Then collect some Pruning Shears and a Stone Petal (3 of 3).
Return to the lake and view a stone lotus sculpture at the end of the wooden dock. Place the thee stone petals here.
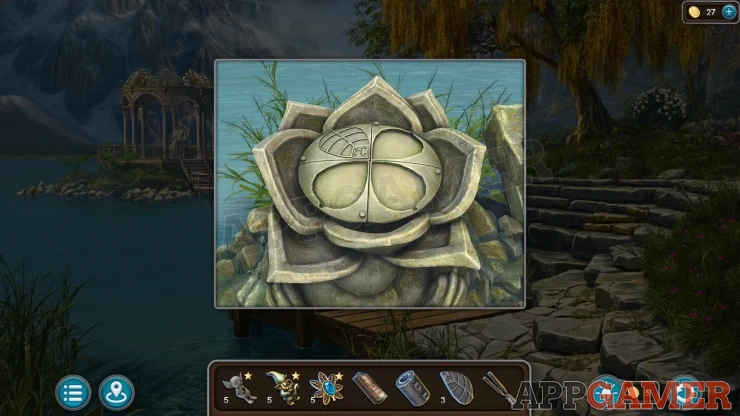
Stone Petals Puzzle
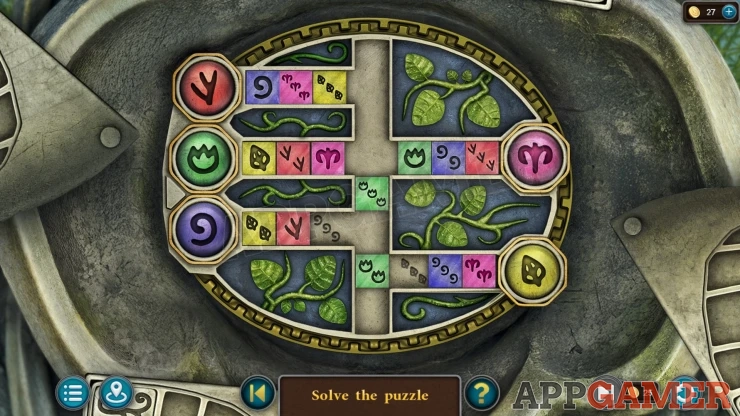
- The board has a number of colored blocks (with symbols).
- There are five side channels that are next to large colored symbols on the left and right.
- Each channel has slots for the matching blocks with 1, 2 or 3 symbols.
- Slide the blocks around the path and arrange them so that they are in the side channels with the matching color and symbol.
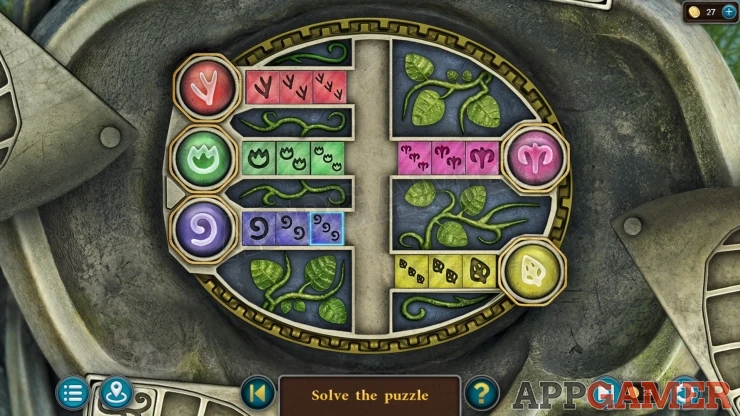
Once done the boat will move over to you and you can then visit the small island temple.
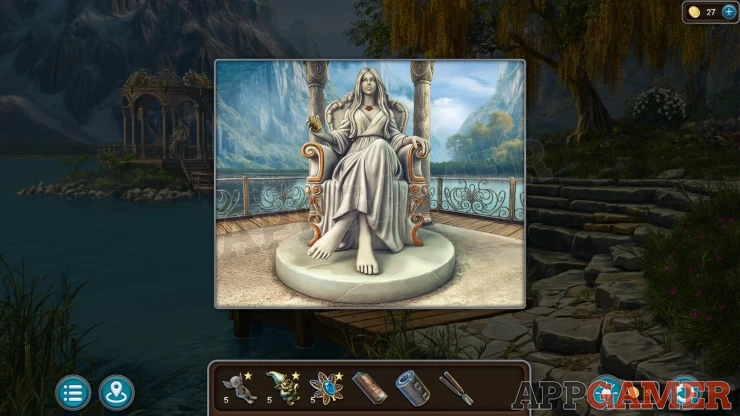
Collect a Shell from the statues hand.
Go back to the cave with the dragon. After talking view the chest on the ground to the left of the dragon.
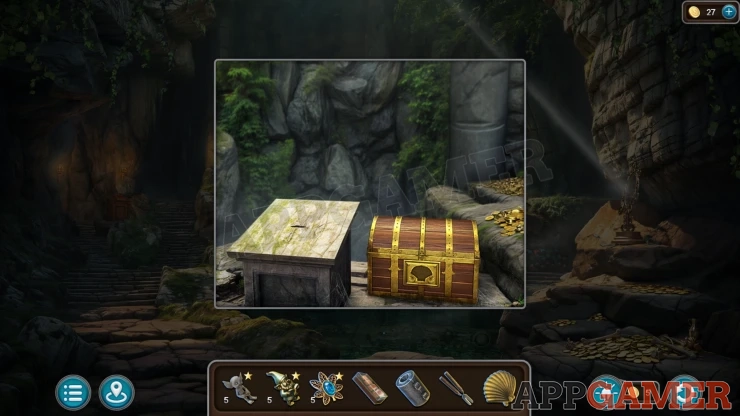
Ad the sheel to unlock it then collect a Seal and Gold Ingots.
Next view a book that is on a wooden plinth mext to the steps on the left.
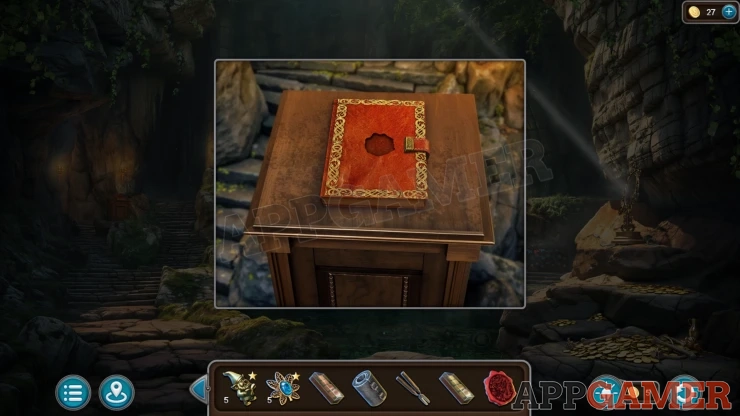
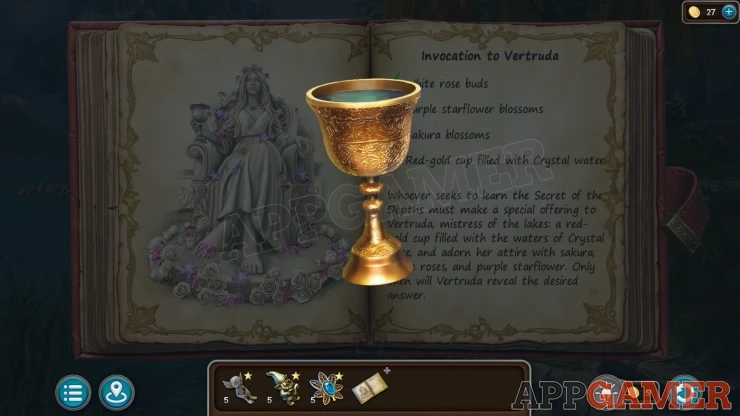
Add the Seal ti this to open the book and you can read about the Invocation to Vertruda. Collect the Guide to Rituals.
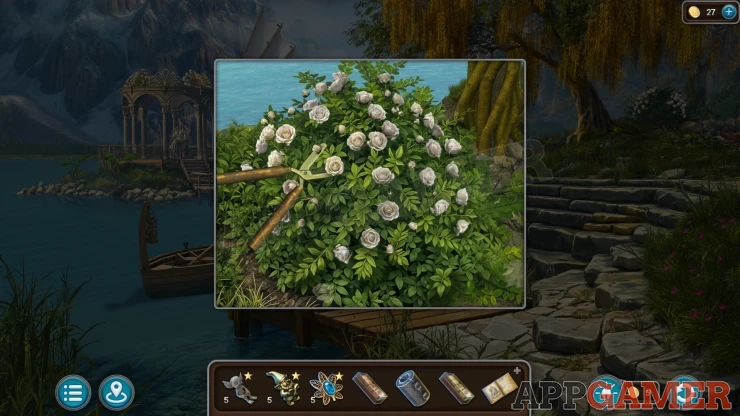
Travel to the lake and view the bush with wite flowers again. Use the pruning sheers here to collect the White Roses.
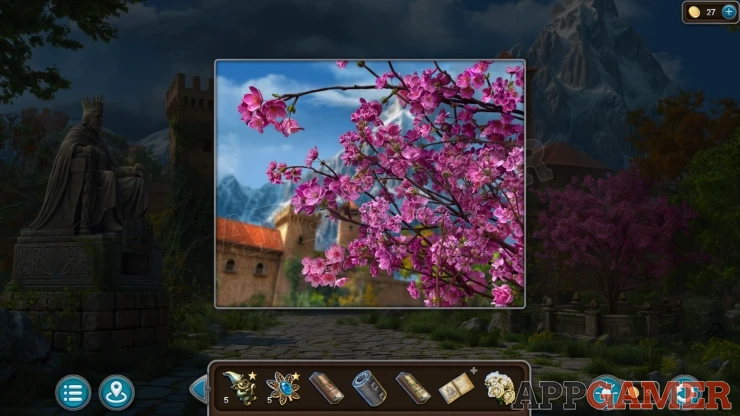
Travel to the Castle grounds again and view the top of the Pink tree to collect Sakura
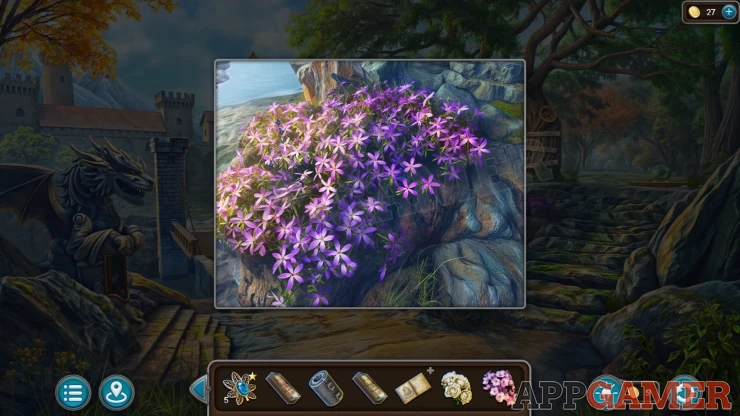
Back up to the starting area and view some purple flowers below the tree o the right. Collect the Purple Starflower.
Now head into the workshop in the small tower and view the table at the back again. View the scales and add the Gold and Copper Ingots to the table.
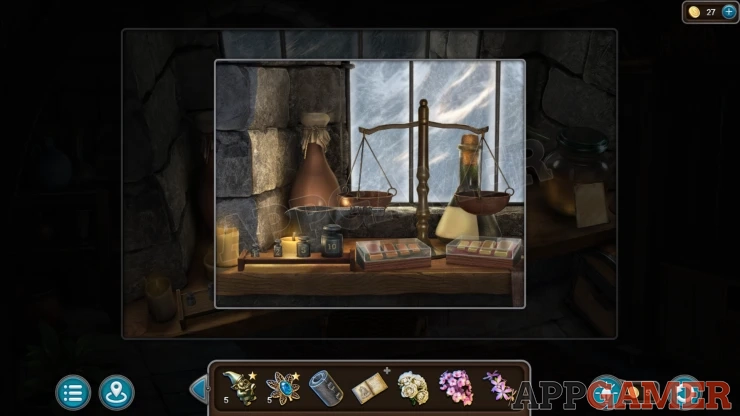
Open the ingot boxes and tap to start the weighing. When the ingots have been weighed you can collect a Crucible.
Place the Crucible on the burner on the table and then also place the Casting Mold on the table.
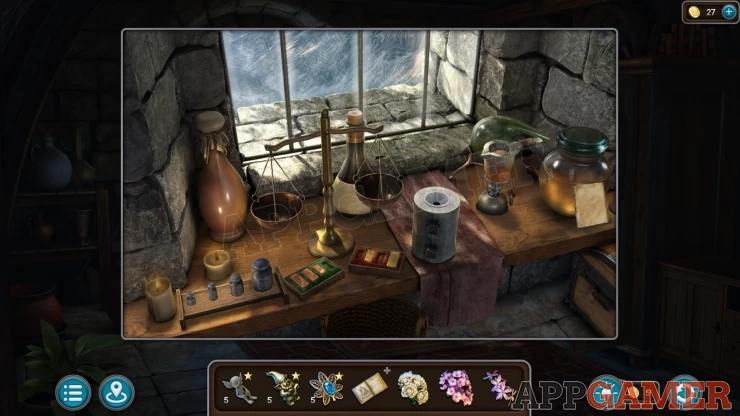
When the metal melts pour it into the mold and then open it to collect the Red-Gold Cup.
Travel to the Lake and use the cup on the waterfall to collect the Crystal Water.
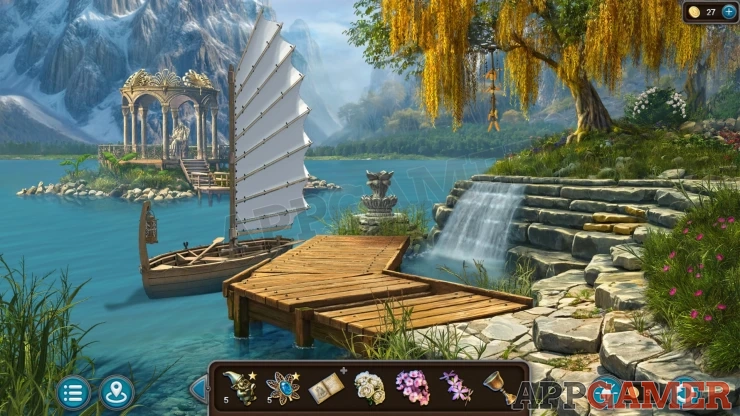
View the Guide to Rituals book and add the three flowers to it as well as the Crystal water. You will collect the Offering.
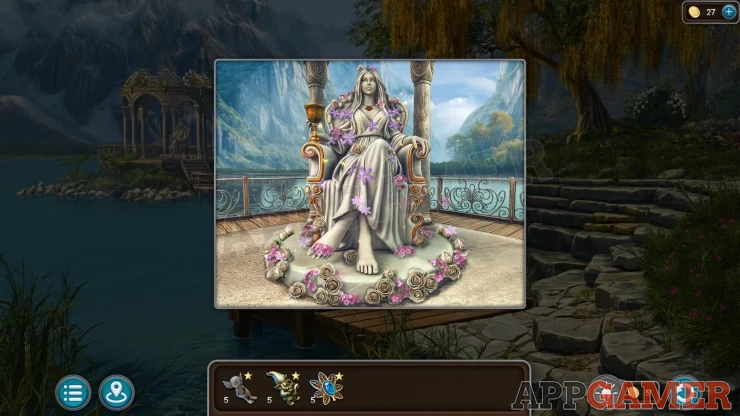
Go to the island temple again and add the offering to the statue.
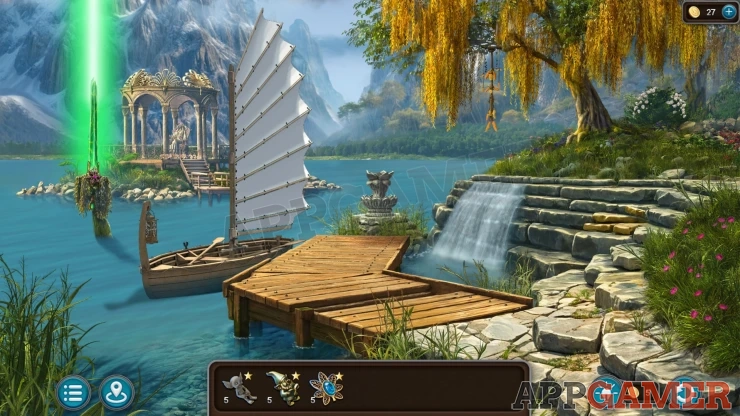
The Doom Blade will appead from the lake and you can collect it.
This completes the Episode. If you need finding the Secret Room or the extra puzzles you can see the Episode 13 Extra Stars Guide.
Next up is Episode 14.
We have questions and answers related to this topic which may also help you: Show all
 With 20 years of experience in creating video game content for the internet and over 30 years as a gamer, Mark is now a passionate mobile App Gamer. Loving a challenge, he is always ready to get stuck in to both survival builders and puzzle solving games. He has been providing content for AppGamer since 2014.