
Episode 12 Walkthrough - Haunted Theatre
More Artifact Seekers
This is our guide to Haunted Theatre, the twelth Episode in the puzzle adventure game Artifact Seekers, from Five BN. In this episode you are exploring a theatre that is cursed bvy an evil genius.
You goal in this chapter is to discover the hidden artifact that has placed the curse and free the audience. As before there are collectible items to find in each area for extra stars.
Episode Twelve - Haunted Theatre Walkthrough
You begin the the theatre lobby.
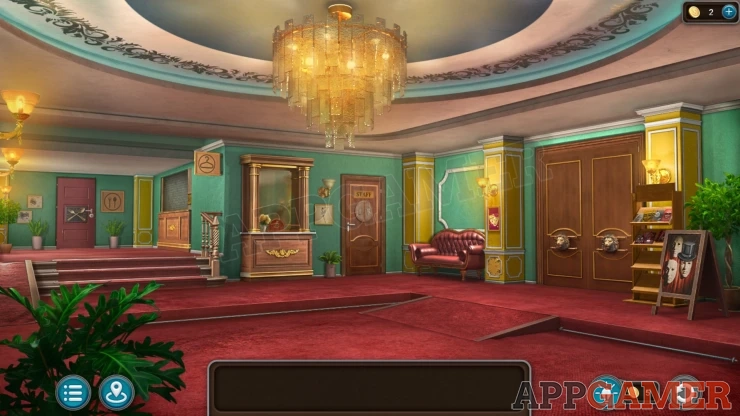
Collection Item: Top hat on the poster board on the right.
Morphing object: Sconce on the wall by the ticket window.
Archer: View the bottom of the yellow pillar to the right of the red sofa. Open the panel to find it.
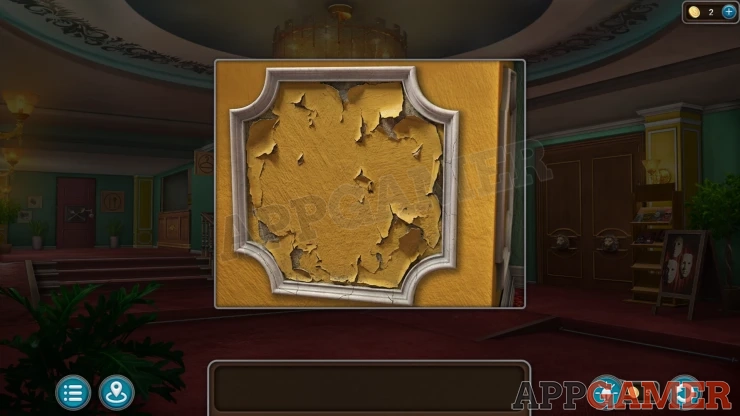
First view a set of shelves to the right of the double doors on the right. Collect a Knife from the top shelf and then also collect a Poster from the lower shelf.
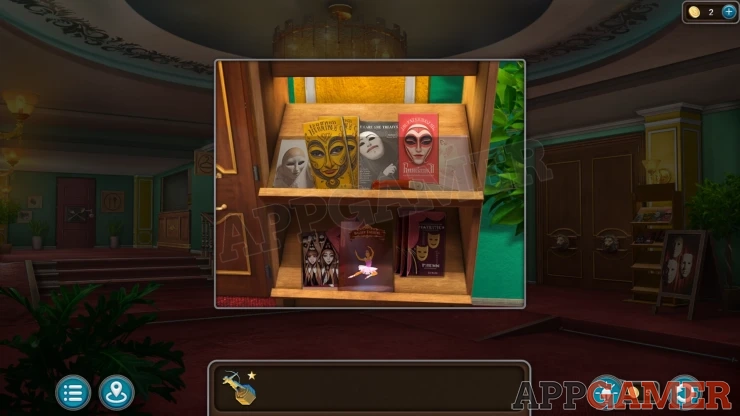
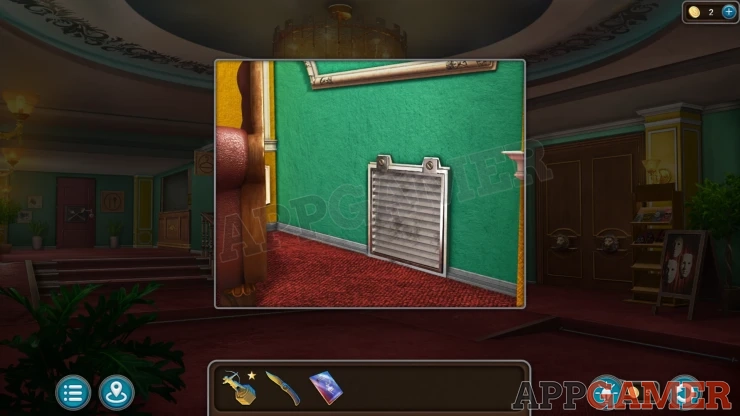
Next view the red sofa on the left of the double doors, then tap on it to move it. Behind you will find a vent in the wall.
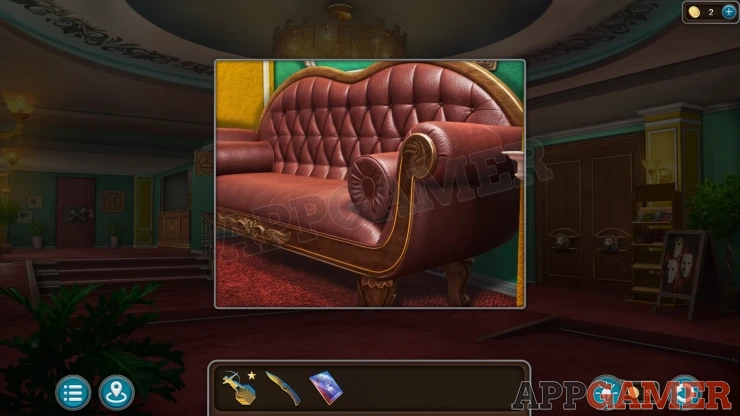
Use the knife on the vent to open it and collect a Stone Eye (1 of 2).
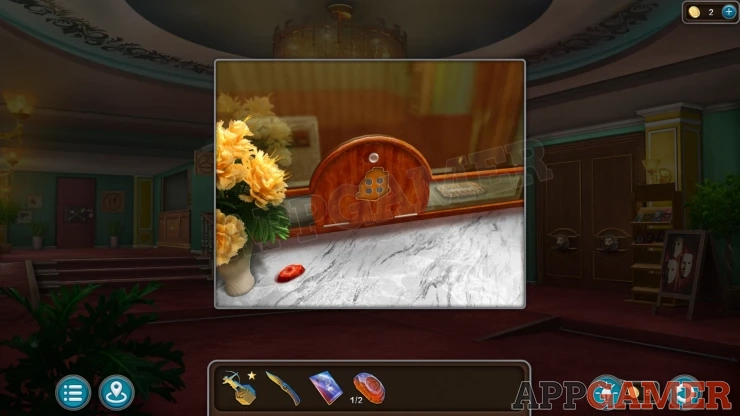
Then view the ticket window next to the Staff door. Collect from here a second Stone Eye (2 of 2).
Now you can view the double doors and then view the Lion head on the right door.
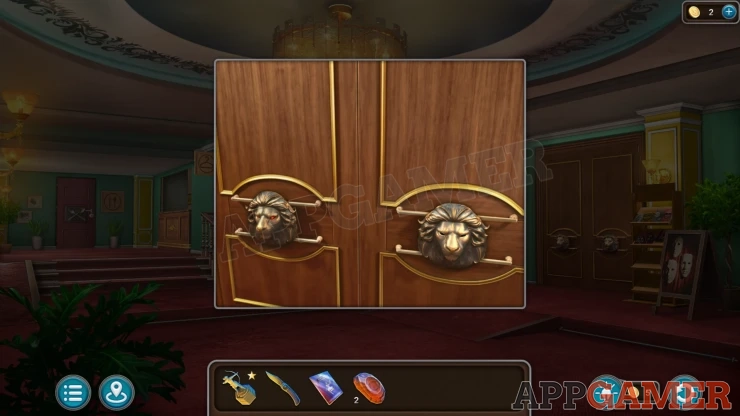
Add the two stone eyes to this to reveal a puzzle.
Lion Head Door Puzzle
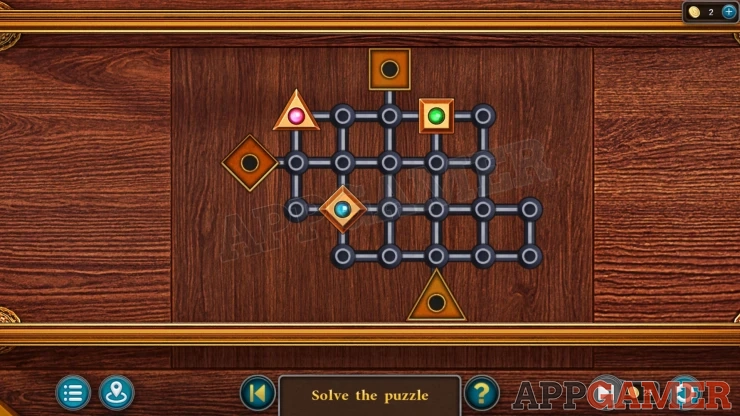
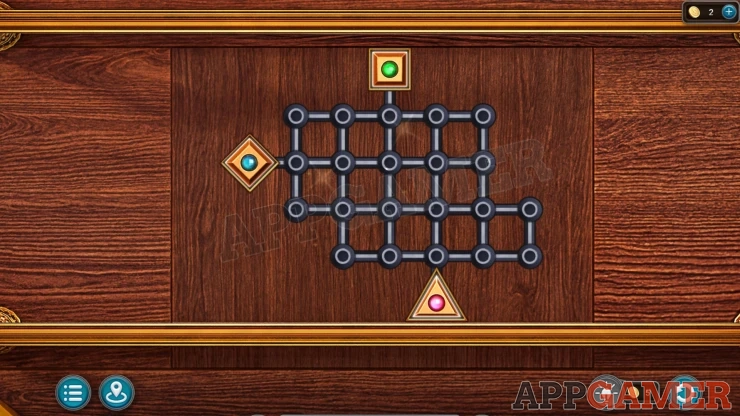
- There are three shapes that you ca nslide around the grid.
- Each one will slide in your chosen diretion until it reaches a block.
- Use the shapes to block and move them so that they each fit into the martching shapes slots around the edges.
Solution: Show
The doors will be open and you can now enter the auditorium. Talk to the Ghotsly figure to discover that you need to find a Mask to retuirn to him to lift the curse.
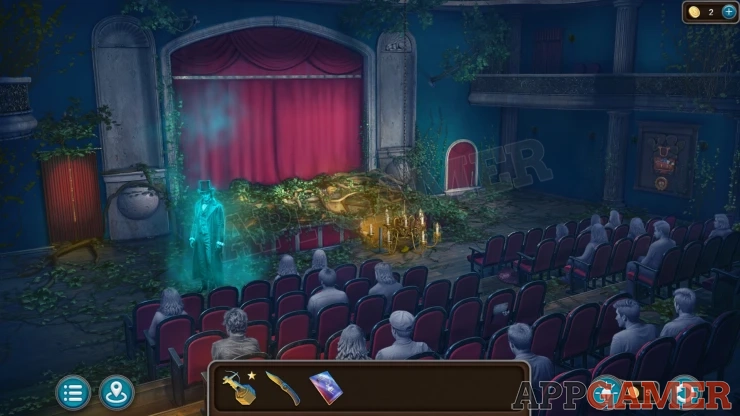
Colletion Item: Fan, on the floor behind the first row of seats on the right.
Morphing Object: Stone carving at the top of the grey decoration on the right of the stage.
In front of the stage is a fallen chandelier. View this.
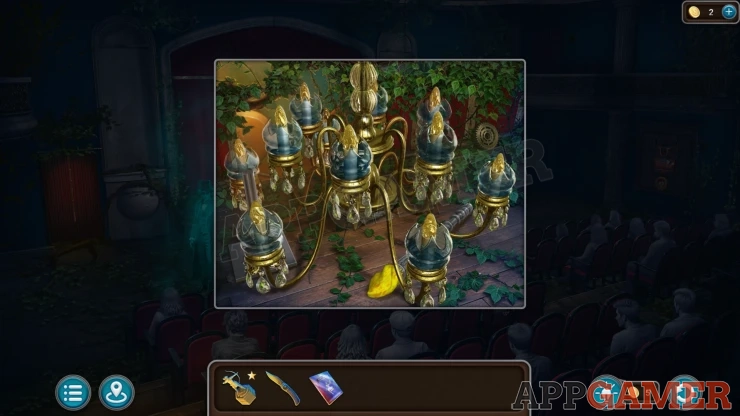
Collect a Torch, a Press Plate and a Gear (1 of 4).
Next view a small red curtain on the right of the stage. Collect a Lever.
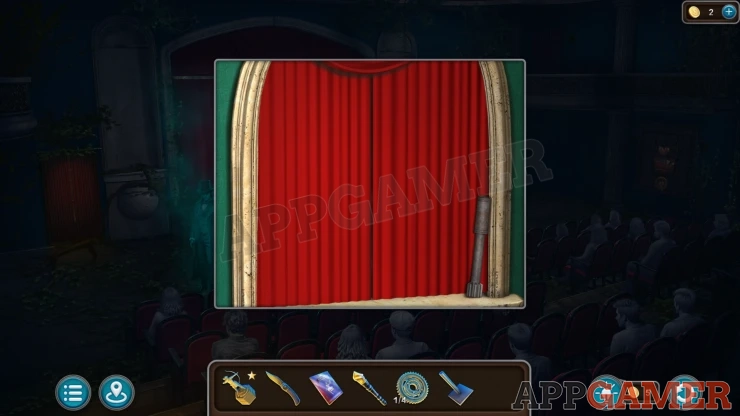
Open the red curtain and then open a grill at the bottom. Collect from there a Hex Key.
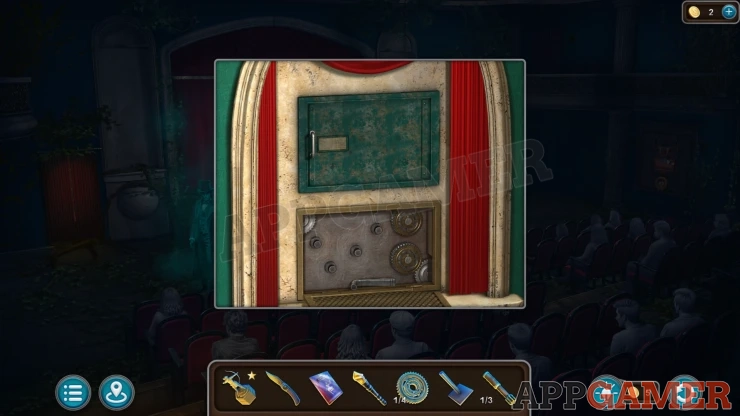
Next open the curtained doorway on the left of the stage and go through to find the backstage area.
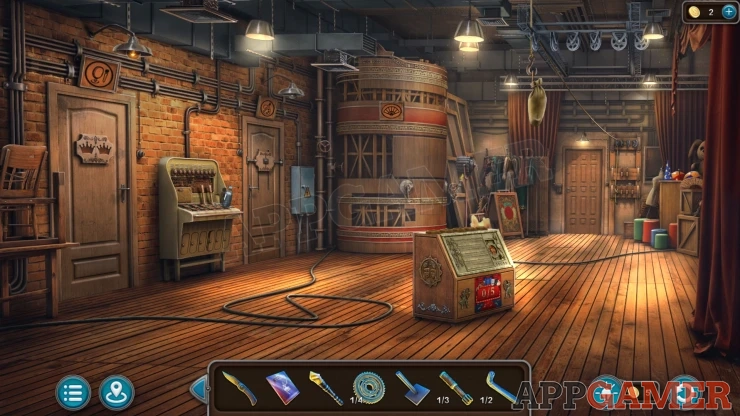
Collection Item: Fan symbol on the top of the large cylinder in the center.
Morphing Object: Colourful object on some boxes on the right.
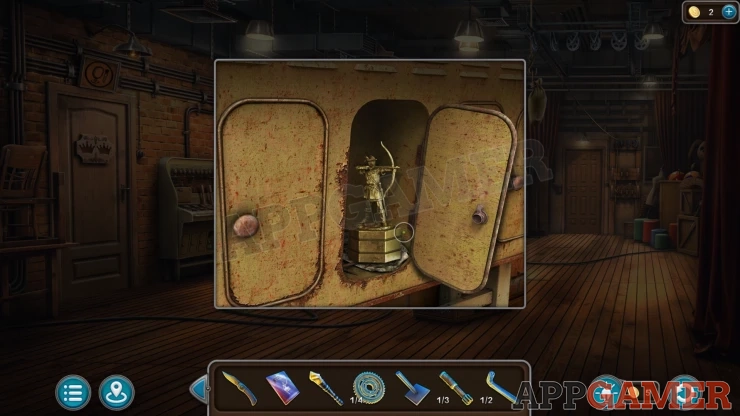
Archer: view the bottom of a control panel on the left wall. Open one of the small panels.
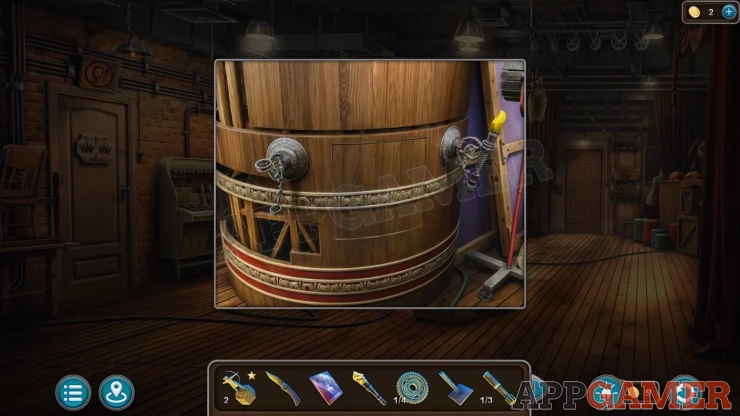
View the large cylinder in the back center of the room. You can place the Torch into the left holder here to open a panel and collect another Gear (2 of 4). And also a paper Stage Diagram.
Look on the wall on the right of the door on the right of the room. There is a panel with a rope tied. Collect a Medalion
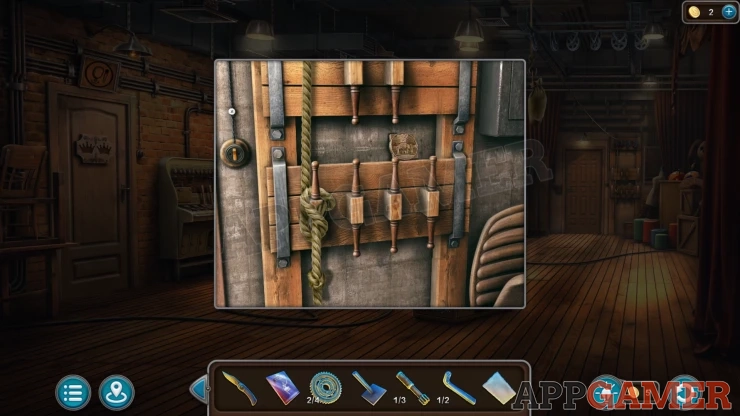
Tap the tied rope to release it and a sandbag will fall and make a hole in the floor. Collect from here a Handle and some Rope.
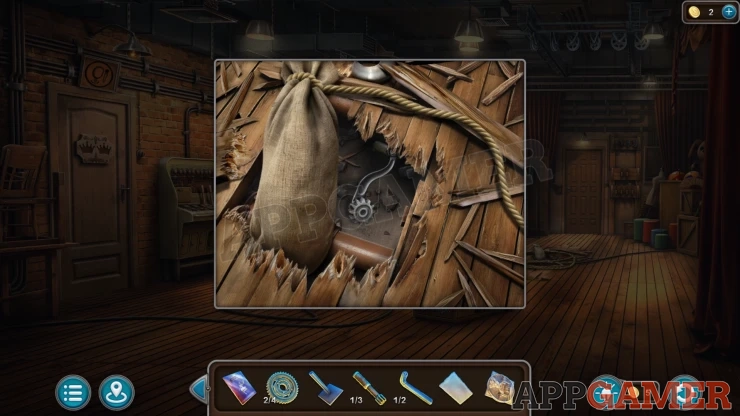
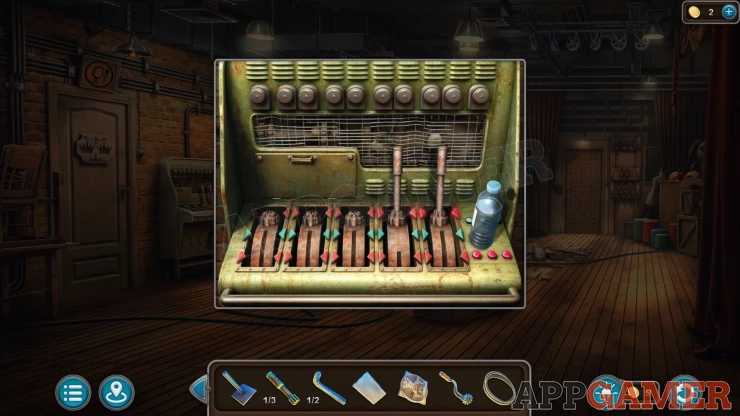
Then view a control panel on the left side of the room. Collect a Bottle of Water.
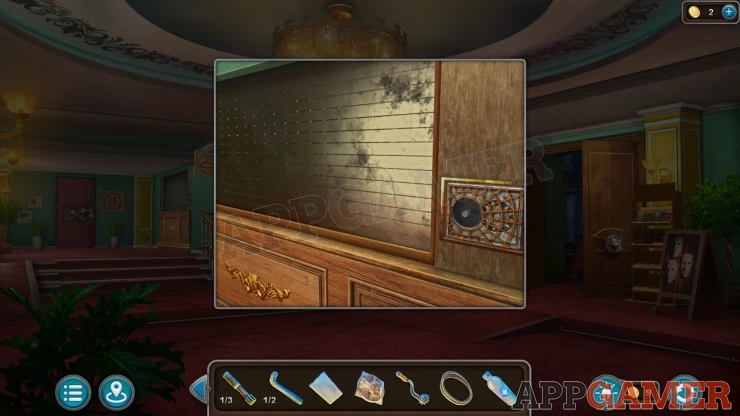
Back up to the Lobby and then view a shutter on the left at the top of the steps. Place the handle on the right here to open the shutter.
Talk to the frightened man, you need to find him some sedative. Collect the Key from the counter.
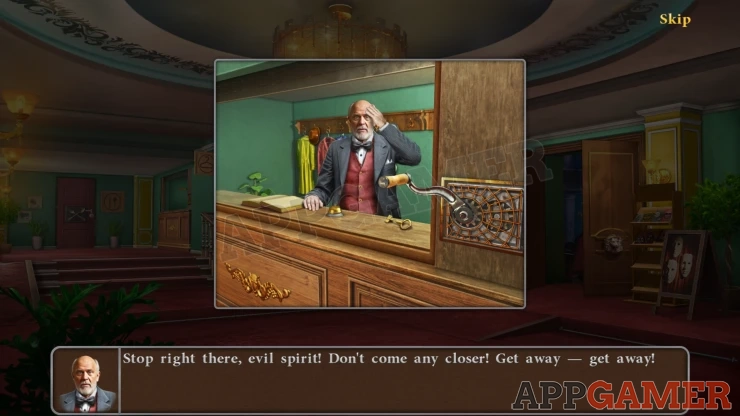
View the door on the left of the lobby with the Fork and Spoon.
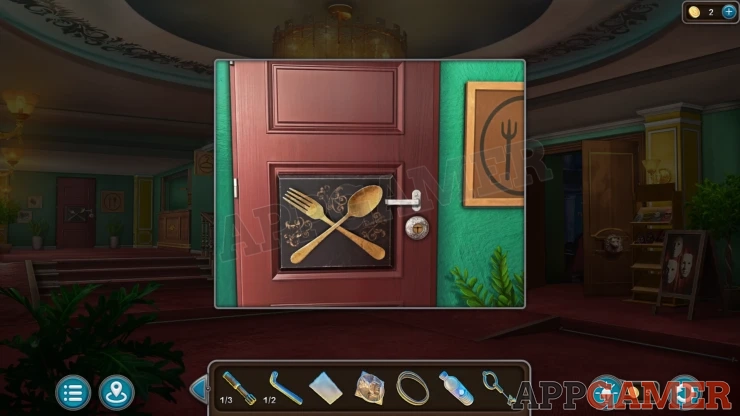
Use the key here to reveal a puzzle.
Fork & Spoon Door Puzzle
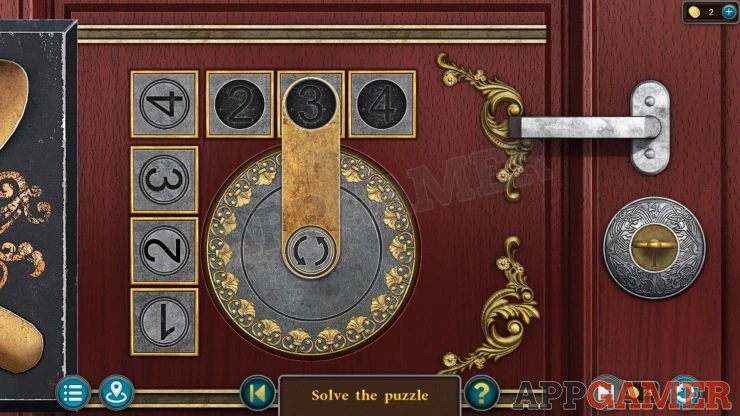
- There are four number tokens on the left side.
- At the top are four slots with numbers on the backbrground.
- The cetner arm can be used to move the number toens from the left to the top. This will also rotate the tokens by 90 degrees.
- Arrange the four tokens in the correct order and orientation to match the four slots at the top.
Solution: Show
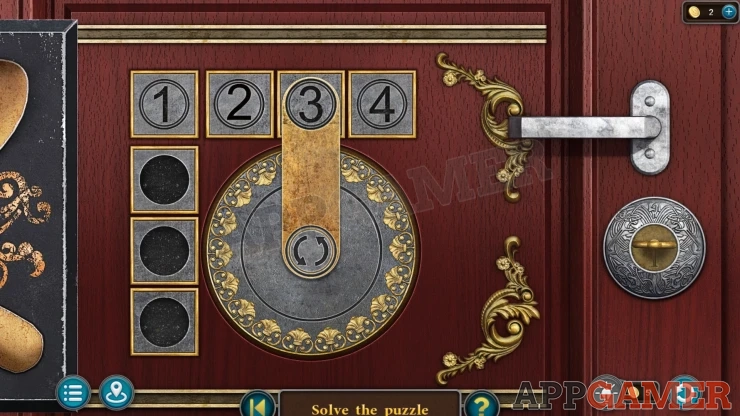
When the door opens you can enter the restaurant.
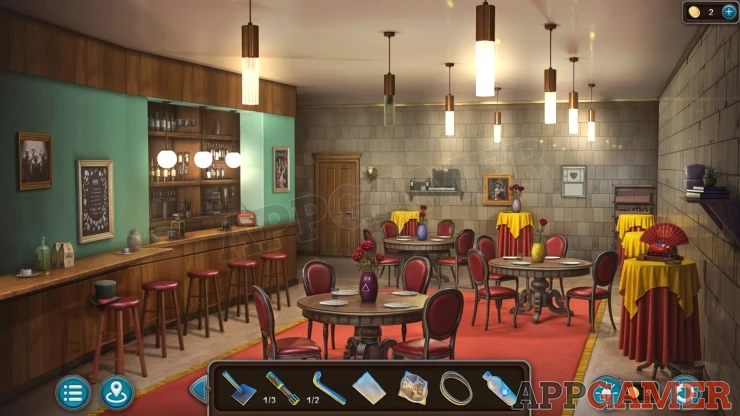
Collection Item: Top hat on a stool on the left.
Morphing Object: Jug on the counter above the stools on the left.
Sun Symbol: View a broken light on the cieling.
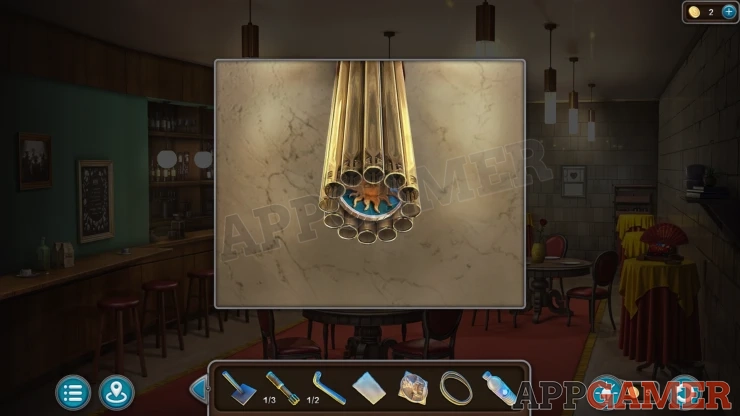
Sun Symbol 2: View a table with a purplle vase, move the plate on the top left.
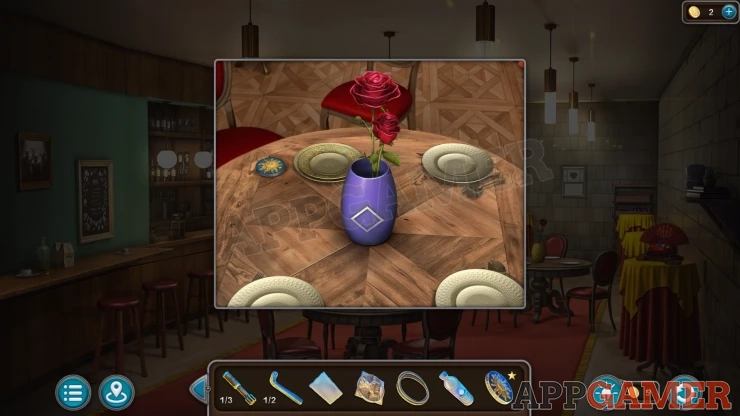
View a small table on the right. Collect a Gear (3 of 4).
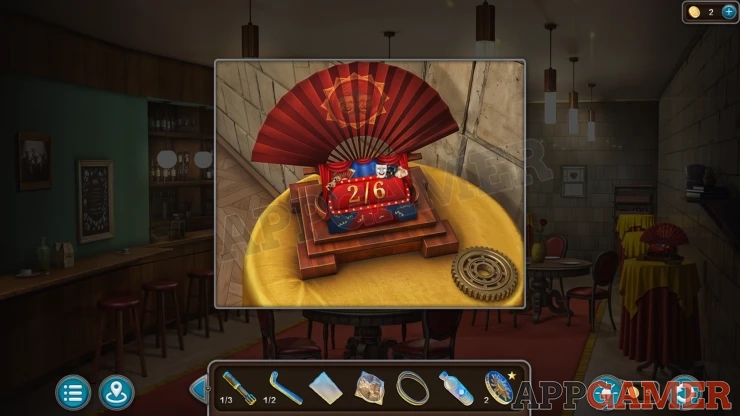
Then view another small table on the back below a picture. Collect a Crown (1 of 2).
Notice on this table is a vase with a shape on it. There are also a number of roses.
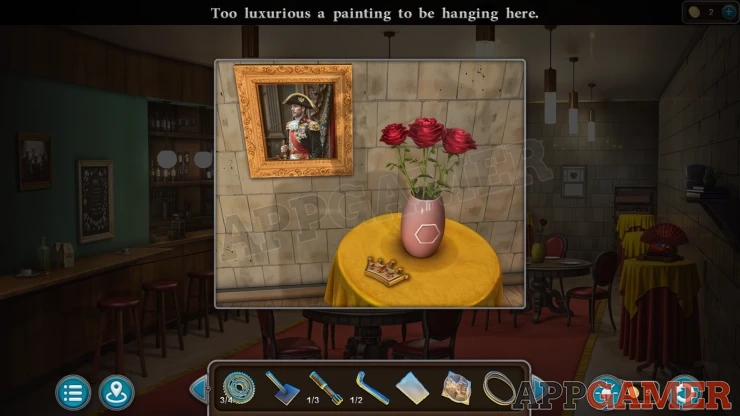
Check the other tables to find vases with shapes and roses. Four in total.
Now return to the backstage area and then view a door on the back right. There is a keypad. Use the clues fro the vases and roses to get the code.
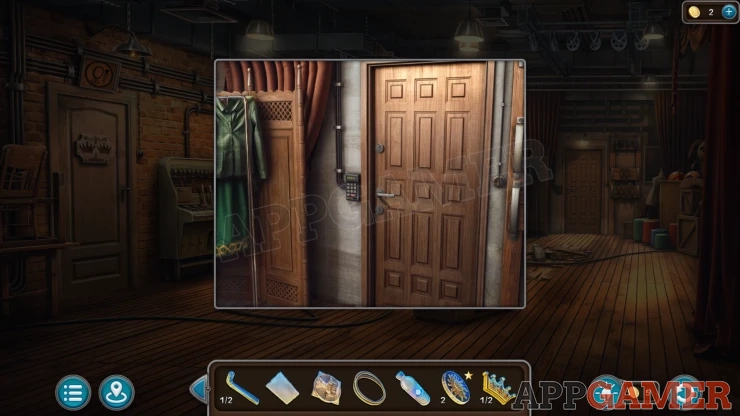
Solution: In the four vases are 1, 2 3 and 4 roses. This is the order. Count the lines on the shapes on these vases to get the numbers for the code.Show
Code: 5463Show
Go through to the Inner Courtyard.
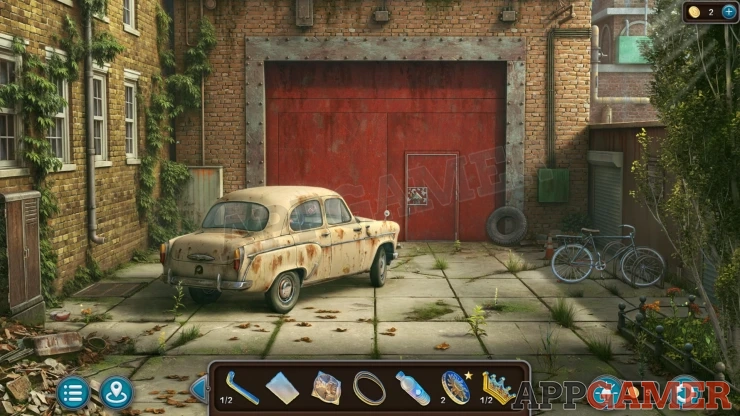
Morphing Object: Leaf / apple on the ground on the left by a drain.
Archer: Look in the end of a drain pip on the left wall.
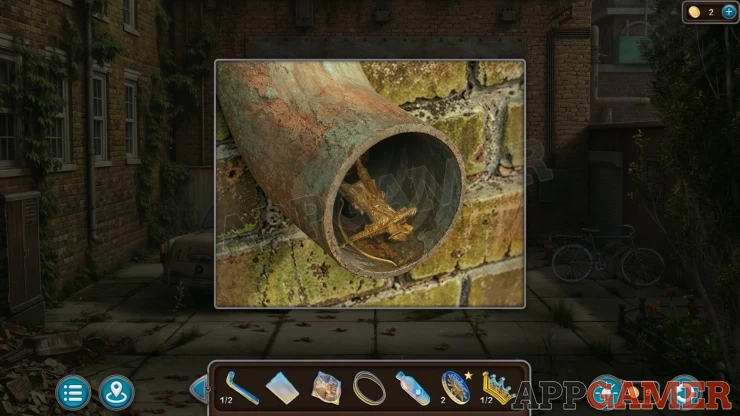
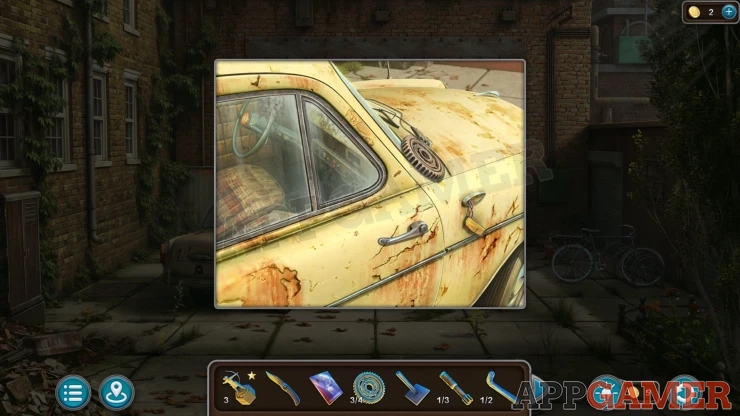
View the old car in the center and collect another Gear (4 of 4).
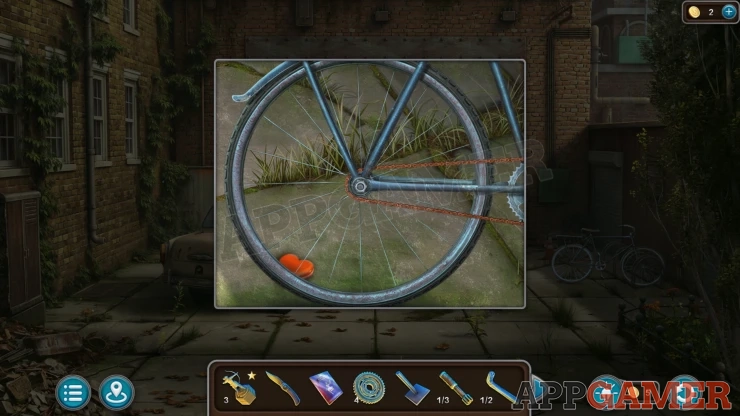
Then view the Bycycle on the right and collect a Heart from the ground.
Return to the restaurant and then view a small white box on the back wall. It has a heart slot.
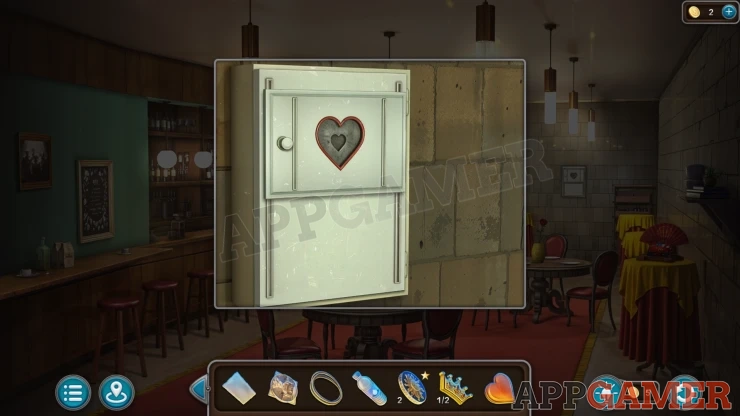
Place the heart here to open it and reveal a puzzle.
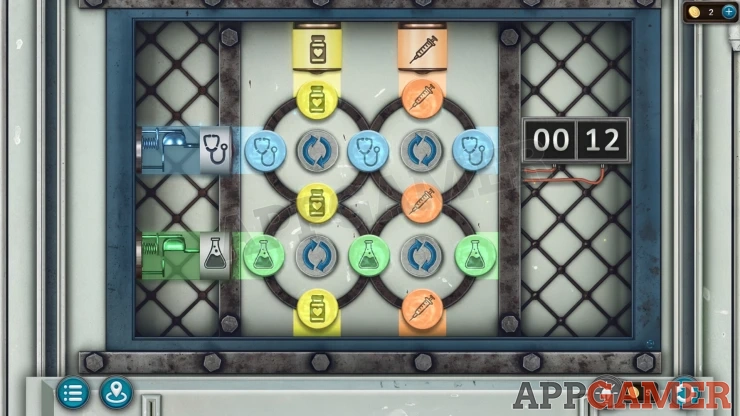
Restaurant Heart Puzzle
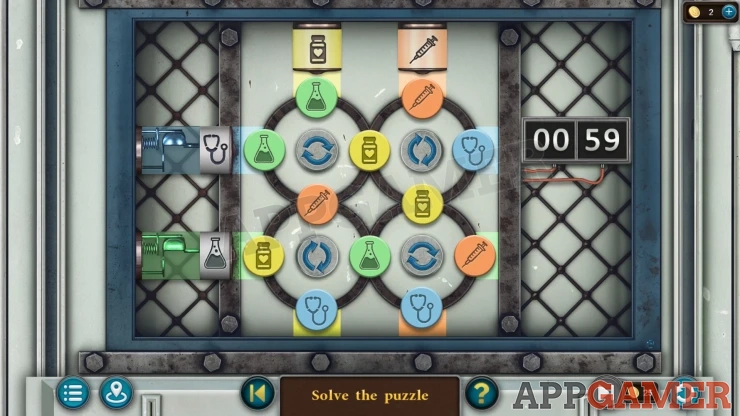
This is a special timed puzzle for an earta Star. To earn the star you must complete it within the time limit. You do not need to earn the star to solve the puzzle and continue with the game.
- There are four circles with colored symbols arranges around them. You can tap the arrow butons in the cenrer of the circles to rate the symbosl around.
- On the sides, top and bottom there are colored sections that show what color symbosl need to be placed in those location.
- Arrange all of the colored symbols to match the required layout as shown below.
- If you complete this witrhin 1 minutes you will ear an extra star.
Solution: Show
Collect the Sedative.
Return to the lobby to talk to the anxious man. Place the sedative and the water on the counter for him.
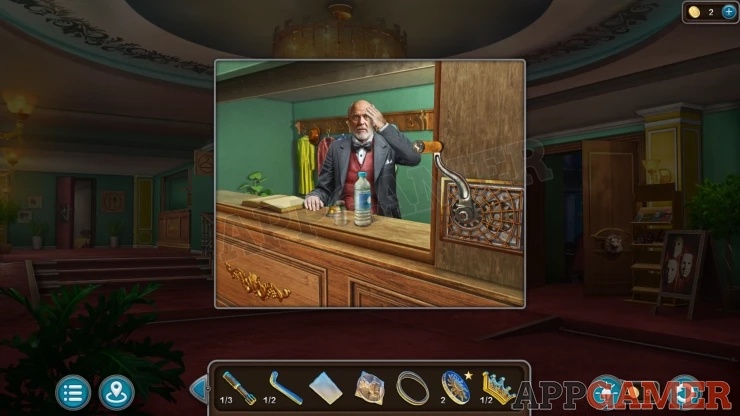
After he tells you about the beggar boys and the director he will leave, you will recieve a Key.
Go to the Inner courtyard and view the Car again. Use the key to unlock the door and look inside.
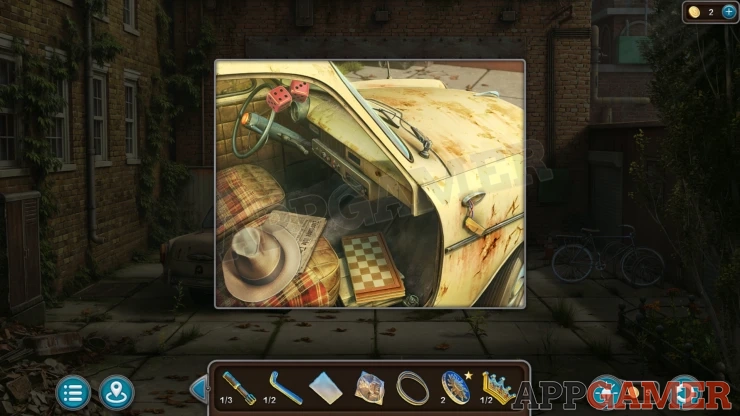
Move the hat on the seat to then collect a Key. Then open the chess box on the floor and collect some Wire Cutters.
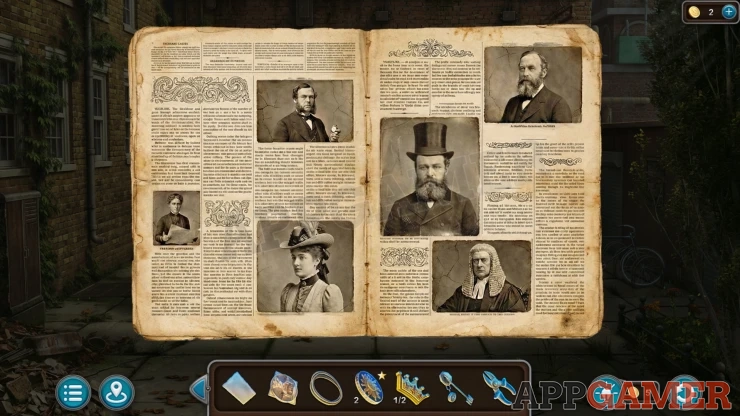
Collection Item: Top hat in a photo in the newspaper on the front seat.
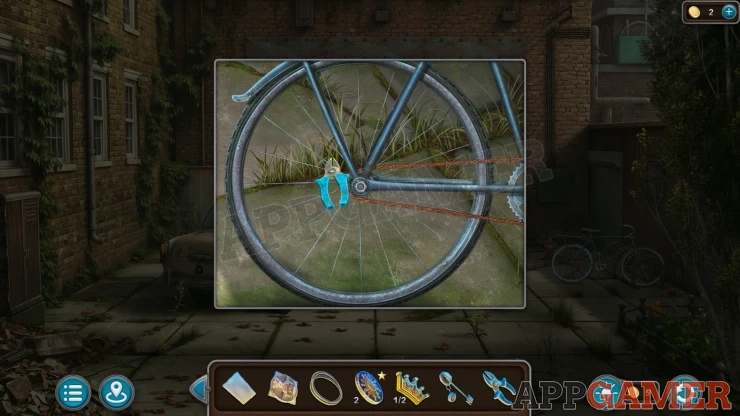
Next view the bicycle on the right again. Use the wire cutters here to collect a Wire from the wheel.
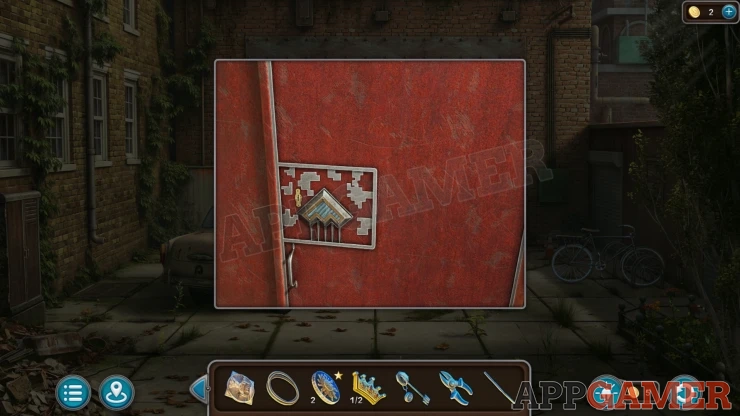
Now view the red door at the back of the courtyard. Use the key here to open a panel to find a puzzle.
Courtyard Door Puzzle
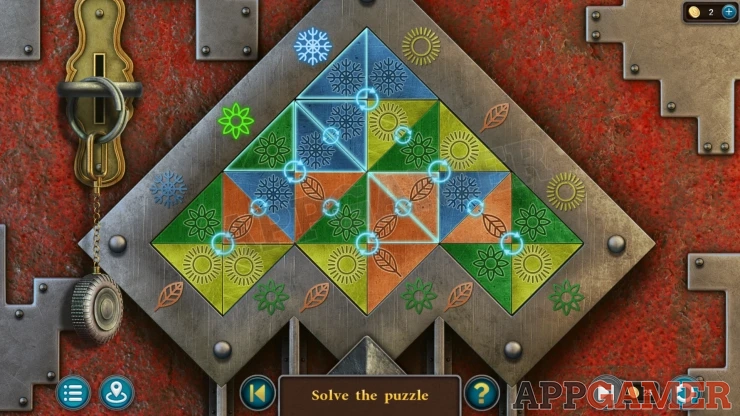
- The triagular puzzle has symbols around the sides and six large squares made up or four triangls each with symbols on them.
- You can use arrow butons to rotate the large squares, and also to swap the triangles between squares.
- Arrange all of the triangles in the sqiuares to place them next to matching symbols/colors around the edges and inside.
Solution: Show
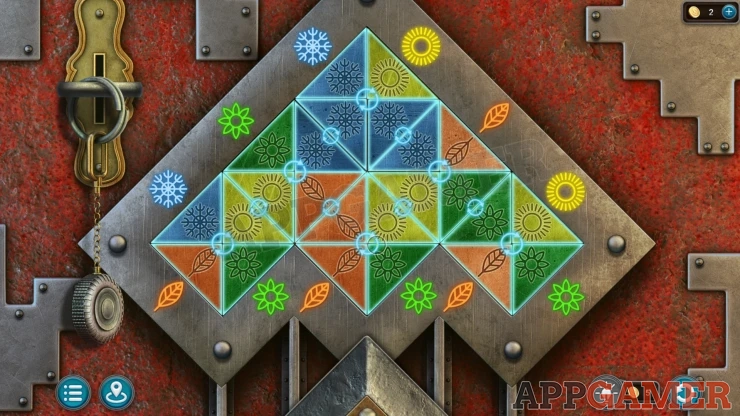
You can now enter an Auto repair shop.
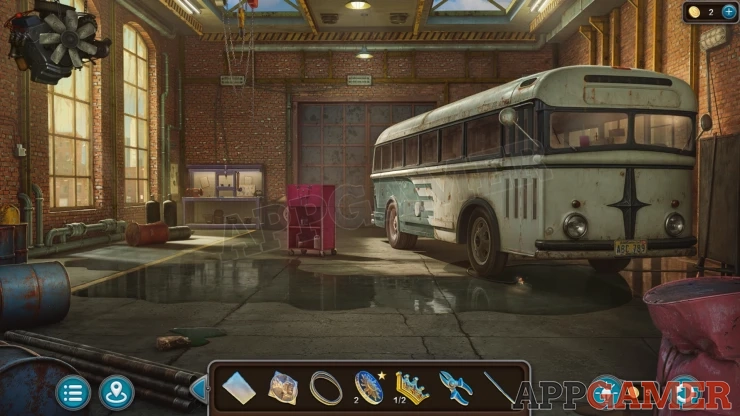
Morphing Object: Number Plate on the front of the bus.
There puddle on the floor in the center and a lose wire in it. Before you can access this area you need to back up to the courtyard and collect a Tire from the ground by the red door at the back of the courtyard.
Go back into the repair shop and place the tire into the puddle to allow you to cross over it. You can then view the small red tool cabinet.
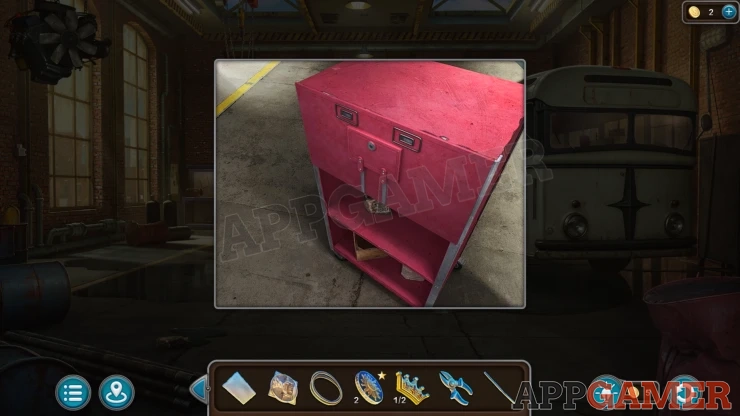
Use the wire on this to open the top panel, there is another puzzle.
Tool Cabinet Puzzle
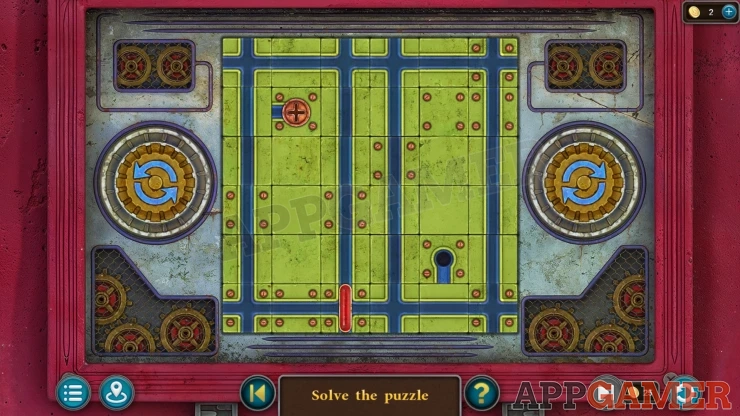
- The board has a set of blocks with slots running through them.
- There is a round button the needs to be moved from the starting position to the hole on the opposite corner of the baord.
- To move the button you can use the arrow buttons on the left and right to rotate the board and cause the button to fall down through any available slots.
- There is also a red blocker that you can move to help you control the movement of the button.
- Some of the square blocks on the baord can be rotated to change the arangement of the slots and contrl the movement.
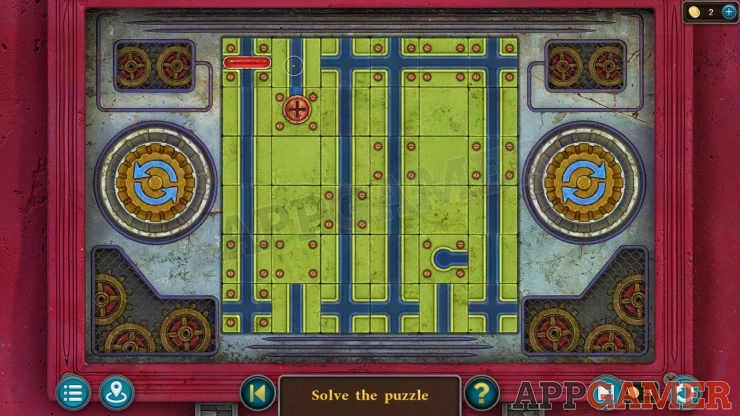
Once done you can collect a Wrench and another Hex Key (2 of 2).
Next view a workbench on the back left of the room. Collect a blue Rubber Glove.
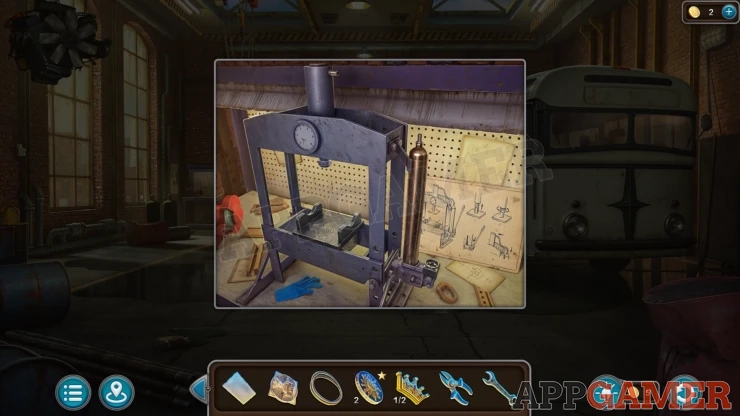
Back up to the courtyard and view the car again. Tap the hood to open it and see the engine compartment. Then view the battery.
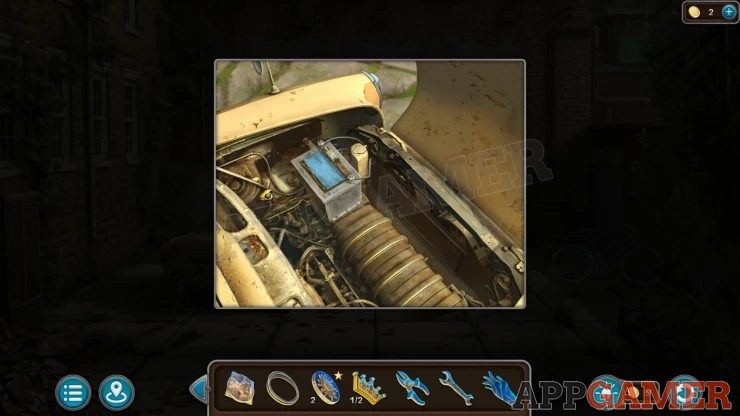
Use the wrench on the battery to remove the cables, then you can collect the Battery.
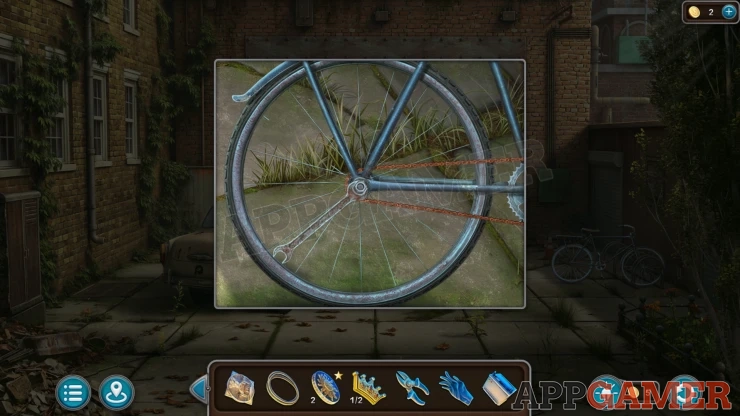
Next view the bicycle again and use the wrench on the back wheel to remove and collect the Rusty Chain.
Go back into the repair shop and view the luggage comaprtment door on the side of thge bus. Add the Medallion here to reveal a puzzle.
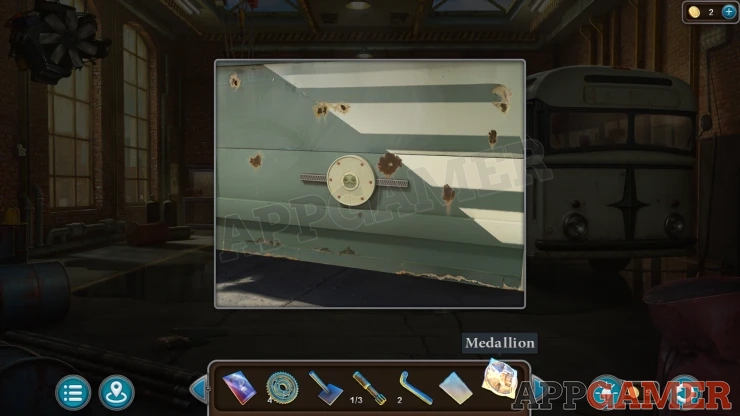
Bus Luggage Puzzle
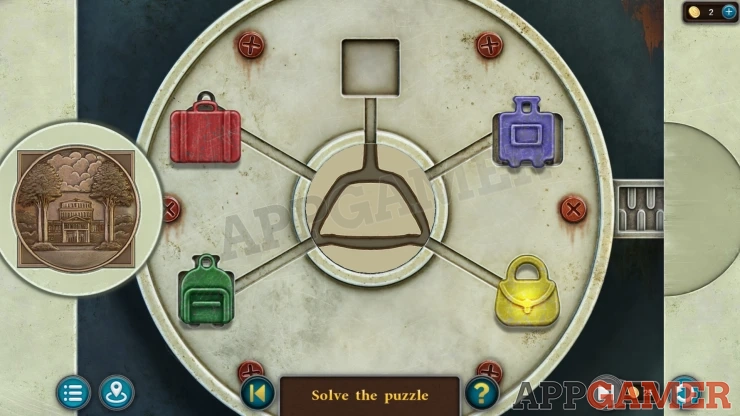
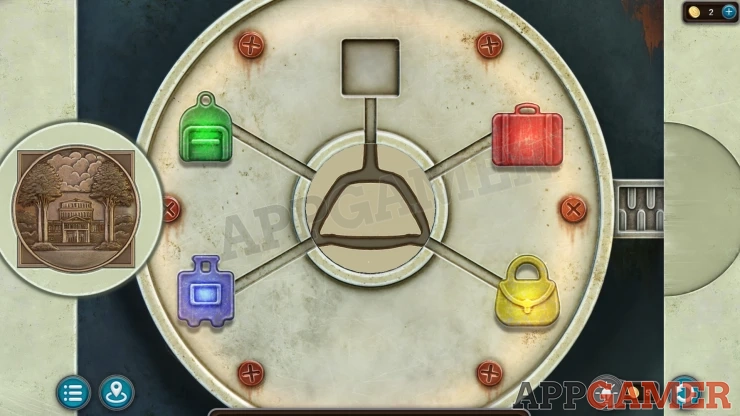
- There are four colored luggage symbols that are oin the wrong locations.
- Drag the center circle to change the chape of the connecting lines.
- Move the symbols using the empty slot at the top to arrange them into the correct locations.
Solution: Show
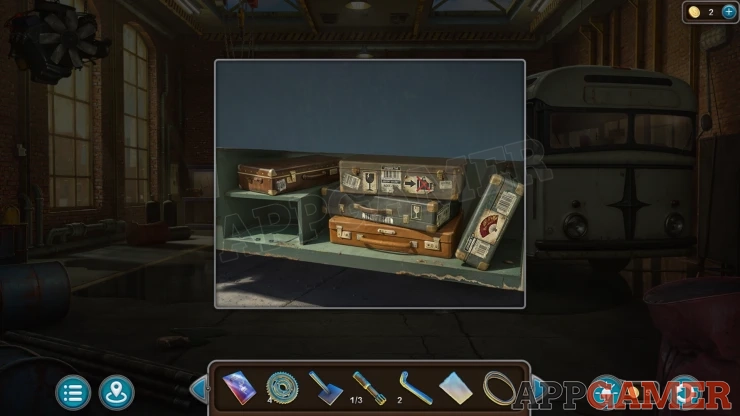
With the luggage door open you can see an empty slot on the lower left. Place the Battery here.
Collection Item: Fan on a sticker on the suitcase on the right.
Now you can open the door to the bus and enter the front.
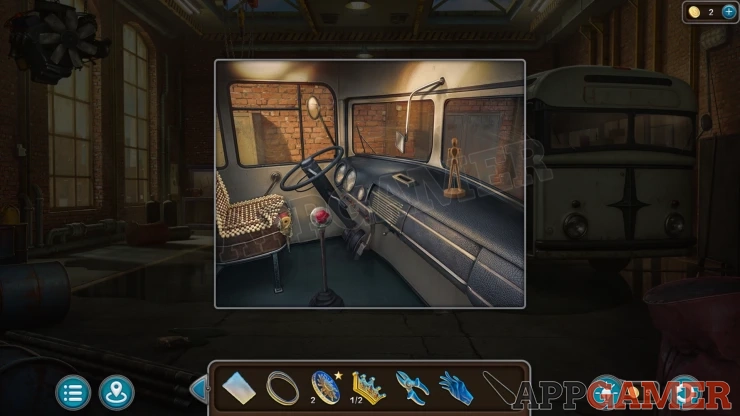
Threads: Lift the bead mat on the drivers seat to find it.
View the artists manequin by the front window and place the Poster on the shelf with it.
Artists Mannequin Puzzle
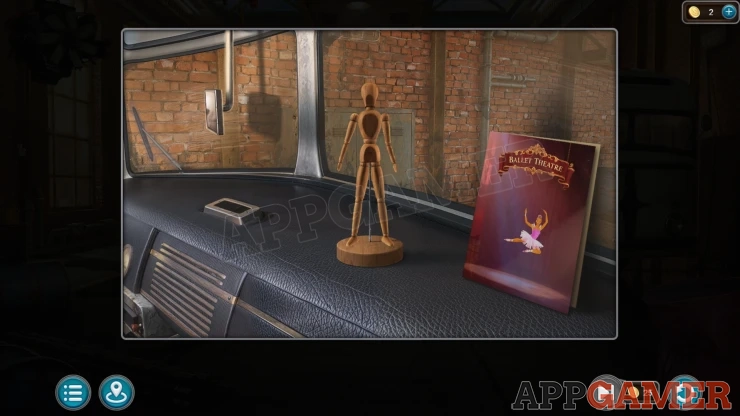
- Tap the arms and legs on the mannequin to move them.
- Arrange the limbs to match the pose of the figure on the poster.
Solution: Show
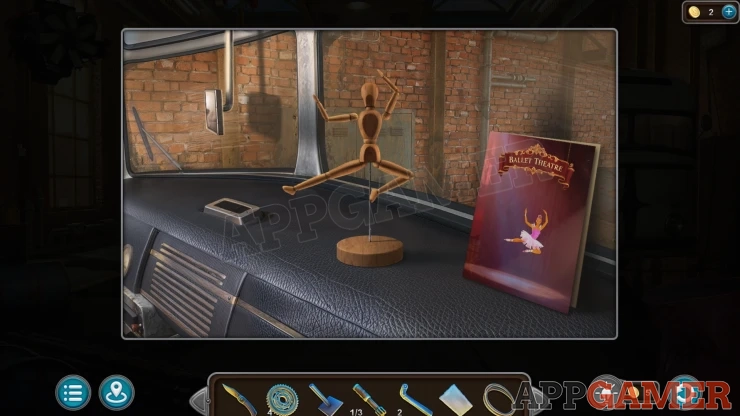
Once done you can collect another Crown (2 of 2) from the glove box.
Return to the backstage area and view a door on the left of the room.
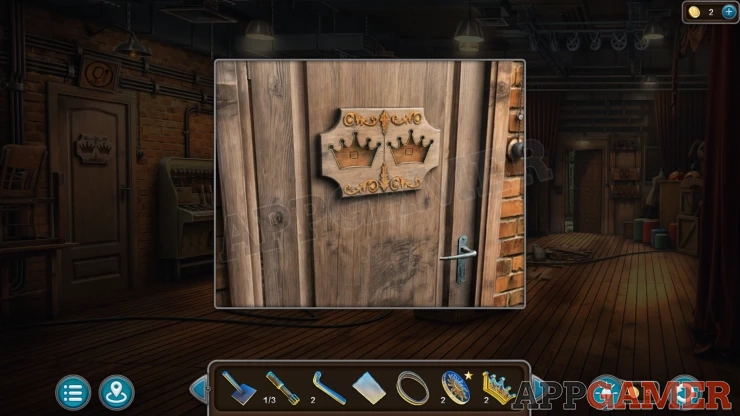
You can place the two crowns here to reveal a puzzle.
Backstage Crowns Door Puzzle
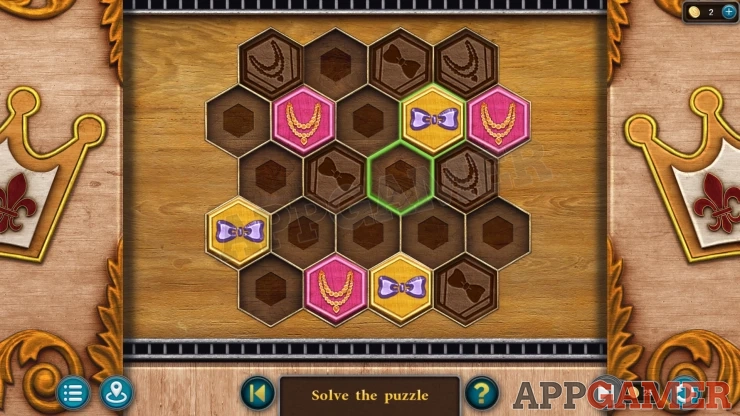
- There is a hexagonal board with six tokens on it, these have 2 types of symbols on them.
- The board also has six slots with symbols that match the ones on the tokens.
- Tap any of the heagon spot on the board to rotate around it any tokens in the six slots around it, they will move around in a clockwise direction.
- Arrange the tokens on the board so that they are all on spots with martching sybmols.
Solution: Show
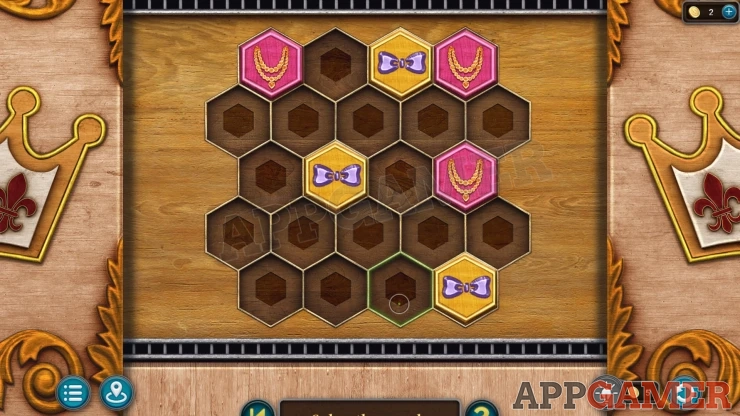
Once done the door is open and you can enter a dressing room.
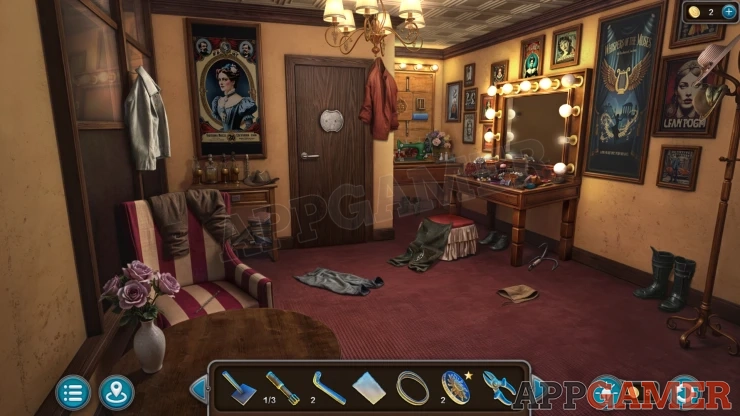
Morphing Object: Book on a low shelf behind the chair on the left.
Collect a Grapling Hook from the floor on the right. Then view the striped chair on the left.
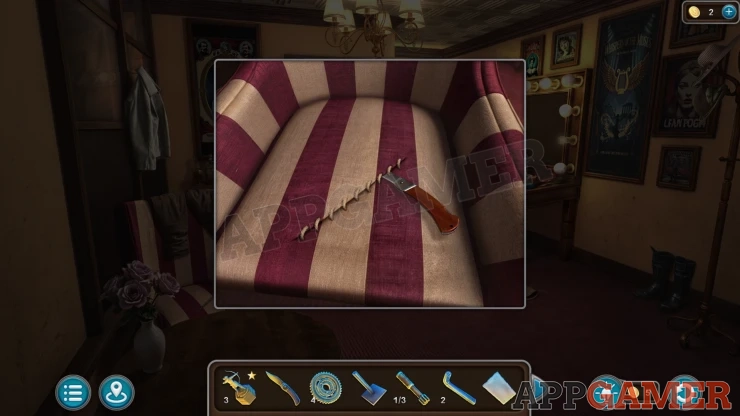
Use the knife on the seat to open it and collect a Harp Figurine.
Back up to the backstage area and view an electrical box on the wall to the left of the large cylinder.
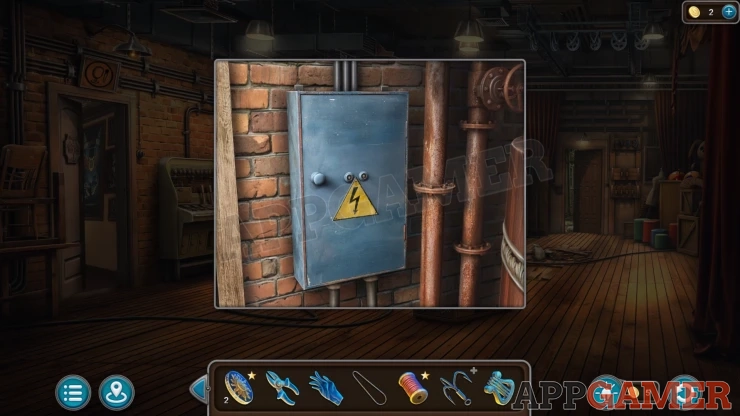
Use the two hex keys on this to open the doors. Then view the Puzzle inside.
Electrical Box Puzzle
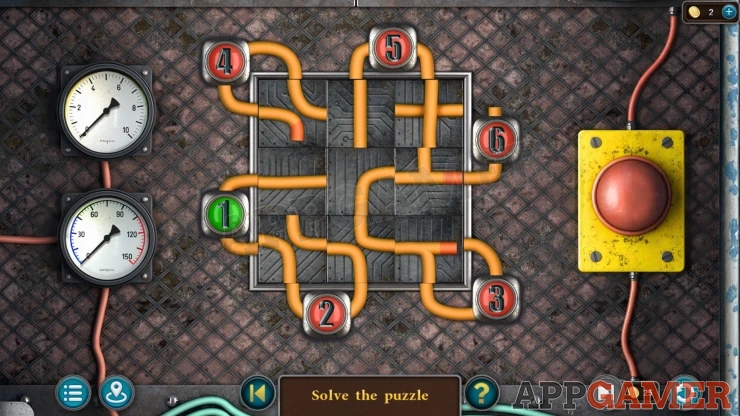
- There are nine blocks with wires.
- Tap pairs of the blcoks to swap their positions and connect the wires to run through all six numbers.
- The red section are ends.
Solution: Show
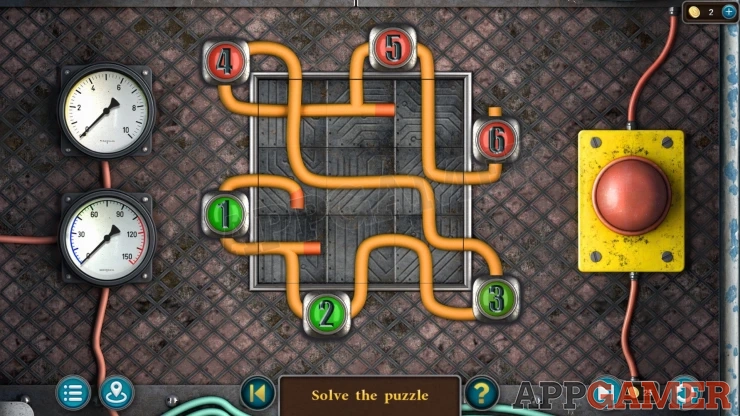
Once done you can tap the red switches to turn on the lights in the auditorium.
Now go to the restaurant and open the brown door on the back wall.
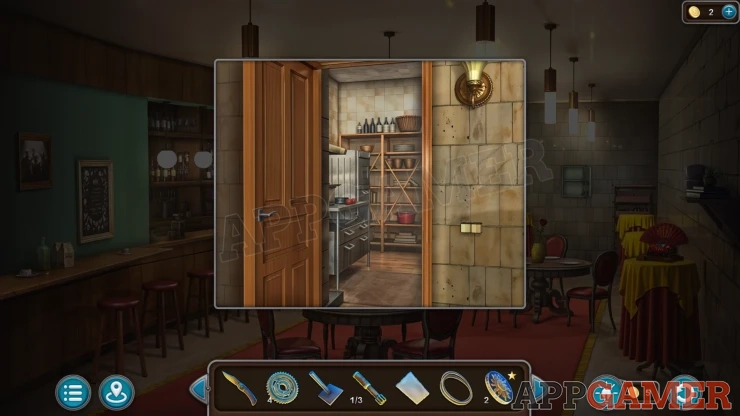
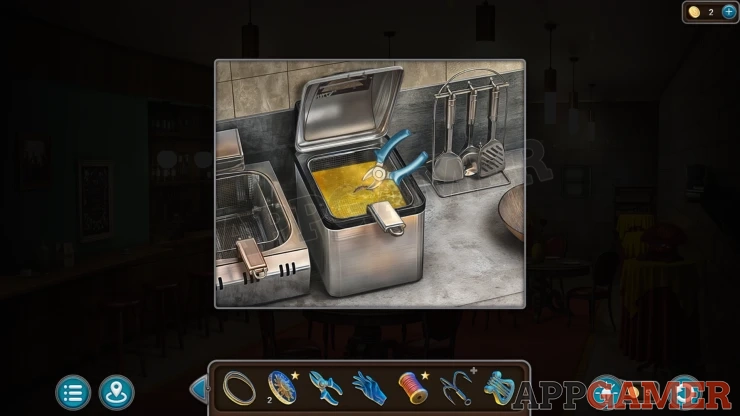
Tap the fryer on the counter inside the kitchen and open the lid. Place the Rusty Chain into the oil. Then you can use the Wire Cutters to collect from it the cleaned Chain.
Go back to the auditorium, the lights are on.
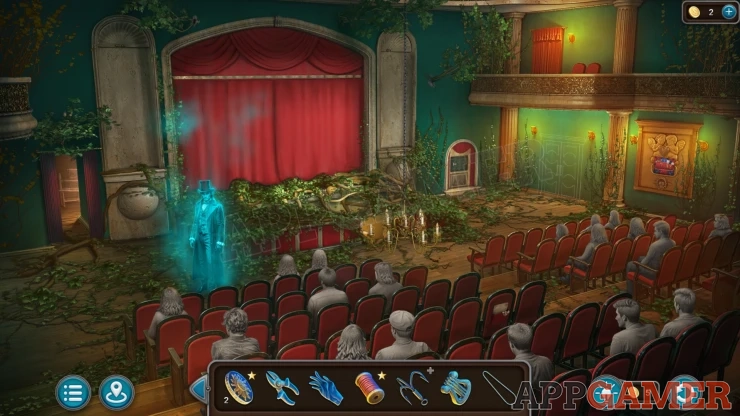
Thread: View the back of a seat with a program. It is in the pocket.
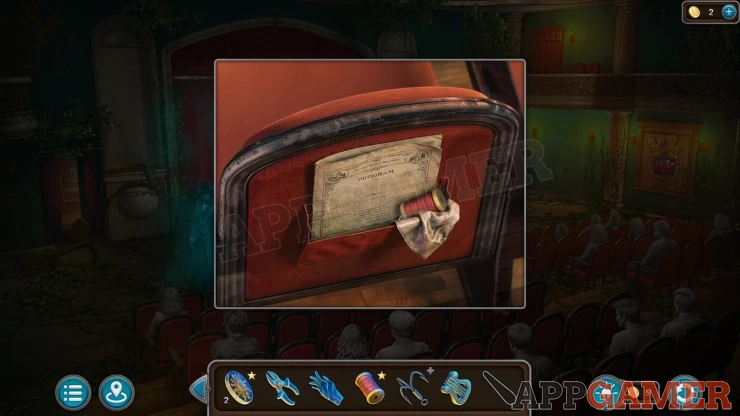
Then view the panel on the right of the stage that had a red curtain. Place the four gears into the lower panel and then add the Chain.
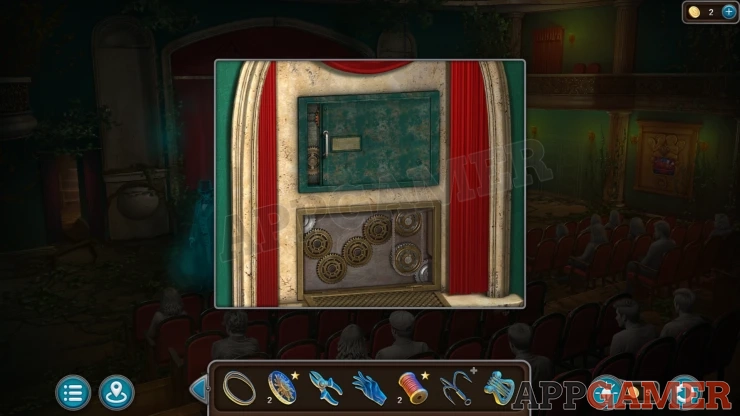
The releases the top green panel. View this top open it and start another Puzzle
Gear Puzzle
- There are three colored gears with section missing. The missing sections are found on the tracks
- Select a section and then you can choose a green dot to move it to. After every move the seciton will rotate anti-clockwise by 90 degrees.
- You can move a section to the brlow arrow cirtcle in the center and then use the button on the top right to rotate it clockwise to any position.
- Move all of the section to the correct colored gear so that it arrives and turns to the correct angle to fit.
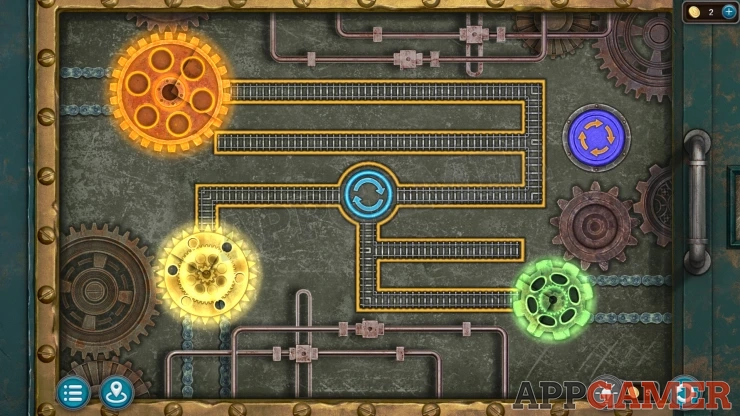
Once done the fallen chandelier will lift up to the cieling. This reveals a hole under the stage.
Next view the balcony on the top right.
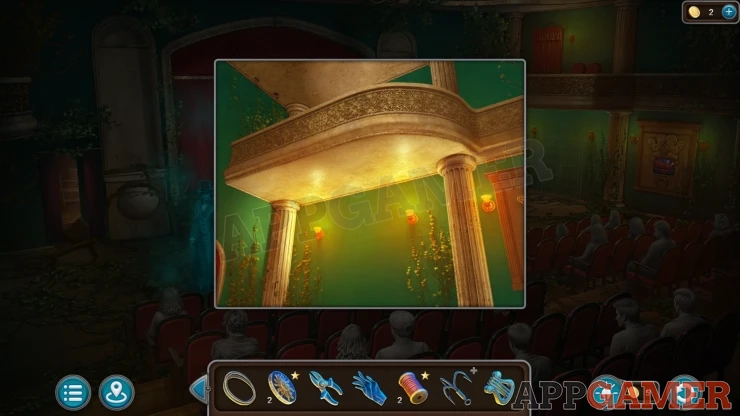
View the Grapling Hook in your inventroy and add the Rope to it. This give you the Rope with Hook.
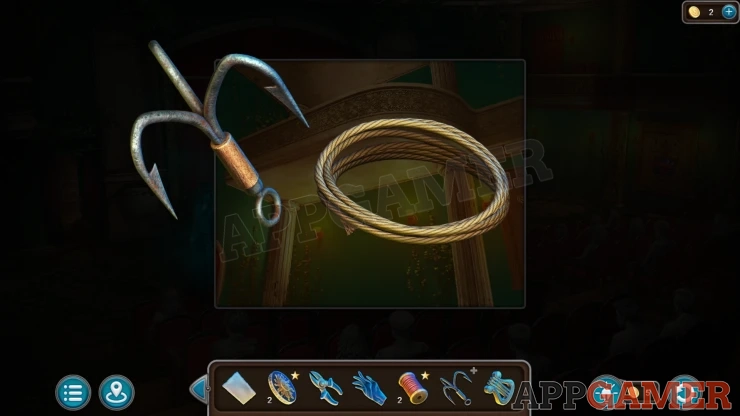
Use this on the balcony and it will eventually allow you to climb up.
Collect the Binoculars from the seat on the left and a Door Handle from under it. Then collect a Press Arm from the right.
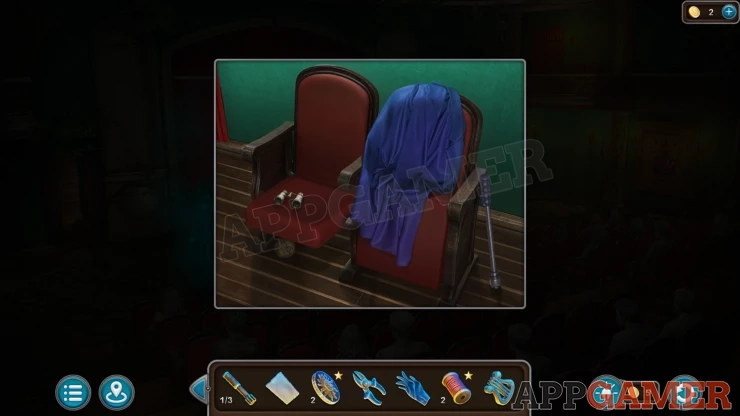
The binoculars are a tool that you will need for the Secret room of this episode. You can start this now or continue with the story and deal with the secret room later on. For help with the Secret room check the Episode 12 Extra Stars Guide.
Or continue to the Part 2 guide for more help with this episode.
We have questions and answers related to this topic which may also help you: Show all
 With 20 years of experience in creating video game content for the internet and over 30 years as a gamer, Mark is now a passionate mobile App Gamer. Loving a challenge, he is always ready to get stuck in to both survival builders and puzzle solving games. He has been providing content for AppGamer since 2014.