
Episode 11 Walkthrough - Santa's Manor - Part 2
More Artifact Seekers
This is the second part of our guide to Santa's Manor, the eleventh Episode in the puzzle adventure game Artifact Seekers, from Five BN. In this episode you are exploring the home of Santa and trying to stop Krampus from destroying Christmas.
In Episode 11 Part 1 you have rescueed Elfie and now you need to make your way to Krampus's lair to look for Rudolf and the presents.
Episode Eleve - Santa's Manor Walkthrough - Part 2
You are at the area with the tent and have just collected the bucket from the hole. Now view the cliff on the back left of the area behind the tent.
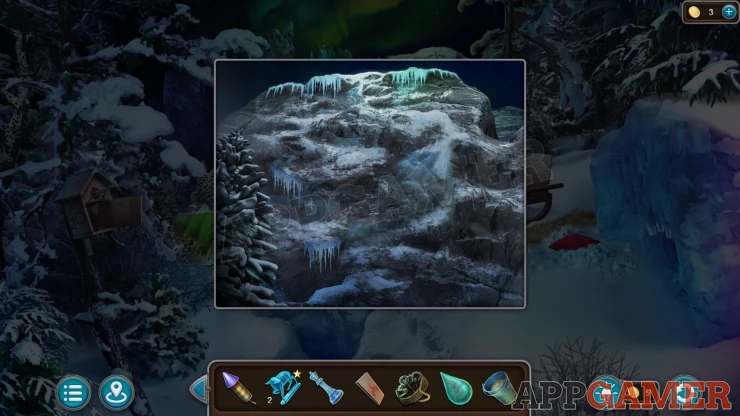
Add the Straps to the cliff and then use the hammer on these to hammer them in. You can then start a climbing puzzle
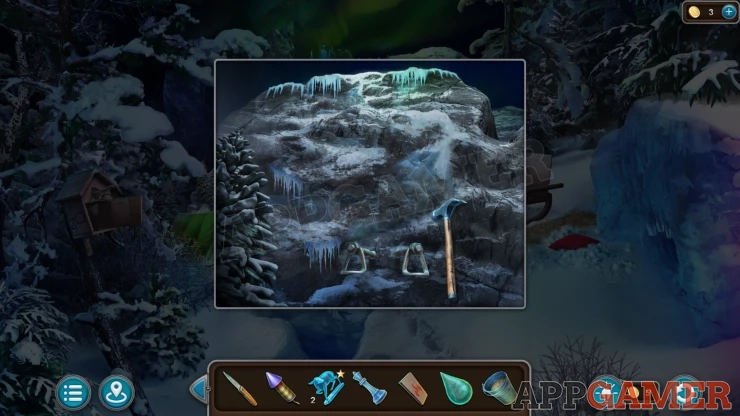
Climbing puzzle
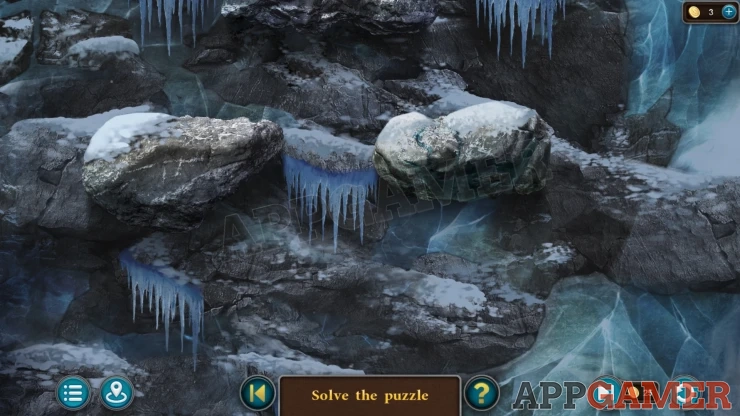
You work your way up the cliff by choosing a rock to place the next anchor point. There may be only one rock or two.
Choosing the wrong rock and make you call and start again.
Solution: Left, Upper right. Upper Left, Upper Left, Top center, Right, Right, CenterShow
You reach the castle at the top. Notice the banner on the right with numbers, this is a clue.
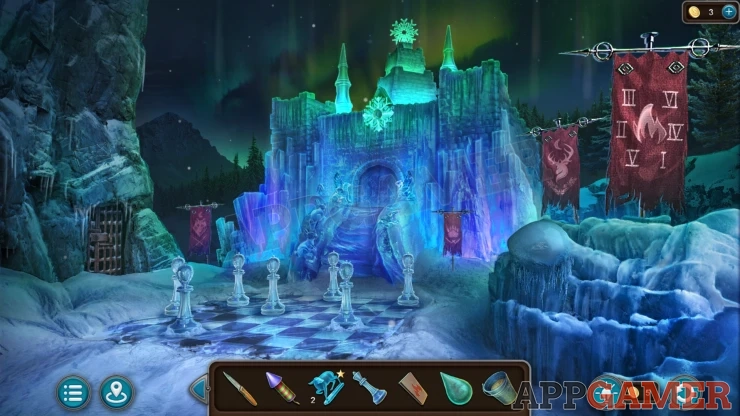
Collection Item: Letter, a symbol of a letter in the rocks above the gate on the left side.
Morphing Object: Large snowflake emblem on the front of the castle above the door.
View the large chess board and place the chess piece to start the puzzle.
Chess Puzzle
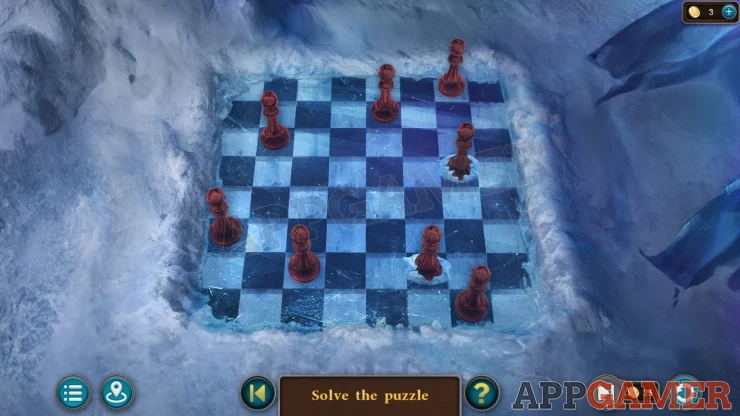
- There are eight Queens on the board.
- Two of the pieces cannot be moved
- You need to move the pieces so that they are all safe from one another.
- They must all be on different rows / columns and diagonals.
Solution: Show
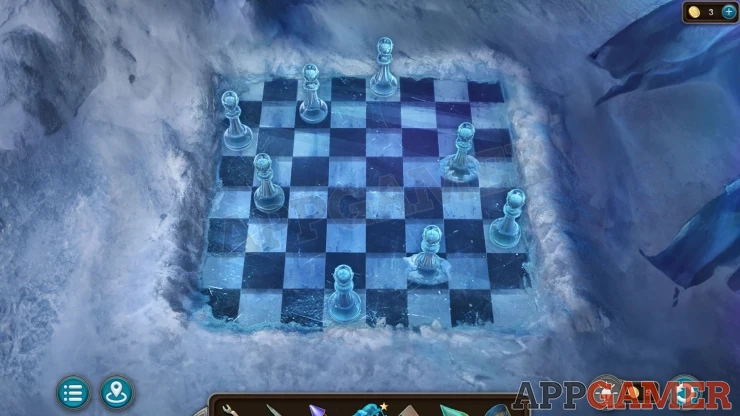
The door to the Castle opens. The steps are covered with ice.
Deer Figurine: on the top left above the rabbit sculpture.
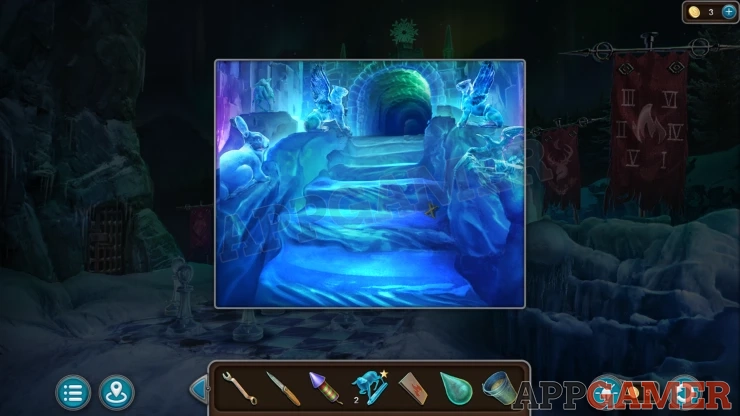
Collect another Number (4 of 5) from the steps. Then use the bucket of sand on the steps to make them safe.
Enter the Castle.
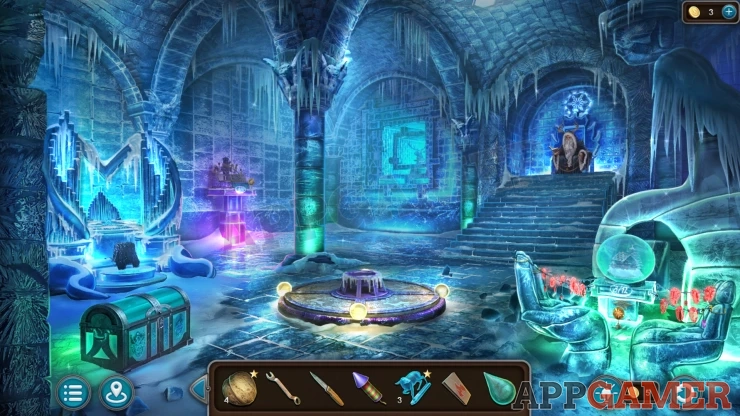
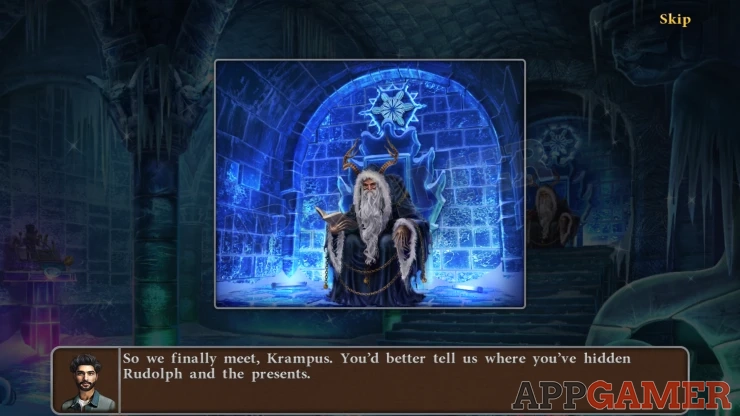
Talk to Krampus and he will ask for music and give you a Creepy Key.
Deer Figurine*: Behnid a brick on the wall to the left of Krampus that is sticking out.
Morphing Object: Gargoyle/sculpture on a pillar on the left wall above the large organ.
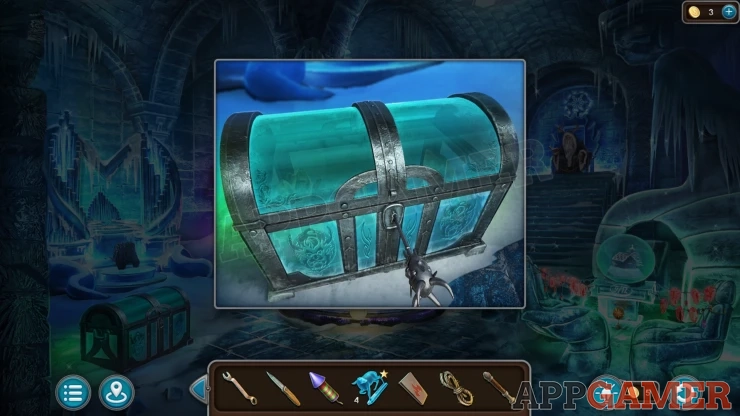
Look on the floor on the left to see a chest. Use the key on this to open it and collect another Number (5 of 5). And also an Iron Lock .
Then look in the center of the floor, there is a circle with a bowl in the center.
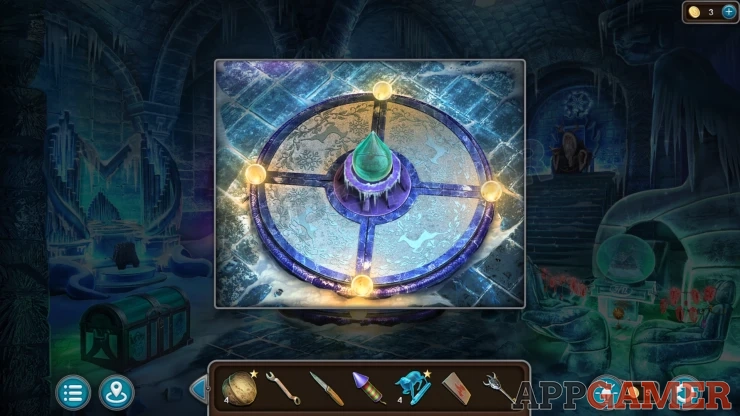
Place the crystal droplet into the bowl and then you can tap on it to open the floor and start a puzzle.
Crystal Droplet Floor Puzzle
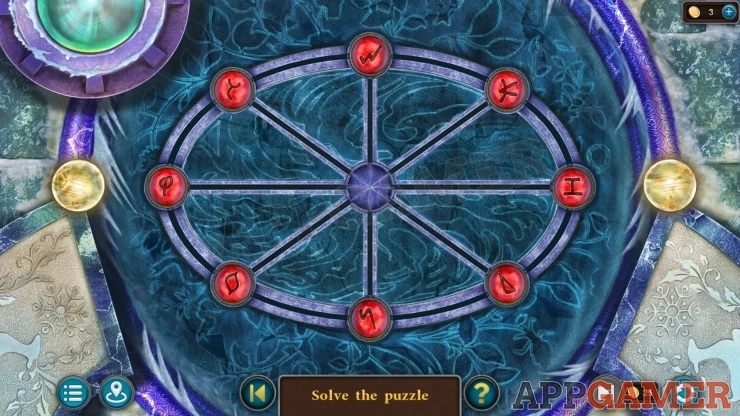
- There are eight red symbols around a circle with a space in the center.
- Move the symbols around using thre center to swap them, under each of the outer space is a symbol.
- Move the red symbols and arrange them to be on top of the matching symbol slot.
Solution: Show
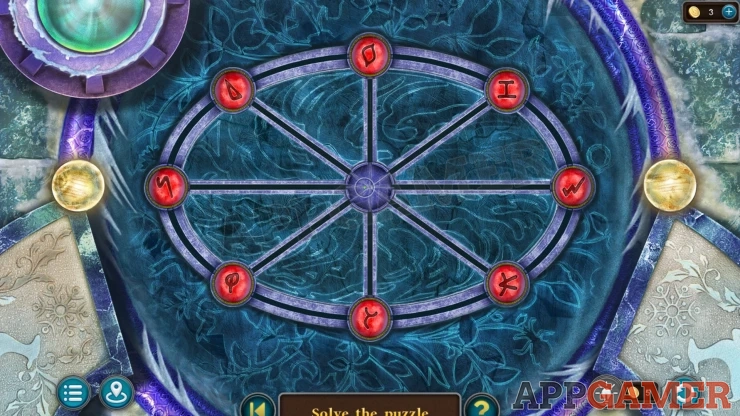
Once done you can collect a Rope and a Lever.
Then look on the back wall to the left or where Krampus is sitting. There is an Ice Sculpture.
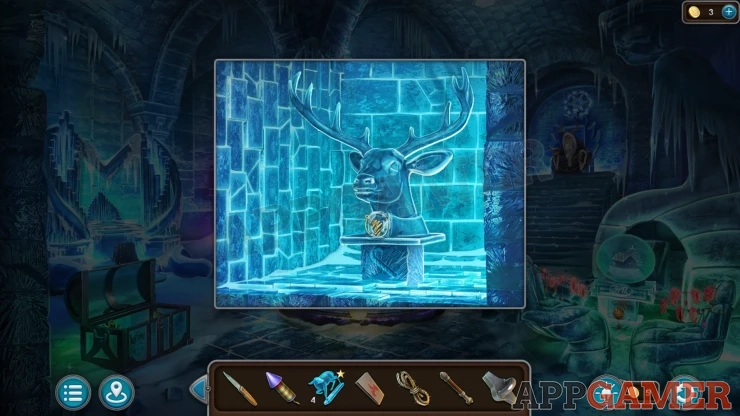
Use the Knife on this to chip away some ice and then collect the gold Pattern (1 of 5)
Collection Item: Candy Cane, symbol on the base of the ice sculture.
Return to Study in Santa's house and view the clock on the mantlepiece.
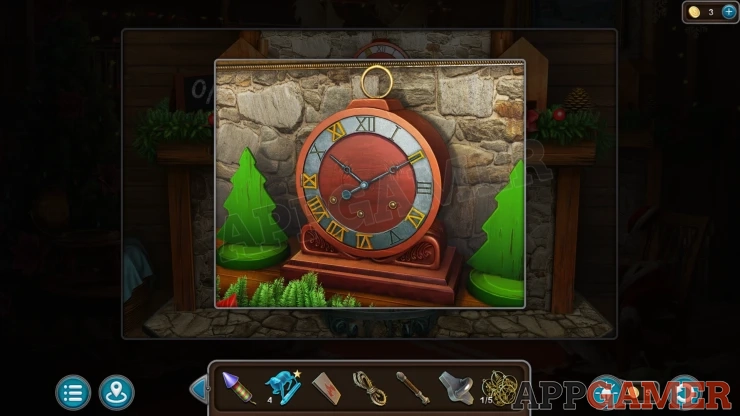
Add the five numbers to it and the clock will open, Collect a Key (piano).
Go back to the area with the tent and then view a cave mouth beyond the sledge. It is blocked by Icicles. Add the firework to the icicles and then use the matches to light it.
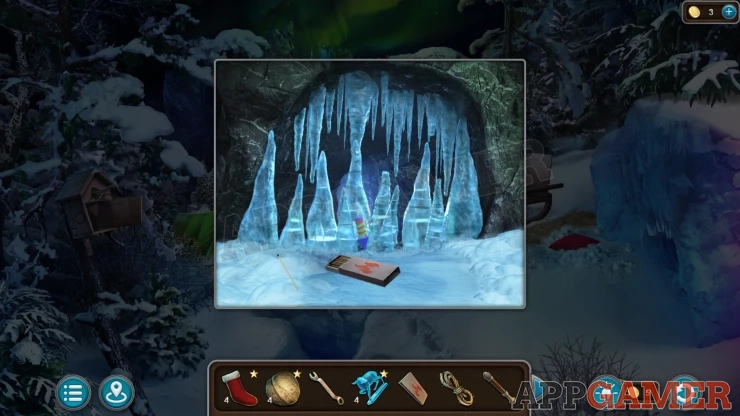
When it explodes you can enter the abandoned mine.
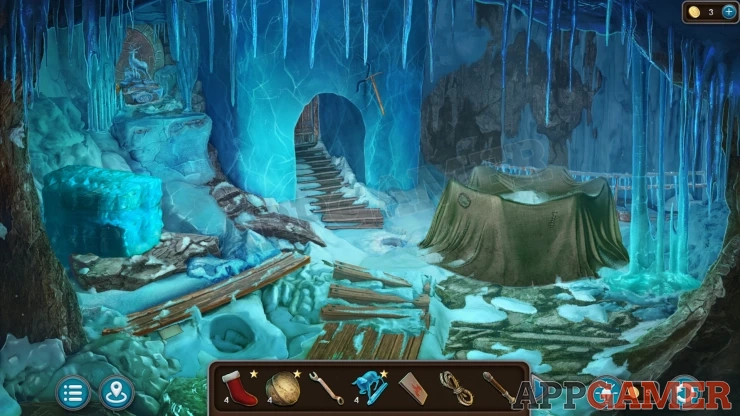
Collection Item: Letter, under a long wood plank on the lower left.
Morphing Object: Changing shape seen at the bottom of the long frozen icicles on the right side.
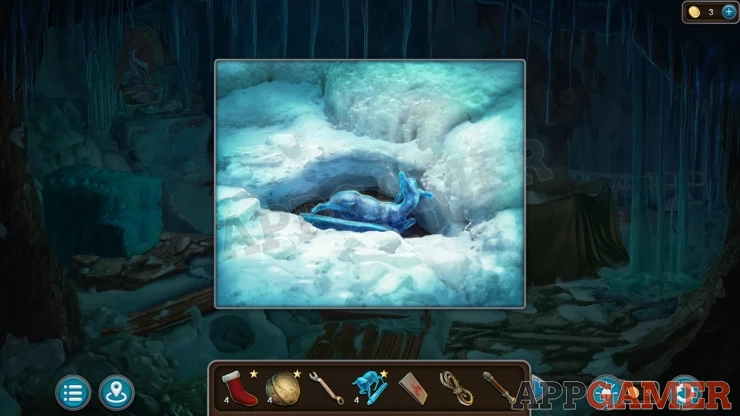
Deer Figurine*: Look in a small hole in the snow at the bottom of the steps.
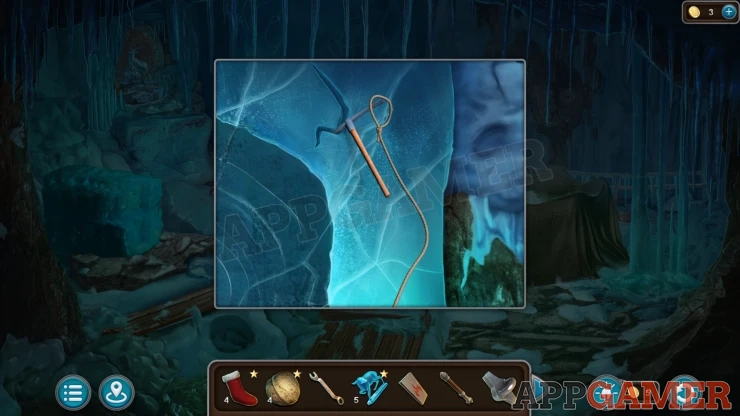
Look on the wall above the door with the steps to see a pickaxe in the ice. Use the Rope on this and you will collect the Pickaxe.
Move a large sheet on the back right and then view the 5 figures underneath it to start a puzzle.
Ice Bird Figures Puzzle
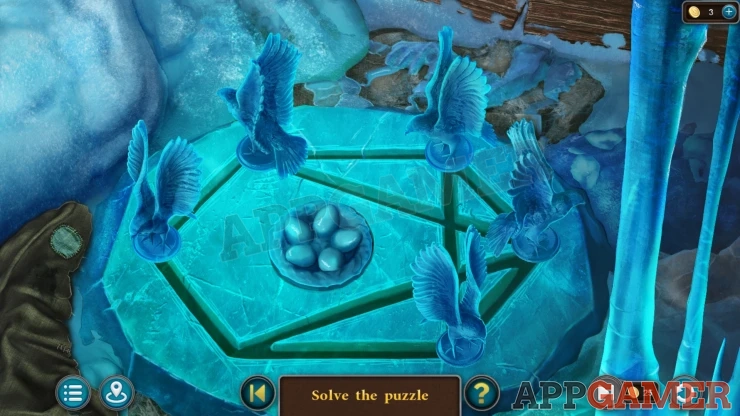
- There are five bird ice statues. These will turn to all face different directions.
- In the center is a nest with five eggs.
- Tap the birds to move them around the lines.
- Position them so that they are all facing inwards towards the nest of eggs.
Solution: Show
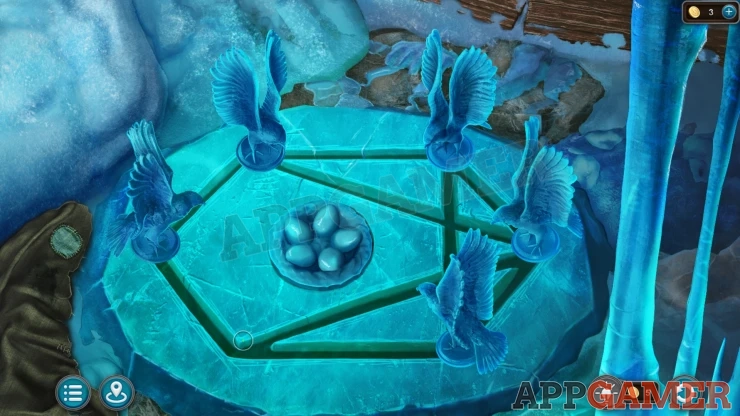
Once done you can collect the Flywheel.
Go back up to the front of the castle and then view a large metal gate on the left.
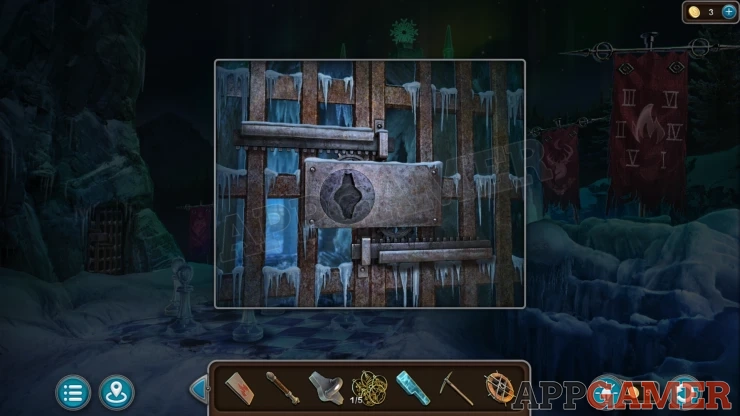
Use the Iron Lock here to open the door. Then you can enter the Dungeon.
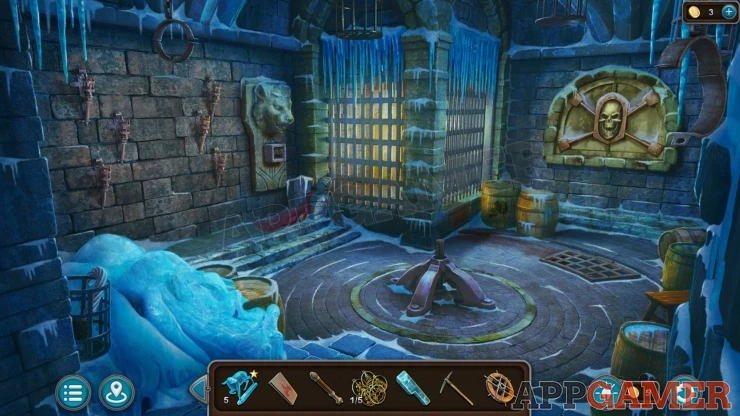
Collection Item: Candy Cane, in a mesh basket on the bottom leff.
Morphing Object: Symbol on the front of a barrel by the cell at the back.
View the Lions head on the wall on the left. Collect a Dove (1 of 3), then place the lever into the mouth and pull it.
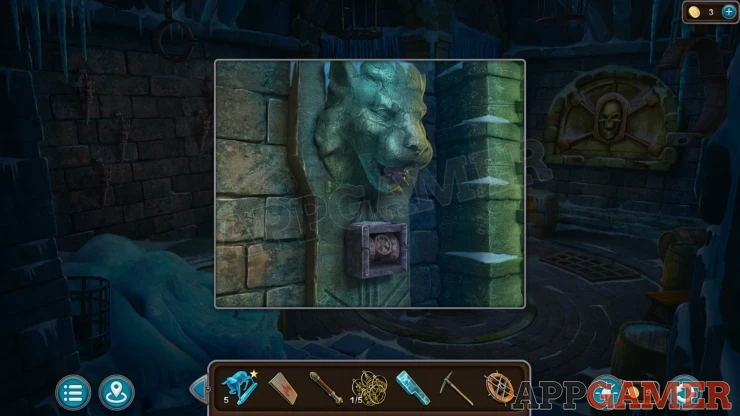
A cage drops down. Look inside and collect a Handle.
Christmas Stocking*: Under the red cloth on the left of the cage.
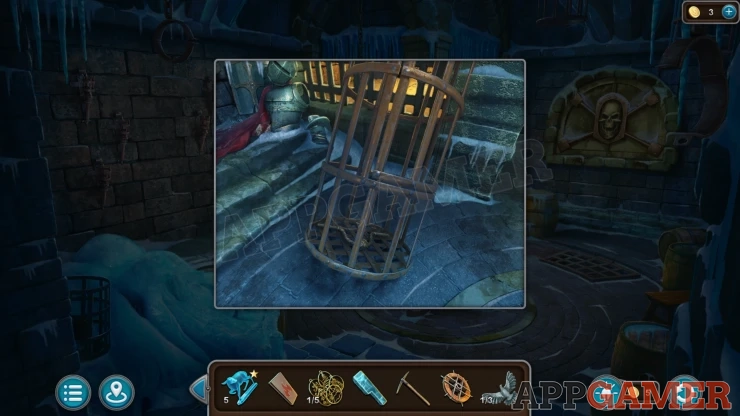
Then view the wall to the left with six torches. Use the matches on this to start a puzzle.
Torches Puzzle
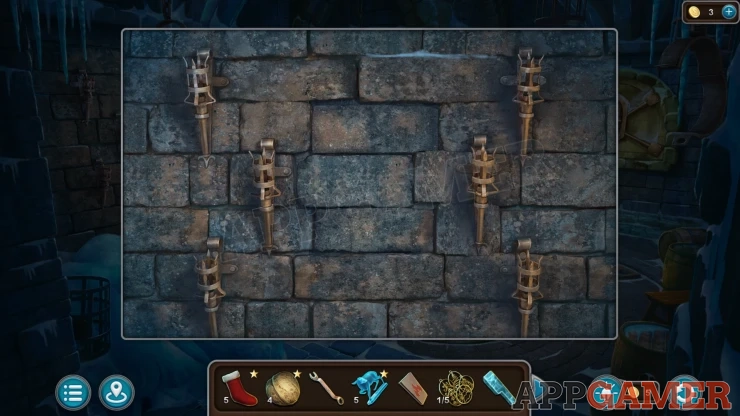
- You need to tap on the torches to light them.
- Light them in the correct order according to a clue seen above.
Solution: The order is seen on thre red banner in front of the castle with a flame symbol and six roman numerals.Show
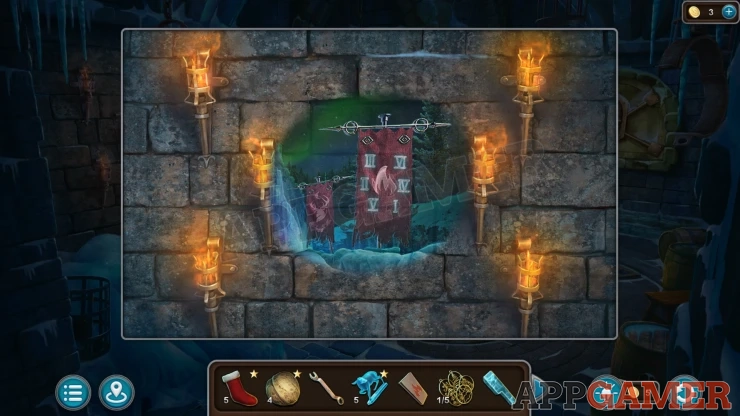
Collect another Dove (2 of 3).
Now view a round shaft in the center of the room. Place the Flywheel on top.
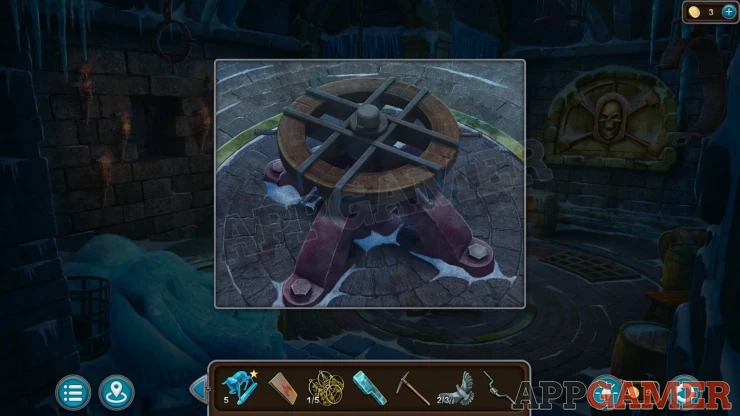
Turn this and a gate will open to a cell at the back, look inside.
Notice the number/symbol on the back wall. Then collect some Pliers
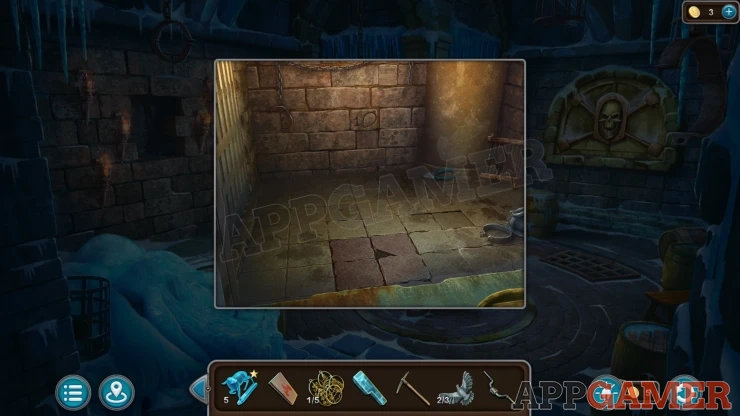
Then tap the four darker stones on the floor to open a hole. Look inside and collect another Dove (3 of 3).
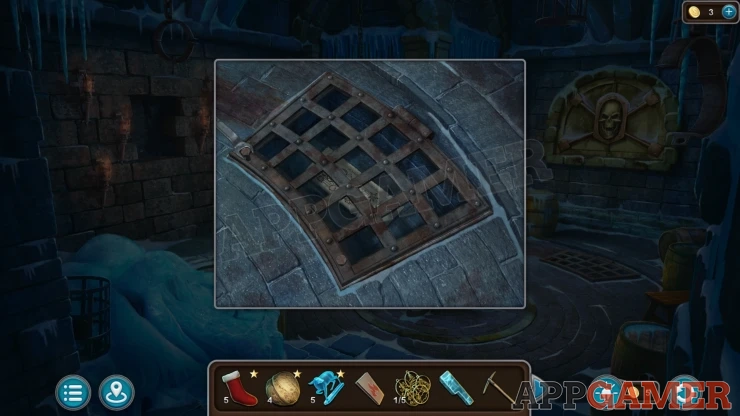
Finally look on the floor on the right to see a grate. Use the Wrench on this to open it and collect the Sheet Music.
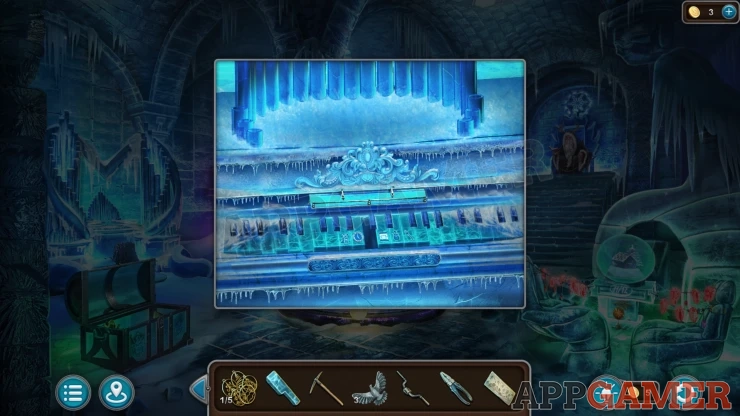
Go back into the castle and view the large Ice Piano on the left. Add the missing Key to it. And then place the Sheet music.
Music Puzzle
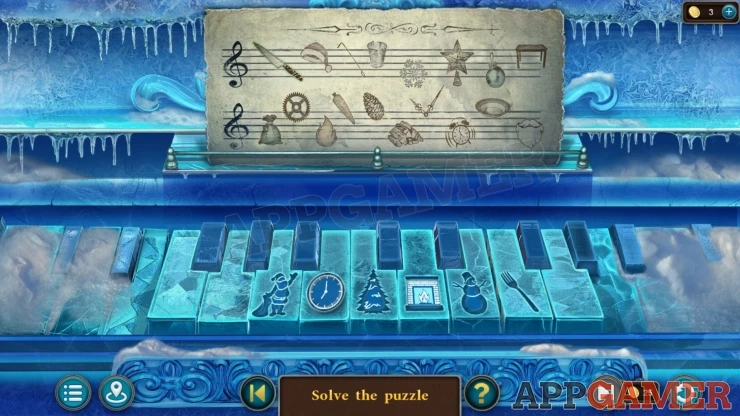
- Follow the symbols on the sheet music and play the keys on the piano with symbols that are related.
- The Knife on the music is related to the Fork on the keys. etc.
Solution: Fork, Santa, Fireplace, Snowman, Snowman, Tree, Tree, Fork, Santa, Clock, Fireplace, Snowman, Tree, Fireplace, Clock, Clock, Fork, SantaShow
Krampus will give you a Blueprint Clue and tell you where Rudolph is.
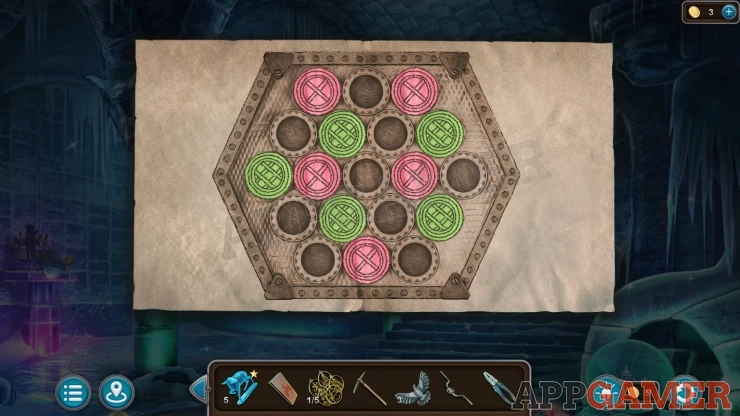
Now back out of the castle to the front area with the chess board. Tap on the right side where there is a large round ice ball below the red banners.
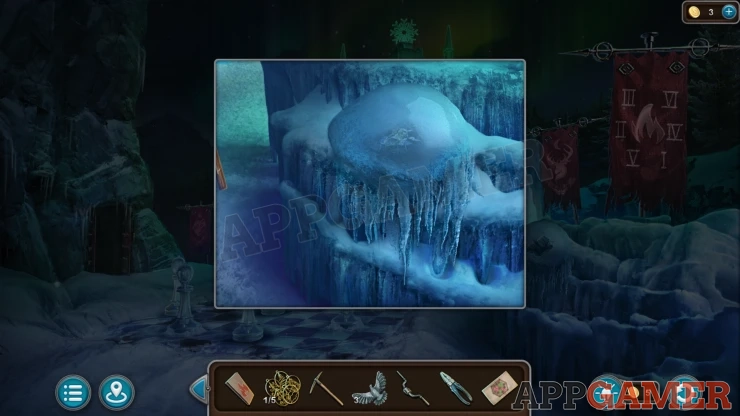
Use the pickaxe on this to break and collect an Object in Ice.
Next enter the dungeon through the gate on the left, on the back well is a panel with a skull image.
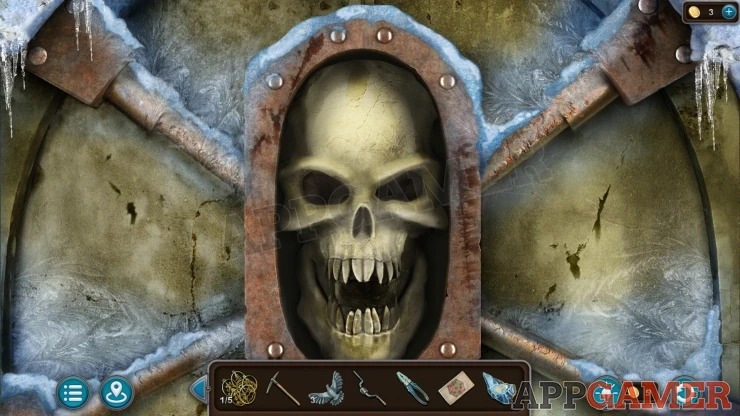
View this and open it to find a puzzle.
Dungeon Skull Puzzle
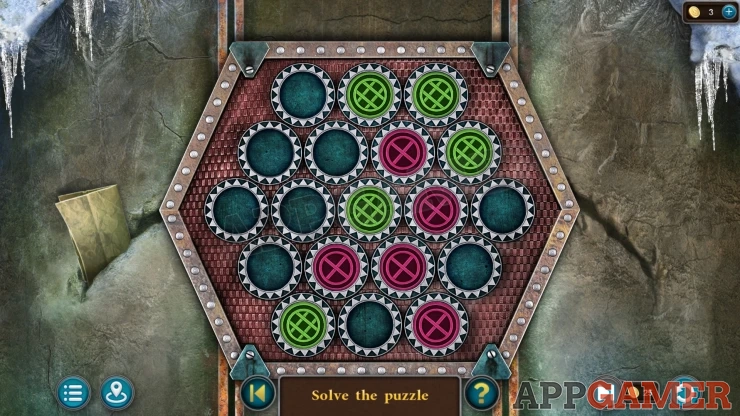
- There are green and purple circles arrange around a grid laig out in a hexagon.
- Add the blueprint, you can then view this to see the required pattern.
- Tap any circle to then rotate the 6 other circles around it.
- Arrange all of the colored circles to match the blueprint.
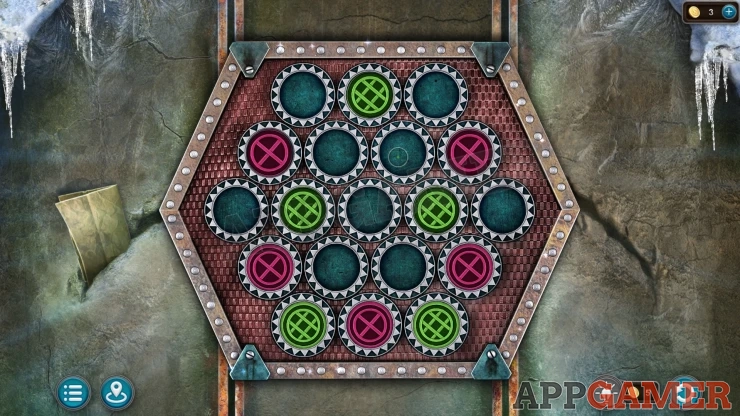
Once done you can collect a Key.
Next return to the abandoned mine, on the left is a large ice block, view this.
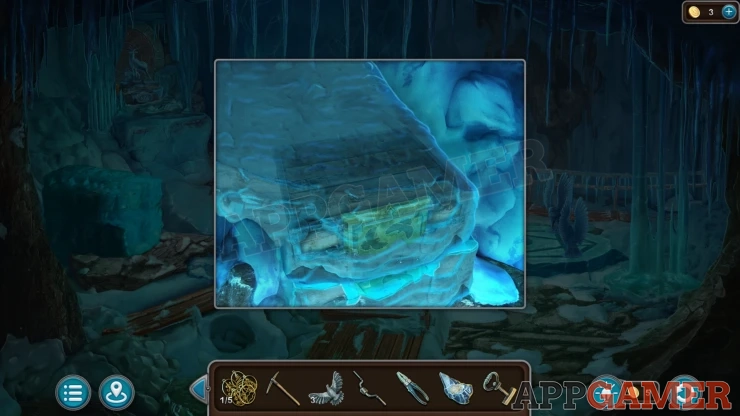
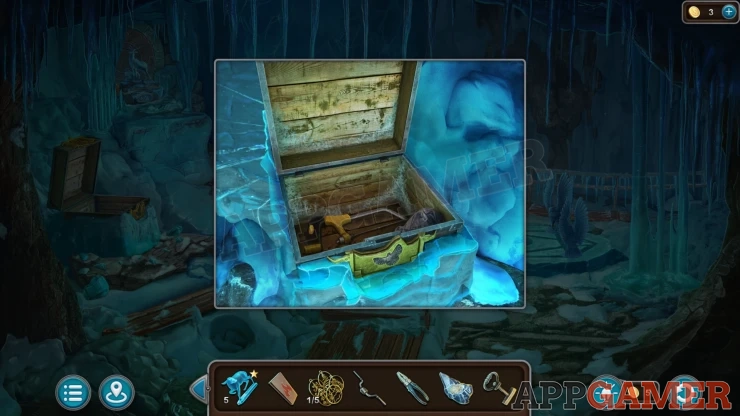
Use the pickaxe on this to break away some ice. Place the three Doves onto the slots to open the crate, collect a Handsaw.
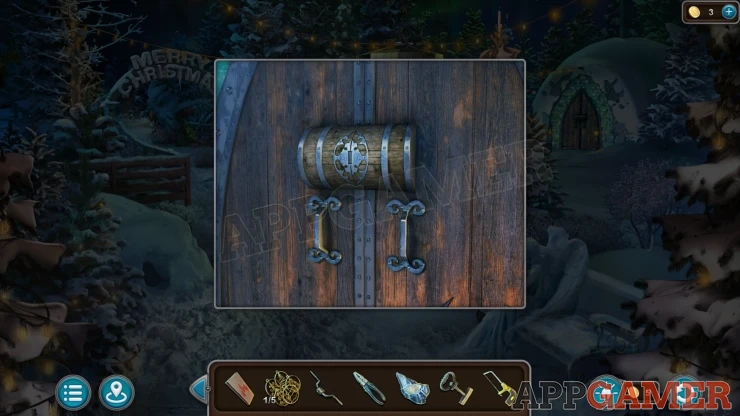
Now travel to the location with the sign post. On the right is a building. View this and then use the key to open the lock and find a puzzle.
Animal Footprints Puzzle
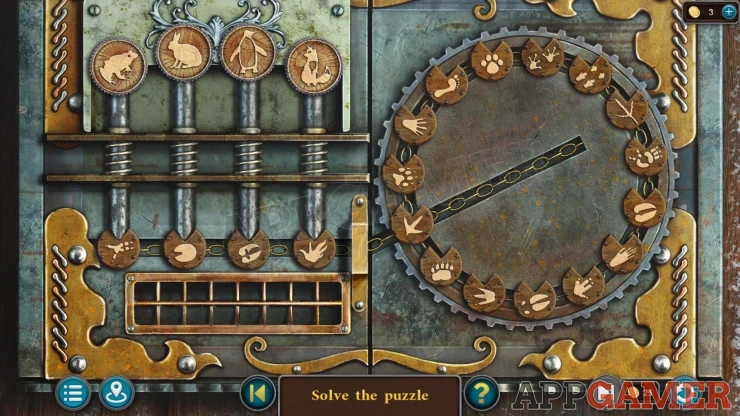
- On the left you will see four animal images at the top. Then below each one is a symbol of a footprint. These do not match the animals.
- Slide the four footprints symbols to the right to move them into the circle with other footprints.
- Now you can rotate the circle and find the correct four martching footprints. Place them and slide rthem back out in the correct order so that they will match the animals above them.
Solution: Show
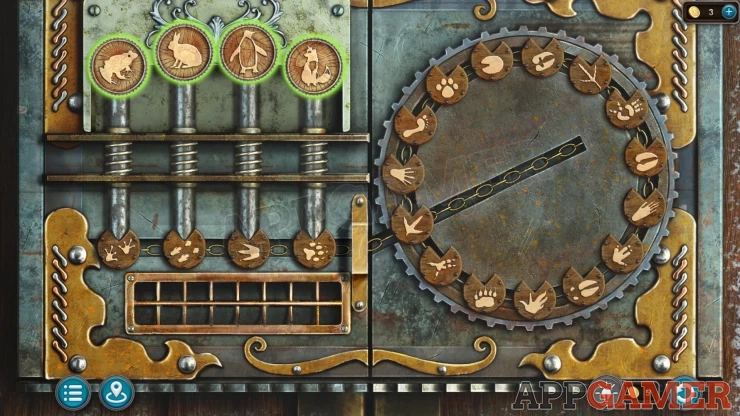
This will open the shack, Rudolf is inside.
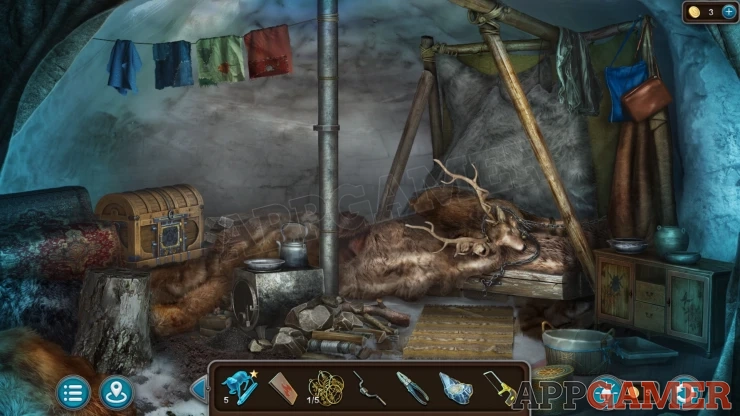
Collection Item: Letter on the red cloth hanging from a line on the top left.
Morphing Object: symbol on a door of the small cabinet on the right.
View the reindeer and then use the handsaw to cut the chain.
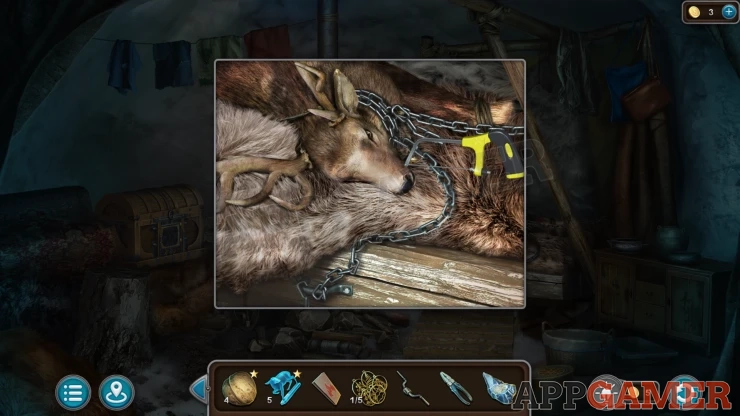
After talking to Rudolf you will receive a Pattern (2 of 5), then view a small stove on the left of the hut.
Nut*: move the small pile of stone on the right side of the stove to find it.
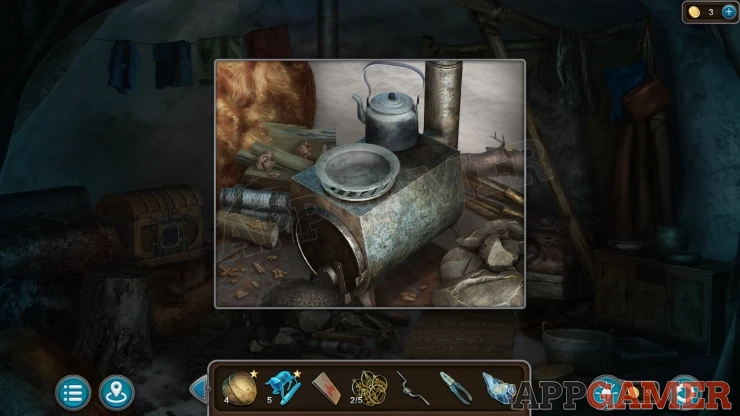
Open the stove door and then tap some wood to place it inside. Then use the matches to light it. Place the Object in Ice onto the bowl on top, this will melt.
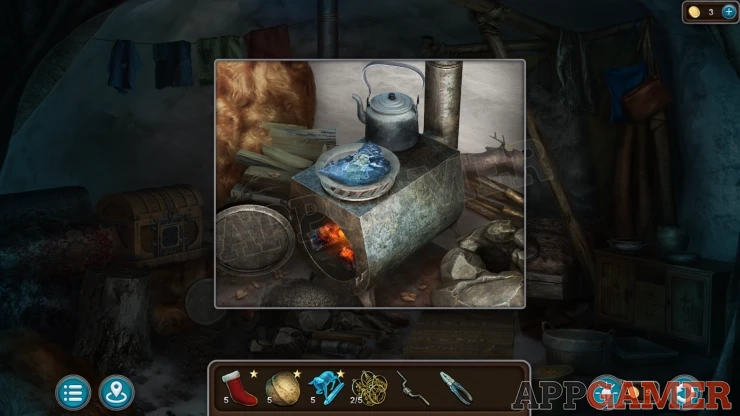
Collect a Pattern (3 of 5).
Then look at a rug on the floor. Move this to find a trapdoor.
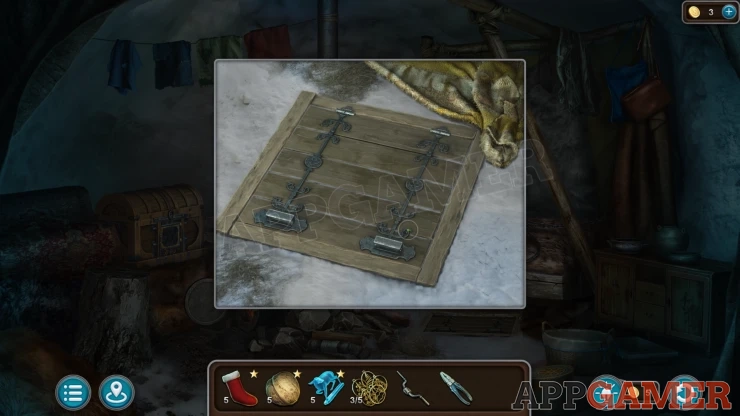
Add the handle to the trapdoor to open it, collect another Pattern (4 of 5)
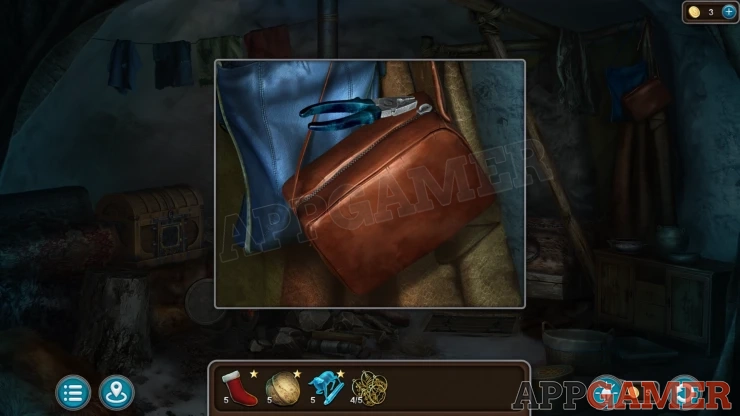
Next look at a brown bag hanging on the top right. The zipper is broken. Use the pliers on this to open it and then collect another Pattern (5 of 5).
Finally look at a chest on the left of the hut. You can add the five patterns here to reveal a puzzle.
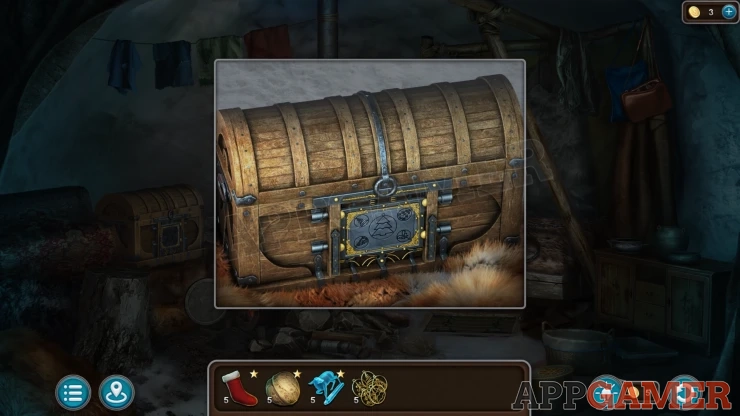
Pattern Chest Puzzle
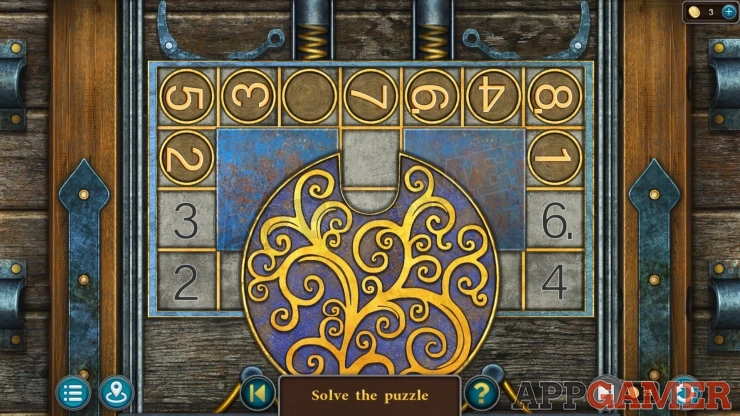
- There are eight nuber tokens that you can slide around the board.
- On the left and right of the board there are eight squares with numbers marked on them.
- Using the center circle you can move the tokens around and also rotate them so that they will line up with the correct marked sqaures.
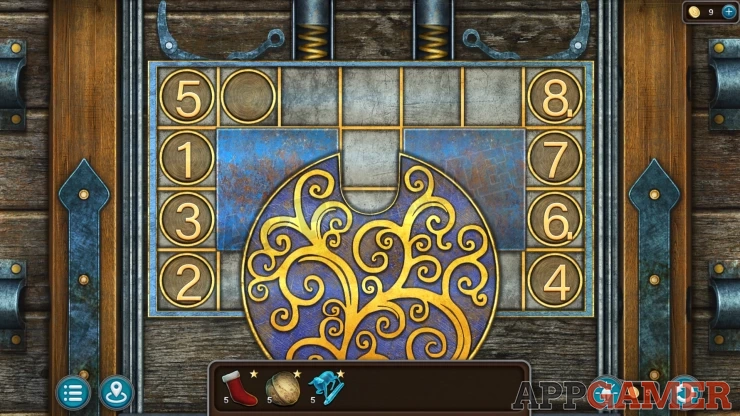
Once done the chest is open you can collect the Door Knocker.
Go back to the abandoned mine and then tap the steps at the back to see the door. Place the door knocker here to open it.
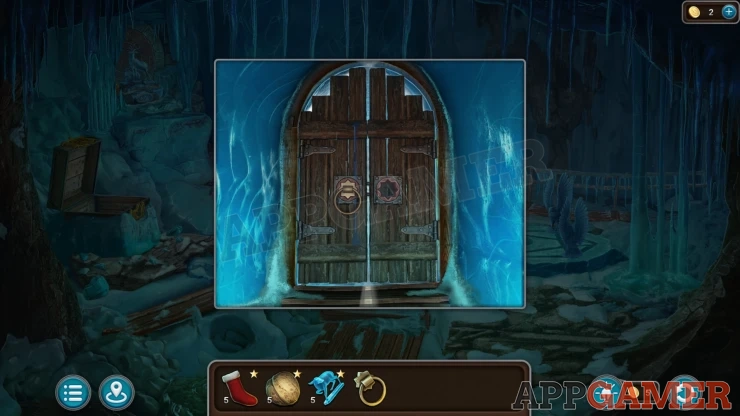
You now enter a maze of frozen tunnels. You need to find your way through to the exit.
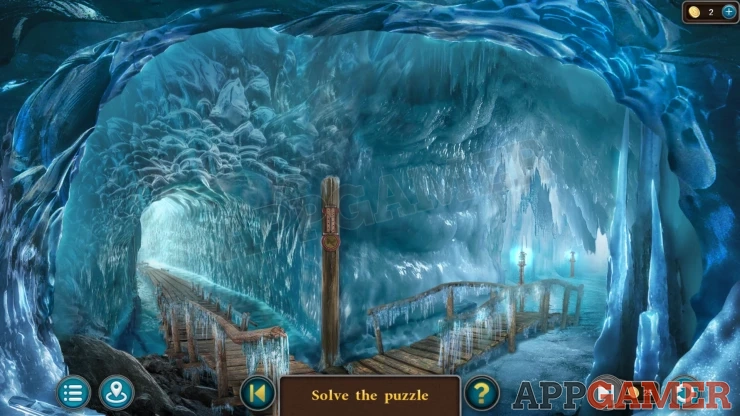
You will also need to look through the various rooms in the tunnels where you will find thermometers. Each of these will have a symbol on it.
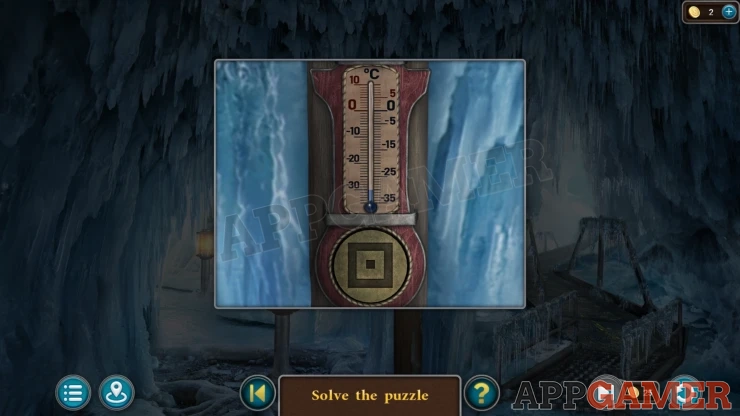
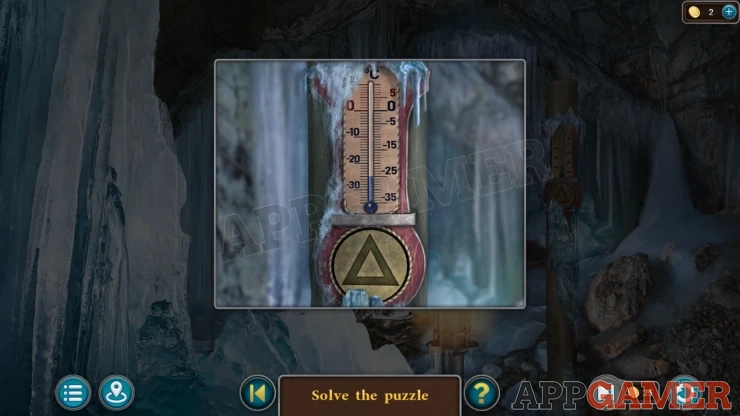
When you reach the end of the maze there is a door with a lock puzzle.
Frozen Maze Door Puzzle
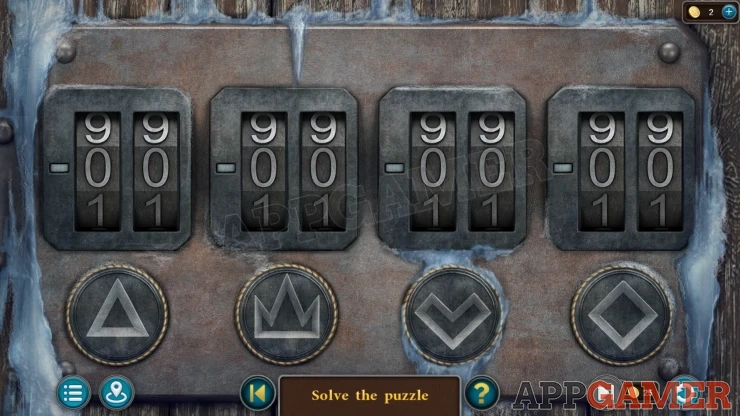
- This is a lock that requires four numbers, each number has a clue symbol below it.
- Match these symbols to four of the thermometers that you have seen in the tunnels. This will give you the codes.
Solution: -25, -30, -05, -20Show
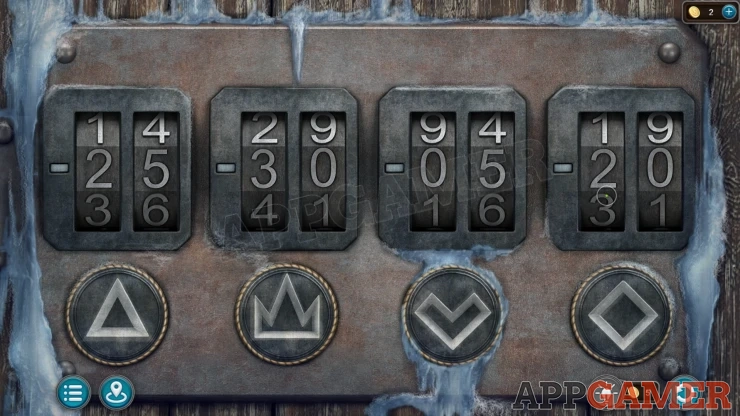
Now you can enter Krampus's Secret Stash.
Krampus's Secret Stash
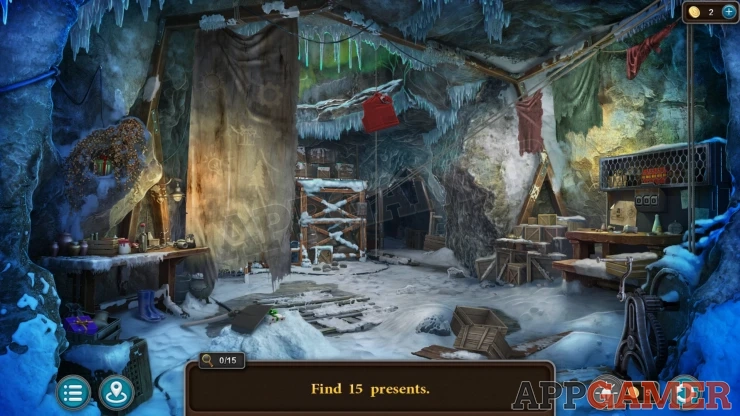
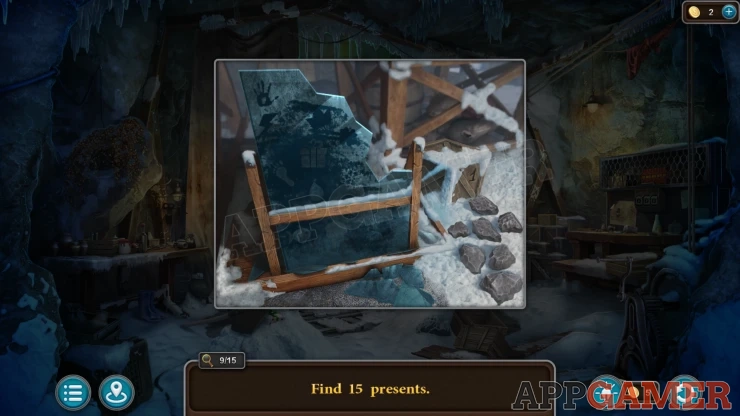
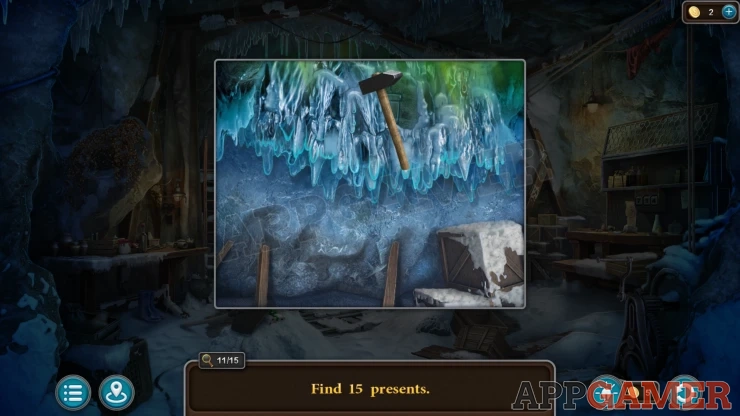
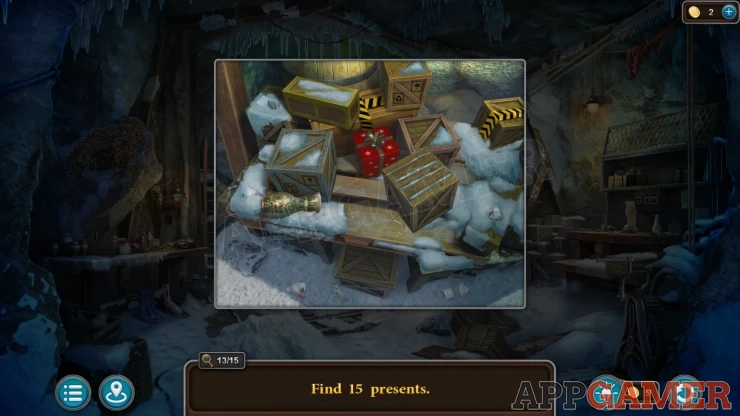
- In this room you have a hidden object puzzle. There are 15 presents hidden for you to find.
- Some can be seen in the main scene while others may be inside boxes or biedind other items.
- Some presents are only symbols or shadows that represent presents. Or seen in a Lighbulb.
- You will need to use shovels and other items to uncover some presents.
- You will also need to find three numbers written in areas around the room. You put these into a combination on the workbench on the right side to open a panel for another present.
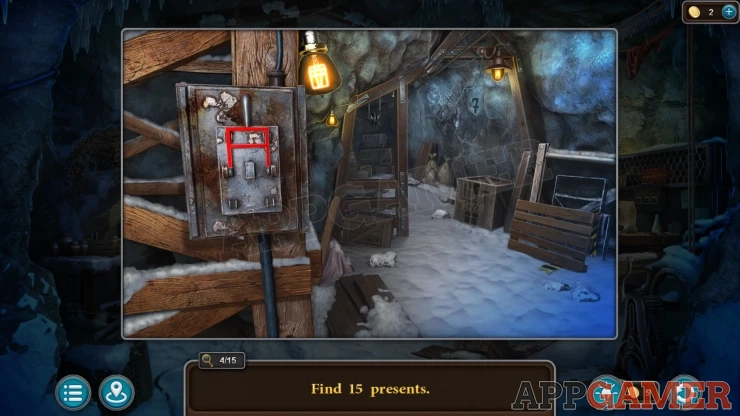
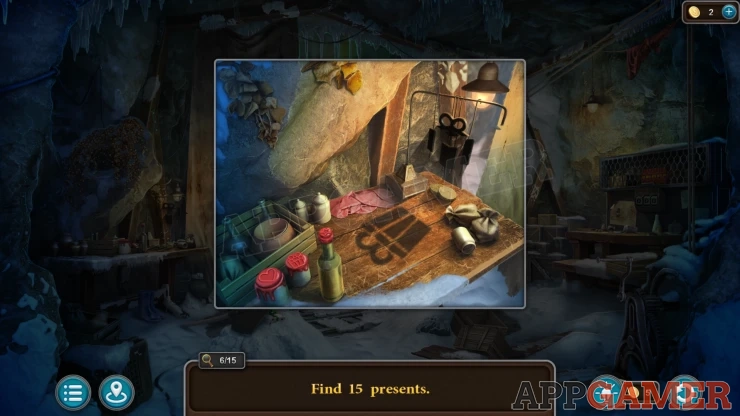
Once you have them all you will be able to collect the Bag of Gifts.
Return to the Barn by the house, Santa will be there.
Give him the bag of gifts to complete the episode. If you still have collectibles to find you can re-enter the episode afterwads and collect more stars.
For help finding and solving the Secret Room please check the Episode 11 Extra Stars Guide.
We have questions and answers related to this topic which may also help you: Show all
 With 20 years of experience in creating video game content for the internet and over 30 years as a gamer, Mark is now a passionate mobile App Gamer. Loving a challenge, he is always ready to get stuck in to both survival builders and puzzle solving games. He has been providing content for AppGamer since 2014.