
Episode 1 Walkthrough - Tropical Island
More Artifact Seekers
This is our guide to Tropical Island, the first Episode in the puzzle adventure game from Five BN. In this episode you are exploring a sub tropical island to find the secrets of a forgotten religion.
The game will begin with an explanation of the TV show, and you will also need to choose a pair of characters to play as. You can choose any of the couples.

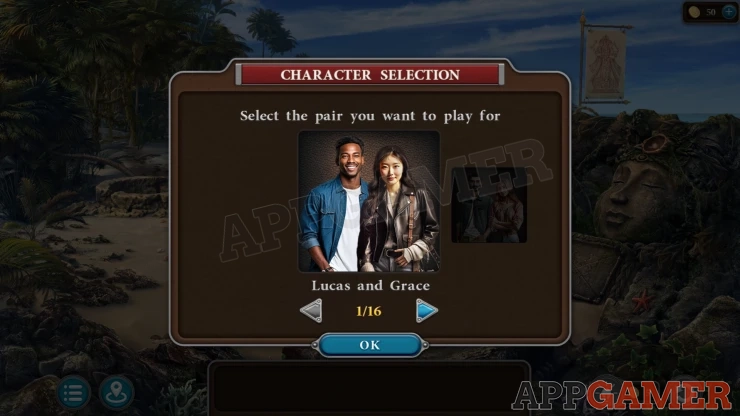
This first episode of the game starts with the option of a tutorial section, this can be useful if you are not used to these games.
Episode 1 - Tropical Island Walkthrough - Part 1
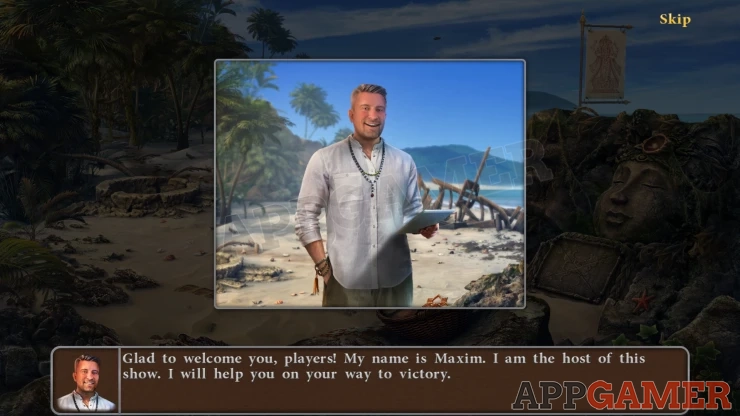
At the start you will meet Maxim who will give you some tips, then you can begin.
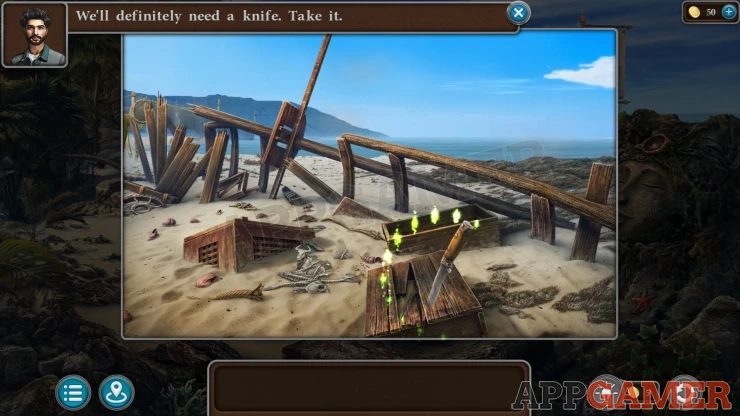
View the wreckage debris that is on the sand at the top center of the scene. Here you can collect a Knife that is stuck in the box.
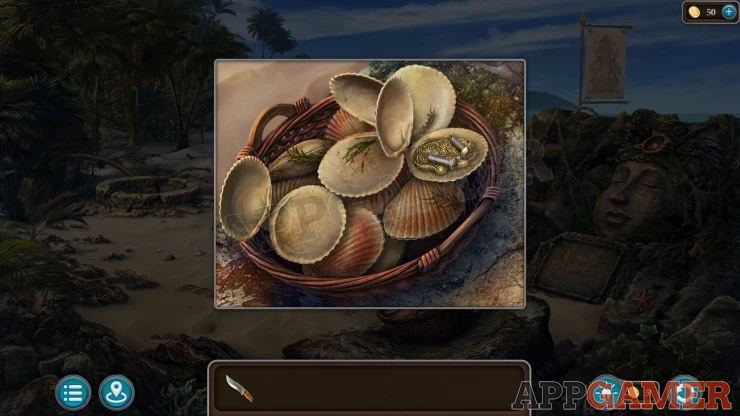
Close this view and now view the basket of clam shells that is in the bottom center of the scene.

Use the knife on these to open some of them until you find and collect some Bolts and an Amulet.
Morphing Object: Shell / Rock in the sand just to the left of center.
Collection Item: in the view of the boat wreckage there is a small cow figurine on the sand.

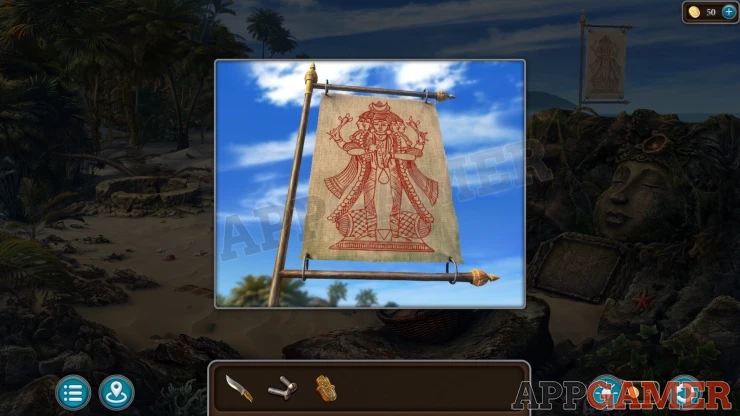
While here also notice the flag that is on the top right with an image on it. This is a clue that you will need later.
Now tap in the distance to see some nets hanging at the end of the beach.
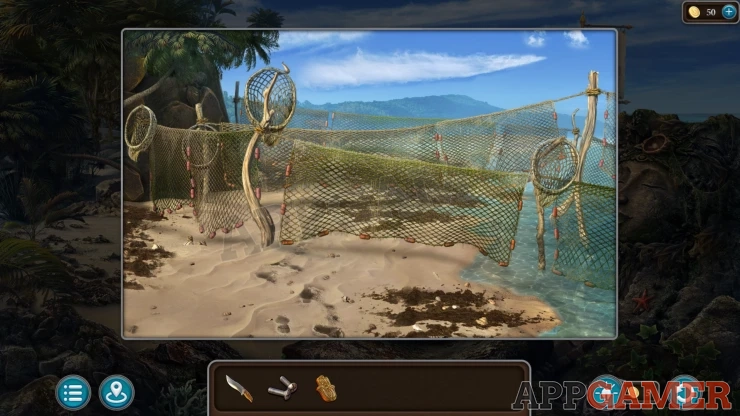
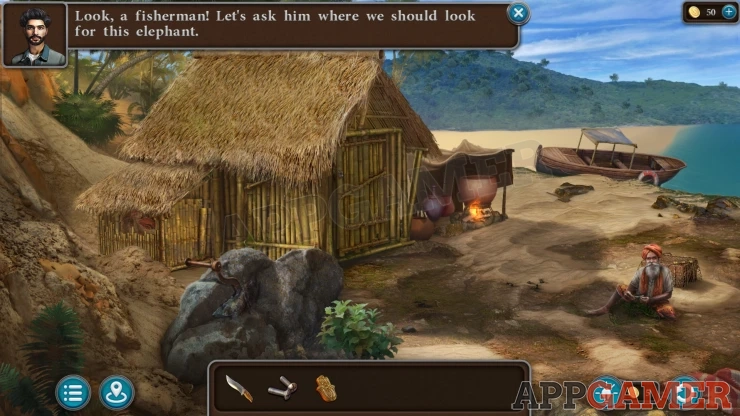
Tap the nets to move them and then you can pass though to the next area. There is a Hut here with a Fisherman.
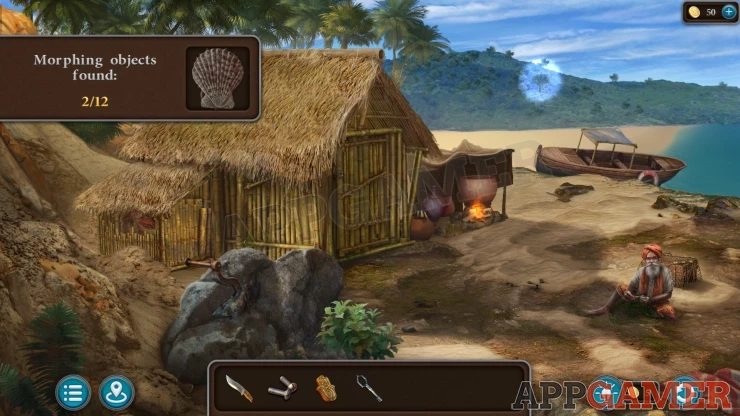
Morphing Object: One of the trees in the jungle on the far side of the beach.
Dolphin: View the bamboo tube at the top front of the roof to find it.
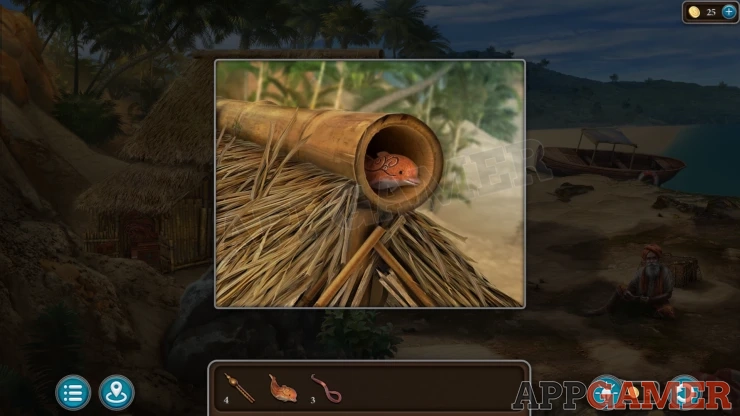
Talk to the fisherman and he will tell you about a manuscript that you can read for information and give you a Key to the boat to let you find it.
View the Boat and then tap on the locked trunk at on the right.
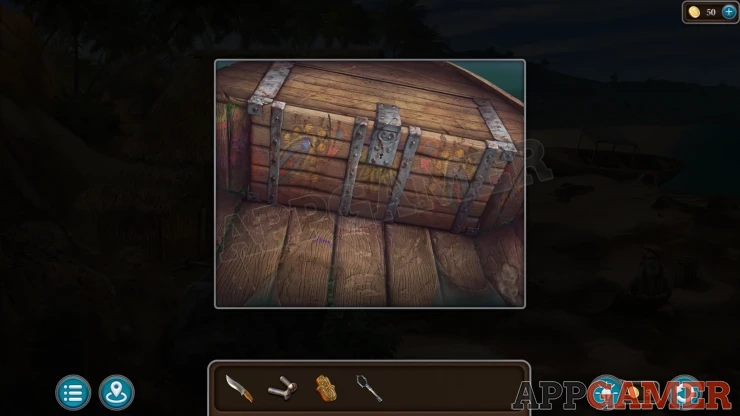
Use the key to open this and find a puzzle.
Boat Trunk Puzzle
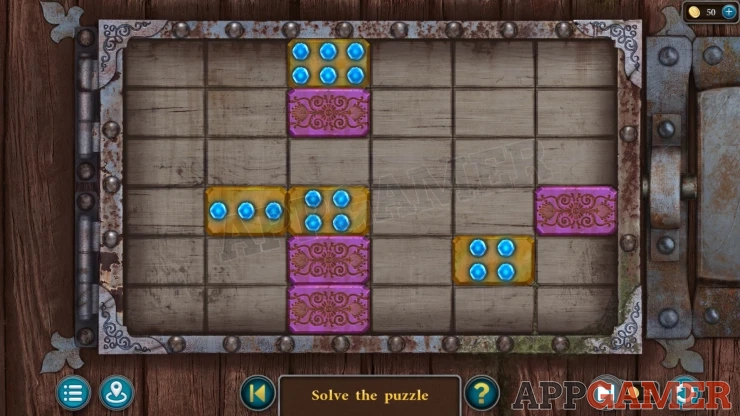
- There are 4 pink plates on the grid and also 4 gold blocks.
- You can drag the gold blocks around the grid. You need to place them onto the pink plates.
- Each gold block has a number of blue dots on it. Each dot represent a move.
- You need to move each block the same number of times to reach a pink plate. i.e. the top gold block must make 3 moves to reach a pink plate.
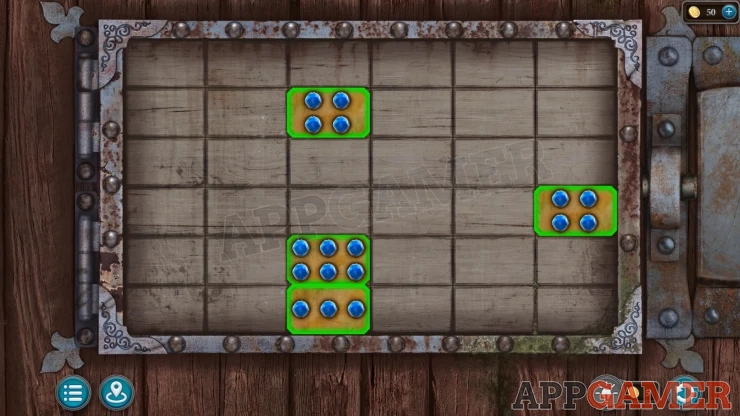
Once done the trunk opens and you can view a manuscript which tells you to look for a temple.
Collection Item: One of the drawing of the musicians on the manuscript.

Then also collect a Handle and some Nippers from the trunk.
Next view the door to the Hut on the left. Use the Nippers on the wire securing it to cut it open.

Look inside the hut, collect a Shovel from the left side
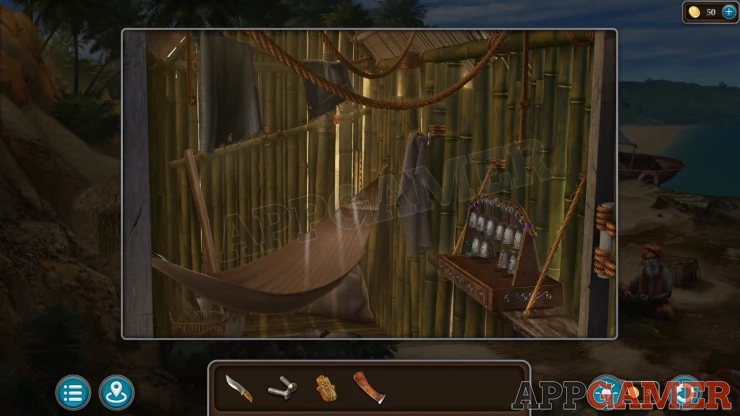
Pungi: Find the Pungi in the back corner behind the hammock.
Outside again look on the left side of the hut to see a pile of sand blocking a gate.
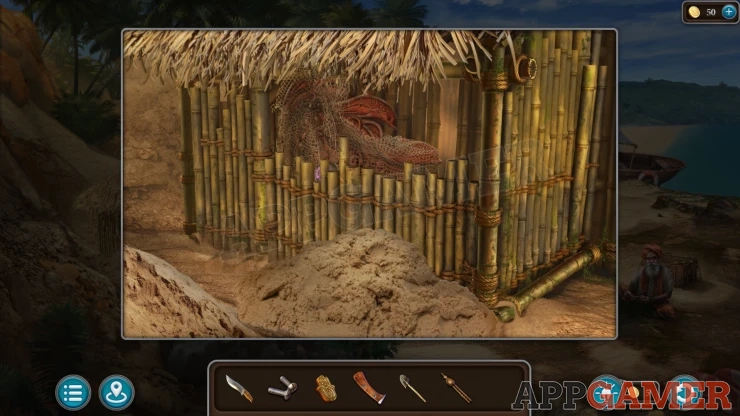
Use the shovel here to clear the sand and then open the gate.
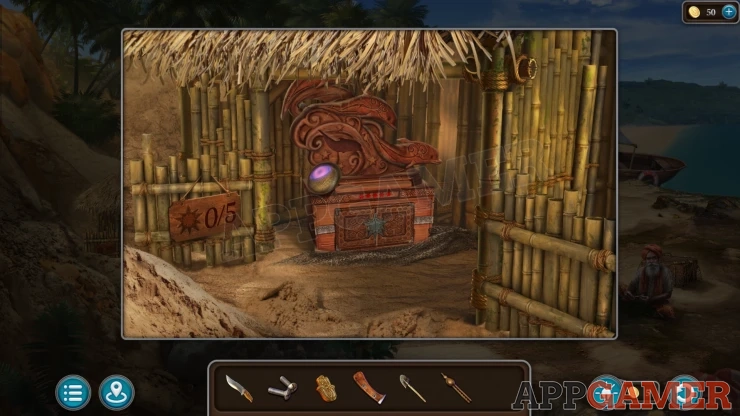
Next use the knife to cut away the net, then you can collect a Glass Eye.
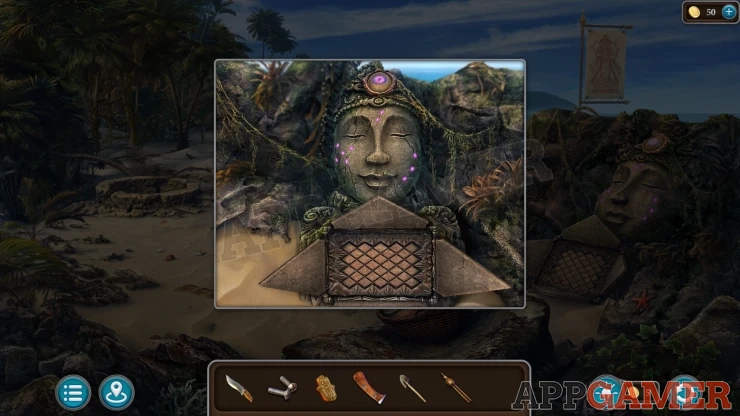
Back up to the first scene on the beach then view a stone face on the right side.
Add the Glass eye to the top to reveal a puzzle.
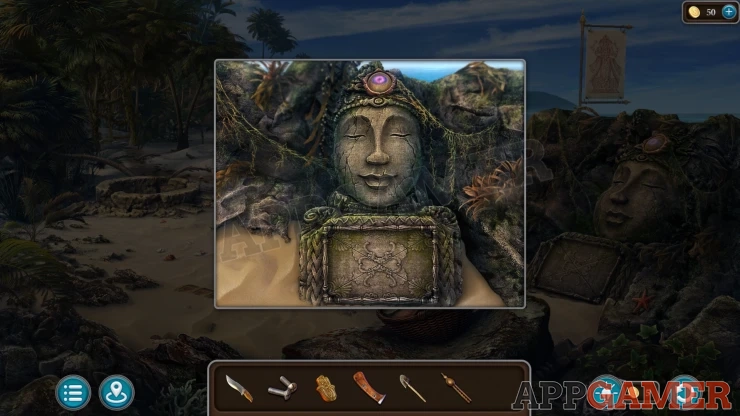
Stone Face Puzzle
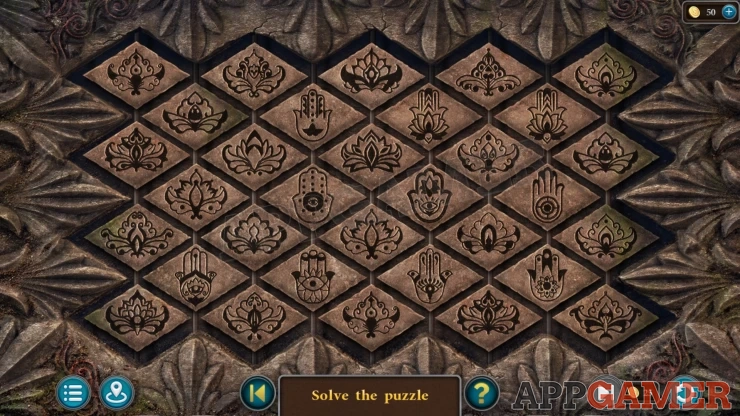
- This is a matching game.
- Find and tap pairs of identical symbols to clear them from the board.
- Each time you match them the piece on the grid will flip over, sometimes this will clear irt and sometimes it will reveal another symbol to be matched.
- Continue until all of the pieces are clear.
Once done 3 patterns of purple dots will appear on the face, this is a clue.
Go back past the nets to the Hut and look inside. On the right is an instrument with bells.
Bells

Tap the correct bells to complete this puzzle.
Follow a clue from he stone face.
Solution: Tap the three bells with the matching number of dots on them. These may be different for youShow
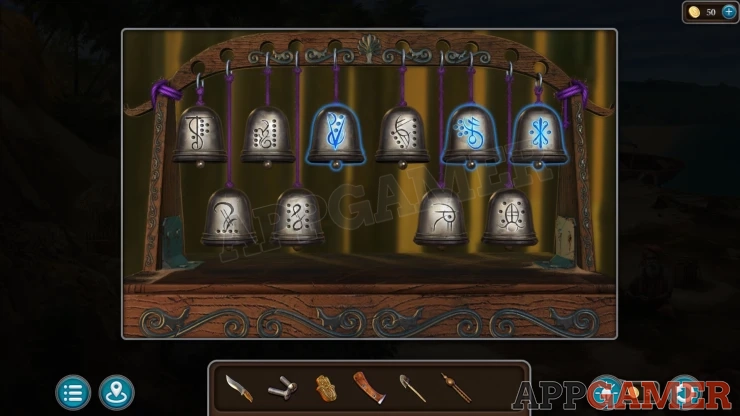
A drawer opens and you can collect a Detail.
Now back up again to the first area, then look in the sand on the lower left to see the top of something buried.
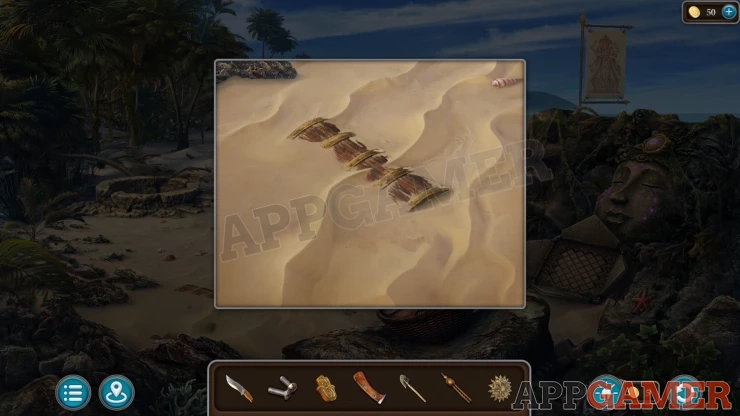
Use the Shovel here to dig a hole and reveal a chest. Collect the Blade.
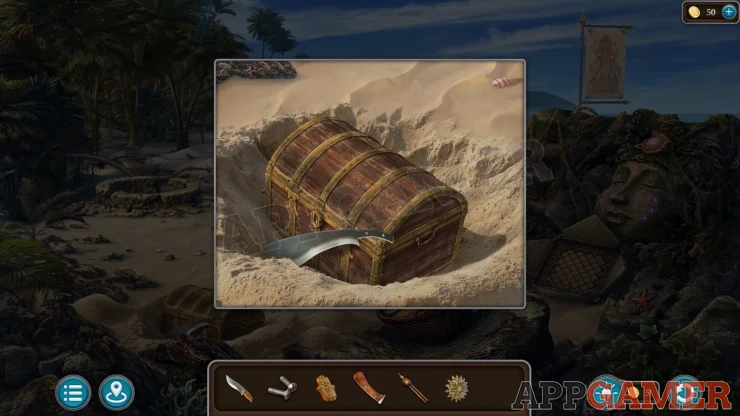
View the Blade in your inventory and add to it the handle. Then also add the 2 Bolts and finally use the knife on it to secure the bolts.
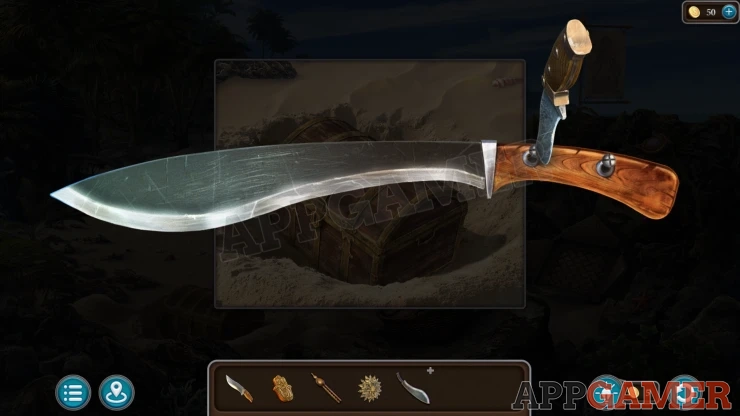
You now collect the Machete.
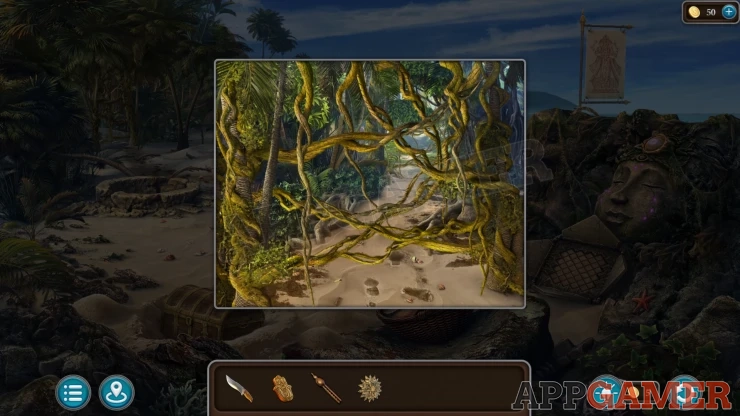
Tap on the trees on the left side above a well. You will see some tangled vines. Use the Machete here to clear them away and you can pass through to the jungle path.

Morphing Object: In the reeds on the right side of the scene.
Pungi: Look in a tree to the left of the path to find a second Pungi.
Look on the top left to see a pack hanging from ropes in the trees. Use the Knife on this to cut it down.

Open the pack and collect a Recipe Book and a Casket.

Now tap the path ahead to move on to a small village by a lake.
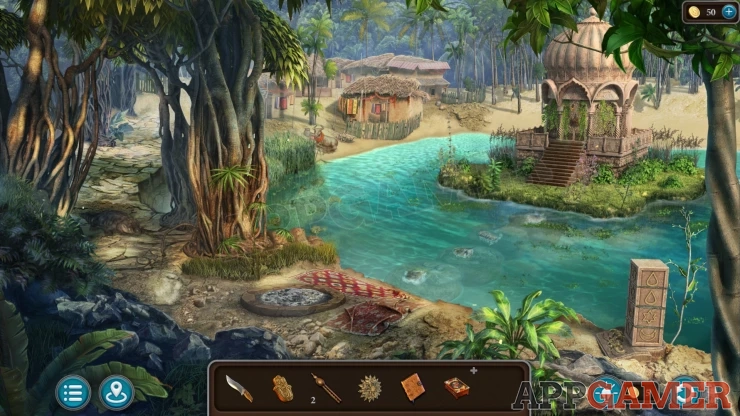
Collection Item a cow figure on the left side of the lake by the house.
Morphing Object: a decorative arch on the front of the building in the center of the lake.
Dolphin: Tap the pile of rocks on the bottom left to move them and then you can collect it

Then view a round fire pit on the shore next to a rug.
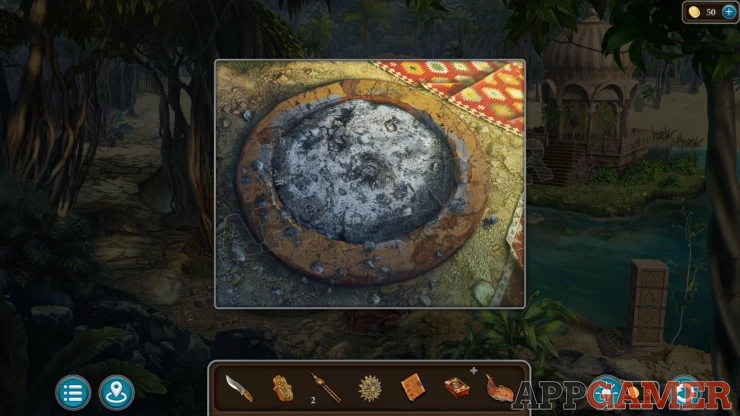
Tap the ashes and then you can collect a Key.
Back up to the first beach area and view the chest that you uncovered previously. Use the key to open this.
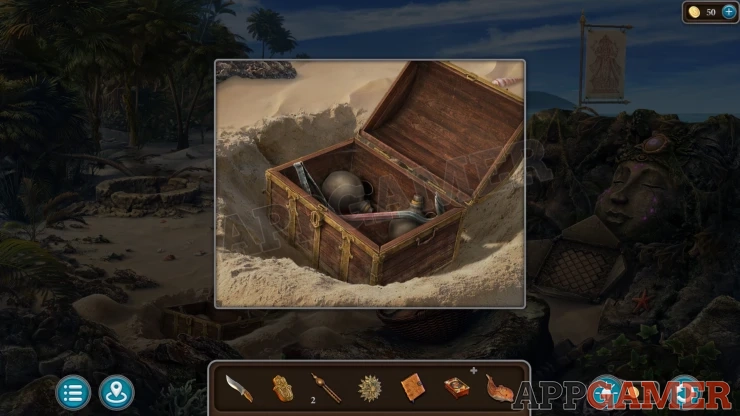
Collect a Prybar and some Forceps.
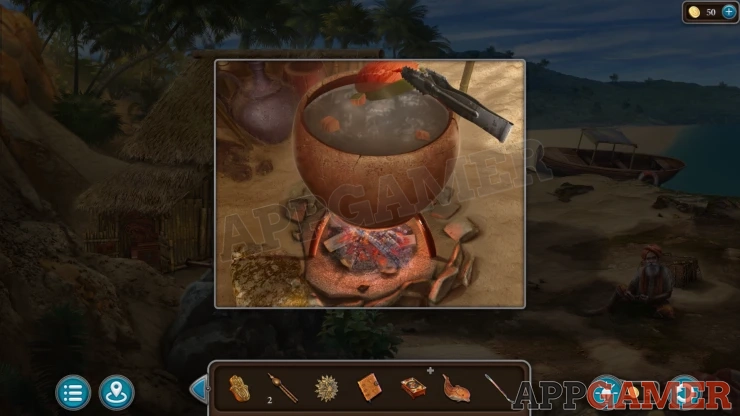
Move through to the fishing hut again and look at a pot of boiling water above the fire.
Use the forceps the to collect a piece of Fish.
Back up and then return to the Jungle path. View the round stone platform on the right of the path.
Collection item : a Cow Figure In the foliage on the right.
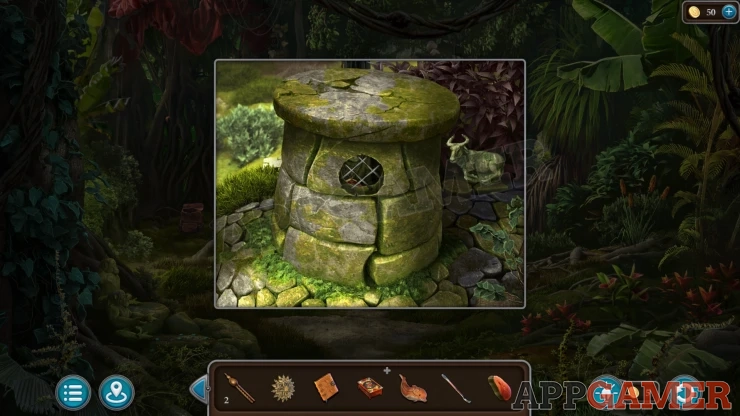
Use the Prybar on the top of the stone to move it aside. Now you can look inside.
Collect a Decoration and a Head.
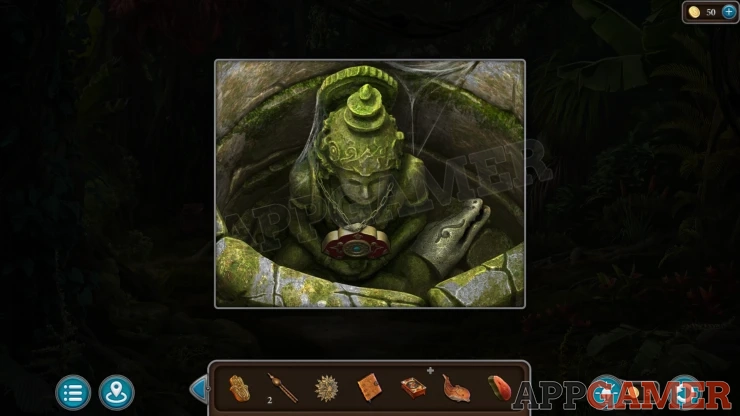
Go through to the lake again. You can now use the Fish on the crocodile on the left to get it to move.
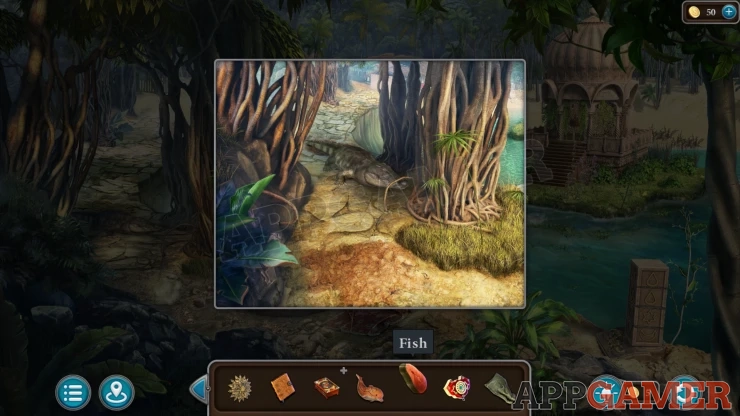
Tap the path on the left to enter the village.
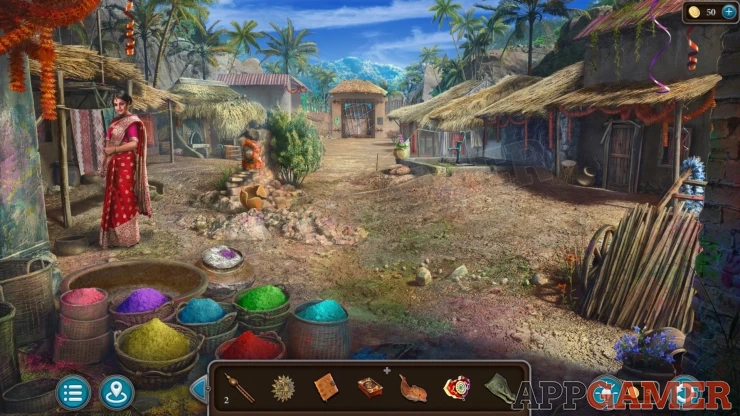
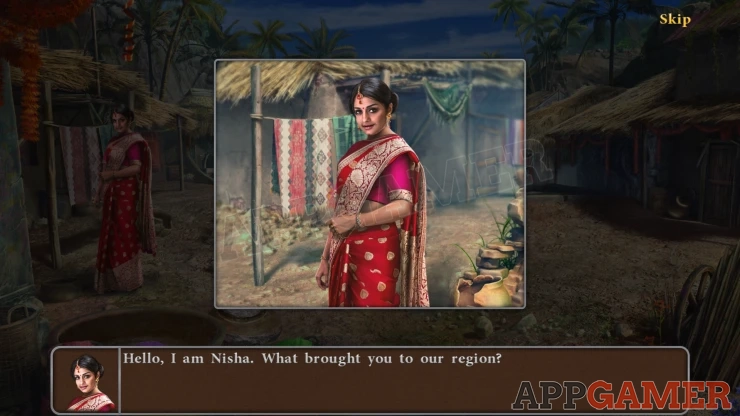
Talk to Nisha on the left. She asks you to clean a water pool.
Morphing Object: Drum/barrel in front of the house on the far right.
Tap to view the Forge which is to the left of the street behind where Nisha was standing.

Morphing Object: Flowers on the Bottom left.
Collect the Rope from the tree stump near the center.
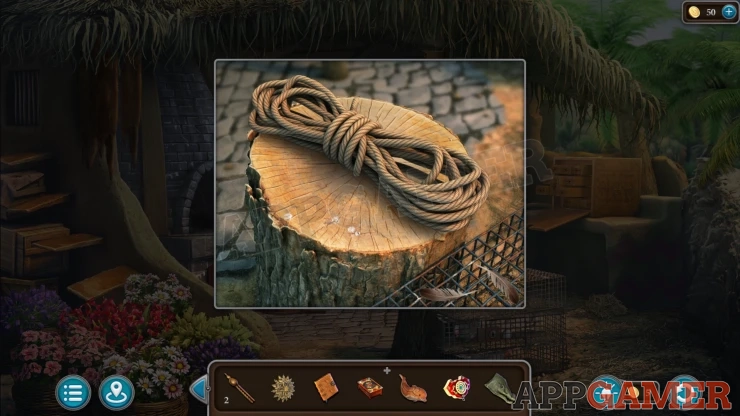
Worm: Look on the ground to the right of the stump, below some drawers, to see a small pile of straw. move this and collect a Worm.
Next view the drawers on the right side. Notice that they are filled with spices.
Spice Drawers Puzzle

Each of the 8 drawers is open. You can see the contents of all of them.
Close the drawers in the correct order to solve this puzzle.
Solution: Look in the Recipe Book that you found to see an image of the 8 spices with names and then on the right a list. Show
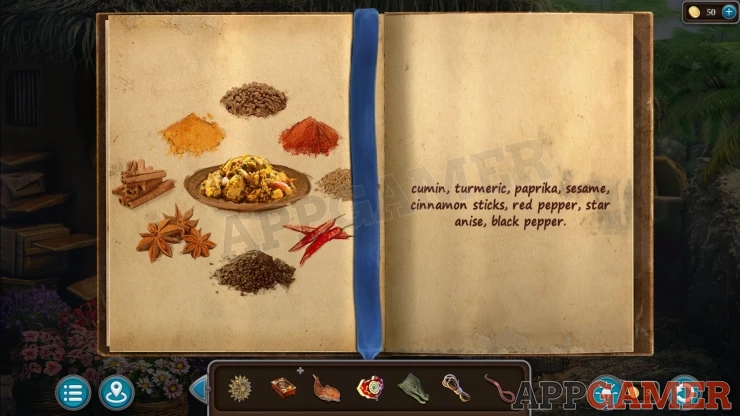
Close the drawers in the order of the spices in the list. The list may be different for you
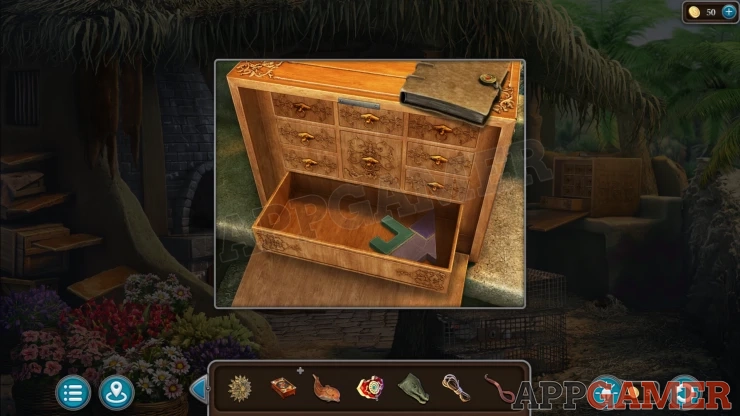
Once done another drawer opens and you can collect Part of the Mosaic.
Next tap on the house on the far right of the street to open the door. Then go inside.
Tap the curtain hanging on the right to move it to see the cabinet.
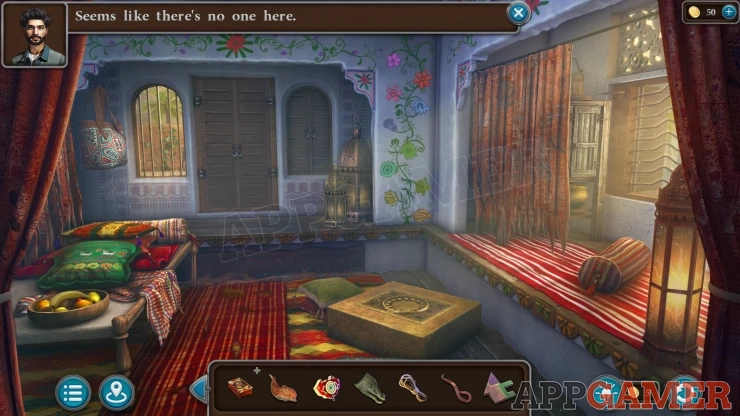
Morphing Object: Leaf on the red rug on the left side.
Collection Item: a small statue on top of the wooden cabinet on the right of the room.
Pungi: this is the back right leg of the table/seat on the left of the room.
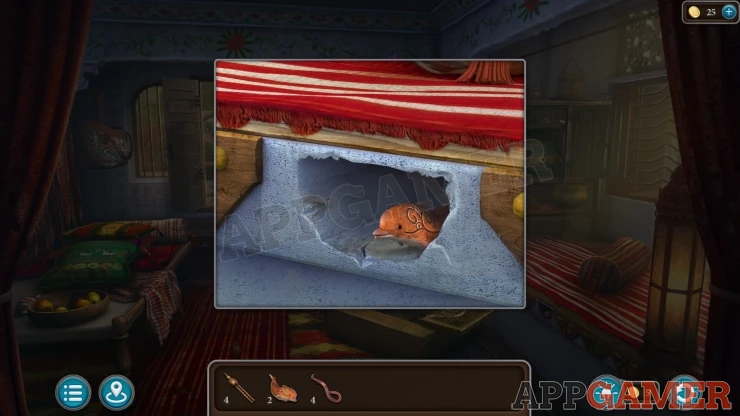
Dolphin: tap to remove a decorative tile from the side of the step on the right below the red rug.
Next view a bag that is hanging on the wall on the the far left to look inside.
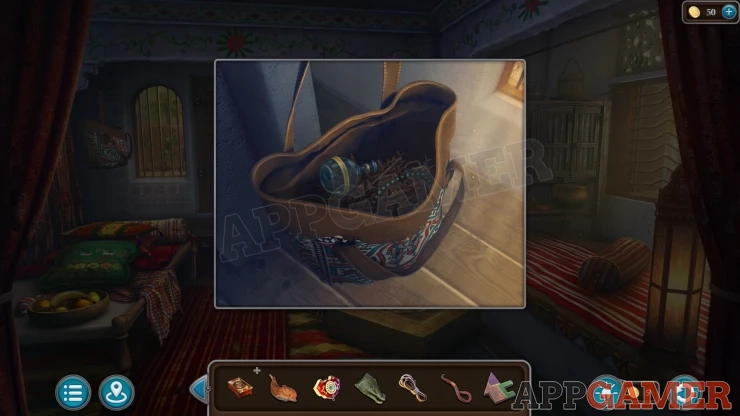
Collect a Flask.
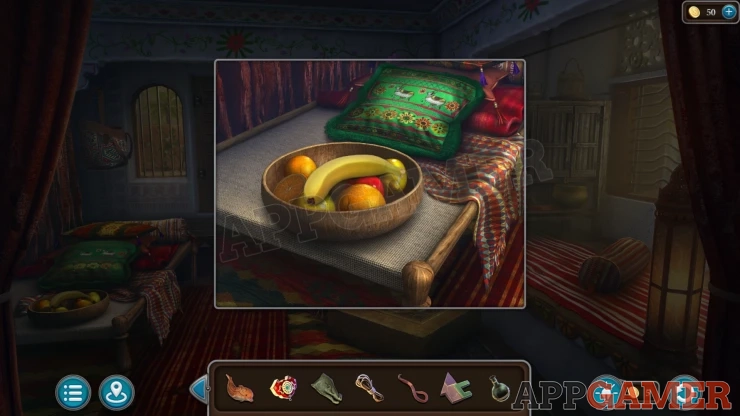
Then collect a Banana from the fruit bowl on the table. Notice the cushion with 2 cows on it.
Next view a Gold box that is on the floor.
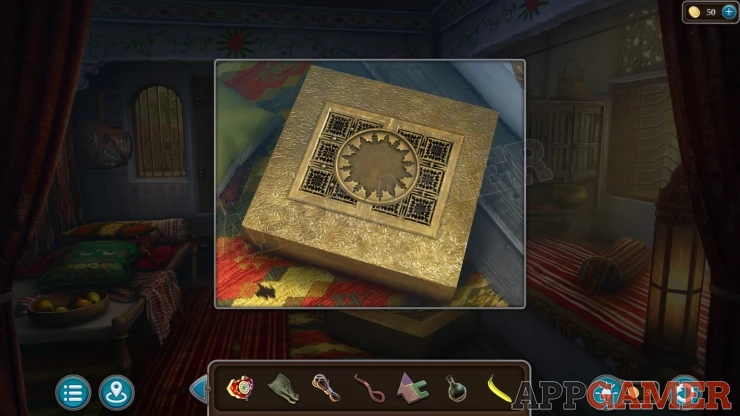
Gold Box Puzzle
Add the Detail that you have in your inventory to the center to open it.
Inside is a Puzzle with colored patterns on a grid.
Tap the gems to rotate the 4 squares around each one.
Arrange the squares on the grid into the 4 corners to match the color shown on the corners of the box.
This puzzle has a counter. You need to complete it in 100 moves or less to earn an extra star.
Solution:

Collect another Head.
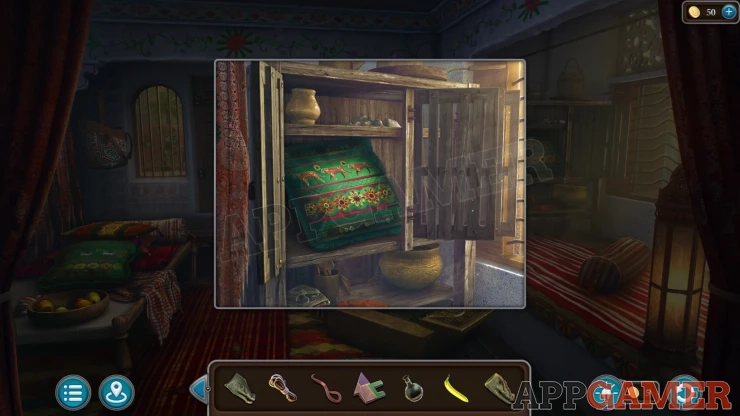
Open the wooden cabinet on the right to find a pillow inside. It has 3 Tigers. this is another clue.
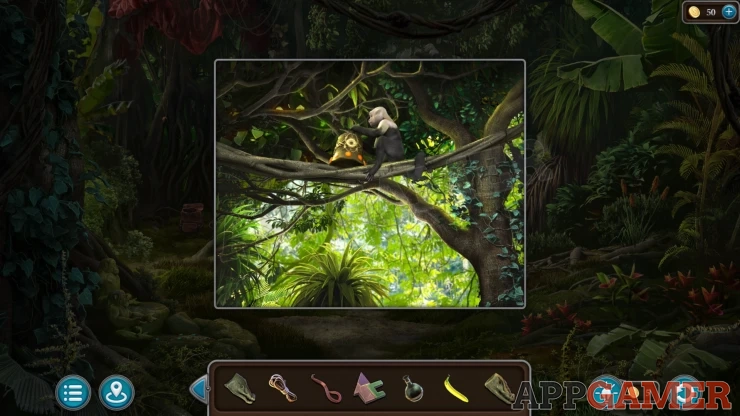
Back up to the Jungle Path and look in the tree above the path to see a monkey.
Give the banana to the monkey and it will drop a Weight for you to collect.
Now back up again to the first beach area and view the old well on the left.
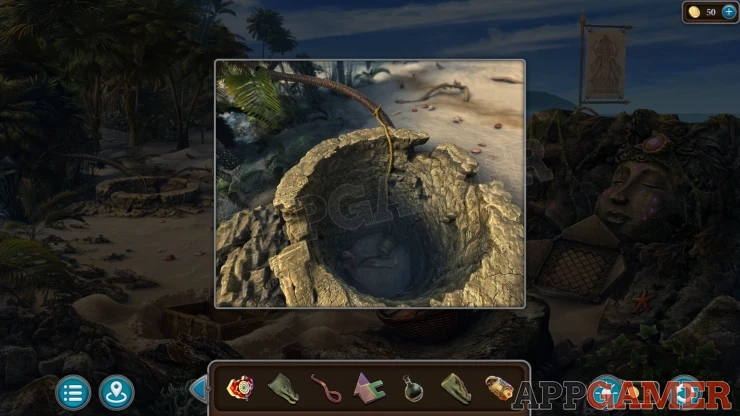
Add the rope to the well top to tie it to a tree, then you can tap to go down the well.
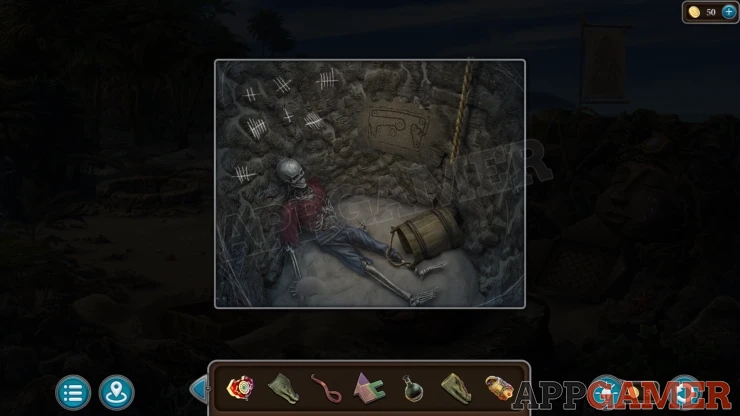
Collect the Bucket from the ground. Then tap the ground near the skeletons hand to move the dirt and collect a Key.
Then look at the drawing on the wall for a clue.
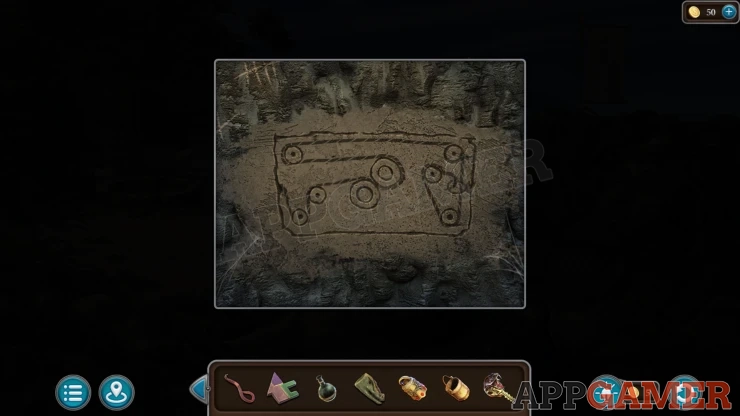
Worm: Tap on the line numbers on the stones in the wall. Tap these in order 1 to 7 and then one of the stones will fall for you to find the worm.
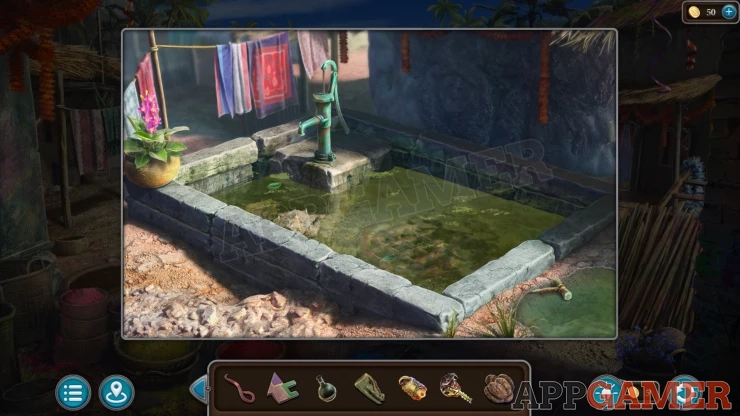
Next move back through the jungle to the village. View the water trough on the right of the street.

Collection Item: Cow figurine on the flower pot on the left.
Collect some Dry Manure from the left side of the trough. Next you can use the bucket on it to empty out some water.
Collect a Valve from the ground.
Enter the house on the right again and then open the doors on the back left.
Tap on the opened doors to find a set of 10 water faucets.
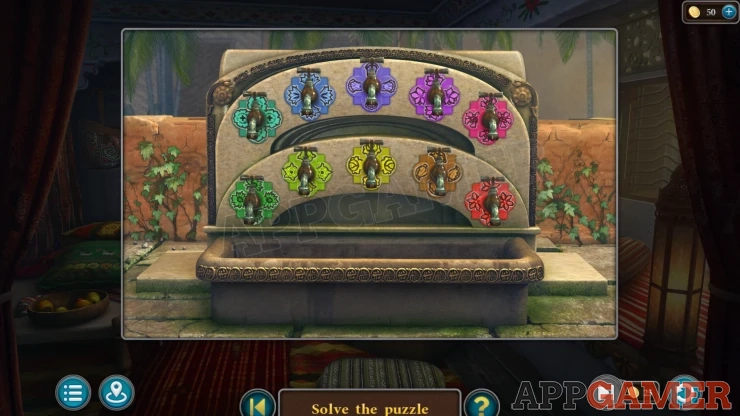
Add the valve to the top center one to start a Puzzle
Water Taps Puzzle
- There are 10 taps and each has a color tiles behind it with flowers.
- You need to open them in the correct order to solve the puzzle.
- Look for a sequence of 10 colors nearby for a clue.
Solution: On the right side of the doorway is a mural of a plant growing that has 10 colored flowers. Follow this sequence from the ground upwards.Show
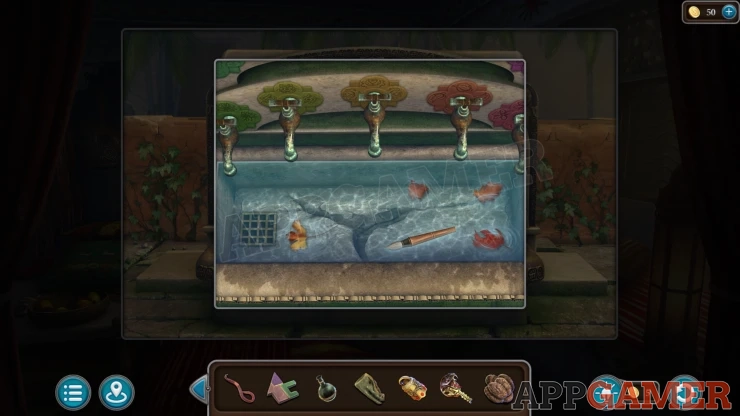
Once done you can collect a Brush from the basin below.
Now back up to the lake. On the bottom right by the water is a square stone pillar. View this.

Add the 2 heads to the crocodiles figures at the bottom. This will start the puzzle.
Square Column Puzzle
The coumn has 4 sections that can be turned.
Each section has 4 sides with shapes on them.
Turn the 4 sections to show the correct shape according to a clue seen previously.
Clue: The clue is on the flag seen in the first beach area. The image has 4 shapes hidden in it from top to bottom.Show
Solution: The symbols may be different for you .Show
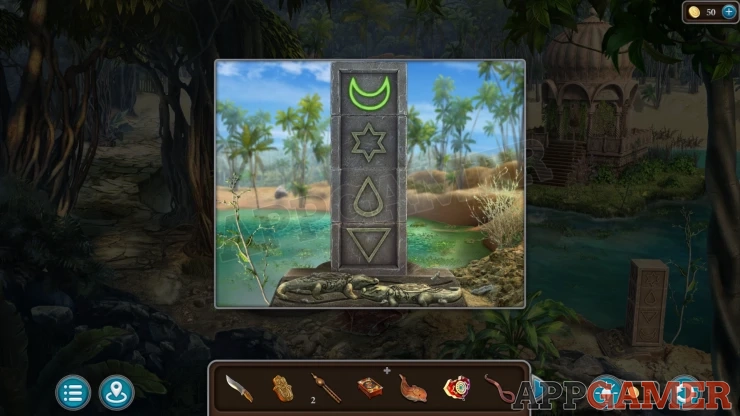
Once done the stepping stone on the lake will rise up. You can now cross over to the center island.

View the door to the building in the center. Then open the catch.
Island door Puzzle
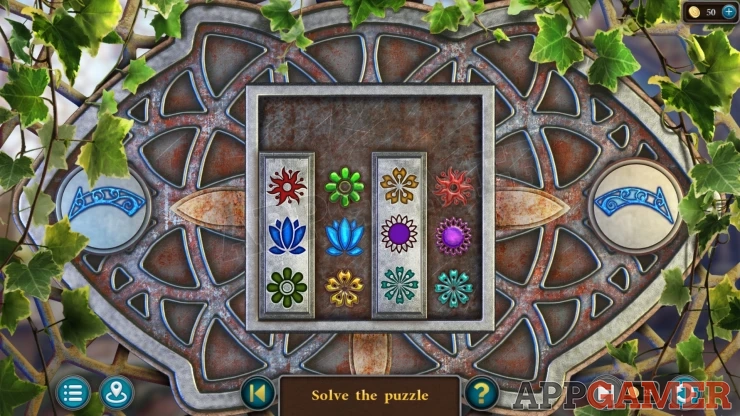
- There is a square box with 2 white strips of flower images in different colors.
- There are also 6 colored florwe symbols that can be moved around.
- On the left and right and 2 arrows that you can use the rotate the box
- Turning the box will let you move the flower symbols around.
- Arrange all of the symbols to be lined up neds to the matching image to its left.
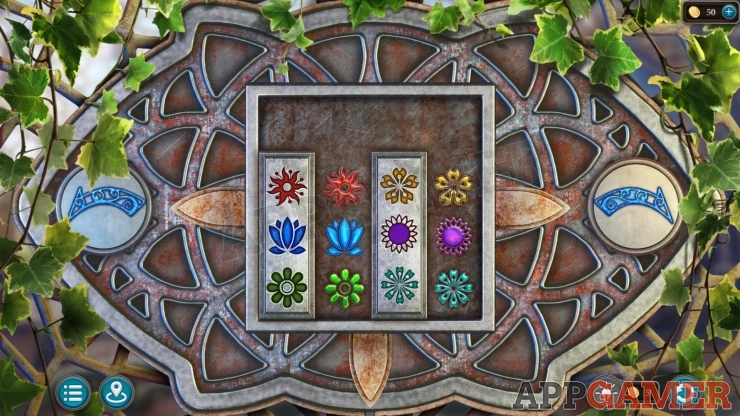
Once done the door is open and you can enter the building.
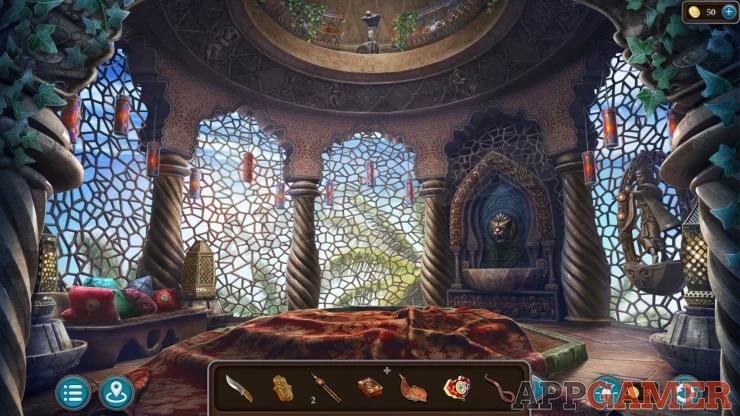
Morphing Object: a changing shape in the lattice of the middle window on the left.
Collection Item: statue / figure on the circular relief on the ceiling.
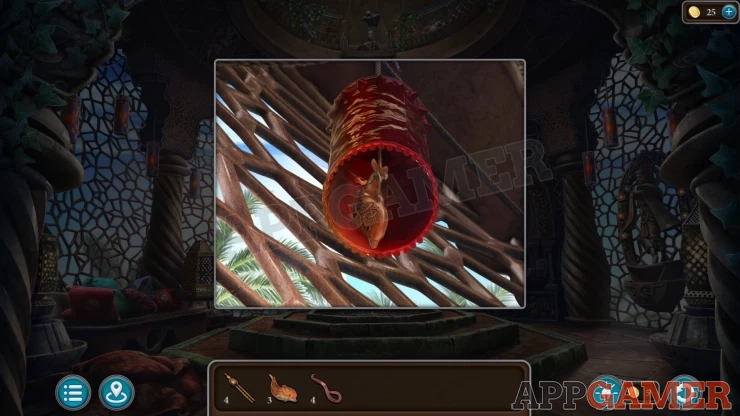
Dolphin: tap to look inside one of the hanging lanterns on the left of the ladder.
First view the seat on the left, there are several cushions. The green one has 2 rhinos.
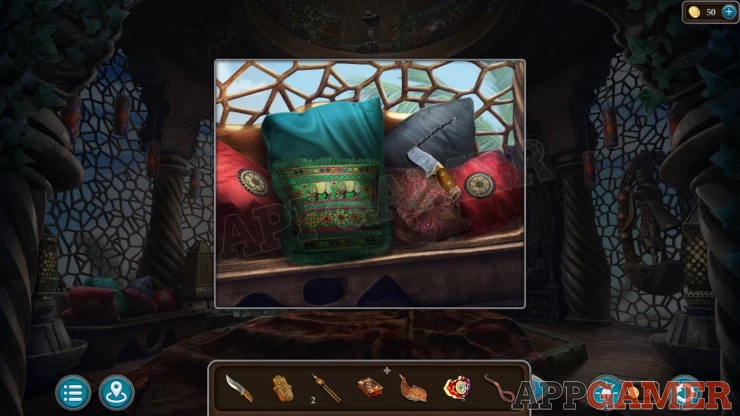
Use the knife on the top right one with the cut in it, you can then collect a Bird Figurine.
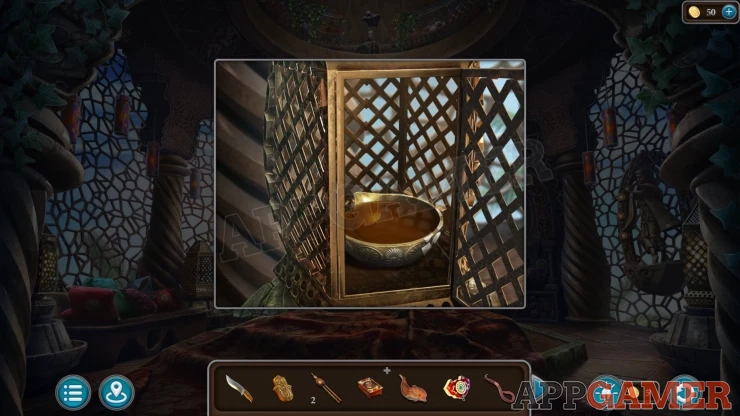
Next view the Lattice lamp to the right of it. The handle comes off when you try to open it so then use the knife again to open the door.

Collect some Oil from inside.
Tap the center of the room to move a cloth covering a mosaic, then tap to view the mosaic.
Add the Part of Mosaic that you have collected to this
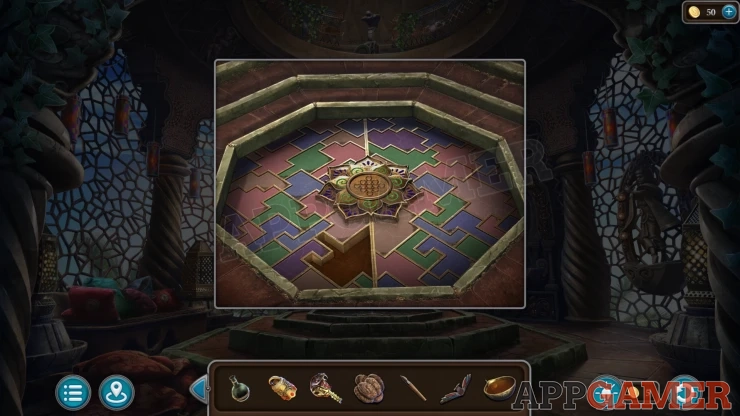
Floor Tile Puzzle
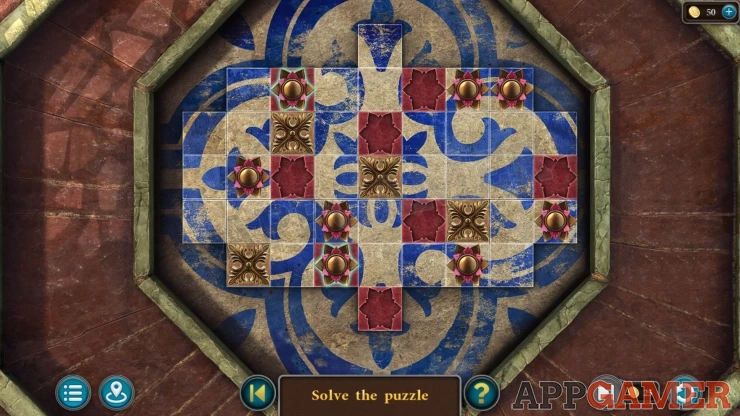
- Open the floor to find a puzzle with tiles.
- There are 8 lotus shapes that you can move around the tile grid.
- There are 8 tiles with slots for them.
- Select a Lotus and then a direction to move it in. It will move until in that direction for as far as it can.
- Find a way to move all of the lotus symbols to the slots for them.
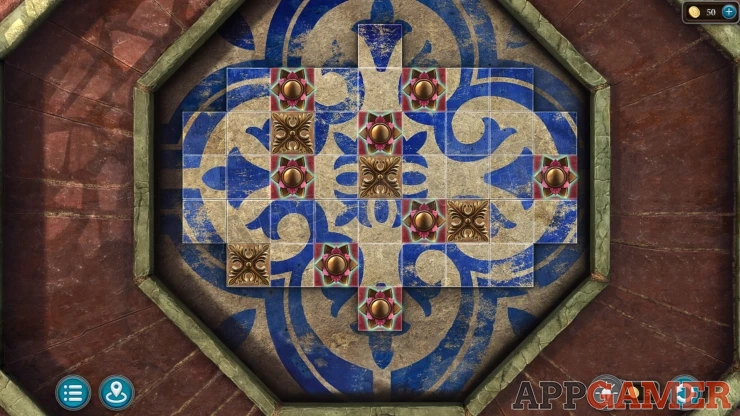
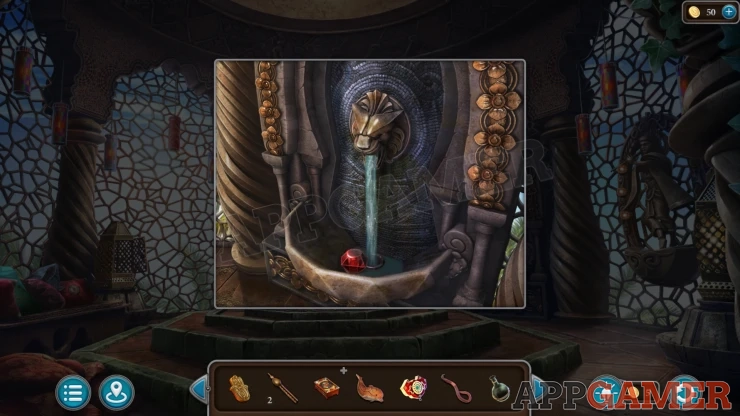
Once done the water runs and you can collect a Ruby.
Go back to the village now and into the Forge area. Look at a the wall above the work bench at the back, there is a cabinet with glass tubes.
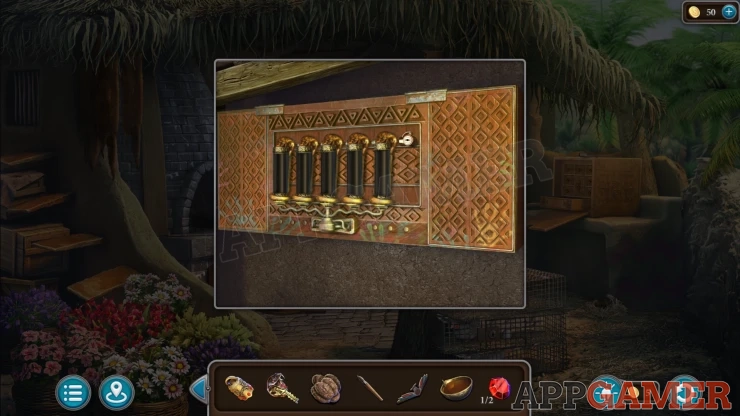
Use the Key that you have on the top right and it will start a puzzle.
Colored Sand Tubes
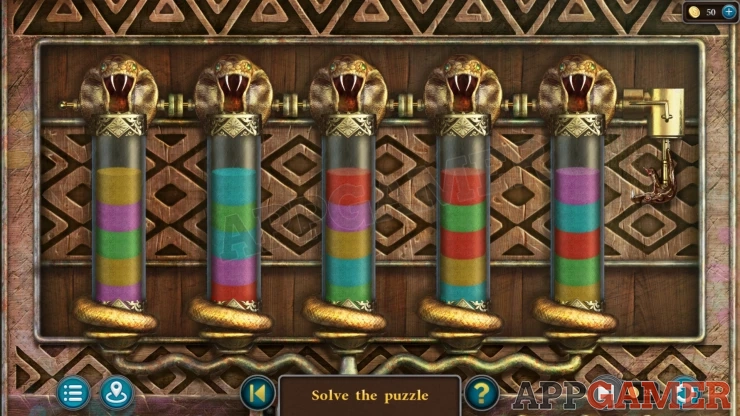
- This is a color fill puzzle.
- There are 5 tubes with colored sand in them.
- Select a tube and then another one to pour the sane into.
- Move the sand around to arrange it so that all of the same color sand is single tubes.
- You can reset the puzzle to start again if you get stuck
Once done the cabinet opens.
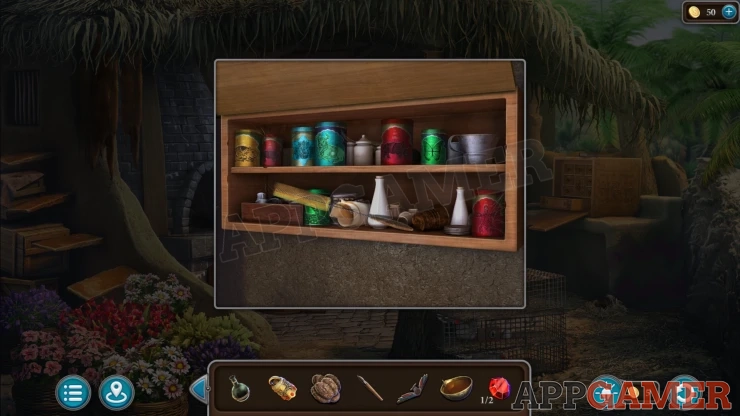
Collection Item: Cow figure image on the jar on the top shelf.
Collect a Brush from the lower shelf. And then also a Recipe for solvent.
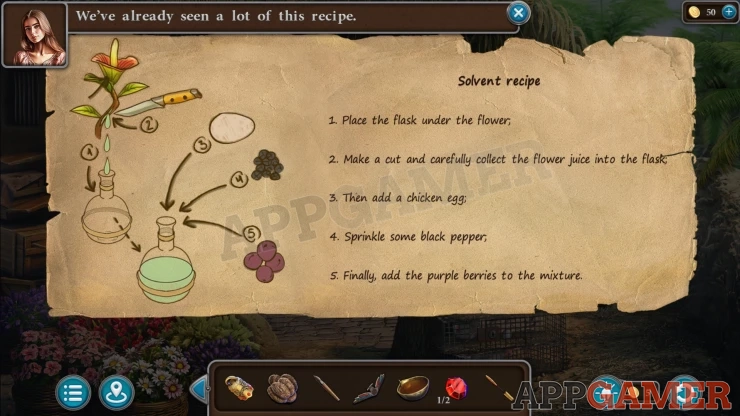
Return to the water pool in the street and now use the Brush on the drain to clean it out.

Nisha will return and give you a second Weight.
Now view the large gate at the end of the street. There are 2 small openings on the sides. Add the 2 weights to the openings to start a puzzle.
Gate Puzzles
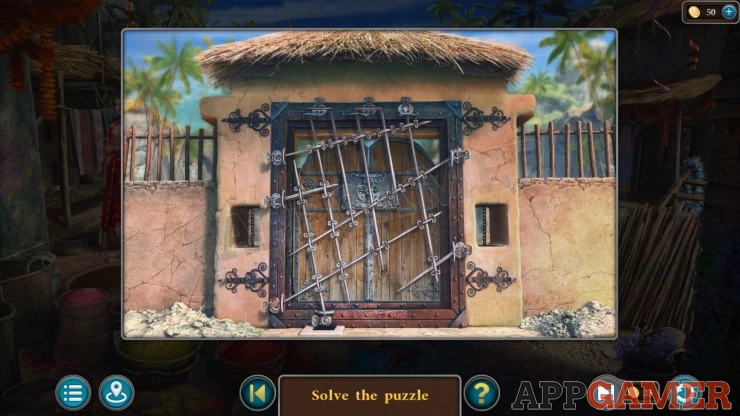
There are metal bars blocking the gate.
Tap a bar to pull it out, you need to chose the correct order as many of the bars will be blocking others.
Once done you can open a panel in the center of the gate to find the next puzzle.
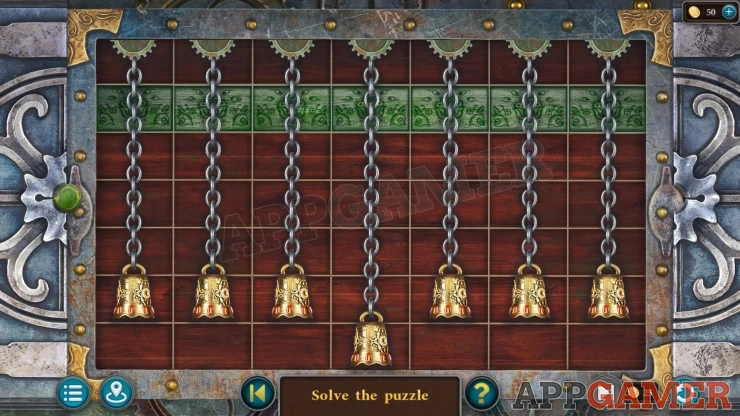
- There are 7 bells that you can drag up and down on the chains.
- Moving some will also move others.
- Move each of the bells to the green line at the top.
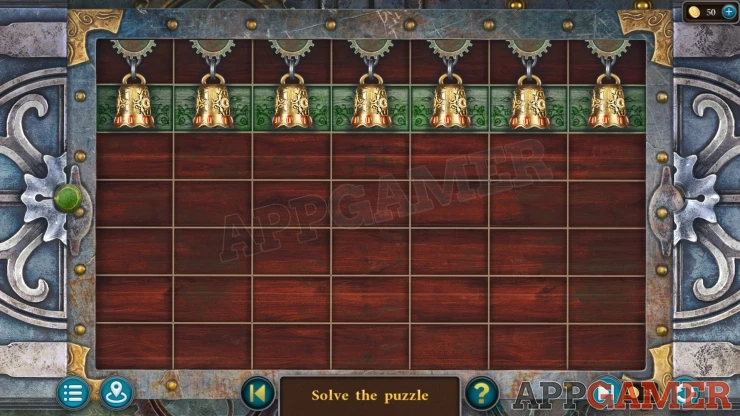
Once done the gate is opened.
Continue the guide in Episode 1 - Part 2
We have questions and answers related to this topic which may also help you: Show all
 With 20 years of experience in creating video game content for the internet and over 30 years as a gamer, Mark is now a passionate mobile App Gamer. Loving a challenge, he is always ready to get stuck in to both survival builders and puzzle solving games. He has been providing content for AppGamer since 2014.