
Episode 5 Walkthrough - Ancient Coast
More Artifact Seekers
This is our guide to Ancient Coast, the fifth Episode in the puzzle adventure game Artifact Seekers, from Five BN. In this episode you are visiting the shores of the Aegean Sea to retrieve the soul of a girl.
Travel to a neighboring island and explore the underworld to discover the legends of ancient gods.
Episode Five - Ancient Coast Walkthrough
You begin with the introduction from Maxim. At the shore line, Kate is laying on a bed, with her soul missing.

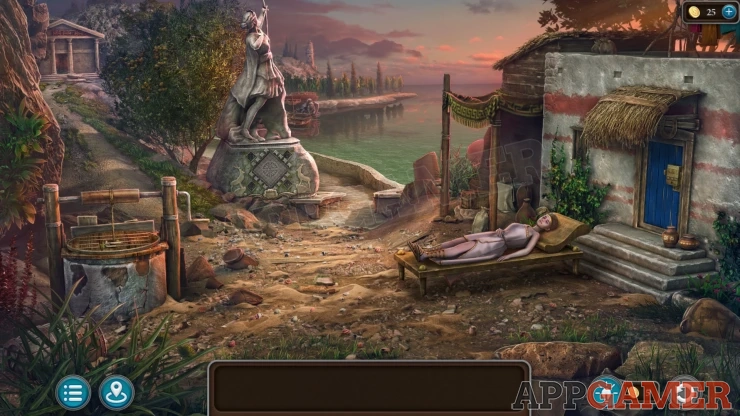
Morphing Object: Small monument on the top of the hillside in the distance near the top center.
Collection Item: move the green bush on the wall by Kate's head to find a Spear.
Horseshoe: Collect a Horseshoe from the small roof over the blue door on the right.
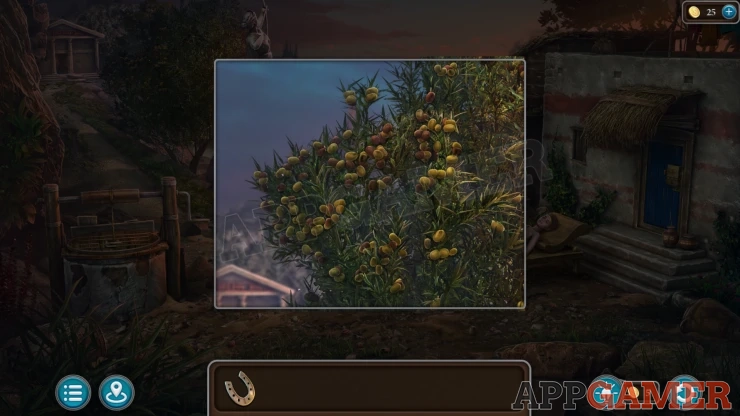
First tap the large tree to the left of the statue in the center. Collect from it some Olives.
Tap the path to the left to travel up to an archive room with a forge.
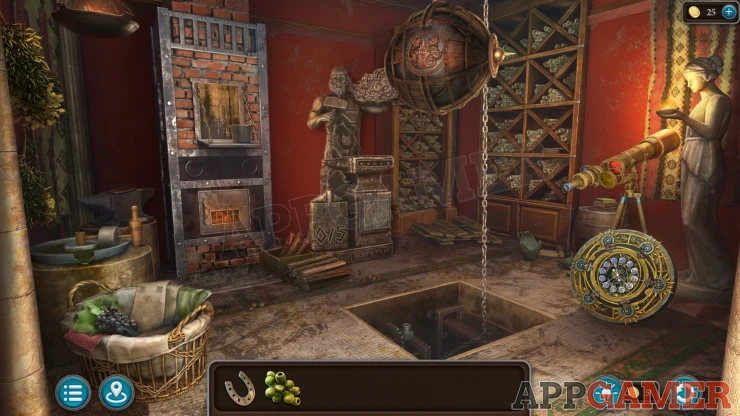
Morphing Object: symbols at the bottom of the wall hanging behind the statue with the light on the right.
Horseshoe: on the Anvil on the far left.
Collection item: Trident, look in the hole in the floor to find it.
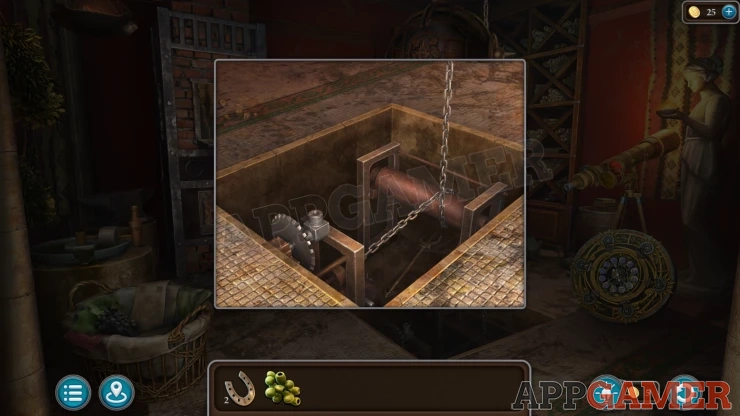
Look on the floor in the back corner by the shelves of scrolls to find and collect some Boards.
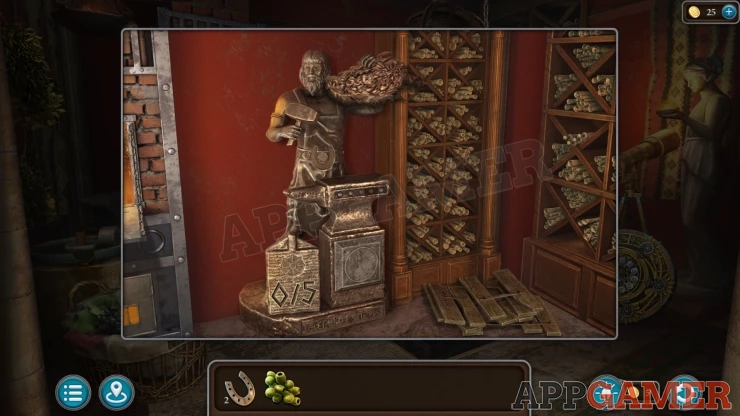
View a press on the left side and add the olives to it.
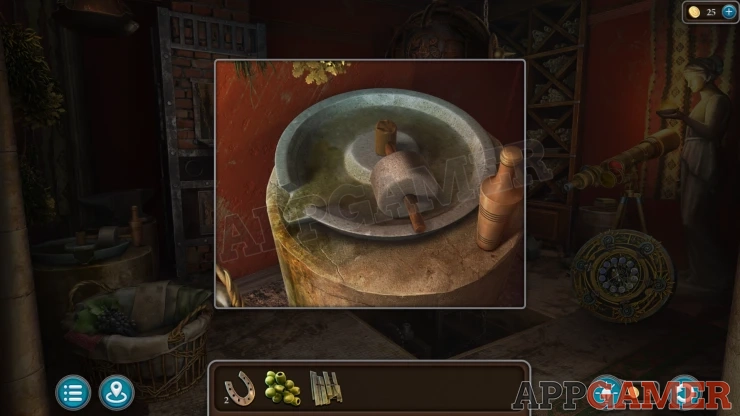
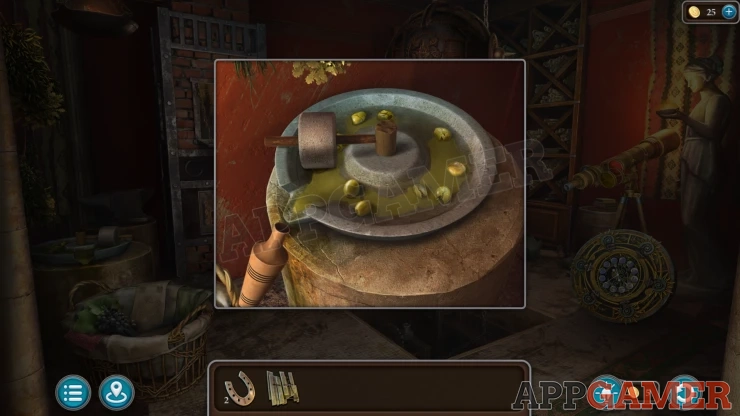
Then tap the bottle to select it and then on the olive press to collect some Oil.
Next back up to the start and view the well on the left.
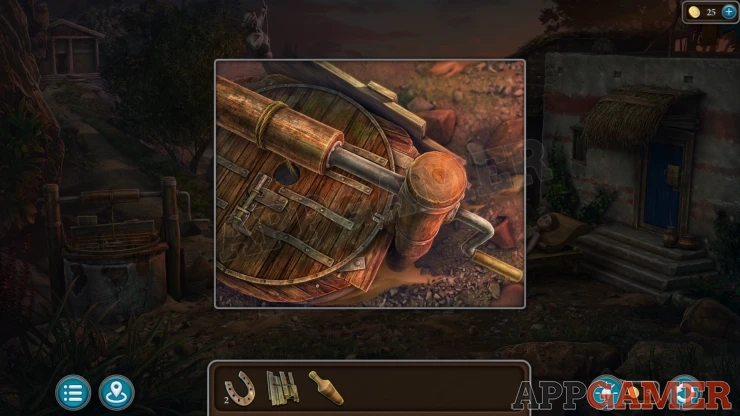
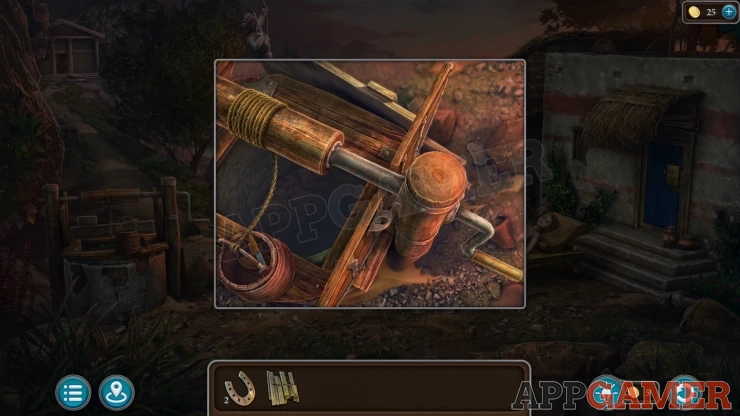
Add the oil to the bolt on the lid to loosen it then you can open the top. Tap the handle on the right to raise up a bucket. Then collect from the bucket a Jigsaw and a Disk Fragment.
Now tap on the boat in the water in the distance to move on to a Dock.
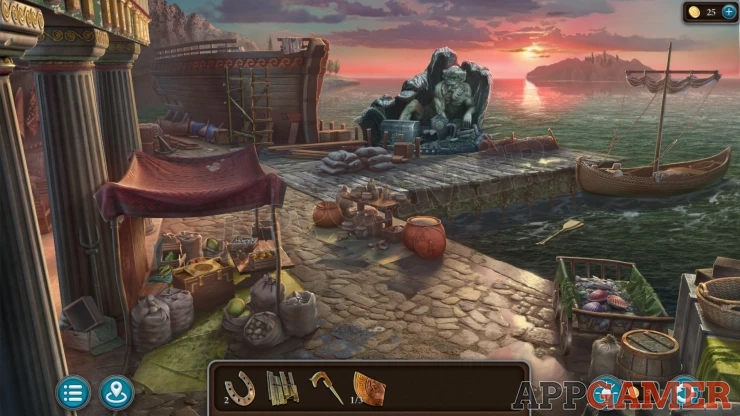
Morphing Object: Anchor on the left just above the awning.
Collection Item: Trident leaning on a column on the left.
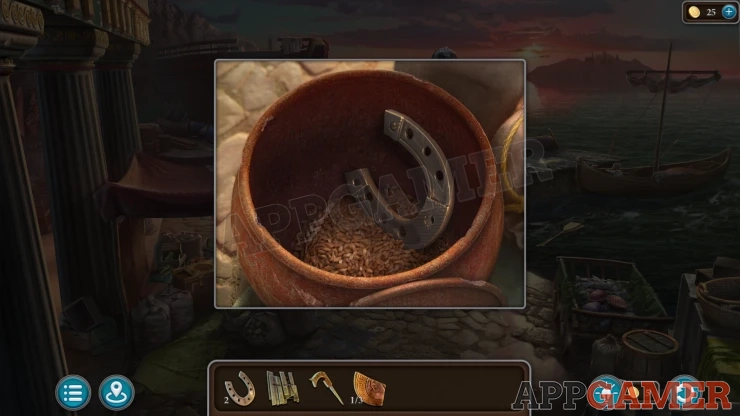
Horseshoe: look in a round pot to the left of center and open the lid to find it.
Look on the boat on the right
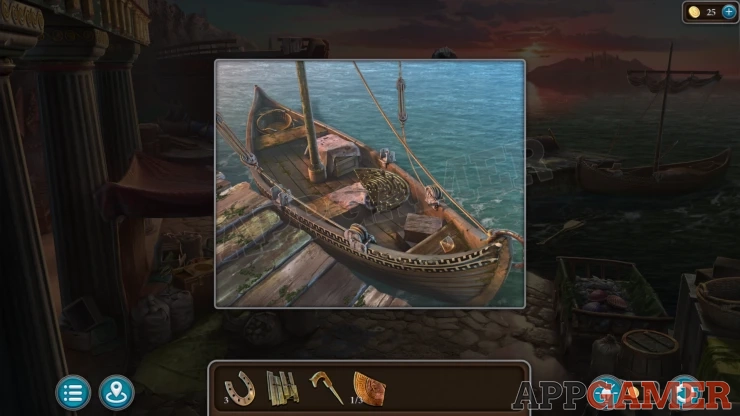
Collect a Disk fragment, and a Fragment of the Labyrinth.
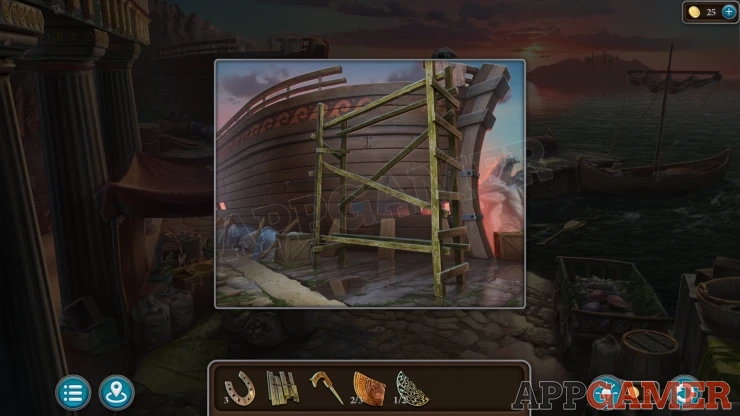
Now view the scaffold by the large ship on the left. Use the boards on this to start a puzzle.
Scaffold board puzzle
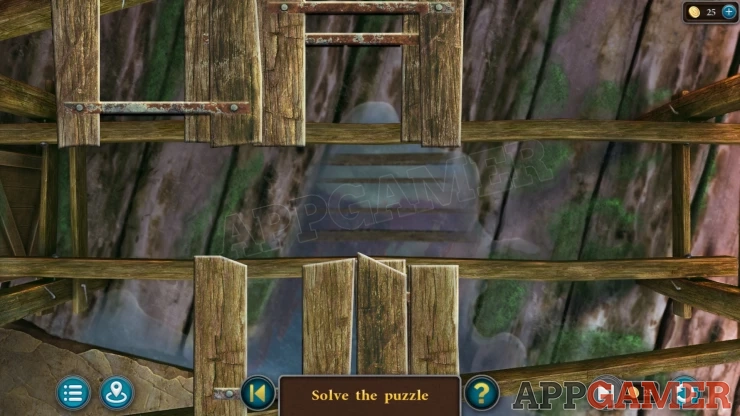
- You will see several sets of boards at the top and bottom.
- Move all of the sets of board to the center rails and fit them together to complete the layer with no gaps and overlaps.
- There are two levels to complete to solve the puzzle.
Show
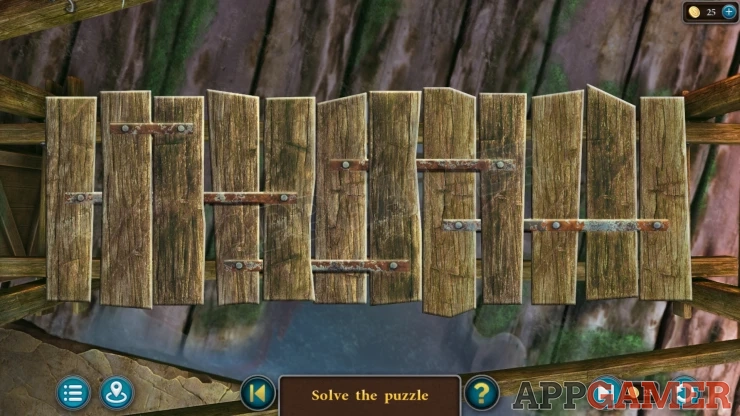
Show
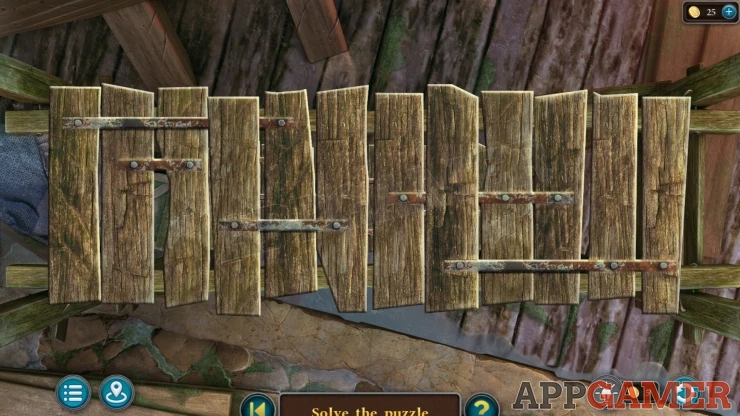
Now you can look on the deck of the ship. Collect another Disk Fragment from the lower left and then open the large box on the lower right and collect a Hammer.
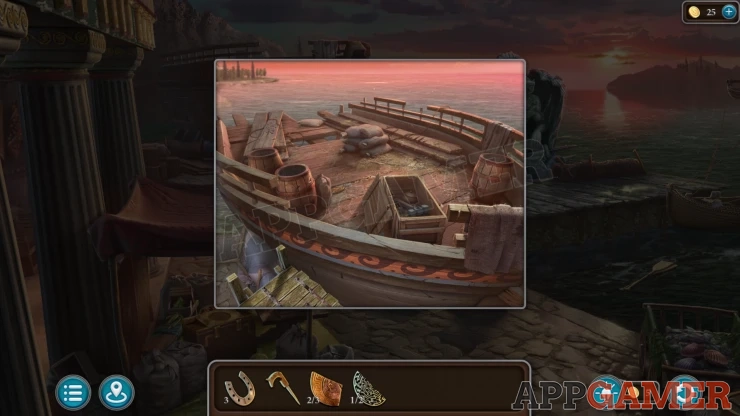
Back on the dock, look at a box under the awning on the left. There is a circle slot on top.
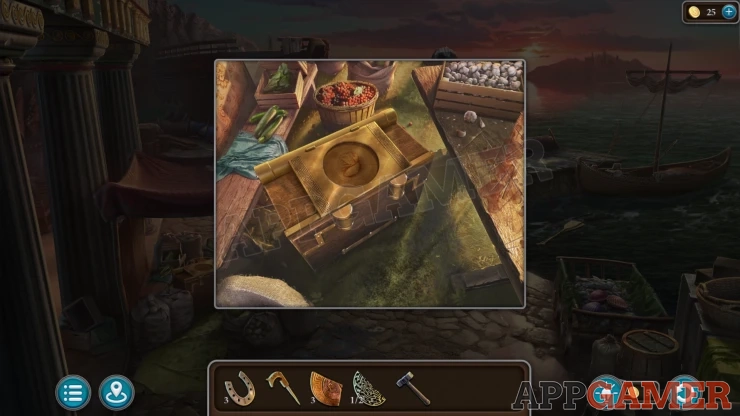
Add the 3 Disk fragments to this to start a puzzle.
Disk Fragment puzzle
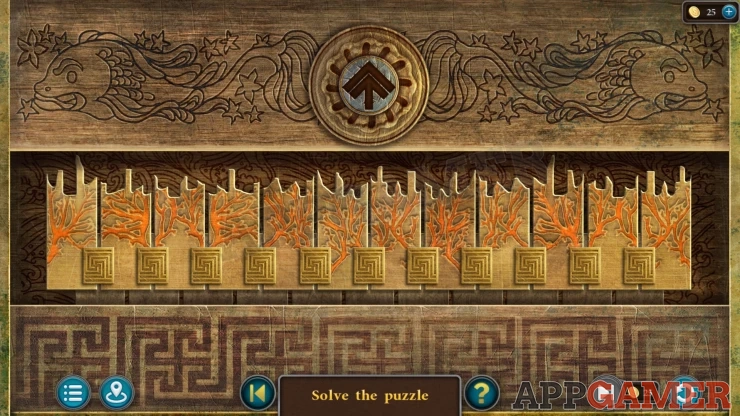
- There are twelve boards that have shaped teeth on top.
- Press the arrow button to raise these up and try to fit them into a template at the top.
- You can select a board and then a position to move it to to let you rearrange the order.
- Arrange them so that they all match and fit the top template slots.
Solution: Show
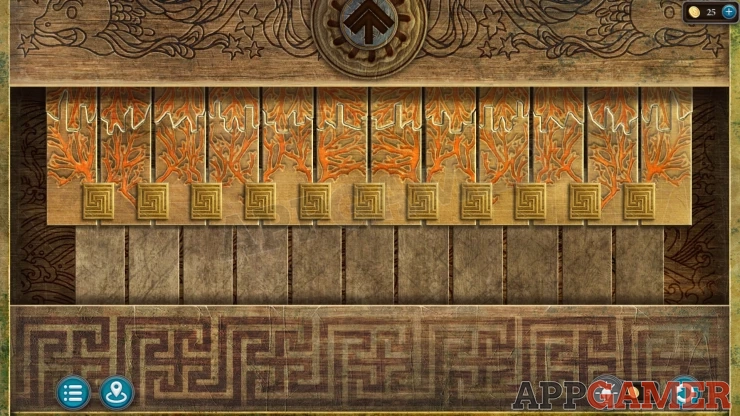
Once complete you can collect a Handle and a Sign with a clue on it.
Back up to the start and view a wooden box under an awning just behind Kate.
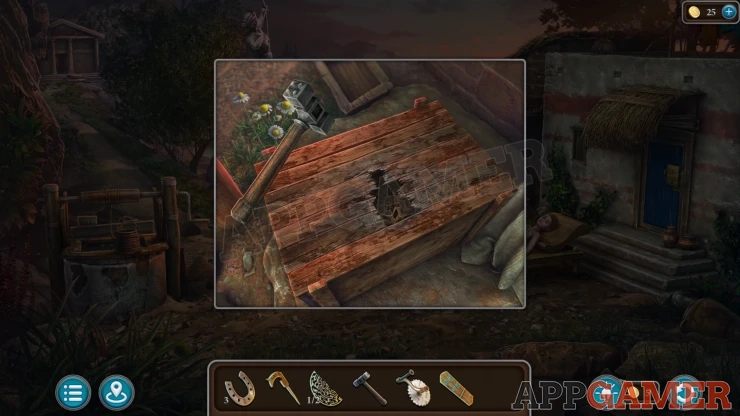
Use the hammer to break this open and then you can collect the Head of the Hydra, and a Fishing Net.
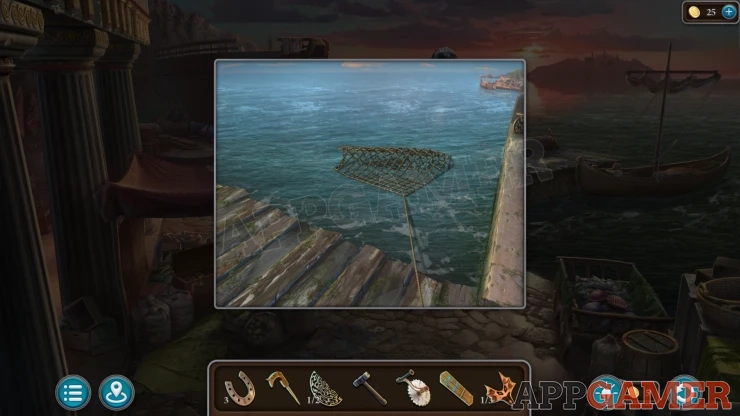
Go back to the Dock and view the Oar floating in the water. Use the fishing net on it to collect the Oars.
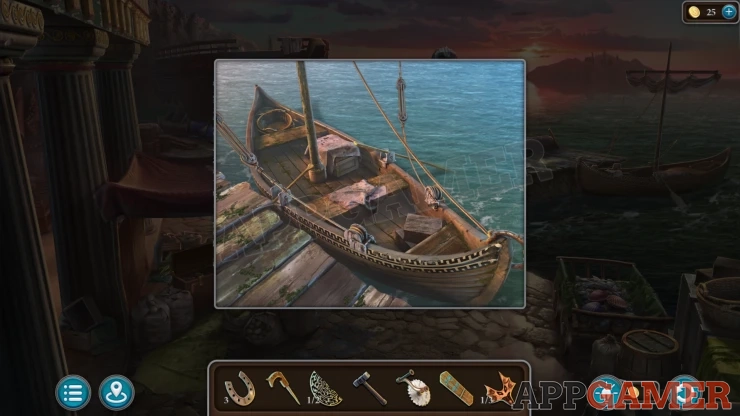
View the Boat again and place the oars. You can now travel to the Island.
You arrive at the lower area.
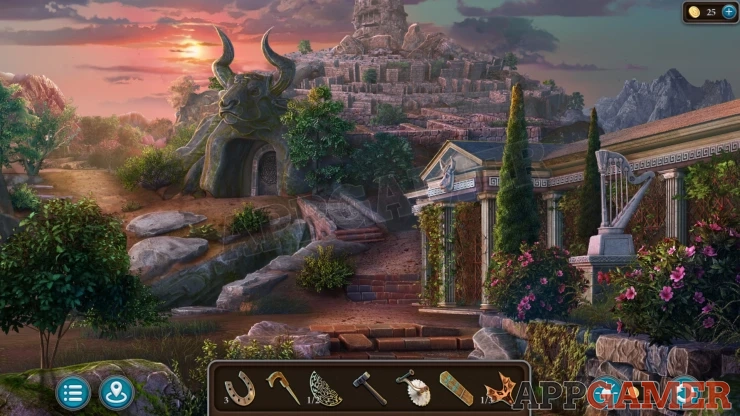
Morphing Object: symbol on the walkway in the center towards the stone gate.
Horseshoe: Tap a loose stone on the low wall to the left of the temple entrance. the horseshoe is behind it.
Collection Item: view the stone harp on the right to see a Spear on the pillar of the building.
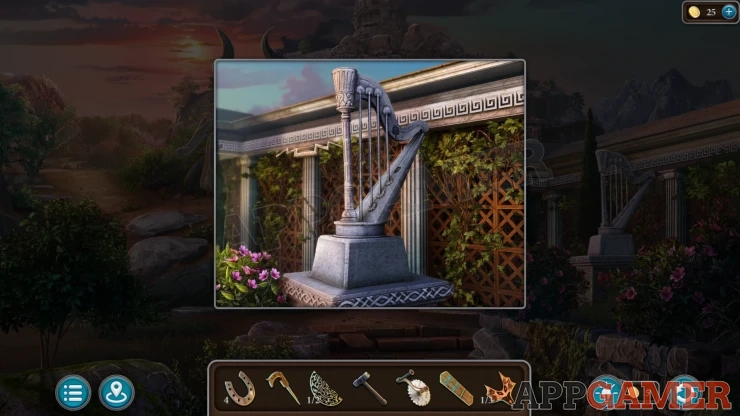
Tap the path to the left to move through to a Garden.
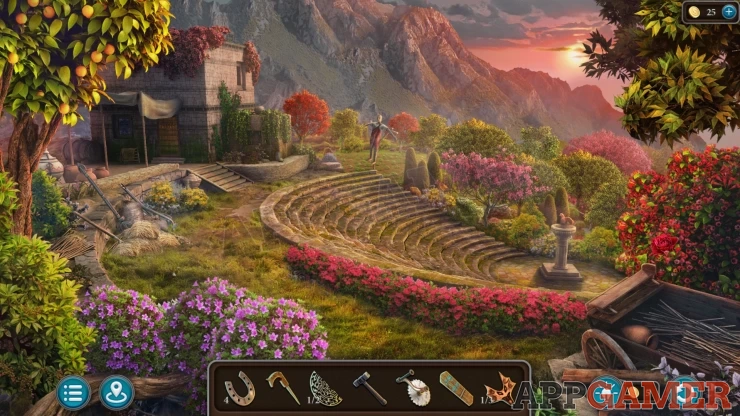
Morphing Object: Large red flower on the bush on the right.
Collection Item: Trident in the tools on the left.
View the scarecrow in the distance and then collect from its shoulder a Part of the Pedestal.
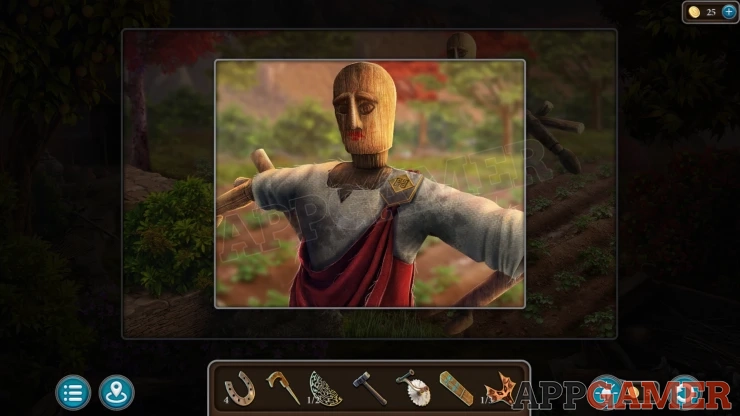
Now view a door under another awning on the top left.
Coin: on the right you will see 3 bricks that are pushed in. Tap these 3 to open another brick and find the coin.
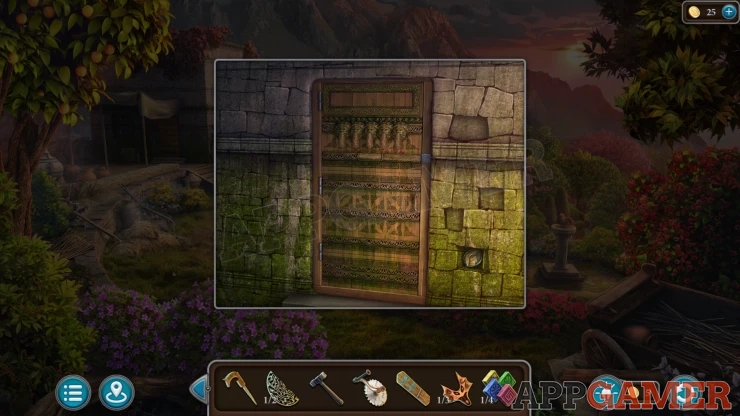
Garden door puzzle
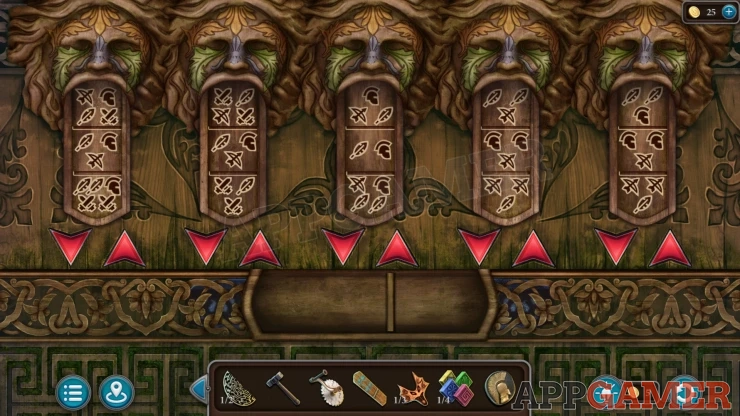
- Place the sign at the bottom to see a clue for the puzzle.
- The sign will show you 2 symbols with a number for each.
- Above this are five boards that have the same symbols (and more) on them.
- You can tap to lift up the board to make some symbols disappear into the heads above. As you do so the number of the symbols on the sign will count up tome ones that have been hidden.
- Find the correct combination of boards to lift to make the numbers on the sign match.
Solution: Show
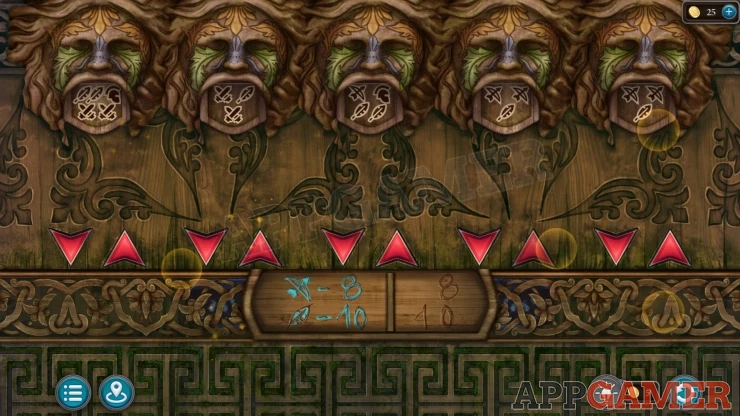
You can now look inside this outbuilding.
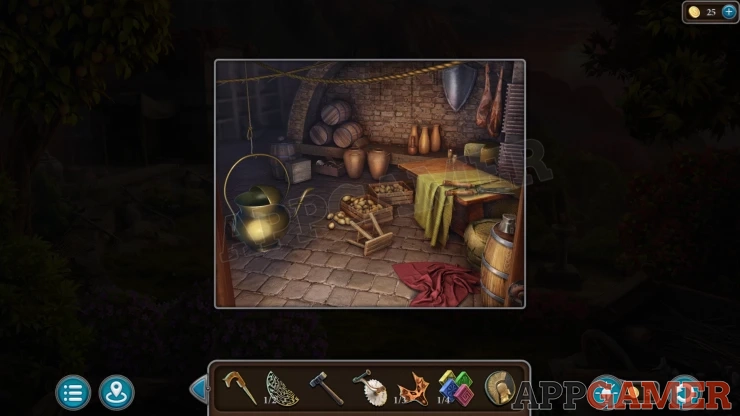
Collect a Watering Can and some Garden Shears.
Back up to the lower level and view the Entrance to the large temple building on the right.
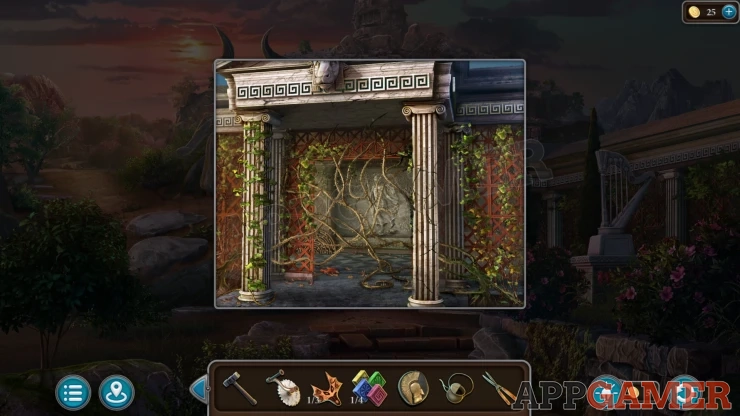
Use the garden shears to cut away the vines growing here, then collect another Fragment of the Labyrinth and also a Head of the Hydra.
Now you can view the stone gateway under the Bulls head.
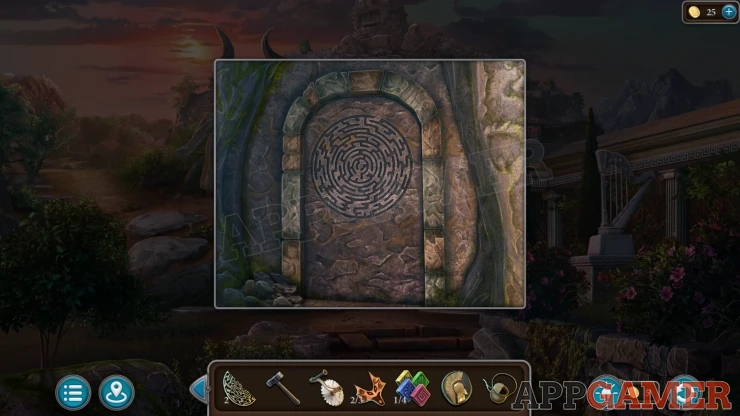
Place the 2 fragments of labyrinth here top open the door. Go through to the Labyrinth.
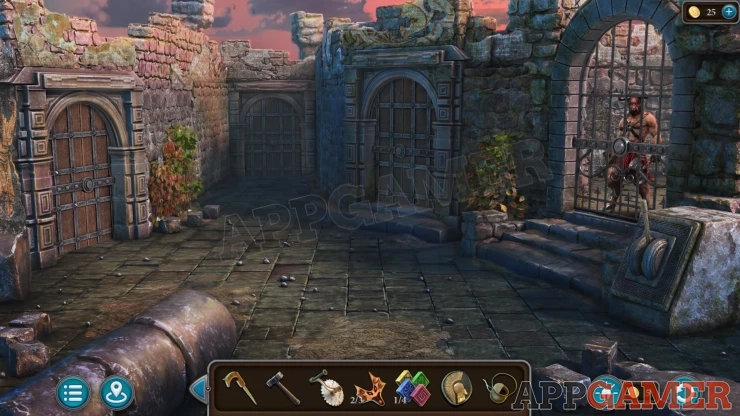
Pull the Lever to open the doors to the various paths of the labyrinth and also release the Minotaur. You will then have a timer to find your way through and escape before he chases you.
Labyrinth
This is not a maze but it is a series of rooms and secret ares that you will need to explore to find the items you need to get through. At the start there are 3 doors that open for you.
To complete it you will need to find certain items, these can be hidden in a number of areas.
If the time runs out you will be reset to the start and need to open the doors to begin again.
Solution: To complete the labyrinth you will need to follow the following. There are a number of possible locations for items but this is where I found what was needed.
Find the Lever
Center room - Collect a Board. Yo can also check the pile of dirt on the floor.
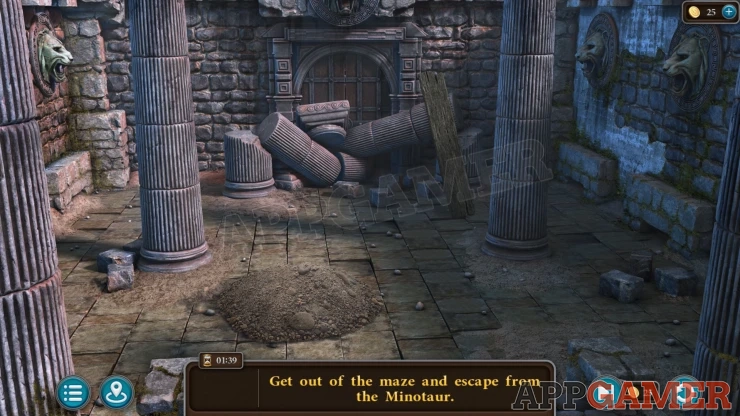
Right room - Place the board on the right to let you access a side area. (you can also move the rubble on the steps to look down below).
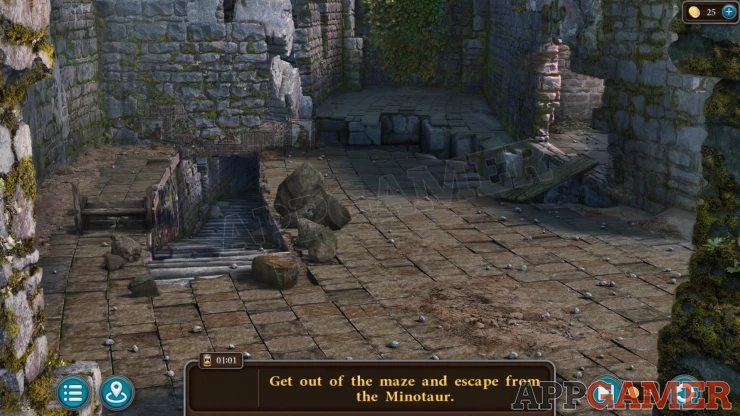
In the side area collect the Lever from the lion head on the right. You can move some more rubble here.
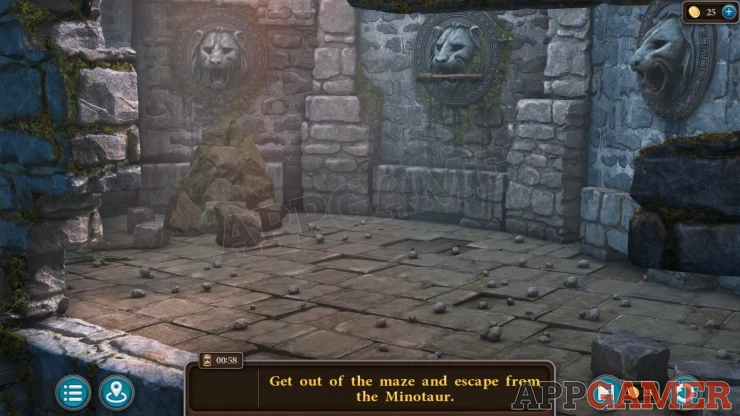
Once you have the Lever go back to the left room and place it on the left. This opens another door, go through.
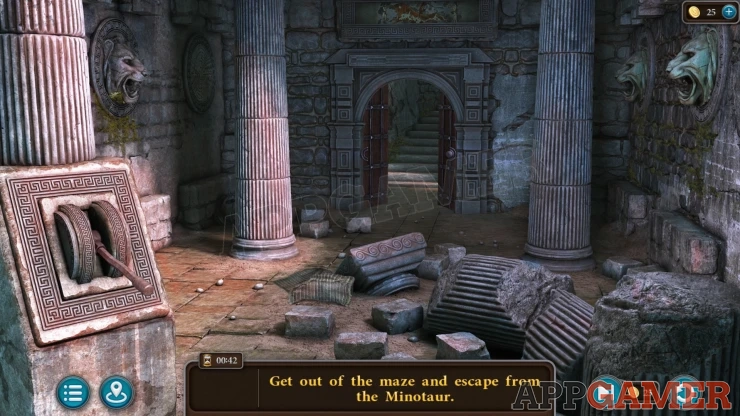
There are a number of wall hangings, lift each of these to find a secret button, press it to open a secret door.
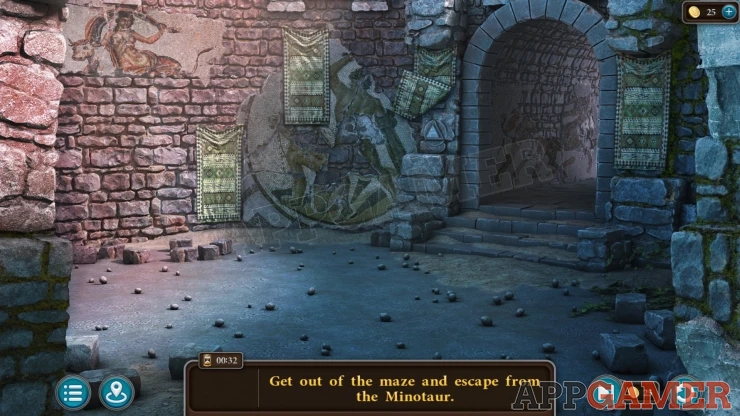
Enter the secret room to collect a Rope.
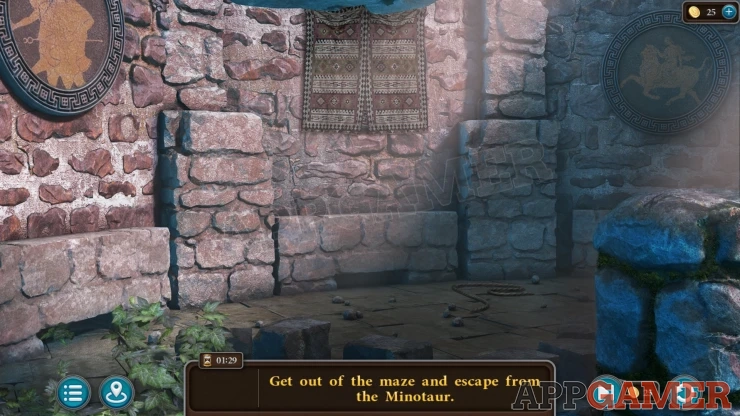
Back up and go through the passageway to another area.
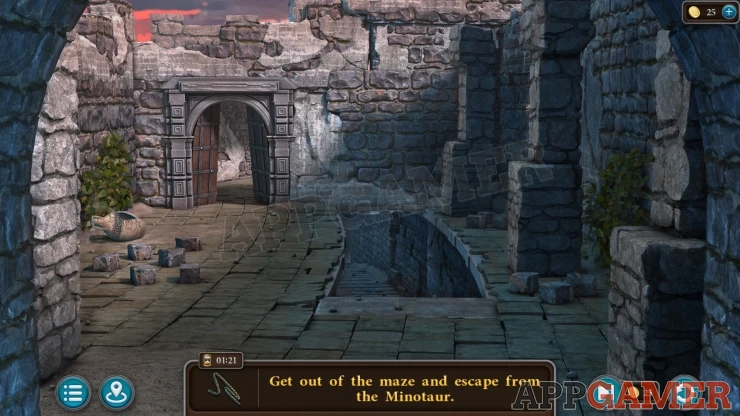
There are some steps leading down, investigate the lower area. Add the rope to the broken chain and then pull the lever to lift the gate.
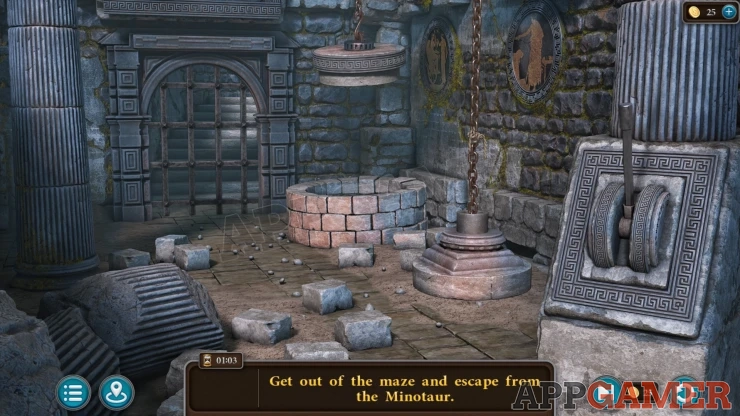
Go through to find another gate.
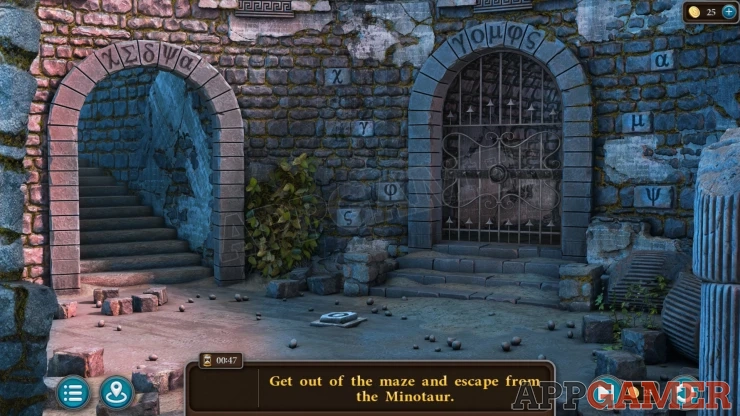
Notice the letters above the closed gate on the right.
Tap the same letters found on bricks and stones around the room, wall and floor. If you tap them all in the correct order it will open the closed gate.
Go though and investigate this room, move items to find and collect a sword fragment.
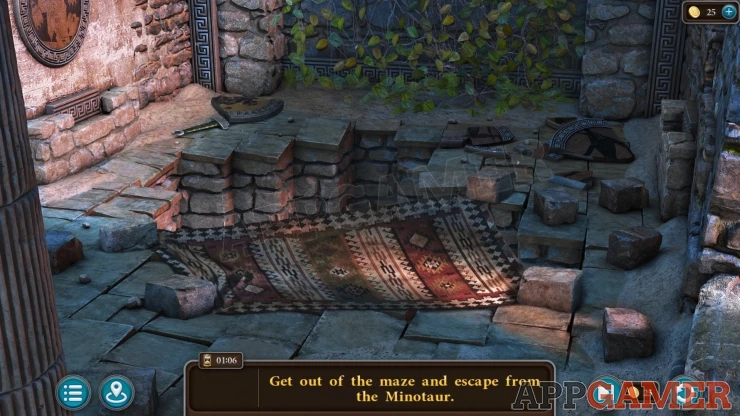
Back up and to through the other gate that was open.
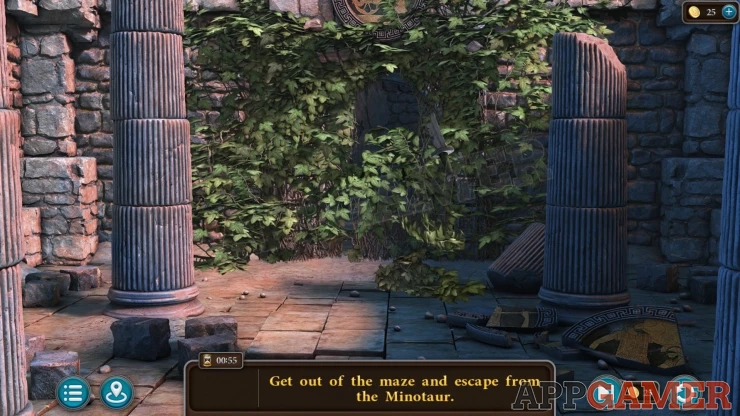
Use the sword fragment on the overgrown vines to cut them back.
You can then head up the steps and escape from the Labyrinth.
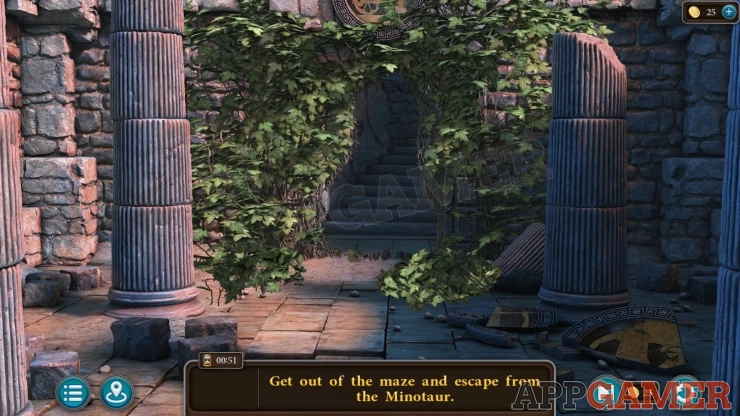
You arrive at an area with broken statues and columns. A ruin.
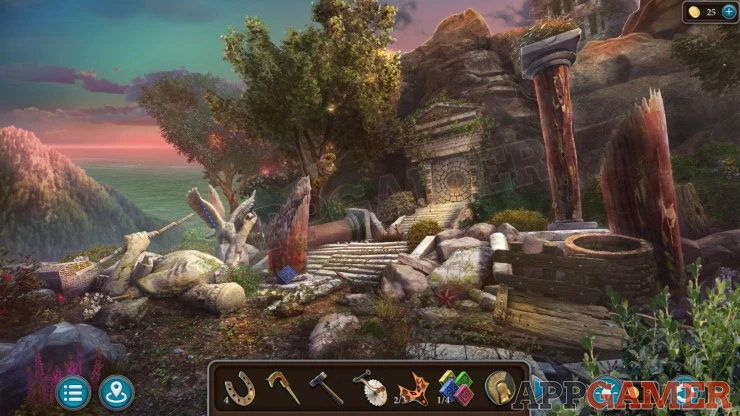
Morphing Object: Star/flower on the stones to the right of the bottom of the steps.
Collect another Part of the pedestal from the bottom of the broken pillar on the left of the steps.
Tap the fallen statue on the far left to see Zeus. This is where you use the Lightning Bolt items to play mini games.
Collect a String from the bottom right.
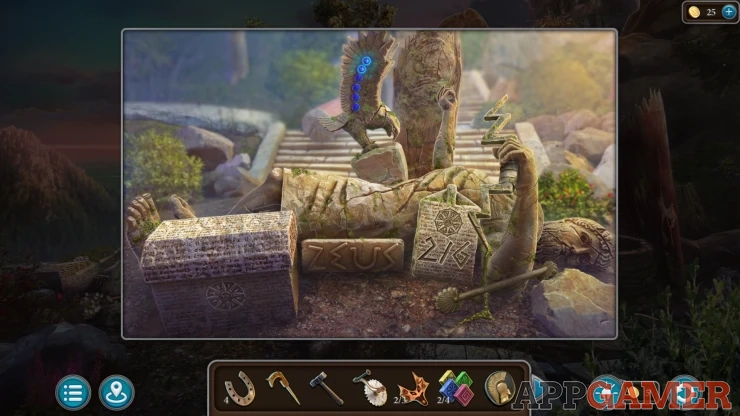
Travel to the landing area of the island and view again the stone harp on the right. Add the String to it and a panel will open. Collect a Medallion and a Ladder.
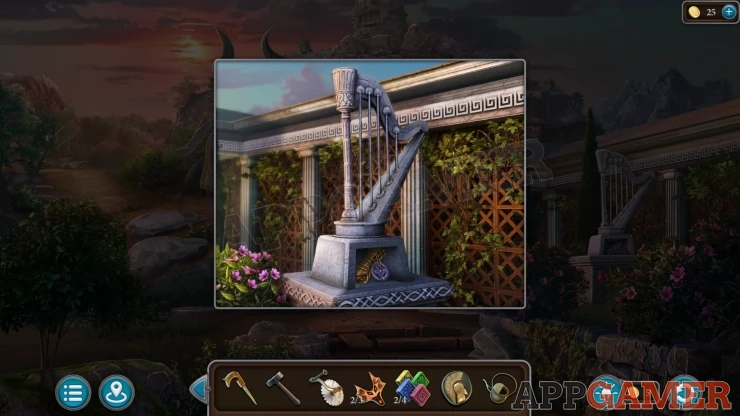
Go back to the ruins and look inside the Well on the right. Place the Ladder here.
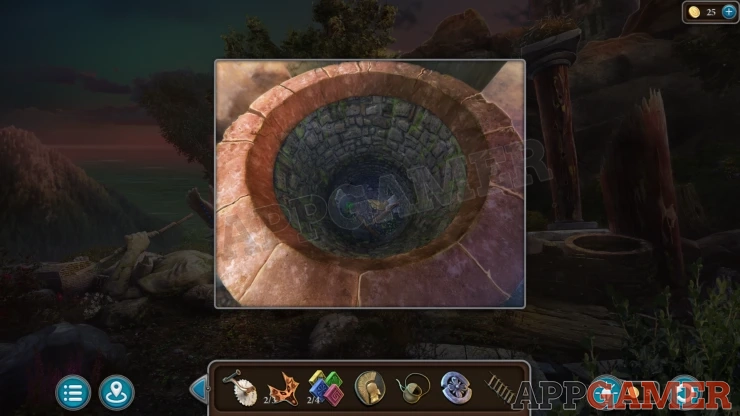
Now you can see the bottom of the well.
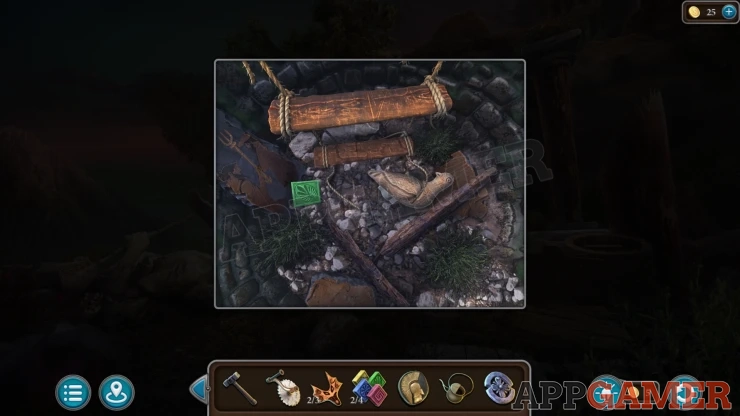
Collection Item: Trident on the left side.
Collect another Part of the Pedestal and a Bird Figurine.
Go back to the Garden and view a bird bath on the lower right area.
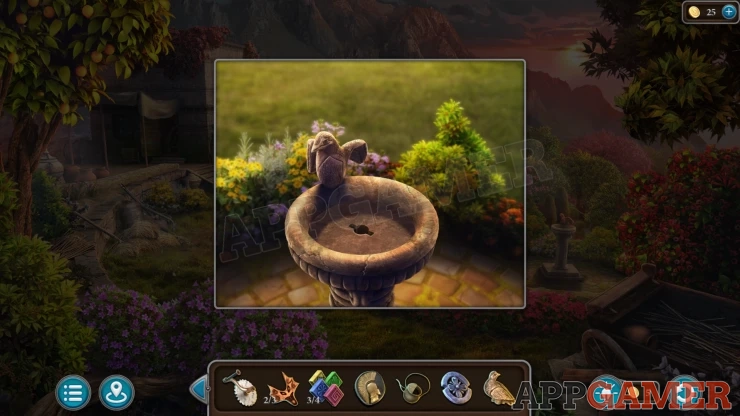
Place the Bird figurine into the center slot and it will open a secret passage. Look inside.
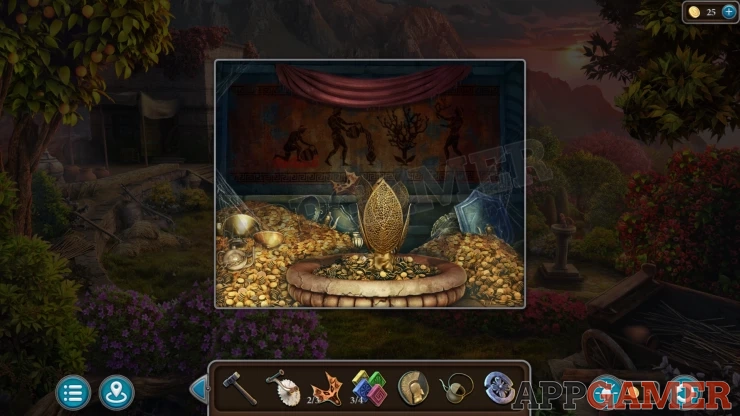
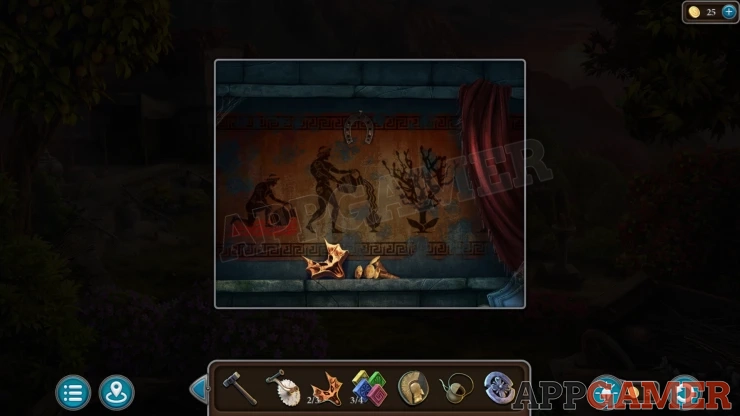
View the mural on the back wall to see a clue. Then collect another Head of the Hydra and some Pegs.
Horseshoe: Tap the red curtain above the mural to move it and find the horseshoe.
Next return to the ruins and view the tall pillar on the right. It has holes on it. Add the pegs to this and then use the hammer to knock them in.
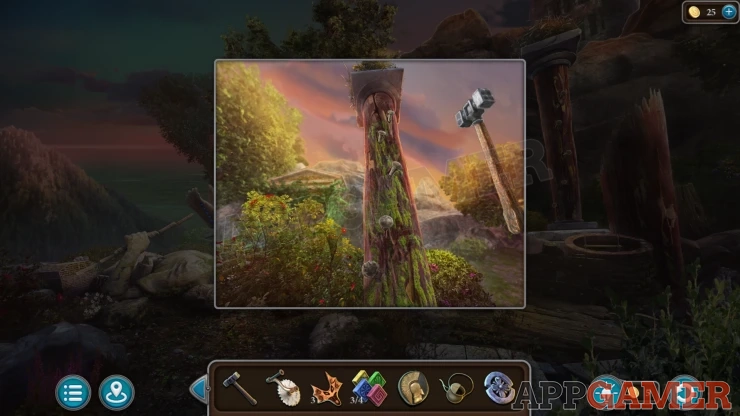
Now you can access the nest on top.
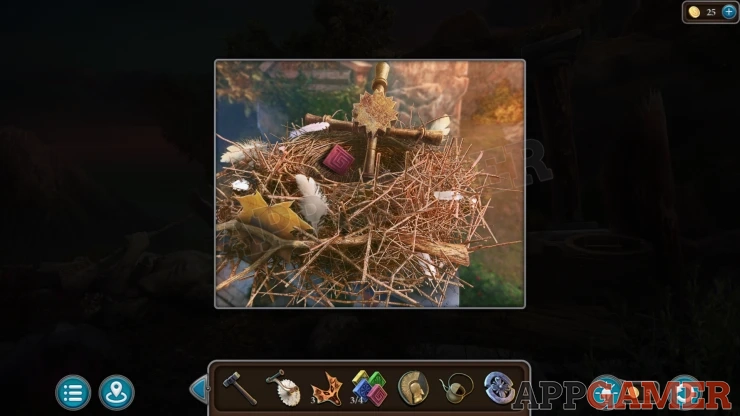
Collect another Part of the pedestal and a Key-cross.
Coin: Move the large leaf that is on the lower left and you can collect a Coin.
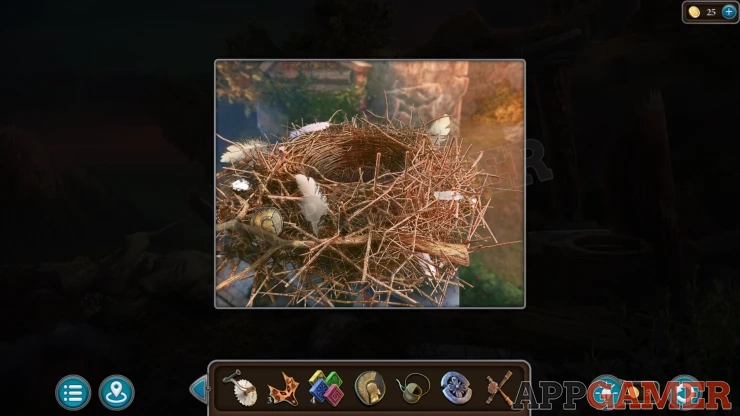
Now you can go back to the starting area with Kate and view the Base of the statue in the center.
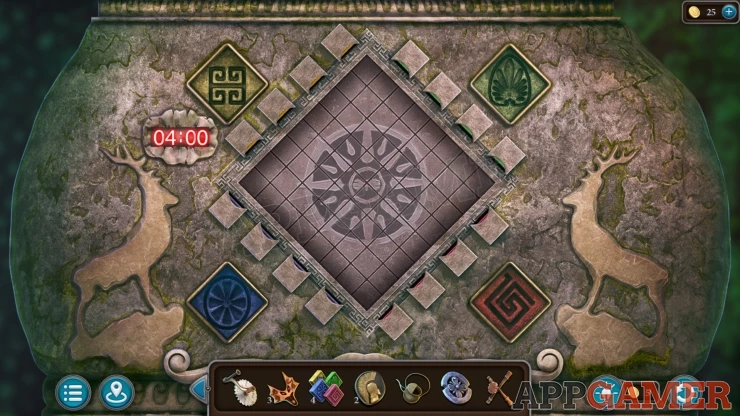
Add the four parts of the pedestal to it to start the puzzle.
Pedestal Puzzle

This is a timed puzzle that can earn you an extra star if you complete it within the time limit shown.
- On each of the sides there are four buttons. Tapping the buttons will make tiles of the color of that side push out onto the board.
- On the board there are a number of colored spaces. You need to push the tiles onto the board to cover the colored spaces with the correct colored tile.
- You can reset with puzzle if you get stuck.
- It is tricky as the tiles will cover the clues as you go. Refer to the image above to remember the required positions.
Once done you can collect a Scroll with a clue. And the Star if you complete it in time.
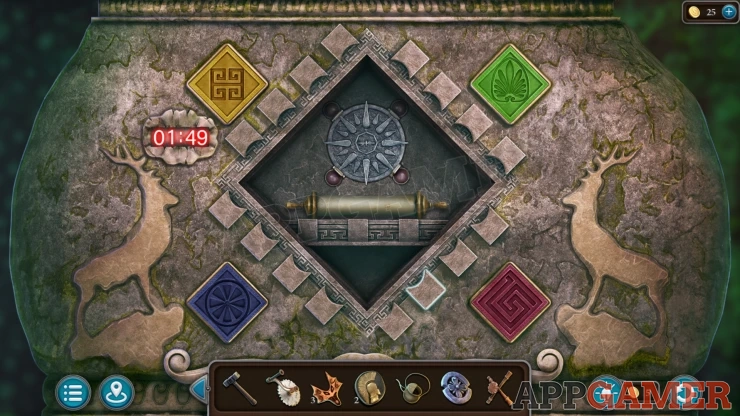
Go up to the left to the Archive, then look in the hole in the floor. Place the Handle on to the mechanism and then you can use it to lower a sphere from the ceiling.
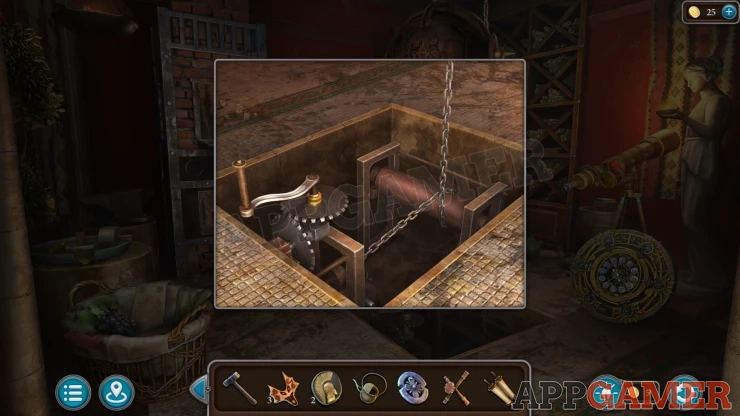
View this and place the 3 heads of the hydra onto it. It will open and you can collect a Bas-relief.
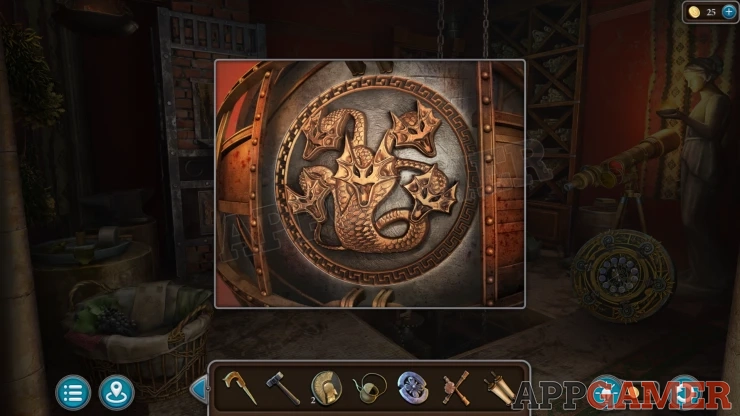
Go back to the ruins and view the round doorway at the top of the steps. Place the Bas-relief here.
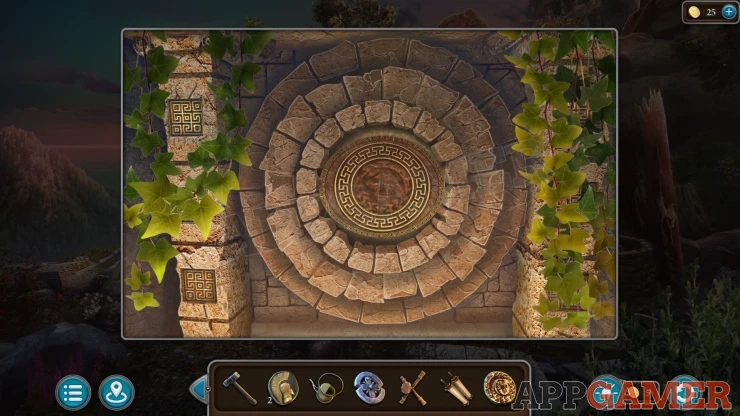
Zodiac Signs Puzzle
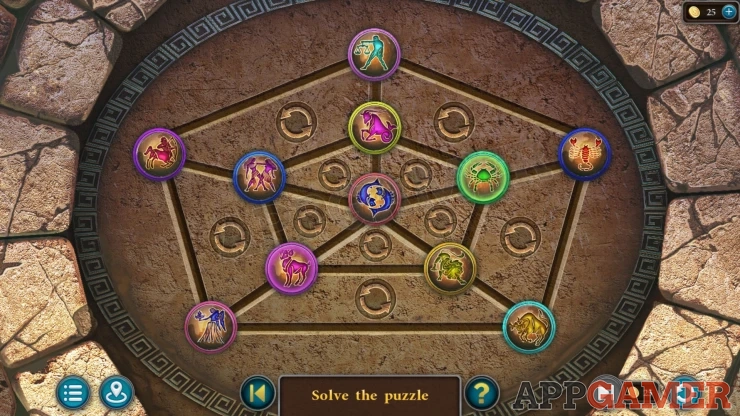
- There is a web of eleven colored slots and eleven zodiac symbols.
- Each of the symbols is also colored, i.e. Cancer the crab is green.
- Use the arrow button to move the symbols around the section of the web grid.
- Arrange them into the correct matching color slots.
Solution: Show
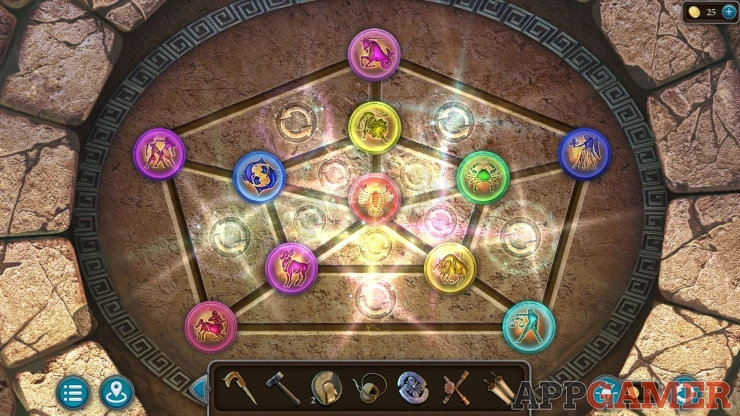
Once done the doorway will open and you can pass through to descend to the river Styx.
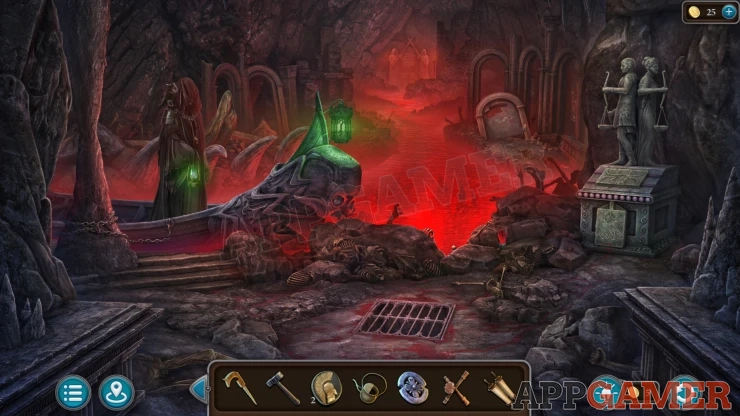
Talk to the figure on the left Charon. You are told that you need to get 2 branches from the tree from the gardens of Persephone.
Morphing Object: Boot on the rocks to the left of the statue on the right.
Hourglass:Look in a small circular hole on the front on the boat to see an Hourglass to collect.
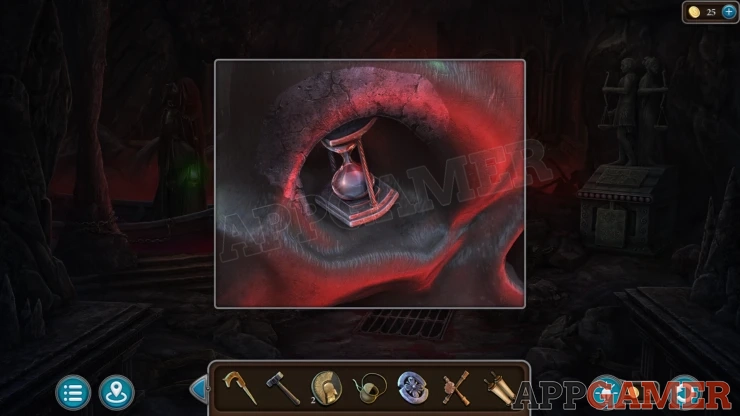
Collect a Crystal from the rocks by the statue on the right.
View the stone pillar on the left of Charon to see a chain around it. Use the hammer on this to let you collect the Hook.
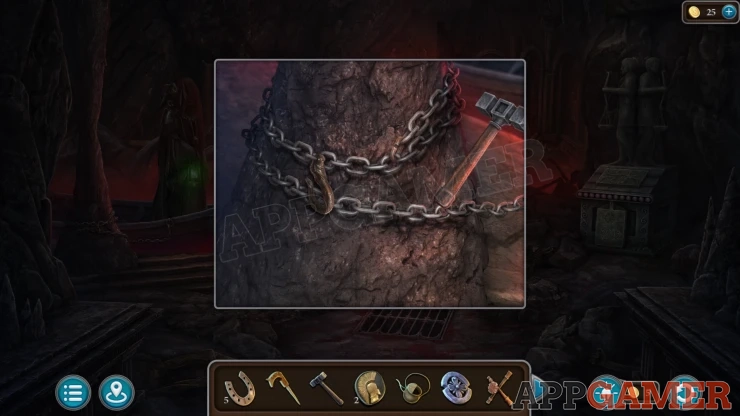
View the red water of the river. Use the Watering can here to collect Watering can with water.
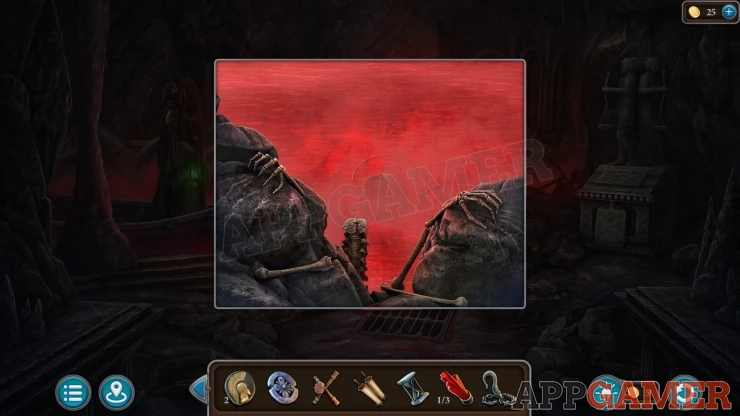
Return to the garden and look again inside the secret area by the bird bath. Use the watering can on the shoot in the center. This will make a golden tree grow.
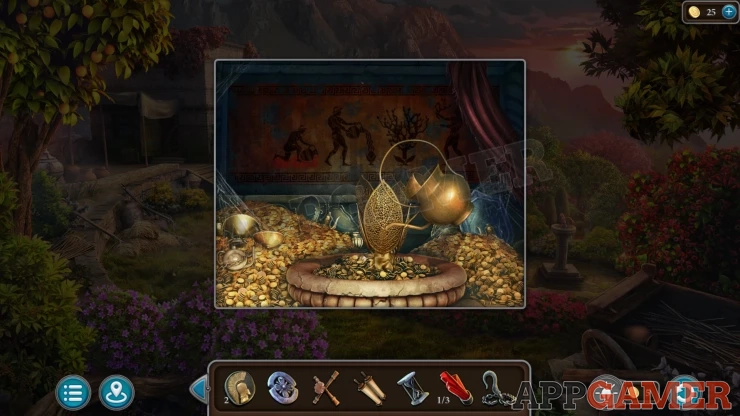
Now use the jigsaw on this and you will collect the Golden Branches.
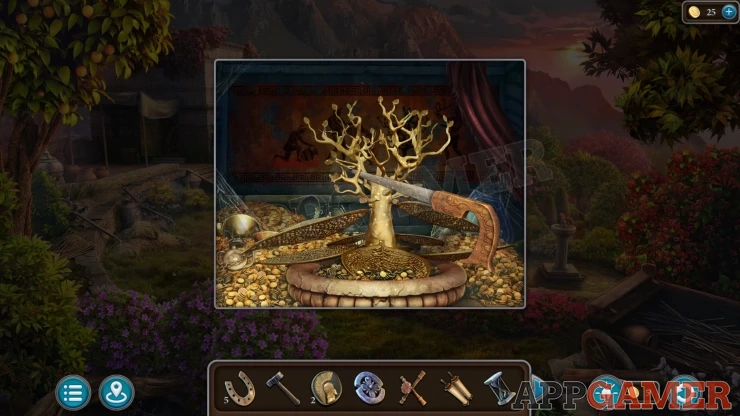
Return to the river and give the branches to Charon. He agrees to transport you.
First tap on a fallen arched stone on the right bank of the river. her is a mosaic that is covered with dust. Collect from here a Torch.
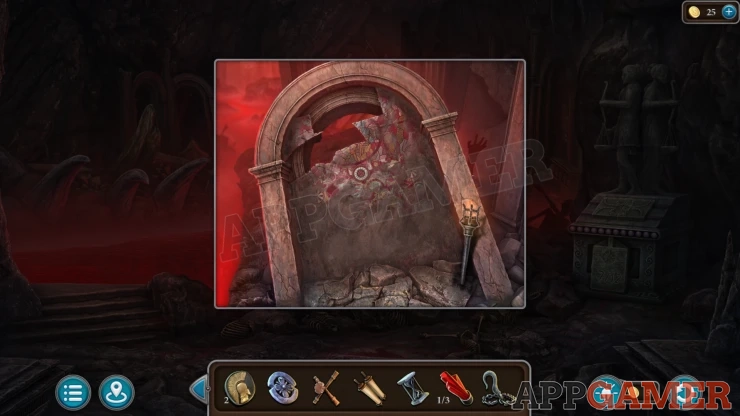
Then tap on the far end of the river to be taken to the gates of the underworld. There is a puzzle.
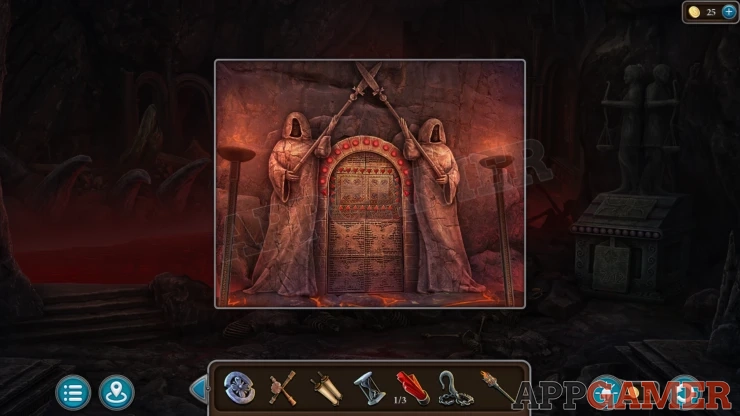
Underworld gates puzzle

- You have a grid of different colored gems.
- You can re arrange these by using the arrows to move the rows and columns.
- Add the Scroll clue to the puzzle and then you can move the gems to match the layout seen in the scroll clue.
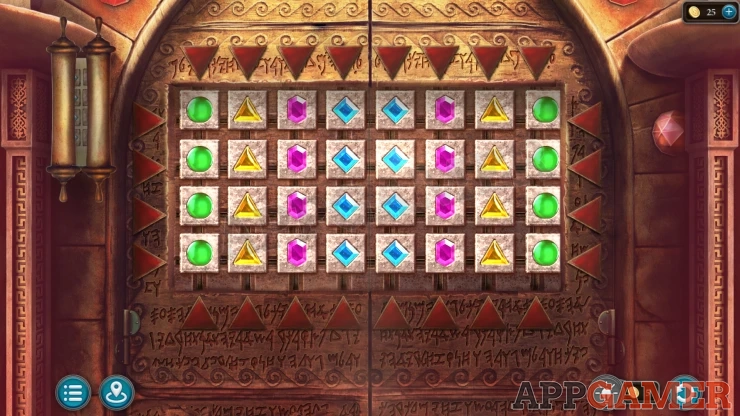
Once done you can pass through to the underworld. You arrive on a path.
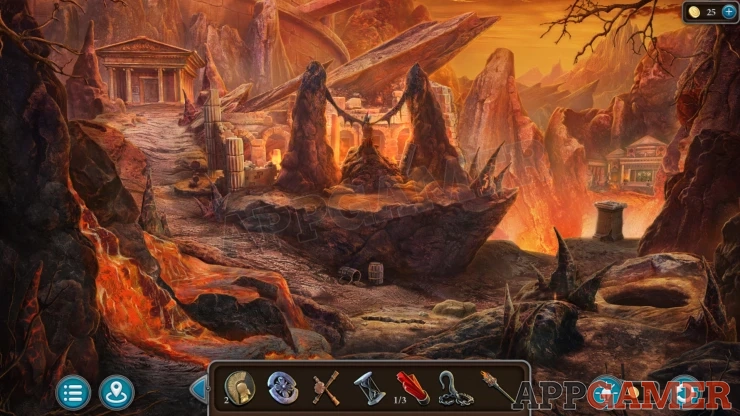
Morphing Object: Small stack of rocks on the path to the left.
Collection Item: Lightning bolt on the pointed rocks to the right of center.
Look inside the hole in the ground on the lower right of the scene. Use the Torch on it so that you can see inside.
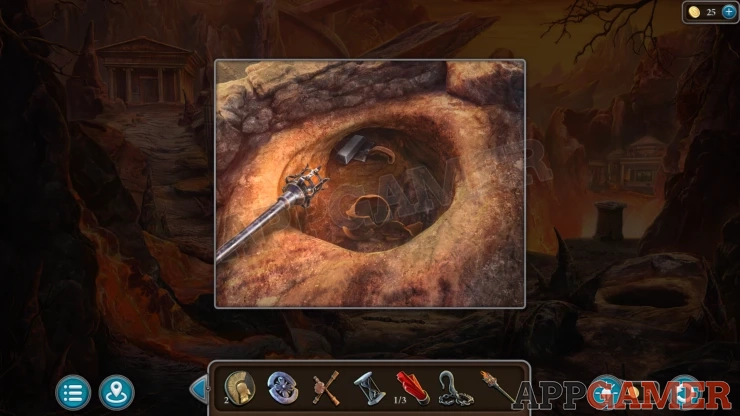
Collect some Silver and a Trowel.
View the skeleton that is between two rocks in the distance. Collect a Shield from the right.
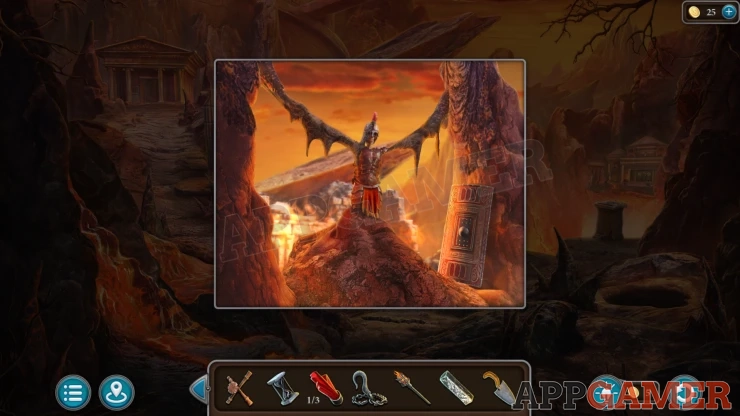
Then view the head of the skeleton, you can use the Hammer to remove and collect the Helmet.
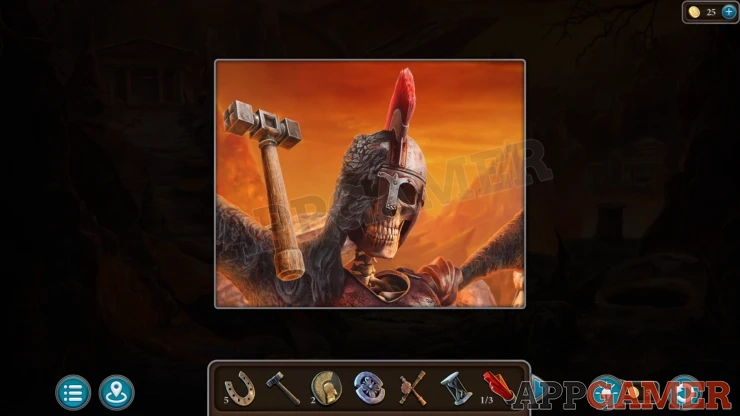
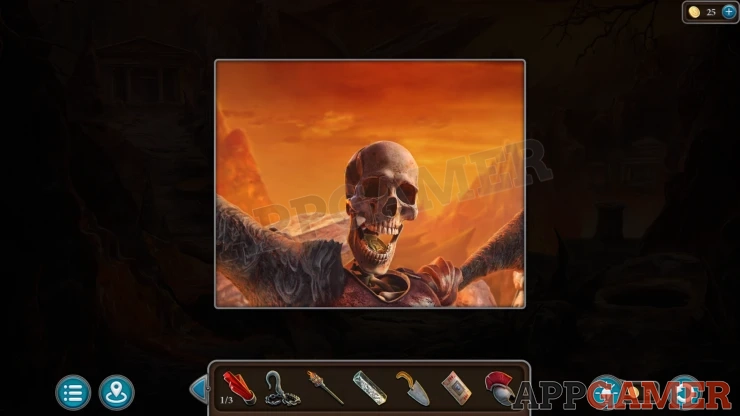
Coin: Open the skulls mouth to find it.
Now view a small pedestal on the right by the end of the path.
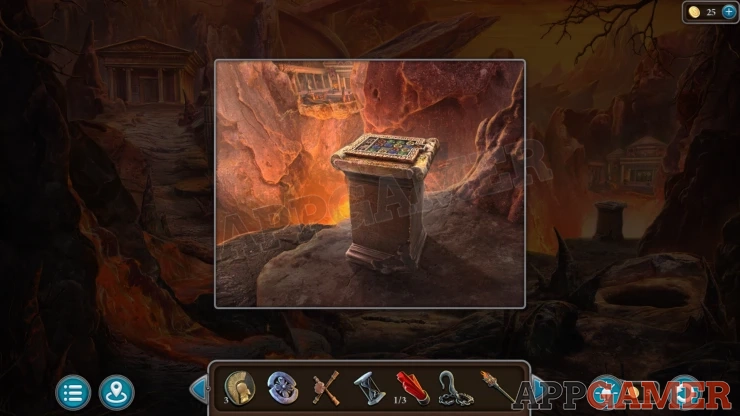
There is a puzzle. Add the Medallion to the slot on the right to start it.
Medallion Puzzle
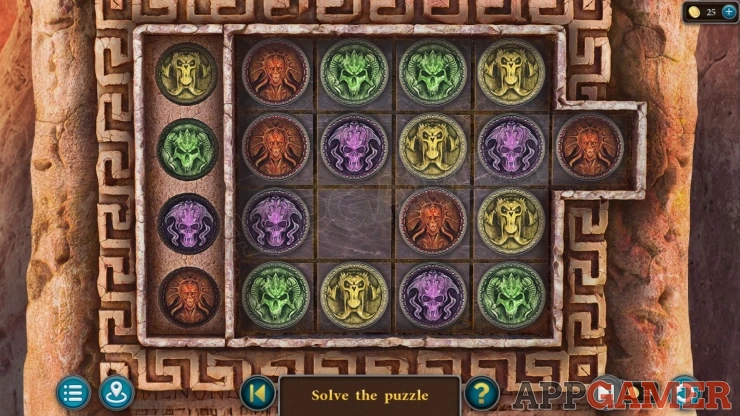
- The board is full of colored chips. You can tap a column to move the chips on it down and rotate around to the top.
- Where there is a gap you can tap a chip to the side of it to move it to a different column.
- On the left is a fixed set of four chips. Arrange the rest of the chips on the board to match the same colors in the rows.
Solution: Show
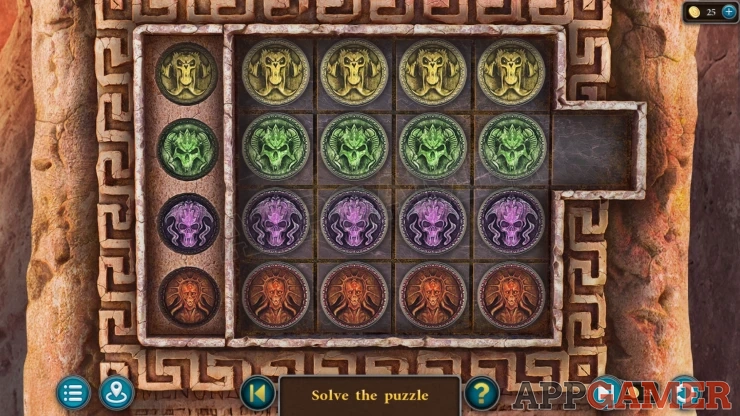
This produces a walkway to make your way across to a courtyard guarded by Cerberus.

Morphing Object: Large urn in the far corner of the courtyard by the green gate.
Collection Item: Lighting Bolt above a pillar on the top fascia of the wall on the right.
Collect the Pincers from a pointed rock on the right.
Back up to the path and examine a crack in the ground on the path, at the bottom center of the scene. Use the Pincers here to collect a Key.
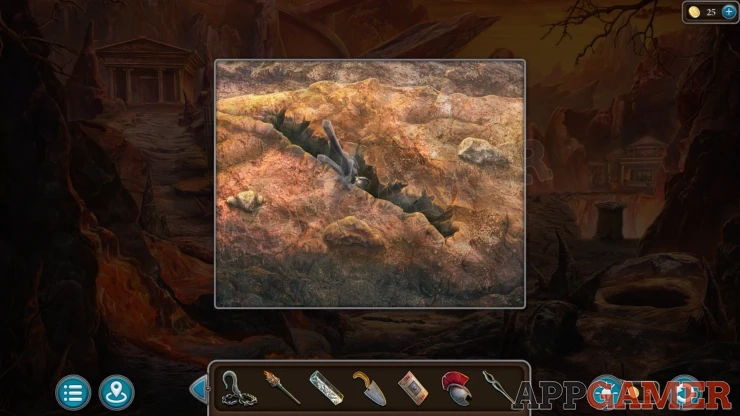
Back up to the river Styx and view the broken stone tablet on the right of the river again. Use the helmet on it to clean the stone with the brush on top.
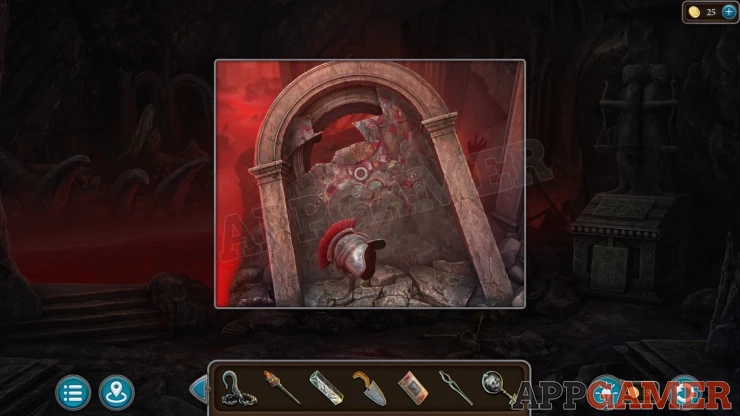
You can then view the pattern on it. This is a clue. Notice the various symbols that you see on it. This can look different for your game.
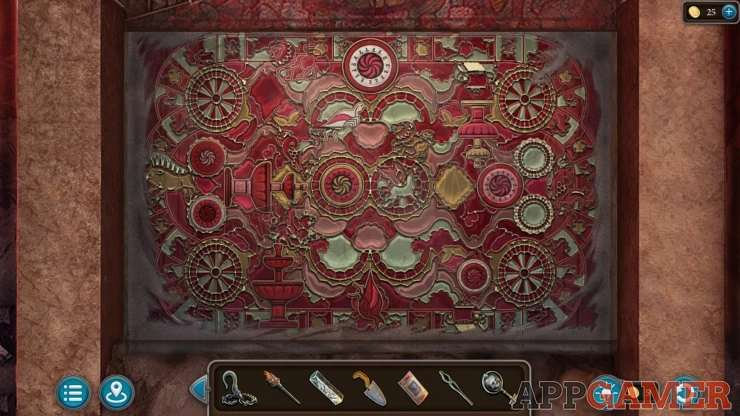
Now return to the underworld path and view the door to the temple building at the end of the path on the top left.
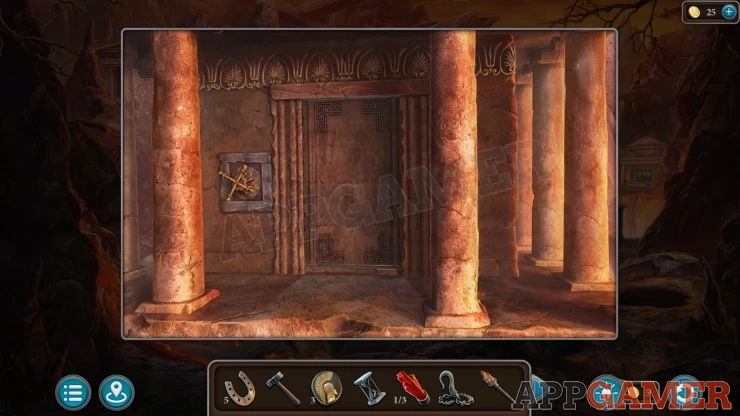
Add the Key-cross item to the lock and turn it to open the door and go inside. There is an altar of skulls on the left and cabinets on the right.
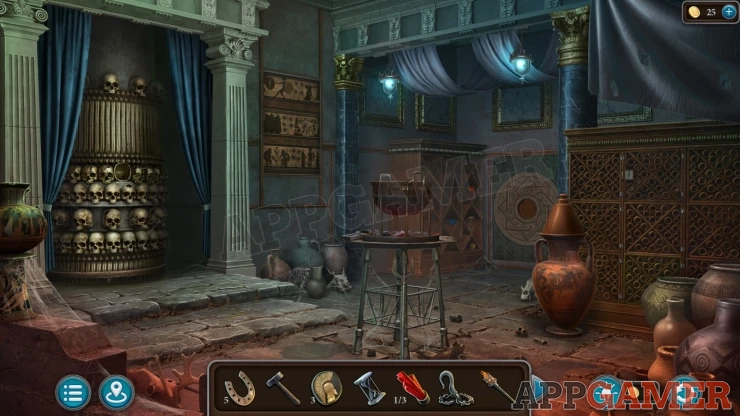
Morphing Object: carving shape on the top of the stone column on the right of the skulls
Collection item: Trident on one of the legs of the center table/stand.
Hourglass: among the pots on the floor below the picture on the wall. To the right of the skulls altar.
Hourglass: open the bottom center cabinet door on the right side to find it.
First view a picture on the wall to the right of the Skulls altar.
Three panel picture Puzzle
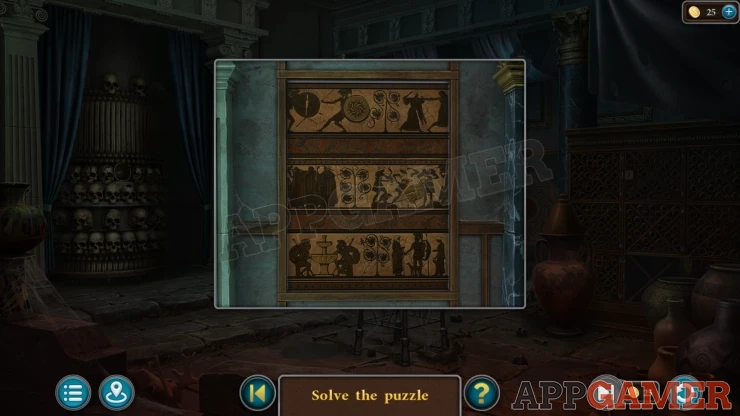
- This has a number of panels with drawings on it.
- On each of the three panels has an object that is also a button. A Shield, a Bird and a Fountain
- You need to tap the buttons the correct number of times.
- The clue for this was seen by the River Styx
Solution: View the cleaned broken stone plaque by the river. Count the number of each of these shapes in it. This can vary for your game. The items can be hidden and also rotated. For my game the answer was 623Show
Collect a Mirror from the opened panel.
Next view the cabinets on the right. Use the key here to open a door.
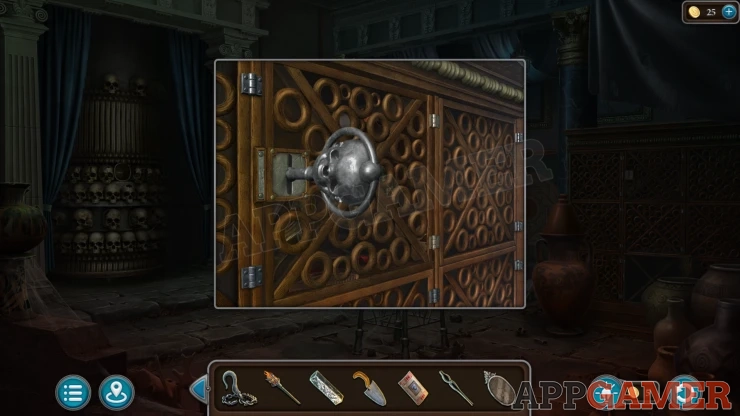
Collect a Detail and then view a scroll on the top section that has a recipe for a Sedative for Cerberus. Collect the Recipe.
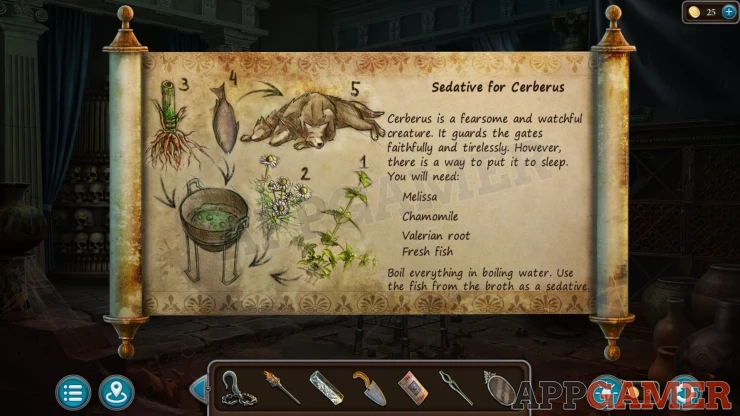
Now that we have the recipe we can find the ingredients for it. Continue the Guide in Part 2.
We have questions and answers related to this topic which may also help you: Show all
 With 20 years of experience in creating video game content for the internet and over 30 years as a gamer, Mark is now a passionate mobile App Gamer. Loving a challenge, he is always ready to get stuck in to both survival builders and puzzle solving games. He has been providing content for AppGamer since 2014.