Grim of Legacy Level 4 Walkthrough
More Escape Room: Grim of Legacy
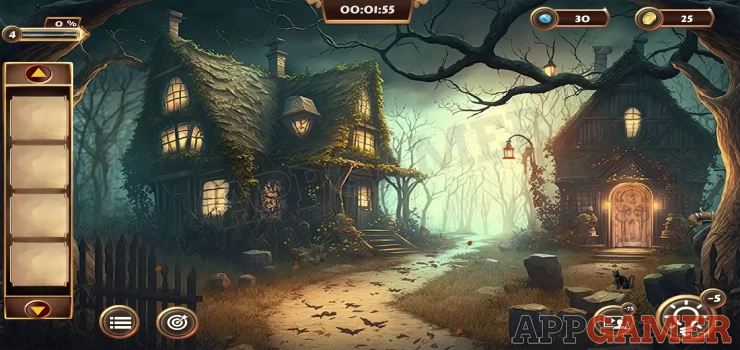
Level 4 of Escape Room: Grim of Legacy also follows the adventures of Emily in a mysterious world. You find yourself on a path between two houses and an unknown voice asks you for help to escape from a Witches curse.
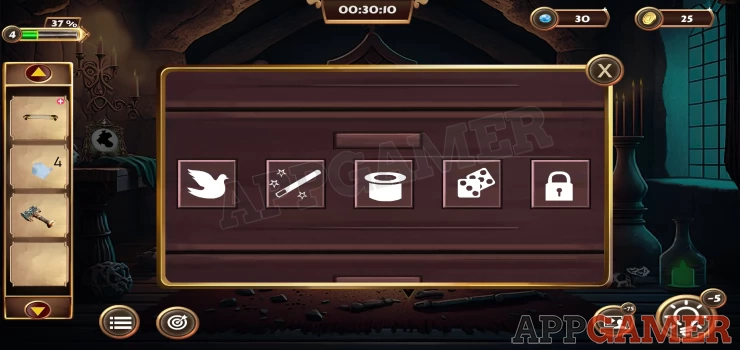
Objective - Obtain the Key
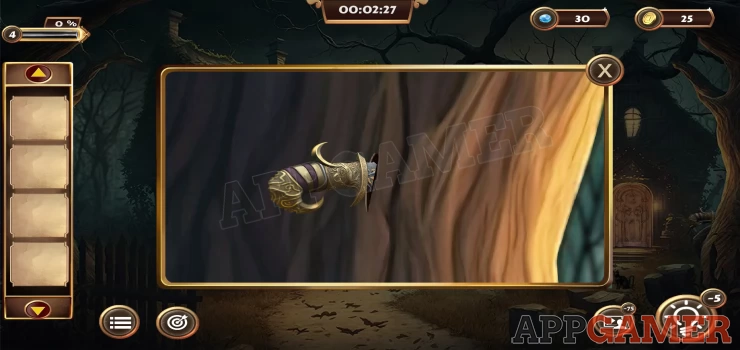
First tap on the tree on the far right of the scene, you will see a knife sticking in it. Collect the knife.
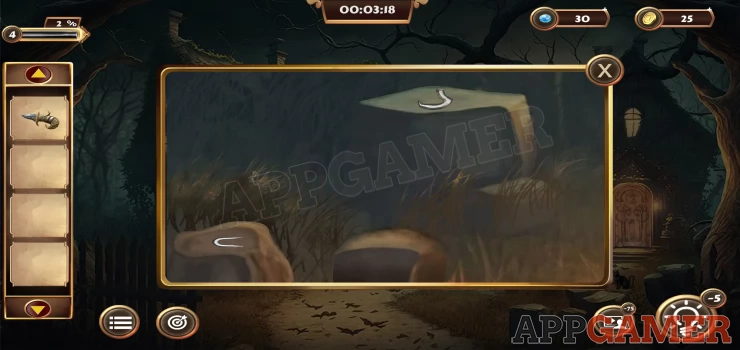
Next tap on the rocks on the left of the path to see 2 hooks to collect.
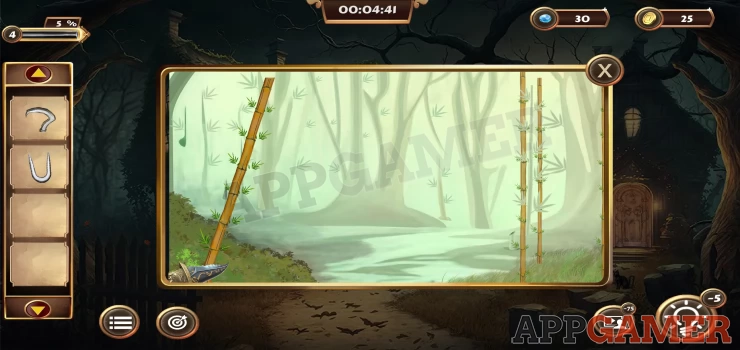
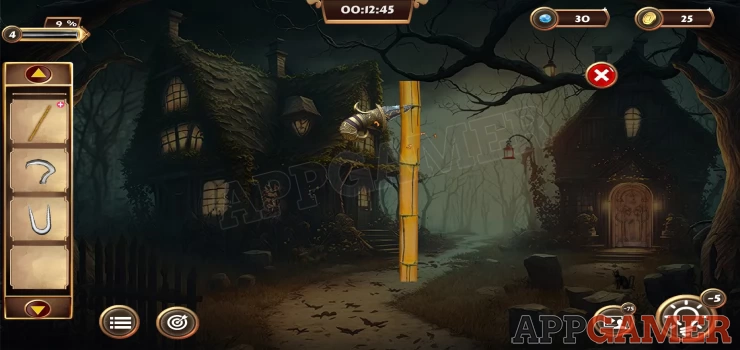
Then tap the far end of the path between the 2 houses and you will see some bamboo. Use the knife on the left side bamboo to cut it and then you can collect the Bamboo Stick.
Next tap on the house on the left. You need to tap on the lower right side of it where you can see a rope across the window.
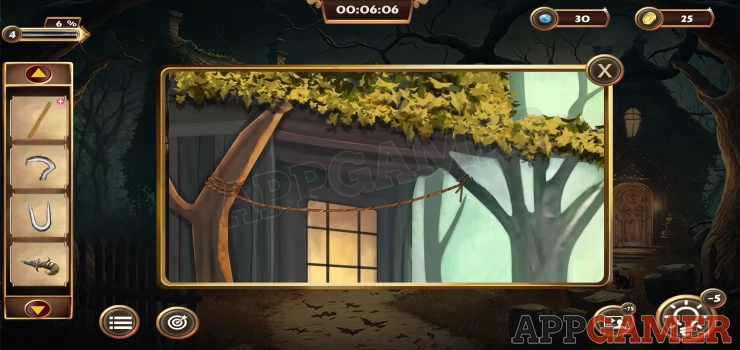
Collect the Rope.
Now tap on the ground to the left of the steps of the house on the left. this is to the right of the rocks that had the hooks on them.
You will see a hidden object scene.
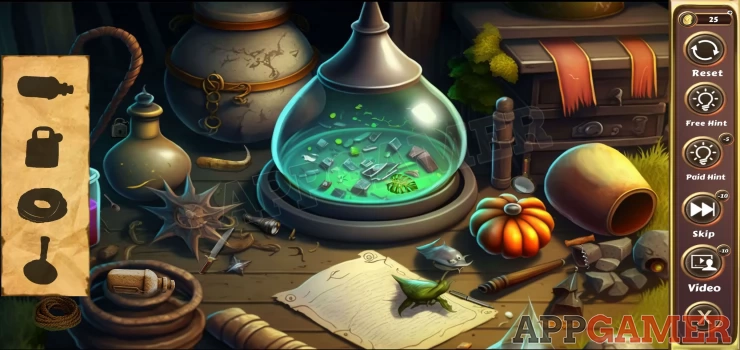
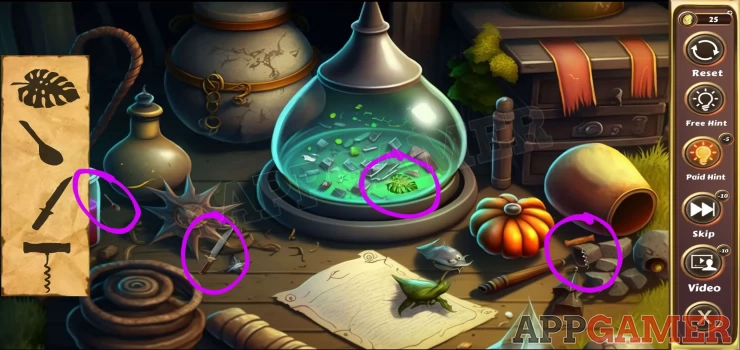
Hidden Objects
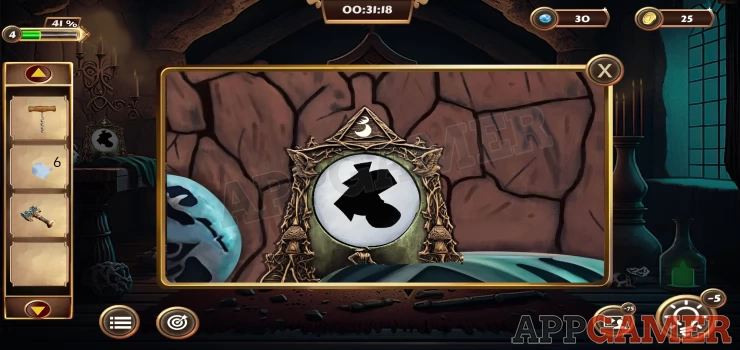
- In this scene you need to find the 4 objects that are shown in silhouette on the side.
- Tap and drag the item to the silhouette to claim it.
- The objects can be very small and hard to see. Some are partially hidden.
- Once you find the first 4 then you will get 4 more to find and then another 4, 12 items in total.
Solutions:
Show
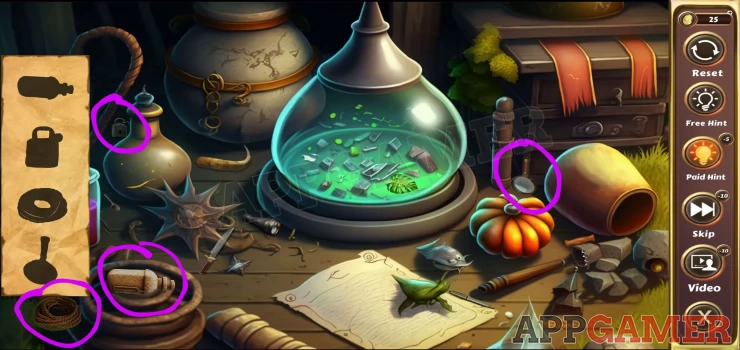
Show
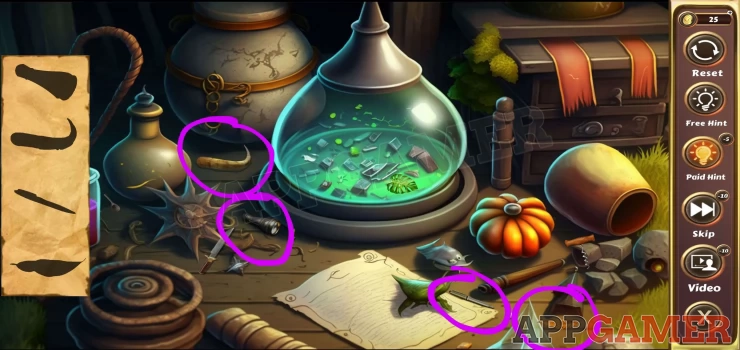
Show
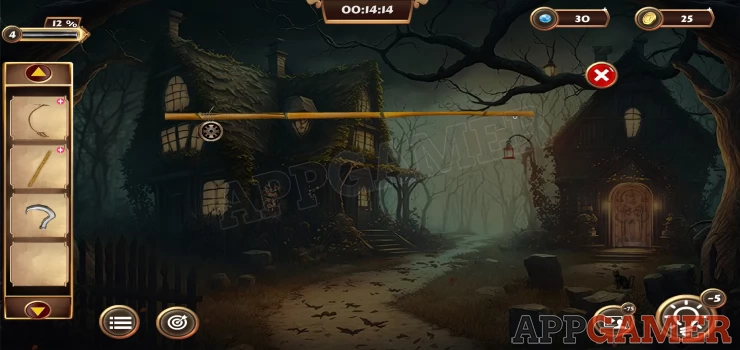
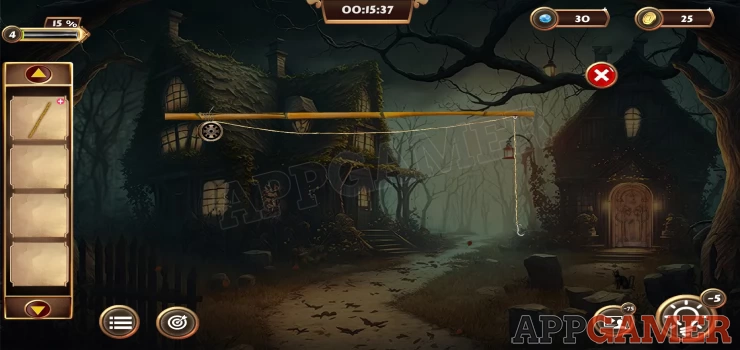
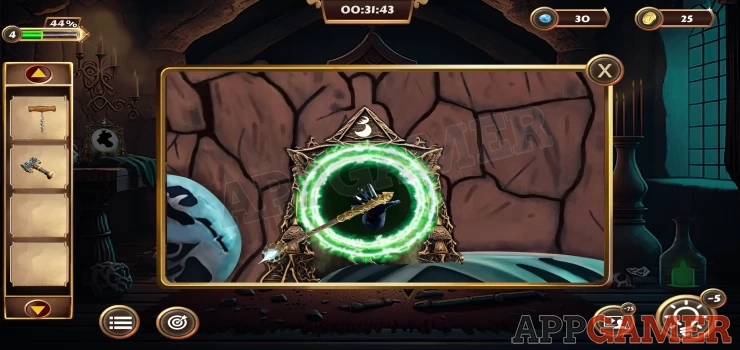
Once completed you will receive a 'Wheel' (a fishing line reel). Now view the bamboo stick in your inventory and use the knife on it to cut it down, then use the knife again to make a notch in one end.
Next add to it the U shaped hook, and the 'Wheel'.
Now view the rope in your inventory and add to it the other hook. Collect the 'Rope with hook'.
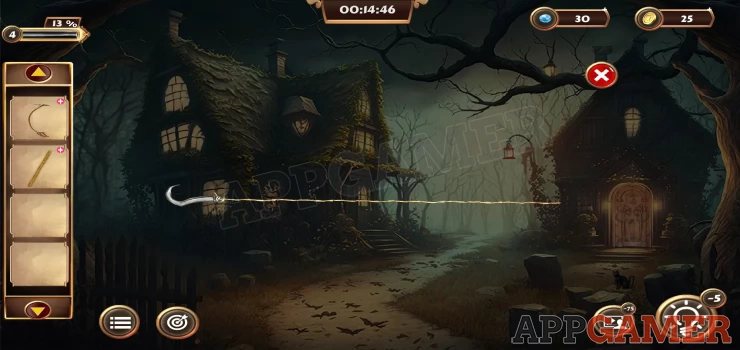
View the Bamboo stick again and add the rope with hook to it to complete the fishing rod, collect the 'Fishing Stick'.
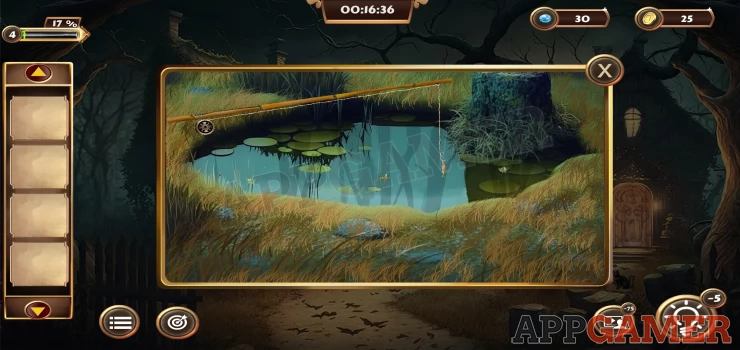
Now tap to the left of the large house on the left to see a small pond. Use the 'Fishing Stick' on the water and you will catch a fish, collect it.
Next tap to view the small cat sitting on the rock on the lower right.
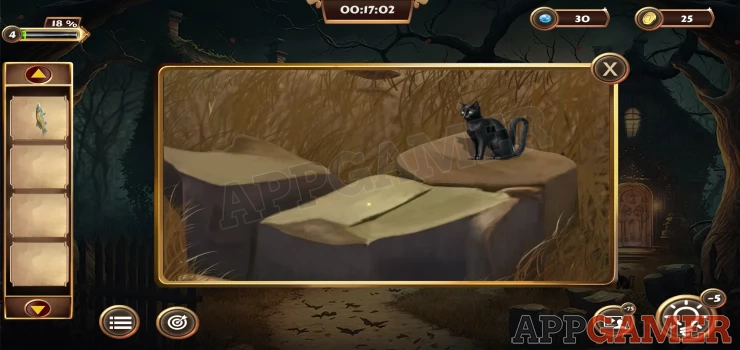
Place the fish on the rock and the cat will move to eat it, you can then collect a key. This complete the task to get the key.
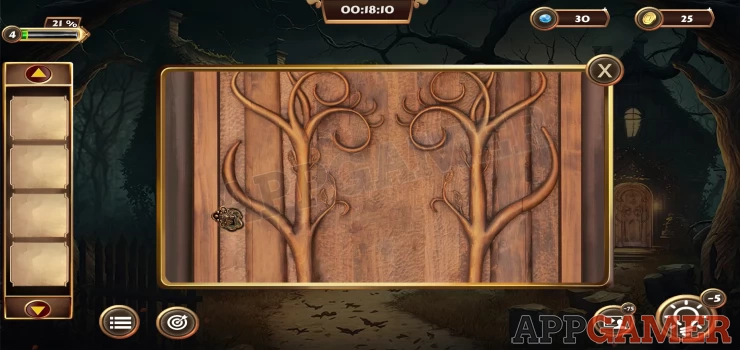
Tap on the door on the house on the right to view it and use the key to open the door. Then go inside.
Objective - Collect the Magic Stick
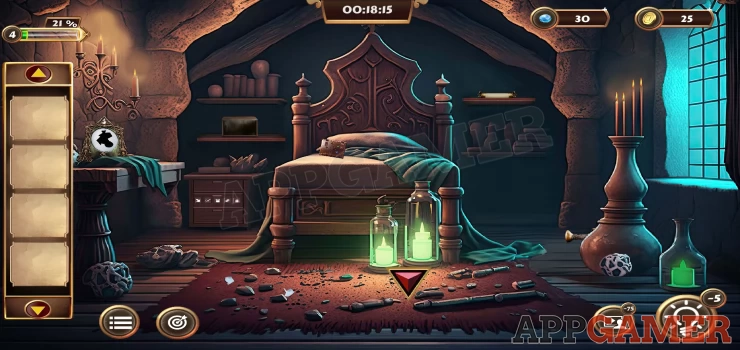
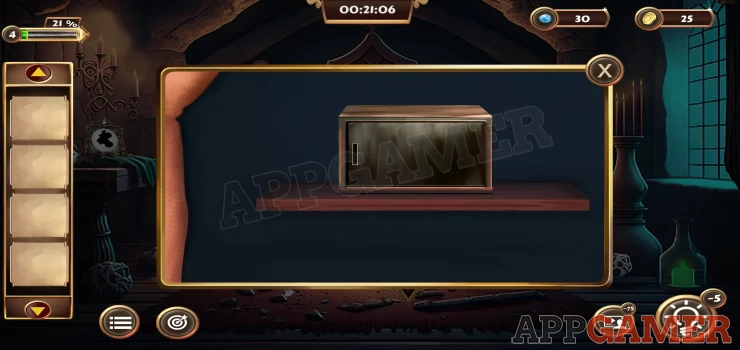
First tap on the shelf on the left of the bed to see a box, collect this. You can then open the box in your inventory to collect 3 buttons.
Then view the bed and collect the book that is on it. View the book in your inventory to see a star puzzle.
- Add the 3 buttons to the top 3 spots on the star to begin.
- You can now tap pairs of buttons that are connected by a line to swap them over.
- Notice that each spot has a colored background. You need to match the correct colored button to the spot color.
Solution: Show
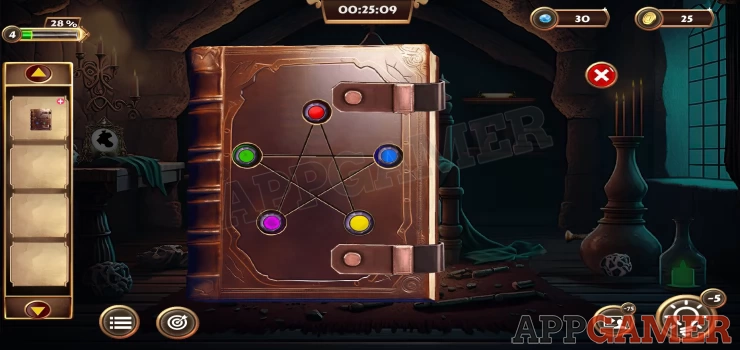
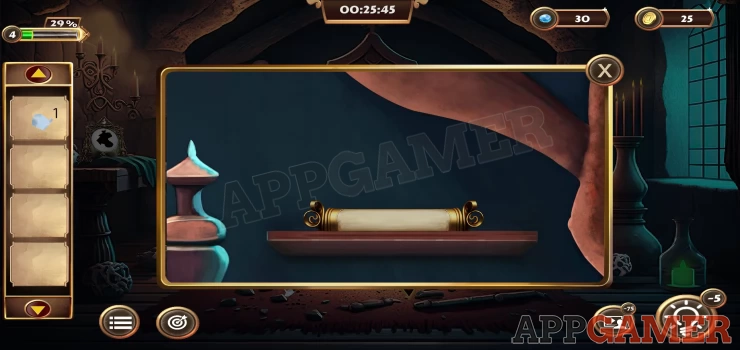
Once done the book opens and you can collect a Mirror Piece. Next tap the top right shelf to collect a scroll.
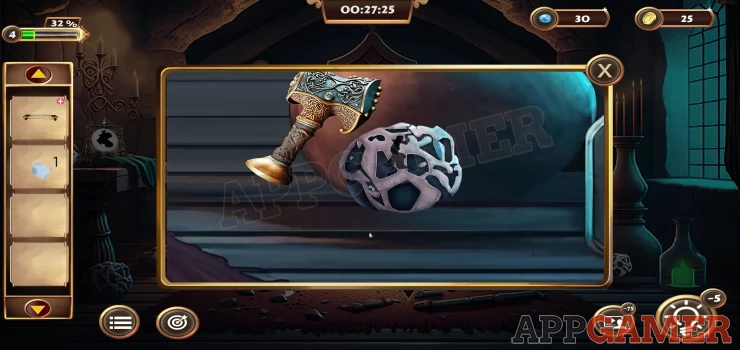
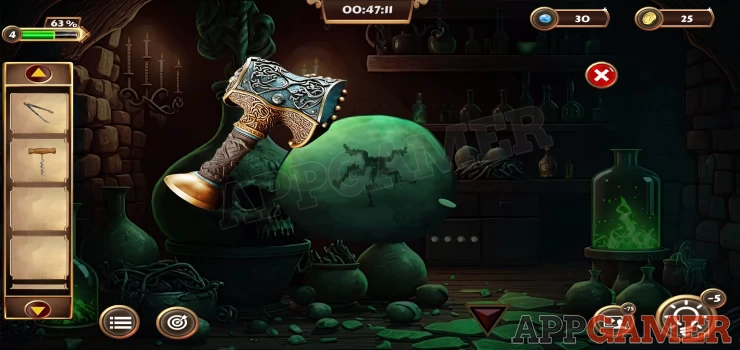
Now look behind the large urn with candles on the right of the room. Collect the hammer.
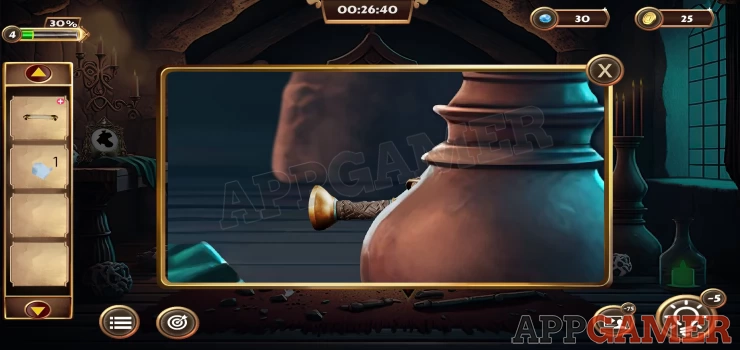
Then view the rock on the ground in front of the large urn with candles, use the hammer on this rock to break it and collect the second Mirror Piece from it.
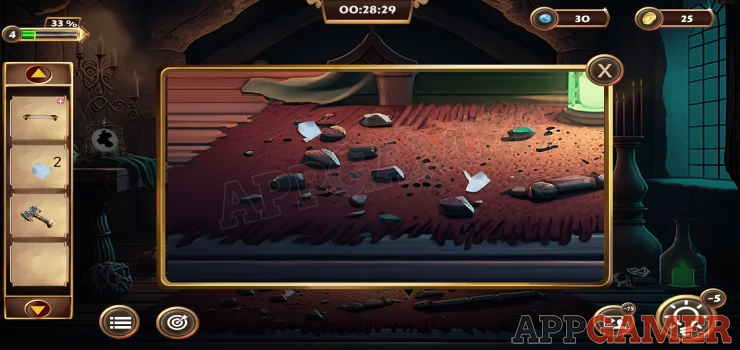
Now tap on the rug on the floor on the left to see more broken pieces. Collect 2 more Mirror pieces from it.
Next view the bedside table on the left to see a code entry.
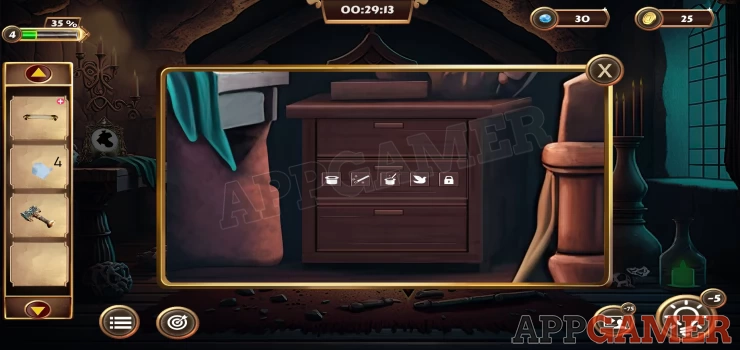
View the scroll in your inventory to see the clue for this and then use it to open the drawer.
Solution: Show
Collect from the drawer a Cork screw, and 2 more mirror pieces.
Now view the round mirror on the table on the left, it is broken.
Use the 6 mirror pieces on this and you will be able to collect the Magic Stick (wand)
That completes the current objective.
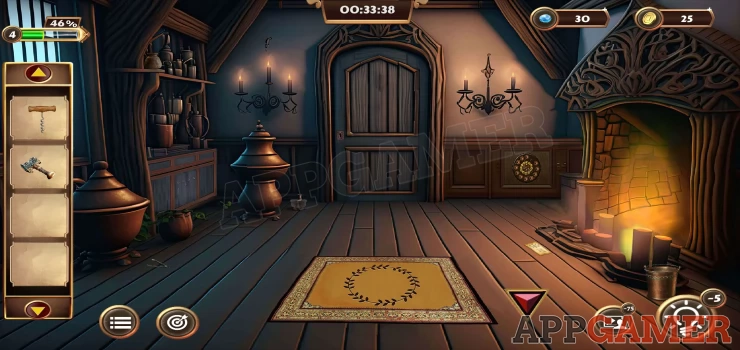
Objective - Unlock the Magic Shield
Back out and tap to view the door to the house on the left.
Use the Magic stick on the circle and the door will open. Go inside.
Look on the floor on the left and collect the Tongs.

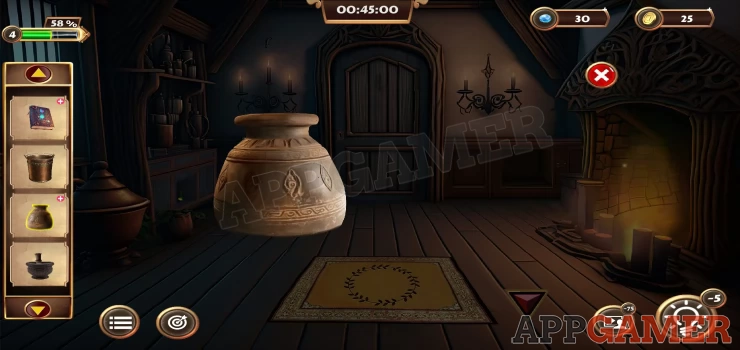
Next tap on the top shelf on the left and collect the Pot.
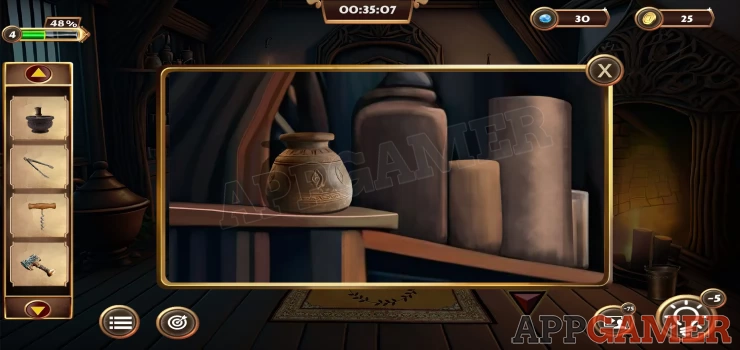
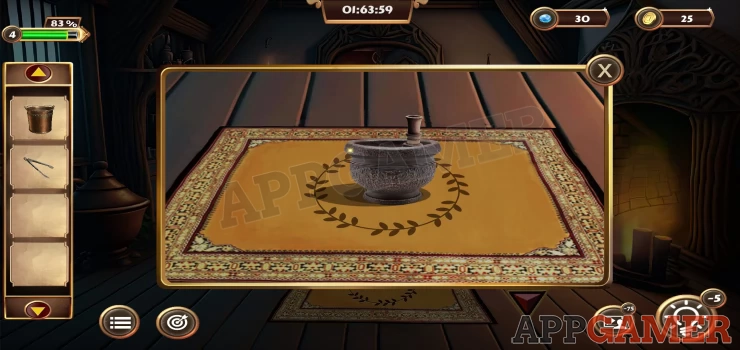
Then look on the floor to the left of the door to find a Mortar to collect.
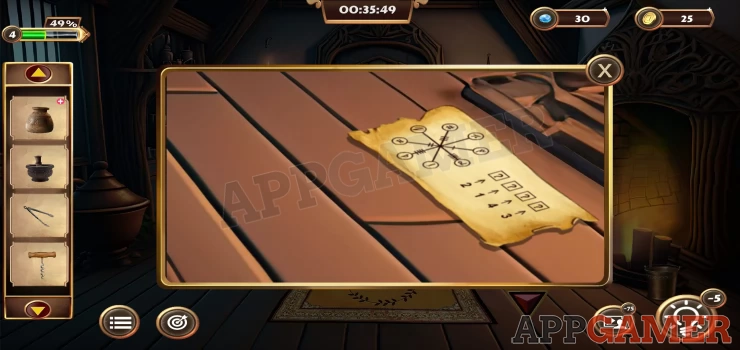
Now look on the floor on the right in front of the fire and collect the Clue Paper.
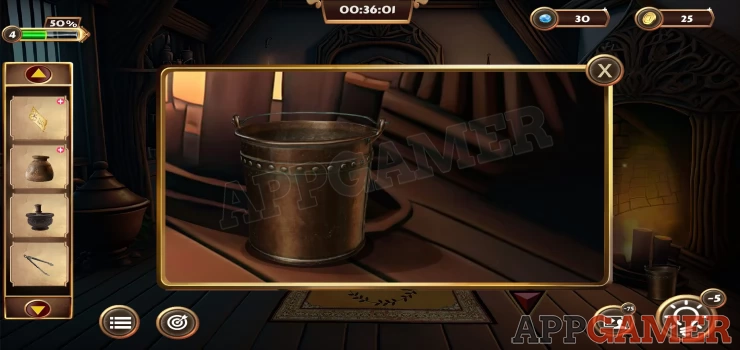
Then also look on the bottom right and collect a bucket.
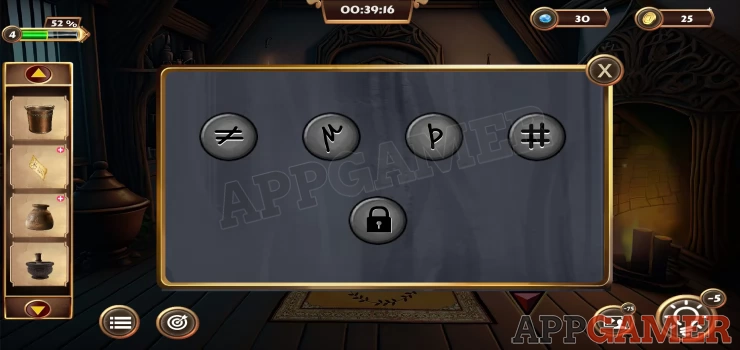
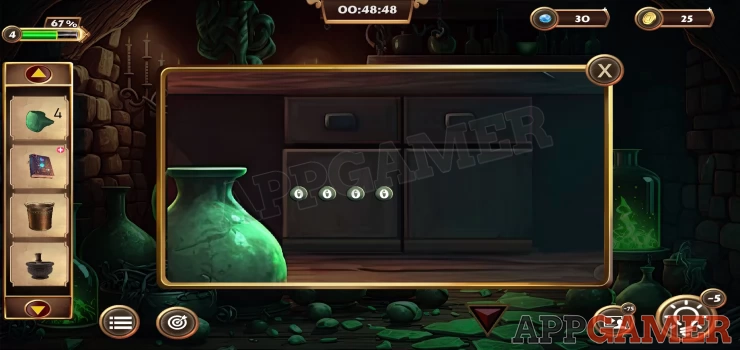
Now view the cupboard door on the left to see a code entry.
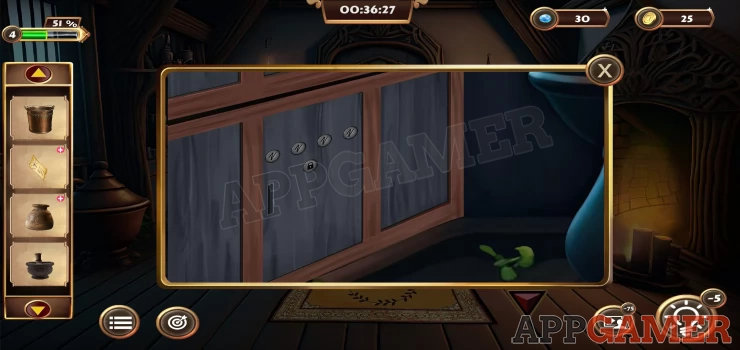
The clue for this is on the Clue paper you have collected.
On the paper find the symbols that relate to the numbers 1, 2, 3 and 4 using the number of small crossing lines on each of the lines on the left. Then put them in the order shown on the right.
Solution: Show
Open the cabinet door and collect the Puzzle piece from inside. Now view a puzzle that is on the right side of the door. Add the puzzle piece to it to begin.
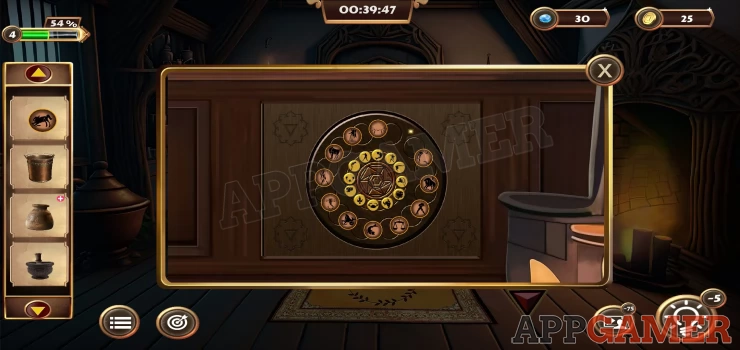
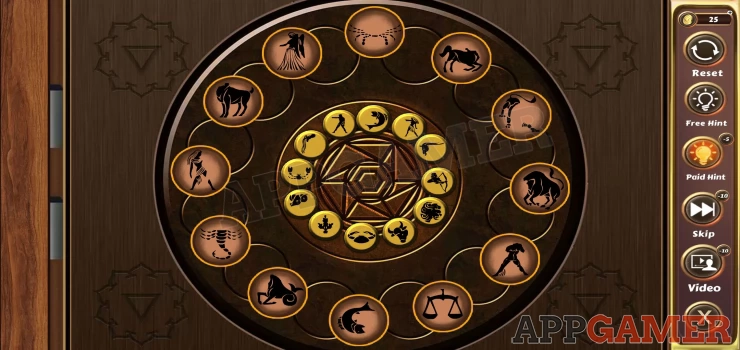
- Swap adjacent pairs of the puzzle pieces on the outer ring.
- You need to match the ones on the outside ring to the images on the center ring.
- You can do this with trial and error
Solution: Show
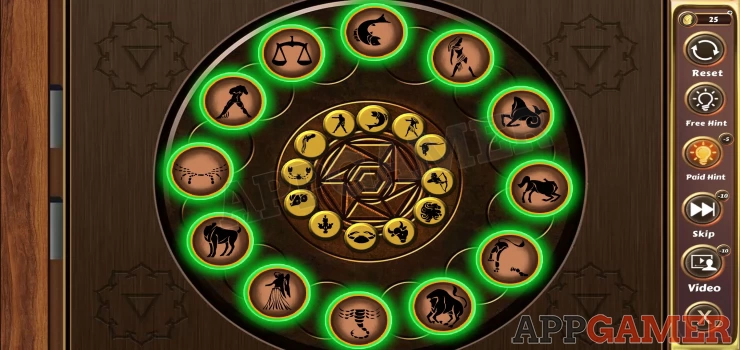
Once done you can collect a book. Open the book and look inside to see some instructions. You can turn the page to see 2 sets of instructions.
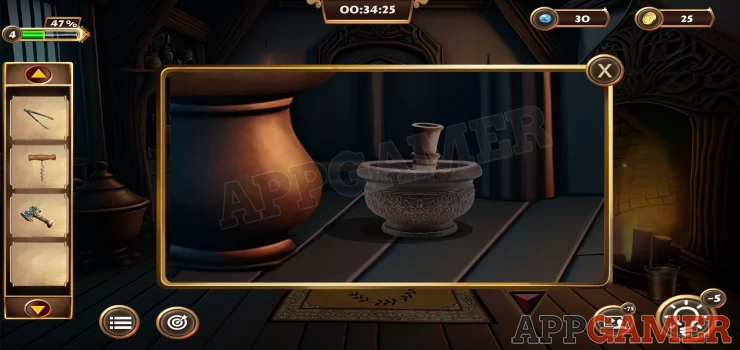
Now view the Pot that you collected in your inventory and then tap on it to tip it over and find a key.
Use the key to open the door and go through.
Tap on the stones on the ground and collect the round stone. Then view the stone in your inventory and use the hammer on it to break it apart. Collect the 4 stone pieces.
Now view the candles on the top left of the room to see that there are lines on them. Count the lines.
You can then view the cabinet on the left to see a code entry. Use the green buttons below the code to tap and enter the numbers from the candles to open this door.
Code: 6745Show
Collect a box from inside and then view it in your inventory, tap on the front to see a puzzle.
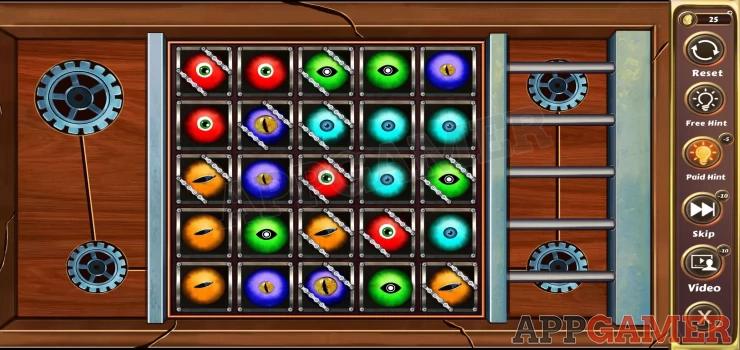
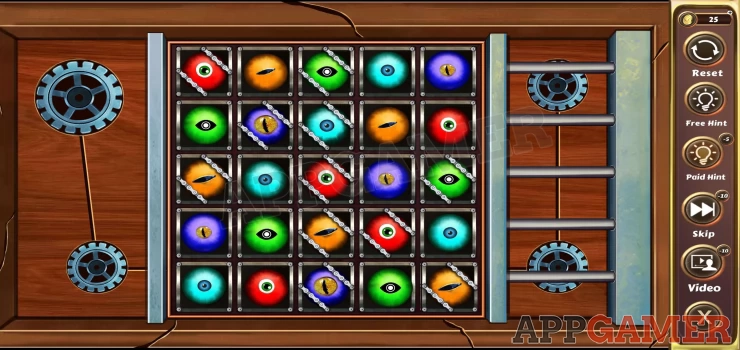
Box Puzzle
- There are colored eyeballs set out in rows and columns.
- You need to swap them around so that each row or column only has 1 of each color.
- Some of the eyeballs are fixed in position.
Solution: Show
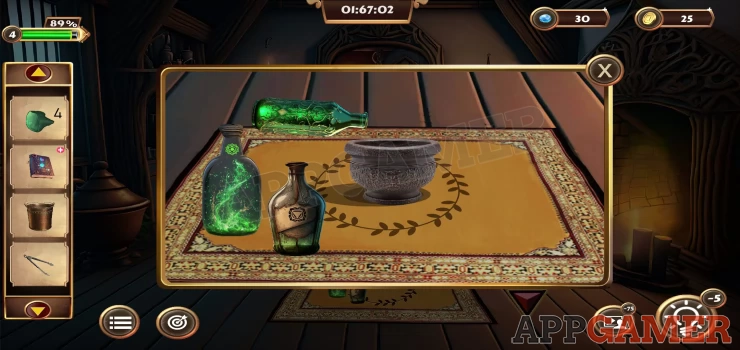
Once done the box opens and you can collect a Feather and a red 'Leaf'.
Now to look on the shelves on the top right.
Tap on the top shelf and collect the Cup.
Then look inside the cup in your inventory and collect the white 'Leaf'.

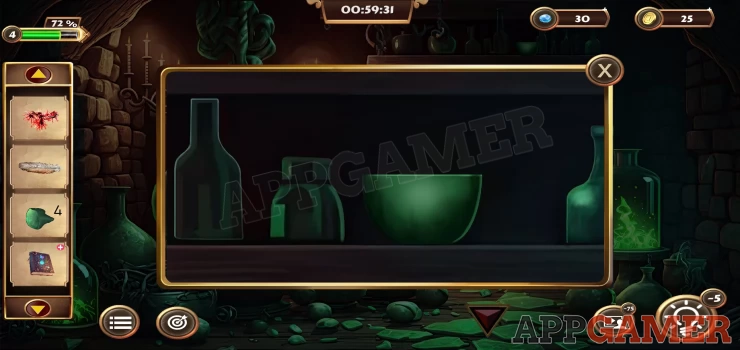
Next tap on the left side of the middle shelf. Collect the bottle.
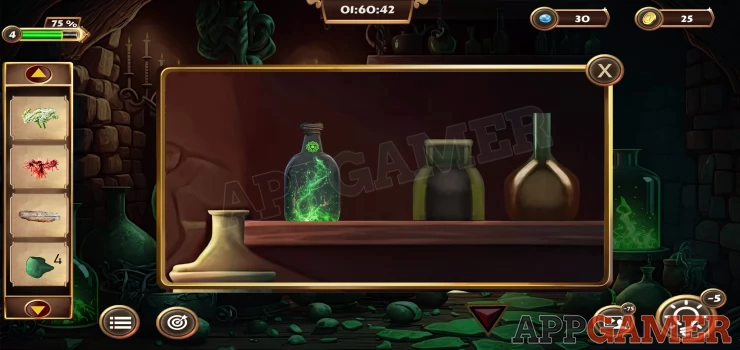
View this bottle in your inventory and tap the top to remove the cork, then collect the bottle again.
Now look at the right side of the lower shelf. Collect the 2 bottles from here.
View the larger bottle in your inventory and you will need to use the corkscrew to open this one. Collect the open bottle again.

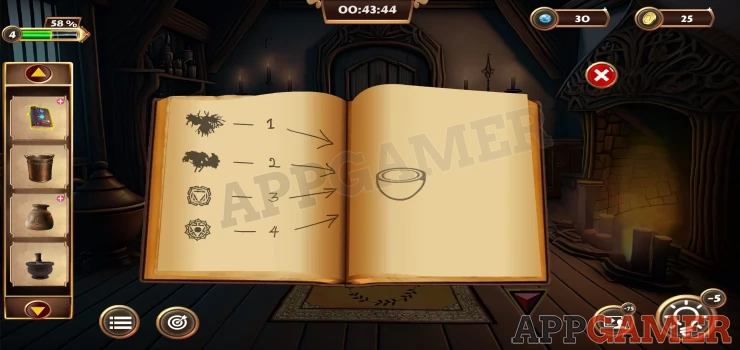
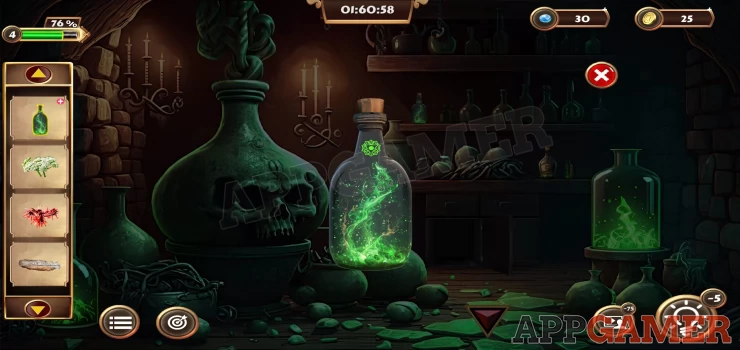
Now back out to the main room and view the rug in the center of the floor. Place the Mortar on the rug.
You now need to follow the instructions in the book. Add to the Mortar the 2 leaves and the 2 bottles that have the matching symbols. In the correct order. (the game will only allow the correct items here)
After it is mixed you next need to add the Feather and then the final bottle.
Then use the Tongs on the mortar and tap to collect it.
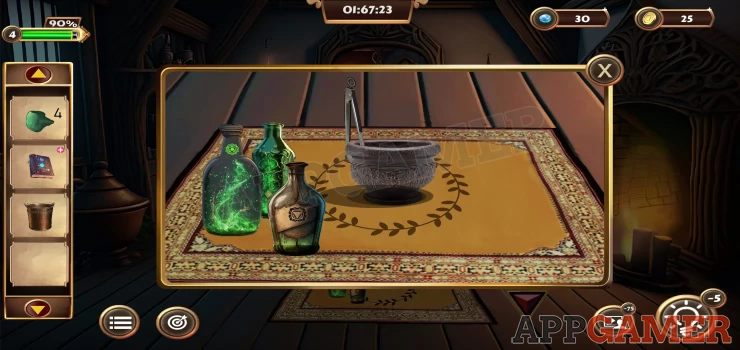
Now drag the mortar to the Fire to heat up the mixture. Then collect it again.
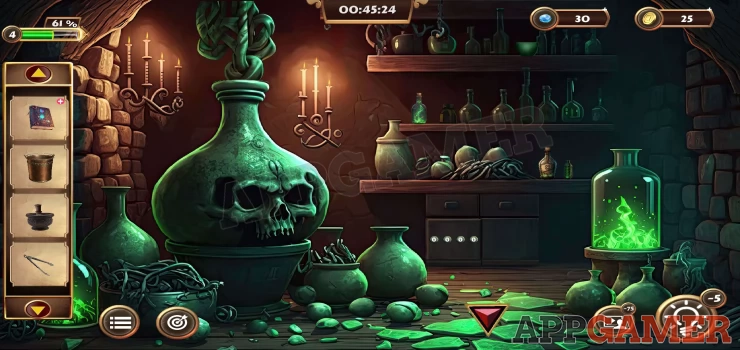
Go back through to the back room. and tap to view the top of the large green skull cauldron on the left, there is a small chain on the right.
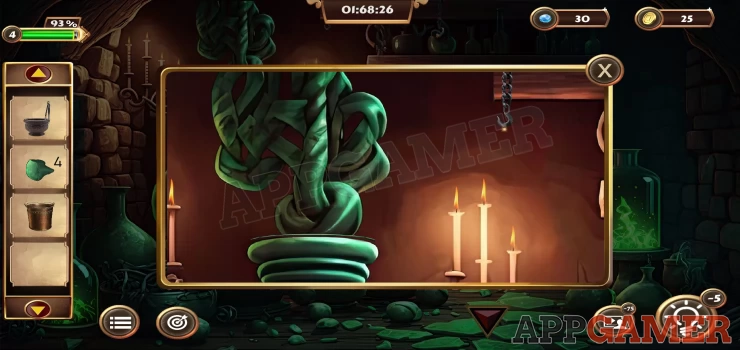
Add the bucket to the chain and then add the 4 stone pieces to it. This will lift the top off of the pot on the left.
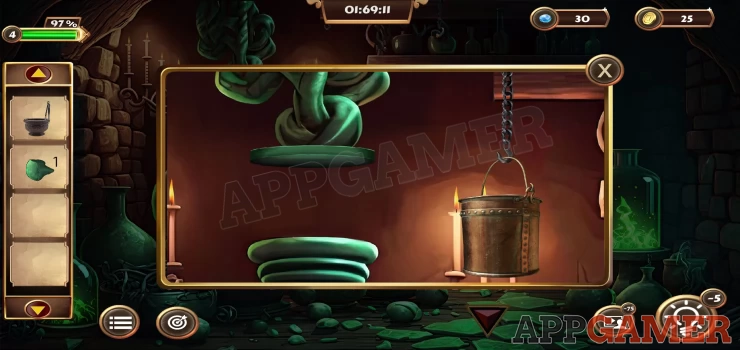
Use the Mortar on the opened pot to add the mixture to it.
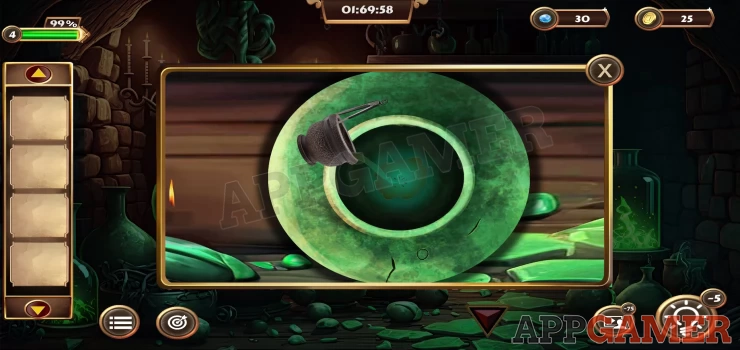
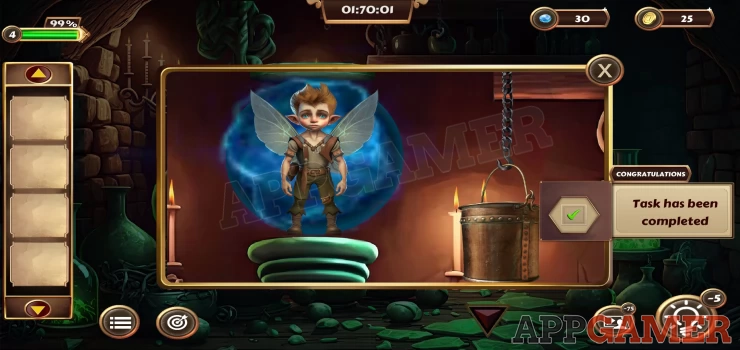
This will release the shield and free the Tinker that was trapped.
This completes Level 4 of Grim of Legacy. Move on now to Level 5.
We have questions and answers related to this topic which may also help you: Show all
 With 20 years of experience in creating video game content for the internet and over 30 years as a gamer, Mark is now a passionate mobile App Gamer. Loving a challenge, he is always ready to get stuck in to both survival builders and puzzle solving games. He has been providing content for AppGamer since 2014.