Grim of Legacy Level 19 Walkthrough
More Escape Room: Grim of Legacy
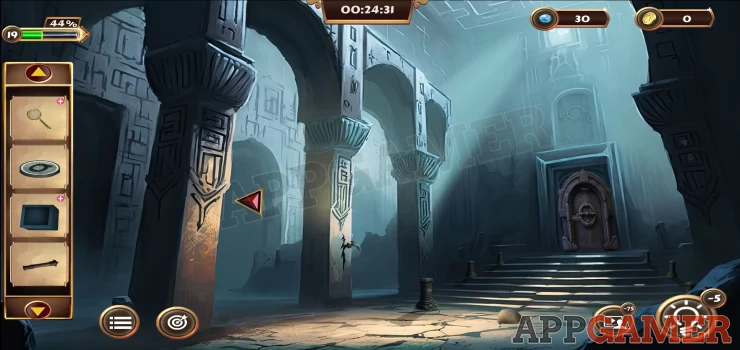
In Level 19 of Escape Room: Grim of Legacy we follow Emily and the Tinker Boy again as they search for the final element that they need to open the portal.
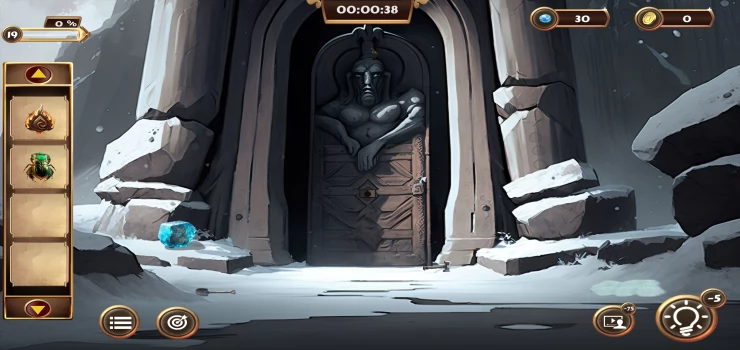
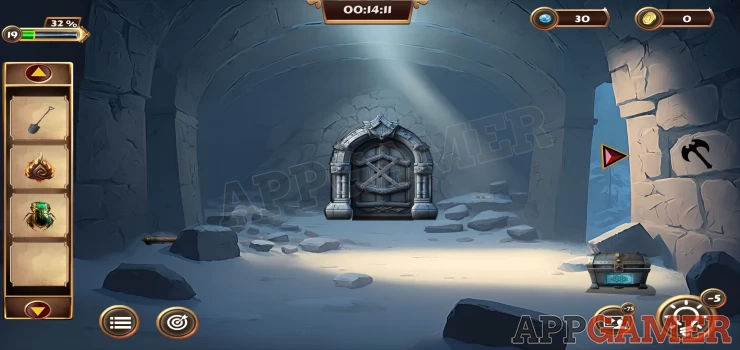
Objective - Unlock the Door
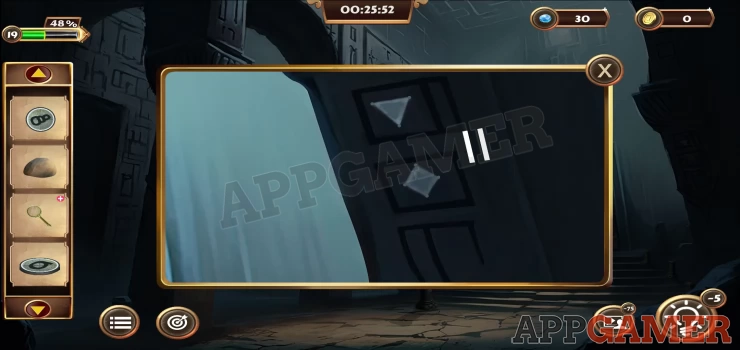
First tap on the stone pillar on the right side of the door where you see 3 faint circles. This will reveal a clue.
Show
Collect a shovel from the ground on the left of the scene and then also collect a Hammer from the ground just to the right of the door. Next tap on the ground on the right where you see a patch of lighter snow.
Use the shovel on the snow to dig up a Goldbox. Then you can view it in your inventory.
Open the Goldbox
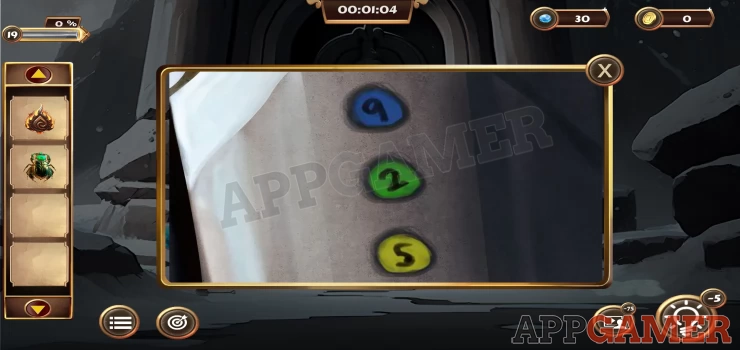
Use the clue seen on the pillar to set the correct numbers.
Solution: Blue 9, Green 2, Yellow 5Show
Collect a Chisel from the box
Now view the blue ice block on the left side of the scene. Add the chisel to it and then use the hammer on it to break open the ice
Collect the bag from inside.
Open the bag in your inventory and collect a Half pendant from inside it.
Next tap on the head of the figure on the door to see that there is another piece of pendant up there. Tap on this again to get Tinker to fly up and collect it for you.
Combine the 2 halves of the pendant in your inventory and collect it.
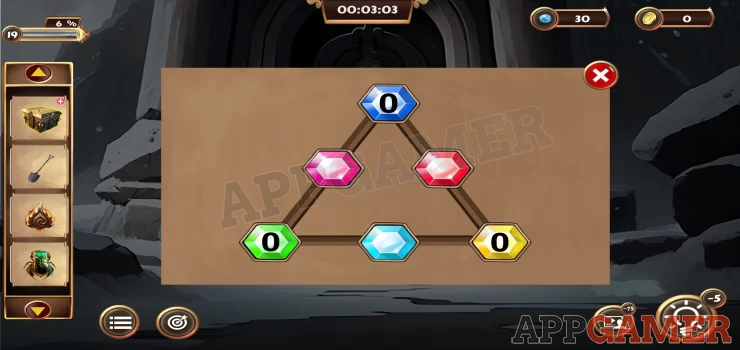
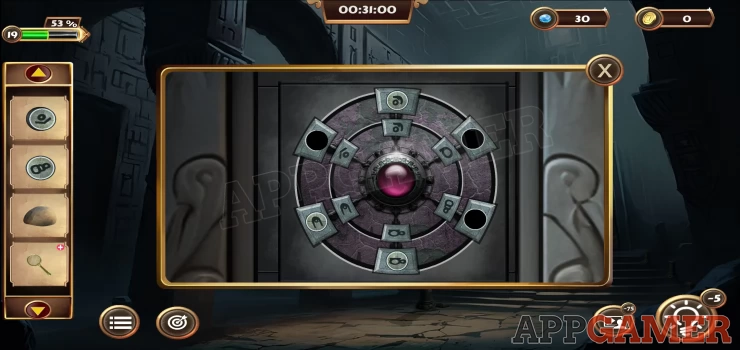
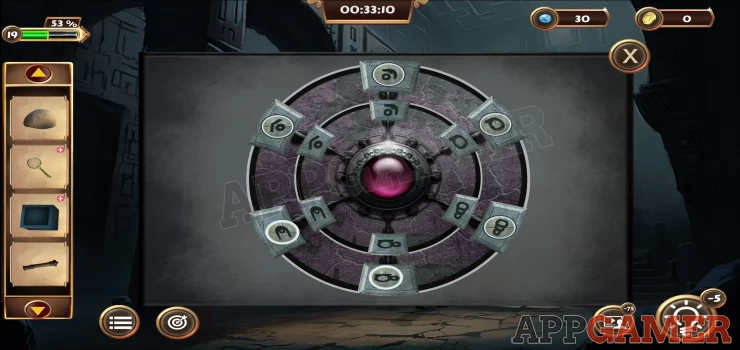
Now view the slot in the center of the door and add the pendant there. This will reveal a puzzle.
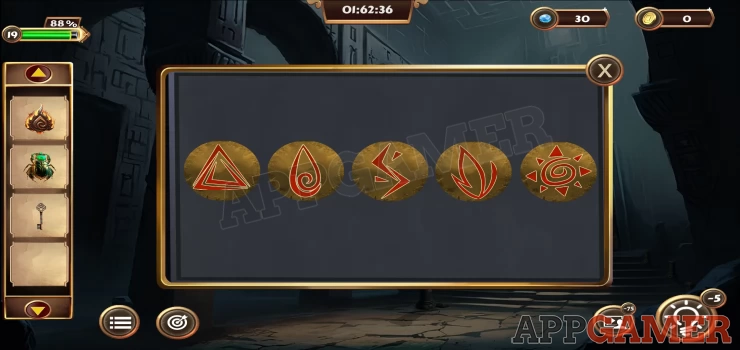
Door Puzzle
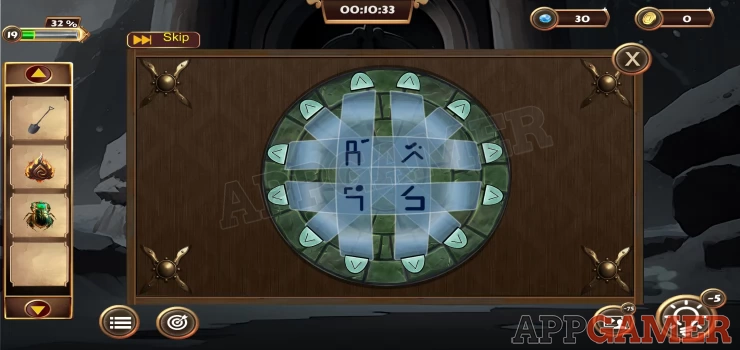
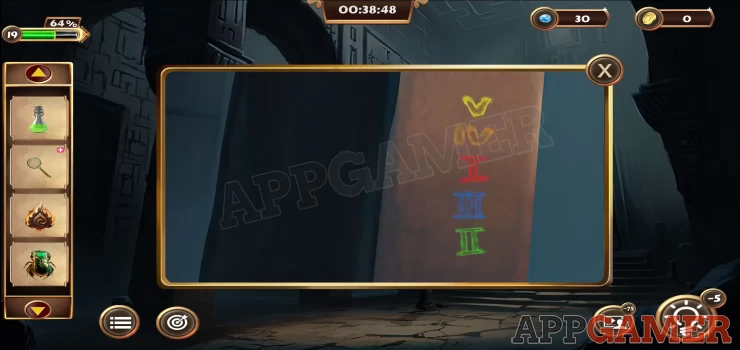
There is a clue for this puzzle that is hard to find. You need to tap on the surround of the door on the right side, just to the left of the 3 faint circles that you tapped on earlier.
Clue: Show
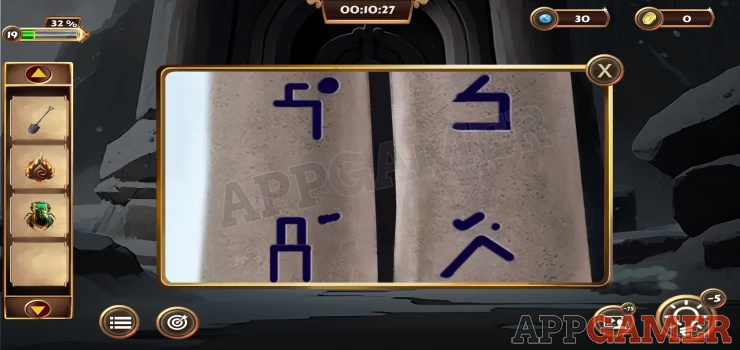
- The puzzle has 4 symbols, each is made up of 2 component parts.
- Use the arrows around the edge of the puzzle to swap the components around.
- Some will move the top parts and others will move the bottom parts.
- Arrange them so that the symbols match the clue.
This will open the door and complete the task.
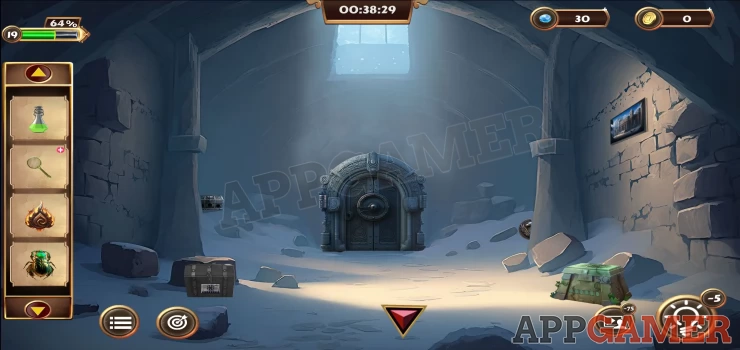
Objective - Obtain the Dragon Pendant.
Enter the building.
First view a stone on the ground in the center on its own. Move t and you can collect a round 'Piece'.
Next collect a Stick from behind a stone on the left side and then view the back left of the room to the left of the blocked door, there is a pile of loose ground here.
Use the shovel again to dig up a box.
Then tap on the back right of the room to the right of the door to see clue on the rock, this is part 1, remember this.
Show
Finally view the blue box on the lower right to see the puzzle on the front.
Matching pairs box puzzle
- To solve this find and tap on matching pairs of symbols.
- As you do this they will turn over and clear one, and reveal a new symbol on the other.
- Then find the matching tile for the new symbol that is revealed.
- Don't tap on the sybmol that has already turned over
- Continue finding the matching pairs until all of the tiles have turned gold, the final one will unlock the box.
- Watch the video below for help

Collect the magnifier from the box.
Now tap the arrow pointing to the right to move to the next area.
Collect the Rock from the ground at the bottom of the steps, and then view the right side of the steps to find another round 'Piece to collect.
You should then also tap to view the dark stone pillar on the far right to see another clue on it. This is part 2
Show
Now you can view a small stone bollard at the bottom left of the steps. There is a code entry on it.

Use 2 clues found above to open this.
Solution: Part one has shapes with 4 and 5 points, Part 2 has shapes with 3 and 4 points.Show
Code: 4534Show
Collect a third round 'Piece'.
Now view a panel high above the door on the right to see a round puzzle.
Circle symbol puzzle
Add the 3 pieces that you have to start the puzzle.
You can then swap the pieces on the outer ring with one next to it.
You need to match the symbols on the inner ring.
Solution: Show
Once done Tinker will collect the Dragon pendant for you.
This will complete the task.
Objective - Collect the magic wand
Now on the middle square pillar on the left you will see a crack. View this and use the rock on the axe blade that it stuck there to collect it.
You can then view the axe blade in your inventory and add the stick to collect the Axe.
Next tap to view the bottom of the left square pillar to see another clue. This has 5 numerals in different colors.
Clue: Show
Go back to the left side room and you will see an axe shape on the right wall. Add the axe to this and a panel will open. Collect the Crowbar.
View the box that you have in your inventory and use the crowbar to open it. You will then collect the Magic Liquid.
Then view the door that is blocked. Use the crowbar on it to remove the bars. Then add the dragon pendant to the slot in the center.
You can now go through to a new room.
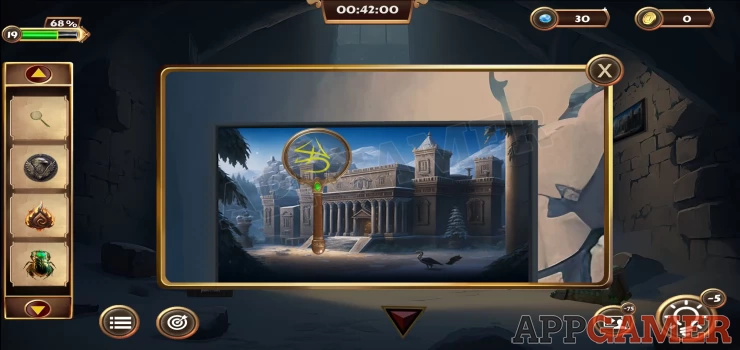
Collect a Eagle Pendant from behind the pillar on the right wall. Then view the magnifier in your inventory and add the magic liquid to it. You can then collect the magic magnifier.
Now view the picture that is on the right wall. Use the magnifier on this and it will move around to find 5 symbols. Each symbol is a different color. You can close and re open the picture to view the symbols again.
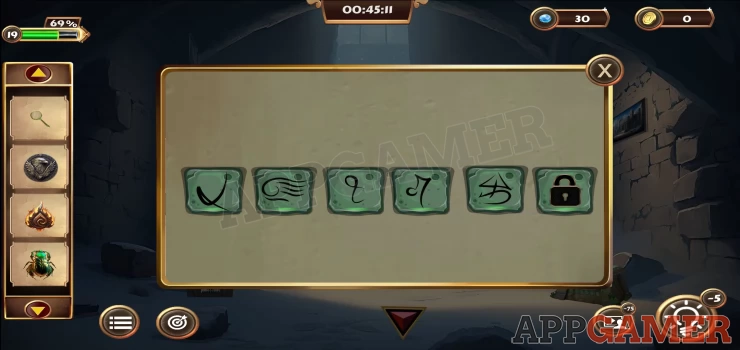
Now view the Green box on the floor on the right.
Green Chest Lock
On the front is a code lock that requires 5 symbols.
Combine the symbols from the picture with the colored numerals to give you the order.
Solution: Show
Collect the Lion pendant from inside.
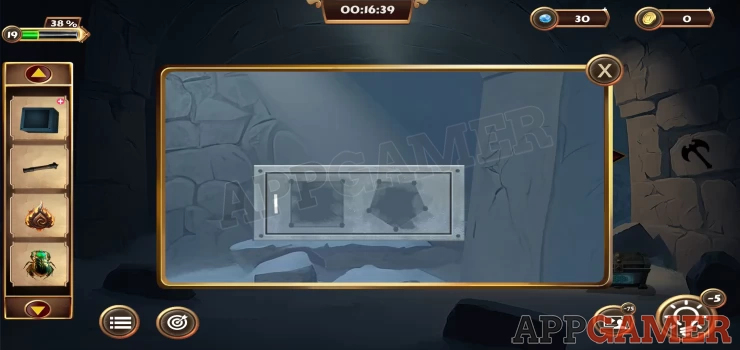
Next view the box on the lower left of the room. This has another puzzle lock.
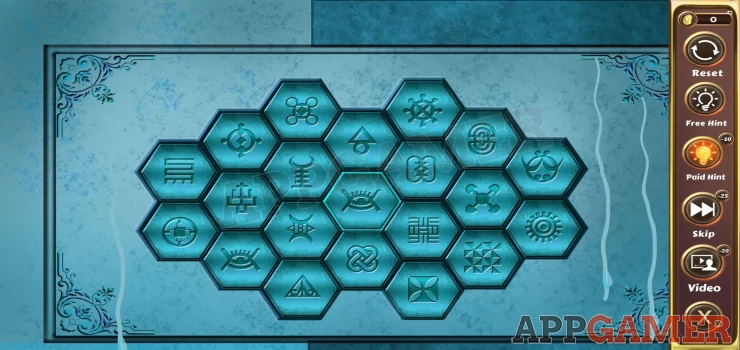
Match Order Puzzle
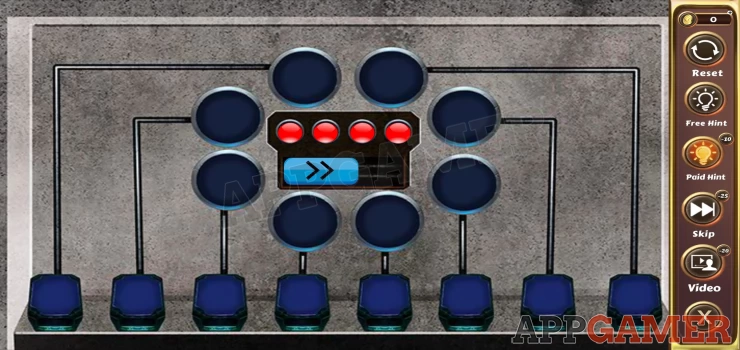
- To start slide the blue button in the center to the right.
- This will play a sequence of 3 colored gem lights, you then need to match this sequence.
- Once done you get 1 green light, slide the blue button to the right again to start a second sequence. (4 lights).
- Repeat this process with more lights each time until you have all 4 green lights to open the box.
- Watch the video below for help

Collect the Fox Pendant
Now view the box on the back left of the room. It has 3 slots on the front. Add the 3 pendants to it to open the box and collect a key.
View the door in the center and use the key to open it, go through to a back room.

Collect a red Gem from under the table on the left and another one from the bowl on the table in the center.
Then add the 2 gems to the eye sockets of the skull. This will open the mouth and you can collect the Pendant.
Collect a Lighter from under the table on the left and a key from the under the table to the right.
Then add the Pendant to the green box on the floor to open it and collect a Candle.
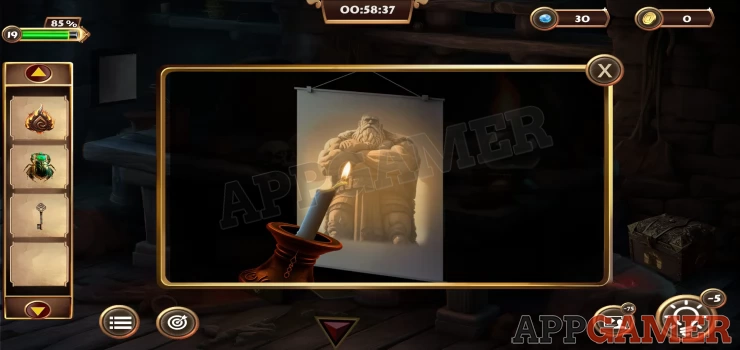
View the candle in your inventory and use the lighter on it to light it. Then tap to view a white square panel on the left side of the scene. Use the candle on this to reveal a clue.
Clue: Show
Now tap to view the box on the right side of the scene, there is a picture puzzle on the front.
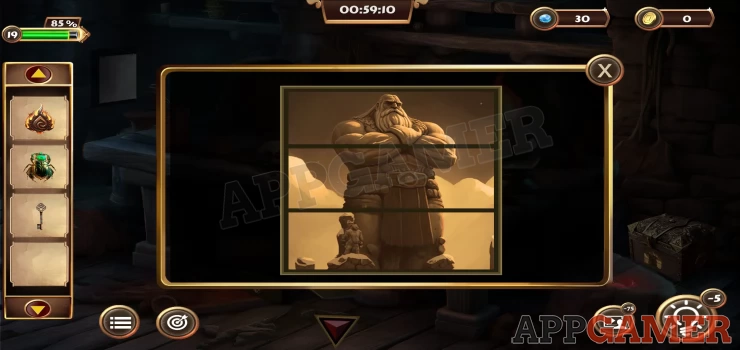
Tap each of the 3 sections to change them and re create the picture from the clue.
You can now collect the Magic Wand from the box. This completes the task.
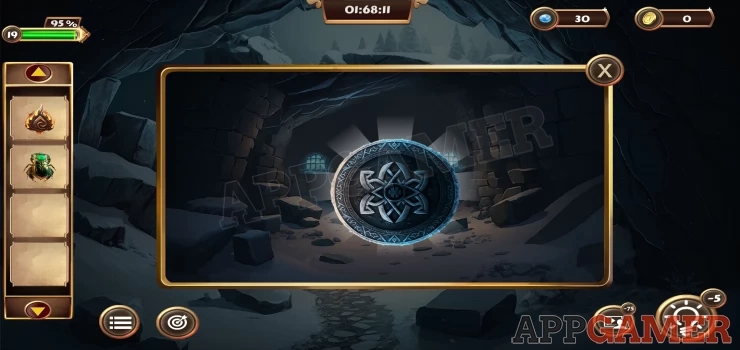
Objective - Obtain the snow pendant
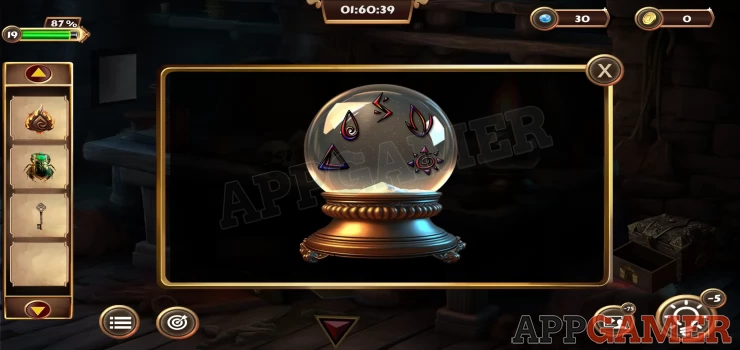
View the Snow globe on the table and use the magic wand on it to reveal a clue, this is 5 symbols.
Show
Back up from here and go to the right side area with the steps. Tap on the door at the top of the steps.
View the lock and enter the 5 symbols for the code from the clue above.
Solution: Show
This will reveal a key hole. Use the key on this to open the door.
You now have a fight with a Yeti creature.
Boss Fight

On the top left is a colored symbol.
On the right you will see a rotating wheel of colored symbols. Tap a symbol to attack the Yeti.
You need to tap on the the symbol that matches the Color of the one shown on the left. Not the symbol shape.
If you get it right it will damage the yeti, if not it will damage you.
When you defeat the Yeti you will be able to collect a Pendant gem from the ground.
View the window on the house above the door to see a gem there. Tap it and Tinker will fetch it for you.
View the pendant in your inventroy and add the gem to it. THen collect the Pendant.
Now view the door on the house and add the Pendant gem to the center, this will open the door.
Go inside and collect the Snow Element. This completes the task. Now move on to find the Portal so that Emily can go home.
Continue in Level 20.
We have questions and answers related to this topic which may also help you: Show all
 With 20 years of experience in creating video game content for the internet and over 30 years as a gamer, Mark is now a passionate mobile App Gamer. Loving a challenge, he is always ready to get stuck in to both survival builders and puzzle solving games. He has been providing content for AppGamer since 2014.