Grim of Legacy Walkthrough for All Levels
Escape Room: Grim of Legacy Guide
Escape Room: Grim of Legacy is a new puzzle adventure game from Hidden Fun Games. With 10 levels to play though there is plenty to discover and puzzles to solve as you progress through the stories and explore the locations. Our Grim of Legacy walkthrough is split over the 10 levels with a page for each one, we start with level 1 below.
We have a full guide for the game so check the walkthrough below for help with every puzzle and item to find.
Escape Room: Grim of Legacy Walkthrough Level 1
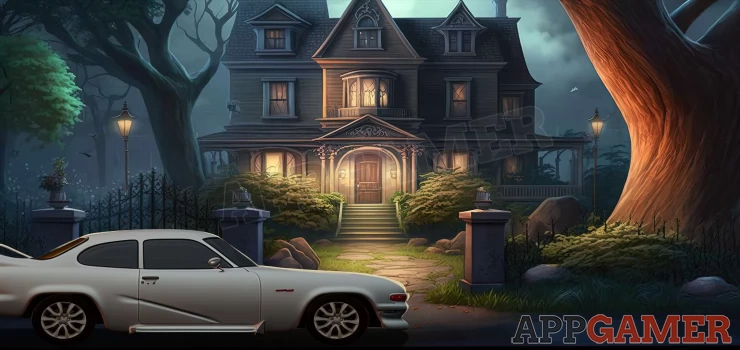
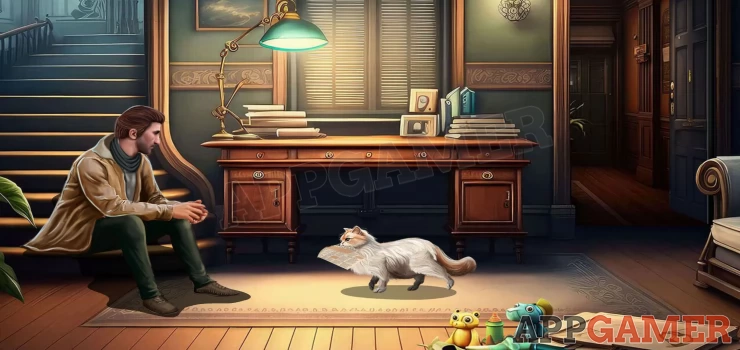
You begin at the home of an archaeologist who has returned with a mysterious antique box. But before he can examine it he has to leave.
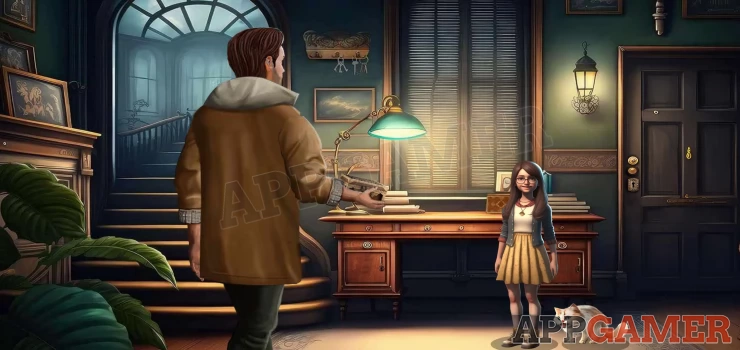
You play as the daughter of the Archaeologist, your dad has locked the box in his room and you want to try to get it. First you need to find the objects to help you to open the door.
Objective: Unlock the door
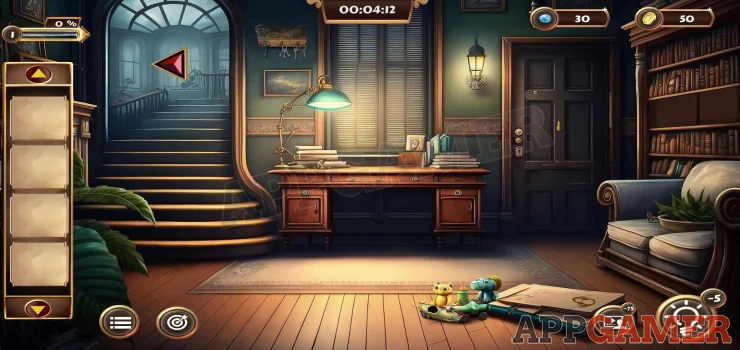
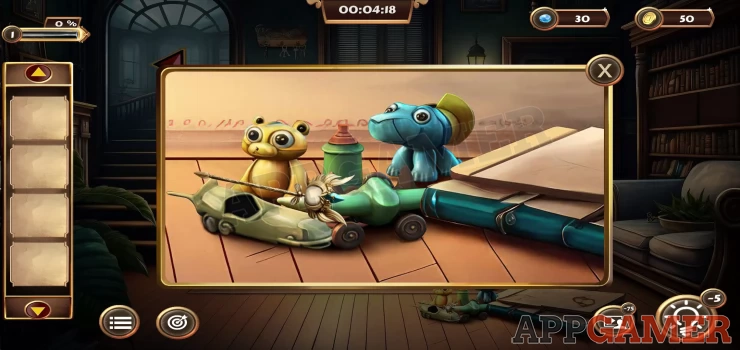
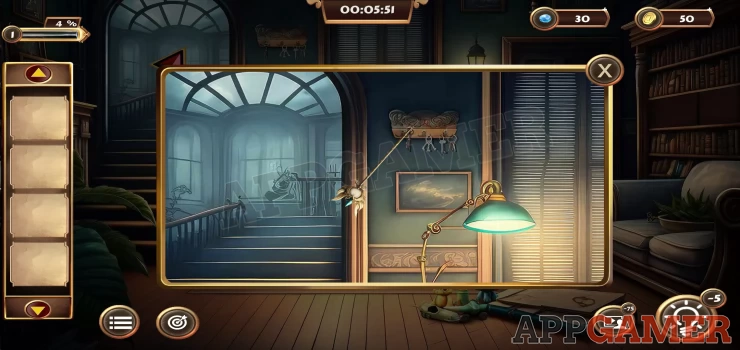
First tap on the toys on the floor, you can collect a stick from here.
Next tap to view the hanging keys above the desk, you can then drag the stick to them, to collect the one on the left.
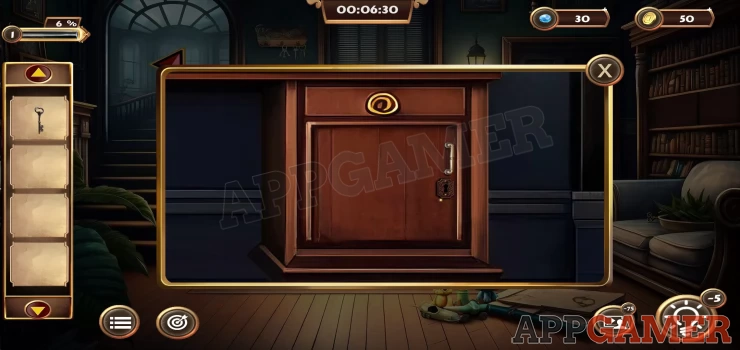
Now view the bottom left door of the desk, you can then use the key you have to open it. Collect from inside a candle and a scroll.
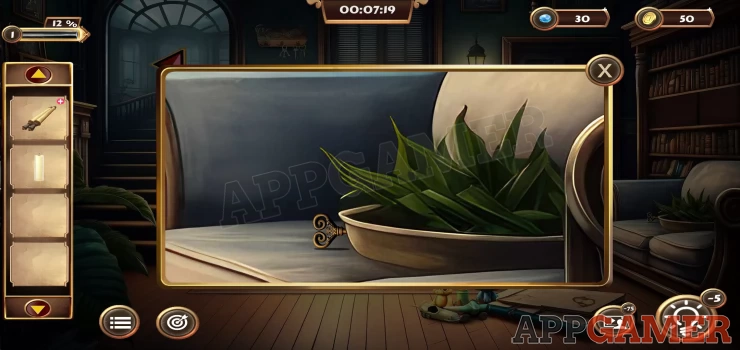
You can view the scroll to see a clue. Now tap on the sofa on the right of the room, you will find another key to collect.
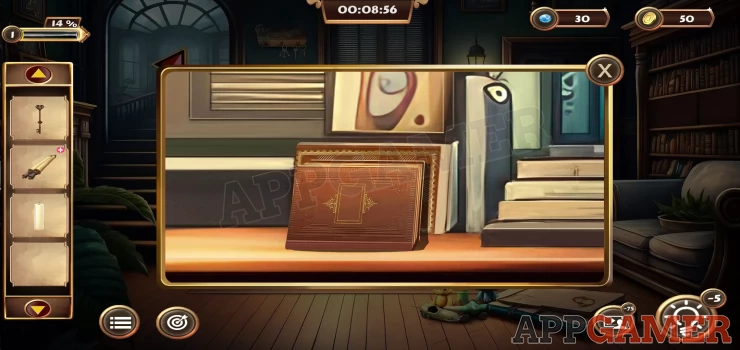
Next tap on the books on top of the desk on the right hand side. Collect a book from here
Now tap on the arrow on the top left to go up the stairs to a bedroom.
Bedroom
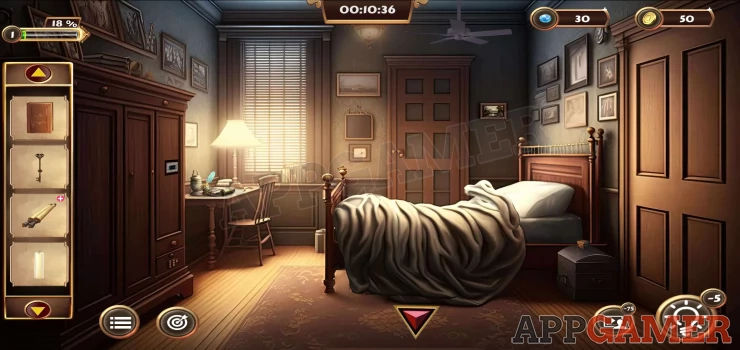
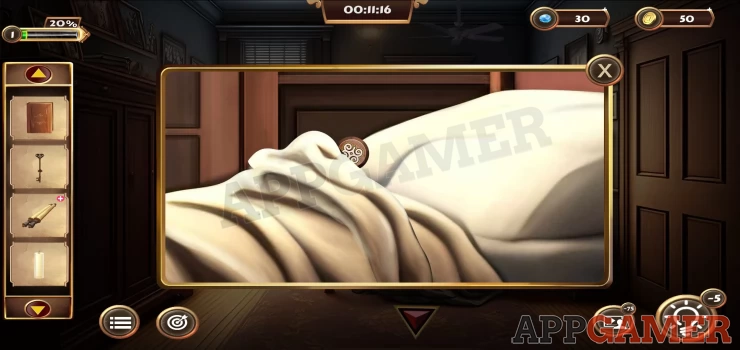
Tap on the bed to see the pillow and then move the blanket and find a Button piece to collect.
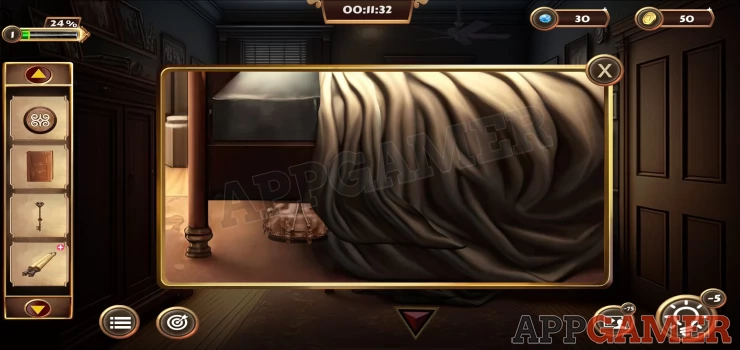
Next look under the bed and again move the blanket to find a bag to collect.
View the bag in your inventory and open the top, you can then collect a clue paper. Now look on the table by the window and collect another book, this one you can open.
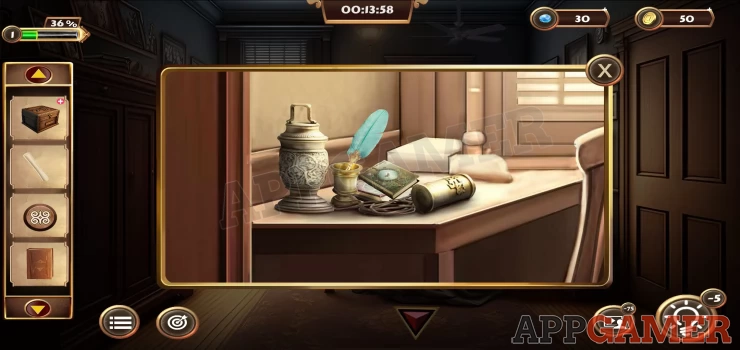
Select the book in your inventory and open it to see a clue. Next tap on the small chest on the floor by the bed (by the door on the right).
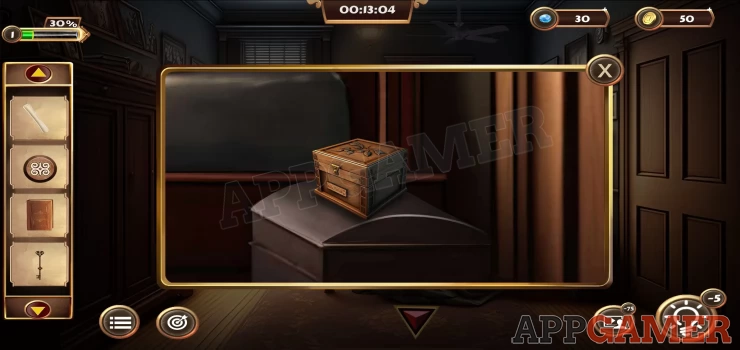
Collect the small box from the top. View the box in your inventory and you will see it needs a 4 digit code to open. Use the clue found above for this, then tap the lock icon to open the box.

Code: 4825Show
Collect a key from inside.
Next view a small picture on the far wall to the right of the door, it is above the bed pillow and is the picture on its own.
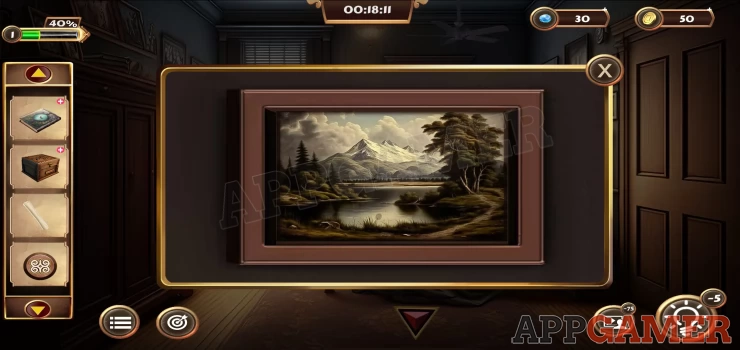
Tap to slide the painting to the right and then again to the left to see 2 sets of numbers. These are a clue.
You can then tap on the bottom drawer on the large cabinet on the left of the room. You will see keypad code entry with 6 numbers.
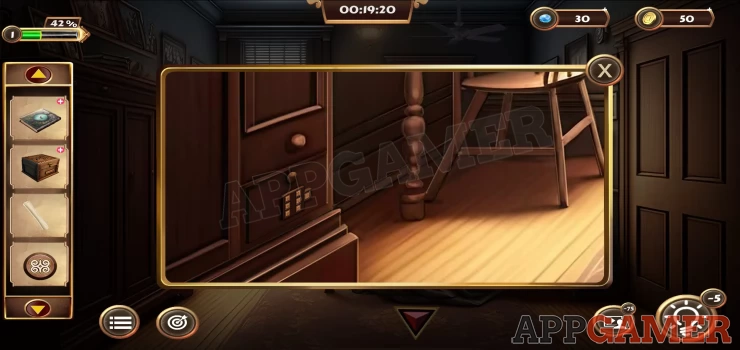
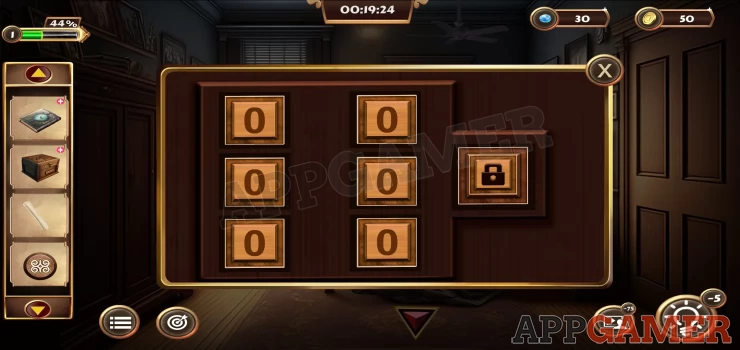
Enter the clue found above and tap the lock icon to open this.
Code:
1 5 4 2 3 6Show
Collect from inside a matchbox and another book
Living room
Go back down stairs and now view the top of the desk on the left side to see a candle holder.
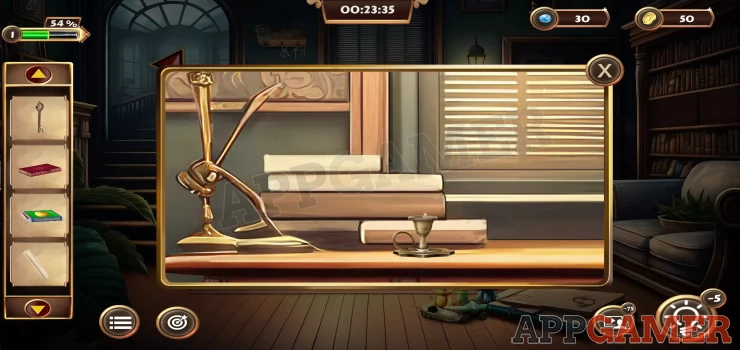
Place the candle into the holder and then use the matchbox on this to light the candle.
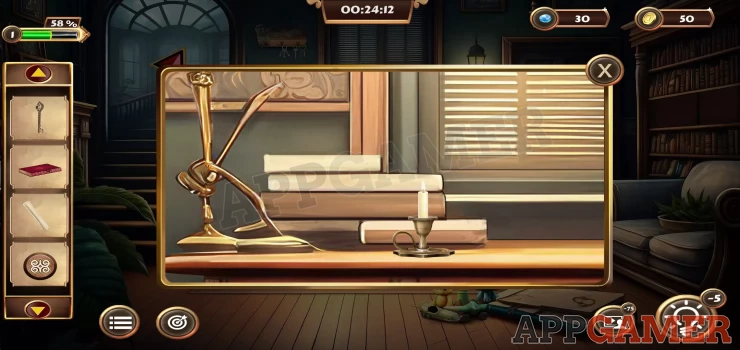
Next use the Clue paper that you have on the lit candle to reveal the clue on the paper.
Bedroom
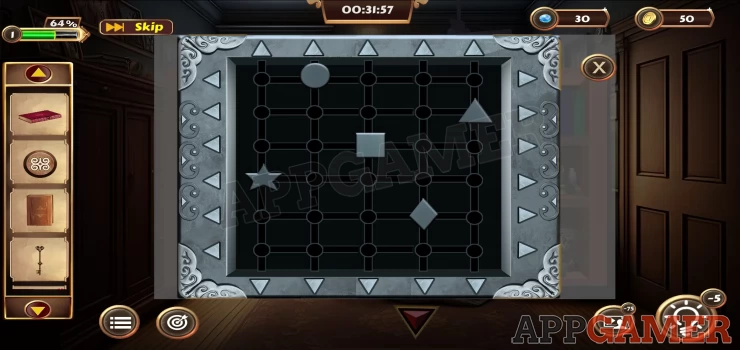
Go back up to the bedroom then tap on the door of the large cupboard on the left. You will see a puzzle panel.
Shapes Puzzle
- Use the clue from the paper that was revealed by the candle to solve this.
- You can use the arrows around the board to move the shapes in any direction. They seem to move in the opposite directions to the arrow.
- Moving a row or column will move all shapes on that line.
- Arrange the shapes to match the positions on the clue paper.
Solution: Show
Once done the door opens and you can collect a wallet. You can look inside the wallet to then view a business card with a clue.
Living Room
Go back down stairs and view the left door on the desk and use the last key you collected from upstairs to open this door.
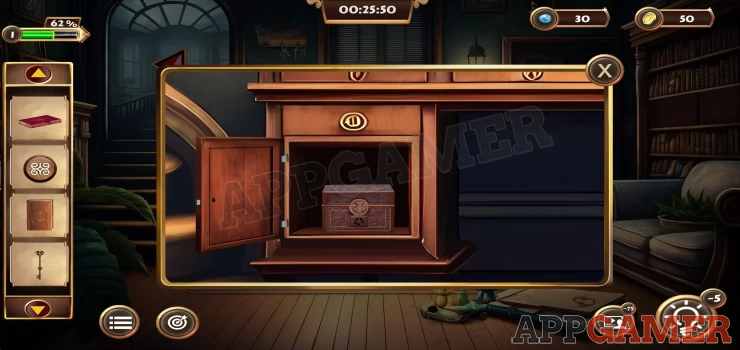
Collect the box from inside and then view the box in the inventory.
Add the button piece that you collected from the bedroom to the empty slot. You can then solve this puzzle.
- The clue is on the scroll that you found earlier.
- Tap pairs of adjacent buttons to swap them around.
- Arrange the buttons to match the layout on the scroll.
Solution: Show
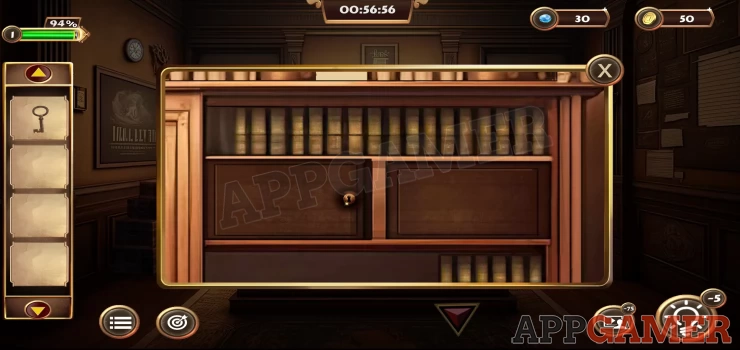
Collect the book from inside. Now tap on the bookshelf above the sofa on the right to see a closed panel in the center. Then tap this to open the panel.
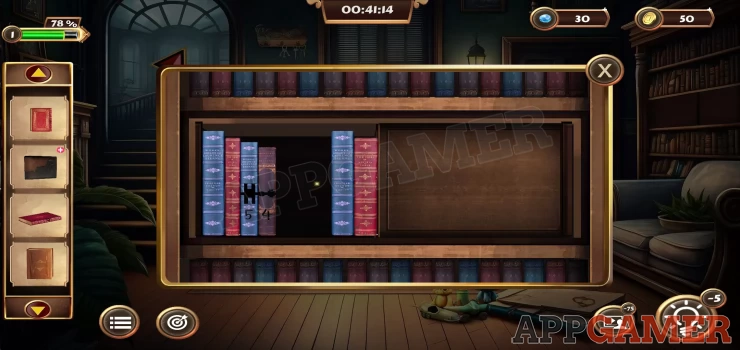
First add the 3 books that you have to the gap on the left. You can then solve this book puzzle by rearranging the books to the correct order.
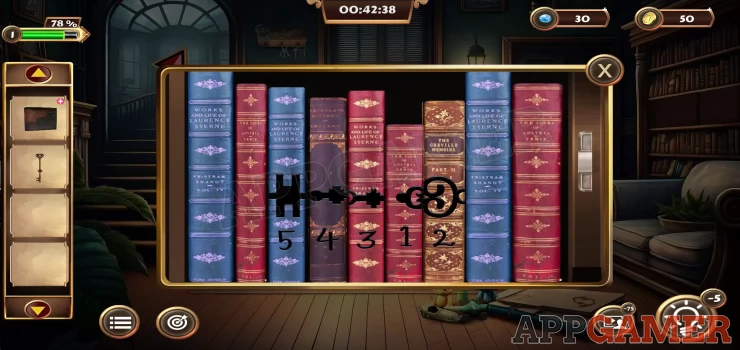
Simply swap pairs of books to put the numbers in the correct order 1,2,3,4,5. This will then reveal a second puzzle on the right side.
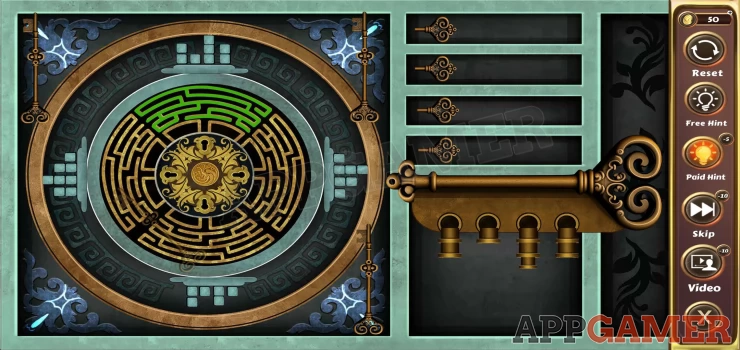
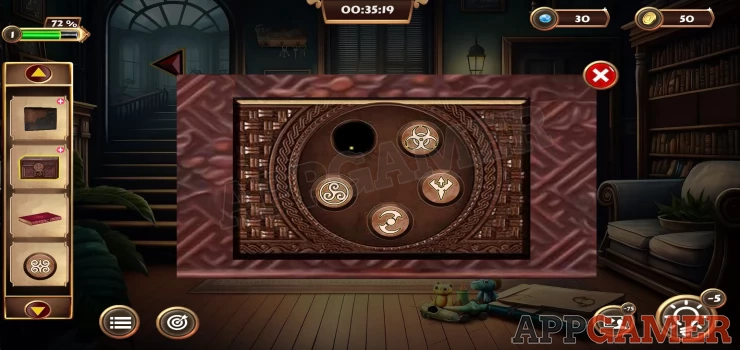
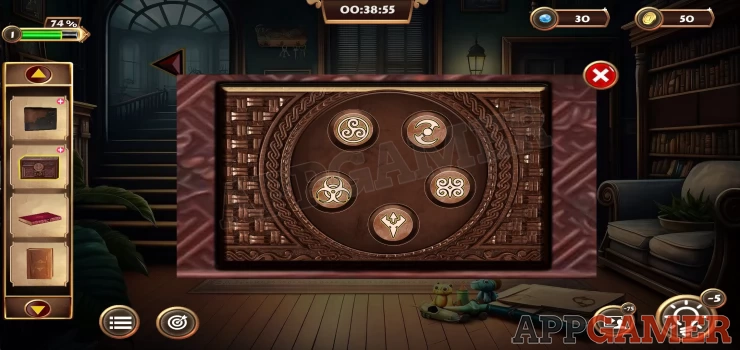
Add the key that you have to the puzzle on the left to begin.
4 keys puzzle
- Look at the highlighted section on the circle on the left, then look at the pattern of blocks on the outer edge of the circle.
- Then on the right you will have a key with 4 teeth / bittings that you can tap to adjust.
- Set these to the same heights as the pattern of blocks on the currently highlighted section.
- You will need to repeat this 4 times for the 4 sections.
Once that is complete you can collect another Key
Use this latest key to open the door on the right, this complete the current task.
Objective: Collect the Antique Box
Enter the study.
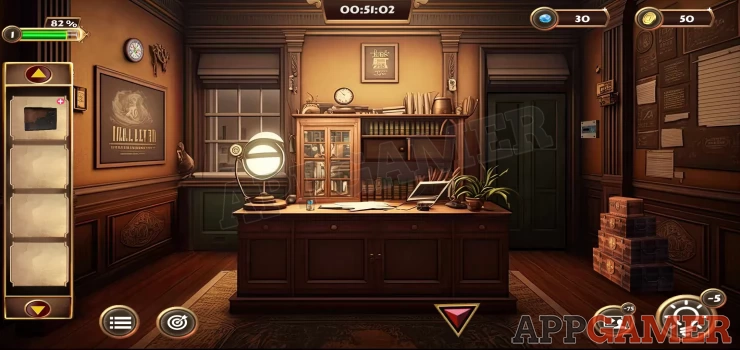
Study
First view the stack of boxes on the right side of the desk. Collect all 4 of these.
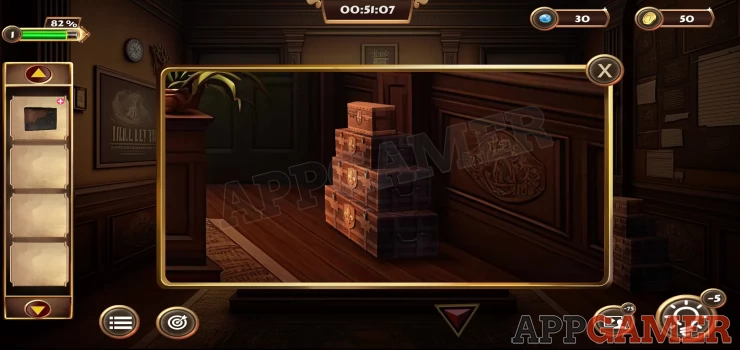
Now you can place the 4 boxes on the floor on the left side of the room. Below the clock. Make sure to place the largest one first and then each smaller one until the smallest is on top.
You can now tap on the clock on the wall to view it. Tap the cover to open it and start a puzzle.
Clock Puzzle
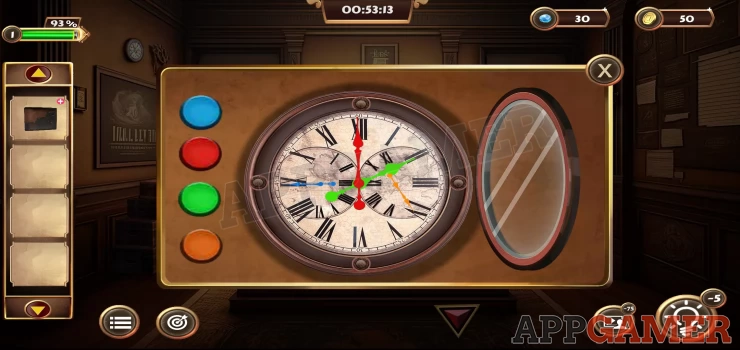
- There are 4 clock hands that you need to set.
- Set each colored hand by tapping the button on the left.
- The clue is found in the wallet that you have
Solution: On the business card in the wallet you will find 4 numbers that are the same colors as the hands. Se the hands to these numbers. Blue = 3 Red = 8 Green = 4 Yellow = 2 (seemed to trigger for me when yellow was on 1)Show
Collect a Key.
Next tap on the shelves above the desk to see a locked panel. Use the key to open it.
Inside the panel move the books to find a hidden one behind them and then you can collect it.
View the book in your inventory sand open it to see a code number.
Now you can tap on the safe entry panel which is on the right wall by the door.
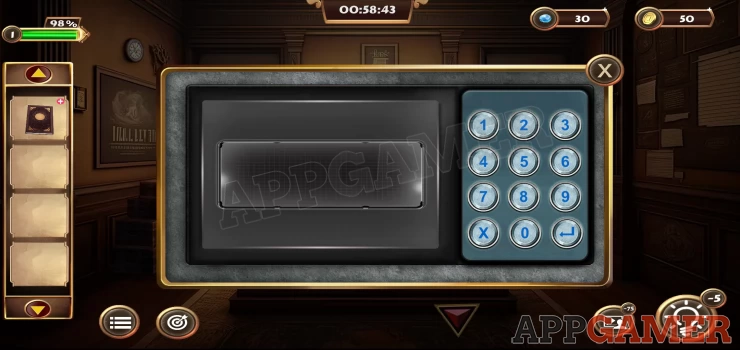
Enter the code from above and then tap the enter key to open the safe doors
Code: 7593Show
The the main door open you can then view the safe lock puzzle inside.
Safe Lock Puzzle

- The dial has symbols around the outside and a pointer that you can move.
- To move the pointer you need to select a number from the 3 on the left, 4 7 or 3. Then tap on the left or right arrows to move the pointer the requested number of spaces in the chosen direction.
- The left arrow moves clockwise and the right arrow moves anticlockwise.
- At the top is a set of 7 symbols that you need to match to open the safe.
- Look carefully at the symbols around the outside and then count the number you need to reach it. Work out moves you need to complete this.
The solution I used is show below.
Solution: Left = Left button = Clockwise | Right = Right button = Anticlockwise 3 Left, 3 Left, 3 Left (to the right also works) 4 Right, 3 Left, 4 Right, 3 Left 3 Left, 3 Left 4 Right, 3 Left, 4 Right, 3 Left 3 Left, 3 Left, 3 Left (to the right also works) 7 Left, 3 Left, 3 Left 4 Left, 4 LeftShow
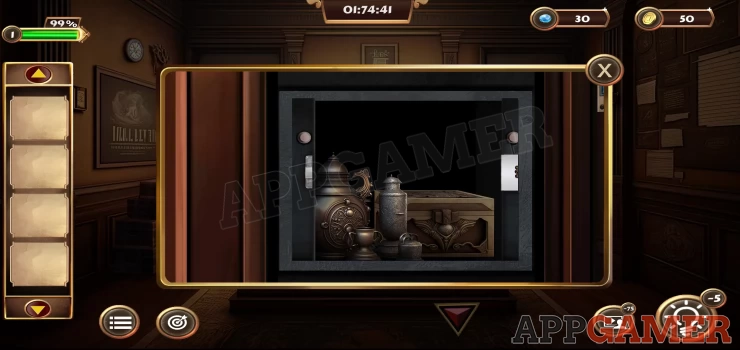
With the safe now open you can Collect the Antique Box. Watch the closing scene to see what happens next.
You have completed Level 1, now move on to Level 2
We have questions and answers related to this topic which may also help you: Show all