Grim of Legacy Level 14 Walkthrough
More Escape Room: Grim of Legacy
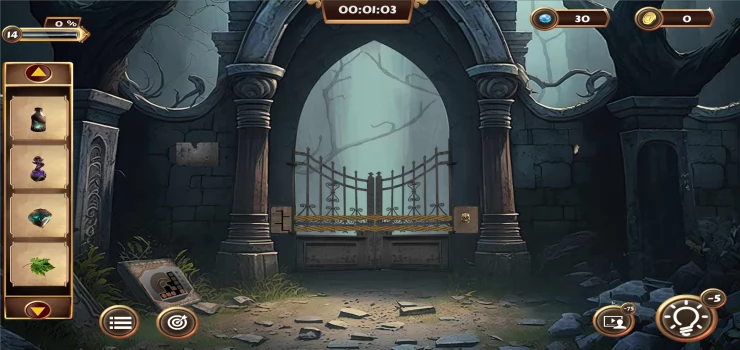
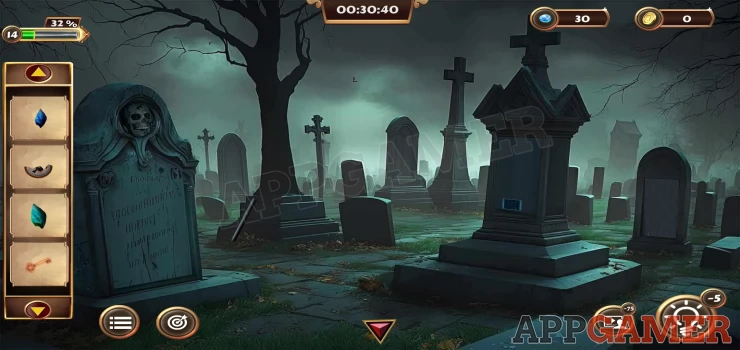
In Level 14 of Escape Room: Grim of Legacy we return to playing as Camilo and continue the quest to resurrect the dead magician. We have reached the graveyard where he is buried.
Objective - Unlock the Gate
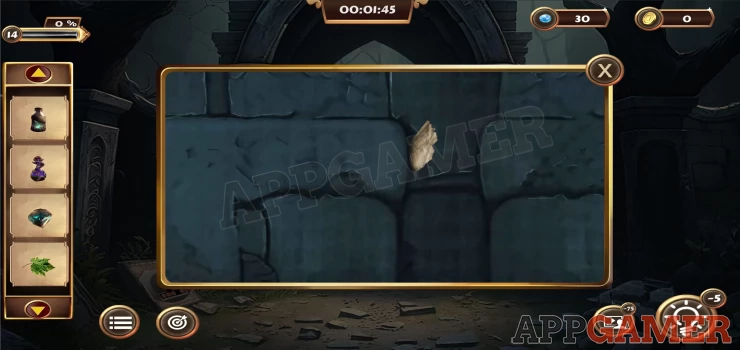
First tap on the rock on the lower right to view them and then move them to find a 'Stone piece'.

Then tap on the flat rock on the lower left of the scene to find a puzzle. Add the stone piece to this to begin
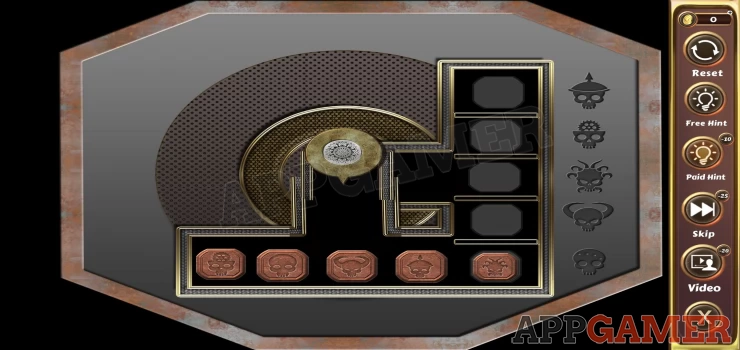
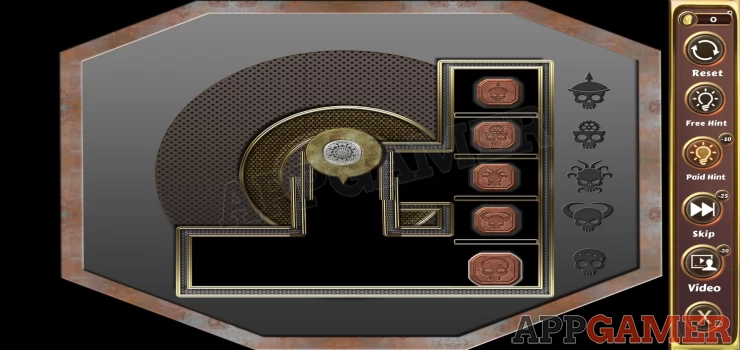
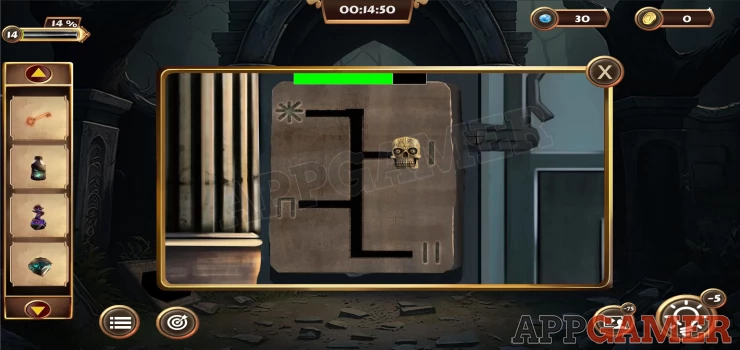
Stone Piece Puzzle
- To solve this you need to move the 5 pieces to the column on the right
- Match the order shown by the symbols on the right side.
- You can move pieces into the center and then rotate it.
- You can move pieces to adjacent empty slots.
Solution: Show
Collect the Key and the Skull Pendant. Now tap on the wall on the left of the gate to see a clue. We need this later.
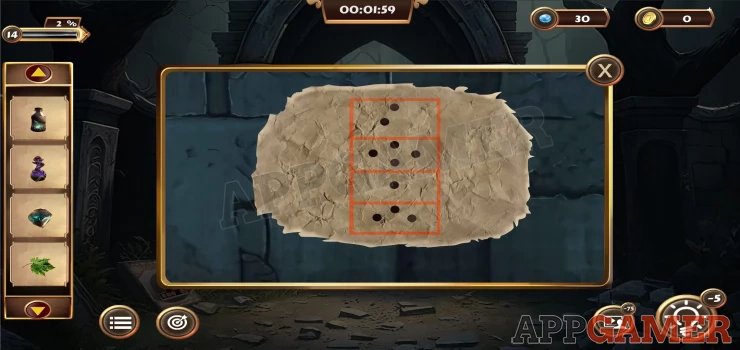
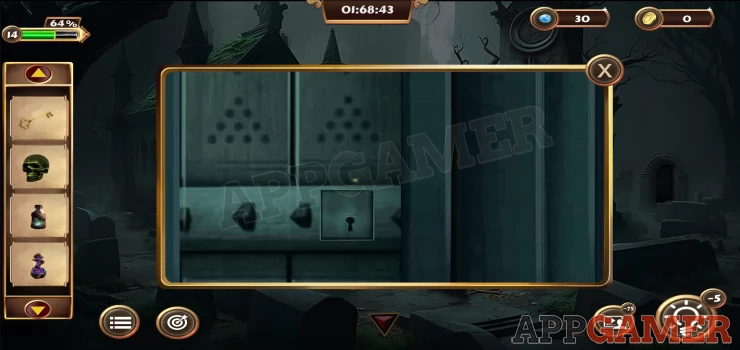
Then tap on the wall on the right of the gateway to see a paper stuck in the cracks, View this for another clue. It shows 4 sets of dots.
Show
Finally tap on the stone pillar on the right side of the scene to see a set of 4 symbols carved into it.
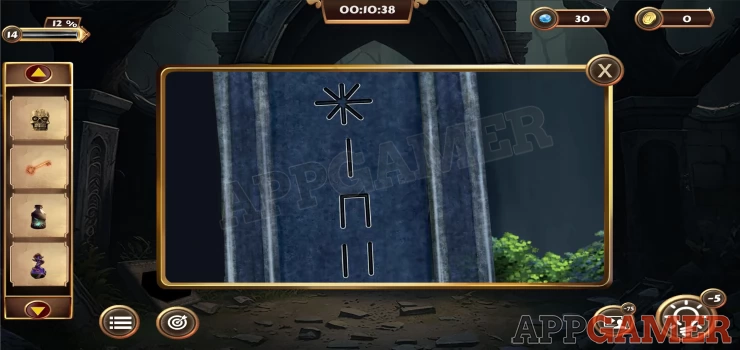
Now you can view the puzzle lock that is on the left side of the main gate.
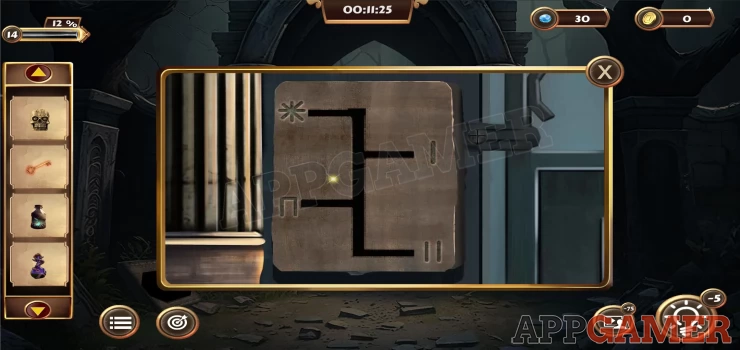
Add the skill pendant to it and you can then move it around to the the 4 symbols on the lock in the correct order.
Solution: The symbols match the carvings clue above. Check the paper with the dots to get the order. (e.g. 1 dot is the third down so start with the symbol carving 3rd down) When you get the correct order the green line will show.Show
This opens the gate and completes the task.
Objective - Gather the Door Key
Go through to the graveyard.

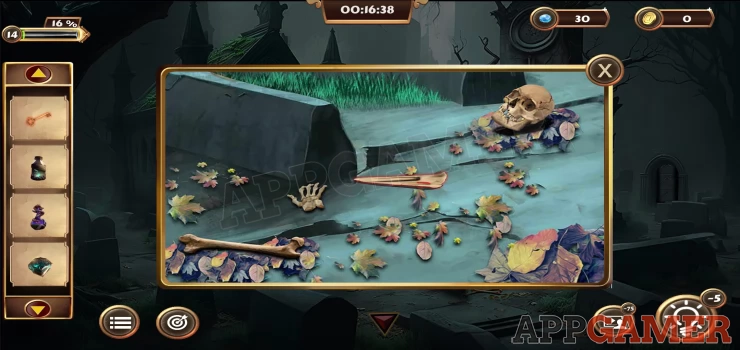
Look on the ground below the blue door on the right. Collect the Bone from he center.
Then view the lamp in the center of the scene.
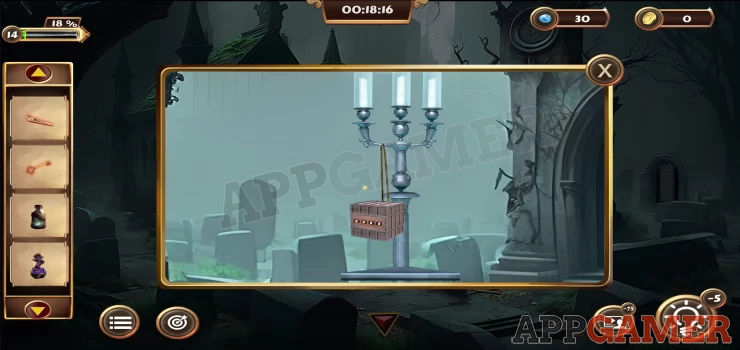
Use the bone to cut the string holding the box, you can then collect the box.
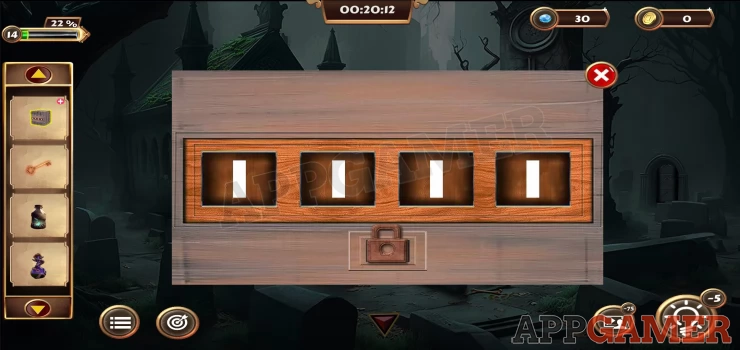
Wooden Box
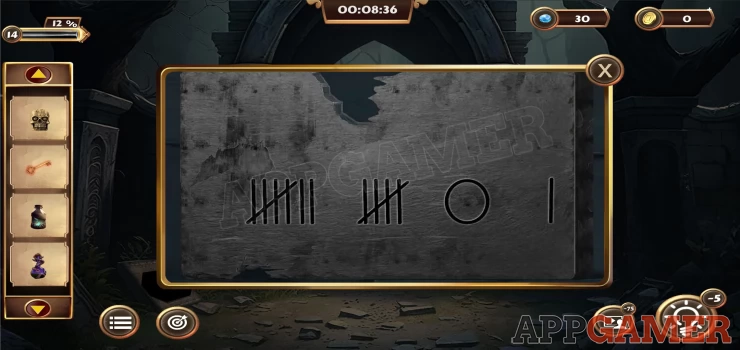
View the box in your inventory, it requires a 4 digit code. You have a clue for this.
Solution: From the plaque on the wall to the left of the gateShow
Code: 7501Show
Collect a Crystal.
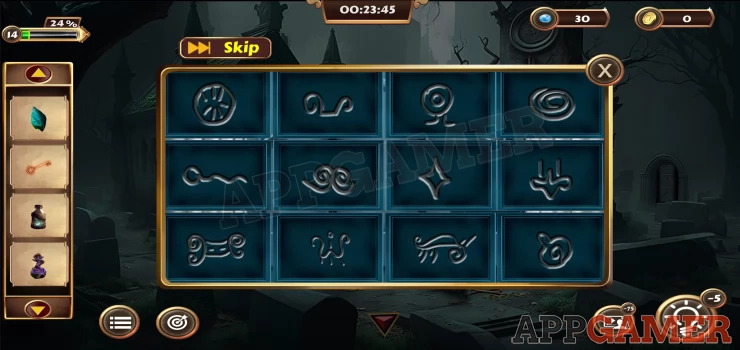
Now tap on an arch on the right side of the scene to see a puzzle. You see a set of 12 symbol blocks. You will see 1 of them light up briefly, tap that to clear a row. When you do this you will then see 2 more flash on the second row. tap these int he same order to clear that row and then repeat this on the bottom row.
Collect the Pendant piece.
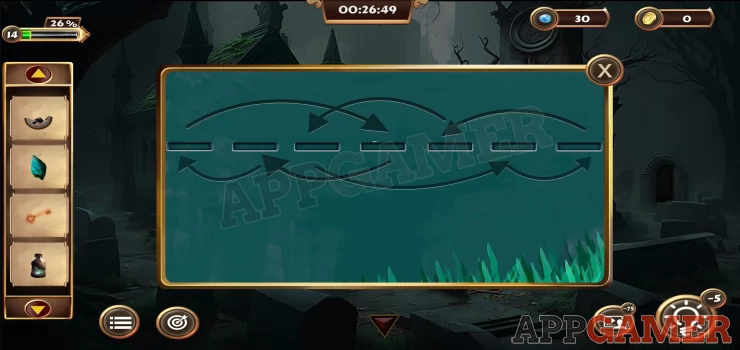
Now look on the ground on the center,, there are 2 short stones, view each of these 2 see 2 clues.
You can then view the blue door on the crypt on the right to see the lock, use the clues to set the correct code.
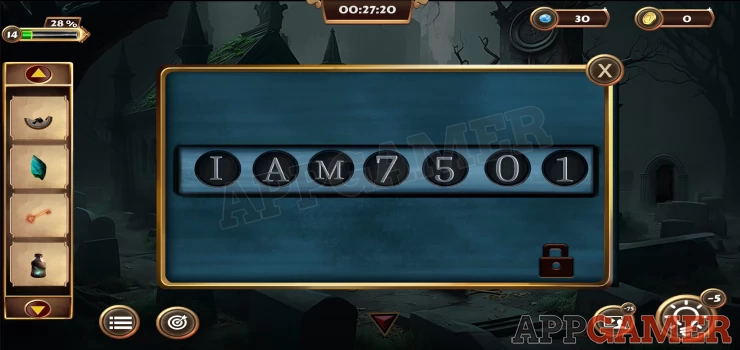
Solution: starting with the code IAM7501, swap the positions of the numbers and letters according to the arrows on the stone clue shown above.Show
Code: Show

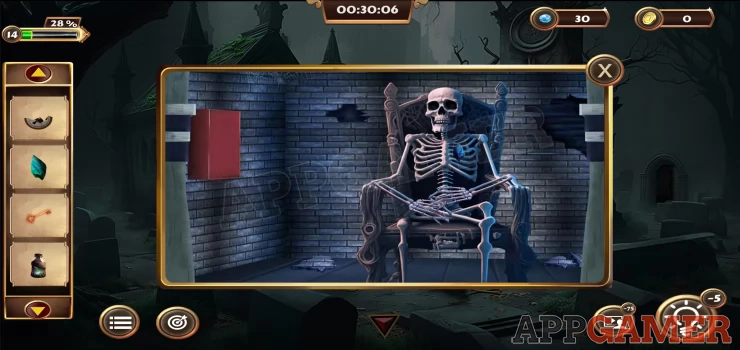
Collect a crystal from the skeleton inside.
Now tap on the arrow on the top right to view the other side of the graveyard.
Collect a Stick from the side of the tree on the left. Then view the large monument on the right to see a panel with a puzzle on it.
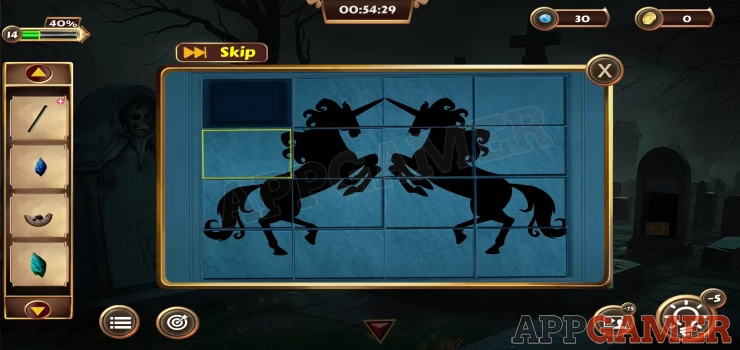
Jumbled picture Puzzle
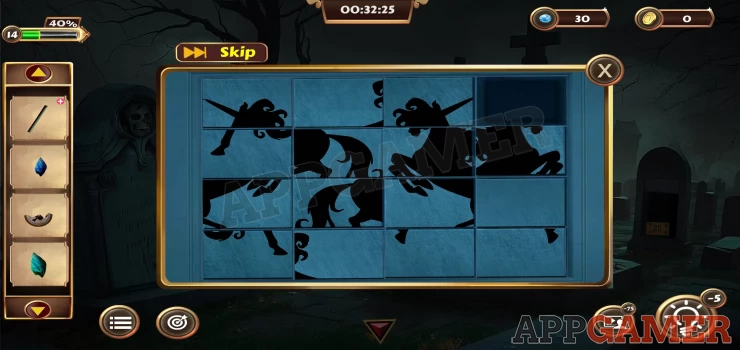
Slide the pieces to arrange them to form the complete picture
Check the solution below.
Solution: Show
Collect the Skull. View the gravestone on the left of the scene with the skull engraving on top.
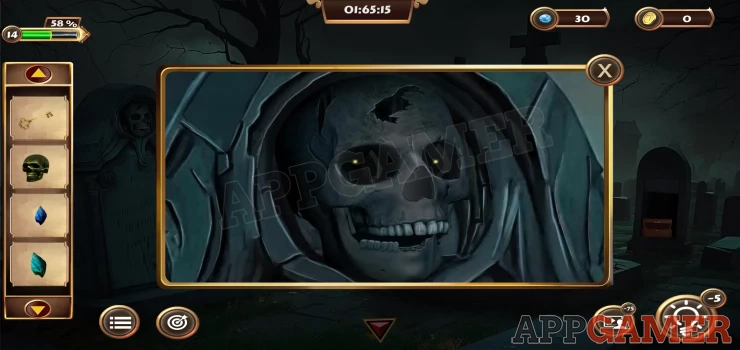
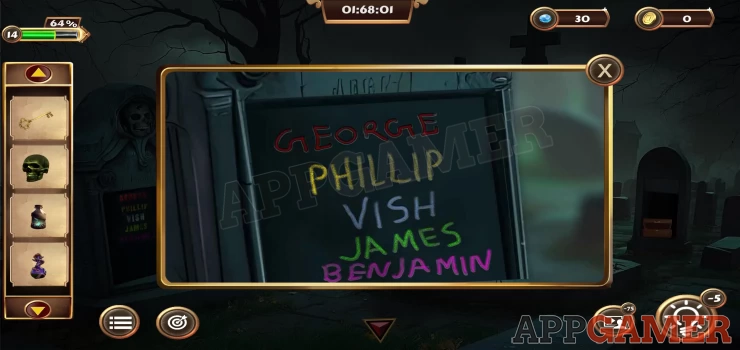
Add the 2 crystals to the eye sockets. You can then look inside the opened stone to see a clue. There are 5 names in different colors.
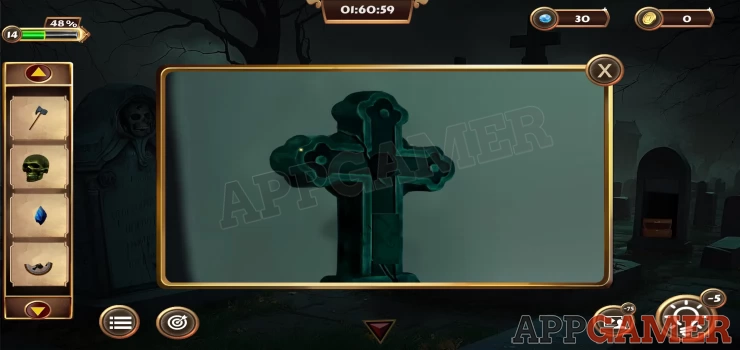
Now view the top of a cross on one of the tall gravestones to see a clue.
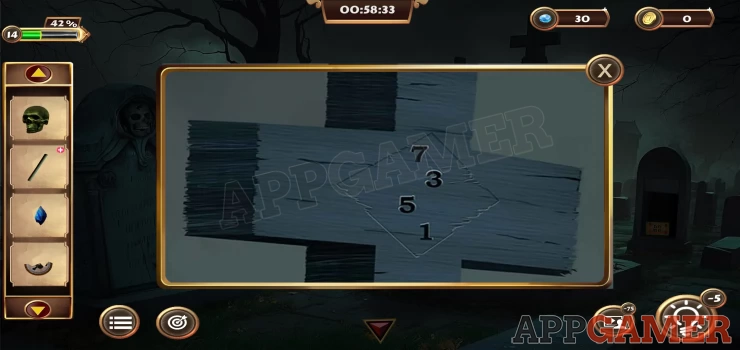
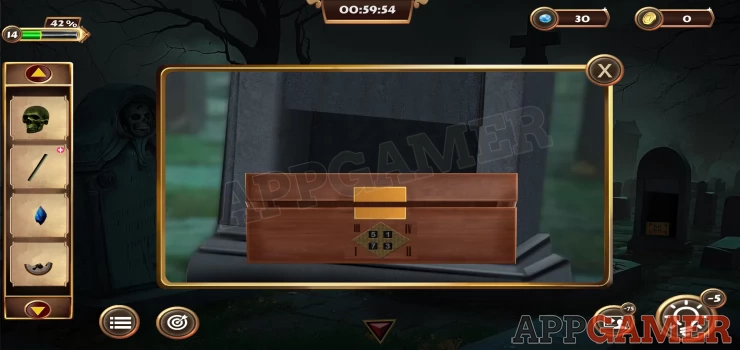
Then view a round top grave stone on the right, open it to see a box.

View the box to see a code entry, you can get the code from the cross seen above. Enter the code 7351 in order of the numerals on the box.
Solution: Show
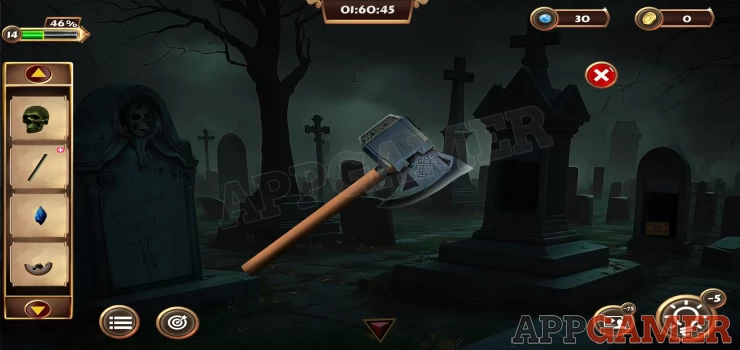
Collect the Hammer head. View the stick in your inventory and add the hammer head to to it to collect a hammer.
Go back to the left side of the graveyard and then tap to view a long square wooden post that has fallen on the ground on the far right side.
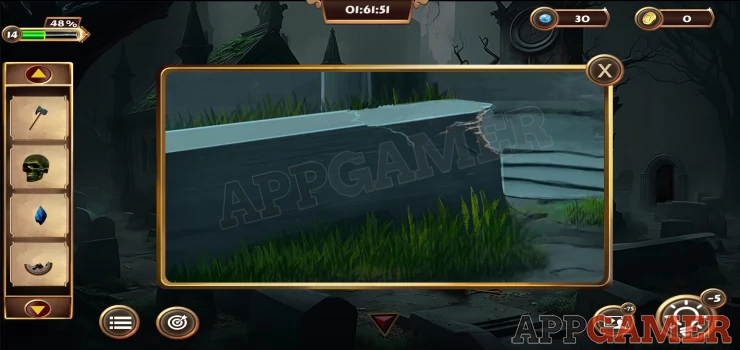
Use the hammer on this to break it open and find a pendant piece to collect.
View the pendant piece in your inventory an then add the other pendant piece that you have already collected to it to collect the complete pendant.
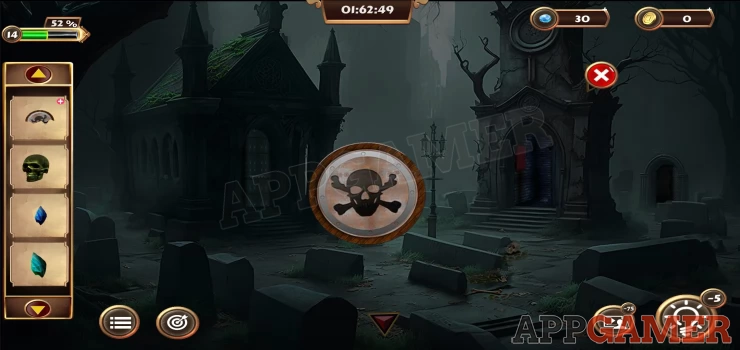
Go back to the right side of the graveyard and view a cross on a pole just to the right of the Tree.
Place the pendant in the center and a panel will open for you to collect a key.
This completes the task
Objective - Awake the Magician
Go back to the main graveyard area and look inside the crypt on the right with the skeleton again. There is a red box on the wall, view this.
You need a 5 digit code to open it. The colors are the clue.
The colors match the 5 names from the grave on the other area.
Solution: Count the letters in the 5 names and use those for the colors.Show
Code: 56487Show
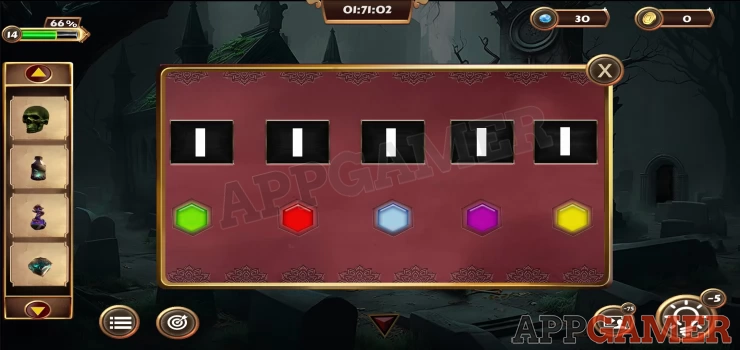
Collect the envelope. Then view this in your inventory and open it to see another clue, 4 shapes with different colors.

Now view the door to the large crypt on the left.
Use the key to open the door and go inside.
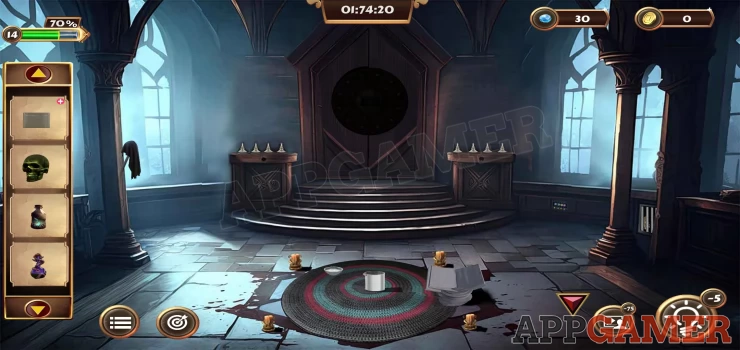
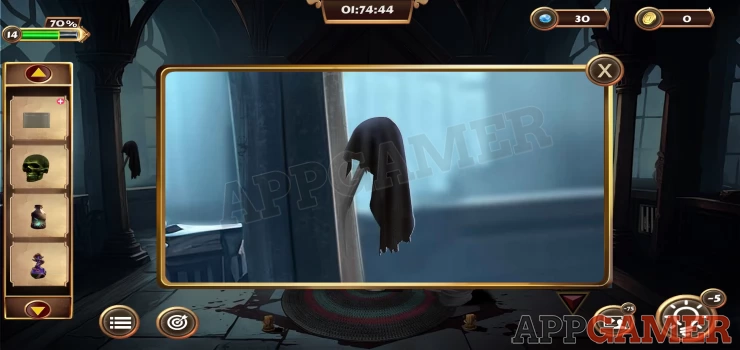
First look on the left side column and move the cloth to collect a Round Pendant.
Next look on the right side of the room to see a vent grill.
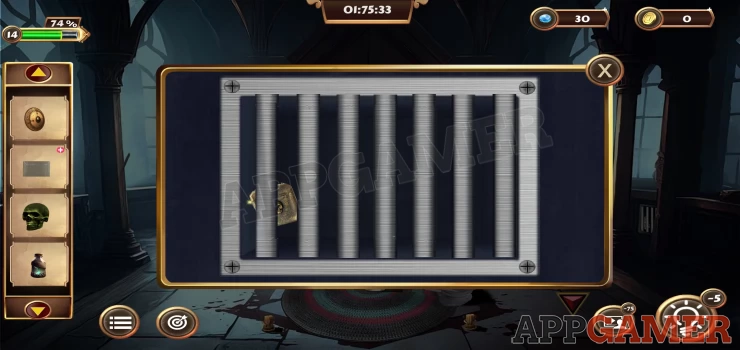
Use the hammer on this to break it open and collect the Lighter.
Then also on the lower right below a large window you will find a panel with a 4 digit code entry. Note the colors of the number boxes. These match the colors of the 4 shapes on the clue found above.
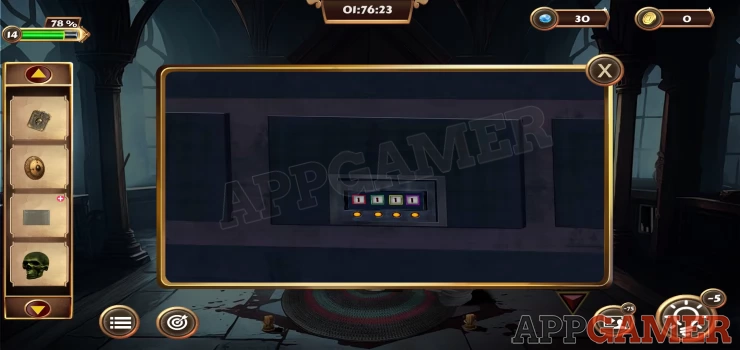
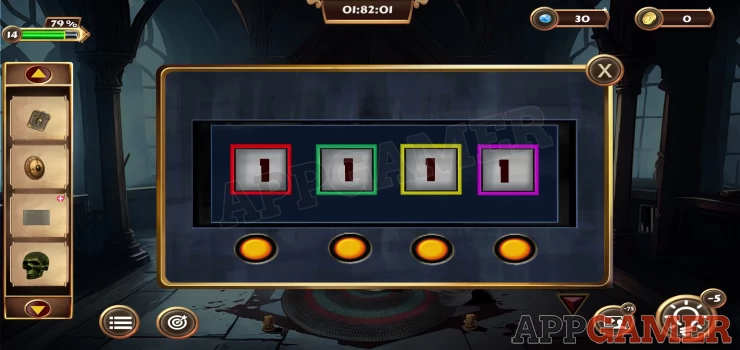
Solution: Count the corners on each shape, the X shape counts as 2 corners.Show
Code: 2043Show
You can now collect the red Button and the Book.
Next look on the left and right of the steps to see 4 objects on each side. Below them is a small hole.
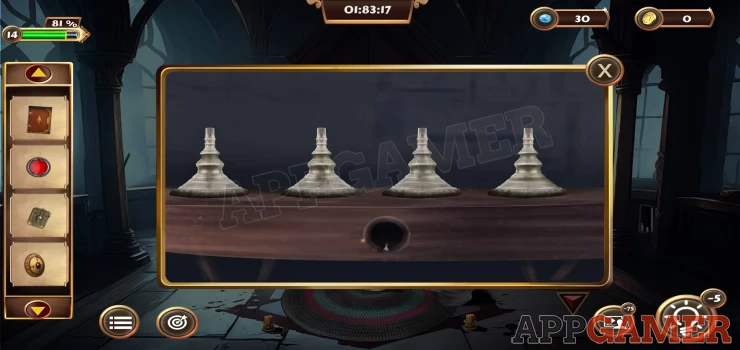
Use the lighter on the hole on one side to light the objects and you will then need to do the same on the other side.
This will project 8 beans onto a central circle which lights up.
Next view the round mat in the center of the floor.
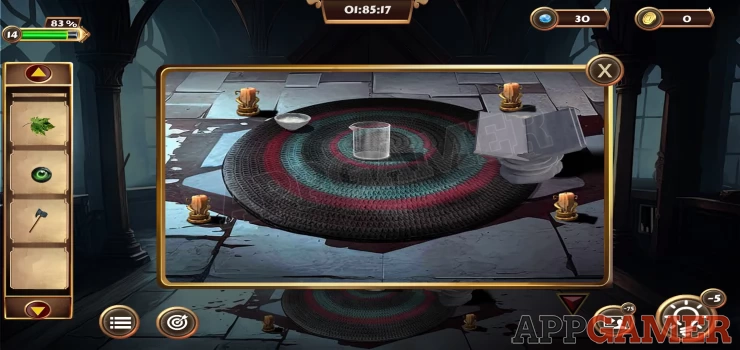
Place the book on the stand on the right. And then place on the mat the Lotion, the Skull, the Snake Poison, the Crystal, the Leaf, the Eyeball. And finally place the Hammer.
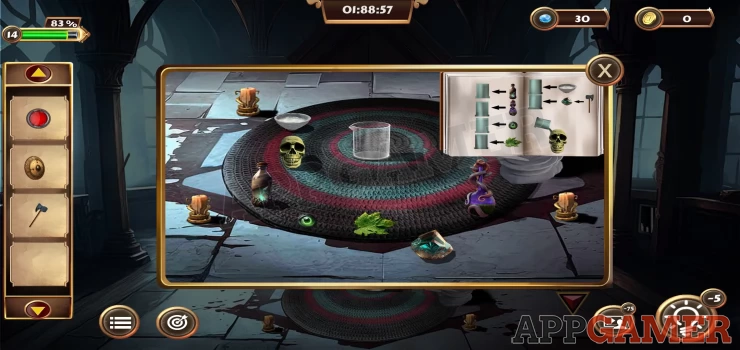
Now follow the instructions in the book to add the items to the beaker.
- Add the Lotion
- Snake Poison
- Eyeball
- Leaf
- Bowl of white powder.
- Tap the hammer to break the crystal it and then add the fragments.
- Tap the beaker to pour in onto the skull.
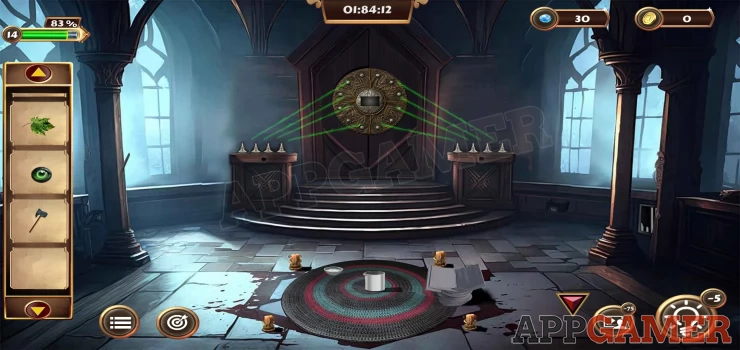
Collect the beaker of Potion from the mat. Now view the center of the round emblem at the top of the steps to see a puzzle.
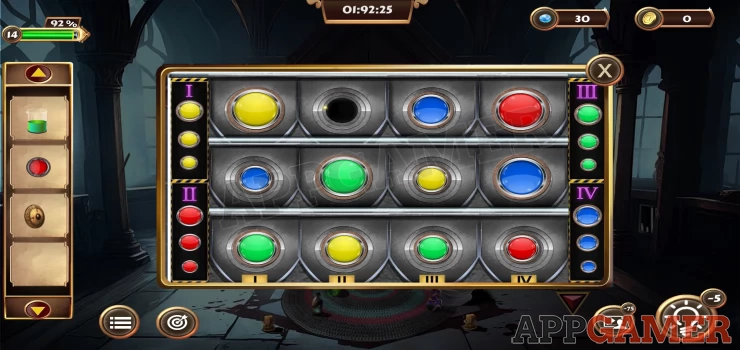
- Place the red button to begin.
- Tap pairs of buttons to swap their positions.
- You can only swap 2 buttons of the same color or of the same size.
- Arrange them according to the clues on the edges.
- The largest buttons must be at the top.
- The column orders are shown with numerals. e.g. Yellow is column 1 on the left.
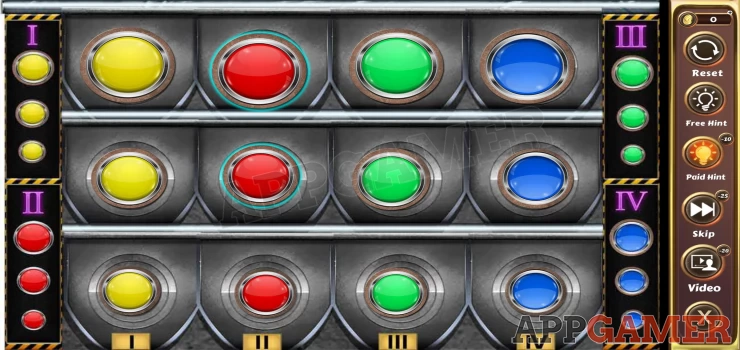
Solution: Show
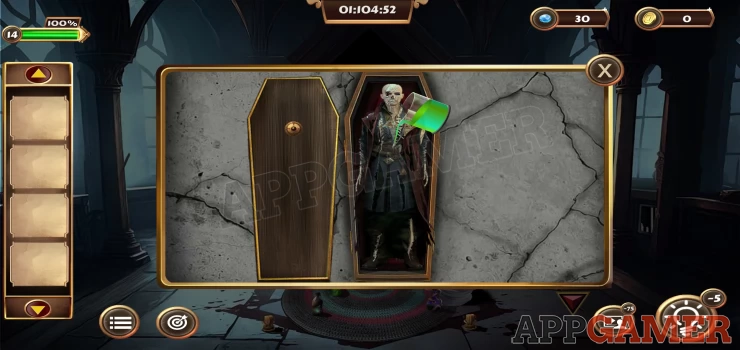
This opens the door way, tap the ground inside the door to see a coffin.
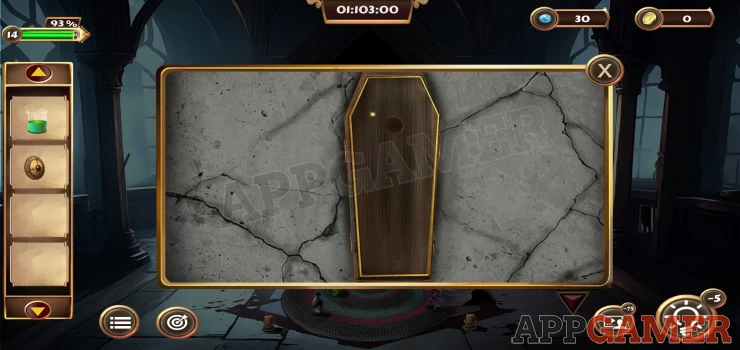
Add the round pendant to the lid to open it to find the magician's body. Add the potion to the body to revive the Magician.
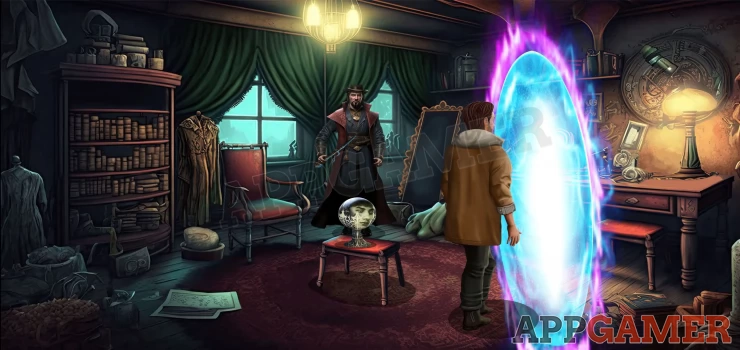
Watch the final scene as the Magician agrees to help you find your daughter in return for a favour.
This completes Level 14, you can move on to level 15.
We have questions and answers related to this topic which may also help you: Show all
 With 20 years of experience in creating video game content for the internet and over 30 years as a gamer, Mark is now a passionate mobile App Gamer. Loving a challenge, he is always ready to get stuck in to both survival builders and puzzle solving games. He has been providing content for AppGamer since 2014.