Grim of Legacy Level 3 Walkthrough
More Escape Room: Grim of Legacy
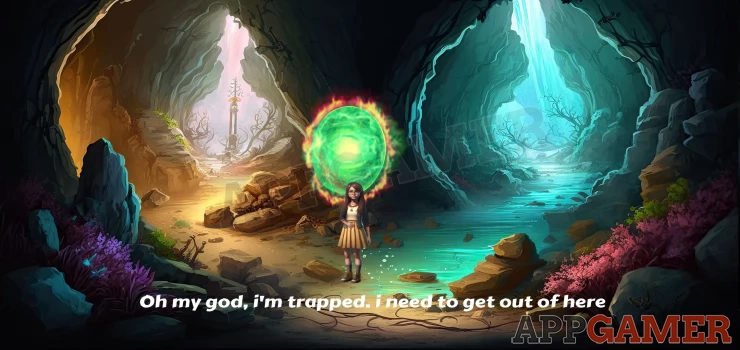
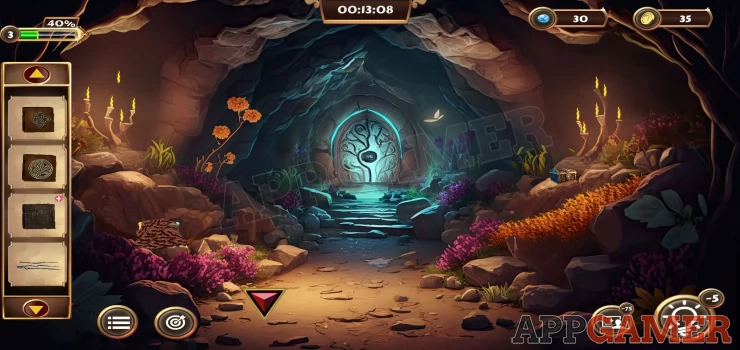
Level 3 of Escape Room: Grim of Legacy takes place in a mysterious world where Emily, the daughter of the archaeologist has been transported. You arrive in a place with 2 paths ahead.
Objective - Collect the Key
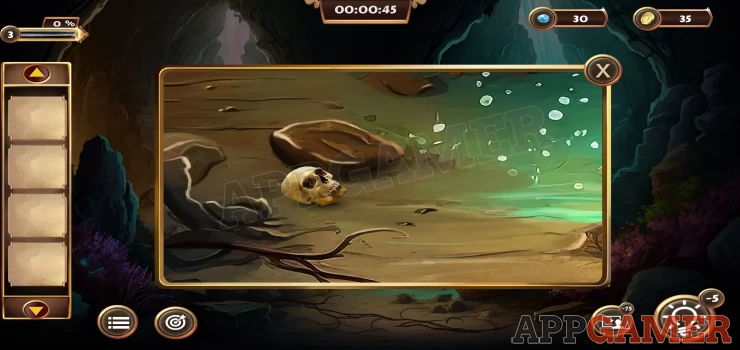
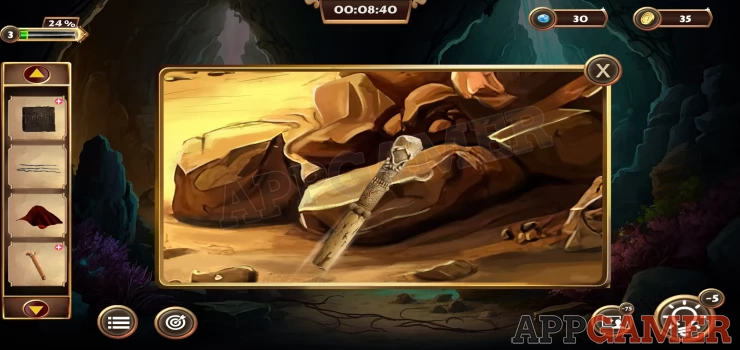
Tap on the ground in the center to see and collect a skull.
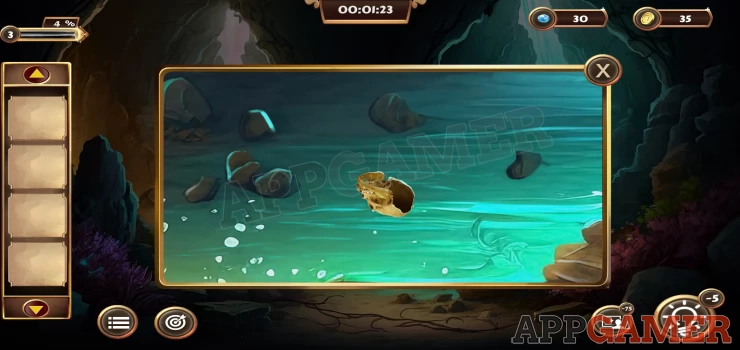
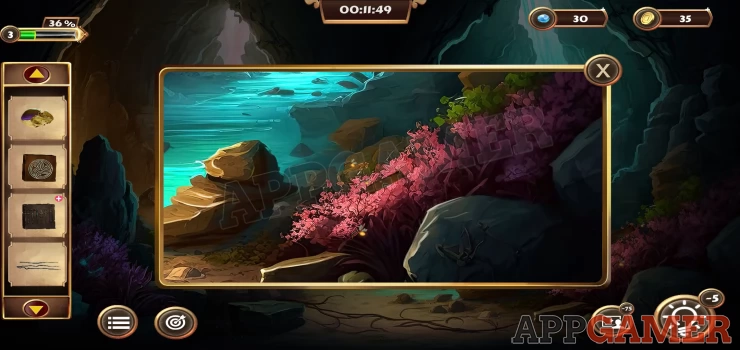
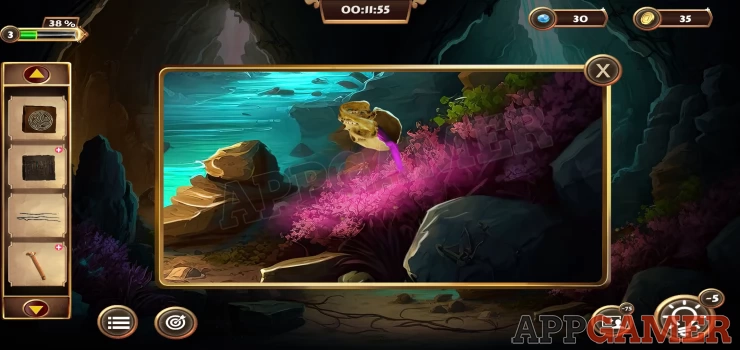
Then tap on the water on the right side path to view it. Use the skull on the water to collect a skull full of water.
Now tap on the right side path to move through to the large shrine.
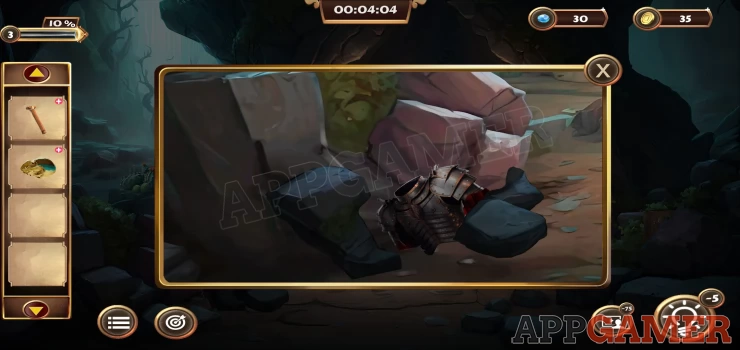
Collect the stick from the ground in the center. Then tap on the pile of rocks on the lower left to view them.
Tap to move the dark rocks away and you can then collect a cloth from the armor that is there.
Next tap to see the small group of spiky plants on the left side.

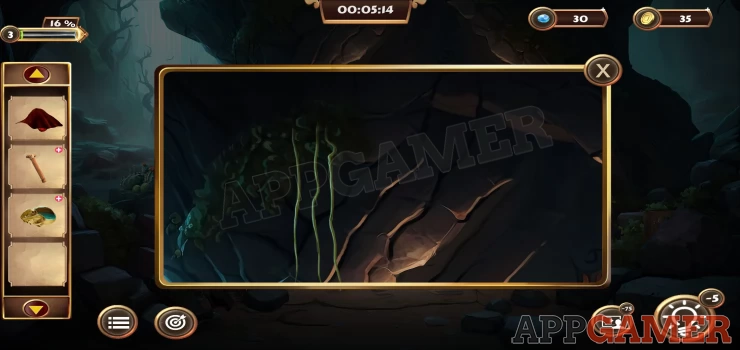
Use the cloth on these to collect a Spiky Fruit. Then tap the rocks just to the right of the spiky plants to see some roots hanging. Collect the roots.
Now tap on the rocks on the right side of the path to see a hidden object. Tap this to collect the Clue Piece.
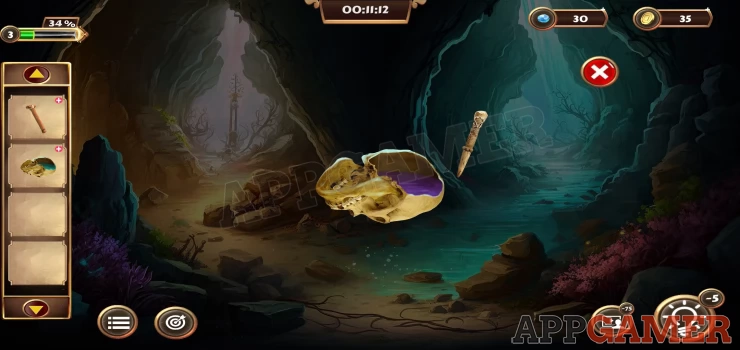
Go back to the starting point and tap on the large blue rock on the left side to see a bone under a rock. Collect the Bone
Then view the pile of brown rocks in the left side path. Use the bone on this and it will be sharpened. Collect it.
Next tap on the ground on the bottom left to see some darker rocks. You can now use the sharpened bone on these to move one aside and collect a Solving piece.

Next view the skull with water in your inventory. Then add to it the spiky fruit (in the cloth). Then use the bone on it to mix up the fruit and make a poison to collect.
Use the poison on the insects flying on the right hand side to clear them away, you can then collect another solving piece.
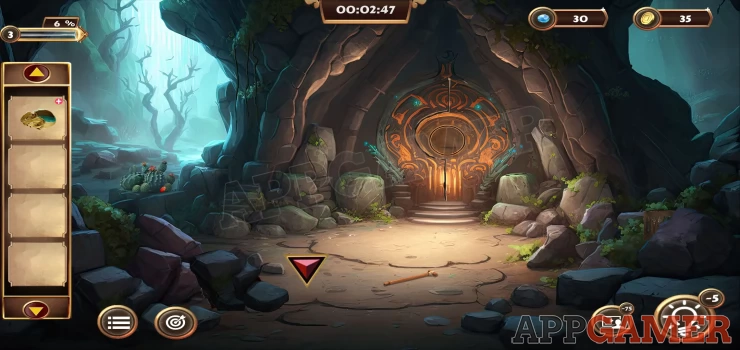
Now tap on the left path to move through to a cave with another doorway at the end.
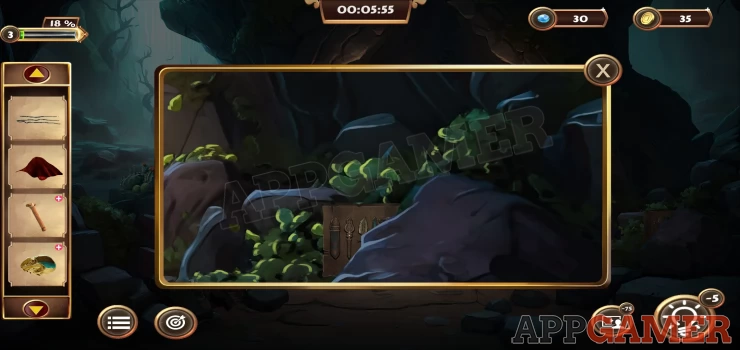
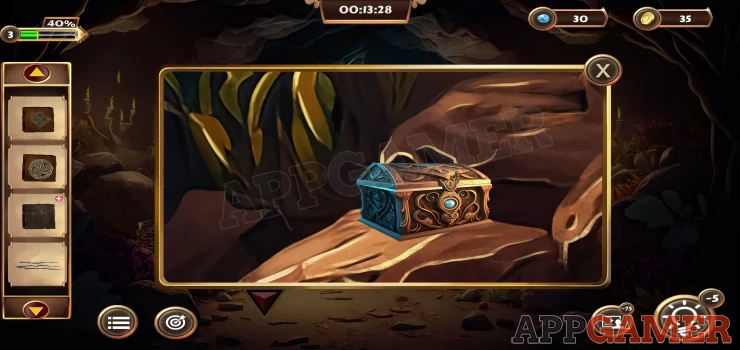
Look on the rocks on the right to see a box to collect.
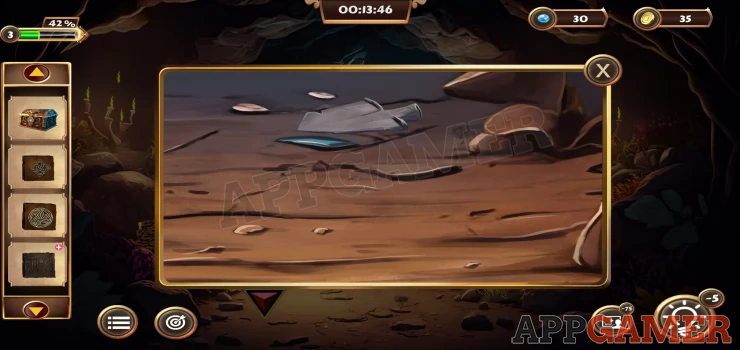
Then tap on the floor in the center and collect the Shovel Head from the ground.
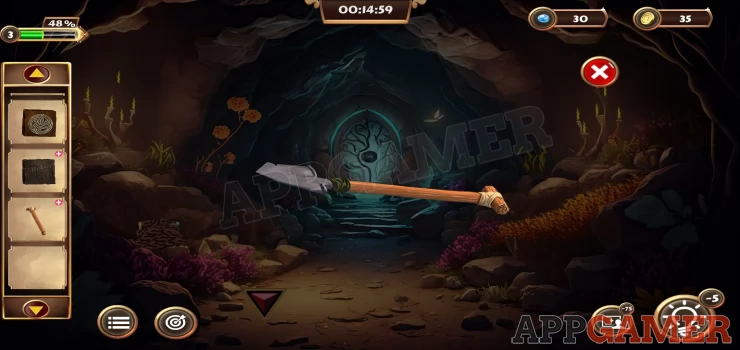
View the stick on your inventory and add the shovel head to it, followed by the roots. You can then collect the Shovel.
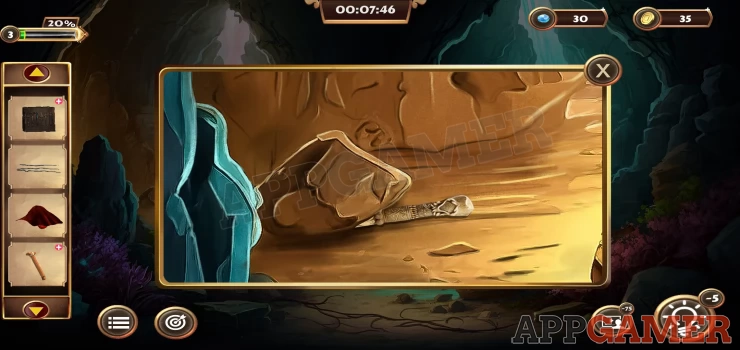
Then tap on the left side rocks to see a box covered in dirt. Use the shovel on the box to dig it out of the ground
View the box and add to it the 2 solving pieces.
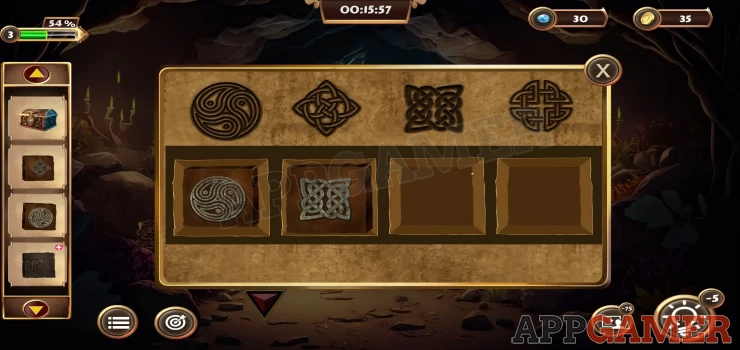
You can then solve this puzzle by re-arranging the pieces to match the symbols above.
You need to select pairs of symbols that are next to each other to swap them over until the symbols match.
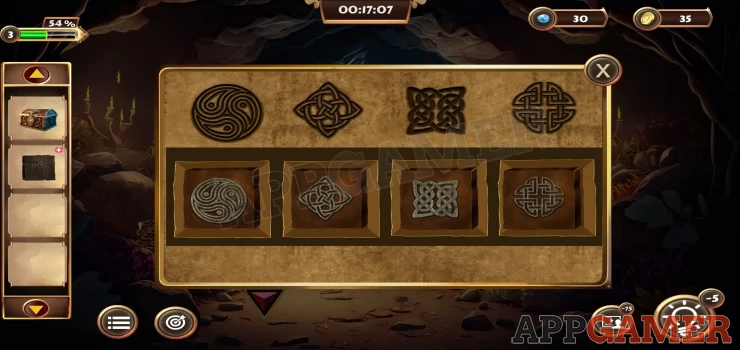
Once done collect the key. This completes the task to collect the key.
Objective - Unlock the door
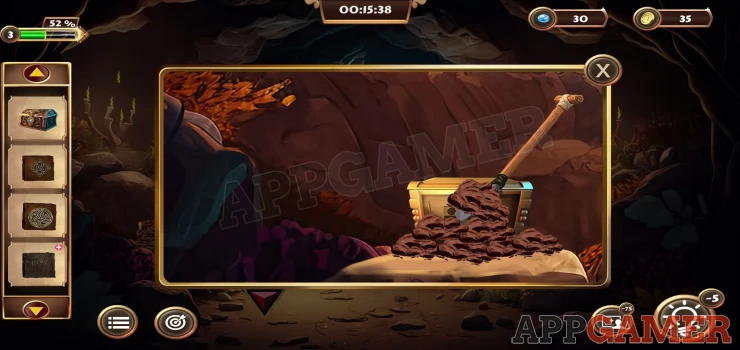
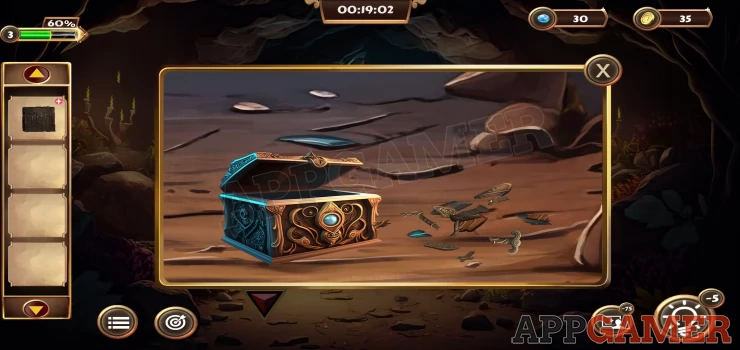
Tap on the ground in the center of the path again where you found the shovel head. Place the box that you have there.
Now use the key to open it. This will tip a lot of pieces onto the ground. Tap on the to see a puzzle.
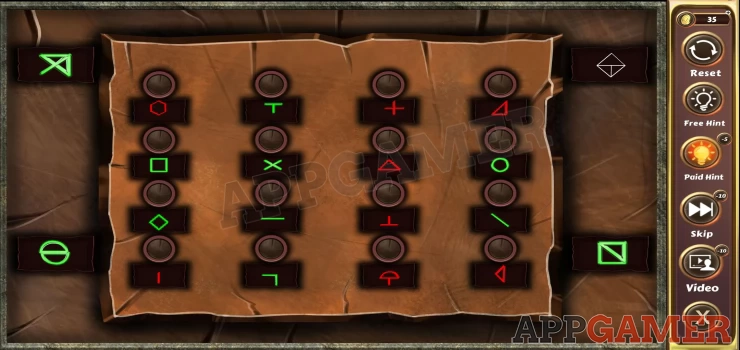
To solve this puzzle you need to arrange the pieces to match and make the 6 weapon items.
Tap pairs of the tops or bottoms of the items to swap them over. The center pieces are fixed.
When the top and bottom matches the center correctly it will join.
The clue for the pieces is on the Clue Piece item that you can view in your inventory.
Solution: Show
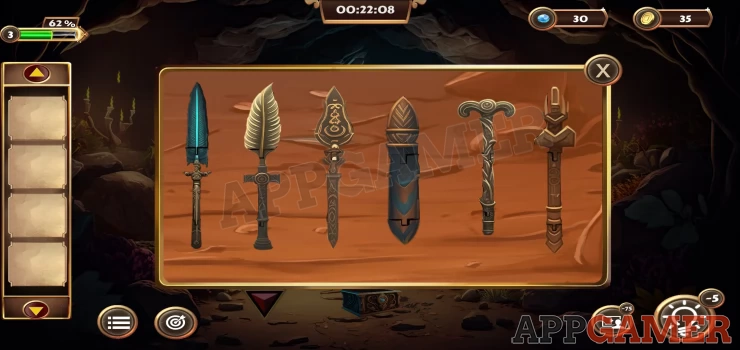
Once done you can collect all 6 of the Weapons.
Back up and go down the right hand path to see the shrine in the rocks. Tap on the left hand side to see a stone, it has 3 slots on top.
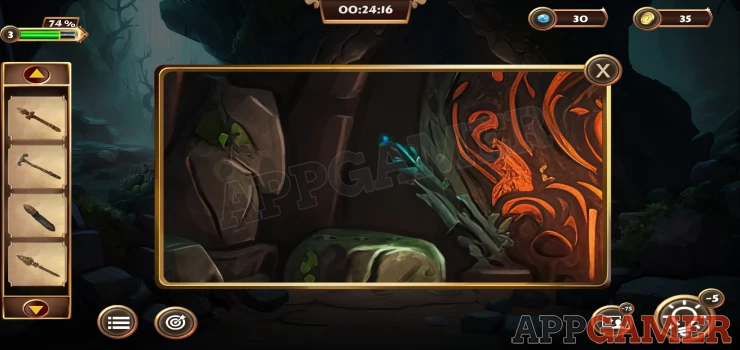
Place 3 of the weapons in this rock. You will need to try each to see which ones fit here.
You will then see the right had side of the door. Place the other 3 weapons here.
A panel now opens, tap on this to see the puzzle.
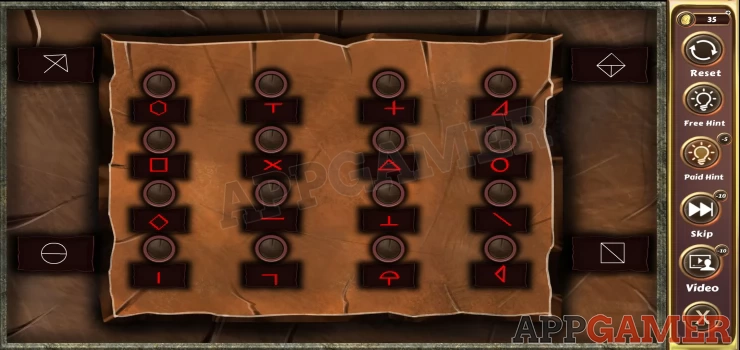
- There are 4 shapes in the corners.
- Tap pairs of symbols on the main board that will fit together to make the shapes in the corners.
- If you get the pair correct the symbol will highlight.
Solution: Show
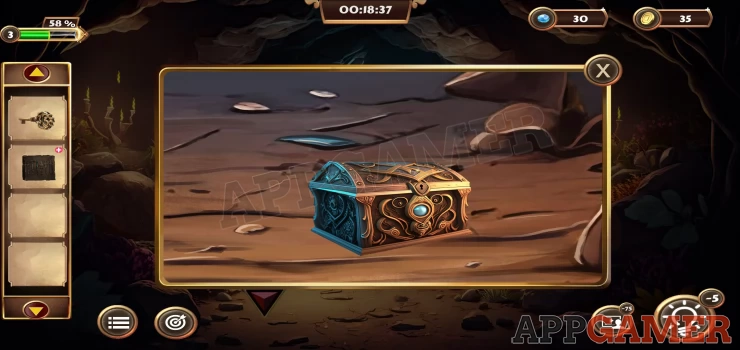
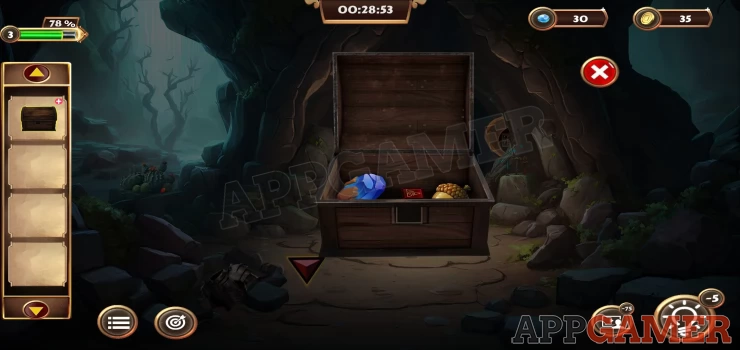
Once all 4 are complete the door opens and you can collect a box that is inside.
View the box in your inventory and then open it to collect a puzzle piece.
Now back up and return to the left path. Tap on the door at the end to see another puzzle.
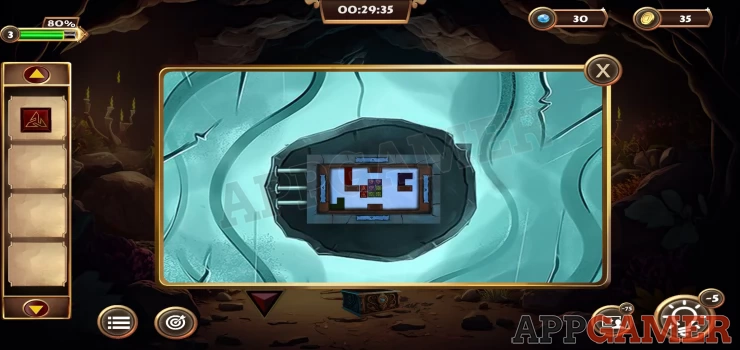
Add the puzzle piece to it to begin.
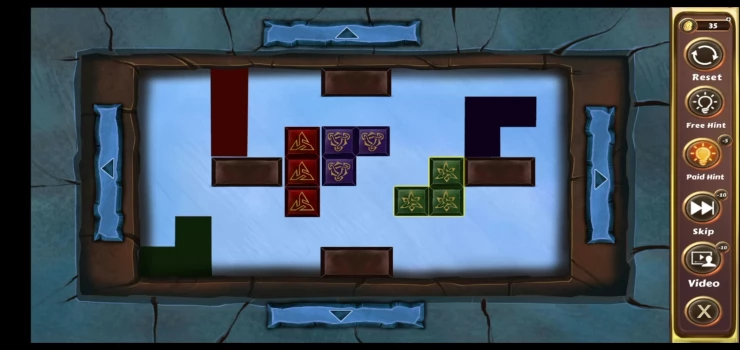
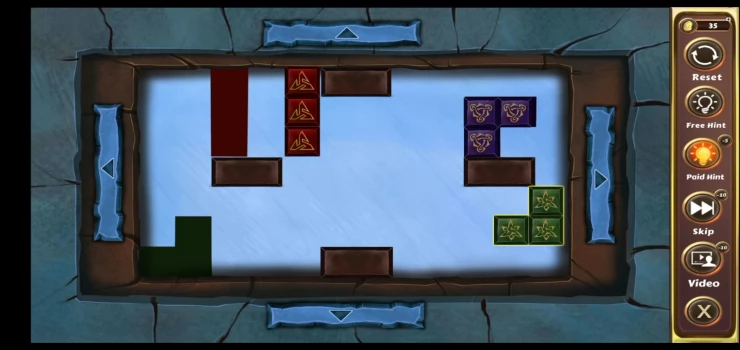
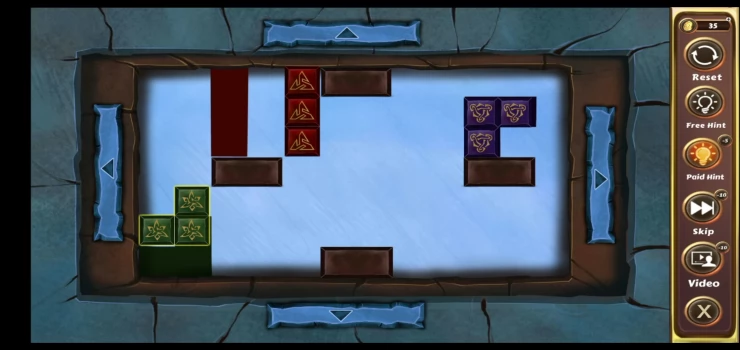
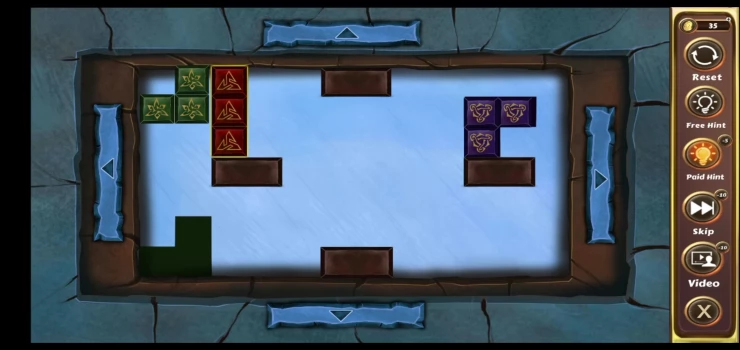
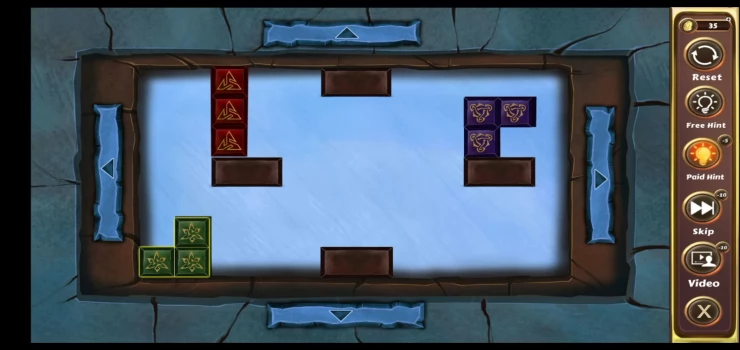
Door Puzzle
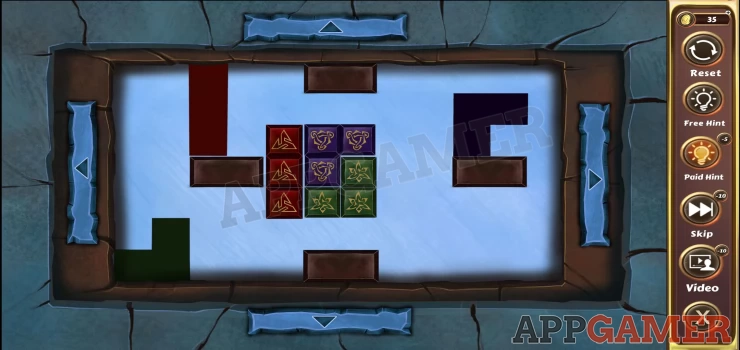
- Select any of the 3 colored shapes and then use the arrows to move it around the board.
- The shapes will slide in the chosen direction until the are stopped by a wall or other piece.
- You need to fit the colored shapes into the colored spaces for each.
- You will need to use some blocks to help position others.
Hints:
- Move the blue block into position first using the green block to help.
- You can then do the same with the red block (using green to help)
- Green will then fit easily into its own space.
Solution: First move the green block to the right. Next move the blue one up and to the right. Then move the green block up to block the blue one in and then move the blue one back to the left to fit on its required spot. Next move the red block up and you can then move the green one down, right, up and left to get it to the left side of the board. Move the green block up and you can now move the red block to the left to its spot as it is blocked by the green. Finally move the green block down to the left bottom corner to it spot to complete the puzzle.Show

Once you complete this you will finish the objective to open the door and complete Level 3
Move on to Level 4
We have questions and answers related to this topic which may also help you: Show all
 With 20 years of experience in creating video game content for the internet and over 30 years as a gamer, Mark is now a passionate mobile App Gamer. Loving a challenge, he is always ready to get stuck in to both survival builders and puzzle solving games. He has been providing content for AppGamer since 2014.