
Episode 7 Walkthrough - Celtic Lands
More Artifact Seekers
This is our guide to Celtic Lands, the seventh Episode in the puzzle adventure game Artifact Seekers, from Five BN. In this episode you are in Ireland the land of fairies.
You goal in this chapter is to find the Leprechaun and then recover the pot of gold that he has stolen. As before there are collectible items to find in each area for extra stars.
Episode Seven - Celtic Lands Walkthrough
https://resource.appgamer.com/library/2025/artifact-seekers-episode-7_86.png?d=1920x1080
Morphing Object: Signpost by the track on the left above the bicycle.
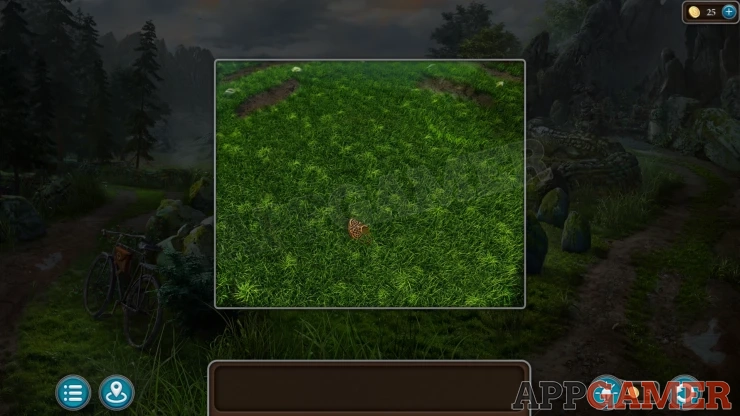
Tap to view the ground in center of the stone circle, Collect a Relief Piece (1 of 3).
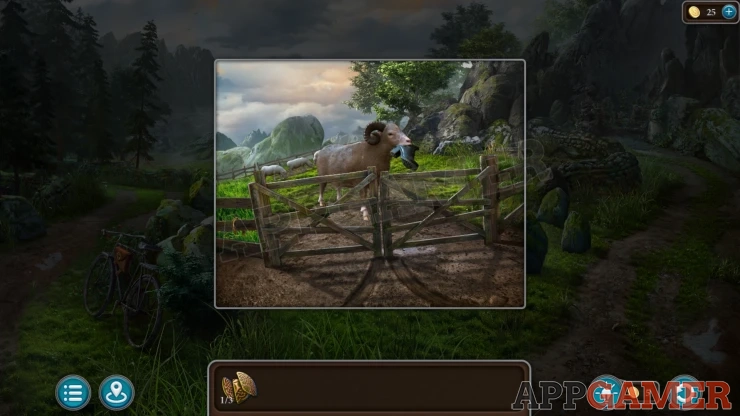
Then tap the gate on the field behind the stone circle to view it.
Collection Item: Horseshoe on the fence to the left of the gate.
Next tap on the track on the left side above the bicycle to move on to a small stone hut by the river.
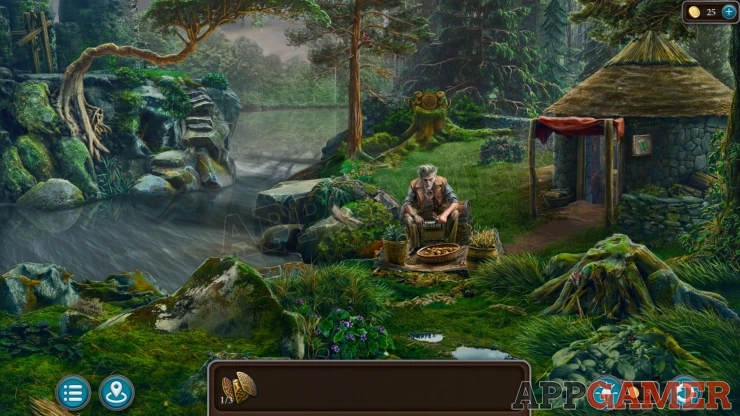
Talk to the Druid at the camp fire. He asks for help to prepare a remedy. You receive a List of Plants. View this to see the four items you need.
Collection Item: Picture of a Glass of Green ale on the wall of the stone hut.
Morphing Object: Small bush / plant on the rocks on the lower left by the water.
Tap the door of the hut to go inside.
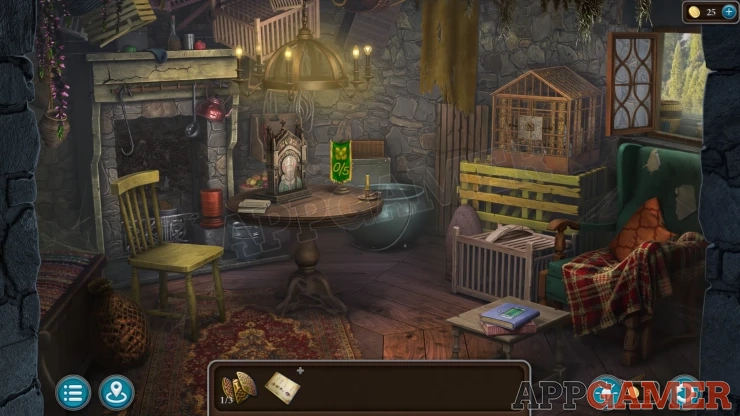
Collection Item: Picture of a Glass of Green ale on a book on the small table to the lower right.
Morphing Object: Black glove / cloth on the mantel above the fireplace.
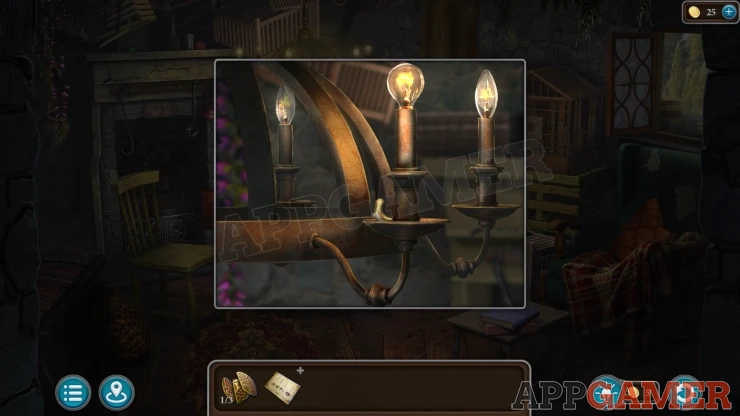
Staff: tap on the light hanging above the round table, it is below the round bulb. (1 of 5)
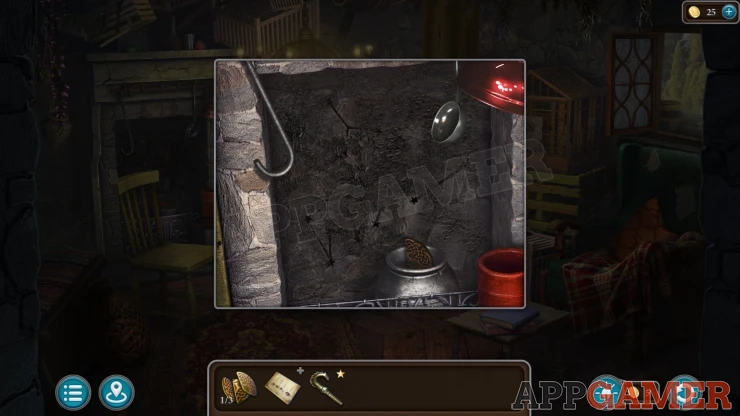
First look inside the fire place, collect another Relief piece (2 of 3) from the silver pot. Notice a clue on the back wall.
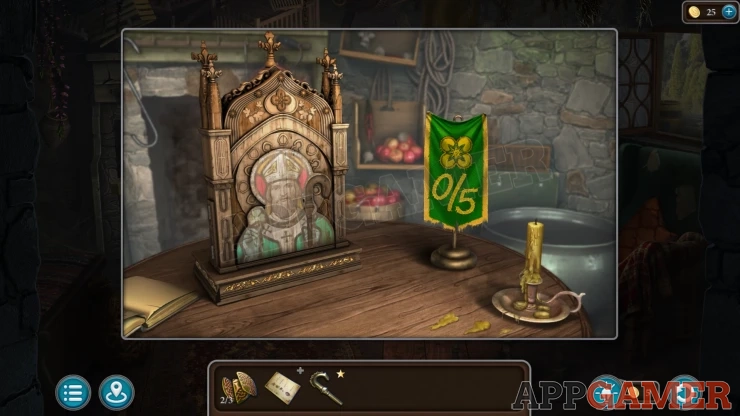
Next view the round table near the fire place, collect from here a Candle.
Next view the green chair on the right. Try the zipper on the cushion but it is stuck.
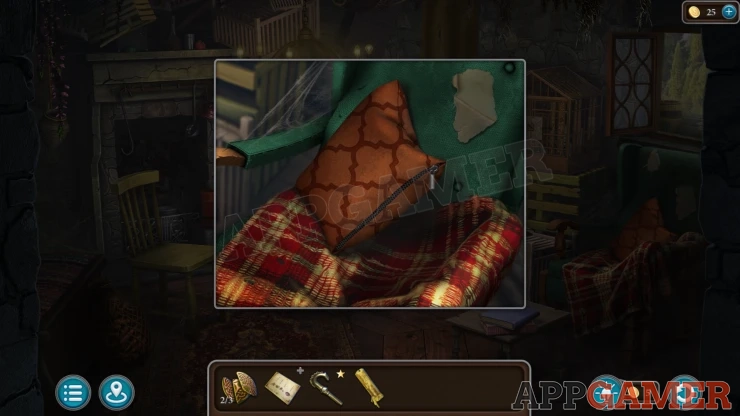
Use the candle on the zip to loosen it and then you can open the zip. Collect a Dragonfly emblem.
Next view a cage on a crate to the left of the chair. Use the dragonfly on this to open it.
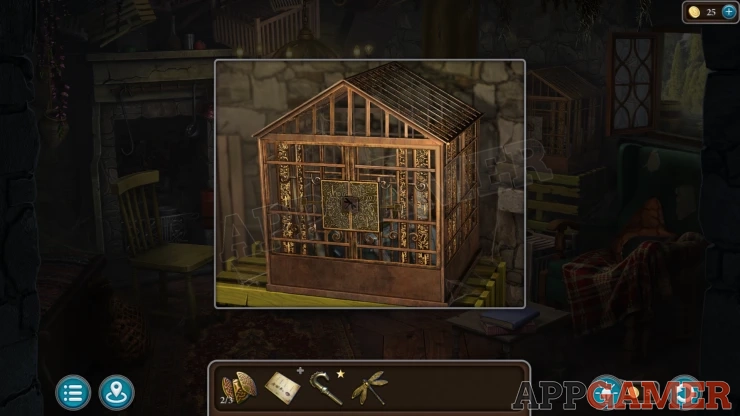
Dragonfly Cage Puzzle
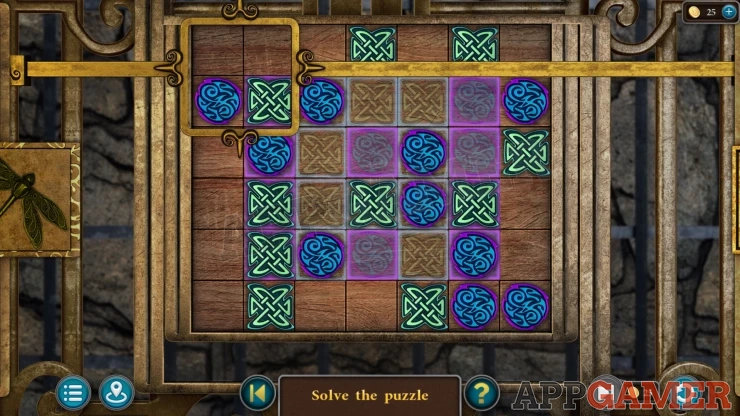
- There tiles with two types of symbol on the board. The background of the board also shows matching symbols on some of the squares of the grid.
- Move the large square around the board and then tap it to re arrange any tiles in side it. These will rotate around the square clockwise.
- Arrange all of the tiles so that they are on top of the matching symbols on the grid.
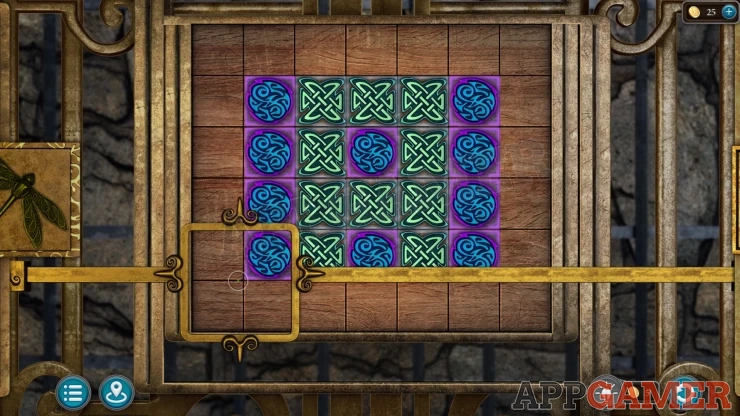
Once done you can collect another Relief piece (3 of 3) and some Gloves from the cage.
Back out of the hut and then tap on a carved tree stump that is above / behind the Druid.
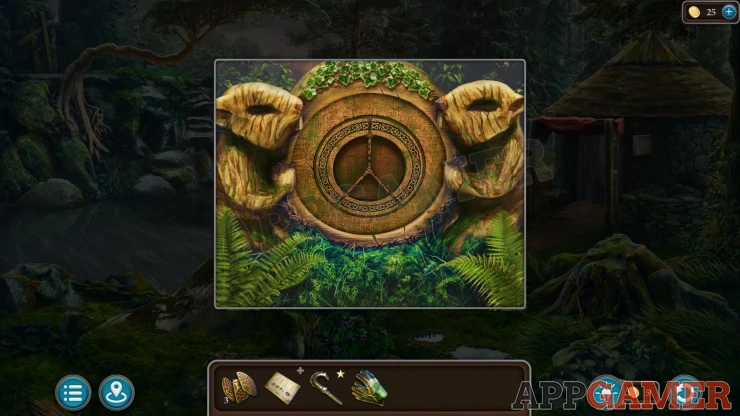
Place the three Relief pieces here to access another puzzle.
Relief Piece Solitaire Puzzle
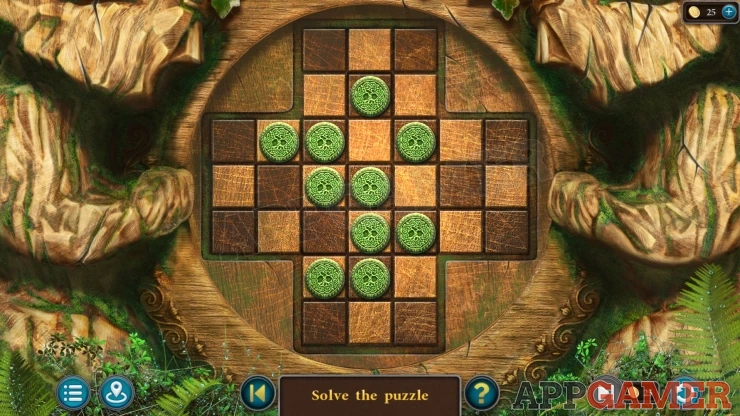
- This is a Solitaire style game where you can move the counters but jumping over another one.
- When you jump over a counter it is removed.
- Remove all of the counter on the board until only one remains.
- The initial position of the counters can vary with each game.
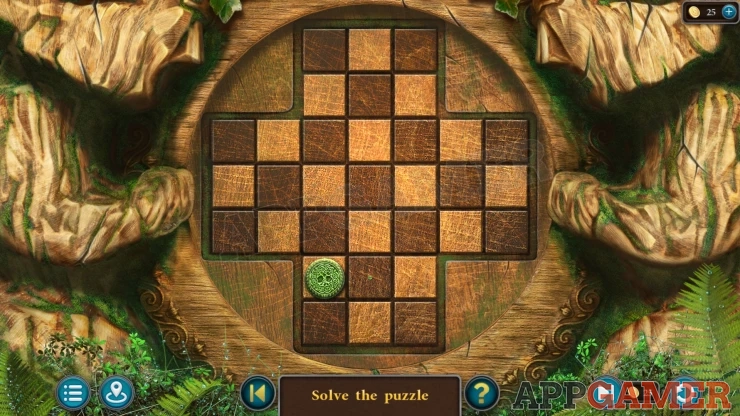
Once done you can collect a Knife.
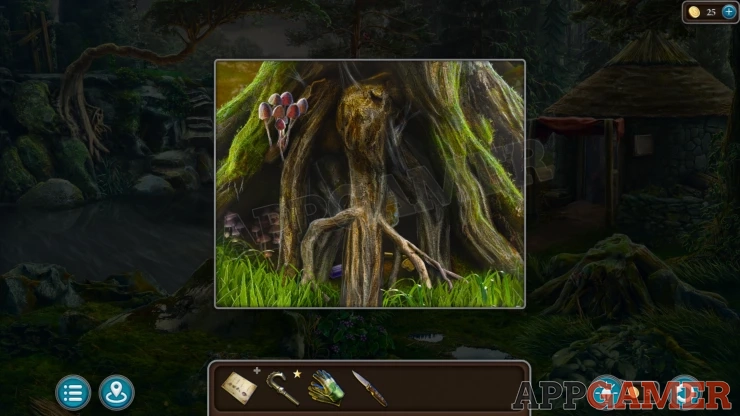
Next view another tree stump to the right of the Druid. Use the knife here to cut and collect some Mycena (Fungi).
Back up to the start area with the stone circle and then view the bicycle on the lower left. You can collect some red Rosehips from the left of the wheel.
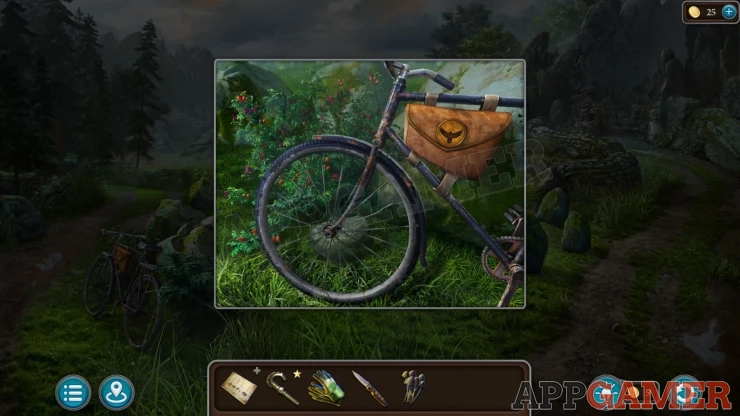
Next view the path to the right of the area, there are some steps blocked by ivy.
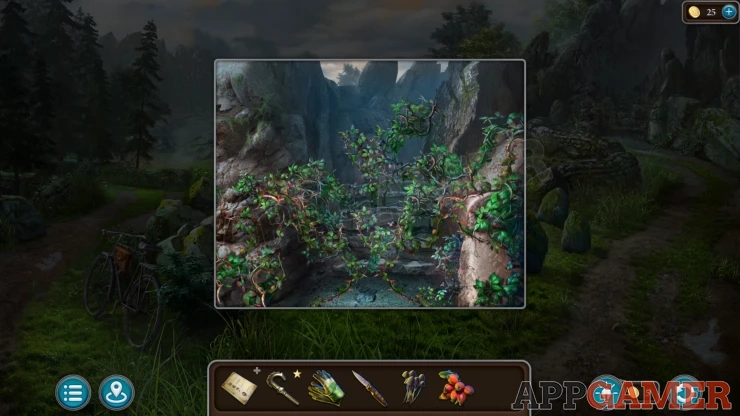
Use the Glove on the ivy and then also use the Knife. This will let you clear the ivy from the path.
Move forward to reach a meadow with a tree with a small house in it.
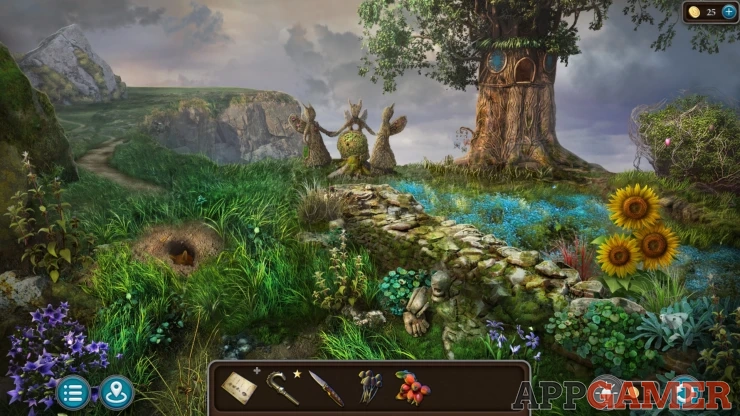
Morphing Object: Wasp / Butterfly on a plant on the lower right below the sunflowers.
Tap to view the low stone wall in the center with a Face.
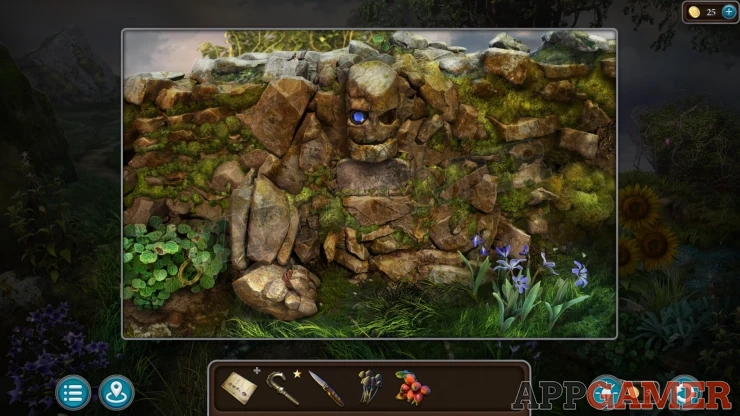
Collection Item: Horseshoe hidden behind some green leaves on the lower left.
Collect a Sunflower and then view the bush on the right, above the sunflowers, to find and then collect a Gooseberry..
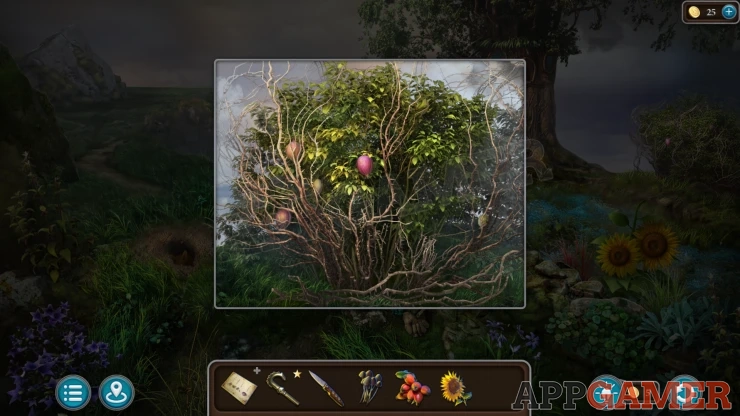
View the list of plants in your inventory, you can now add the 4 items you have collected to it. You will receive the Collected Plants.
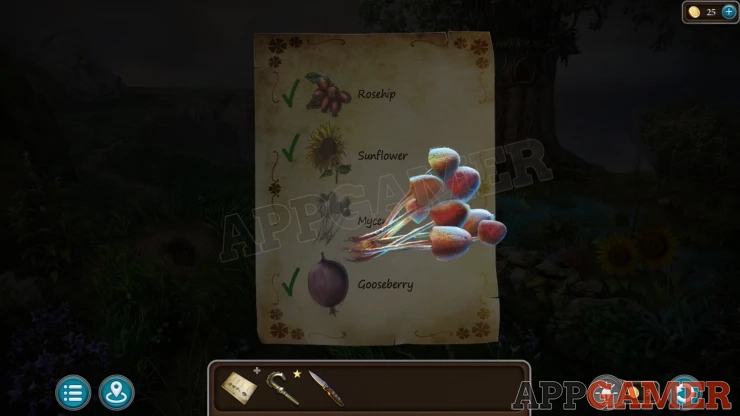
Return to the Druid by the river and give him the collected plants. After talking you will receive a Lever and the Druid will leave.
Now enter the stone hut again. Tap on a yellow banner that is hanging on the wall to the left of the cage. This will remove it. Now tap on the wall behind the banner to find a socket for the lever. Add the lever here, then pull it to open a stone panel.
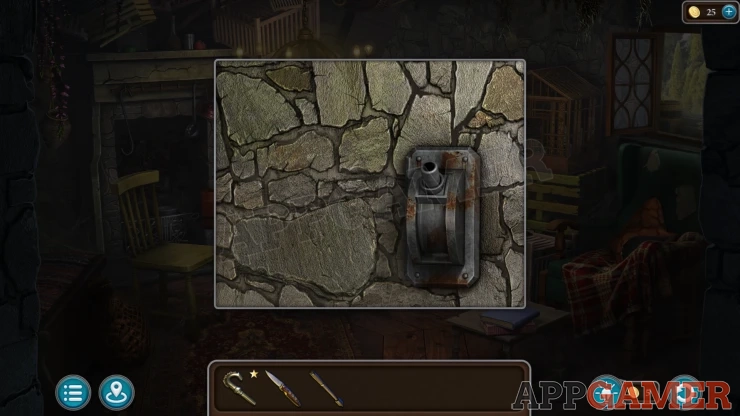
Collect a Grappling Hook.
Back out again and use the Grappling Hook on the tree over hanging the river on the far side.
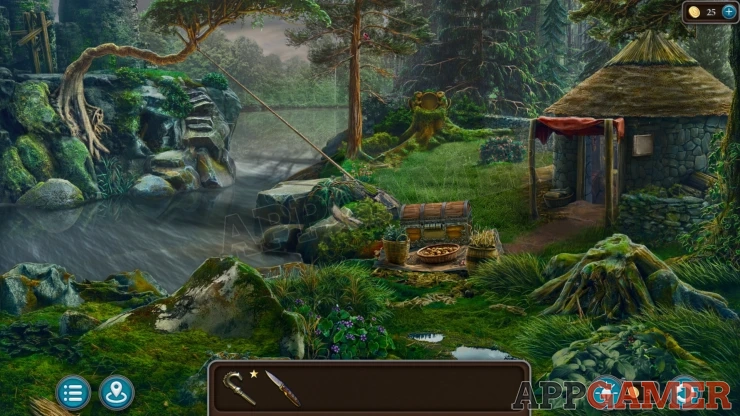
You can now cross the river to reach a Castle.
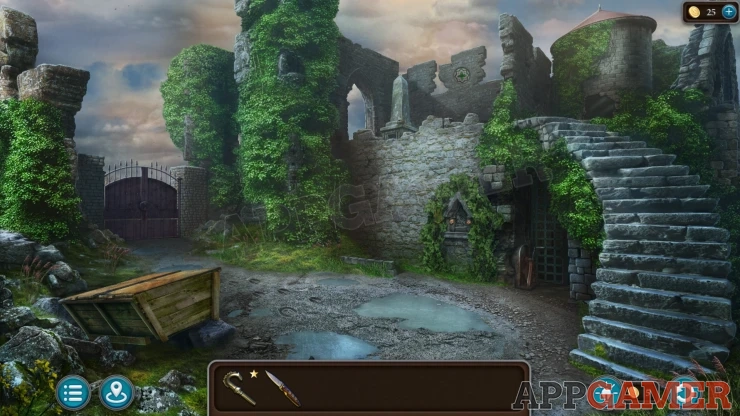
Collection Item: Horseshoe on the ground to the right of the wooden box.
Morphing Object: Round symbol on the broken stone wall at the top center of the scene.
Tap to view the round stone tower on the right at the top of the steps. You will see through a broken doorway.
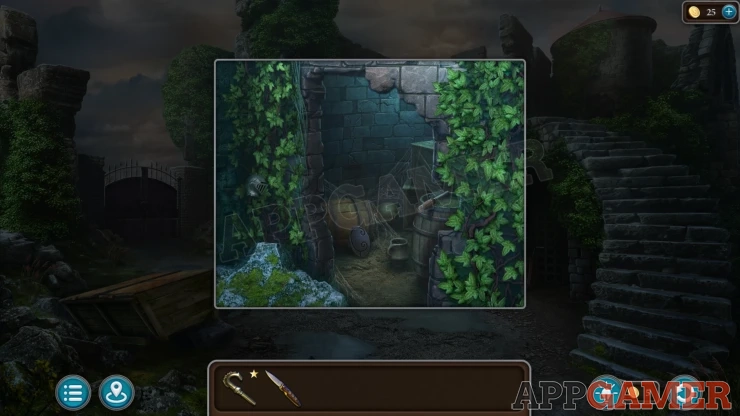
Collect a Brush from the top of a barrel and a Disc (1 of 2) from the floor.
Helmet: hidden in the ivy growing on the left of the doorway. (1 of 5)
Return to the Stone hut of the druid, then examine the back of the fire place again. Use the Brush here to clean the wall.
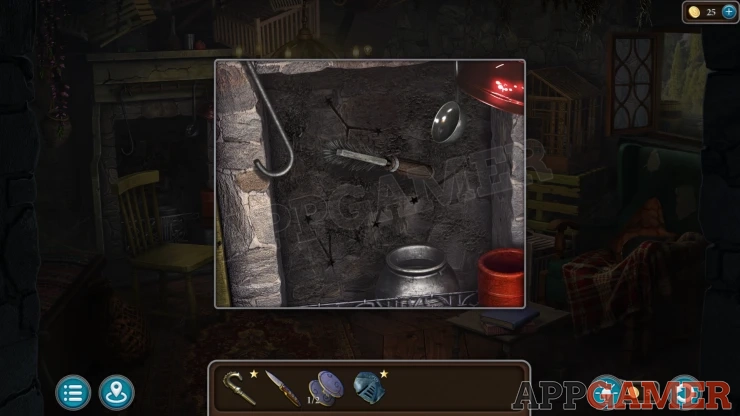
This reveals more of the clue. There are 3 star constellation diagrams.
Back out to the river side and view the chest that the Druid was sitting on.
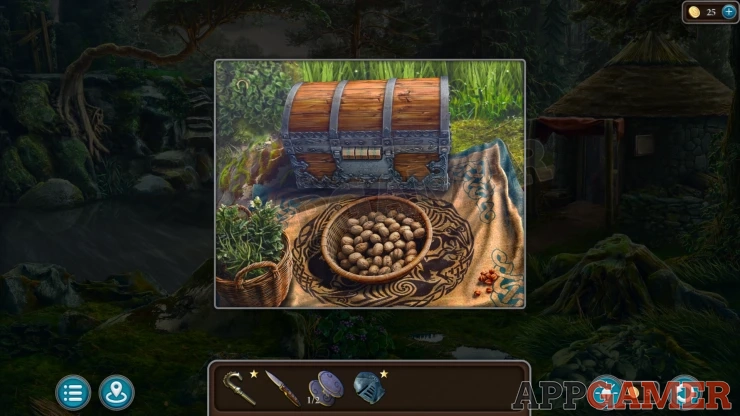
Staff: hidden in the bush to the left of the chest. (2 of 5)
View the lock on the chest to see that it needs three numbers. There is a constellation diagram below.
Solution: Count the number of stars in the three constellations in the fireplace from top to bottom. This will give you the three numbers.Show
Code: 327Show
Collect another Disc (2 of 2) and some Pliers.
Notice also the blanket on the ground, move the bowl of nuts to see there are images of animals on it that is a clue for later.
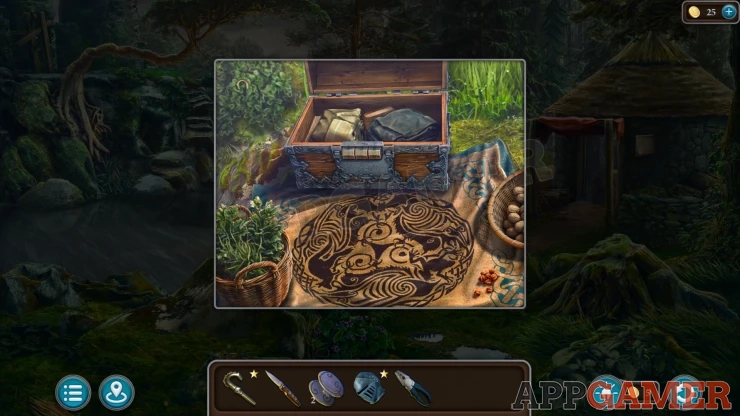
Back up to the Start area with the stone circle and then view the bicycle again. Use the pliers on the front wheel and you can collect a Wire.
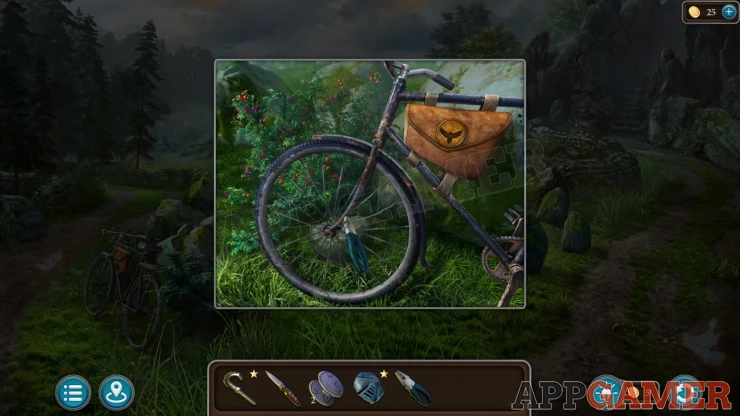
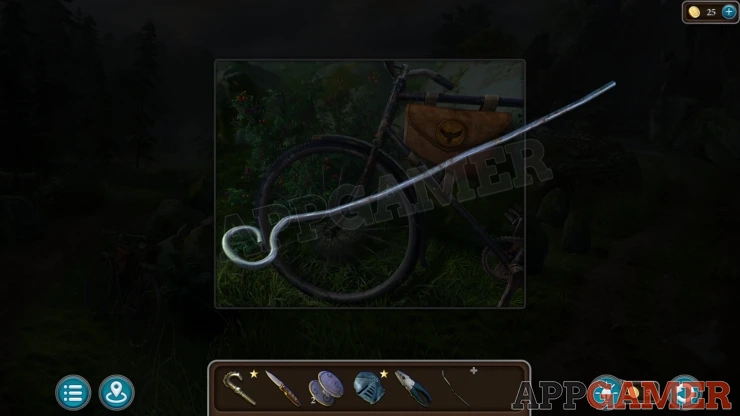
View the wire in your inventory and tap it to bend it and collect a Hook.
Go up the steps on the right to the Meadow again and then tap the path on the top left to move through to a cliff top area with a windmill.
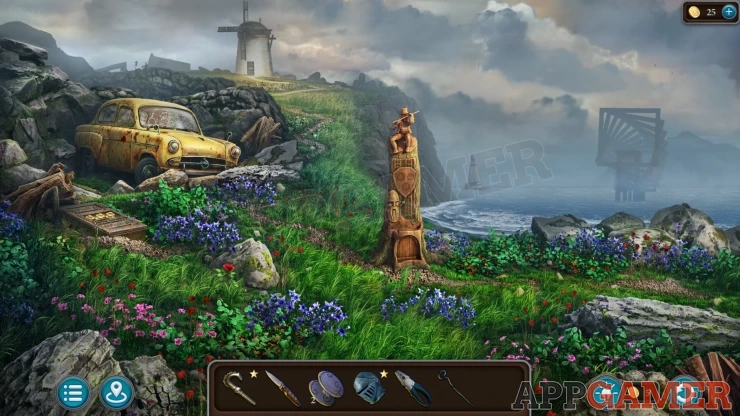
Morphing Object: Boat/lighthouse silhouette in the water by the cliff.
Staff: view the top of the statue in the center of the area, tap the chest of the figure to collect it. (3 of 5)
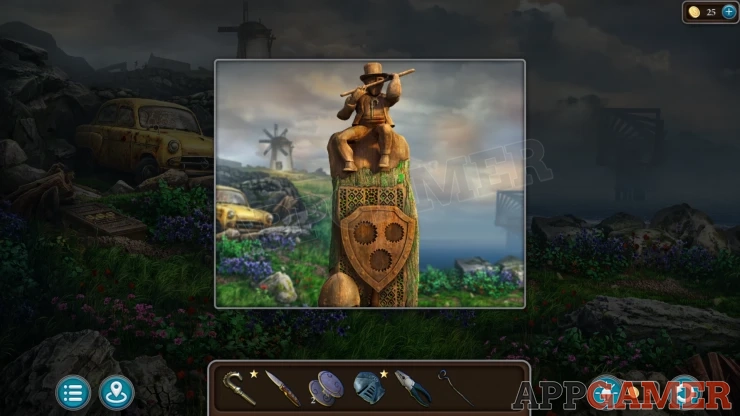
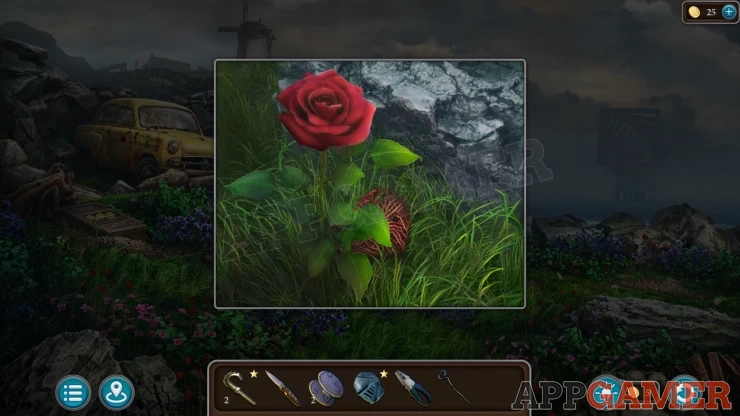
Heart: View a red rose in the grass by a small rock. It is behind the flower (1 of 5)
View the Yellow car on the left and then you can use the hook on the window to open the lock.
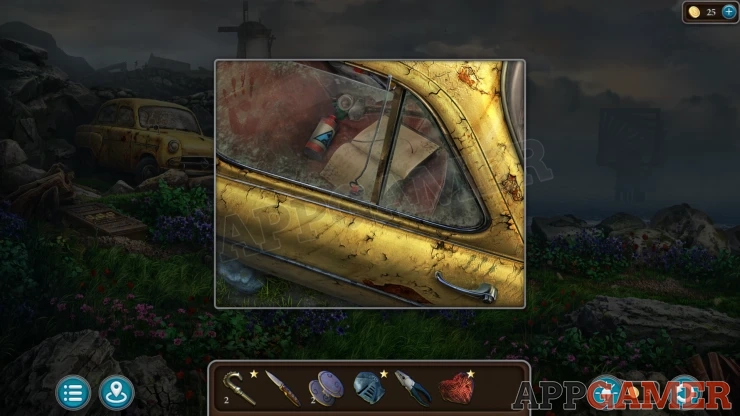
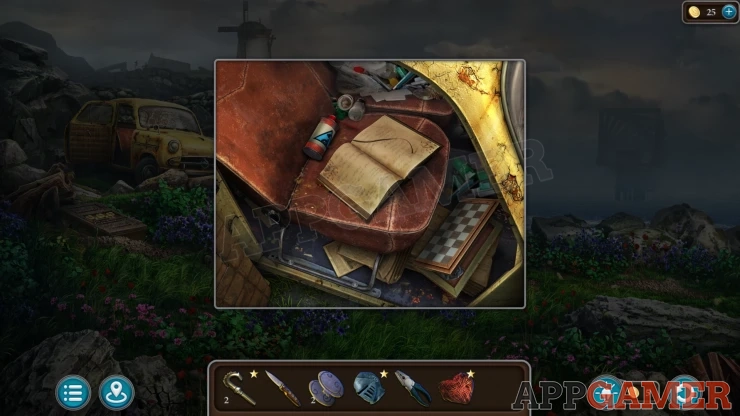
Open the door and then collect the can of 'Anti-Corrosion Lubricant'. (Oil)
Go back to the Castle again, then view a gate on the right below the steps.
Staff: tap a moss covered stone on the wall on the right of the gate to remove it and find the staff. (4 of 5)
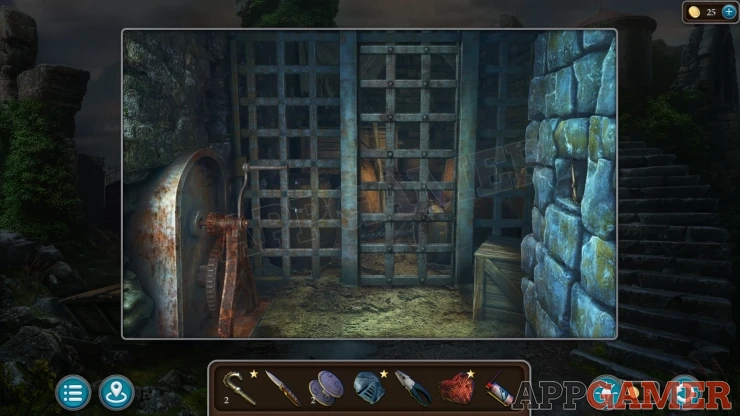
Use the Oil spray on the rusted mechanism on the left and then you can turn the handle to lift the gate.
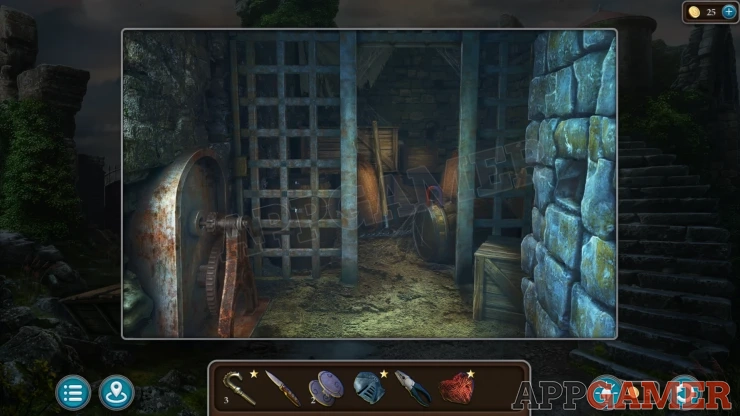
Collect a Magnet and a Rake.
Next view the large gate on the left side of the castle.
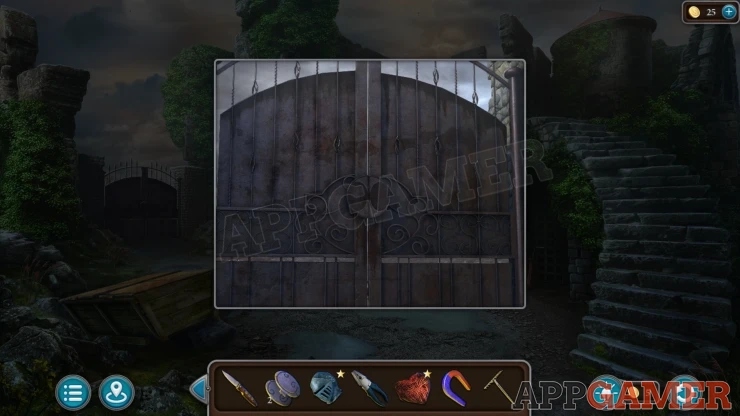
Add the two discs to this and it will open, then you can go through to the Town.
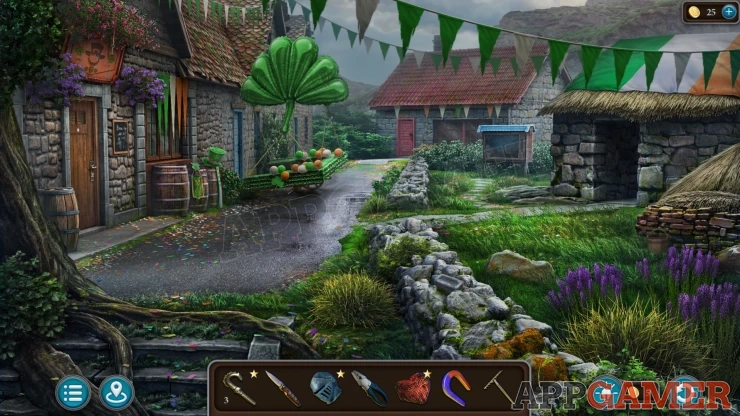
Morphing Object: Barrel in the grass by some stacked bricks on the right.
Helmet: move a Small brick that is on the stone wall to the left of the purple lavender. Then you can fund the helmet under it. (2 of 5)
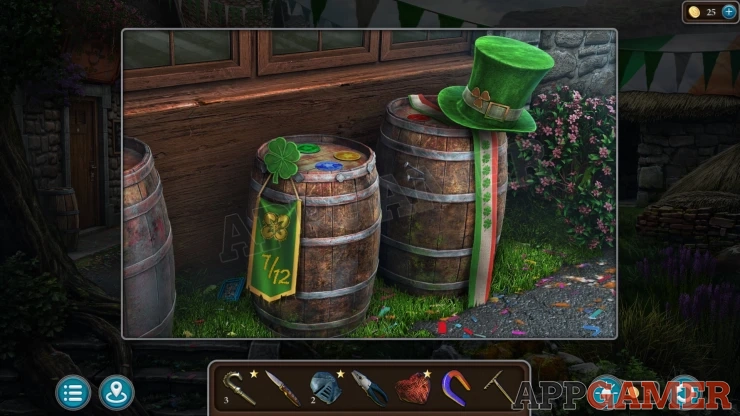
View the barrels on the left side of the street. Collect a Tile (1 of 2) from the ground on the left of the barrels and then collect some Nails from the barrel on the right.
Next view a sign above the door on the far left. Use the rake here to collect a Key.
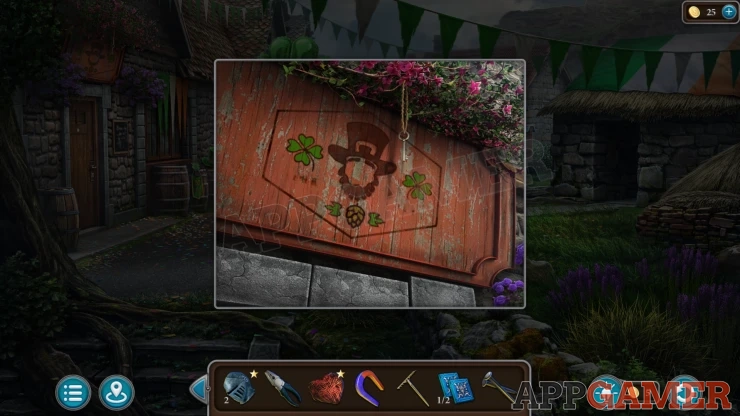
Then view the door below the sign and use the key to open it. Enter the Pub.
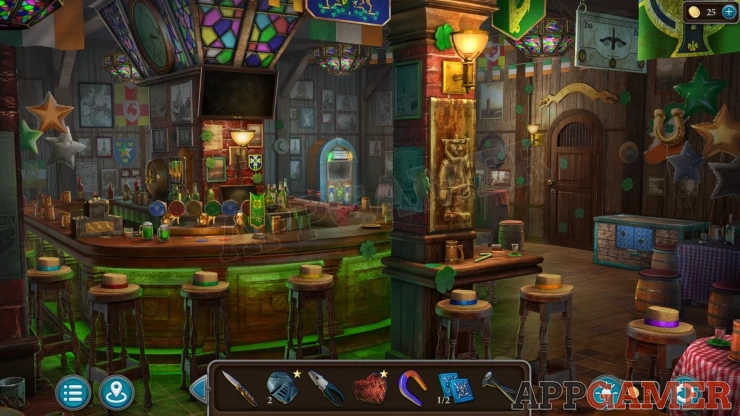
Collection Item: Horseshoe on the wall on the right next to some large stars.
Morphing Object: Changing symbol on a red and yellow picture on the back wall on the left side.
Staff: Notice the hats on the bar stools, each has a color. These are rainbow colors. Swap their positions to get them in the correct order as shown. You can then find the staff on the wall on the right. (5 of 5)
Show
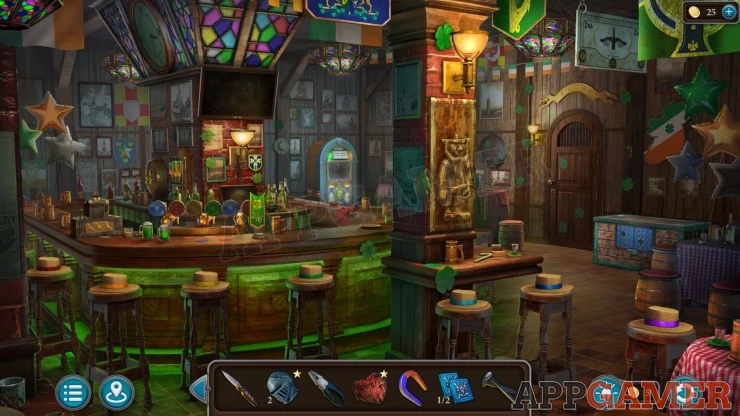
View the bar top on the left side, there is a small green plate, collect a Sausage from here.
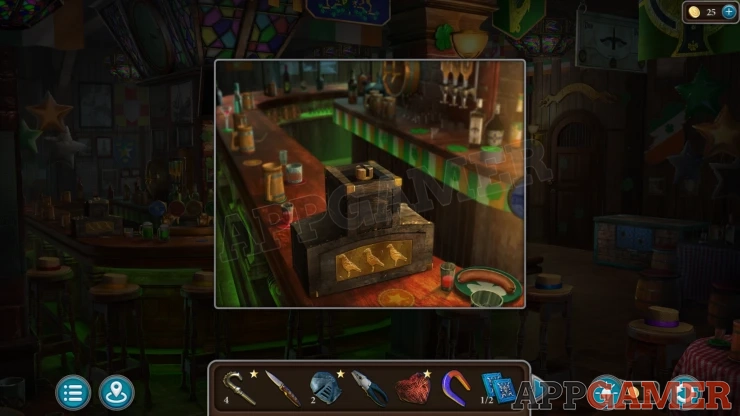
Return to the Meadow and view a fox hole in the ground on the left.
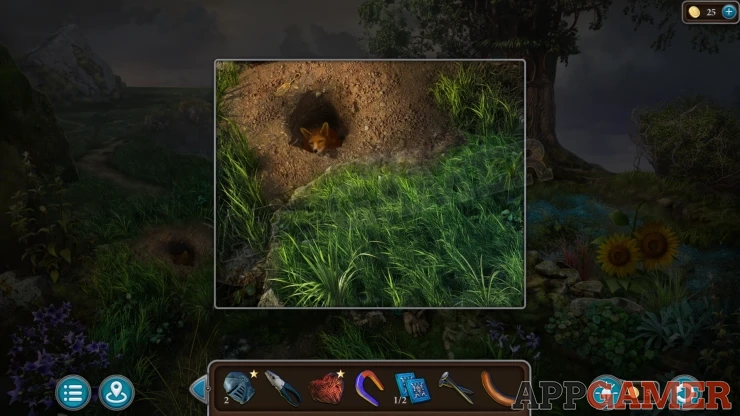
Place the sausage on the ground and the fox will exit the hole. Then you can collect a Feather from the ground just behind the fox hole and also some Plates (1 of 4) from inside the hole.
Go back to the town, then view a Signboard on the right side with a small roof.
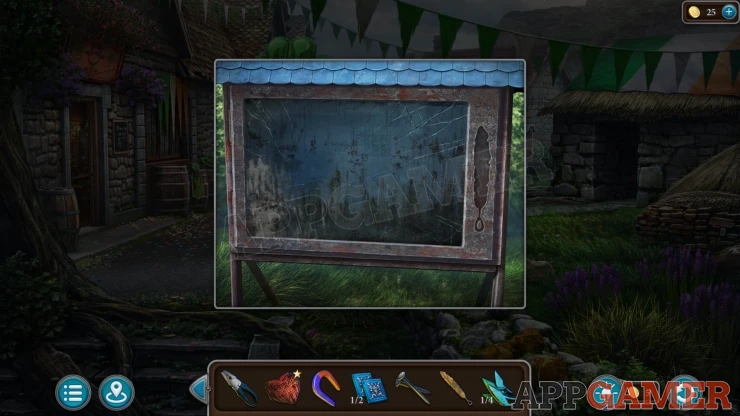
Place the feather into the slot o the right, this will activate a puzzle.
Town Sign Board Stencil Puzzle
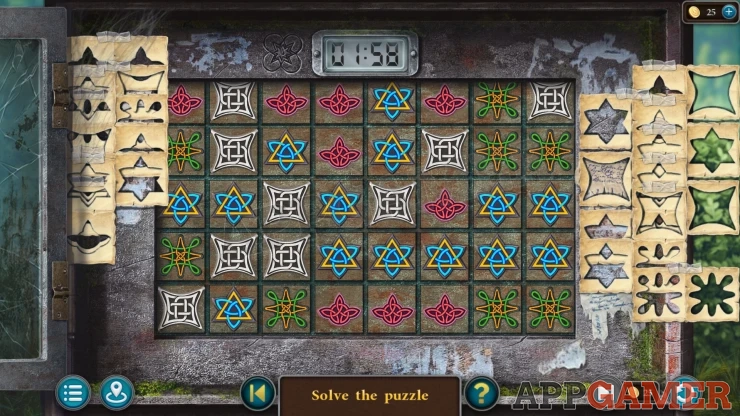
- This is a timed puzzle to earn an extra star.
- The grid shows a pattern of four types of symbols.
- Around the sides are stencil pieces with holes that match the symbols. You need to place these onto the board where the match the layout of the symbols.
- Place all of the stencils onto the board to complete the puzzle.
- Complete the puzzle within the time limit shown to earn an extra star for the episode.
- You can restart the puzzle while playing if you want to retry it.
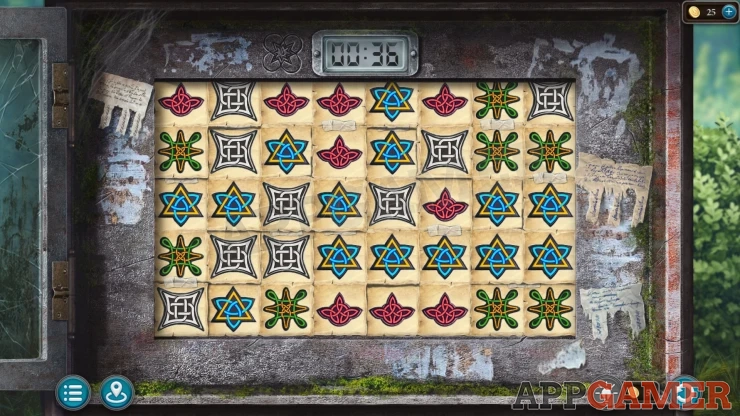
Collect a Butterfly.
Go back to the meadow and view the tree with the fairies house in it.
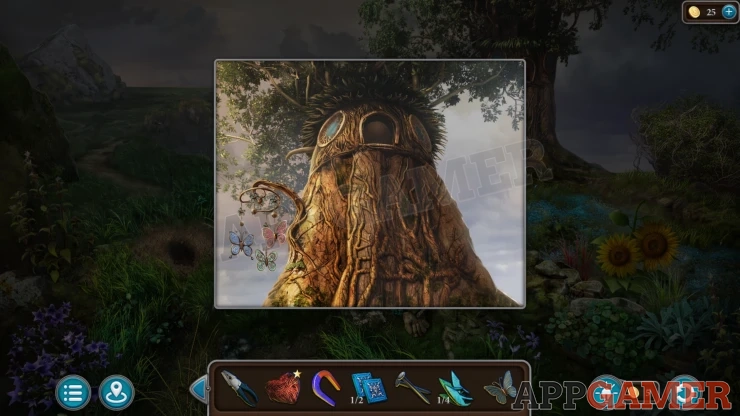
Place the Butterfly on the mobile on the left side and then steps will appear. Now you can look inside the house. You will talk to the fairy.
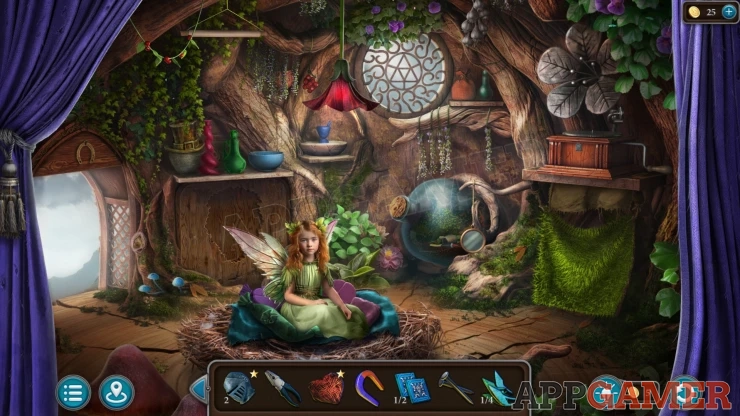
Collection Item: Horseshoe, hanging above the doorway on the left.
Morphing Object: Changing symbol in the center on the round window.
Heart: move some hanging dried plants to the left of the round window to find it. (2 of 5)
Collect a Hat from the shelf to the right of the doorway.
Return to the pub and then view a carving picture of a leprechaun on a pillar to the right of the bar.
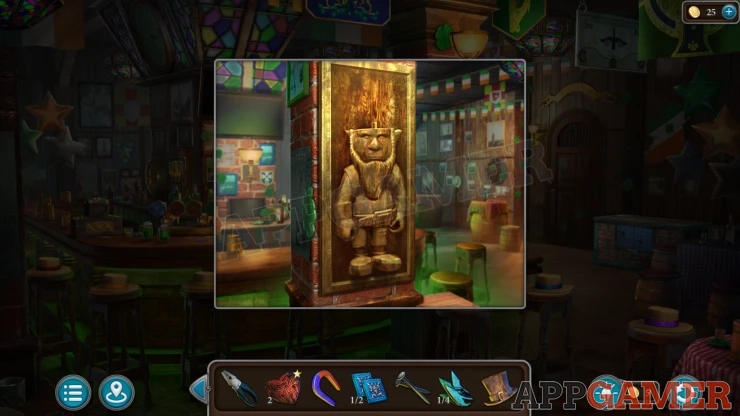
Add the hat to this and the panel will open. Collect a Corkscrew and a Flower (1 of 3).
Exit to the town street and then view a red door on a house at the far end of the road.
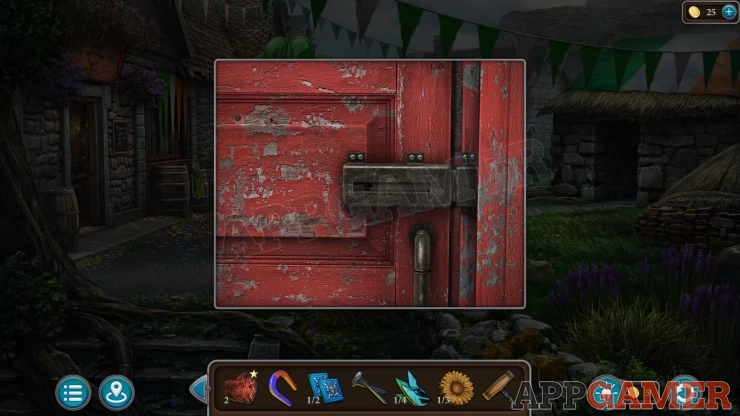
Use the Magnet on the lock to let you open it then you can go inside. This is a Shoe workshop.
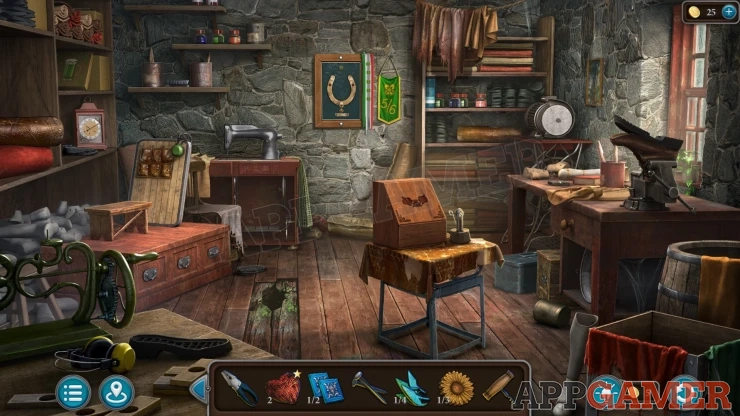
Collection Item: Picture of a Glass of Green ale on a book on the large shelves on the left. (3 of 6)
Morphing Object: Brush/Item on the lower small shelf on the left above the sewing machine.
Heart: on the floor in the center, to the right of the sewing machine. (3 of 5)
View the workbench on the right. Then tap on the drawer to open it, the knob will break off.
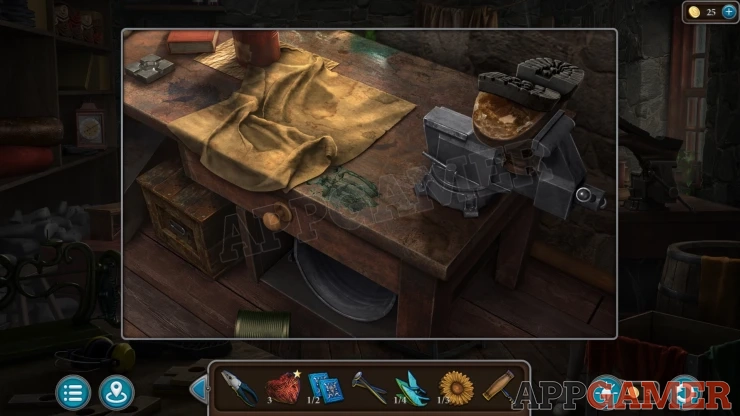
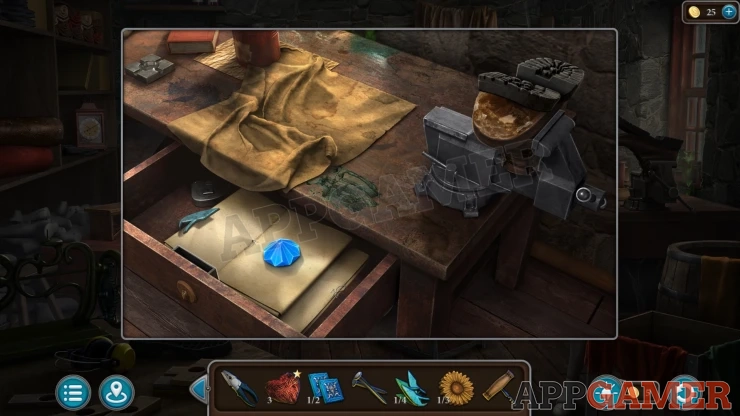
Use the corkscrew on the drawer next and it will open. Collect a Sapphire and another Plate (2 of 4)
Now travel to the meadow again and view the low stone wall with the face. Add the sapphire to the empty eye socket.
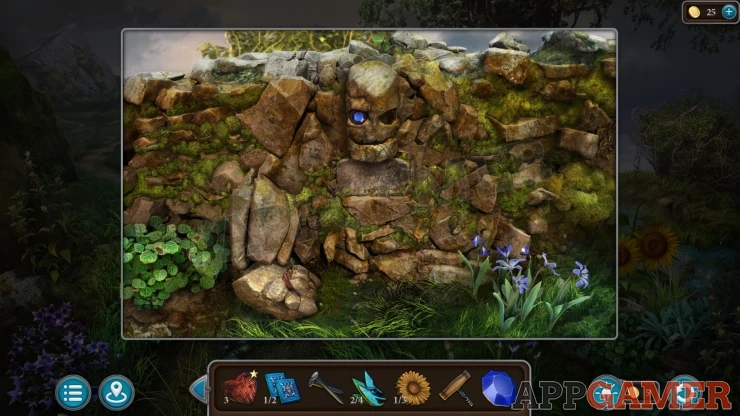
Stone Wall Puzzle
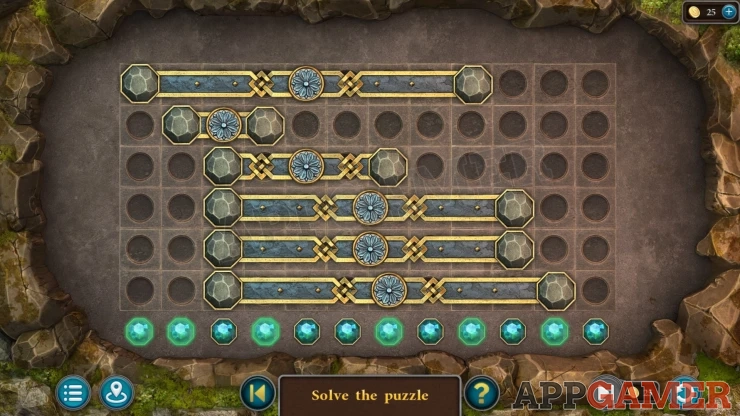
- There are six bars that you can slide left and right. These each have a stone on either end of them.
- Arrange the sliders so that only one stone is present in each of the 12 columns.
Solution: Show
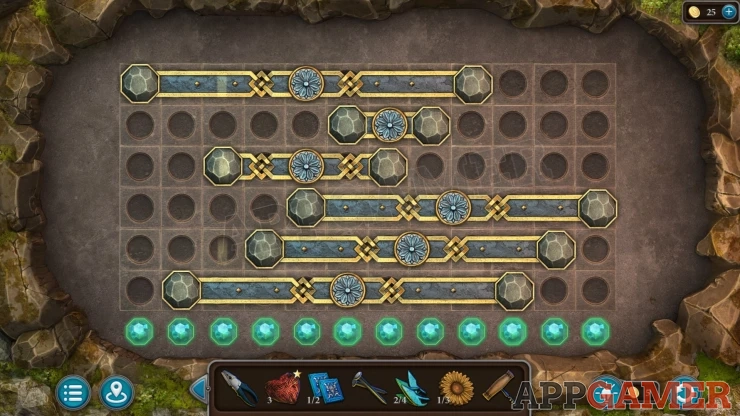
Once done you can collect an Eagle Relief, and another Flower (2 of 3).
Now go to the stone circle area and view the bicycle again. Place the Eagle relief on to the cycle bag to open it. Then you can collect the Pattern Fragment (1 of 3).
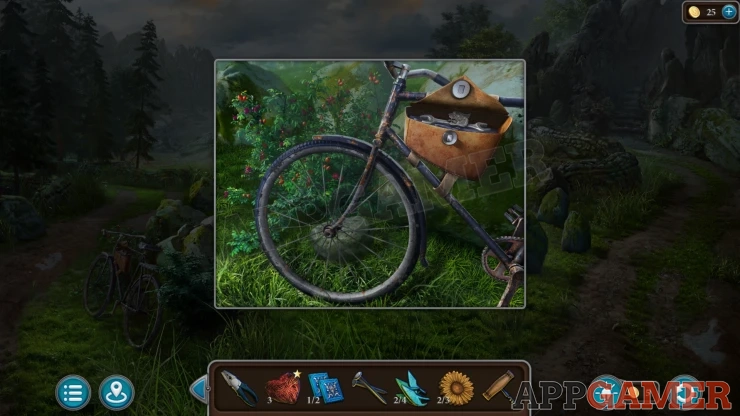
Next select the spanner from the bag and use it on the front wheel to let you collect the Wheel.
Go to the town and view a broken float cart on the road.
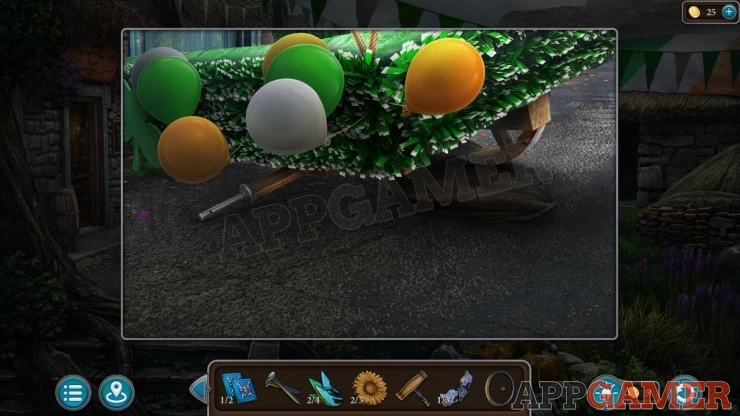
Add the wheel to this and it will be fixed and you can move it out of the way. You can then open a sack that was under it.
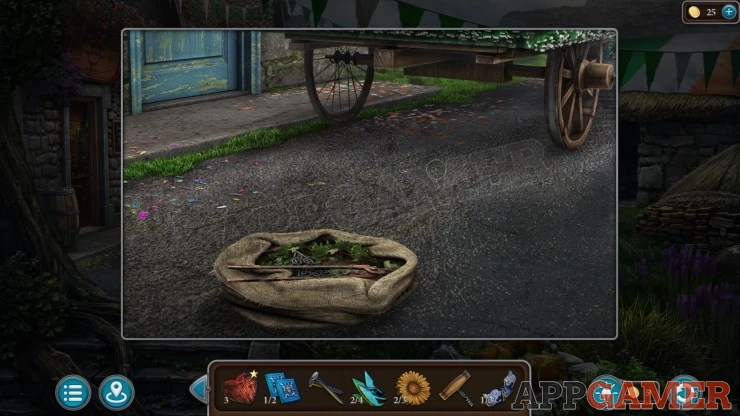
Collect the Tongs and another Pattern Fragment (2 of 3).
Go back into the shoe workshop at the end of the road. Then examine a hole in the center of the floor. Use the Tongs here to collect a Saw.
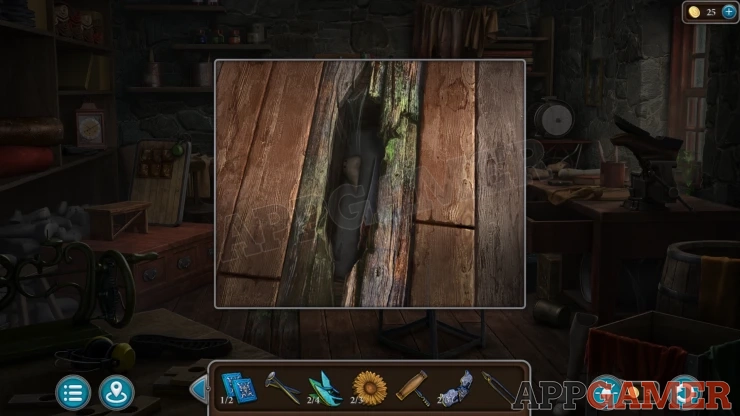
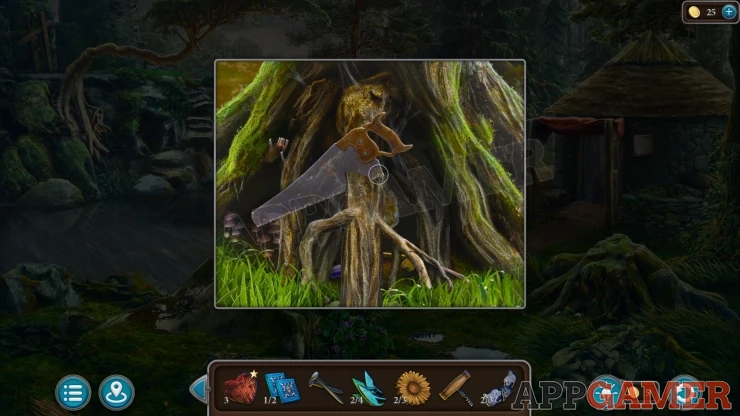
Go back to the river bank where the Druid was and view the old tree stump on the right again. Use the saw on it to cut away a root and then you can collect a Shaped Key and a Screwdriver.
Travel to the Pub and view a door on the right wall. Use the shaped key to open this.
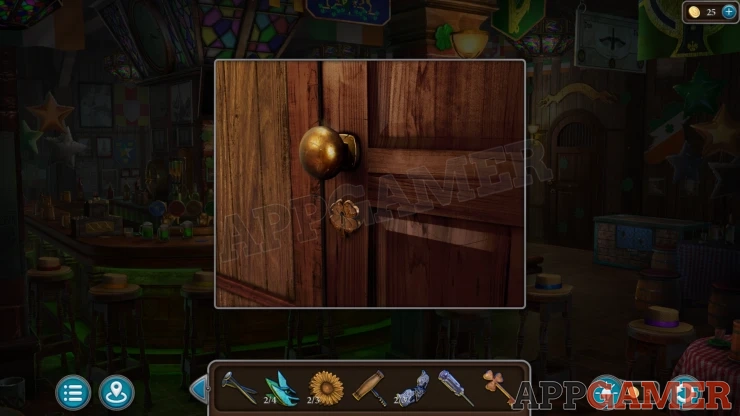
Inside is a dark store room. Collect a Shovel Handle from below the blue switch box on the left.
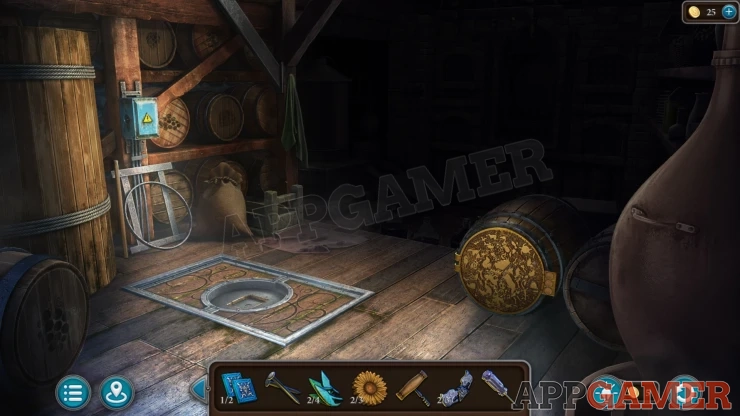
Next view the end of the barrel in the right this has a puzzle.
Barrel Shapes Puzzle
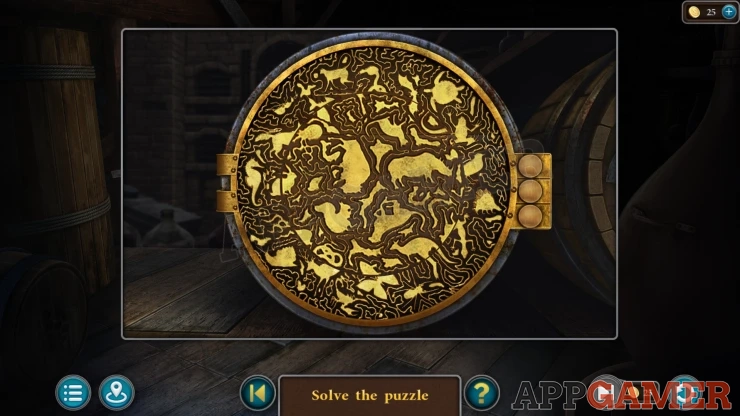
- The barrel end has two sections that you can rotate around.
- This will let you arrange them to form the outlines of animal shapes.
- Make and tap on the three animal shapes seen in the clue on the blanket by the river bank.
Solution: My animals were Kangaroo, Frog, Bat. But they may be different in your game.Show
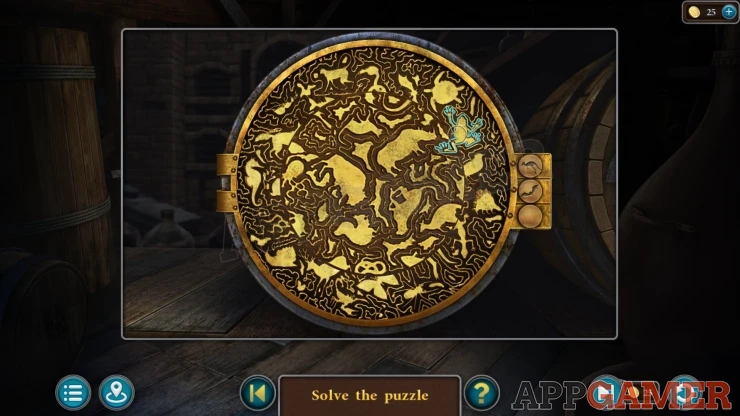
Once opened you can collect another Flower (3 of 3) and another Pattern Fragment (3 of 3)
Travel now to the shoe workshop in the town and view a wooden box on a small table in the center of the room.
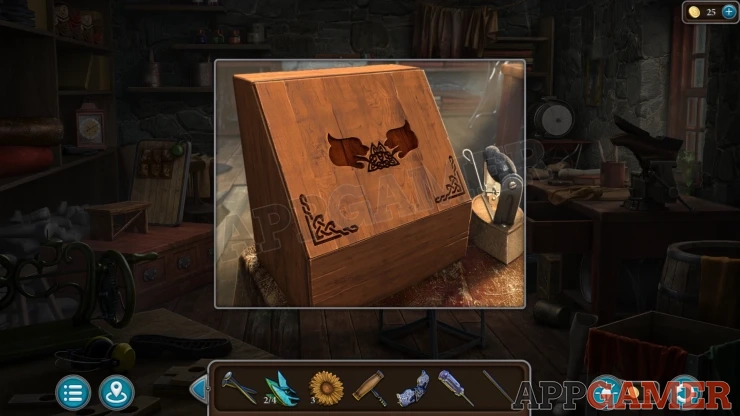
Add the pattern fragments to this to reveal a puzzle.
Shoe Workshop Puzzle
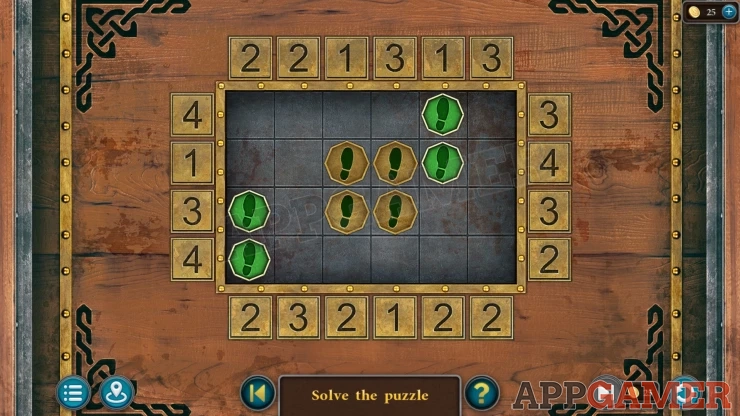
- There are four green chips on the board.
- These can be moved around by tapping the number buttons on the sides. This will move any chips on the row or column of the button away from the button by the number of spaces shown by the number on the button.
- You need to move all of the 4 chips into the marked spaces in the center of the board.
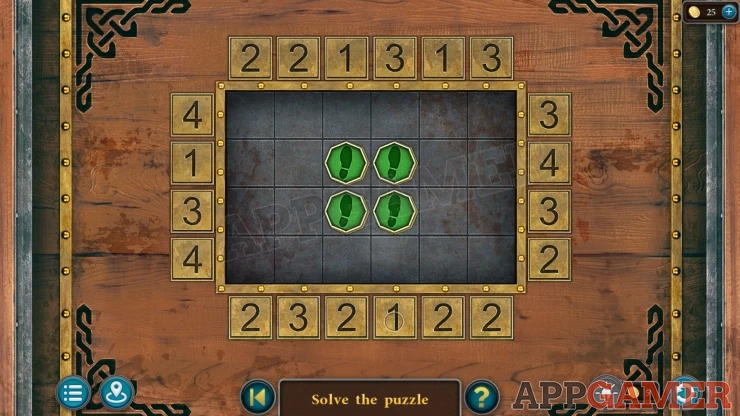
Collect a Hammer.
Travel to the cliff top again and view a statue in the center.
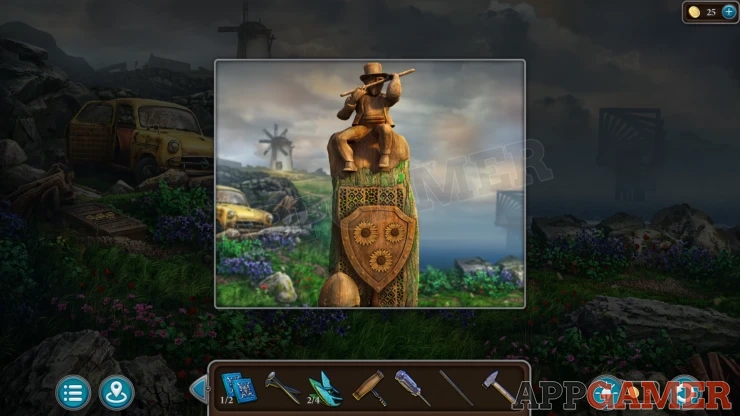
Add the three flowers to the shield to reveal a puzzle.
Flowers and Butterflies Puzzle
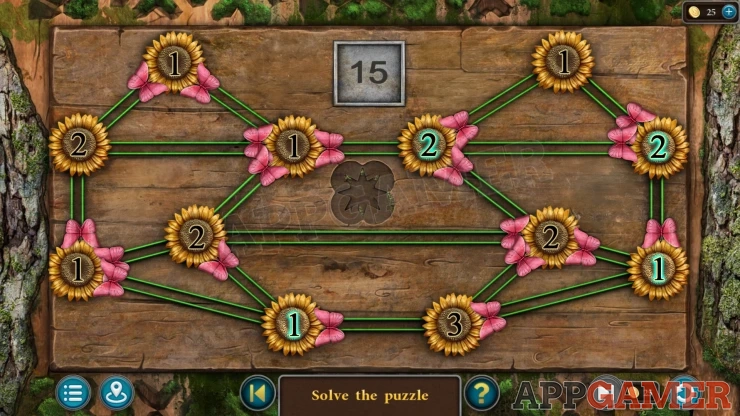
- This Puzzle has an extra star award.
- There are 12 flowers on the board and a number of butterflies. Each flower has a number.
- Tapping a flower will cause any butterflies that are on a green line connected to the flower to move, either towards or away from the flower.
- Each flower has a number in it. You need to arrange the butterflies so that the number of them touching a flower is the same as the number on the flower.
- To earn the extra star you need to complete the puzzle in no more than 15 moves.
- You can restart the puzzle if needed
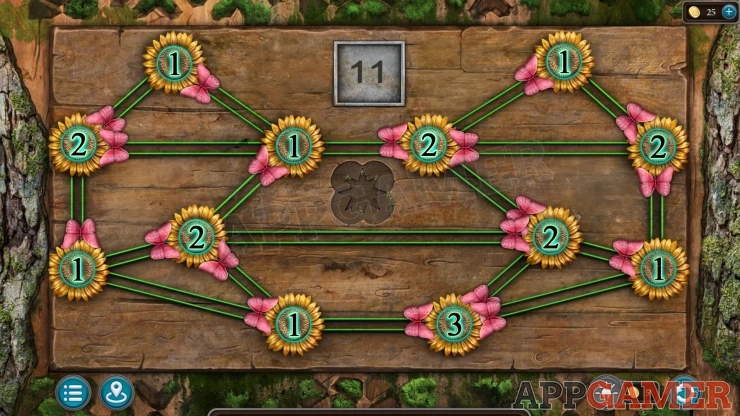
Once done you can collect some Gasoline and a Metal Insert.
Travel back to the dark back room of the pub, on the floor is a trap door with a round slot in the center.
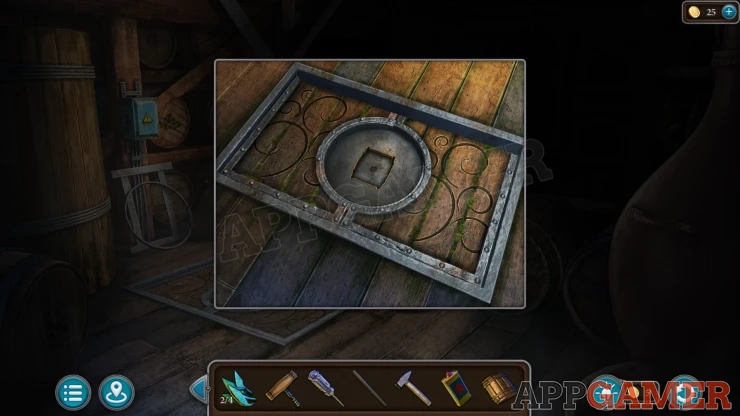
Add the metal insert here to open the cover and find a puzzle.
Pub Trap Door Puzzle
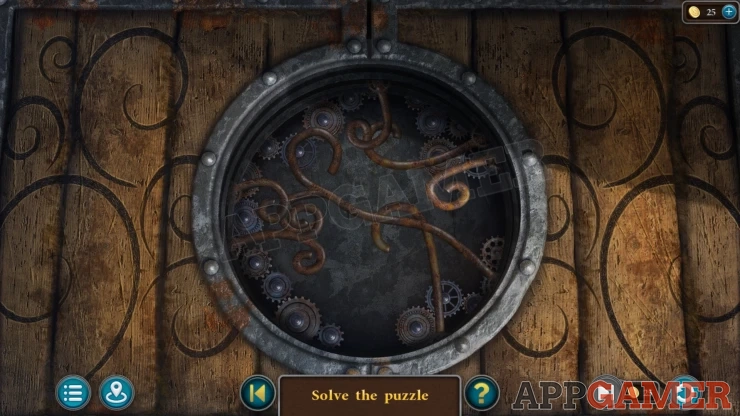
- Within the circle and a number of curved wire patterns. These can be rotated around the circle
- Slide these around to arrange them all so that none of them overlap.
- The wire patterns can very in each game.
Solution: Show
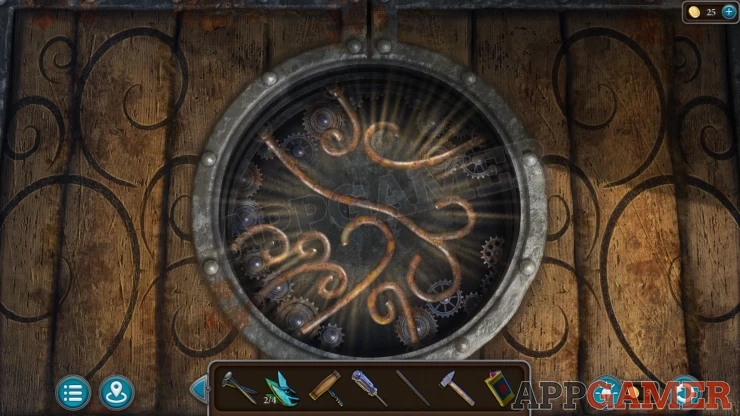
Once done you can collect some Stakes.
Now travel to the castle. Then view the wooden box on the left.
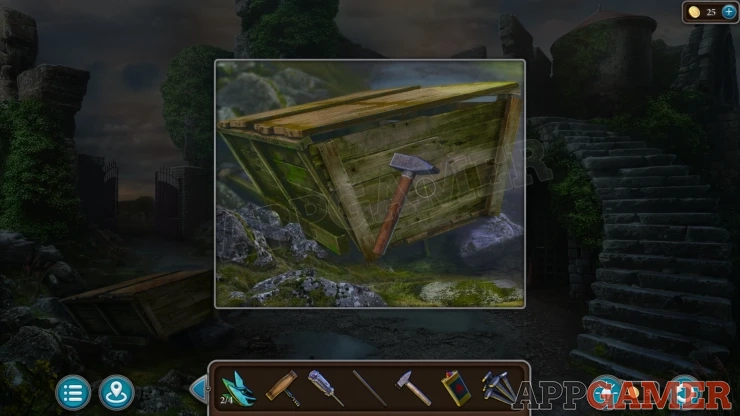
Use the hammer on this to break it open, then you can collect a Tap.
Next view the wall on the right below an obelisk. Place the Stakes here. Then use the Hammer to drive them in.
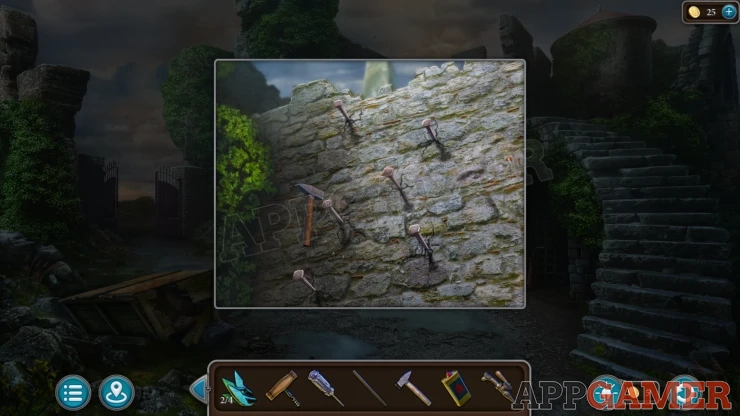
Now you can reach the Obelisk at the top, view this.
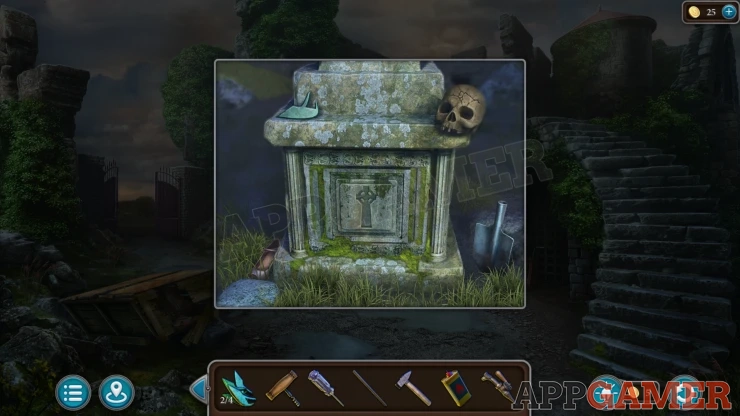
Collect a Shovel Blade from the right and another Plate (3 of 4) from the top. Then use the Pliers on the skull to collect a Tooth.
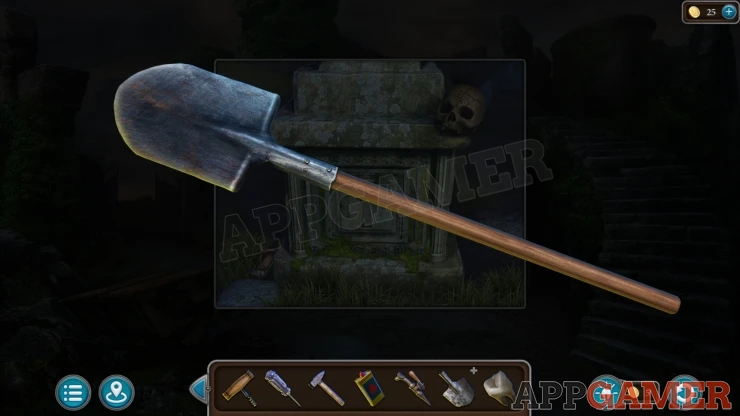
View the Shovel Blade in your inventory and add the handle to it. Then add the Nails and finally use the hammer. Then you can collect the Shovel.
Continue the guide in Episode 7 Part 2
We have questions and answers related to this topic which may also help you: Show all
 With 20 years of experience in creating video game content for the internet and over 30 years as a gamer, Mark is now a passionate mobile App Gamer. Loving a challenge, he is always ready to get stuck in to both survival builders and puzzle solving games. He has been providing content for AppGamer since 2014.