
Episode 15 Walkthrough - Poltergeist House - Part 2
More Artifact Seekers
This is the second part of our guide to Poltergeist House, the fifthteenth Episode in the puzzle adventure game Artifact Seekers, from Five BN. In this episode you are exploring a haunterd house to help discover the reason for the ghosts presence.
In Episode 15 Part 1 you have been given instructions to invoke a ritual to talk to the ghost. You must continue to explore the house as you look for the items you need.
Episode Fifthteen - Poltergeist House Walkthrough - Part 2
Previously you have collected items from the basement including the last of the three tokens. Next go to the upstairs landing and view the secret door on the left. Use the thee tokens here to start a puzzle.
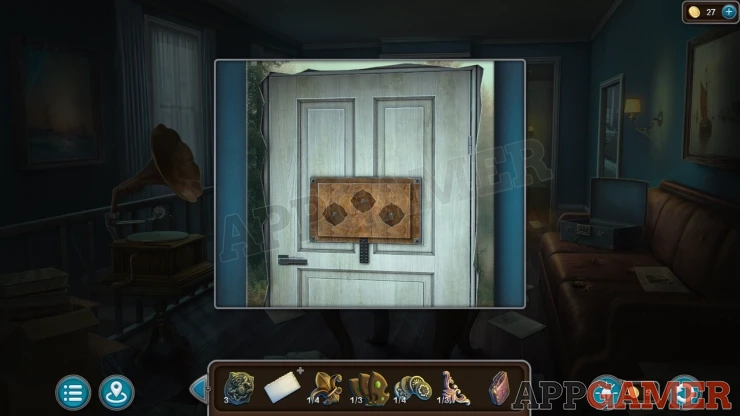
Secret Door Puzzle
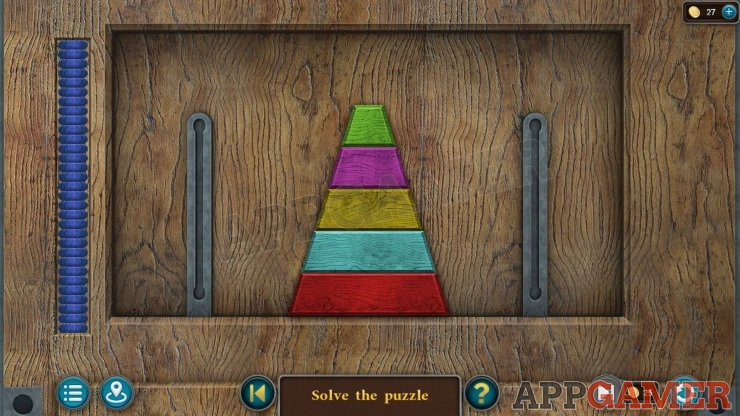
- There is a pyramid made up of five blocks.
- Moving one block at a time you need to move the full pyramid to the left or right bar.
- You cannot move a larger block on top of a smaller block.
- The blue counters on the left will count down as you move. If you run out of moves you will have to restart the puzzle.
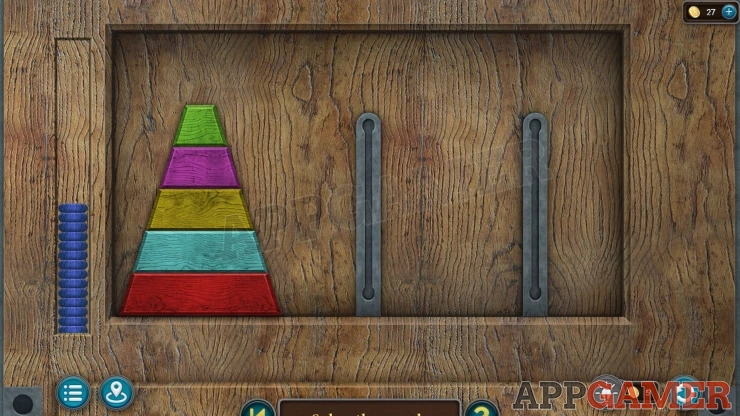
When the door opens you can enter the Study.
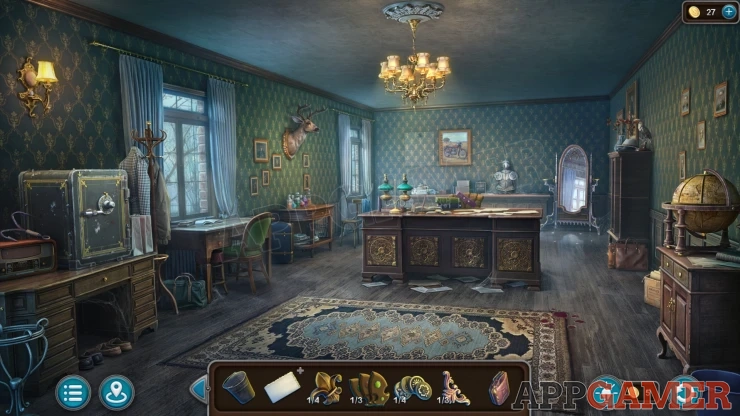
Morphing Object: Bird on top of a cabinet on the right wall.
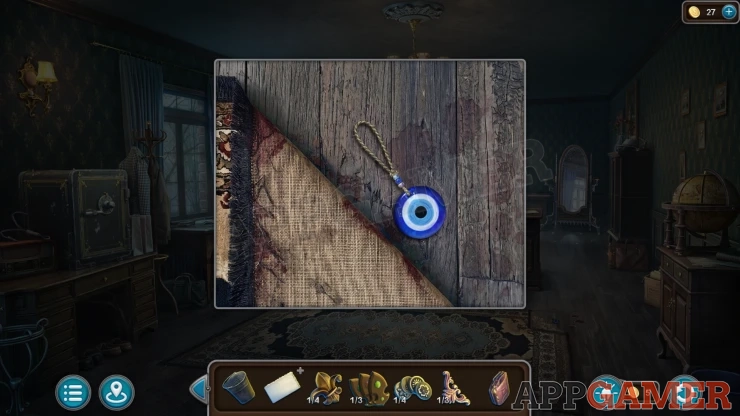
Collection Item: Eye Bead. Lift the top right corner of the rug to find it.
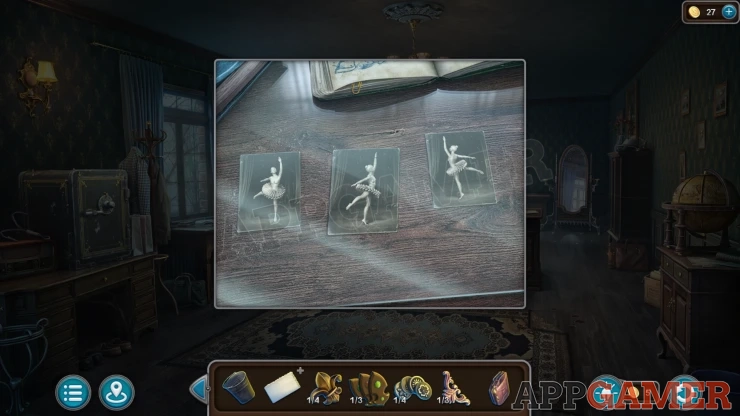
View a desk under the window on the left. Notice the three dancer images and then collect a Paper Clip from the book above them.
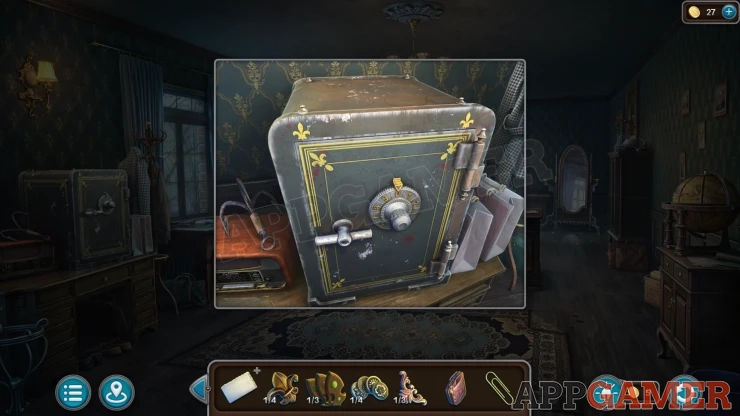
Next view a safe on the far left of the room. Collect a Hook from the left of it.
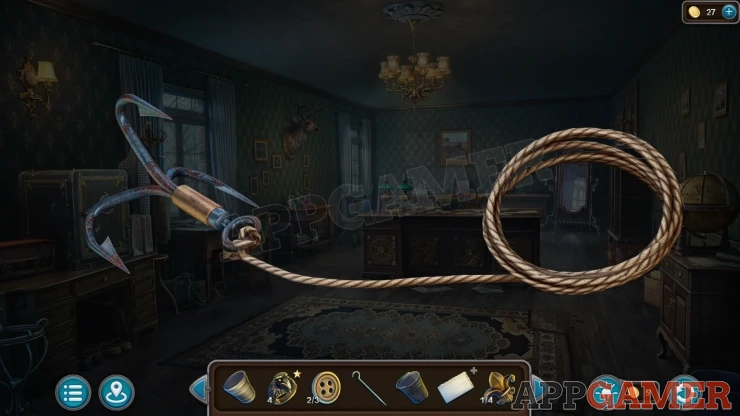
View the hook in your inventory and add the rope to it, you get the Grappling Hook.
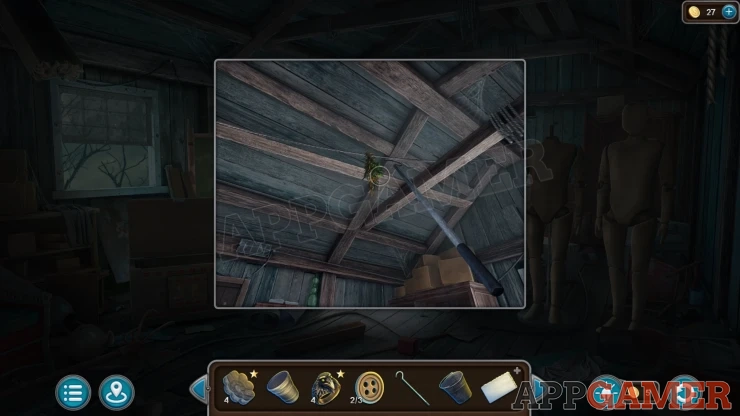
Go up to the Attic, and look up in the ceiling. Use the Pike Pole here to collect the Thyme.
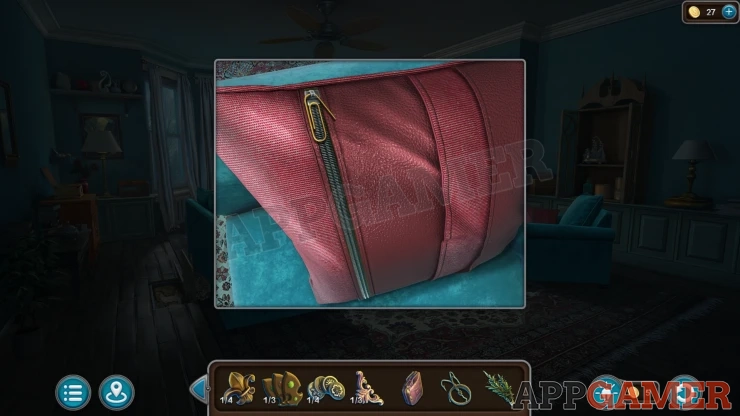
Go back down to the living room and view the blue armchair on the right. Add the Paperclip to the red cushion to open the zip. Collect a Fleur-de-lis (2 of 4).
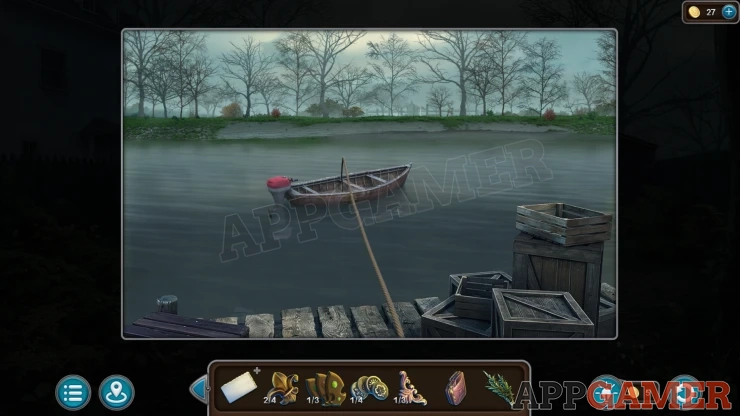
Now go out to the lake. Use the Grappling Hook on the boat to bring it to the dock.
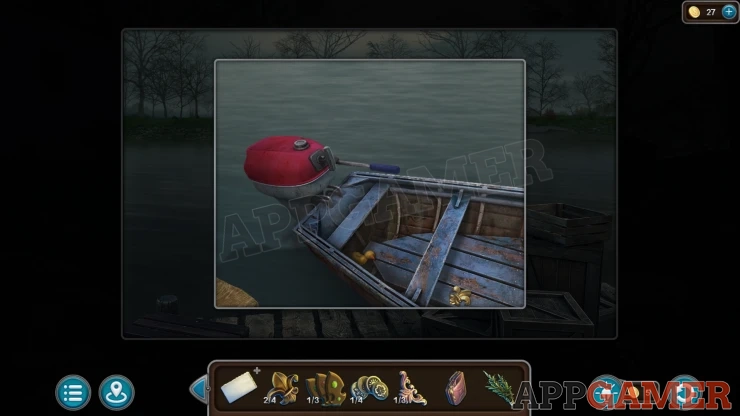
Look inside and collect a Duck and a Fleur-de-lis (3 of 4).
Use the Gas on the fuel tank of the boat to fill it. Start the motor and thne you can travel to the far side of the lake. You reach a cemetery.
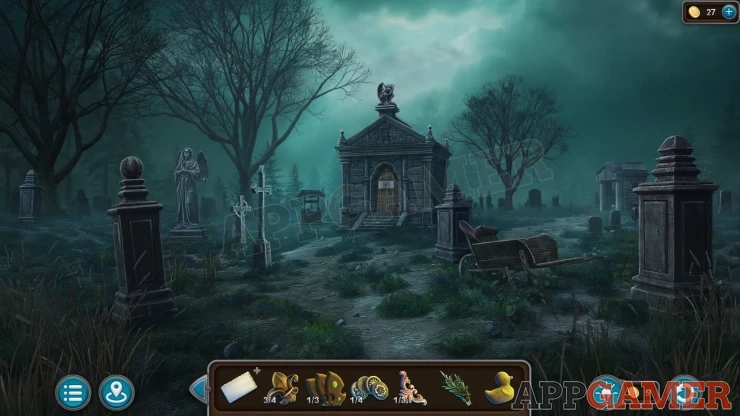
Morphing Object: figure on the top of the crypt in the center.
Collection Item: tap the ball on top of the grave stone on the left. A panel will open.
Collect a Shovel from the small barrow on the right.
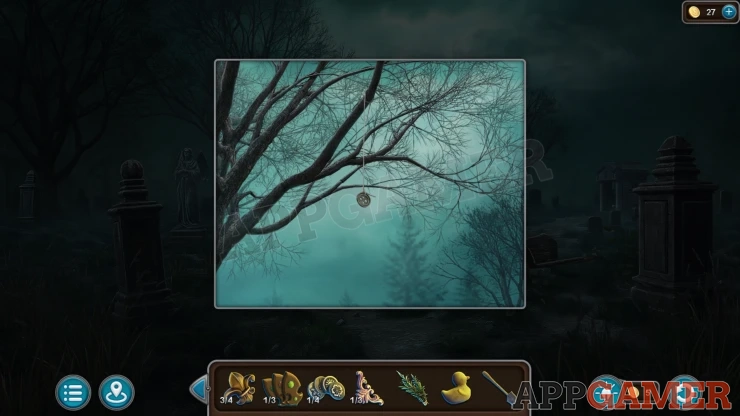
Then look in a tree on the right and use the Pike Pole to collect a Button (3 of 3).
Go back to the front garden of the house and view a Gnone. Add the three buttons to the hat to start a puzzle.
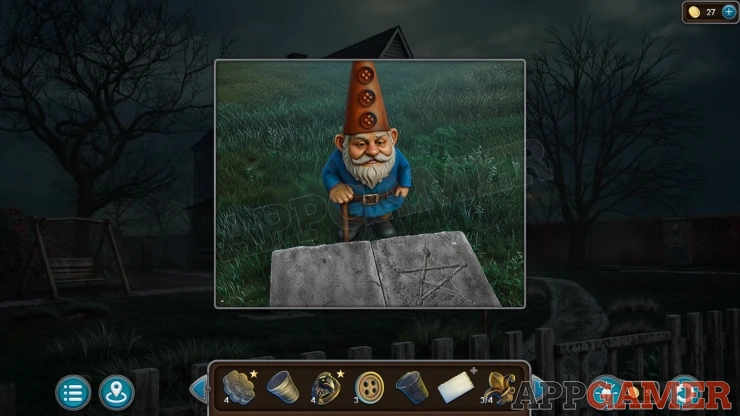
Gnome Lights Puzzle
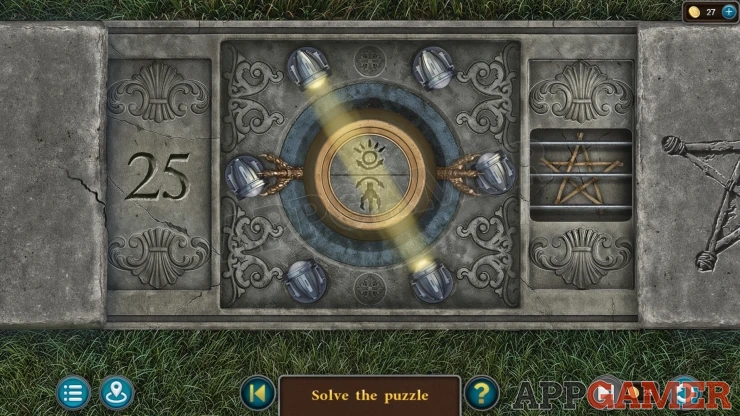
This is an Extra Star Puzzle. Complete it within the number of moves shown on the left to claim the bonus star.
- There are six lights arranged in a circle. When th elights point into the center the lights are on.
- Two of the lights have a claw holding them.
- There are two buttons in the center. The top one will rotate the lights in an anti clockwise direction. The lights that have the claws on them will not be able to move though.
- The bottom button will move the claws to change the pair of lights that is fixed in position.
- Turn all of the lights to point into the circle so that the lights are on.
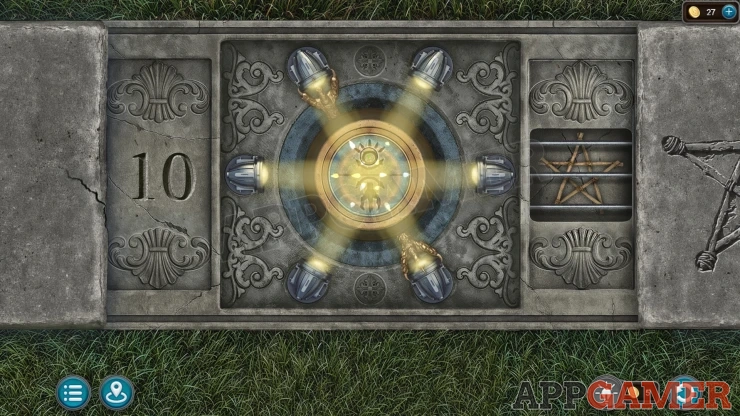
Once done collect a Handle and a Knob.
Return to the cemetery and view a well on the left of the building. Add the bucket here and attach the rope to it. Then place the handle on the side of the winch.
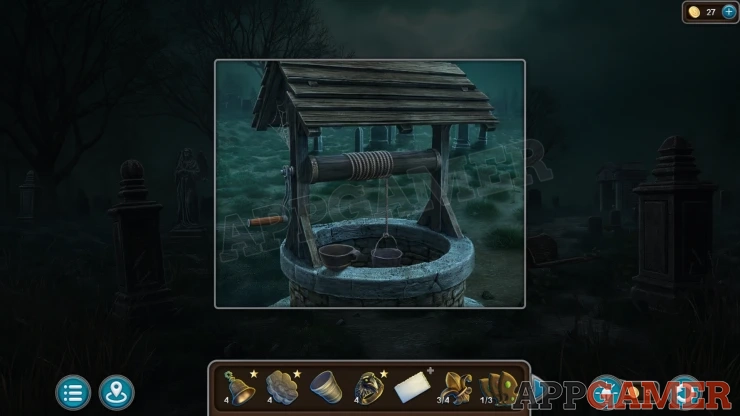
Tap the hande to lower the bucket and you will collect the Water.
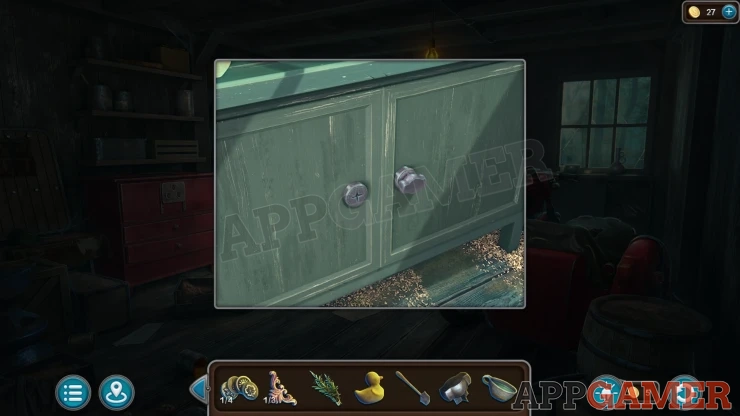
Go to the Shed and view the cabinet doors below the workbench. Add the knob here to open them and collect some Chalk, and a Fleur-de-lis (4 of 4)
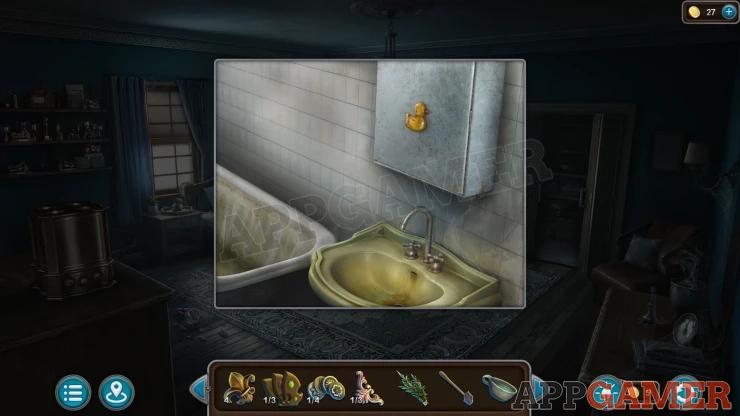
Go to the bedroom and look inside the bathroom again. Add the Duck to the bathroom cabinet to open it. Collect the Soap.
Then go to the Attic, look at a table at the back to the left of the birdcage. Here you can make candles.
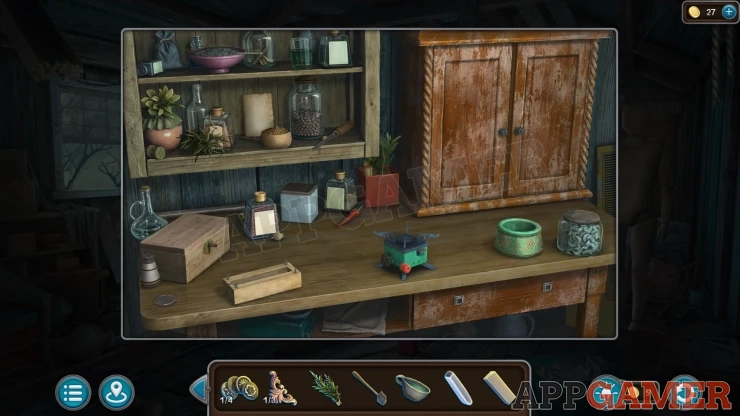
Tap a paper on the shelf on the left to view it for Candle making instructions.
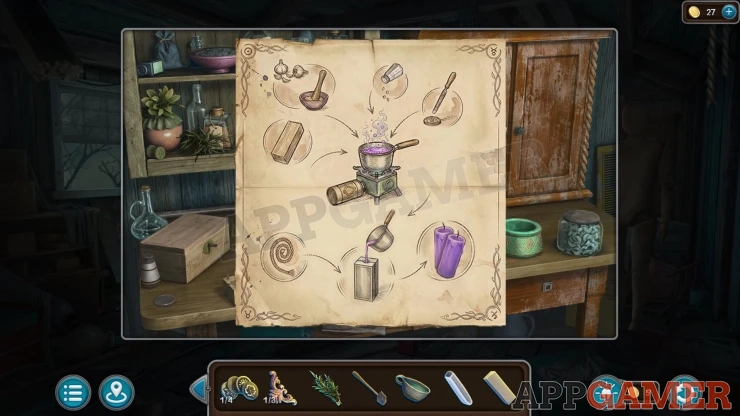
- Place the Soap on the table.
- Open the cabinet doors and tap the small pan on the top right. to place it on the burner. Then tap a gas cylinder on the top left of the cabinet to add it to the burner. Tap the button to turn it on.
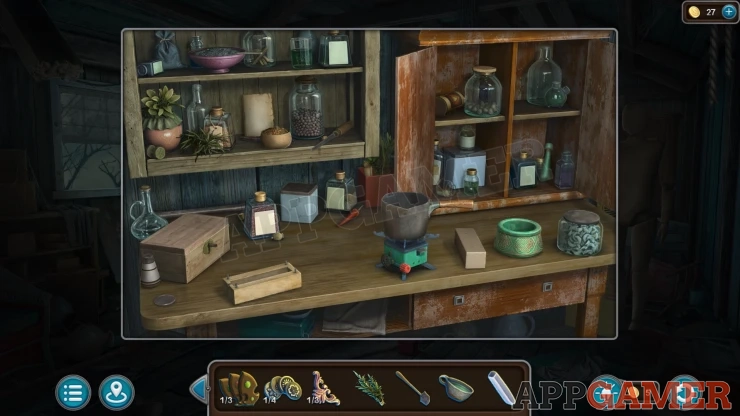
- Add the soap to the pan to melt it.
- Tap a long handle that is on the table top behind a box on the left. Add this to the drawer on the right.
- Open the drawer and tap a tin opener, then use this to open a jar on the table.
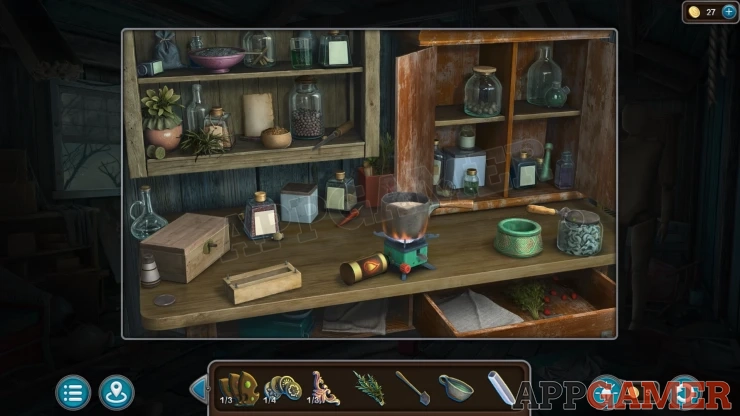
- Move some garlic from the jar to the green mortar bowl, thne tap a green pastle in the cabinet to crush it.
- Tap the bowl to empty the contents into the pan. Then tap a salt pot on the far left of the table to also add salt to the pan.
- Tap a file on the lower shelf and then on a small coin on the left side of the table by the salt, this will grind some powder into the pan.
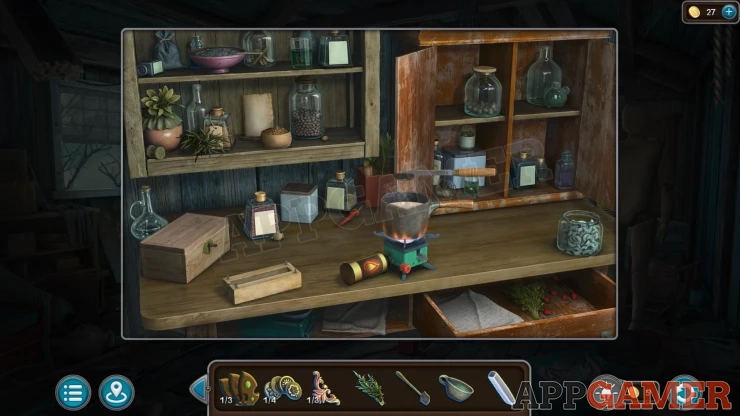
- Tap a square bottom bottle on the lower shelf to collect some string from it. This will leave two wicks on the table.
- Then move a small bowl on the lower shelf to find some pliers. Use these on the small box on the left of the table to open it. Inside is the lid of the mold, place iton the table.
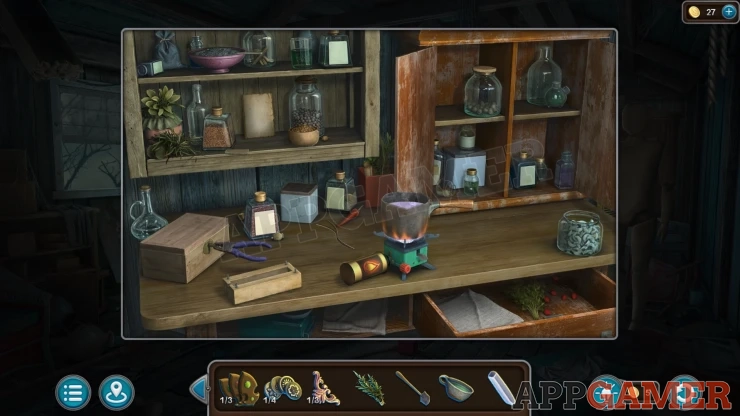
- Tap a wick to place it in the mold box on the left. Then tap the lid to place it on top.
- Tap the pan to pour the candle wax into the mold. This will make a candle.
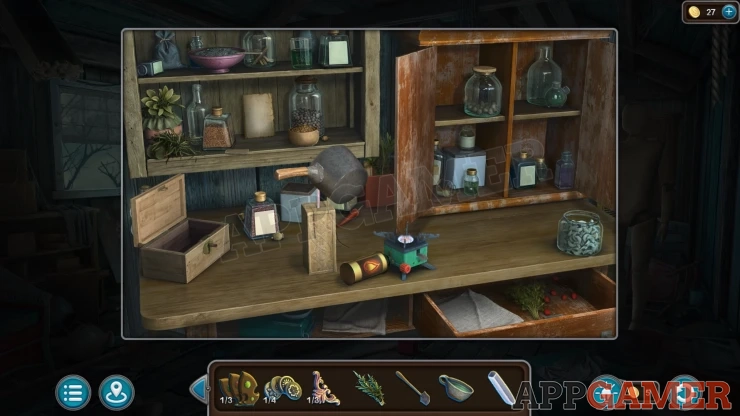
- Repeat this again with the wick and the lid to make a second candle.
You will collect the Candles.
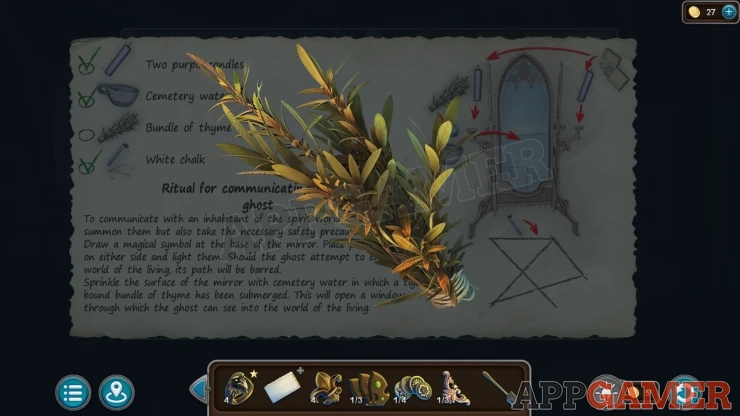
View the Ritual paper in your inventroy and add to it the Thyme, Candles, Water and Chalk. You will collect the Ritual Items.
Go to the Study room agian and look at a half suit of armour on the bench at the back.
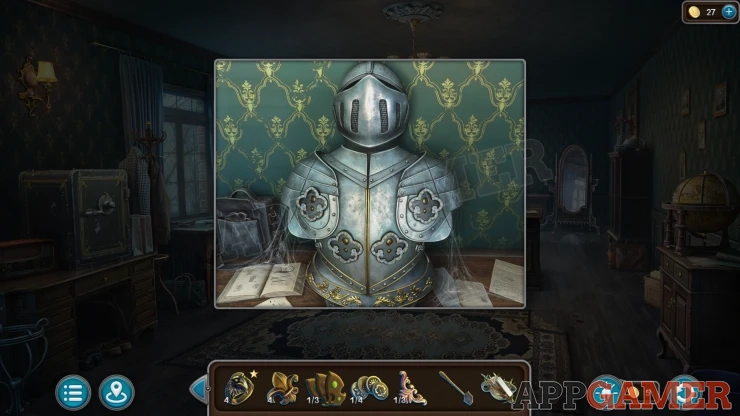
Flower: open a small pocket on the bag on the left.
Add the four Fleur-de-lis to the armour.
Armour Puzzle
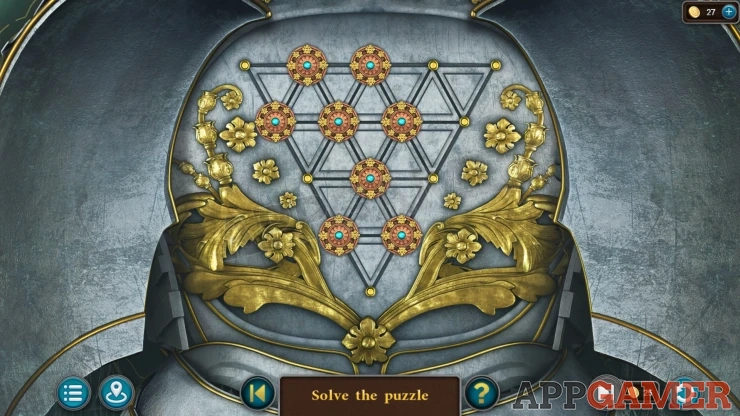
- This is a solitaire style game.
- Select a token and move it to an empty slot by jumping over another token
- This will make rthe other token dissapear.
- Complete the puzzle by removing all of the tokens apart from one from the board.
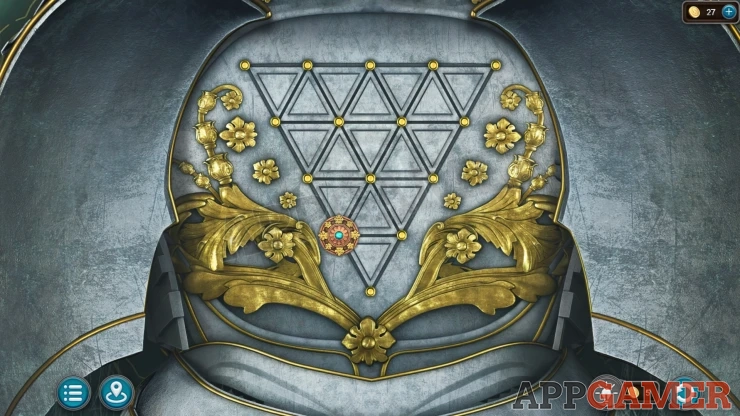
You can then collect a Lighter.
Then view a mirror on the back right. Add the Ritual items here.
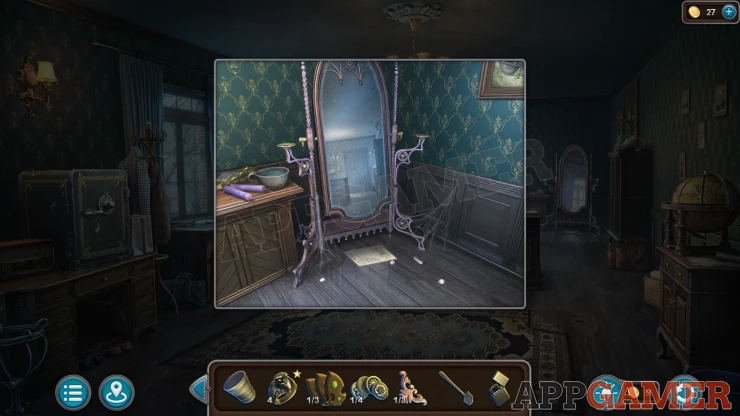
Look on the floor to see some dots and the instructions paper. You can view this for help.
Tap the dots in the correct order to draw lines with the chalk. You need to make the same pattern as shown on the paper.
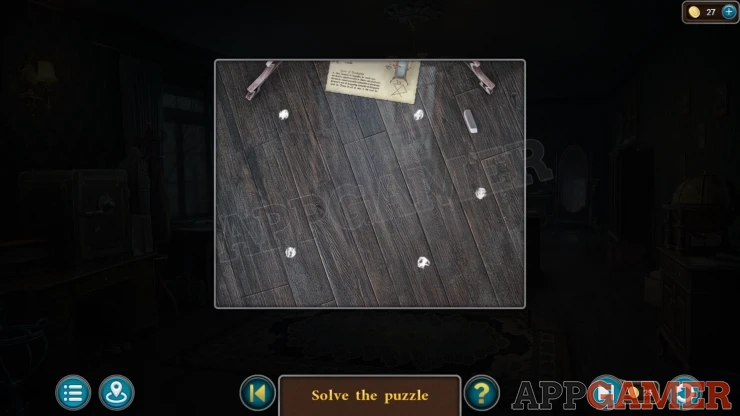
Once done Add the thyme to the cup of water and then pace the candle on the holders on either side of the mirror.
Use the lighter to light the candles. Then tap the cup to pour the water on the mirror.
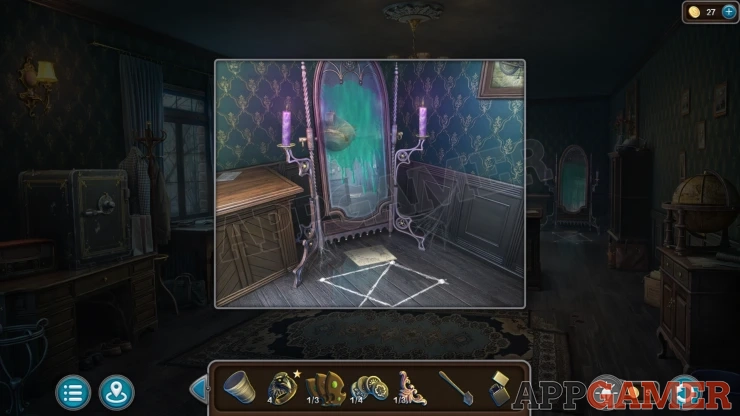
You meet Reginald the ghost.
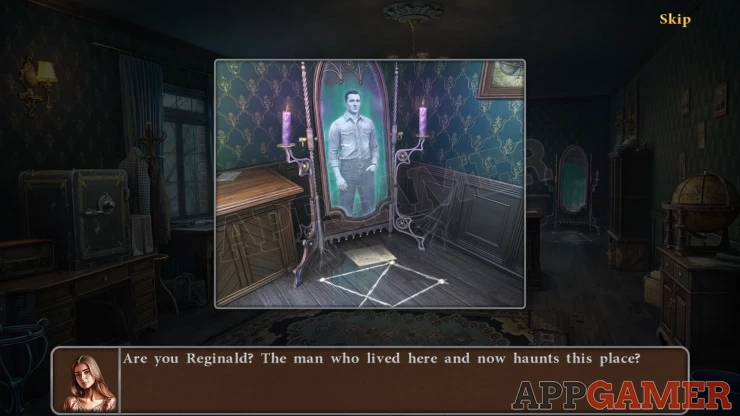
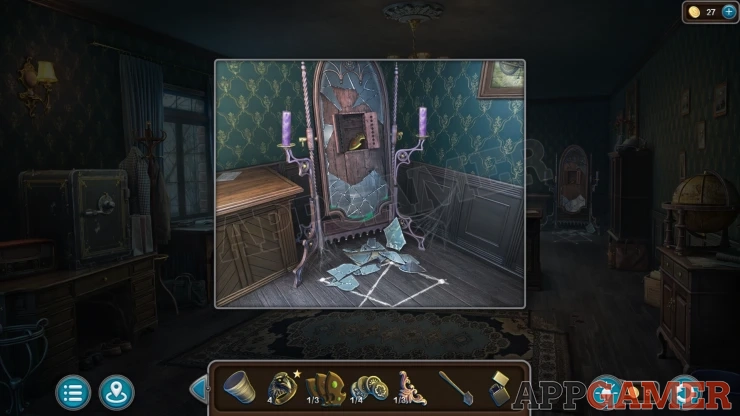
After talking to him the mirror shatters. Open a compartment behind the broken mirror and collect a Decoration (2 of 3).
Next look at a small table on the left of the room under a deer head.
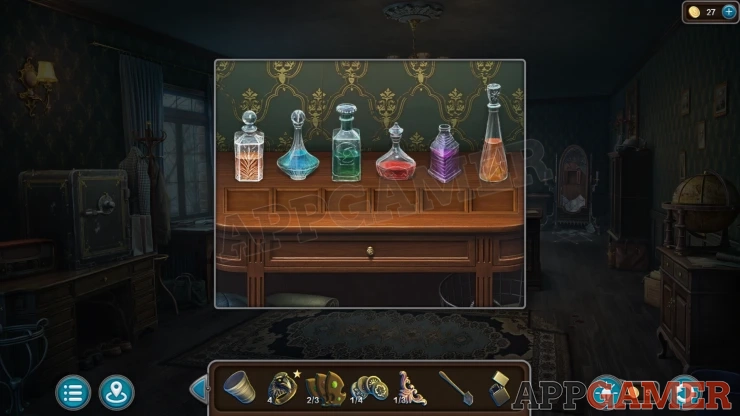
Add the powder to this table to start a puzzle.
Glass Bottles Puzzle
- The powder will reveal six shapes on the table top.
- Move the six bottles into the correct spot based on the shape of the bottom of the bottles.
Solution: Show
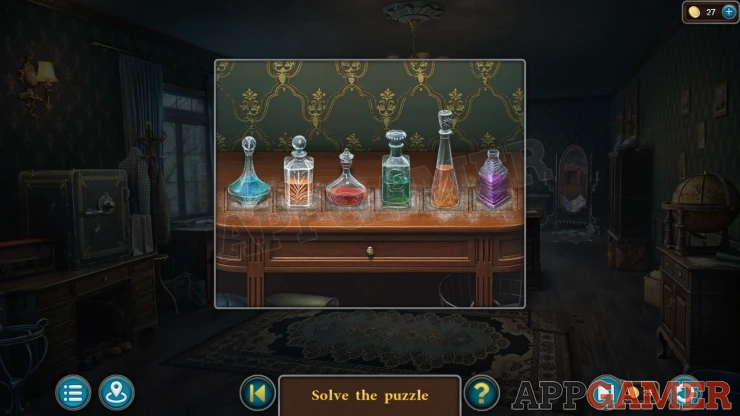
The drawer will open and you can collect a Gem.
Now return to the cemetery and view a statue on the left.
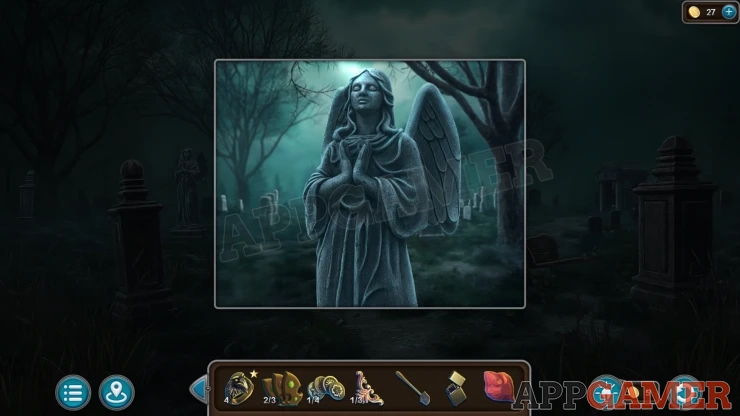
Add the gem to the hands and a light will reveal a spot on the ground, view this and use the shovel to dig a hole. Collect the Decoration (3 of 3).
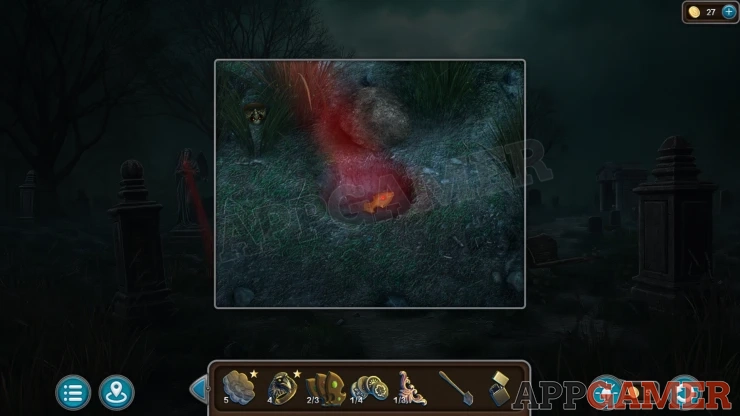
Ring: move some grass on the left of the hole in the ground to find it.
Now view the door to the crypt in the center. Place the decorations here to start a puzzle.
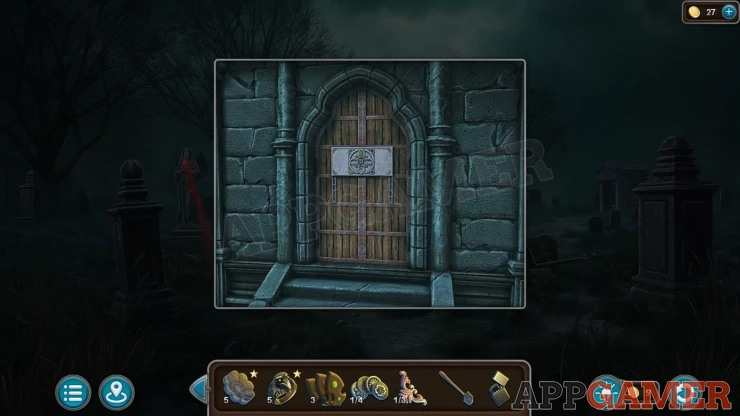
Crypt Door Puzzle
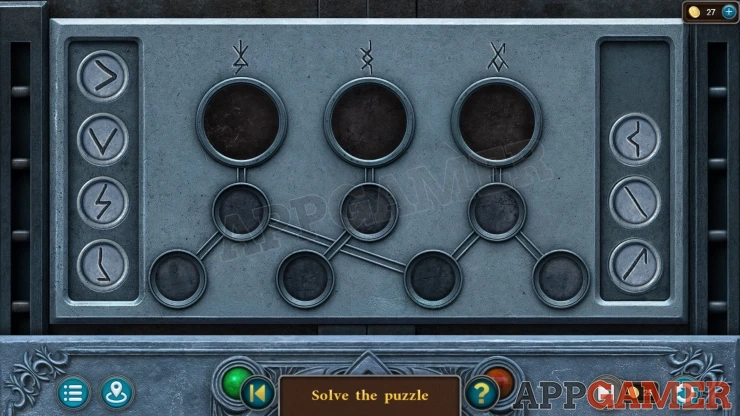
- There are three clue symbols shown at the top which you need to replicate in the three large circles below them.
- At the bottom are seven small circles, on the sides are seven symbol parts that can be placed into the bottom circles.
- Arrange the symbol parts so that the ones connected by lines will combine to make te correct large symbols in the top circles.
Solution: Show
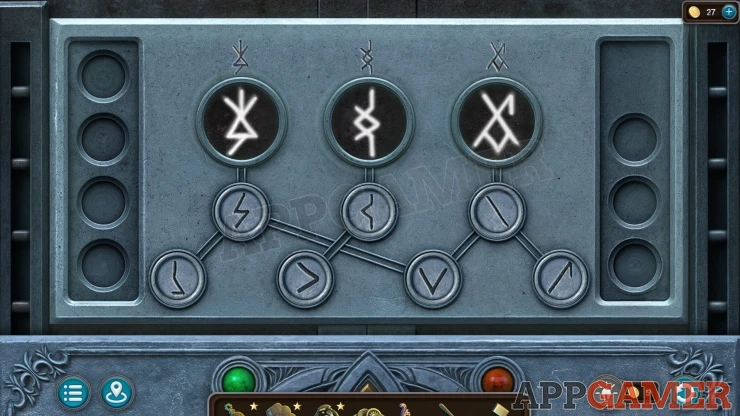
You can now enter the Crypt. Use the lighter here to light all of the candles.
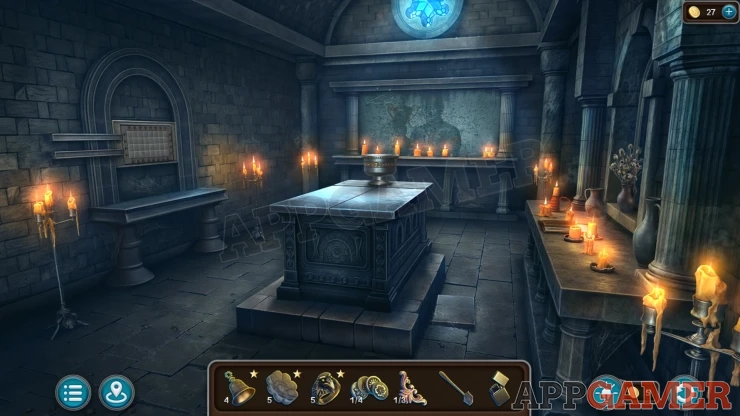
Morphing Object: carving on the end of the sarcophagus.
Collection Item: Eye Bead. look at a loose stone on the floor and lift it to find it.
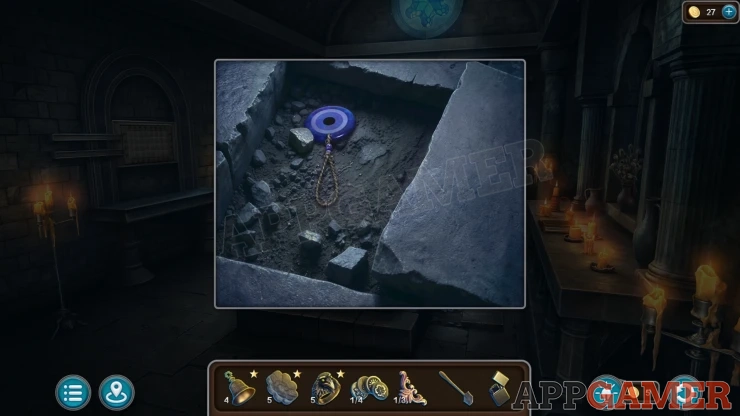
Bell: move the flower vase on the shelf on the right wall.
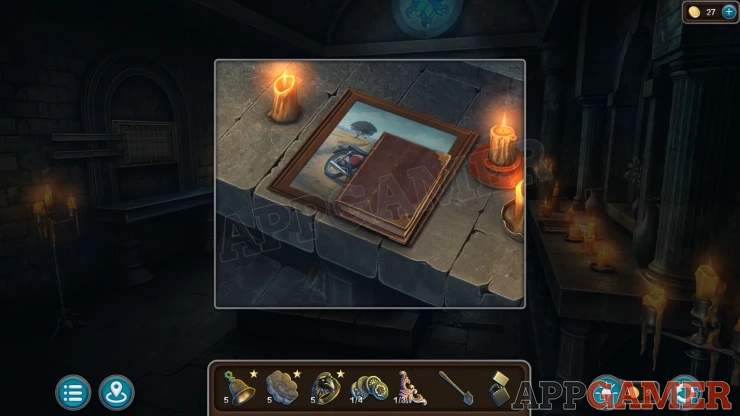
Look on the shelf on the right to find a book. Look at this to see the Ritual for releasing a restless soul. Then collect a Painting.
Return to the back garden and then go through the gate to talk to the neighbour again. You need to find a crystal ball.
Go back to the study an view a picture of a motorbike on the back wall. Place the painting you have here next to it.
Paintings Puzzle
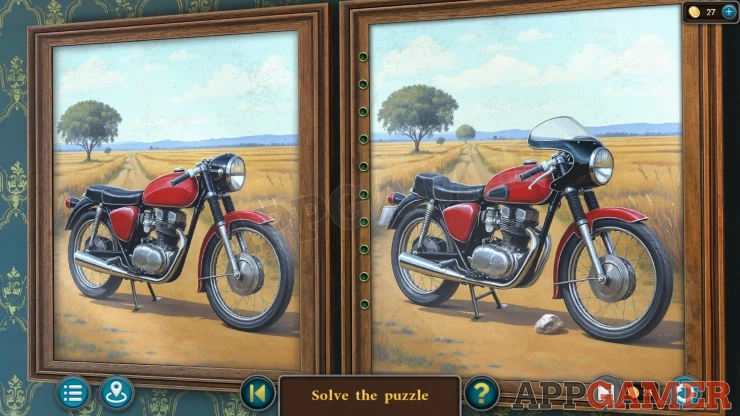
- This is a spot the difference puzzle.
- Find the ten differences between the two paintings
Solution: Show
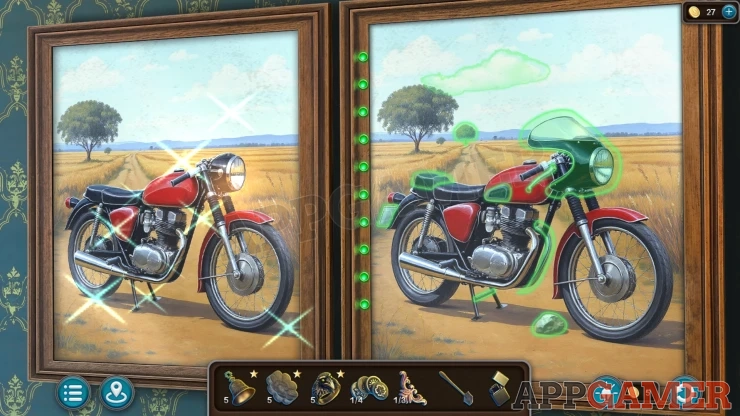
You can then collect a Figurine and a Treble Clef.
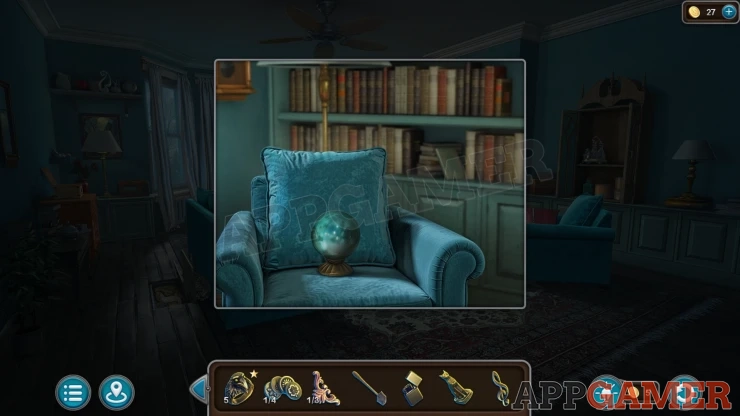
Go to the Living room. You can now collect the Crystal Ball from the armchair where Hannah was sitting.
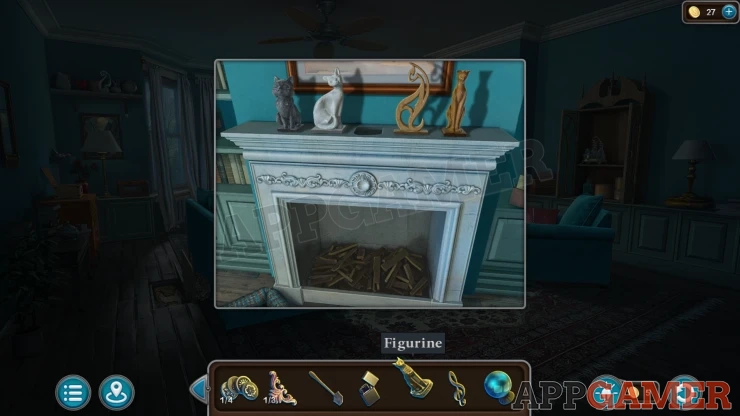
Then view the fireplace. Add the Figurine to the mantel at the top and a panel will open. Collect a Book.
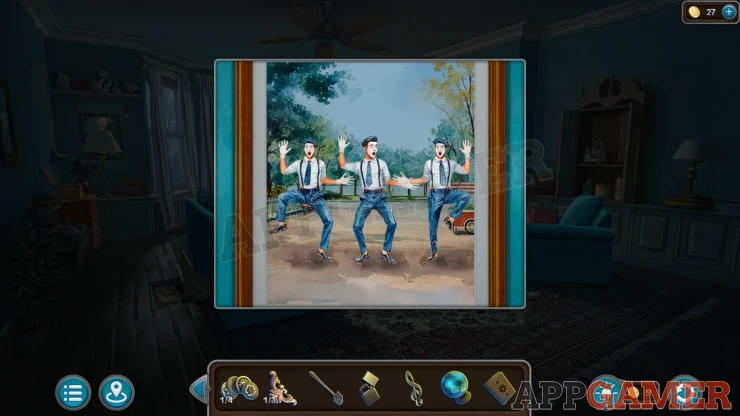
Then also look at a painting above the fire place with three mimes. This is a clue.
Show
Go to the upstairs landing and view the bookshelf at the back. Add the book here to reveal a secret area and read a paper with a treasure clue. Collect the Bird.
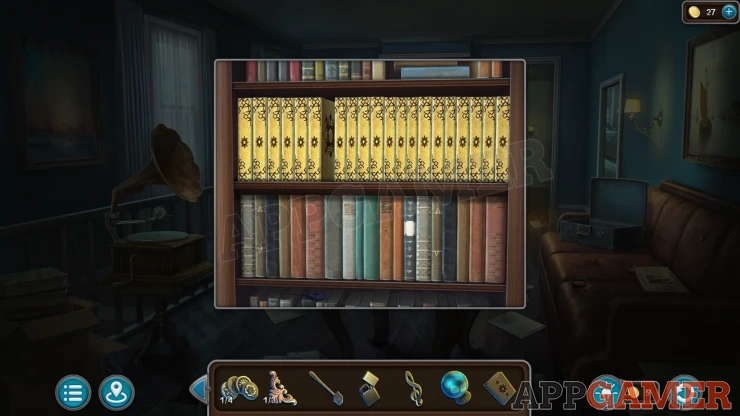
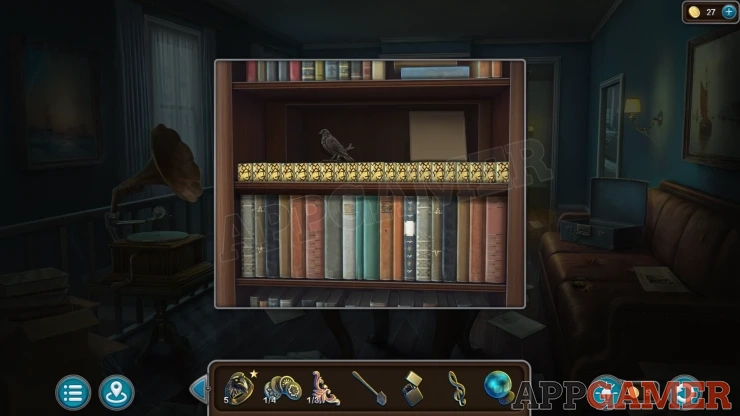
Collection Item: Eye Bead, on the books on the lower shelf.
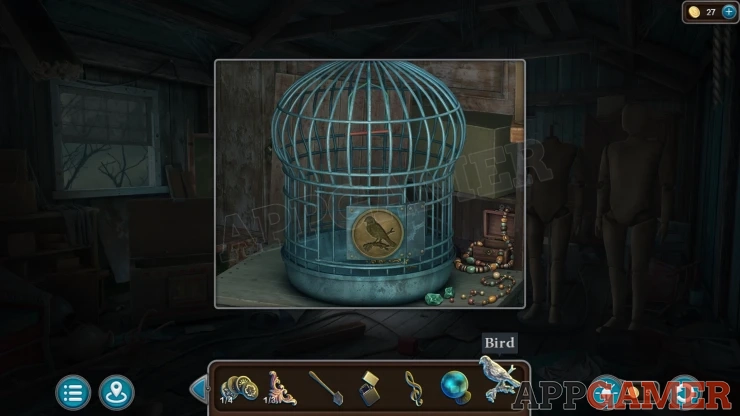
Go up to the Attic and view the birdcage again. Add the bird to it and then you can collect the Ship.
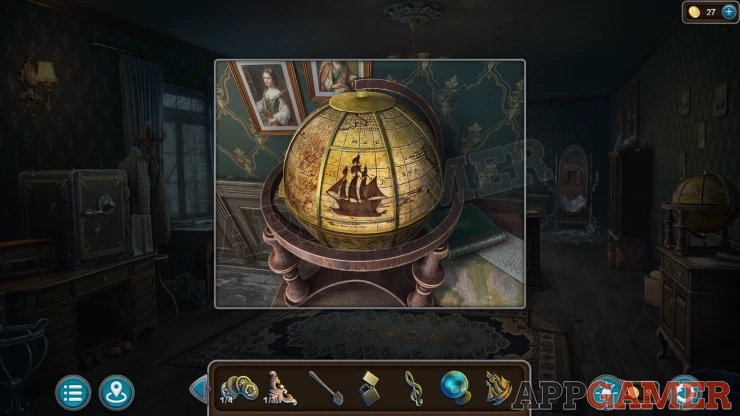
Go back to the study and view the Globe on the right. Add the Ship to open it and then collect a Chip (2 of 4) and a Stencil.
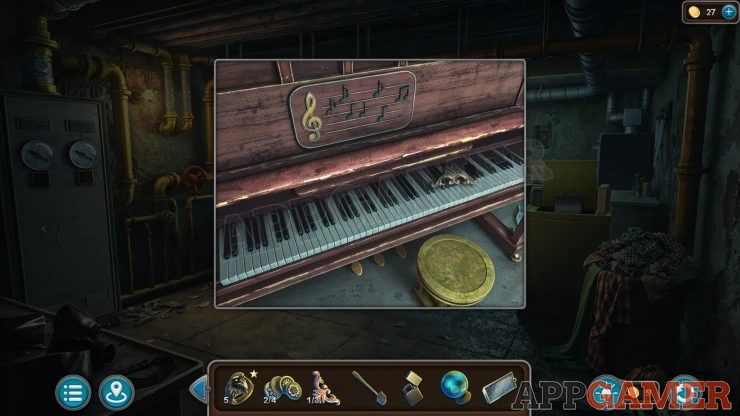
Go to the basement and view the piano agian. Add the trebel clef to the top and the lid will open. Collect a
Monogram (2 of 3).
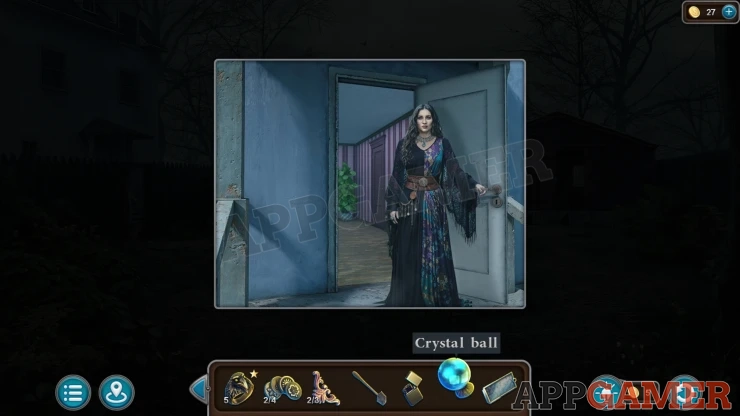
Now return to the neighbour and give her the Crystal ball. She will give you the Powder.
Go to the Crypt and view a panel on the left wall. Add the stencil to this to start a puzzle.
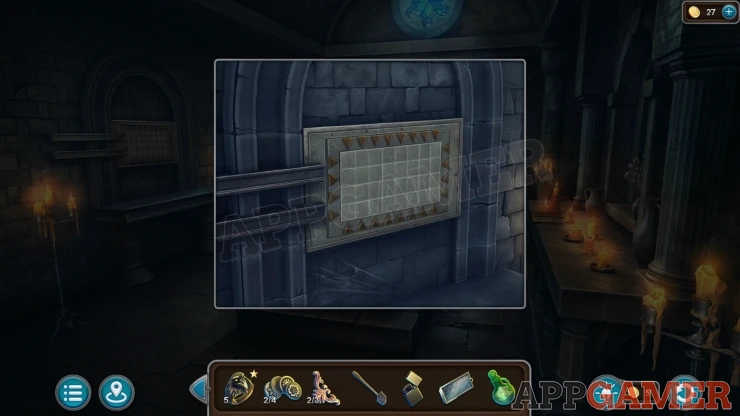
Crypt Stencil Puzzle
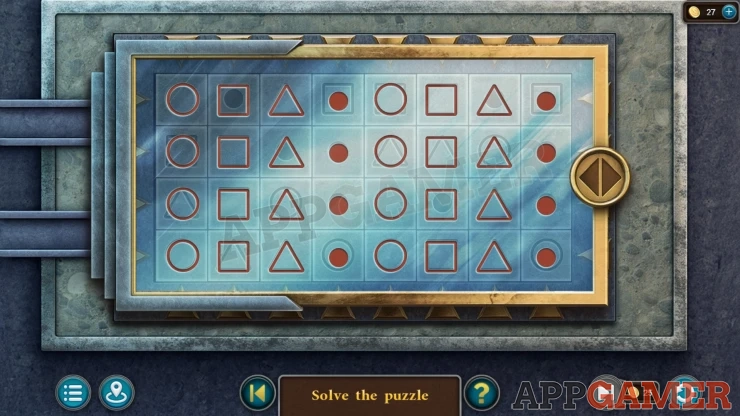
- The stencil will show an overlay of the pattern of shapes that is needed on the panel.
- Move the stencil away and then use the arrows to slide thge rows and columns.
- Arrange the symbols to match the pattern on the stencil.
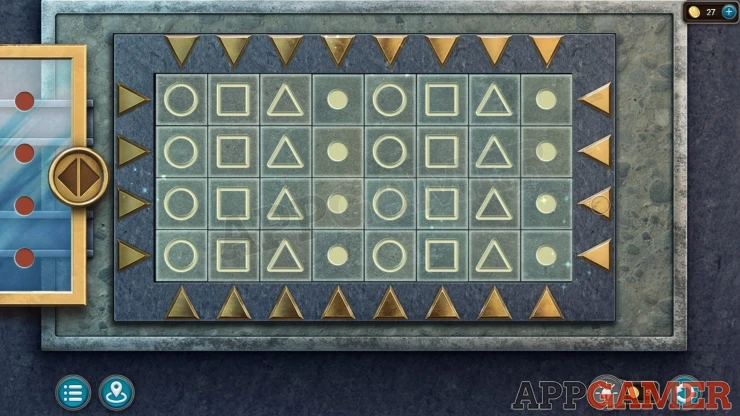
Collect a Key.
Go to the shed now and view the motorbike. Use rthe key to open the panier box by the back wheel.
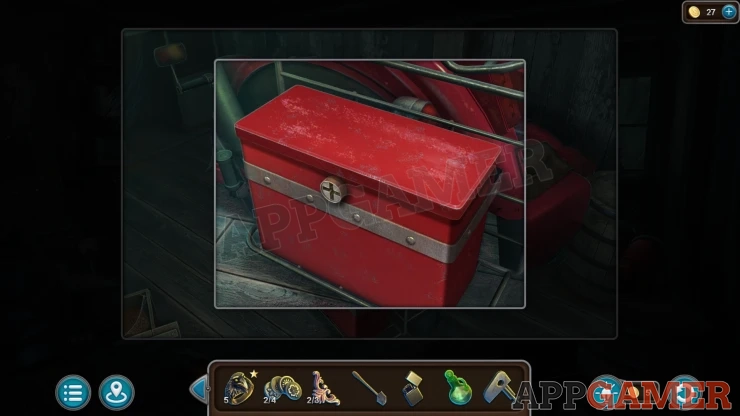
Collect some Goggles, a Brush and a Monogram.
Now go back to the Hallway. View a cabinet on the right of the stairs.
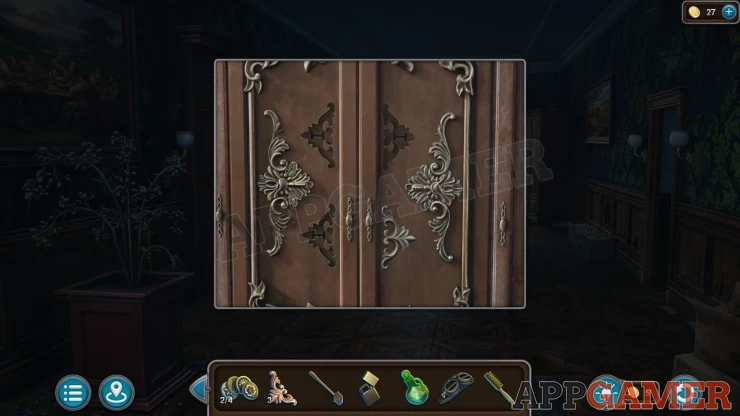
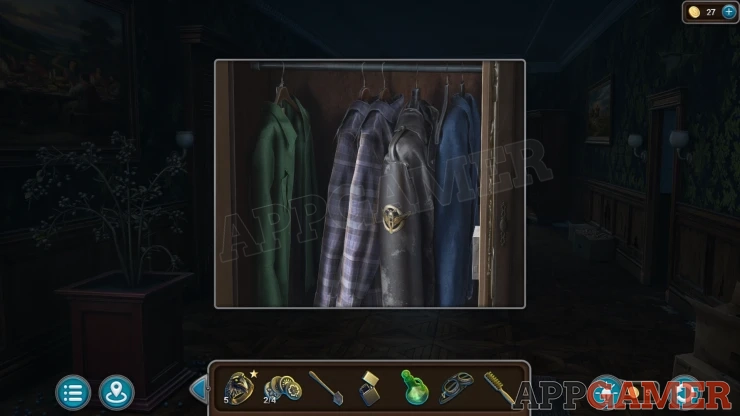
Add the three mongrams here to open it and then you can collect a Patch from a jacket. Then move the clothes and tap the green shirt to collect the Weights.
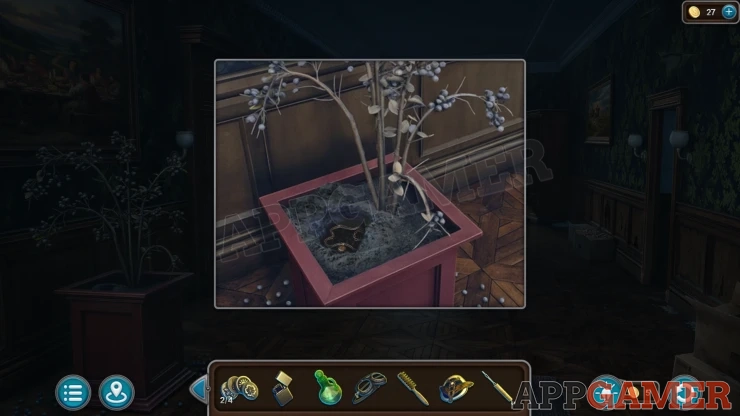
Next view a plant in a pot on the left of the hallway. Use the shovel on the soil to dig and collect a Pendant.
Go to the upstairs landing and view the grandfather clock.
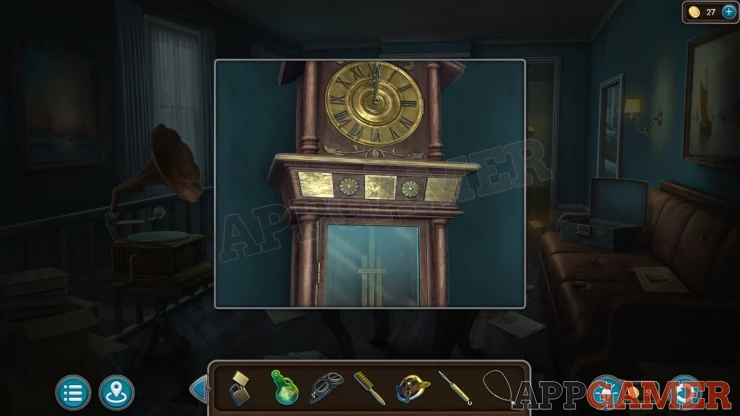
Open the glass dooor and add the Weights to the mechanism. The top will open and you can collect a Head and a Sun.
Go up to the Attic and view the Mannequins, add the Head to the center one to start a puzzle.
Mannequin Puzzle
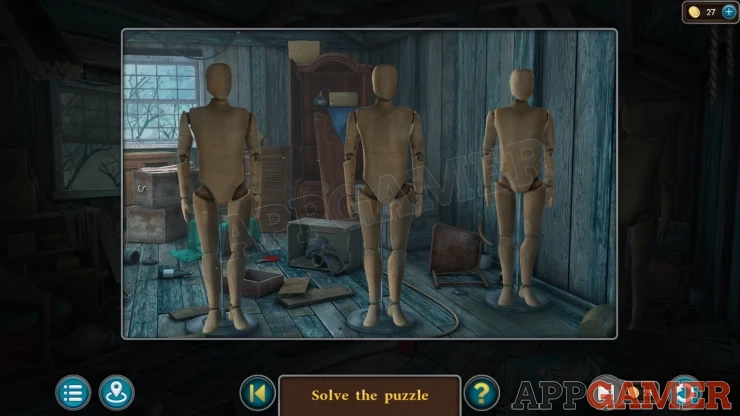
- Tap the arms, legs and heads of the three mannequins to move them.
- Arrange all of the limbs to copy the clues you have already seen.
Solution: The clue is the picture of mimes in the living room.Show
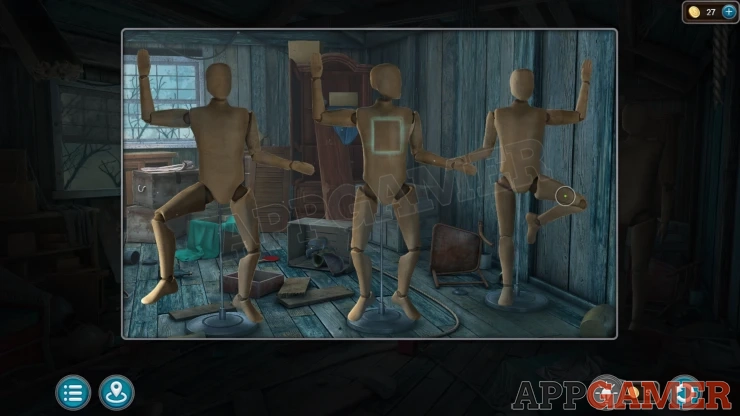
Collect a Chip (3 of 4) and a Crescent Moon.
Go to the bedroom and view the Chest at the foot of the bed. Add the sun and the moon to it to start a puzzle
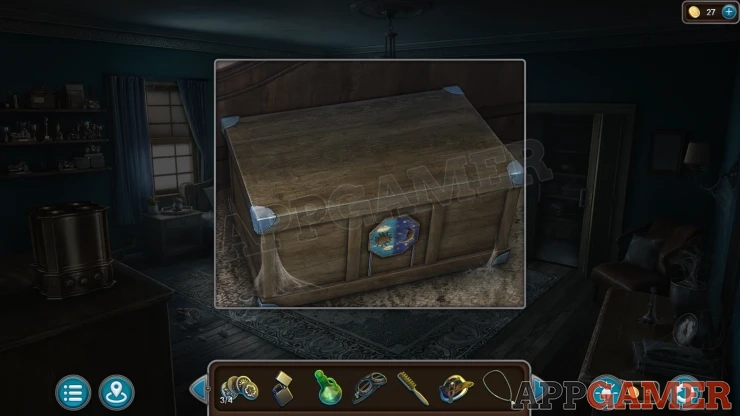
Bedroom Chest Puzzle
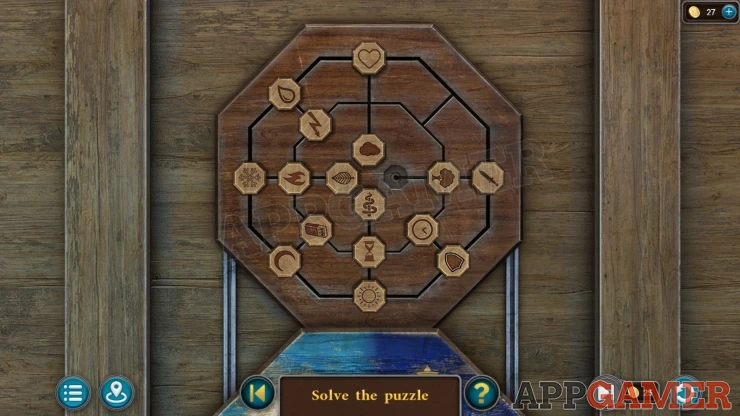
- The board has two octagonal rings with four extra slots in the cetner.
- On the board thre are 16 tokens with symbols on them.
- There are pairs of symbosl that relate to each other, ie. Matches and Fire.
- Move the pices around the board by selecting them and chooseing an empty slot next to it.
- Arrange the peices on the outer two rings so that the related pairs are next to each other. (on the inner and outer ring).
Solution: Show
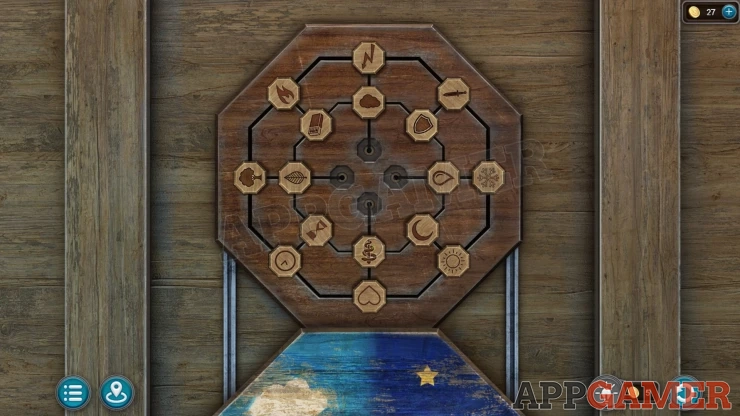
Collect a Wrench and a Record.
Back out to the landing area and add the record to the record player. Lower the neelde and then tap the handle to play it. After the music plays you can collect a Chip (4 of 4).
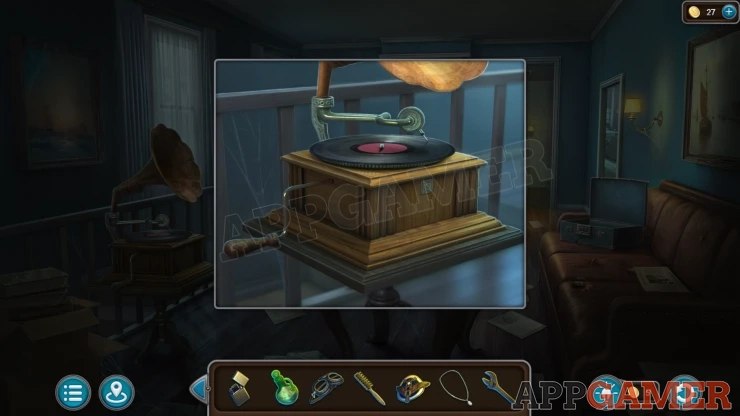
Then enter the study and view the Deer Head.
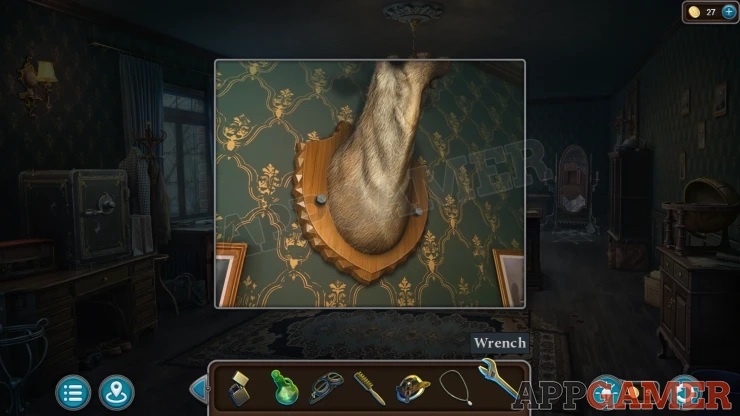
Use the wrench here to remove the bolts and the head to then collect a Code.
Now view the Safe on the left again. Add the Code to it to start the puzzle.
Safe Puzzle
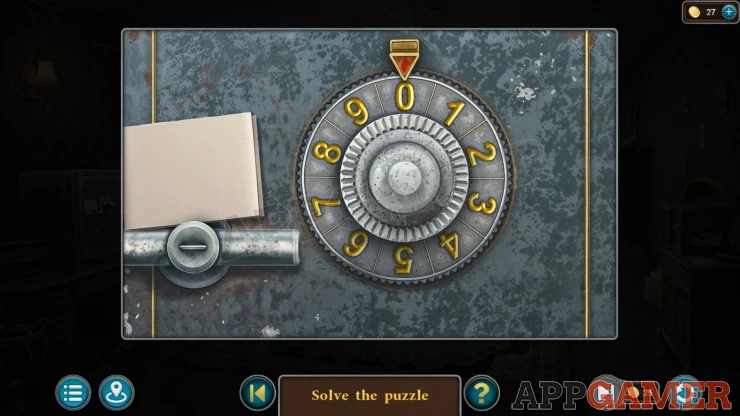
Turn the dial to enter the code from the paper.
Collect the Cup.
Now enter the bedroom. View an ornate box on the left.
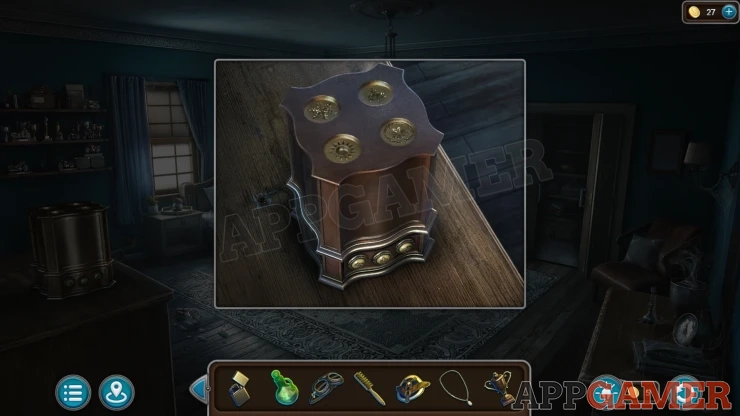
Add the four chips to this top open it and find a puzzle.
Ballerina Box Puzzle
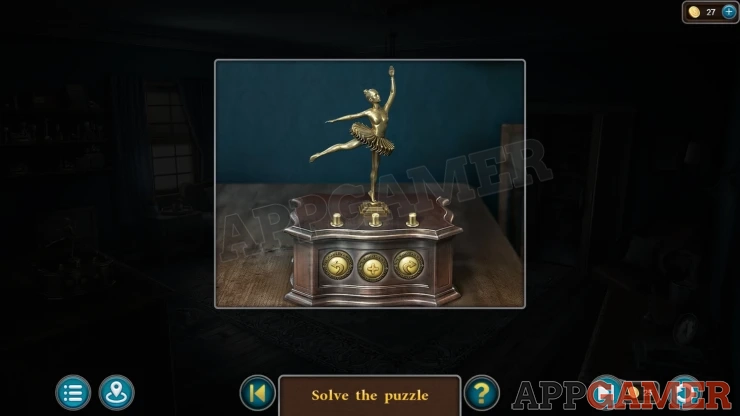
- Use the left and right arrow buttons to turn the ballerina figure.
- You need to turn to the correct first position and then press the + button in the center.
- Then repeat this two more times for the next two positions.
- The clue for the positions is seen nearby.
Solution: Match the three pictures of the dancer that are on the small table in the study.Show
Collect a Watch.
Now go to the crypt. View the back wall.
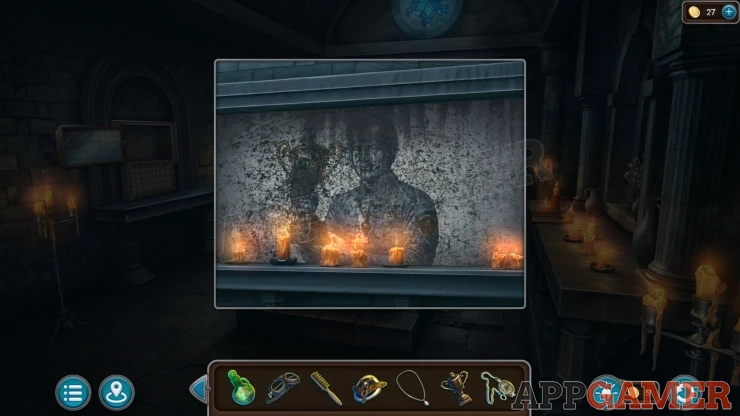
Use the brush on it to clean the picture there. The mural shows Reginald holding five items. You should already have the items needed.
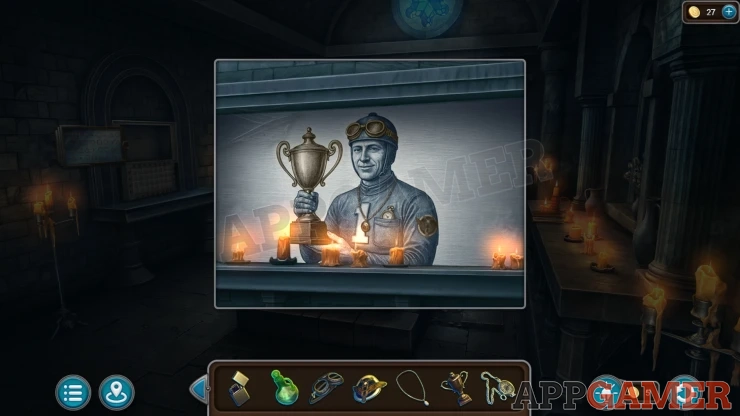
Look at the Chalice on the tomb. Add the Goggles, the watch, the pendant, the patch and the cup.
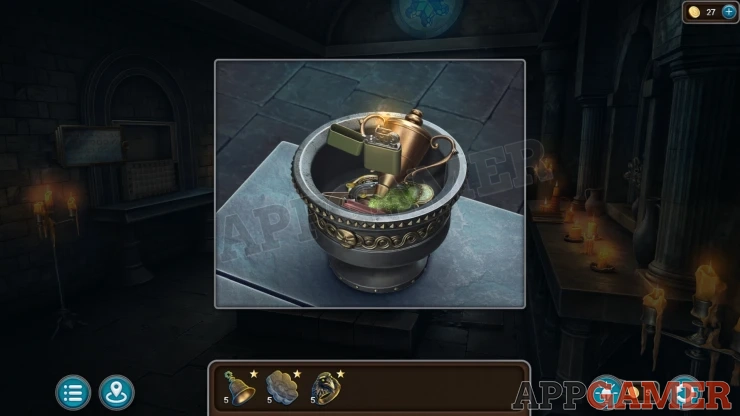
Add the Powder to this and then use the Lighter to burn them.
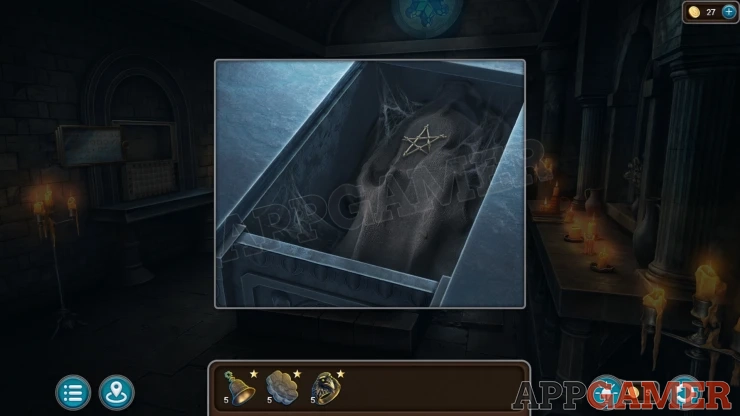
The sarcophagus opens and you can look inside. Collect the Star to complete the episode.
If you need help with the Secret room or other bonus puzzles in the game check the Episode 15 Extra Stars Guide.
We have questions and answers related to this topic which may also help you: Show all
 With 20 years of experience in creating video game content for the internet and over 30 years as a gamer, Mark is now a passionate mobile App Gamer. Loving a challenge, he is always ready to get stuck in to both survival builders and puzzle solving games. He has been providing content for AppGamer since 2014.