
Level 40: Orientation Walkthrough
More 50 Tiny Room Escape

Continuing on in 50 Tiny Room Escape, after completing Level 39 you have reached another special level, the final level for our protagonist Eve. This test involves navigating your way in a dark room.
Level 40: Orientation

First view the console bench in front of you. There is a notice board above, some items on the work top and drawers and cupboards below. In the center is an image of some tool outlines.

View the notice board, there is a pentagonal item on the board with a winter image on it.

Then examine the calendar. You can flip though the 5 pages of it to see different months. Collect a Resistor (Rezistor) from one of the pages.

Next view the Clock on top of the console to see the date on it. This is a clue.

Card: turn the clock around to find it on the back.

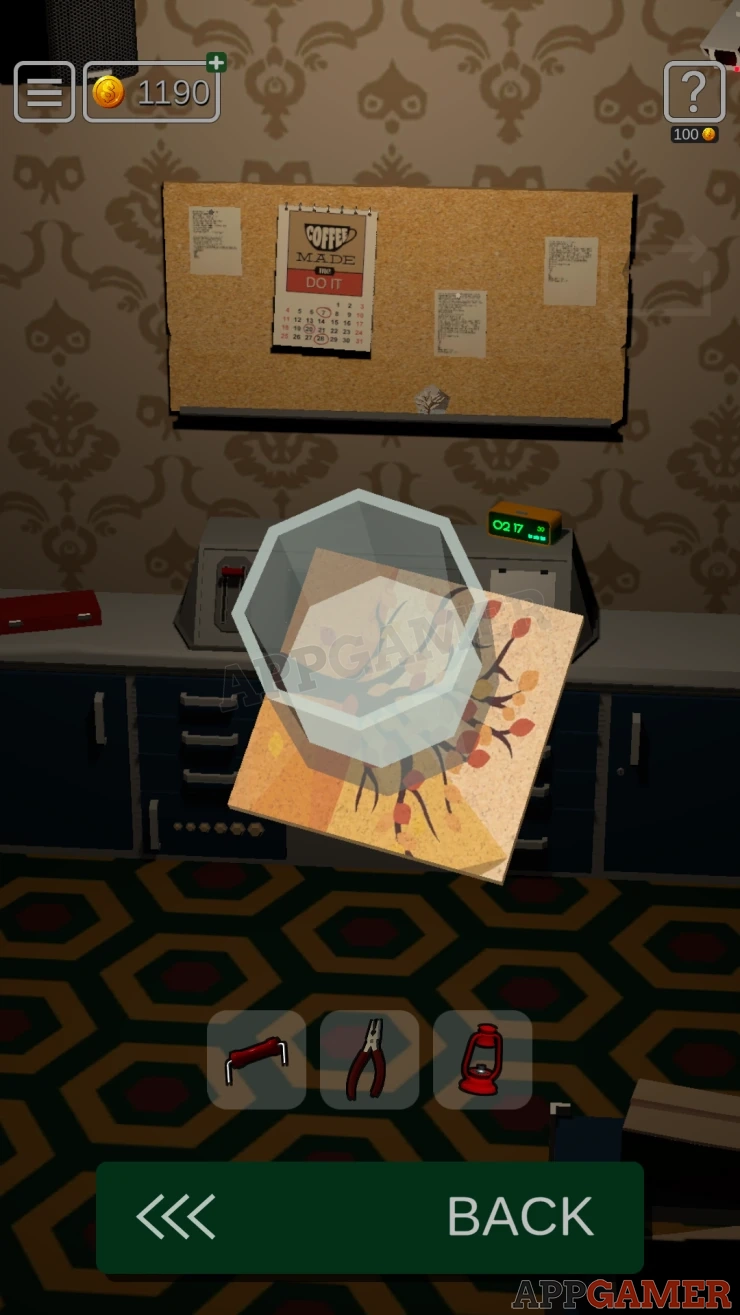
On the top left of the console is a glass that you can also pick up to see a square coaster with an Autumn image.
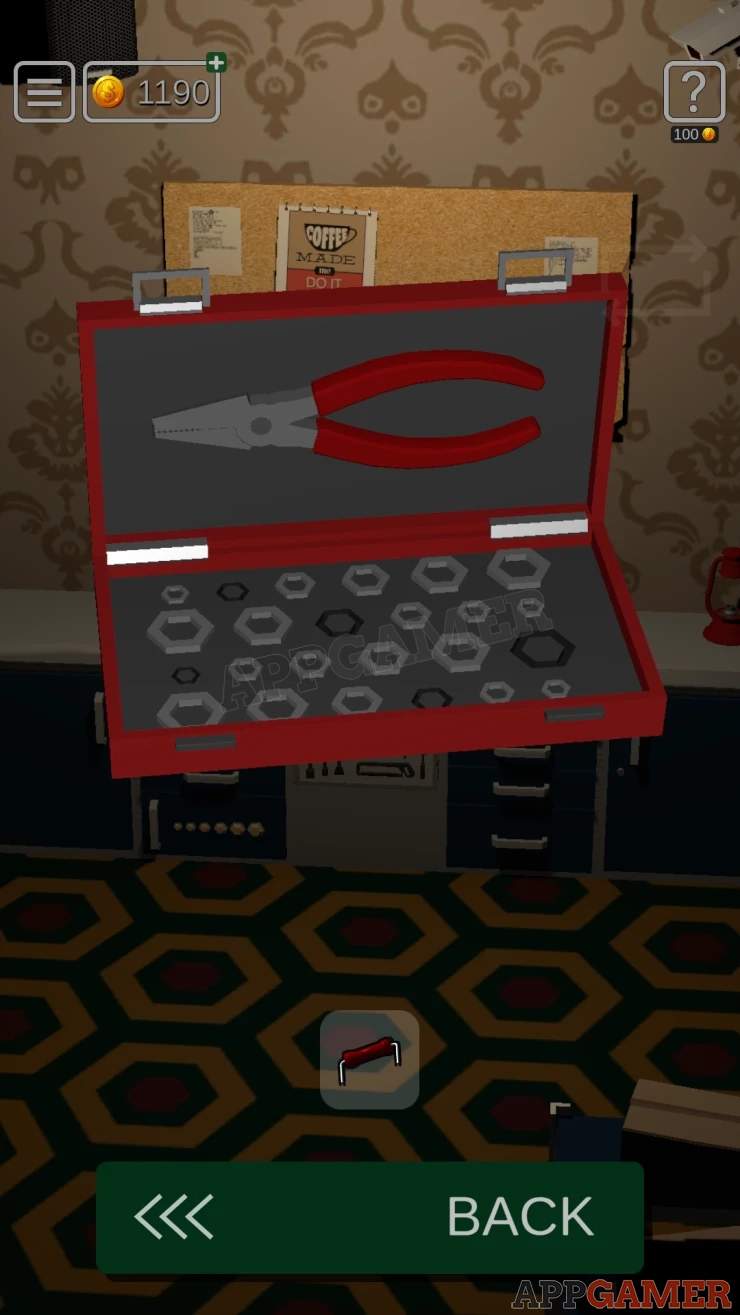
Next view the red case on the left. Open it and you can collect some Pliers. Notice also the arrangement of hexagon shapes below. Some of them are Black instead of Silver. This is another clue.
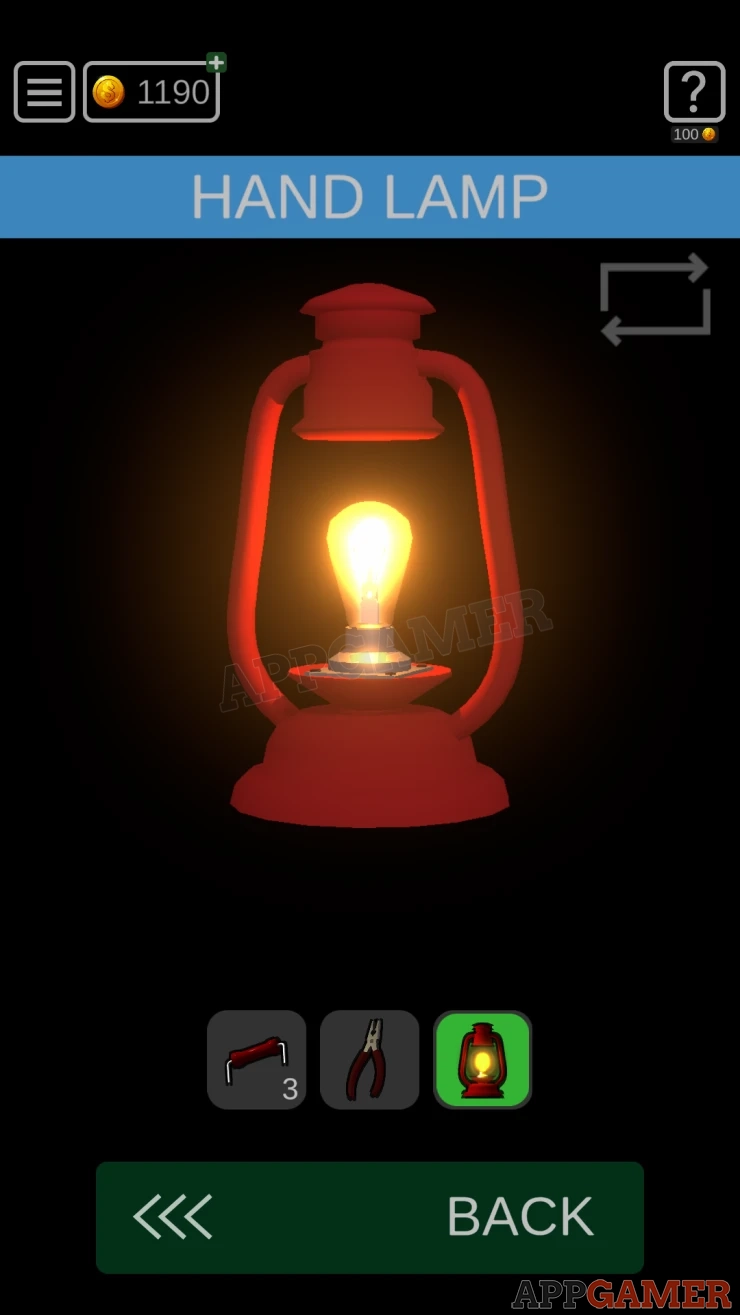
Collect the Red Hand Lamp from the bench on the Right.
Hexagon Drawer

Now look at the bottom drawer on the left. This has 6 hexagonal shapes on it.
Follow the clue from the red case to open it.
Method: Find the black hexagons in each of the rows and then tap the ones on the drawers that match the same size.Show
Solution: Show

Collect a Light Bulb
Turn around to face the opposite wall.

Look at the small shelf on the left. Open the top box and collect a Battery.

Then open the bottom box. Collect 2 more Resistors. Notice inside there are Hexagonal shapes with Summer images on them.

Now look on the wall to see a blue safe door and above this a tool board. Notice also the Circle shape with the Spring image on it.

Tool Board
Tap the tool board at the top and it will flip over. On the other side is another board of tools but here some of the items have changed, different positions or orientations. This is a clue.
Turn back to the other side and view the tool board outlines.

This is a spot the difference puzzle. Here you need to tap on the items that are different in the 2 layouts on the other wall. There are 5 in total.
Solution: Show

The cupboard door on the left opens, look inside and you can then pull 3 pin s that will unlock the drawers to the right.

Card: in the top drawer

Open the middle drawer to collect another Battery.

Now view the Hand Lamp in your inventory.
Hand Lantern

- First add the Light Bulb to it.
- Turn it to see the bottom. There are 3 gray dials.
- These can be turned to reveal a white circle in the center.
- Turning 1 will also turn another of the 3

Solution: Tap the top right one 2 times to line up the bottom one. Then tap the top left to turn both of the top dials until they complete the circle.Show
Open the white cover and place the 2 batteries inside.

Next tap the red switch on the left of the console and this will open the way to the dark room on the left.

Use the lamp on the doorway and you can go through.

You are now in a large dark room. You can use the arrows on the floor to move around and the lamp will illuminate the small area you are in. The room is a 4 x 4 grid of spaces that you can move to, to let you investigate the room.
First you can turn and face the door you cam in from and find a Clipboard on the wall to collect.

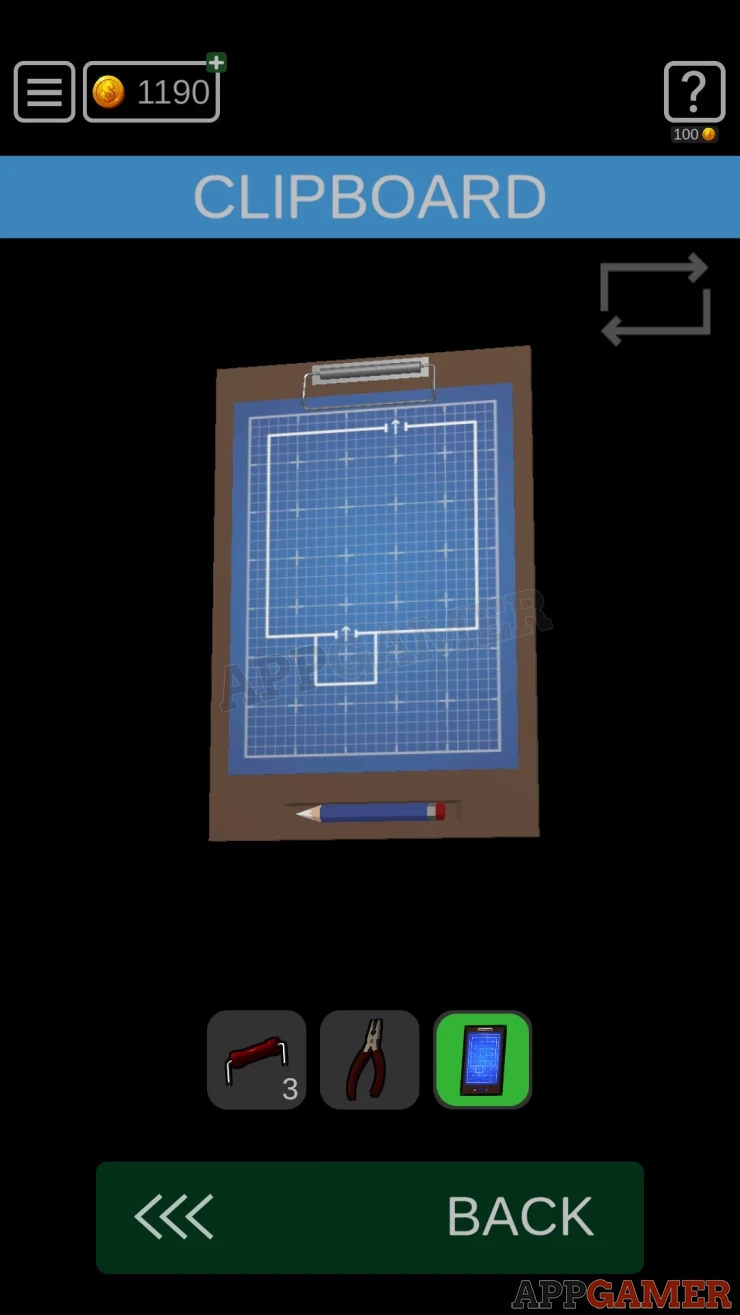
You can view this to see an outline of the room and the side room that you came in from. The + marking on the map are the center of each of the areas you can move to.
You will see an exit door marked on the top.
Moving around the room you will find various items, some of these are important.
First move across the room to find the exit door. You might encounter white paint footprint tails and a red cable on the floor. The footprints run from from paint tins on the floor to a paint area on a wall. The red cable runs from the exit door to a generator.

At the exit door view it and collect a paper from the left side. You can view this for a clue.

Then move to the left to see some shelves.

Card: on the shelves.
Collect a Red Valve handle.
Move back into the room away from the wall and you should find some boxes on the floor. You can open these to look inside.
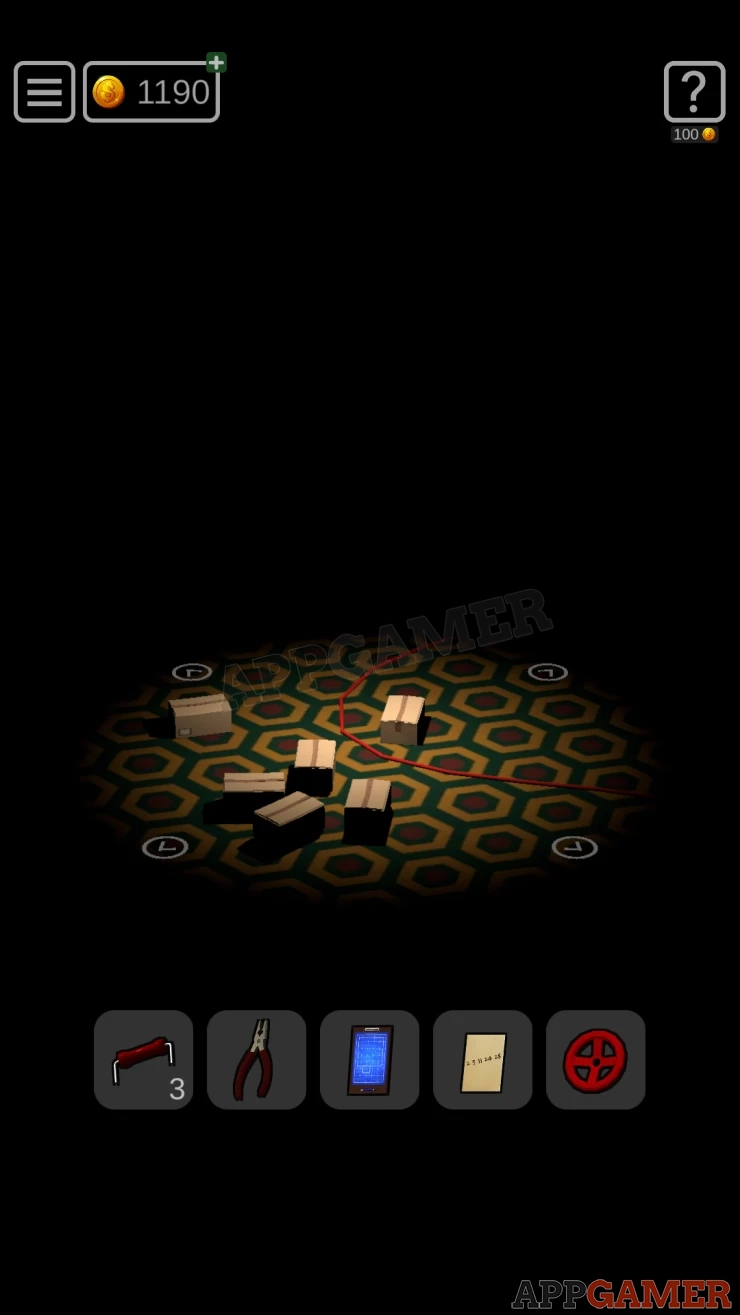
Card: inside one of the boxes.
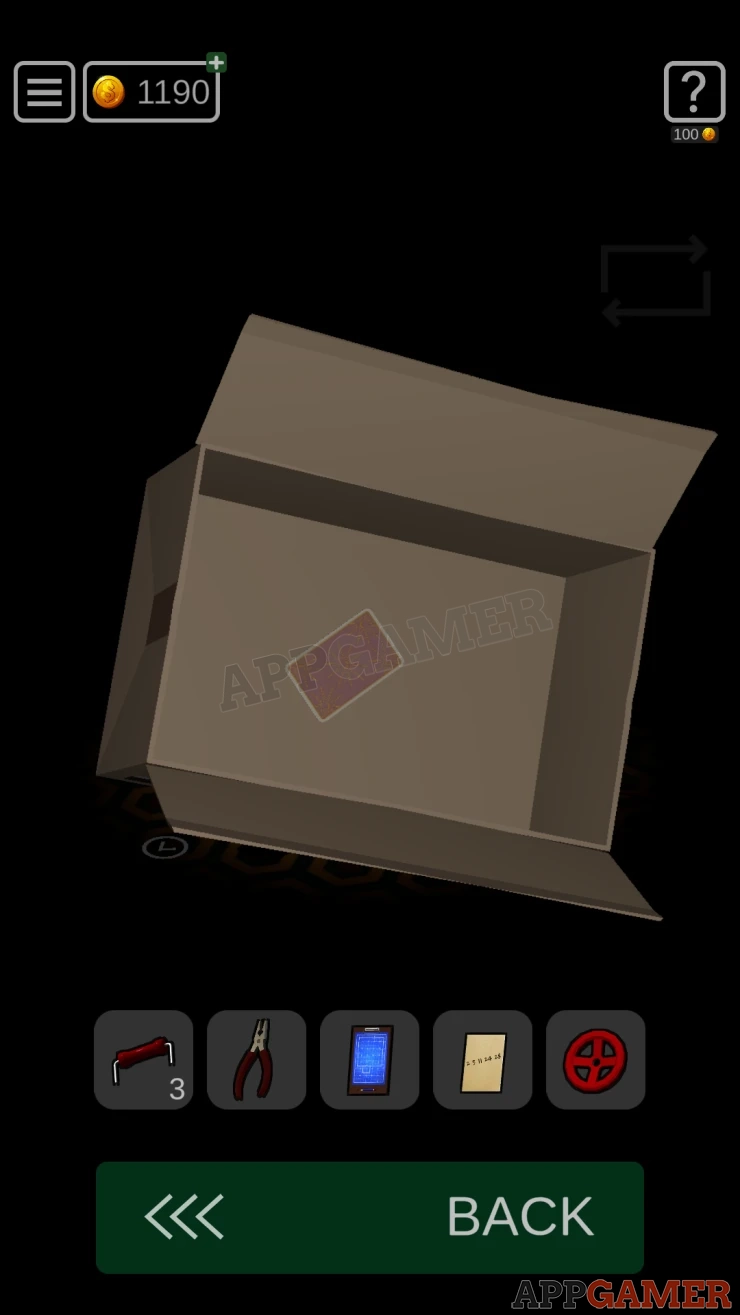
Look through all of the boxes and collect 4 more Resistors from the boxes.

Move to the left to the side wall and and you will notice some wood planks on the floor that creates a line over 2 areas of the room.

Now move to the right and turn back to the back wall to see that there is a pipe on the ceiling, this runs across the back wall, over the entry door and to a wall section with 2 large pipes and a clear pipe in the center.


Add the valve handle to the pipe on the right. You can then tap the 2 handles to raise the water level in the center.

Tap one after the other (left, then right, then left, then right etc) until the water reaches the top.
Collect a Key.

Now go back though to the initial room with the console.
View the cupboard door on the right and use the key to open it.

Inside there are 4 more pins to pull and unlock the 4 drawers, you can then open these to find 4 numbers for a code.

Code: 3092Show
Turn to the opposite wall again and view the blue safe door.

On the right are switches that you can rotate around. Doing this will line them up and let you form different numbers.
Use the switches to replicate the code found in the drawers.
Solution: Show

Collect an Access Card
Now turn back to the console. On the right, below the clock, is a panel that you can open.
Circuit Board

Inside is a circuit board with a burnt out Resistor on the right. Use the pliers to remove the burnt Resistor.
You can now place the 7 Resistor that you have to make connections between the terminals in the correct positions
The clue for this is lines that you have found in the dark room. It is a tricky one. To help you you can use the clipboard and mark on it lines.
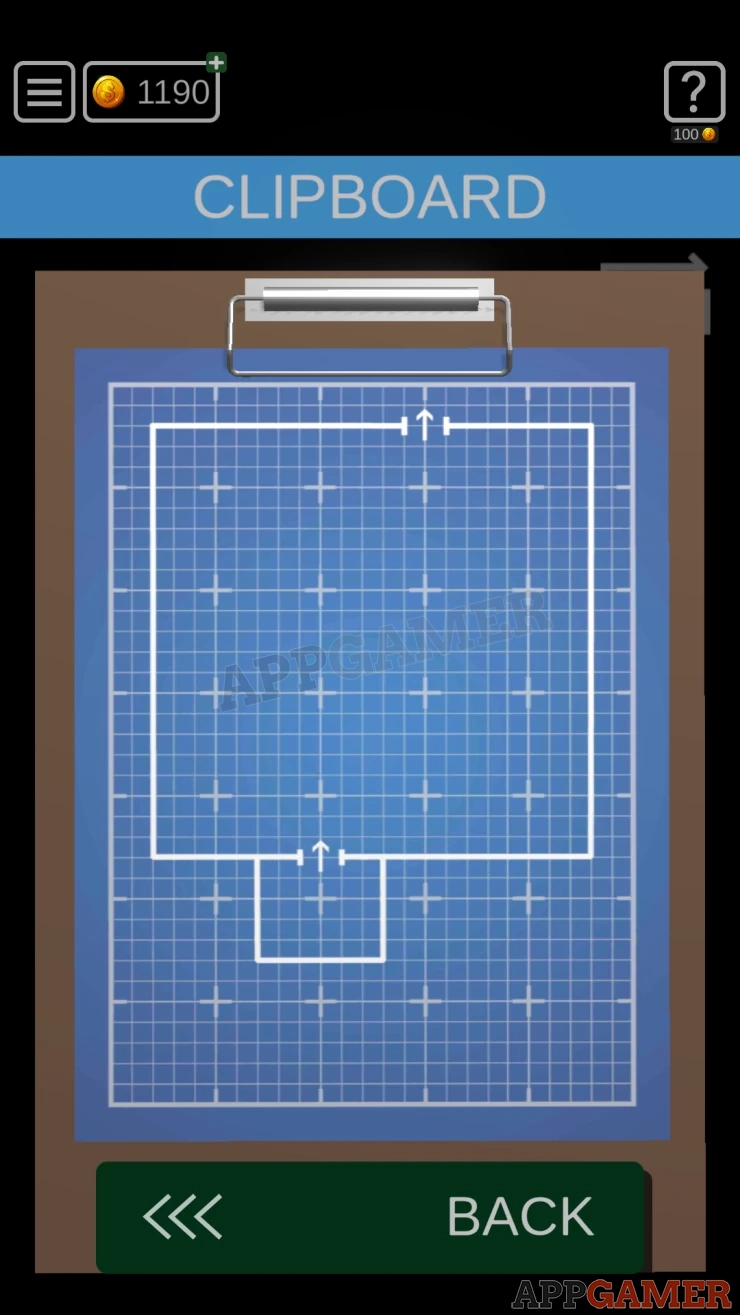
Method: You are looking for any line that joins 2 or more areas of the room together. E.g. the red cable, foot steps, planks, pipes. The result is this: Show

Then you can use this to place the Resistors, remembering that the circuit board is oriented to have the small room on the right.
Solution: Show

Once done power is applied to the switches in the center of the console.
Console Switches
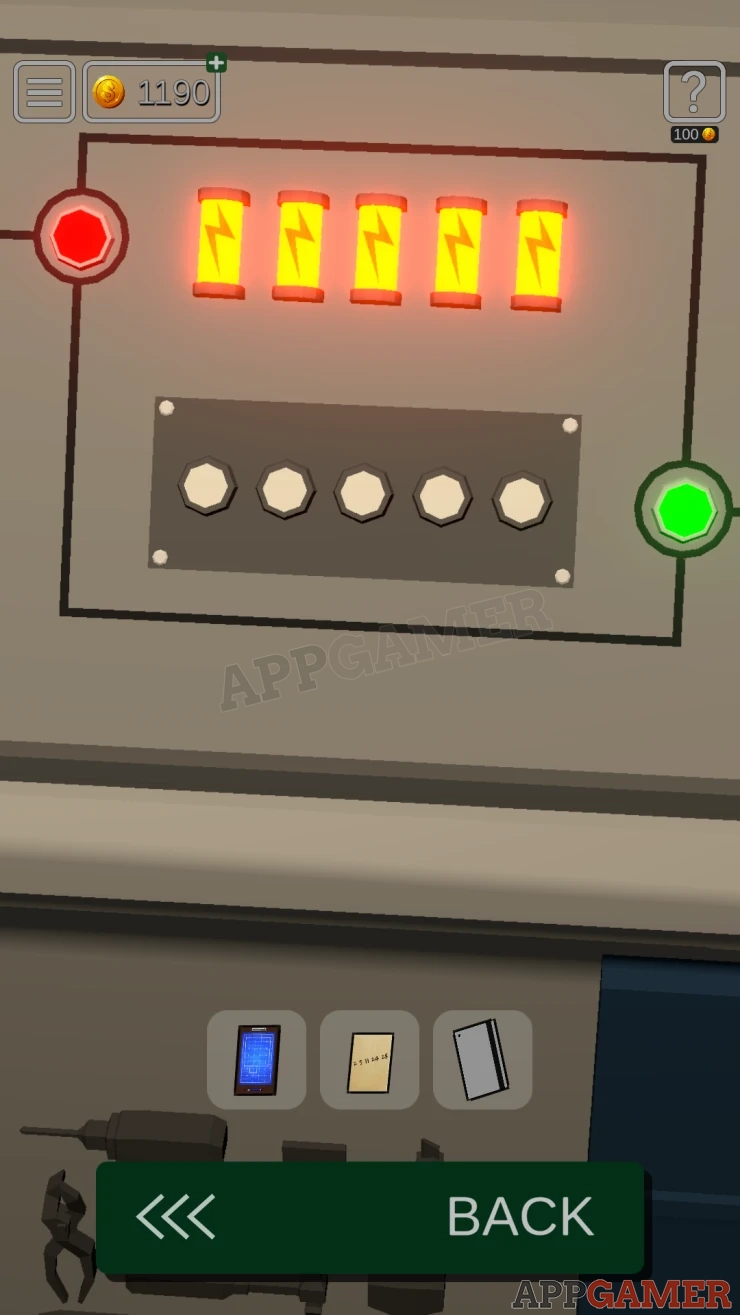
- Tap switches in the correct order to light up the 5 lights.
- Tapping an incorrect switch will clear all of the lights and you need to start again.
- You need to work out the order with trial and error
Solution: Order: 4, 2, 1, 5, 3Show
This now activates a blue screen on the left with a grid of squares.
Blue Screen

- Notice that the grid of squares resembles one of the calendar pages from the noticeboard.
- Find that page and get the circled number from it.

- You also have 5 more numbers from the paper you found earlier.
- If you tap and of the squares on the grid it will place or change a symbol in it.
- Put the correct symbols into the correct squares.
Solution: The date on the clock tells us that it is 31st July, this is Summer time. From the shapes that we found around the room the Summer image was in a Hexagon. You have 6 numbers in total from the paper and the calendar. Tap the 6 squares that represent those numbers on the calendar page and set the symbols in them to hexagons. 2, 5, 11, 16, 24, 28Show
Once done you can now see 2 gate controls.

Tap the buttons to lower the gate on the left and raise the gate on the right.
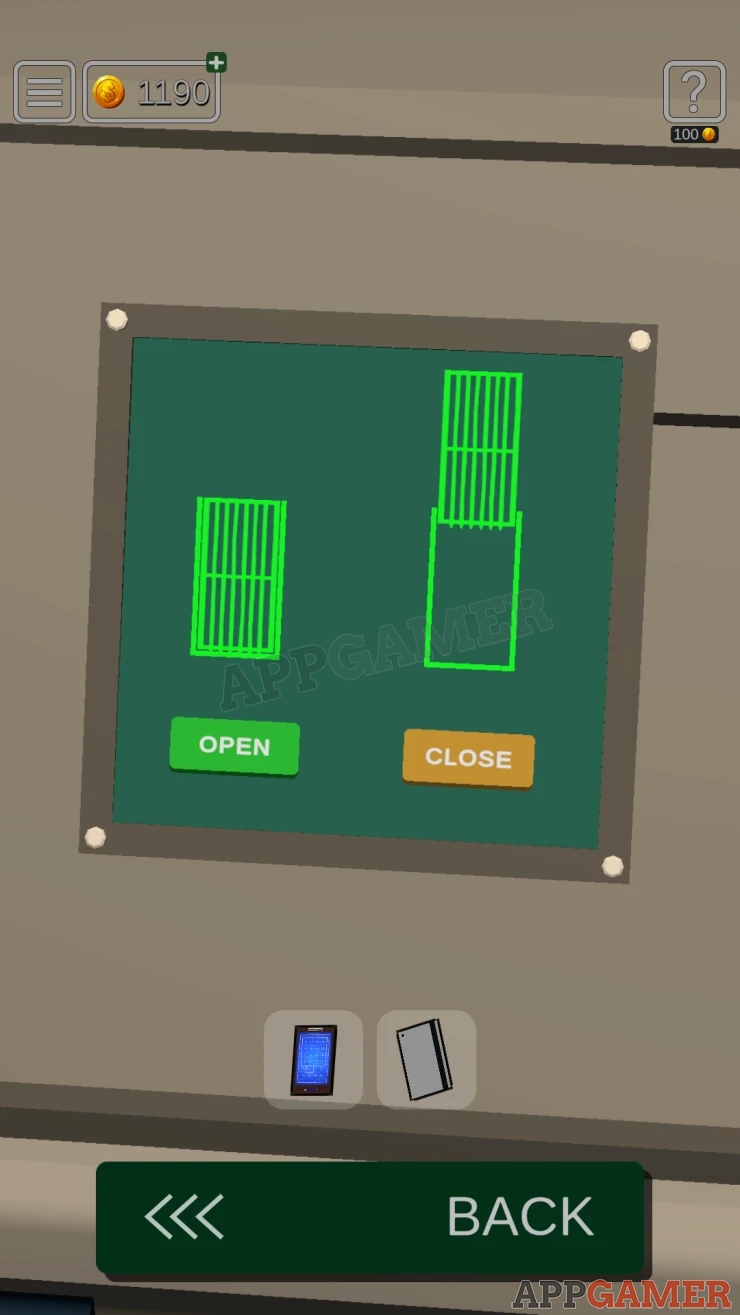
Then tap the large red switch on the left of the console again and the rooms will move so that the dark room is closed but a door opens on the right.
First look at the closed doorway to the dark room. The wall that is there now shows you 5 numbers formed with the closed gate.
Show

Turn to the opposite side and you will see a locked safe in the newly opened door.

Use the code from the numbers on the wall to open this
Code: 62840Show
Collect a Can of Fuel.
Now on the console press the large red switch again and then raise the left side gate to allow you to reenter the dark room.
Find your way to the generator by moving to the left and use the canister on it to fill it.

Tap the Yellow handle to start it. This now powers a keypad by the exit door. You still need a code.
Exit door Code

Move to the right side of the room from the exit door and look along the wall for some cages.

You can use the key card on a cage to open it and release a cat. It will run off and you will be prompted to follow it.
it will first head to the exit door,


Once there, tap on it and it will move to a new area of the room. It will move to 3 more locations, follow it around for clues.
Solution: It first moves to the boxes, there are 6 of these. Then it moves to the paint tins And finally to a corner with pictures on the wall.Show
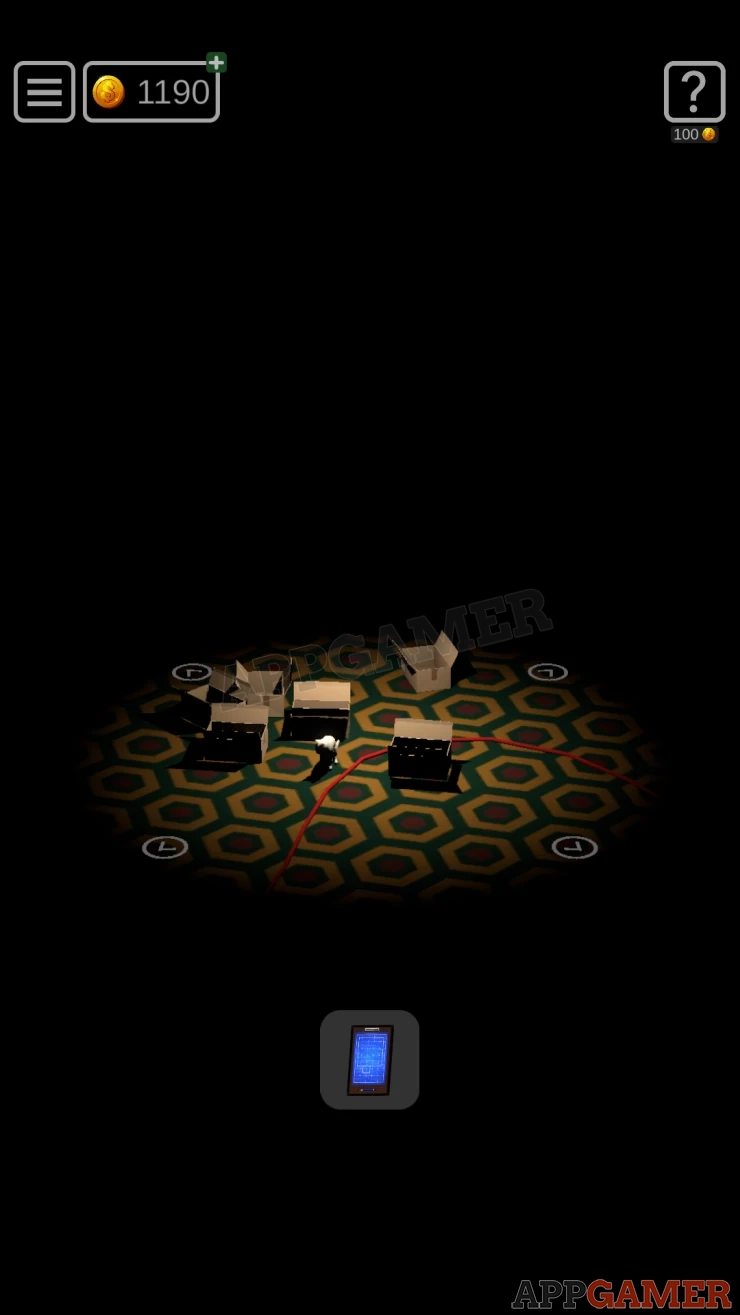


Code: 683Show
Enter this code into the Key pad by the door and it will open. You can now make your way to the final exit and complete this section of the game involving Eve.

Now you can move on to the next involuntary participant, Michel, in Level 41.
We have questions and answers related to this topic which may also help you: Show all
 With 20 years of experience in creating video game content for the internet and over 30 years as a gamer, Mark is now a passionate mobile App Gamer. Loving a challenge, he is always ready to get stuck in to both survival builders and puzzle solving games. He has been providing content for AppGamer since 2014.