
Bonus Level 51: True End Walkthrough
More 50 Tiny Room Escape
Continuing on in 50 Tiny Room Escape, after completing all of the levels in the game you then then play one final level. This one does not involve the five previous characters and takes place inside the Computer systems of the AI company that has been running the 'games'.

Level 51: True End
This level is a series of rooms with locked exit doors that you need to find a special key Card to unlock.

Tap on the flashing red light to begin.
Room 1 - Initialization

View the screen on the stand, it asks you to tick the I am not a Robot box.

This check fails and then you need to complete a quick puzzle.
As the red line moves around the circle you need to tap when it is on the yellow segment. There are 5 levels to this.

Once completed you will pass the test and the case in front of you becomes accessible.
Open the case and collect a Card.

View the first door and use the card on the panel. You can then go through to the next room.

Room 2 - Defragmentation
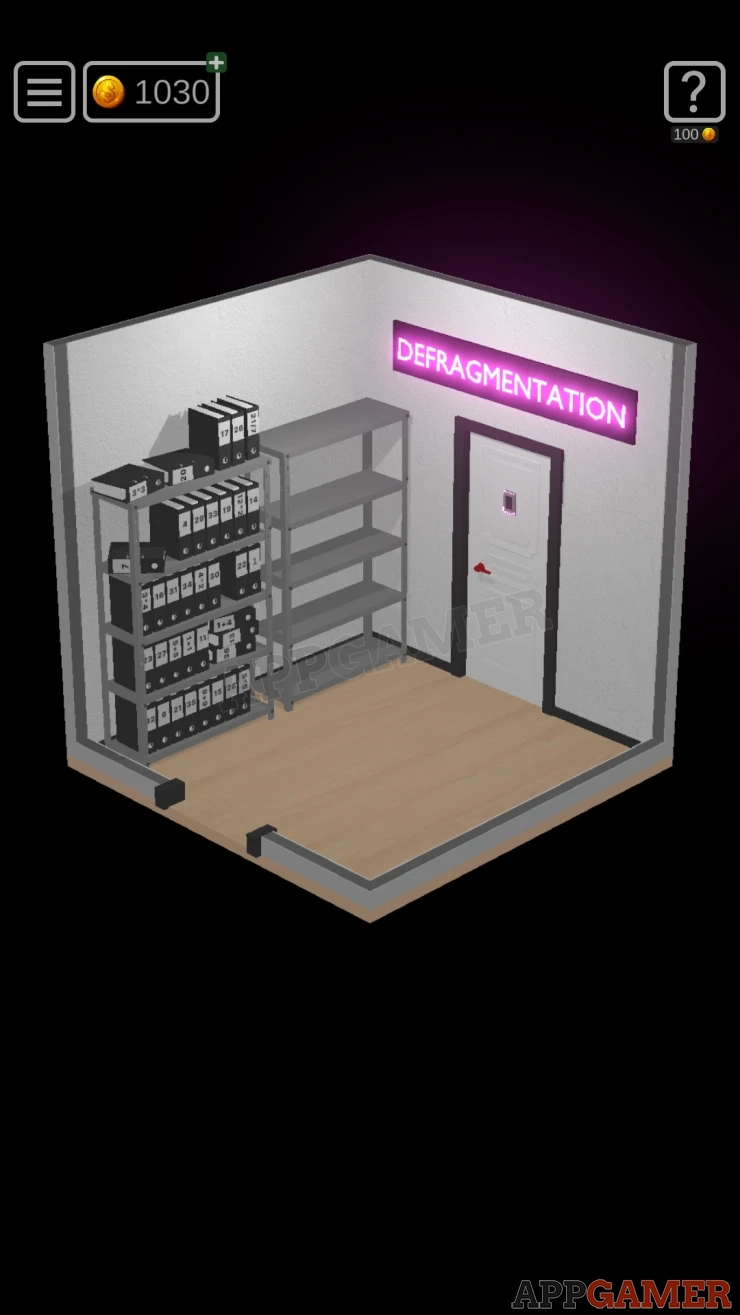
If you look behind you the door you entered through will disappear.
On the left are some shelves with folders on them. There are 36 folders, each one has a number of a sum on it.

Tap the folders in number order, there will be a number or an arithmetic representation of each number from 1 to 36.
e.g. 1, 1+1, 21/7, 4, 1+4 ... etc.
Once you have completed this look on the right shelf to see all of the folders stacked to show a pattern of dots in a 3x4 grid.
Show

Turn to the opposite wall to see a panel with a 3x4 grid of buttons with patterns of dots.

Tap pairs of the buttons to swap their positions. You need to make this panel match the clue seen on the folders. Once done you can open the second case to collect a Card.
Show
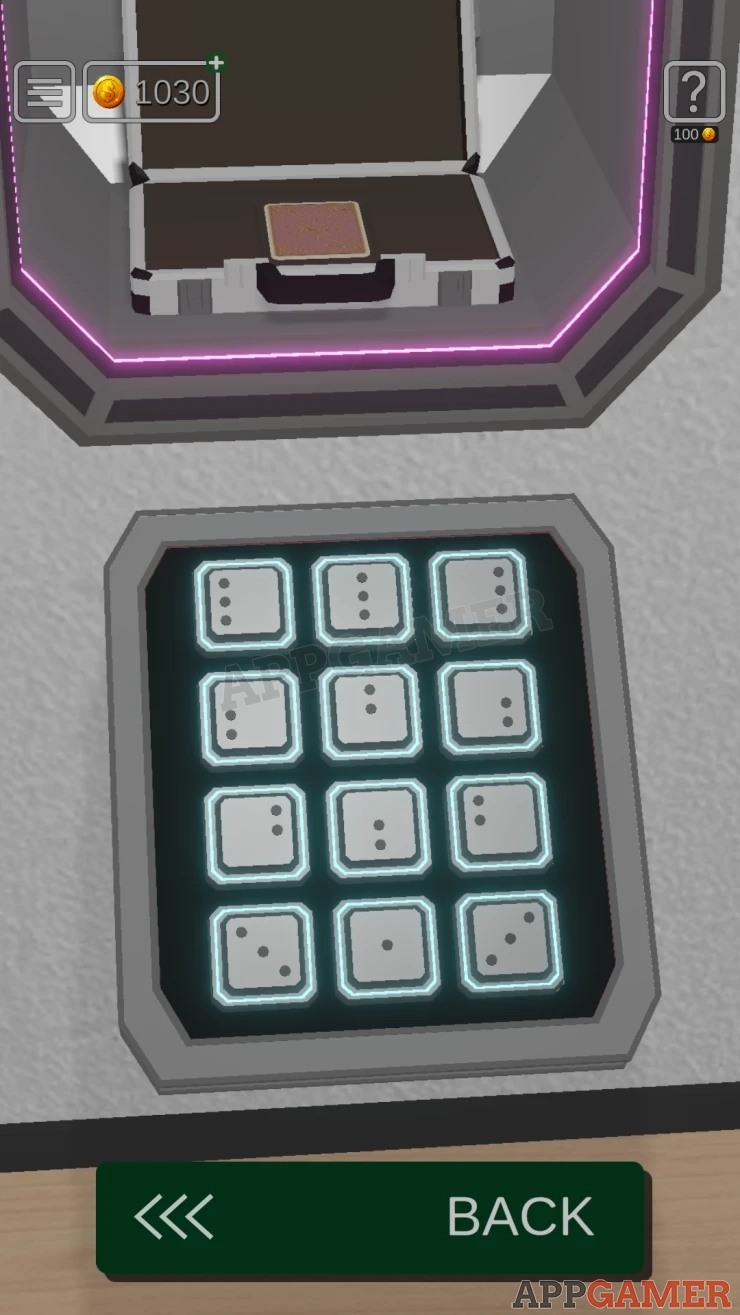
Use this on the door to move through to the next room.
Room 3 - Explorer

In this room there are 3 filing cabinets and a bin. Notice on the backs of the cabinets there are the letters, C:\, D:\, F:\
Look in the bin, collect the Paper.

Turn to the front of the cabinets and view the one on the left. Open the top drawer and you can collect a Device.

Now look through all of the drawers to see that each has a different number of blue folders in it. This is cabinet F:\
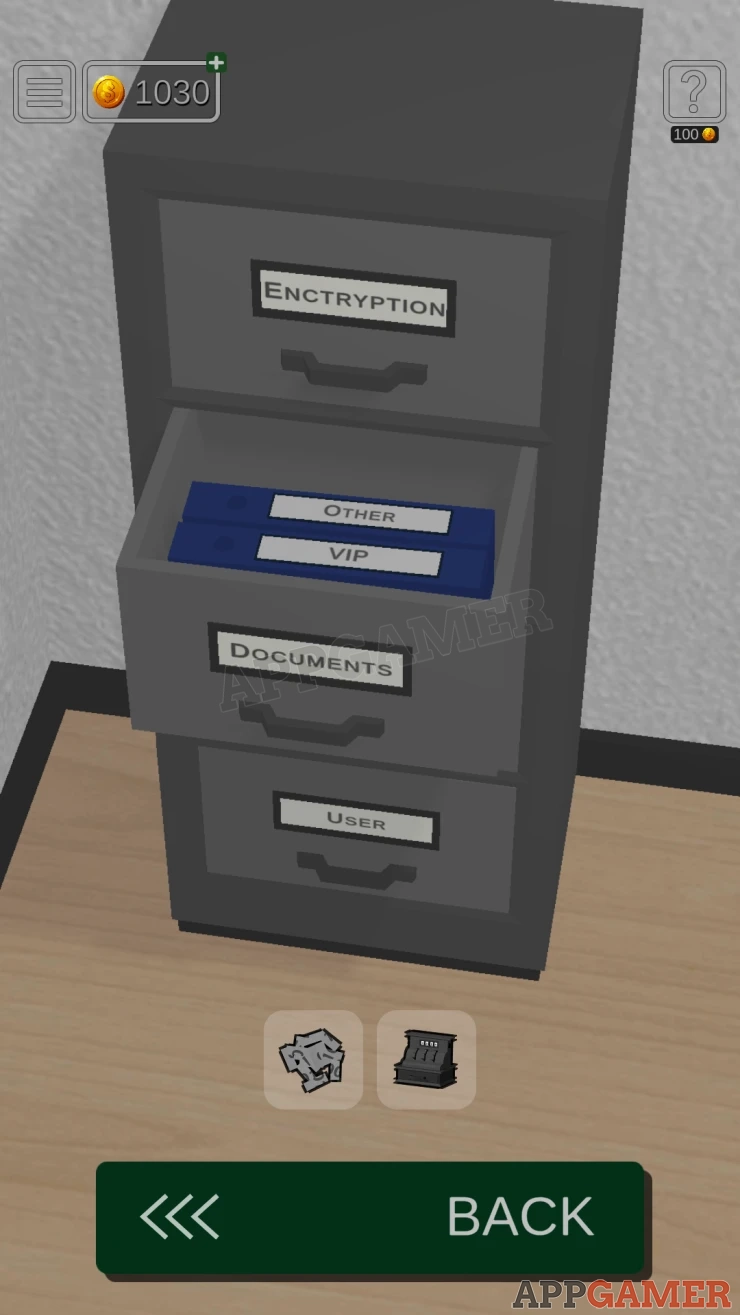
Look through the drawers of the other two cabinets to also see the number of folders in each drawer.

Turn to the other side of the room and view the screen.

On the left side is a grid with three columns marked F D and C.
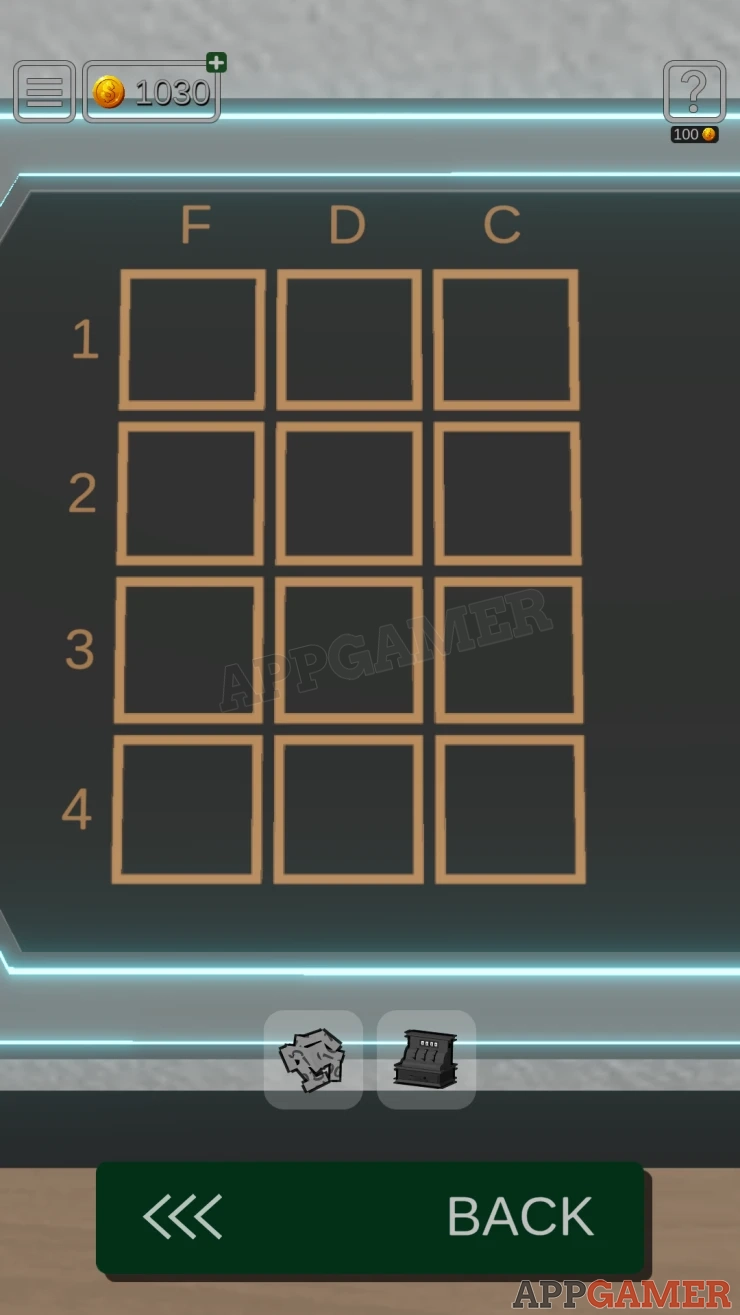
Tap each of the squares to set the number of lines according to the number of folders in the related drawers.
Solution: Show
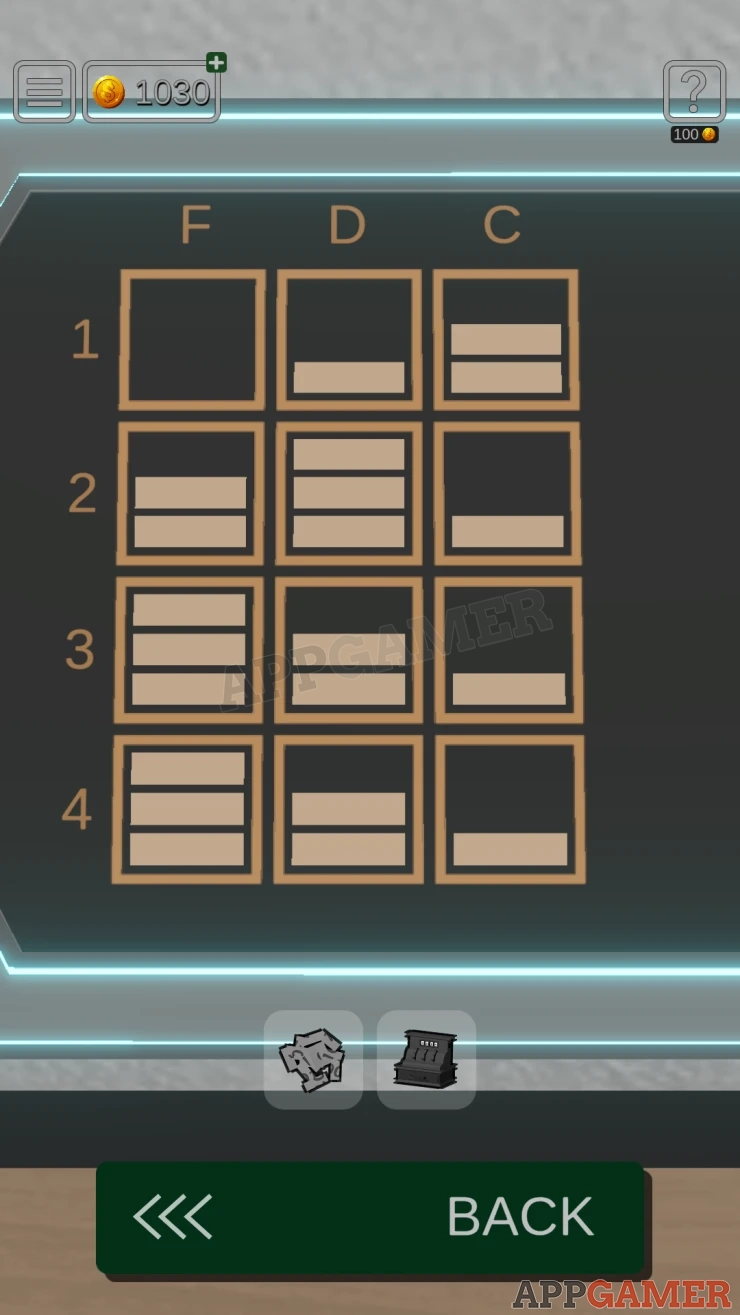
Next you need to enter an encryption sequence.

View the paper in your inventory. This is a jumble of shredded paper that you need to place into the correct order to get a clue.
Swap pieces around to reassemble it.
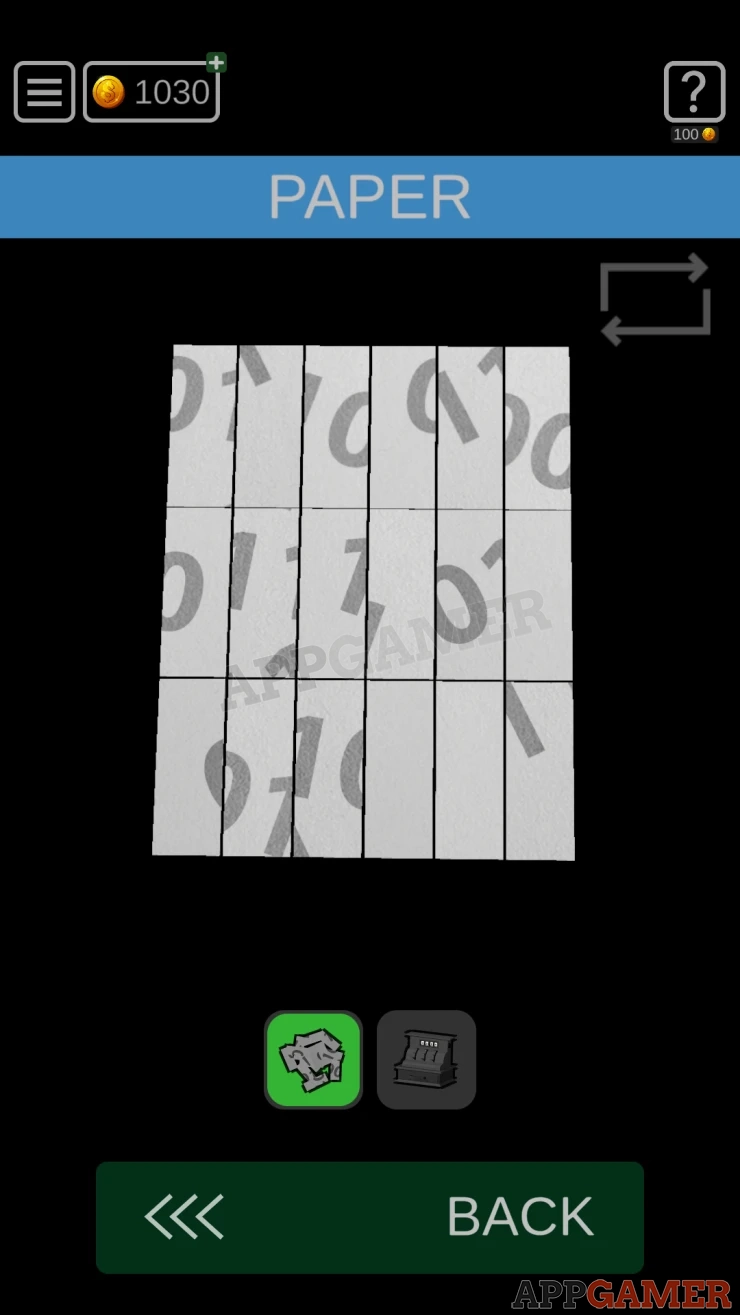
Solution: Show
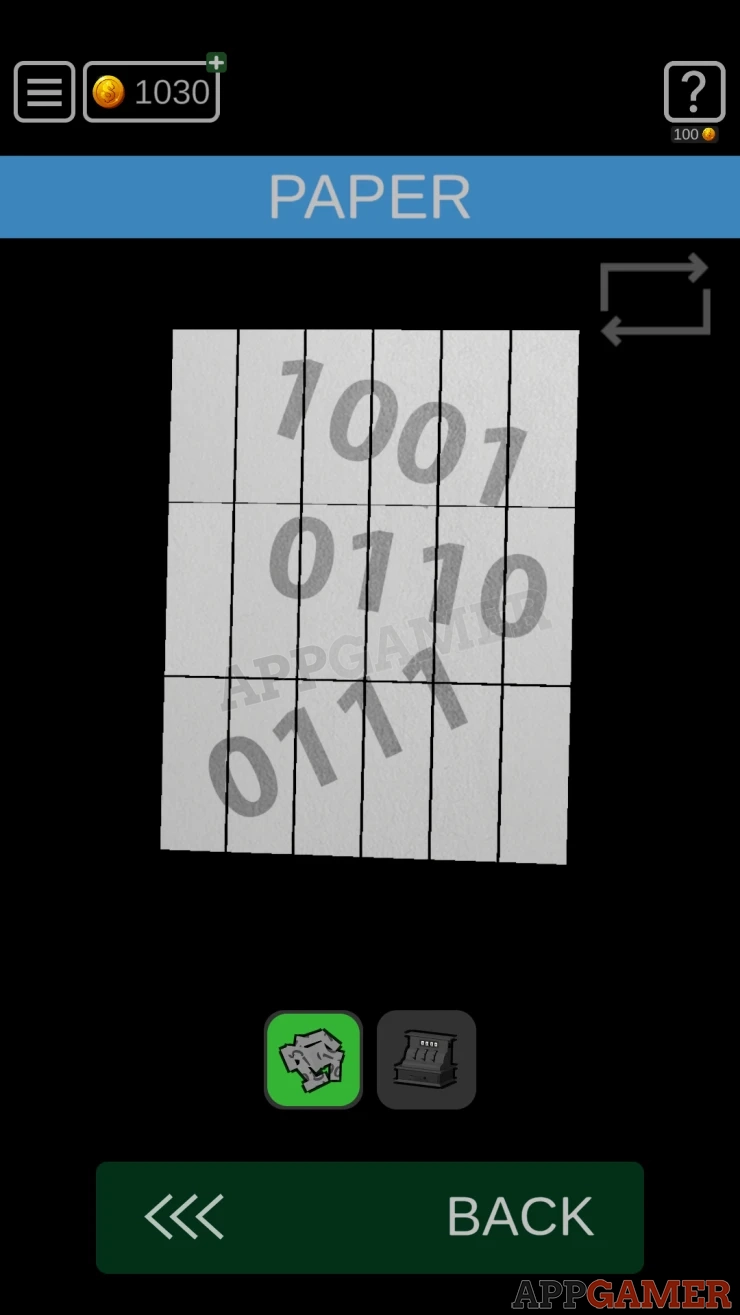
You will now see three binary numbers. View the Device in your inventory, you then need to enter the three numbers by tapping on the decimal equivalent buttons.
Code: 967Show

Collect a card from the drawer that opens. This has a code on it.
View the screen again and tap the buttons to enter the code from the card.
Show
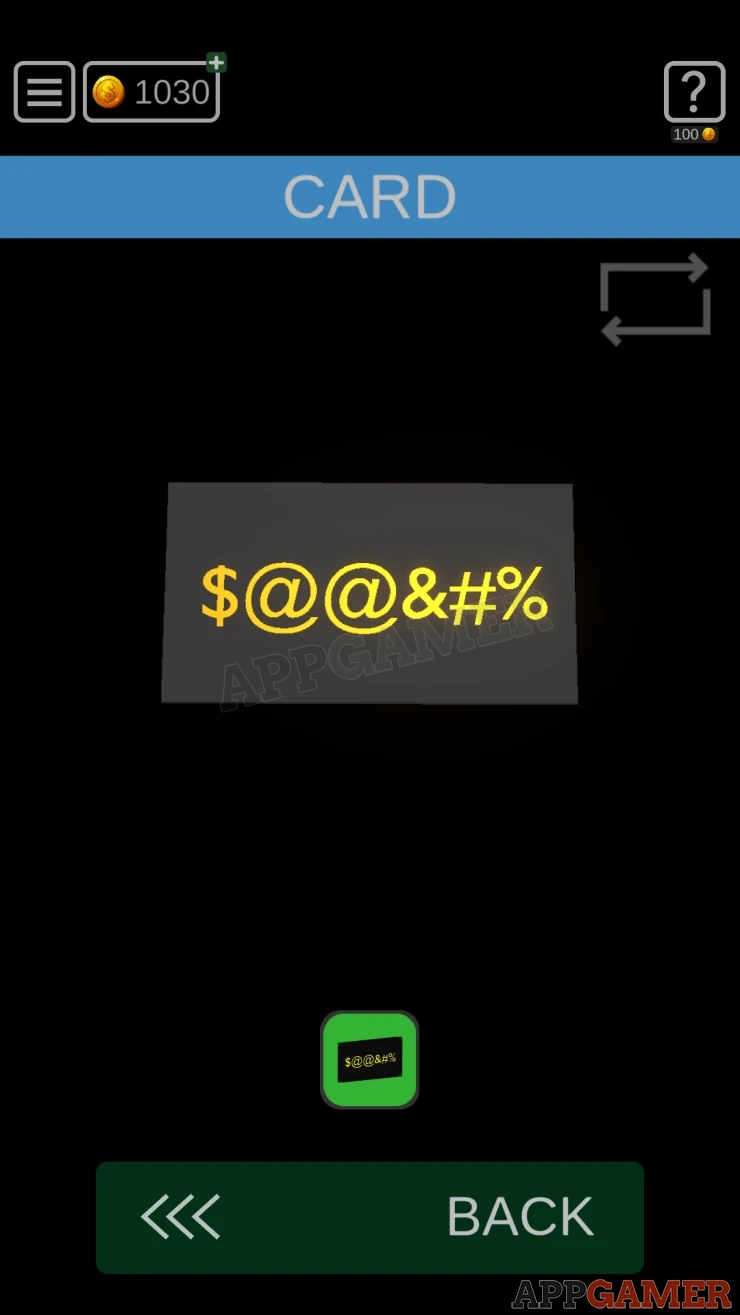
You now see two file name references, which relate to pages in the folders in the cabinets.
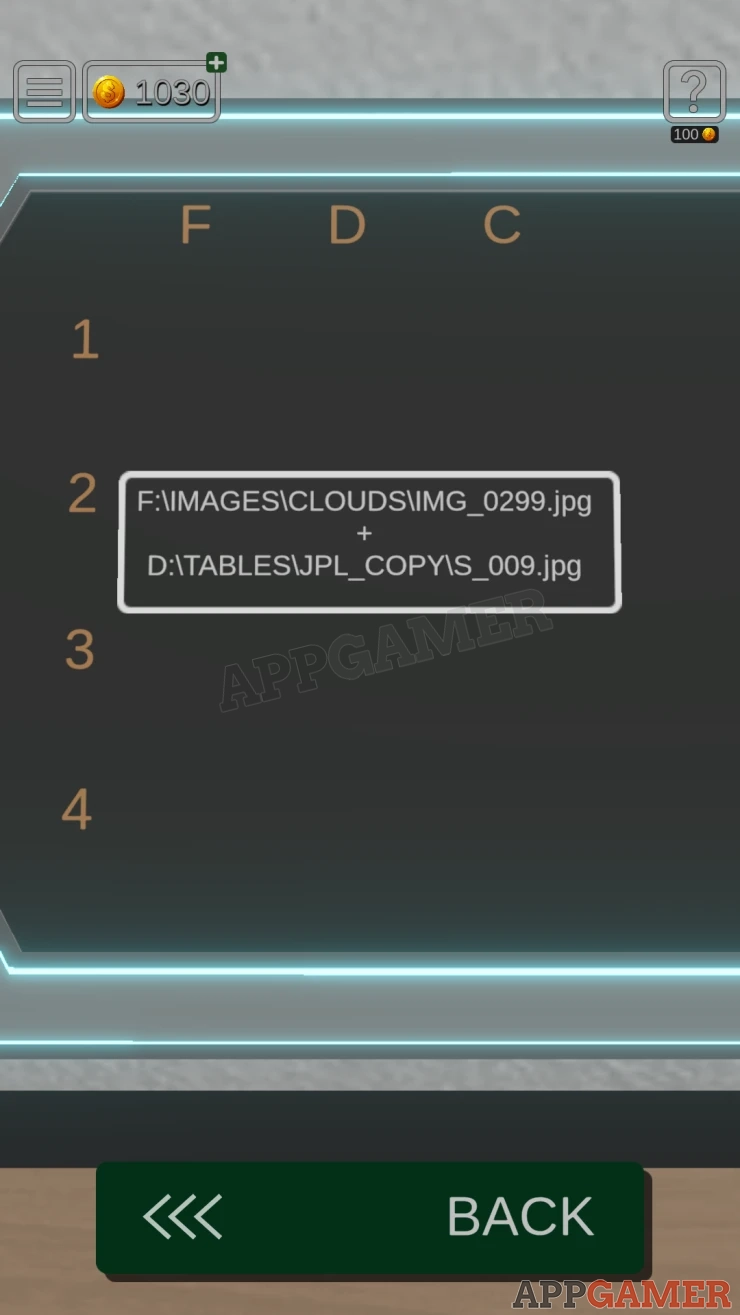
Go to cabinet F: > Images drawer > CLOUDS folder and find the page with IMG_0299.jpg. This will give you one clue.
Go to cabinet D: > Tables drawer > JPL_COPY's folder and find the page with S_009.jpg. This will give you another clue.
Turn back to the screen and view the grid on the right, you can tap the squares to set symbols in each.
Use the clues to get the correct code.
Solution: Show

Open the case to get the next card. Then move through to the next room.
Room 4 - Unpacking

There is a small table with a box on it. Collect the box and then view it in your inventory.
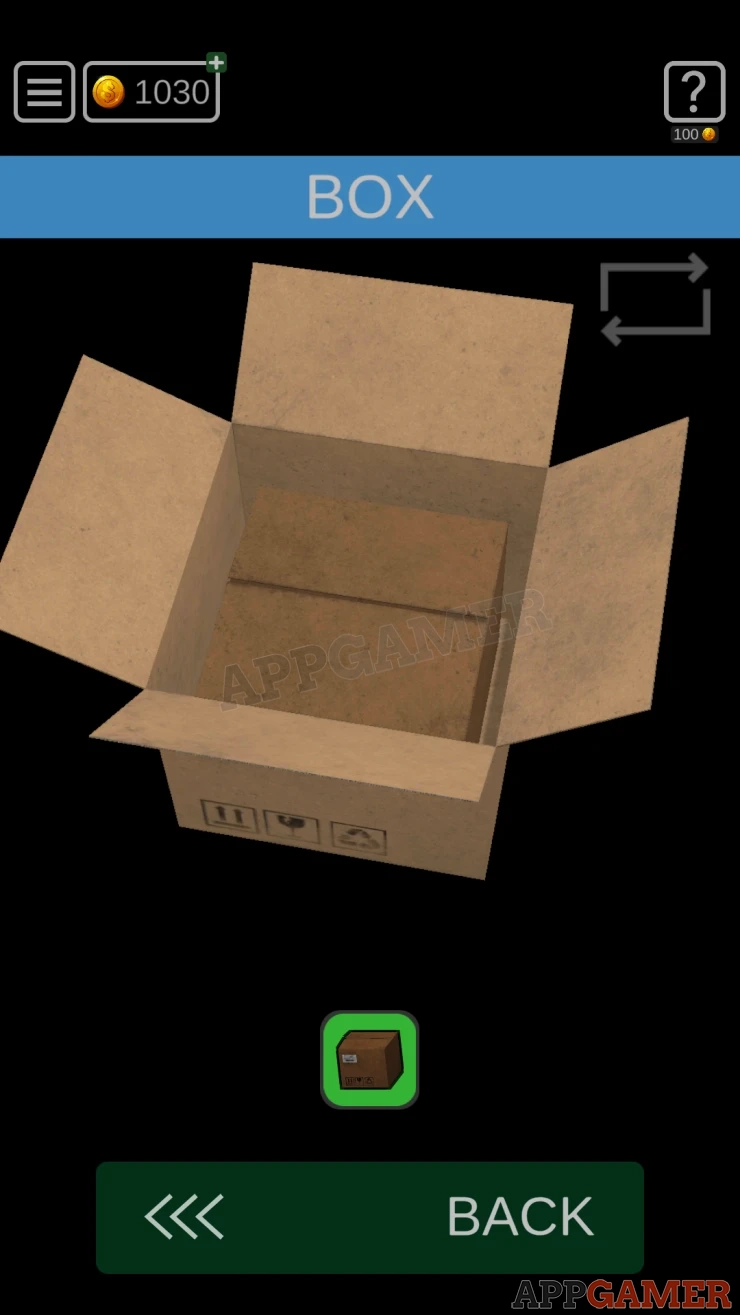
Open the top, inside is another box to collect . Repeat this process until you open all of the boxes and find another card.
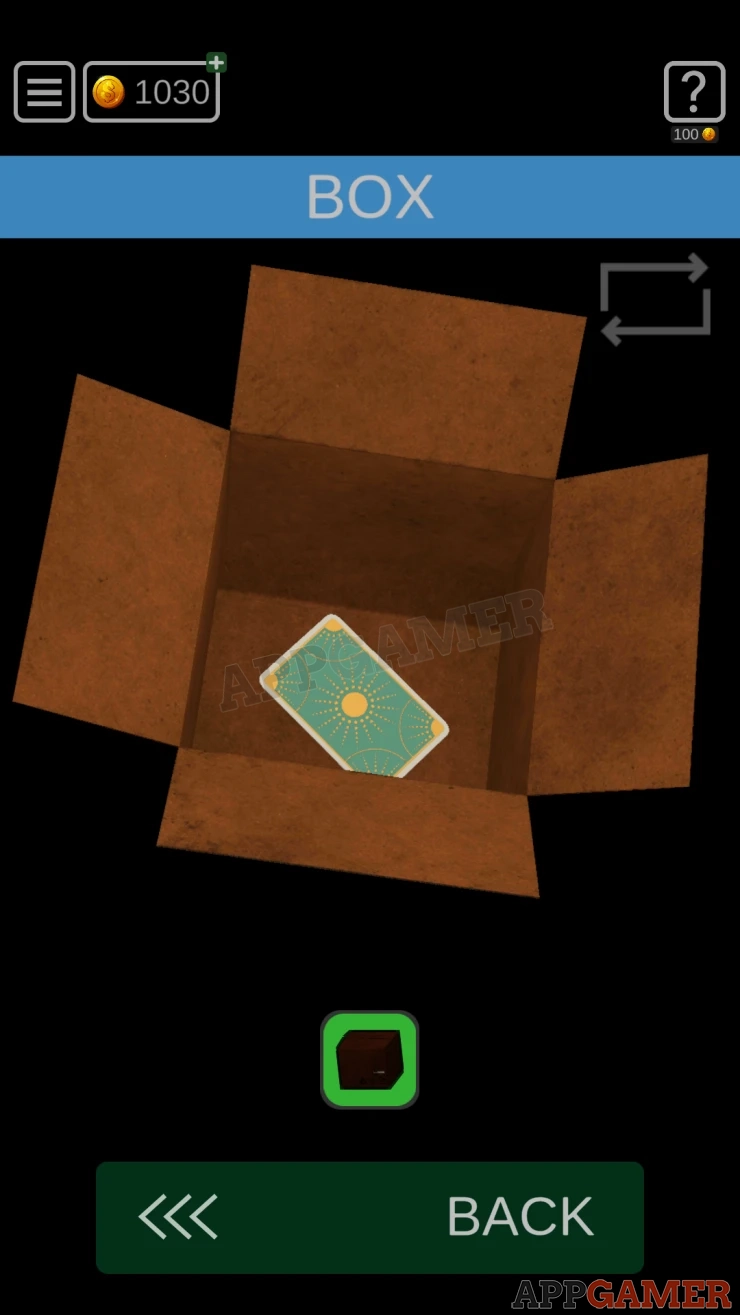
Use this on the door to move through to the next room.
Room 5 - Decoding
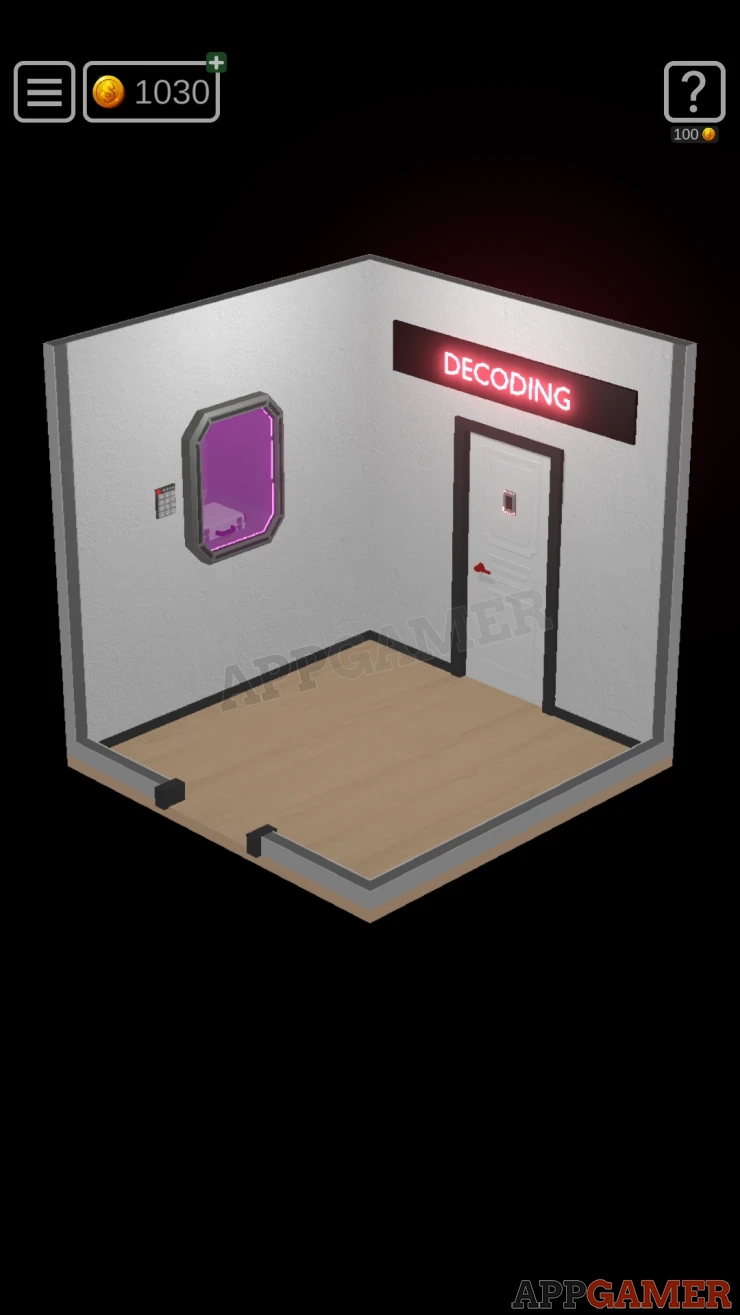
Turn and view the screen on the right wall.

At the top are 8 grids with lights that are grouped in to 4 pairs.
On the lower screen there are 8 smaller grids on the left that you can tap on and an output on the right.
Tap the grids on the left to add their lights to the output on the right. If you add a light to a grid location that it already on it will turn it off.
Find two grids to tap on that will make the first pattern on the top screen.
Once this is done then you need to add to this two more grid choices that will combine to make the second pattern on the top screen.
If this is done correctly then all four choices will then form a number.
Show

Tap the red button on the right to clear the output and then start again with the next pair of patterns. Repeat this for each of the pairs of grid patterns on the top screen, until you have a four number code.
Show
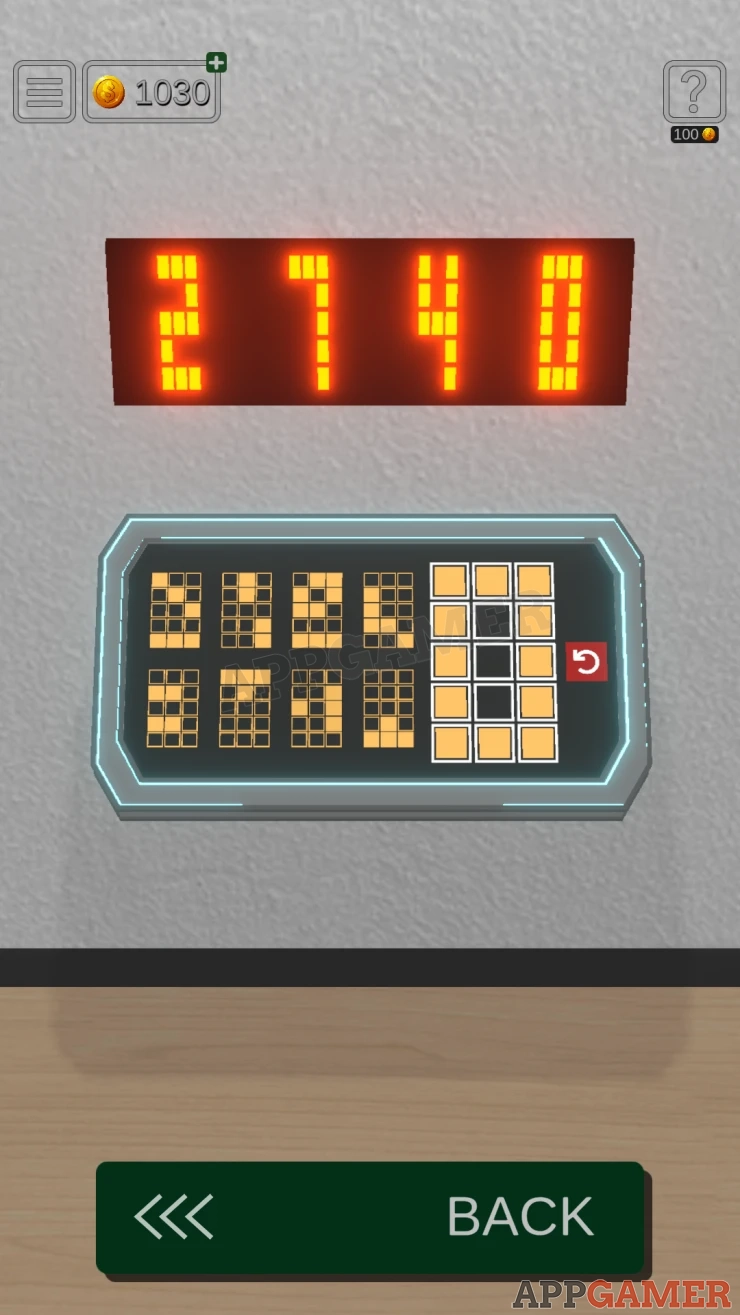
Turn to the opposite wall and view the keypad, enter the code here.

Collect another card from the case and then use it to open the door.
Room 6 - Firewall
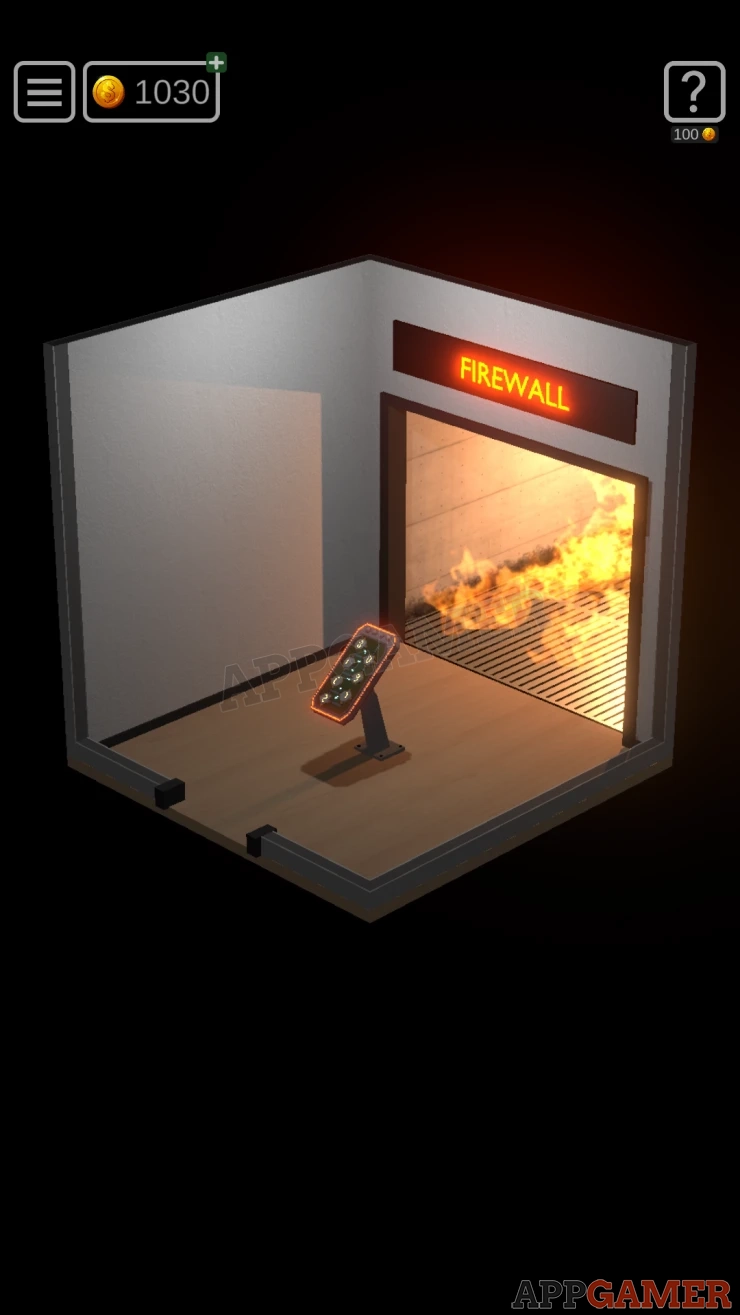
View the panel in the center of the room.

There are 7 circles here placed with arrow running top to bottom. Each one has a number of letter.
You can swap pairs of the circles around to change the order.
There are your lights at the top of the panel. You need to find 4 correct sequences for the seven circles.
Order 1:
Each of the positions of the circles are connected together with blue lines that join in from 2, 3 or 4 directions. Each of the circles also has 2, 3 or 4 connectors on the sides. Arrange the circles so that the connectors all match correctly.
Solution: Show
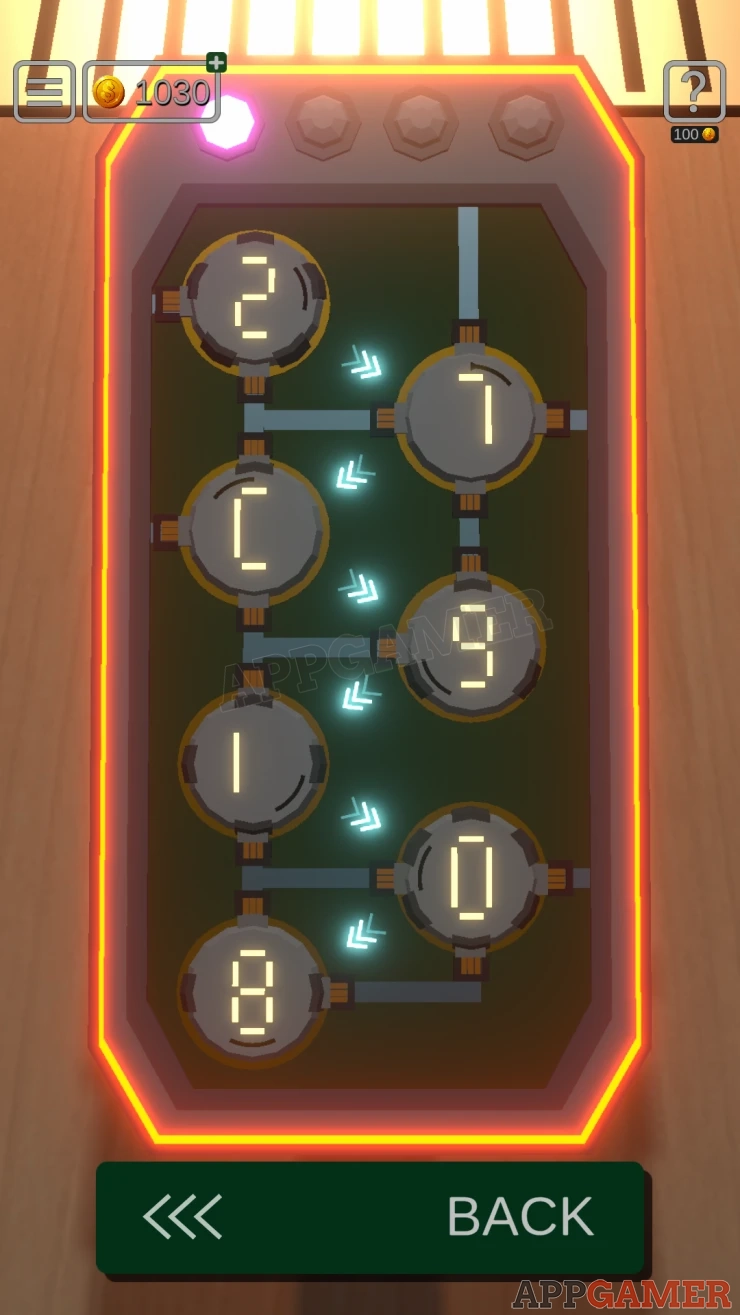
Order 2:
Around the perimeter of each circle you will see a number or darker line segments. The circle have 0, 1, 2, 3, 4, 5 or 6 dark segments.
Arrange the circles in this order
Solution: Show
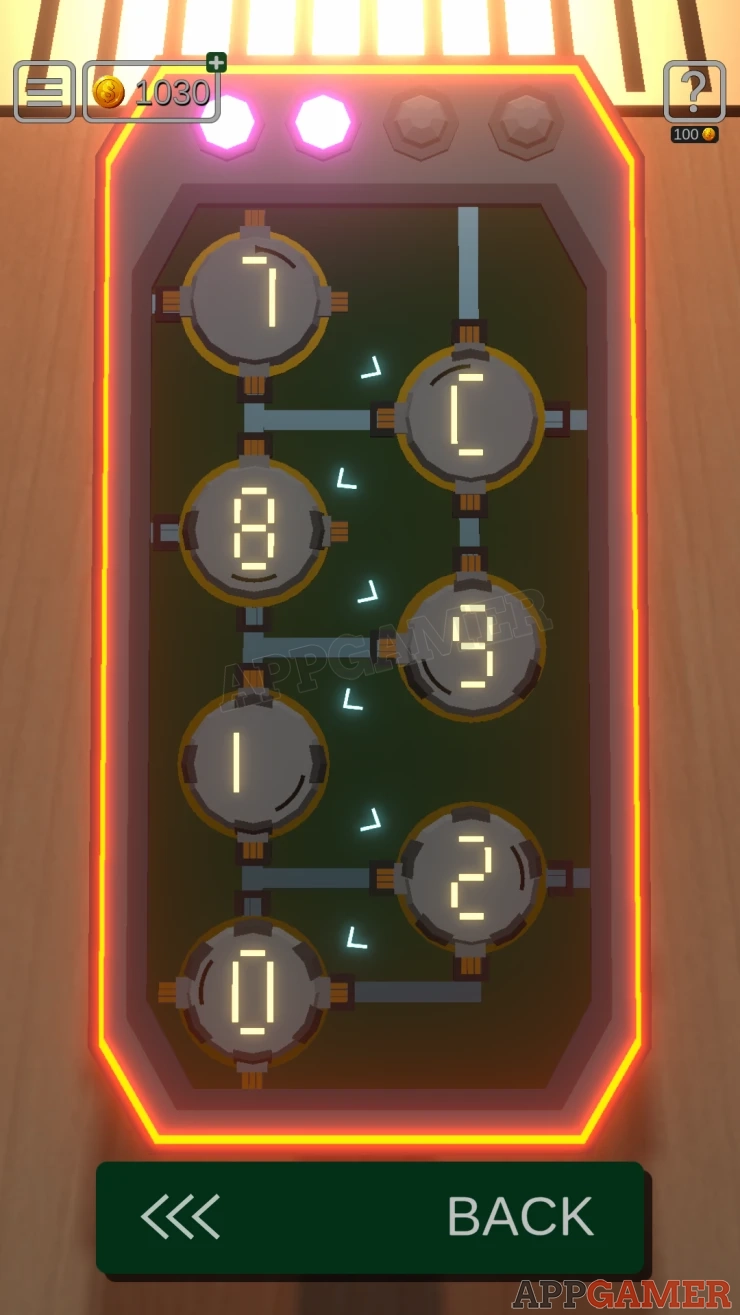
Order 3:
Just inside the edge of each circle there is a single small black segment line. One on each circle, but in a different position on each.
Starting at the top right, arrange the circles in order with the lines positioned in a clockwise rotation
Solution: Show

Order 4: Each of the numbers/letters displayed o the circles has a different number of segments to it.
Arrange the circles in the order of these.
Solution:
1 = 1 7 = 2 C = 3 0 = 4 2 = 5 9 = 6 8 = 7Show
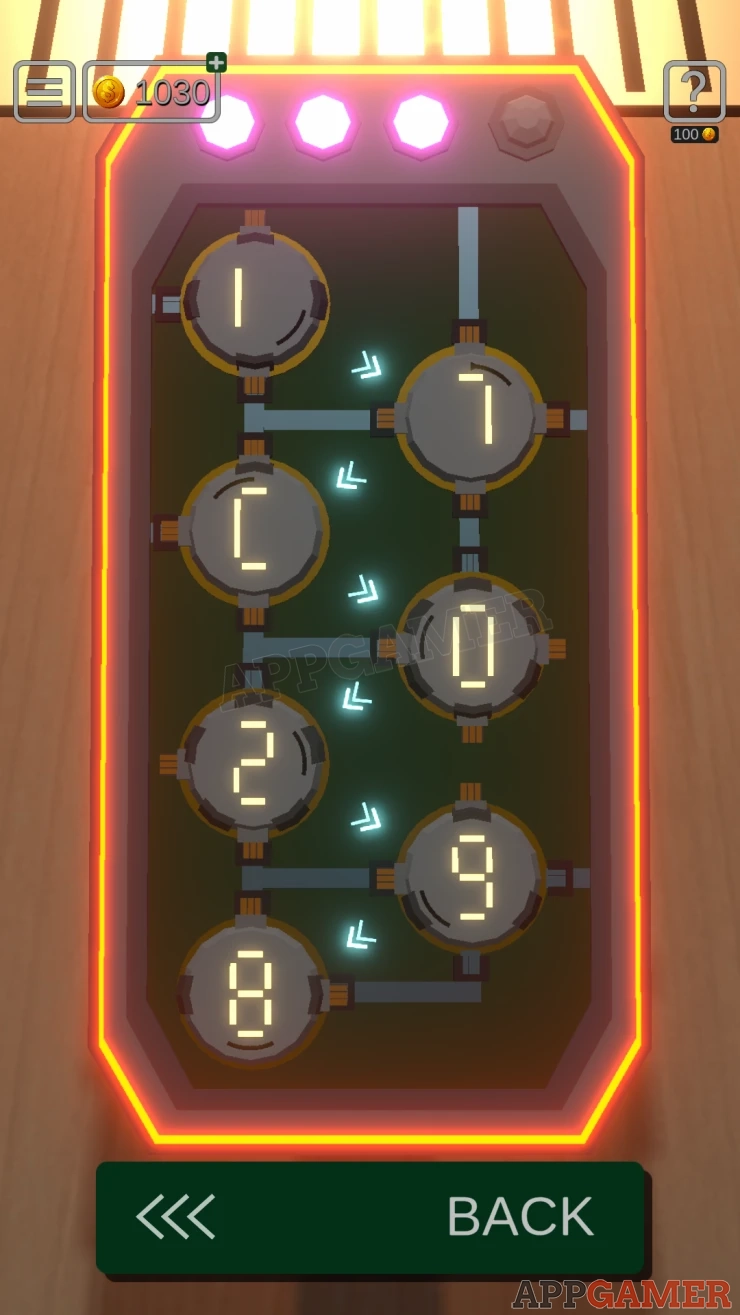
The fire stops and you can move on to the next room.
Room 7 - Root Access

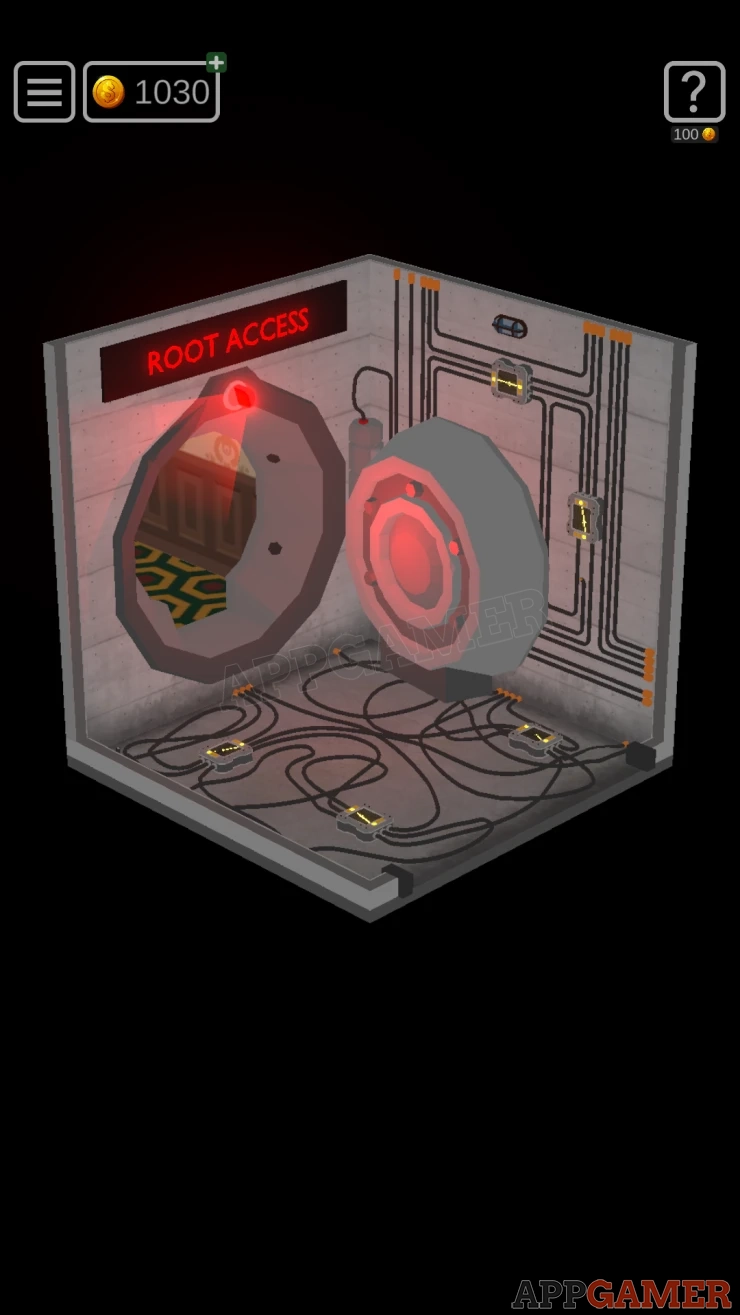
Here we have a large door with a web or cables on the walls and floor. Look at the door and notice one cable connected to it on the right.
Then look on the left wall to see a panel with green buttons.
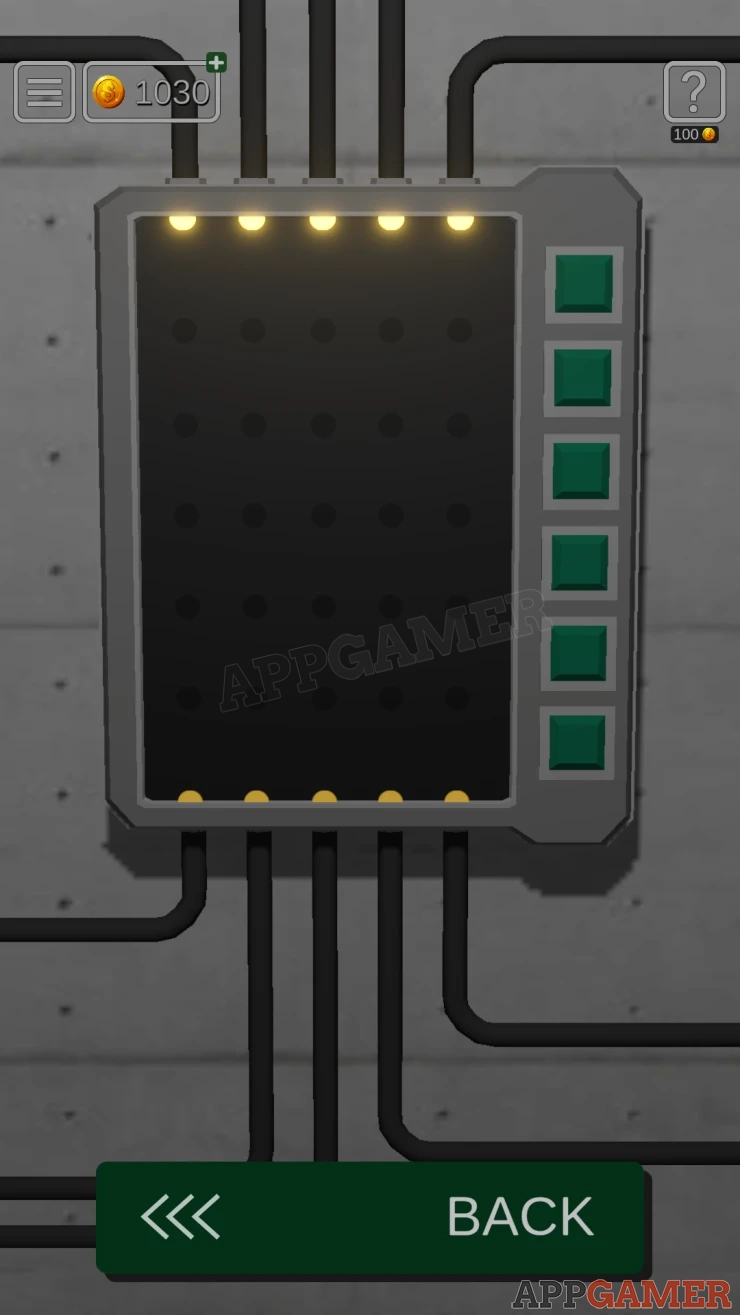
Tap each button to change a layout of lines on the area to the left of each button.
These will connect the nodes from the top to the bottom.
You need to find an arrangement for each level so that all of the lines connect. They will converge onto one of the 5 connection points at the bottom.
Solution: Show

Now that the lines have reach one point at the bottom you will see that there are various junction boxes among the wires that are on the floor and on the opposite wall.

Each junction box has three input and three outputs. You can tap on one of each point on each box to set which points the connection will flow between.

You need to find a path through the cables and boxes from the wall panel to each the cable that connects to the door.
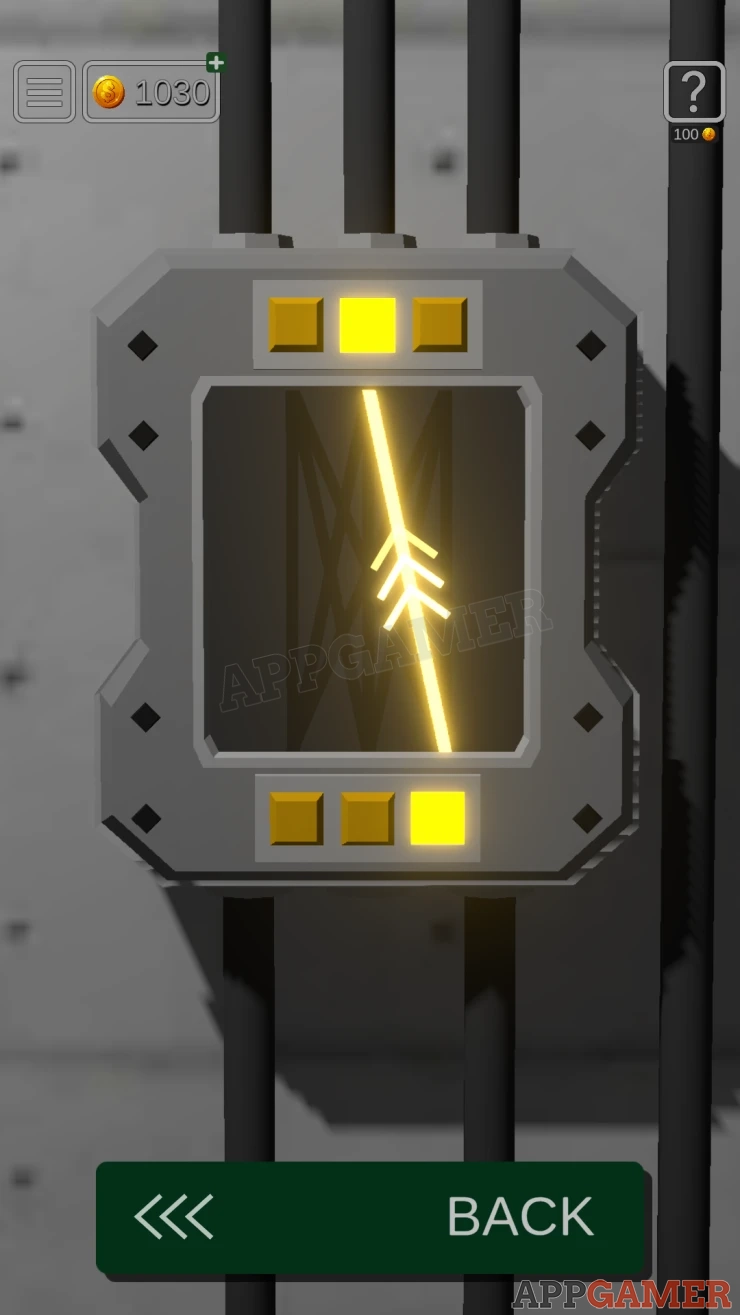
It is easier to work backwards to find the way through all of the junctions.
Solution: Show

Once done the door is active and you can view it to see one more Robot check.
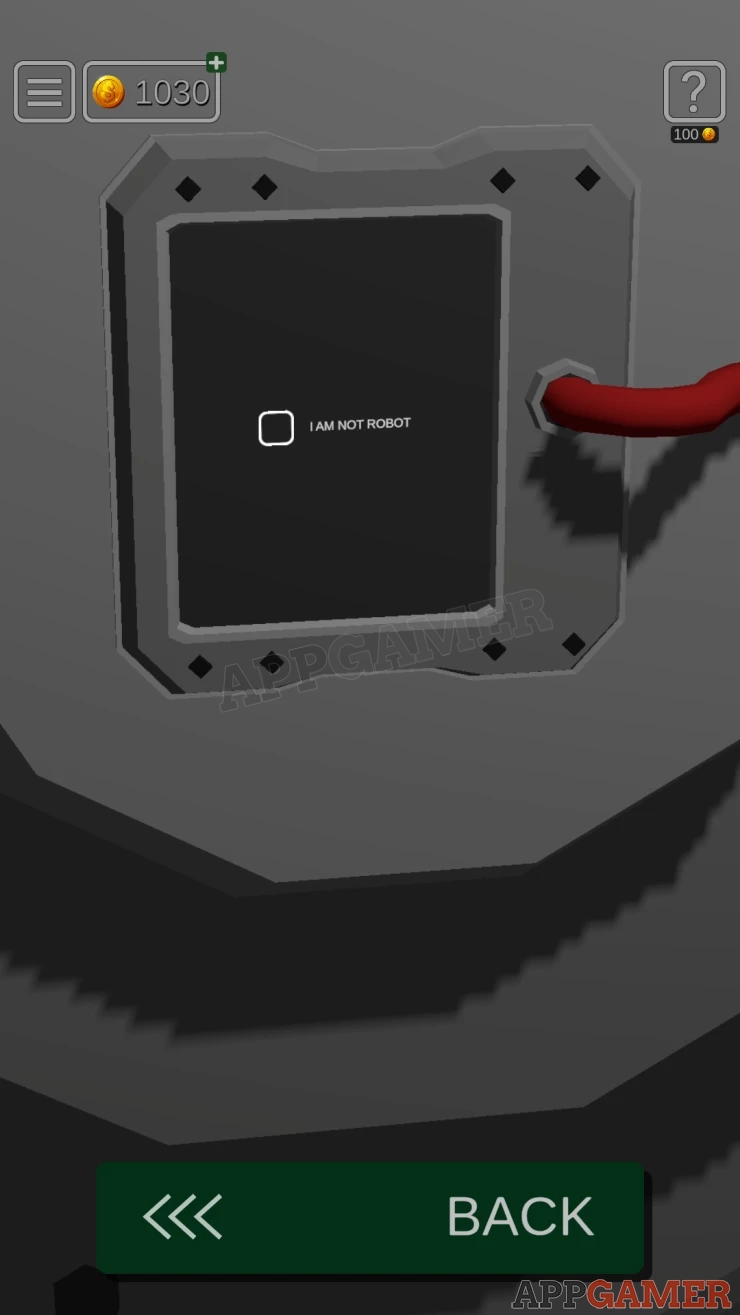
You will then be asked to enter a version number. This is the version number of the current game release.

To find this go to the menu and return to the main menu of the game. Here you can see the version number of the game.
Then press play to return to the Level.
Solution: At the time of writing the version number is: 1.0.6.214Show

The door opens and you can go through.

Open the door in the next room to continue on and see an error message screen. Try not to panic.

You then see the final message screen and the end of the level.

This completes all of the levels in the game. We hope the guide was useful to you. If you have any questions please check the Answers Page to ask there.
We have questions and answers related to this topic which may also help you: Show all
 With 20 years of experience in creating video game content for the internet and over 30 years as a gamer, Mark is now a passionate mobile App Gamer. Loving a challenge, he is always ready to get stuck in to both survival builders and puzzle solving games. He has been providing content for AppGamer since 2014.