
Level 50: Concentration Walkthrough
More 50 Tiny Room Escape
Continuing on in 50 Tiny Room Escape, after completing Level 49 you have moved on to the final level for this character. These end levels are harder and in this case involves a time limit.
Level 50: Concentration
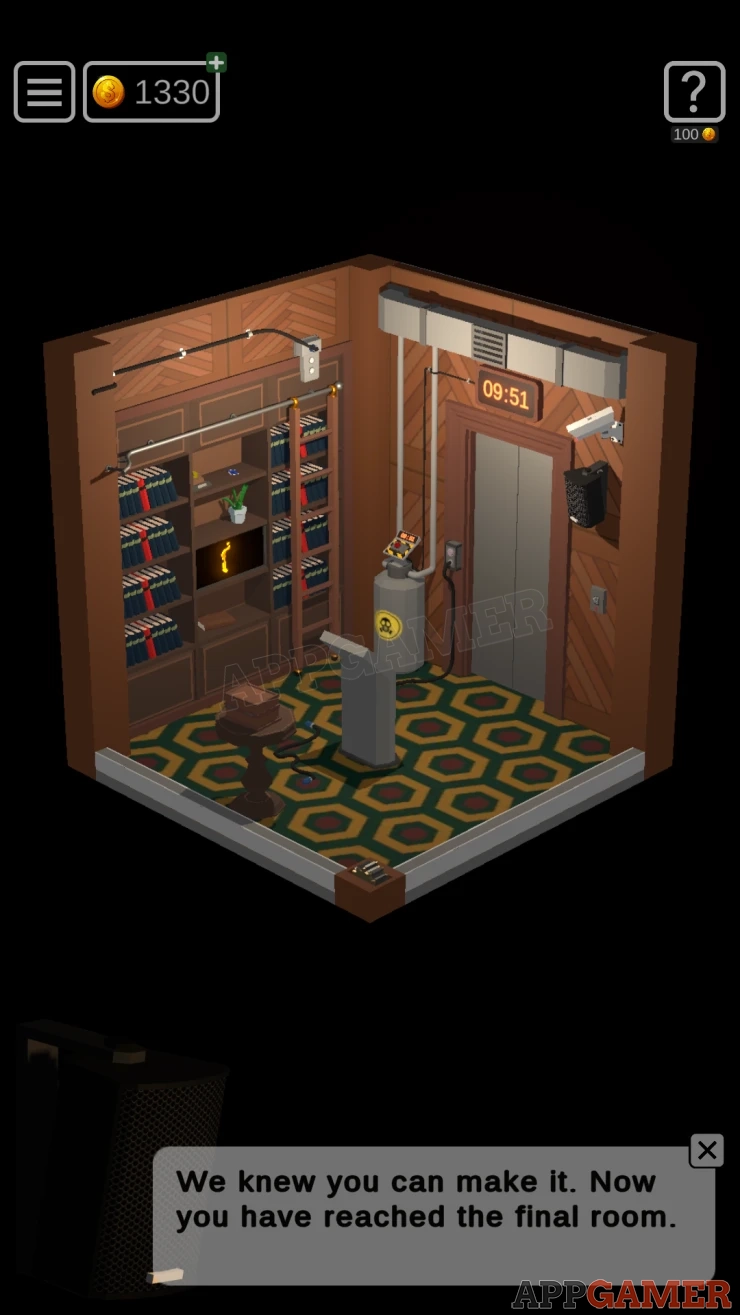
In the center of the room is a panel with buttons labelled 1, 2 and 3 on three sides.
Tapping these will move the walls on the left, center and right to show three different walls with puzzles and clues.

On the back wall is the exit door and also a large dangerous looking tank with a red button on top. There is a 10 minute timer that you can see on various walls, but you can reset the timer at any time by pressing the red button. If time runs out the room will reset and you start again.

Start by viewing the right wall. Look at the shelves in the center.

Card: on the top shelf.
Collect a Book from the bottom shelf. Then notice the other items on the shelves, Gold award on the top left. Plant on the middle right, Flame on the bottom middle.
Now look on the center wall. There are three shelves with items on them. You need to arrange these based on the clue above.

Place the awards on the top in order then the plants and then the pictures of a match with the flame in the center as below.
Show

Once done a drawer opens and you can collect a Handle.

Using the control panel change the center wall to number 2.

There are two panels of switches on the left and right.

View the book in your inventory, this shows pages of graphs. if you turn it around to look on the back you will see the year 1991 shown. Look on the graphs to find 1991 and then see the value against it on the right 23:43.

On the left panel of switches tap these to turn them on and off. You need to find the correct position of the switches so that the number next to it shows 23.
Show
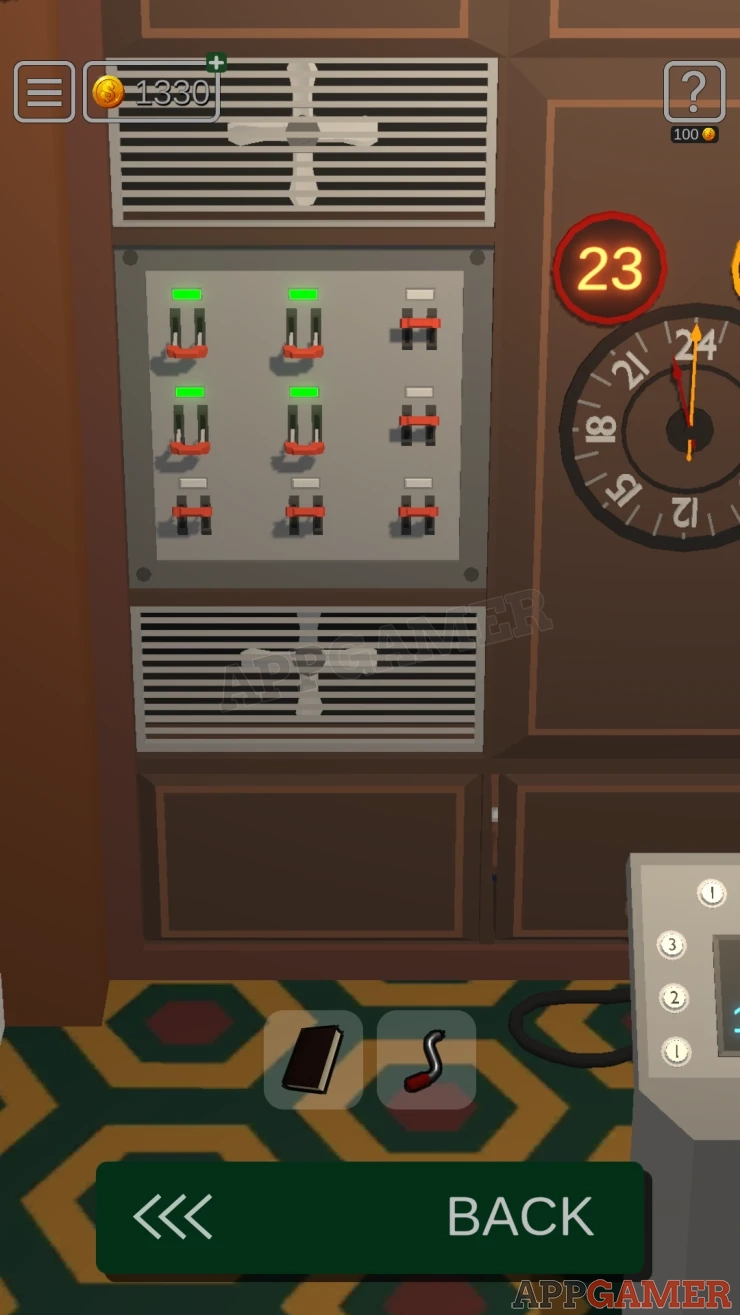
Then on the right do the same to get the number displayed to 43.
Show
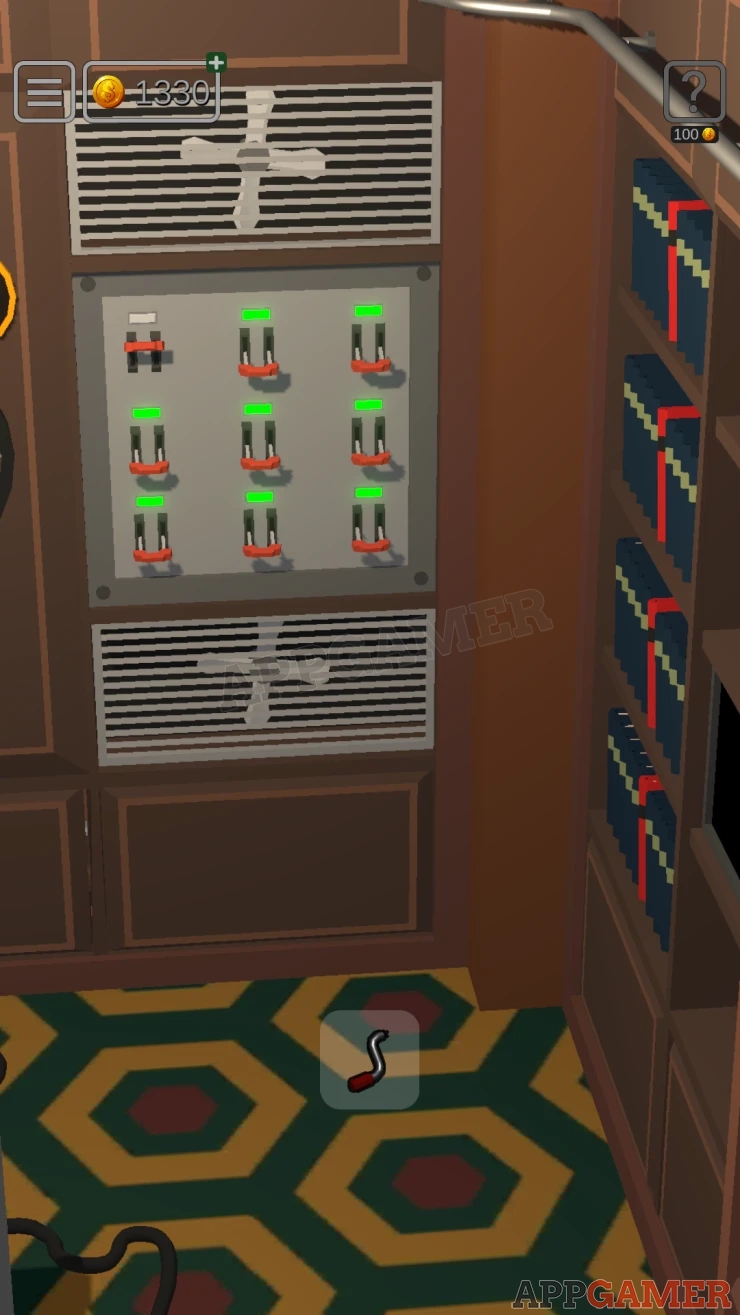
Once done the machine will power up. Tap the panel on the bottom center to open it.

Card: behind the panel.
Then tap the switch here to activate the power.
Use the control panel to change the center wall to number 3. Another set of book shelves.

First look in the center, there are four shelves, tap each shelf to move the books over. Each shelf has a symbol on the left.
Count the red books on each shelf, there are 3, 1, 2, and 4. This will give you an order for the symbols. It is a clue.
Show
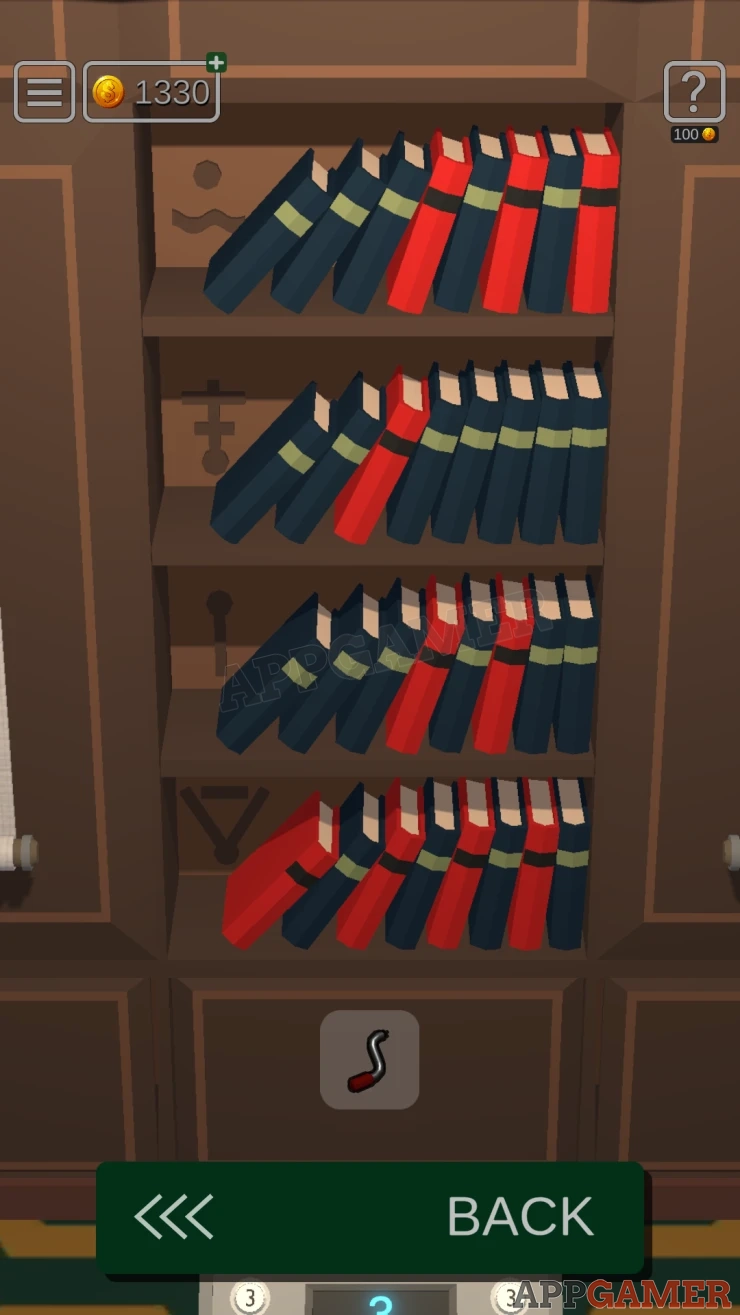
Notice the two banners hanging on the left and right. These show red lines leaning left or right. This is another clue. Turn to the right wall and view the shelves of books on the left and right. Tap each shelf to tilt the books to the left or right to match the clues.

You will need to move a ladder on the right side.
Once done the panel on the wall with the flame will slide forward. Move the ladder around the wall to the center wall. Then you can view the top of the Flame panel to see there are four dials, two on the left and two on the right. Each dial has a set of symbols on it.
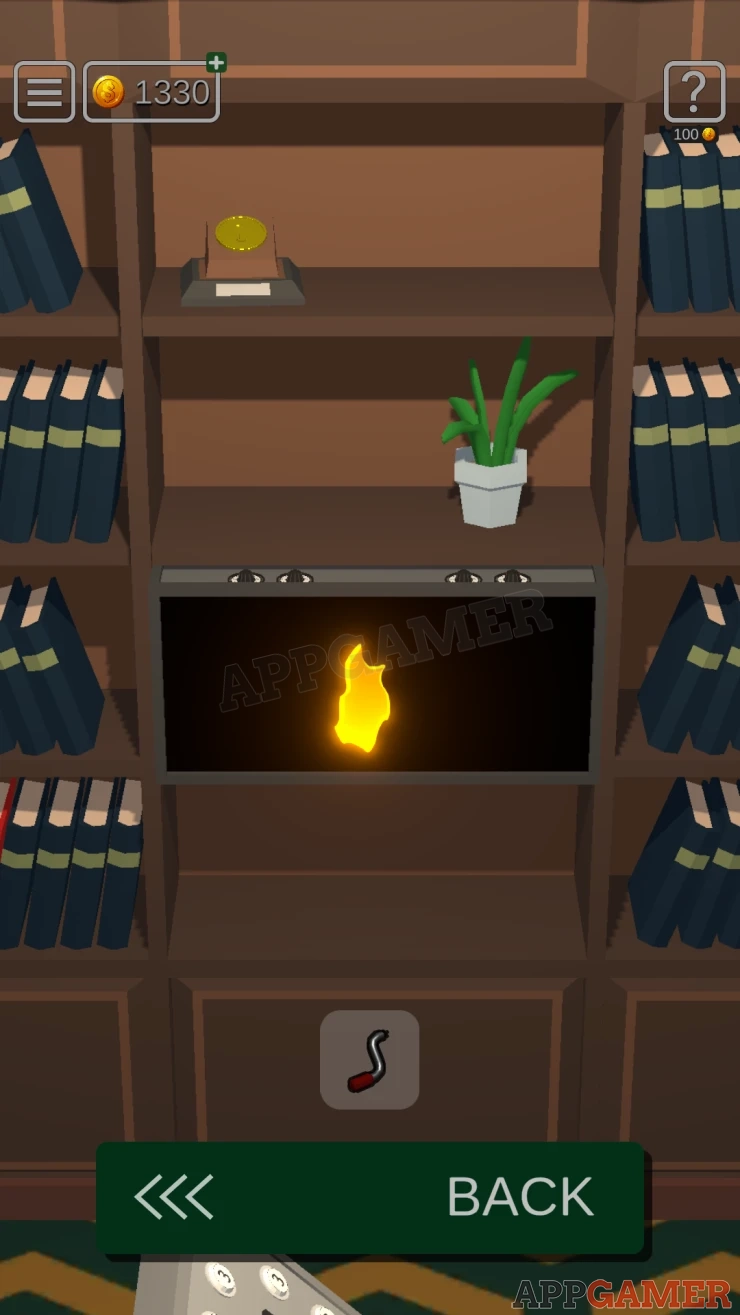
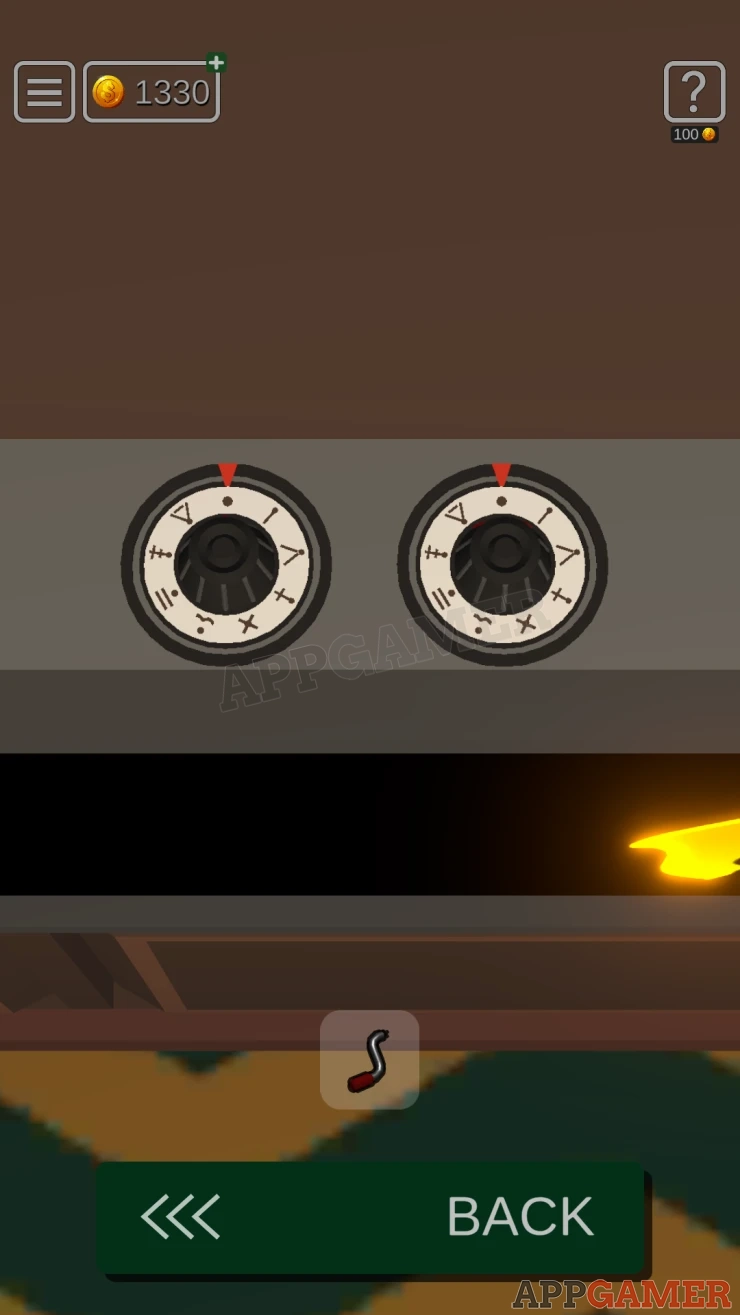
Using the symbols from the clue above set these to match. A panel opens and you can collect another Handle.
Show
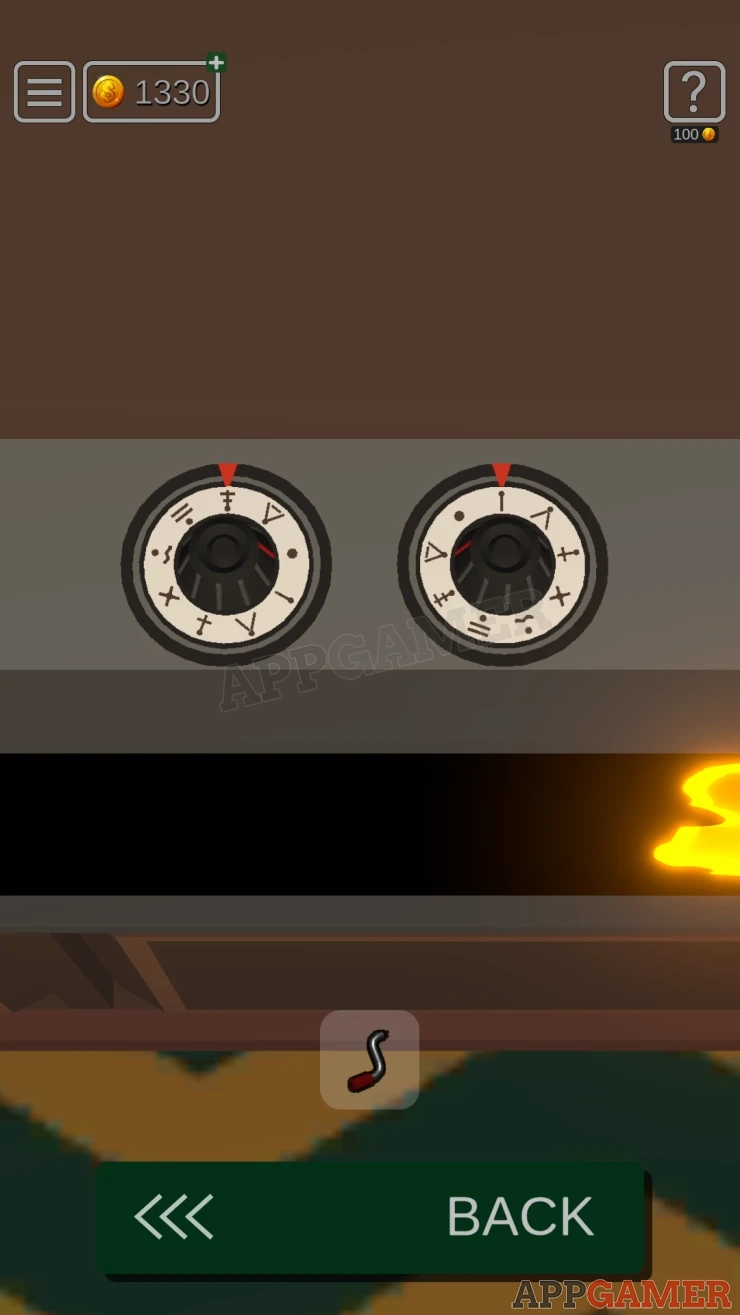

Maybe time to reset the timer with the red button
Now use the center panel to change the left wall to number 2.

First tap the lower left panel to open it, inside is a yellow top tool box. View this and open it to collect a Spanner.

Next move the ladder around the walls to each the far left of this left wall.

Tap the panel on the wall at the top left. Here you can tap the cable to plug it in.

Next use the center panel to change the left wall to 3. Notice as it moves you will see a clue number
Look on the floor on the left wall (3).
Card: on the floor.

Notice the mat has a pattern of lines that represent Roman numerals. There are five circles to indicate that you need to get 5 numbers from this. Also notice the wall above has 4 handles marked as 'I', 'III', 'IV' and 'V'.
From this we need to tap the correct handles in sequence based on the mat clue.
Code: III, IV, I, IV, III (3,4, 1, 4, 3)Show
Tap the handles to open some doors, you then see more shelves with two safes and a small statue.

Look at the top safe. This need s a four digit code. Use the code clue that you saw as the wall moved.
Code: 2030Show
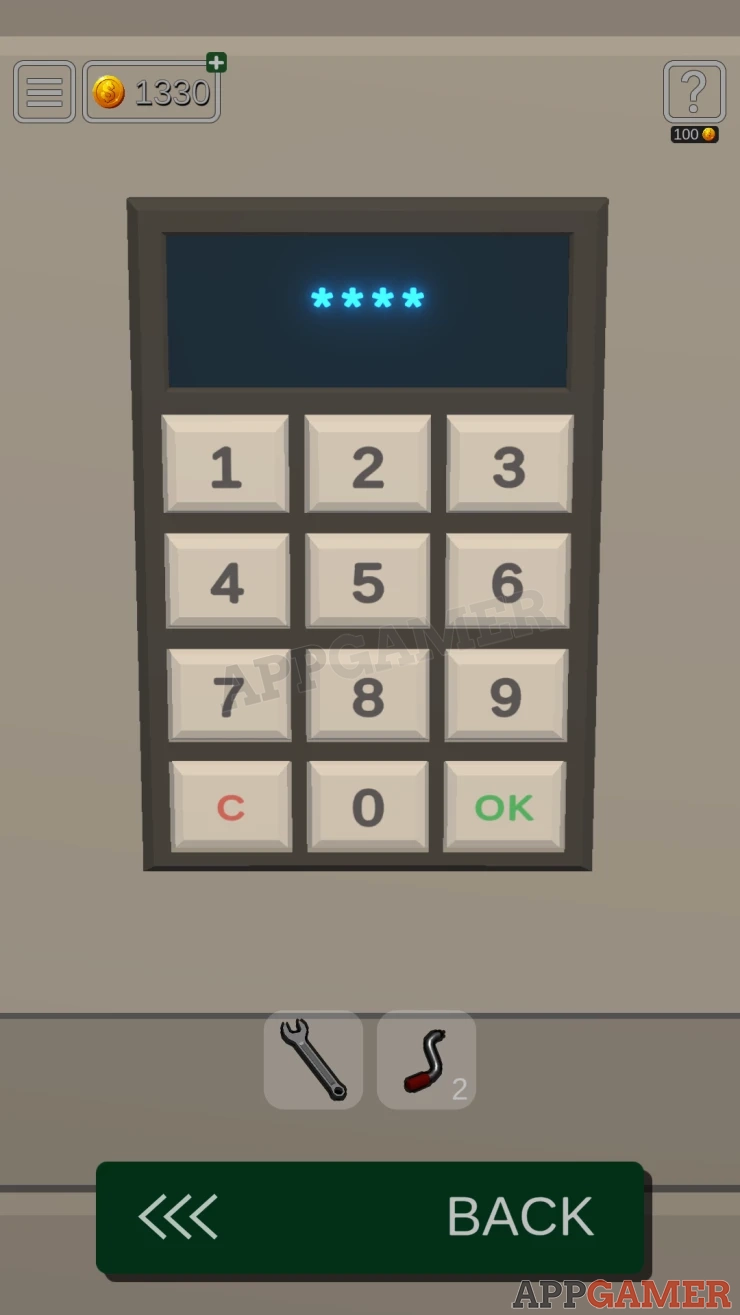
Collect a Lens.
View the bottom safe, this has buttons with directions. For the clue, view the small statue of a motorcycle.
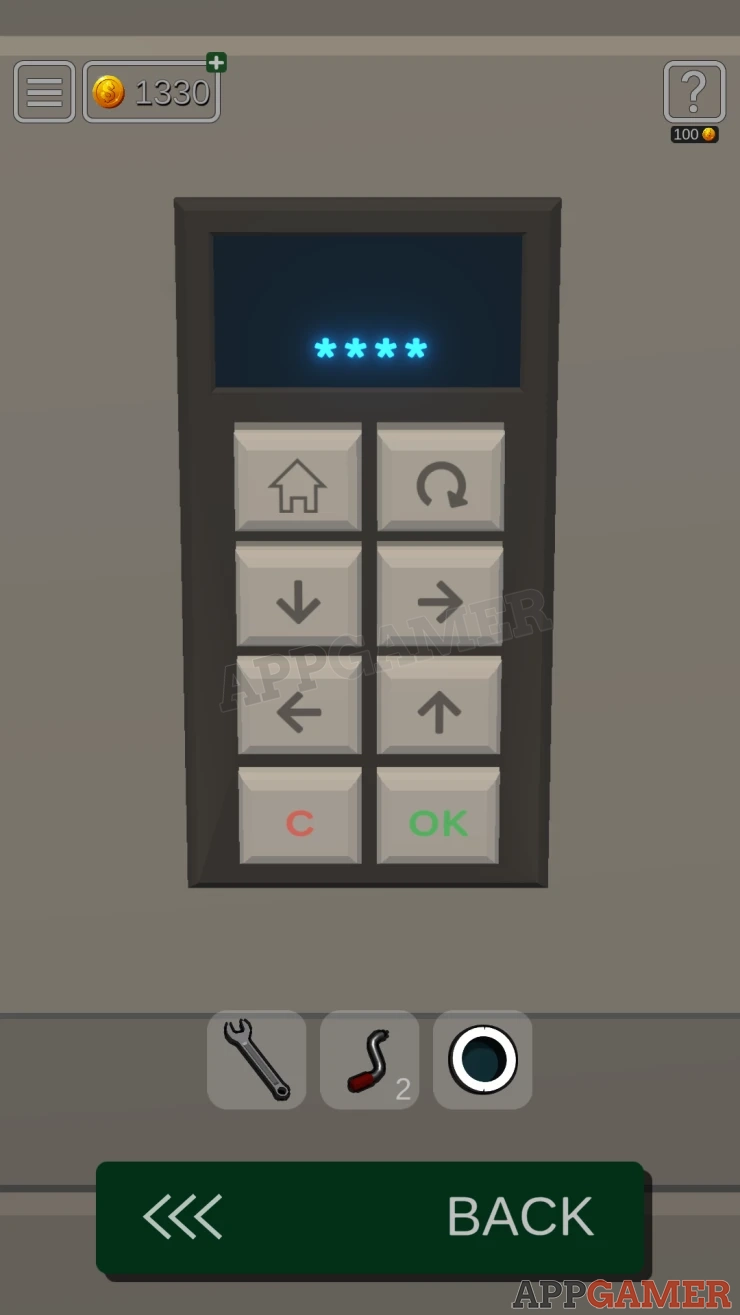

Look on the bottoms to see a maps with four routes on it, this is a reference to a series of four motorcycle travelogues involving Ewan McGregor and Charlie Boorman that took place over various years. The order of these were.
Long Way Around (circle arrow)
Long way Down
Long Way Up
Long Way Home (Home button).

Open the safe and collect a Folder.
Remember to use the red button to reset the timer if you haven't done so yet.
Now change the left wall back to number 2. View the panel in the middle.

Use the spanner to remove two bolts. Behind the panel is a code entry with buttons that have parts of the digital displays.
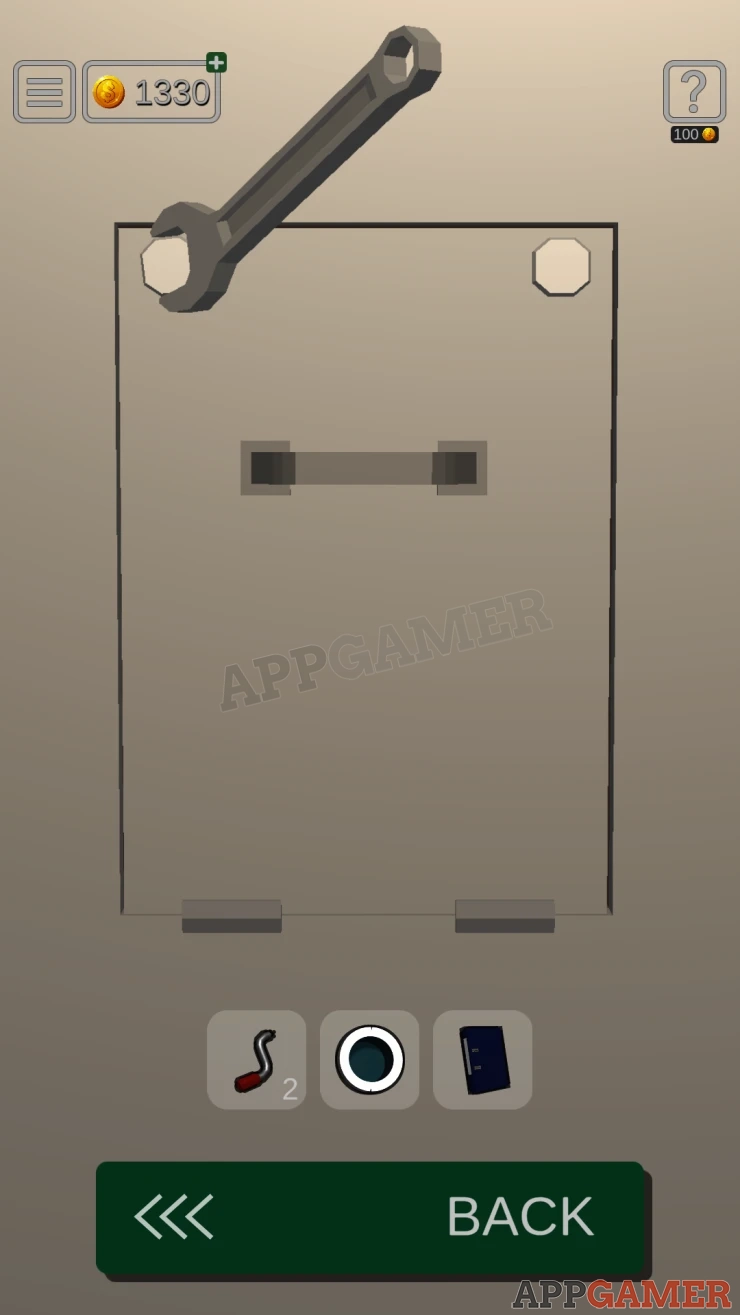

Look in the folder and move the pages to find shape that matches the panel. (Octagon) there is a word in the shape.
Show

Now press two buttons for each of the letters. You need to find two that will combine to activate the correct segments of the display. Where lines are on both buttons they will override and turn that segment back off.
As a note this was bugged for my game. Even after resetting I had to skip it.
Once done you can collect a third Handle.
Change the left wall now back to Number 1. There are four wheels that control the heights of found Bird on sliders. Add the three handles to the three empty wheels.

Next use the control to change the right wall to number 3. There are some hexagonal shelves and a projector.
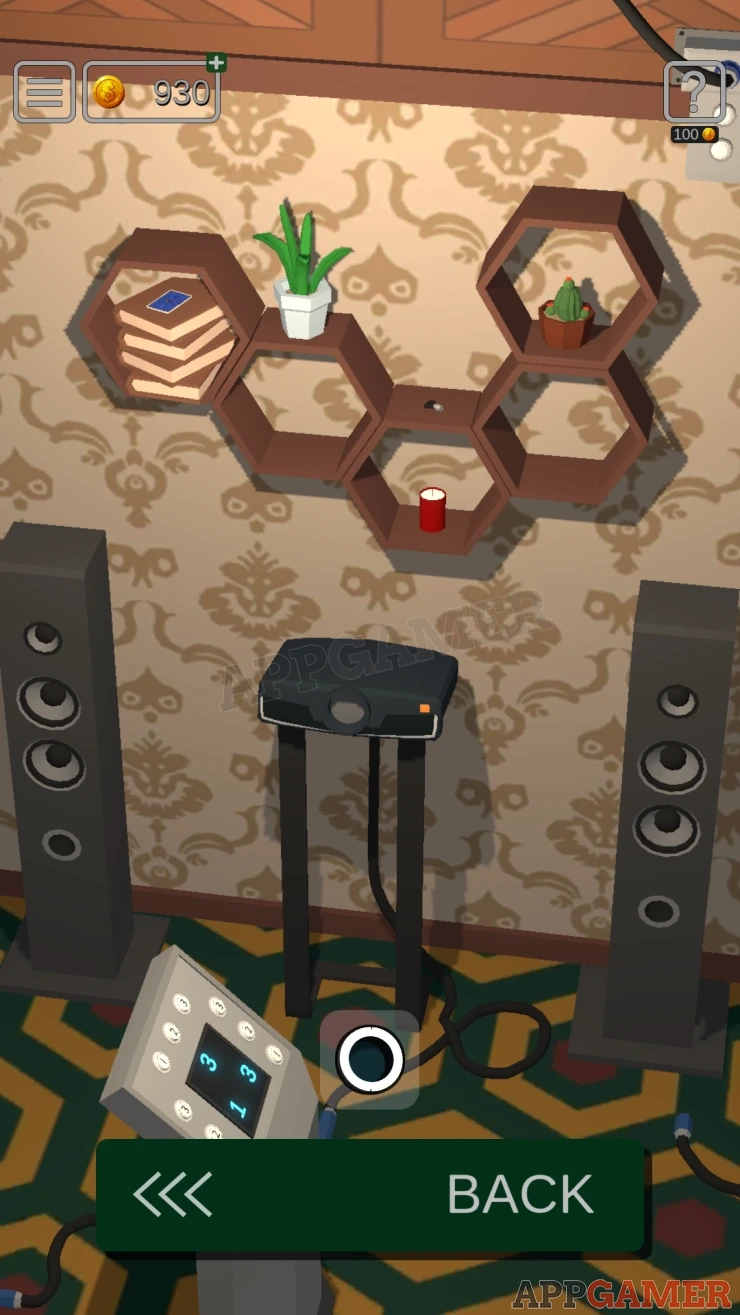
Card: on the books on the left shelf.
Collect a Key from the lower shelf.
Place the lens onto the projector. Then use the center control to change the center wall to number 2, this will provide power to the projector.
Turn the projector on the right wall on.

Turn to the back wall and use a switch on the right of the door to turn the lights off in the room.
Now you can look on the left wall to see an image of birds projected there.

Tap the handles to move the birds up to match the correct positions. A panel opens.
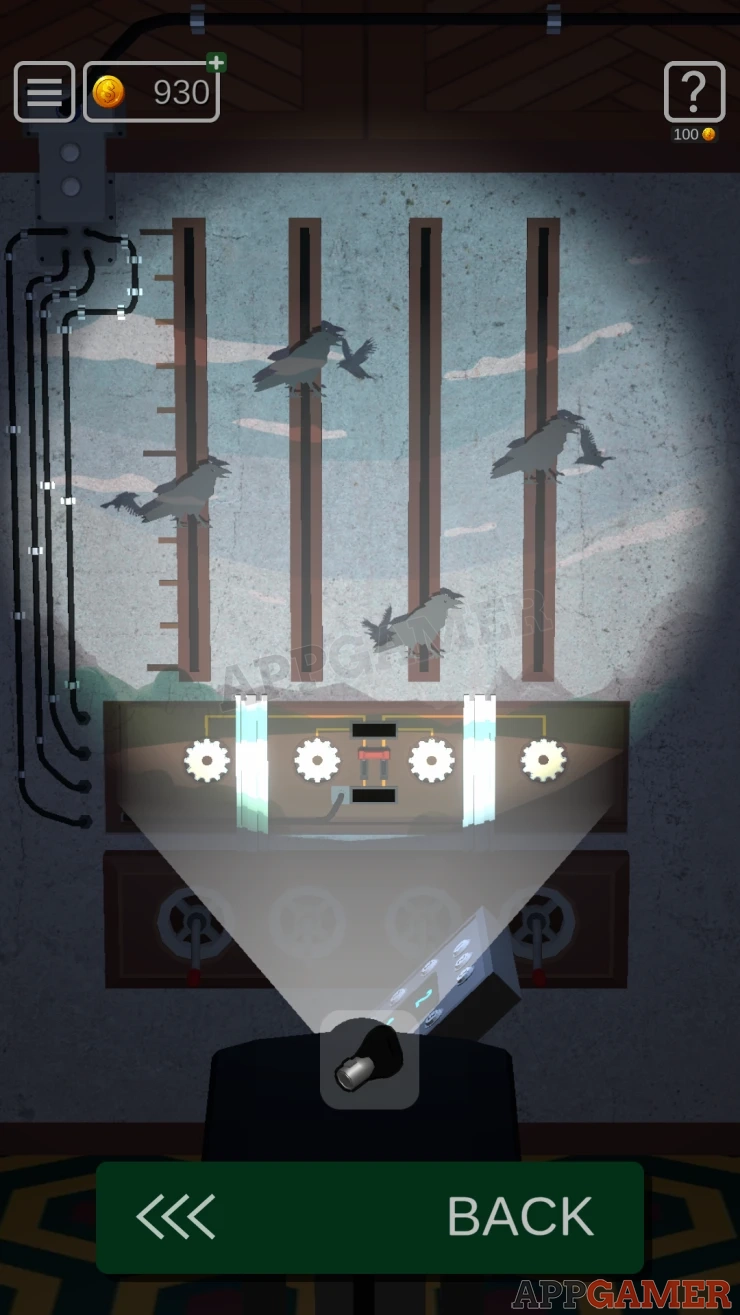
Tap the switch inside to activate it. Green lights will come on.
Turn the lights back on in the room. Then use the center panel to change the center wall to number 1. View a box on a small table in the center of the wall.
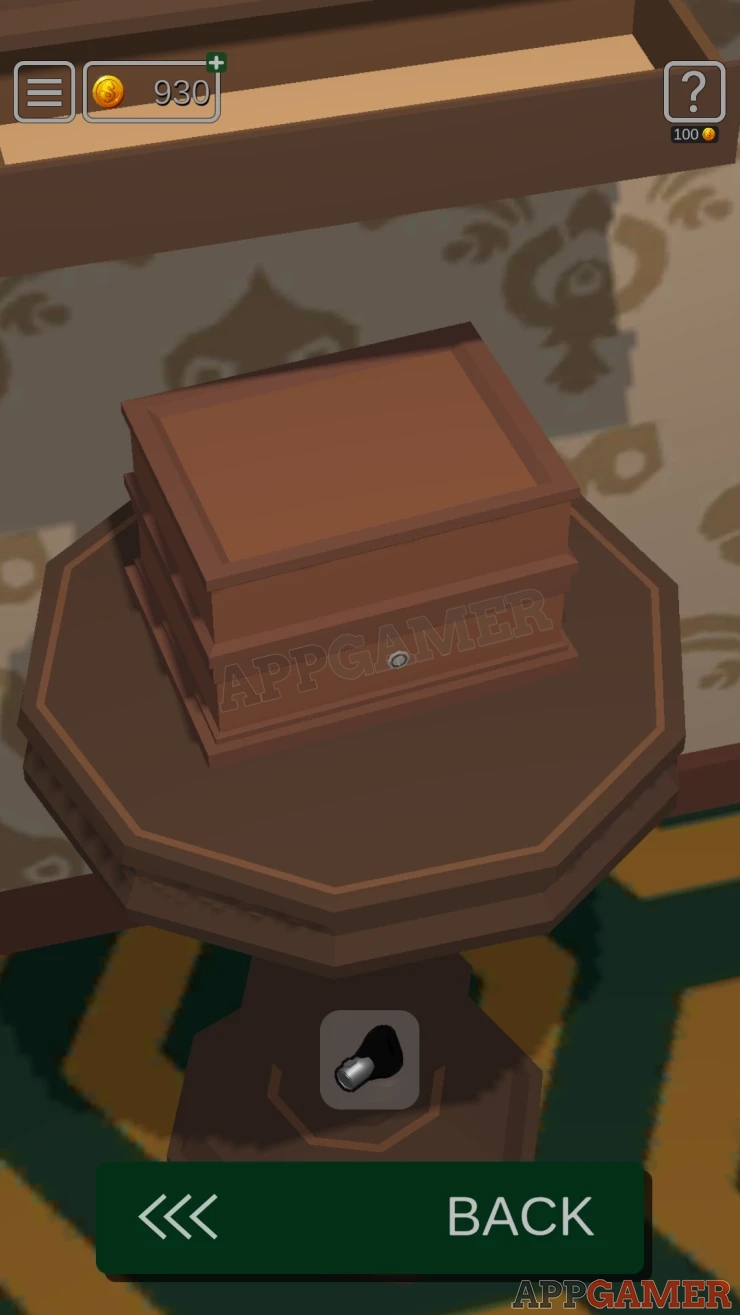
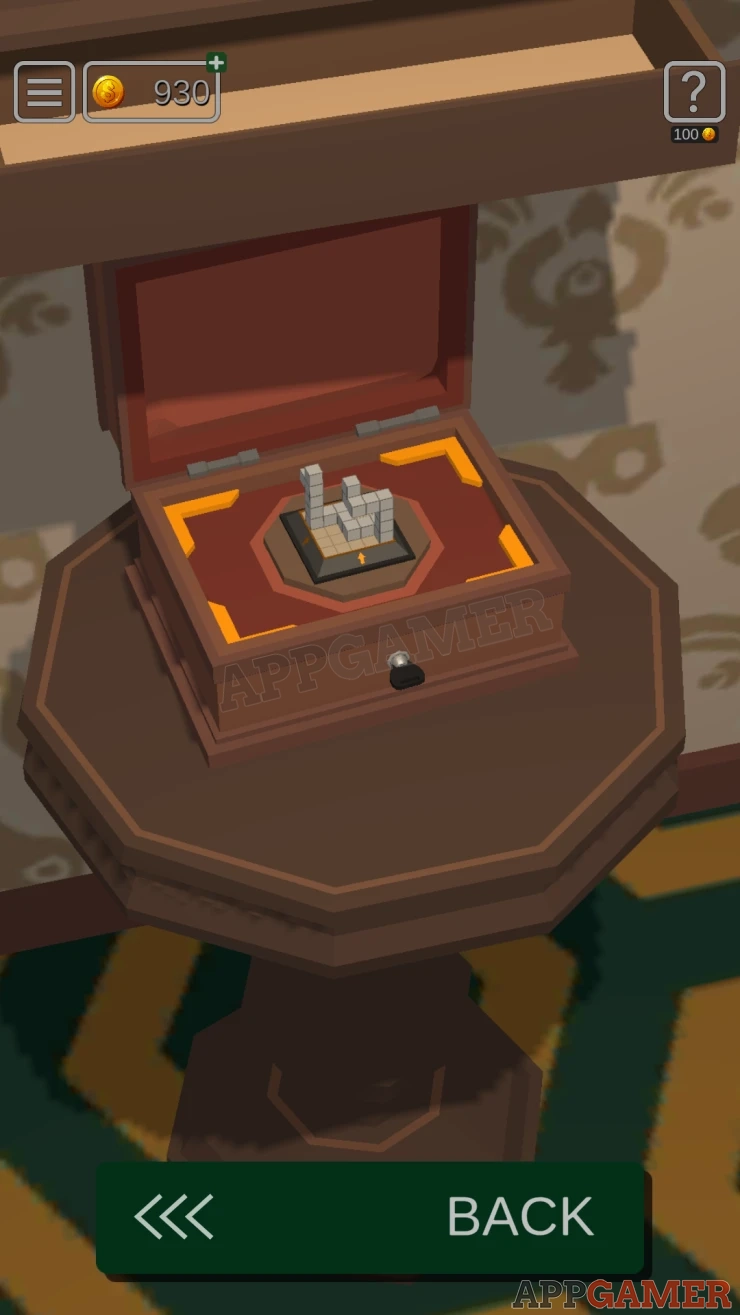
Use the key to open this and you will be able to collect a 3D model.
Use the control panel to change the right wall to number 2.

You should now see six screens with displays on them. Each screen is a puzzle.
Screen 1
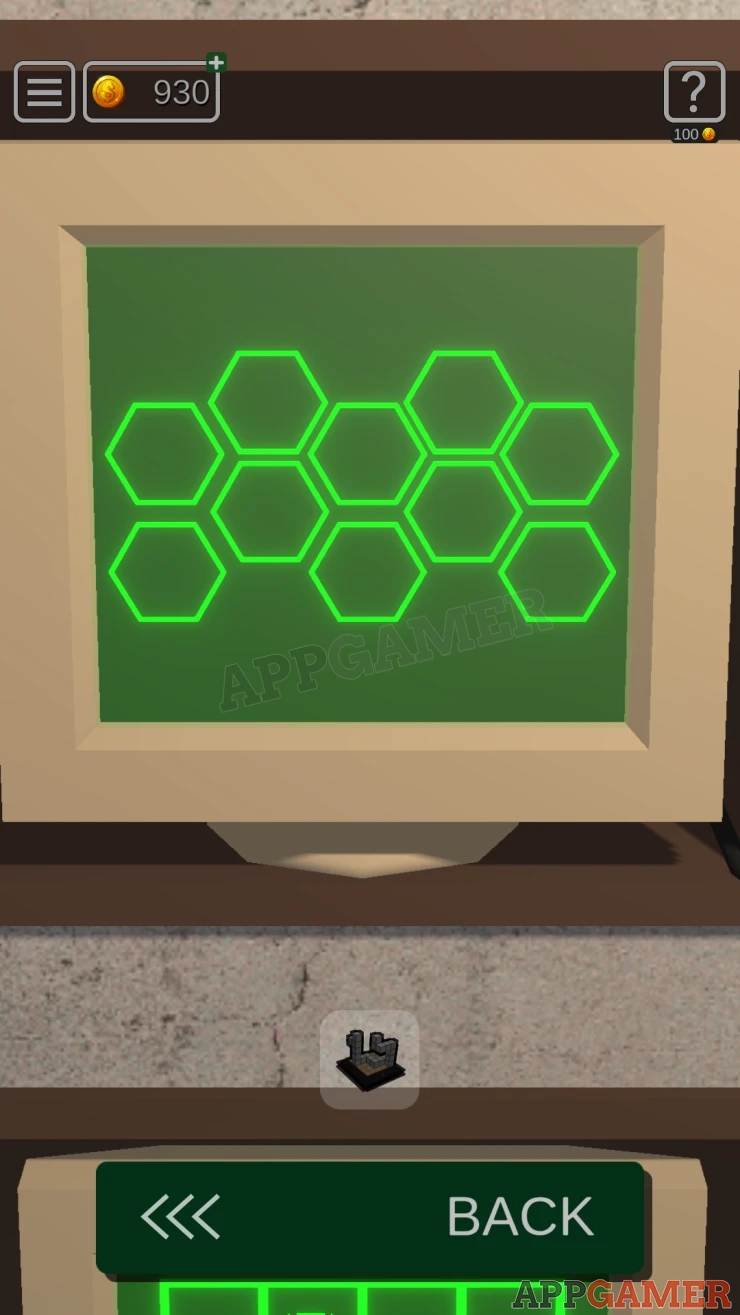
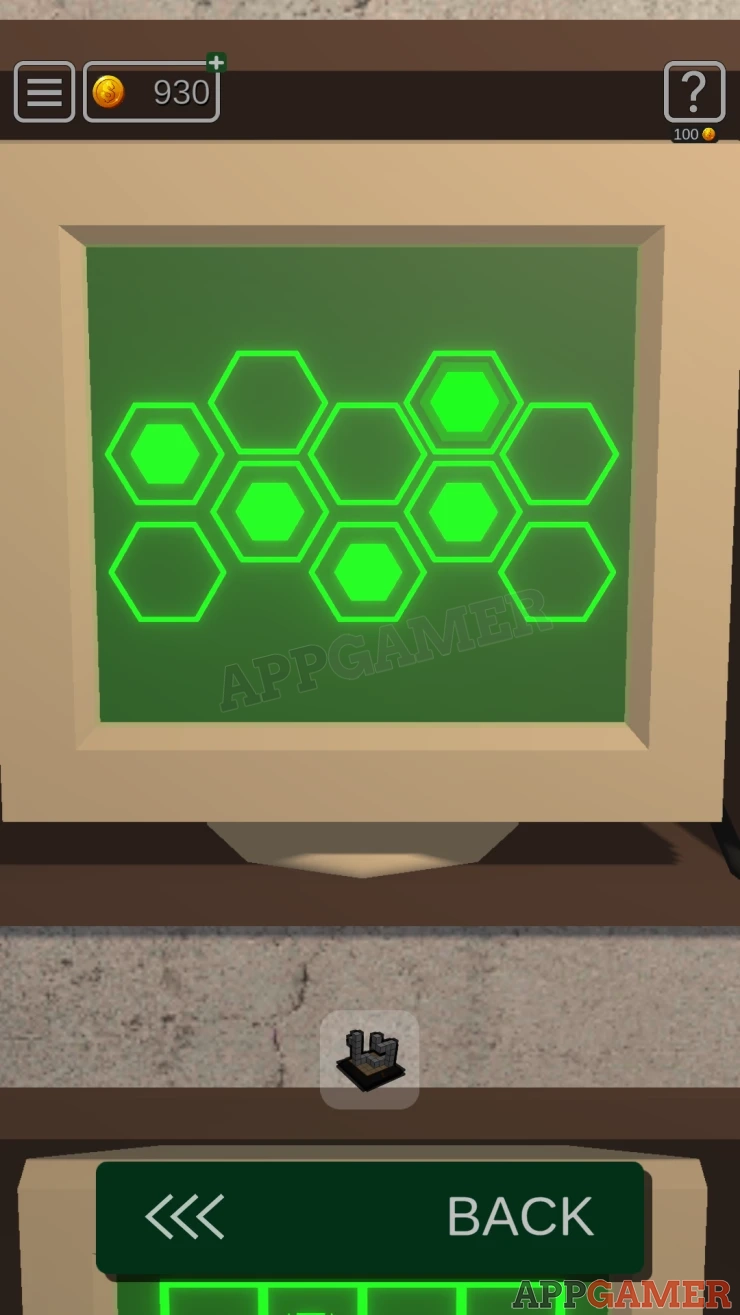
A pattern of hexagons, tap ones that match a clue of hexagonal shelves.
Show
Screen 2

The clue for this is the 3D Model, view the model in your inventory and examine it from three angles to see 2D patterns. Look from the top and from the sides with the arrows.

Then on the screen view each of the three flat surfaces and fill in the squares to match the 2D patterns.
Show

Screen 3
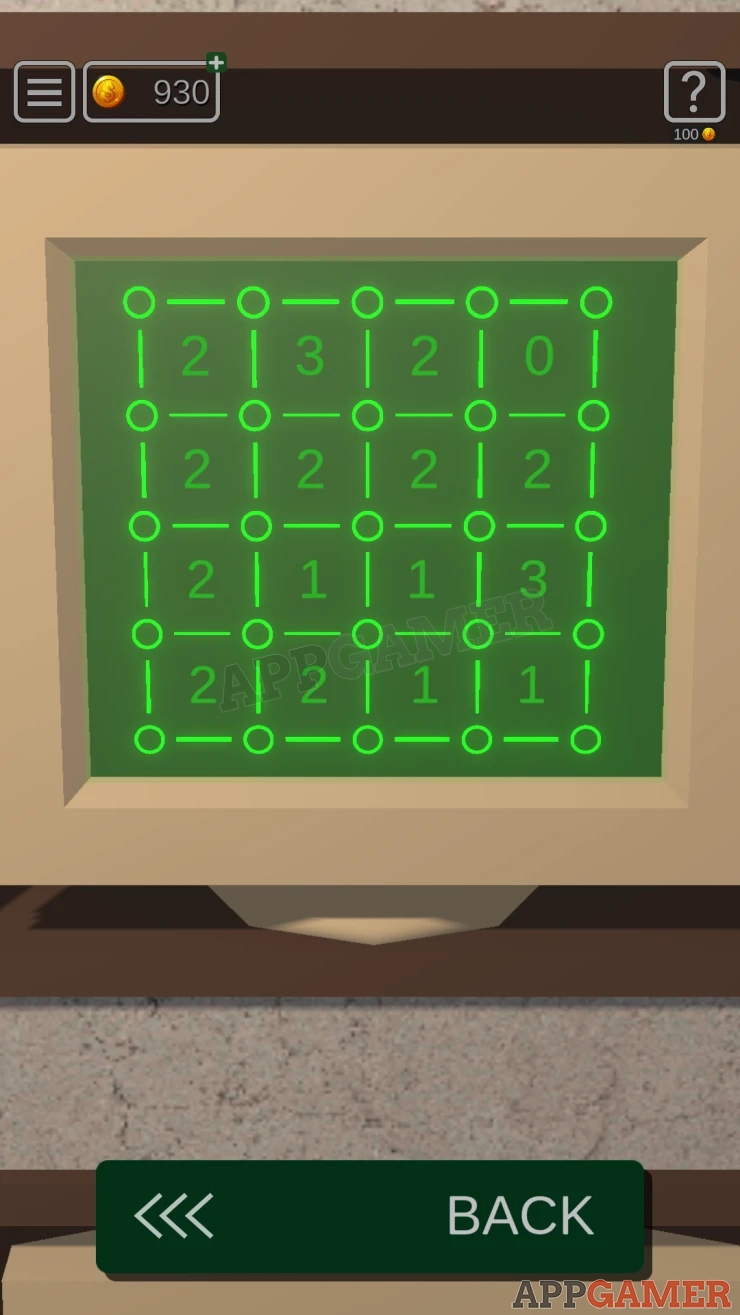
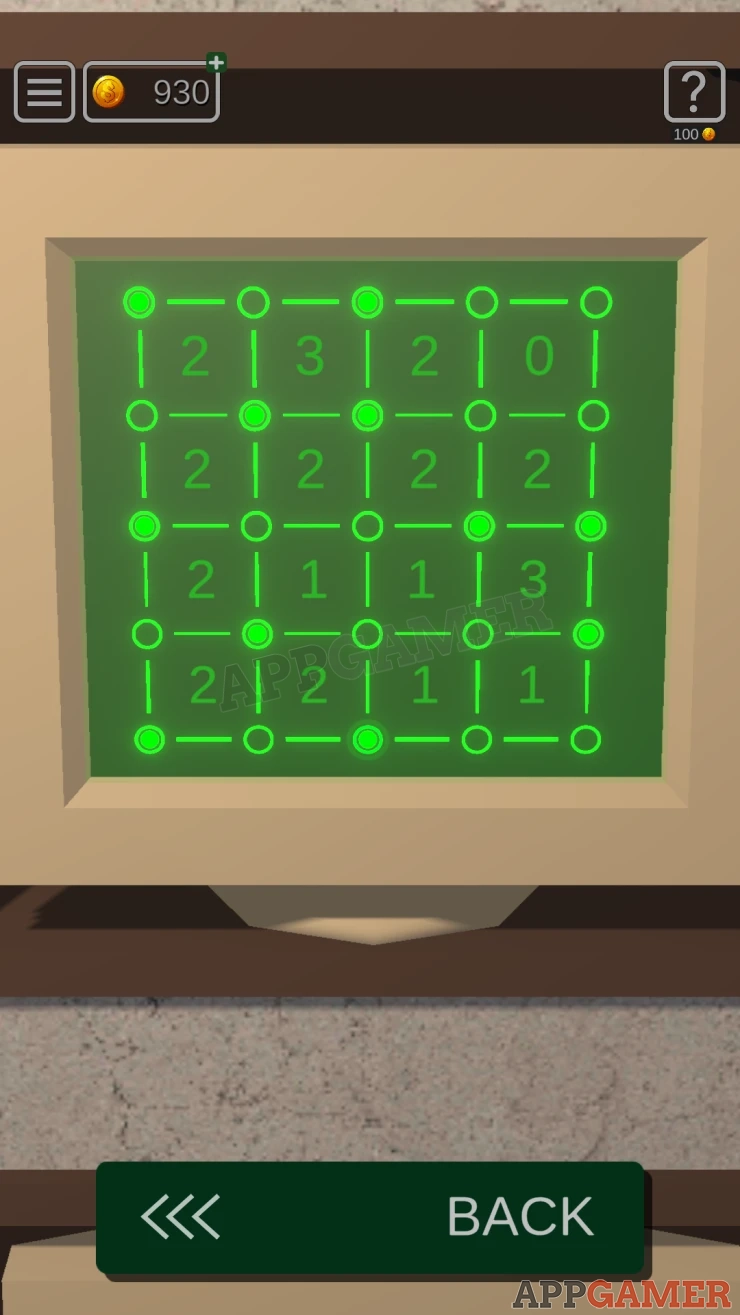
Each square has a number. Tap the circles in the corers of the squares to activate them.
There needs to be the same number of corners activated as the number in the squares.
Show
Screen 4

There are 16 squares in the grid, each one has a set of shapes or dots in it.
Count the dots and lines( of the shapes) in each square and then tap these in the order from 1 to 16.
Screen 5

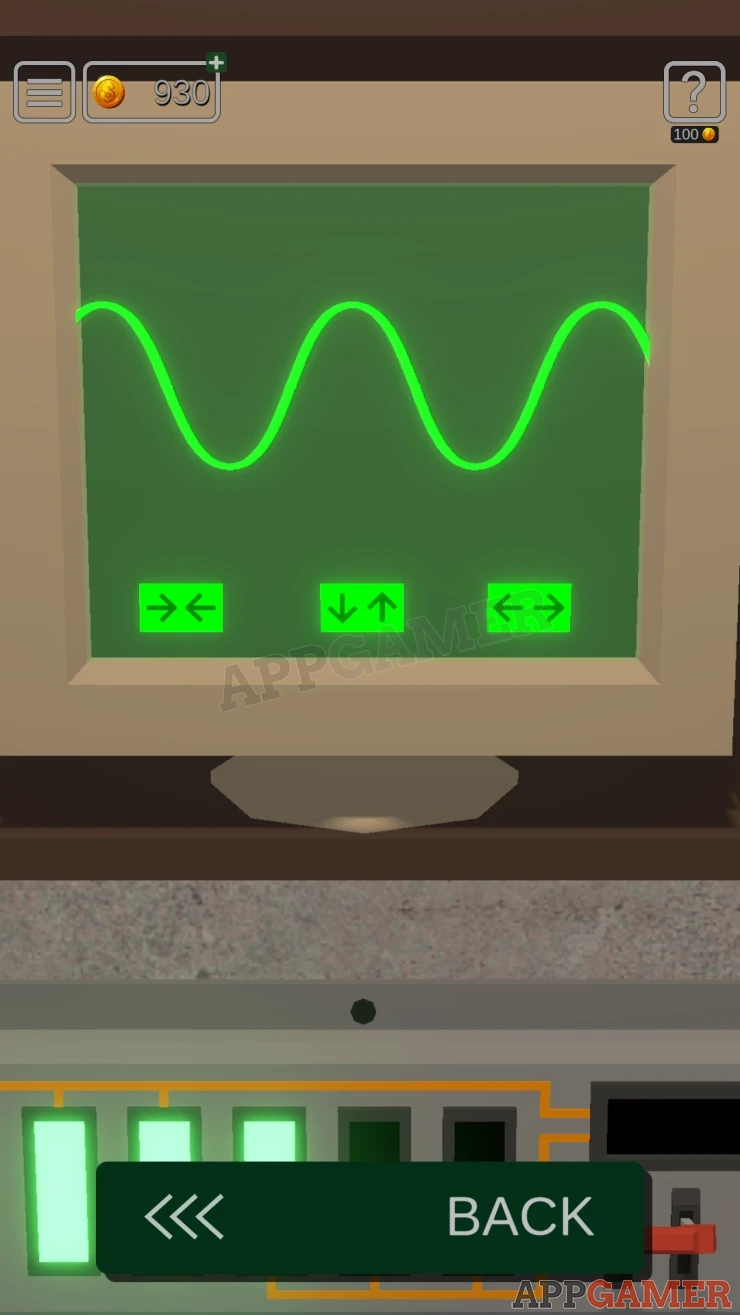
Use the buttons to change the shape and position of the wave form to match the dark line.
Screen 6

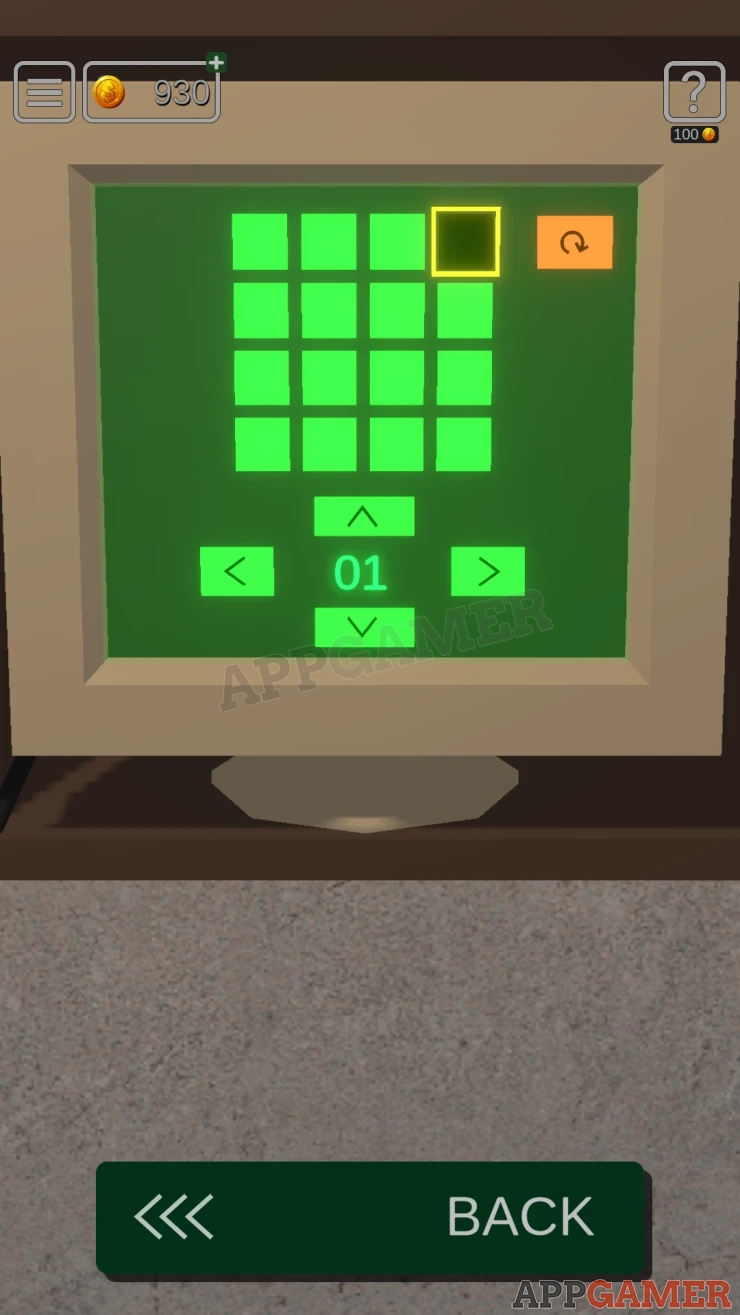
This is a 4 x 4 grid of lights. Some are on and some are off.
Use the arrows to move the highlighted square and this will tun on, or off the square you move to.
You have 15 total moves to turn on all of the lights.
Once these are all completed view the panel at the bottom of the wall and tap the switch to activate it.
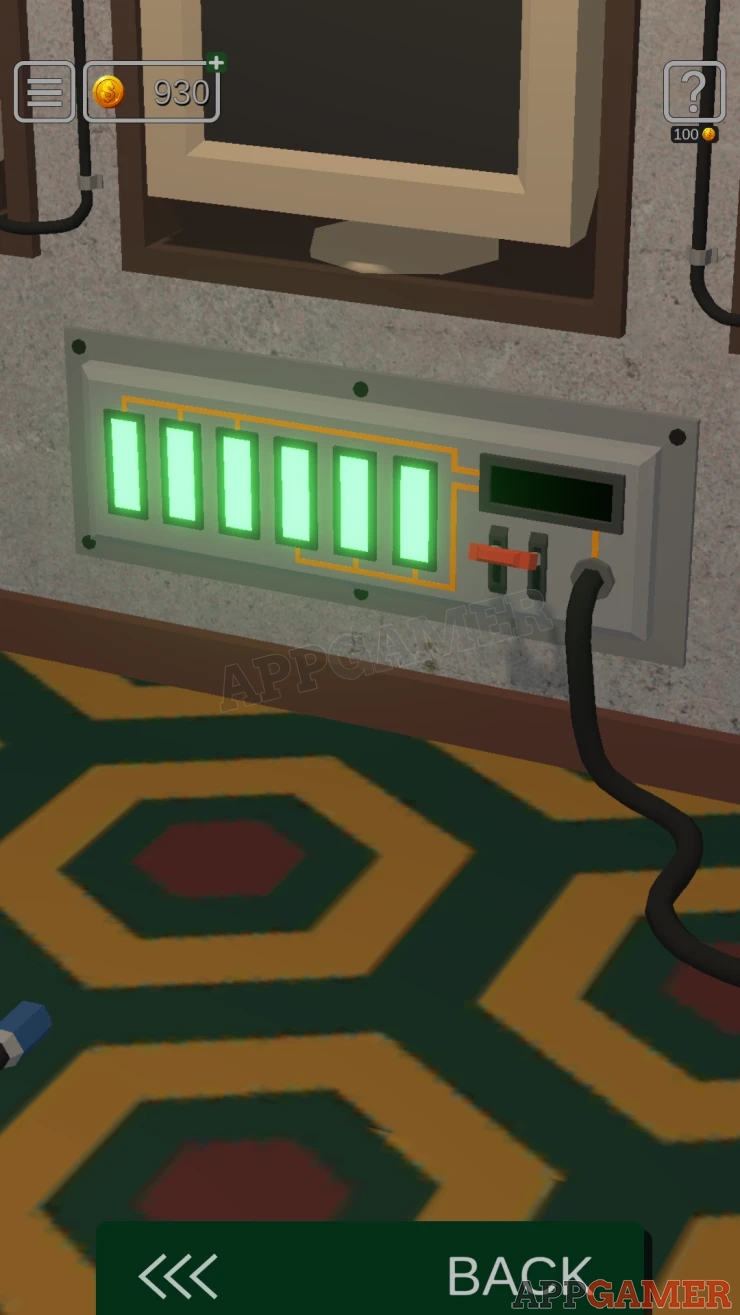
Now you can turn to the back wall. There is now a lit pink button next to the door. Press this top open the door.
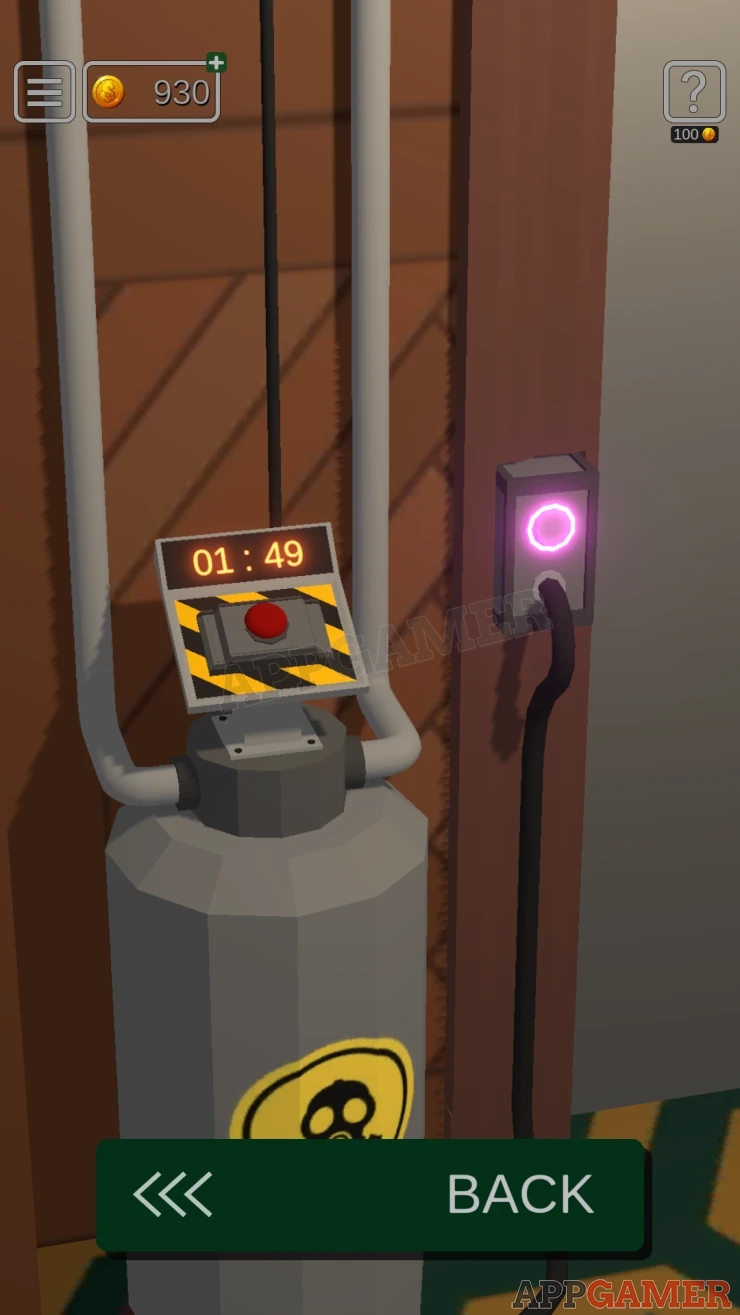
Congratulations you have completed All of the levels of the game.

You can watch the final Interlude and then pick your favorite character from the game to win the AI contest.
If you have found all of the cards hidden through the entire game then there is a secret level to play.
We have questions and answers related to this topic which may also help you: Show all
 With 20 years of experience in creating video game content for the internet and over 30 years as a gamer, Mark is now a passionate mobile App Gamer. Loving a challenge, he is always ready to get stuck in to both survival builders and puzzle solving games. He has been providing content for AppGamer since 2014.