Chapter 6
More Dream Escape - Room Escape Game
This is our guide to Chapter 6 of Dream Escape, another mysterious escape room game from Jusha.
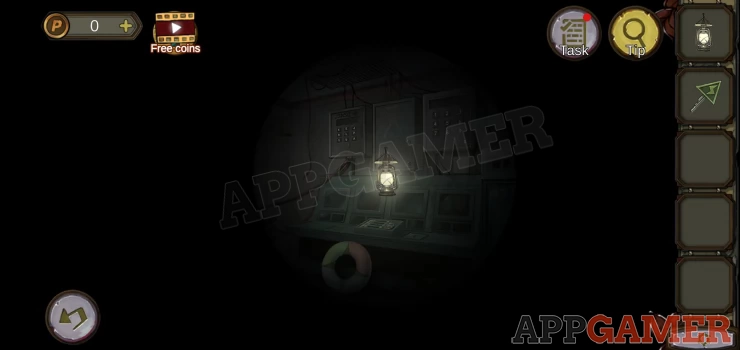
After escaping the town on Chapter 5 you are now on the ship, but it is dark.
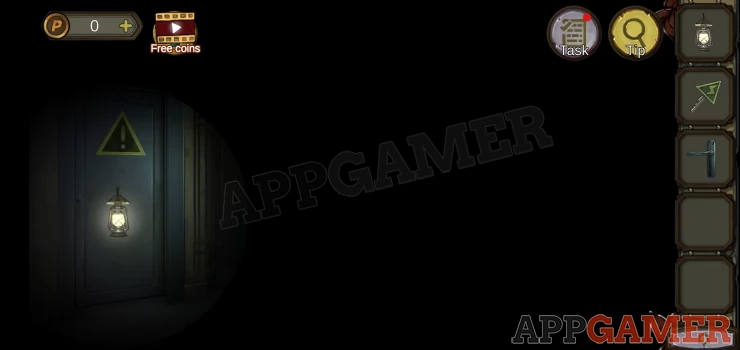
Tap the lighted area on the far left to view the door.
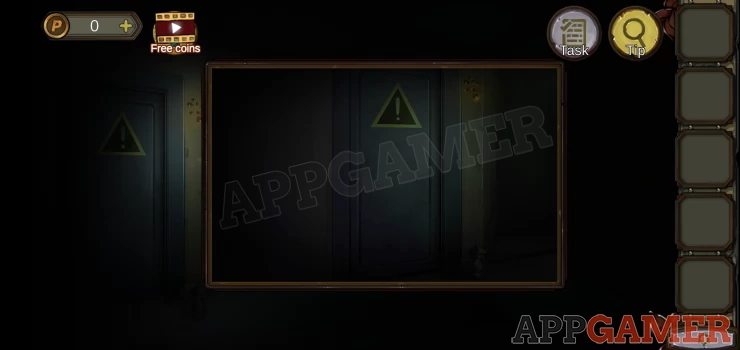
In the bottom right of this is a lantern to collect..
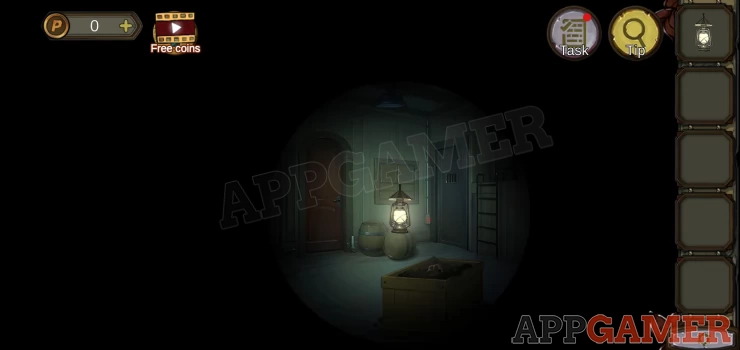
Then use the lantern on the glowing fireflies in the top right. This will capture them in the lantern and let you use it as a light. You can now drag it around the room to see.
Drag the light to the right and view a wall cupboard between the 2 doors.
On the left is a drawing with lines connecting animals to numbers.
Open the bottom 2 cupboard door and collect a key.
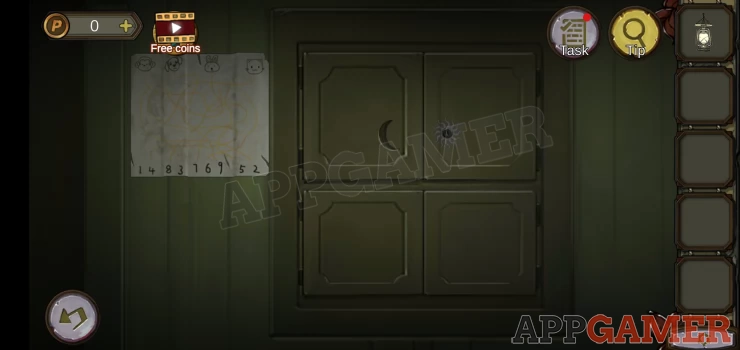
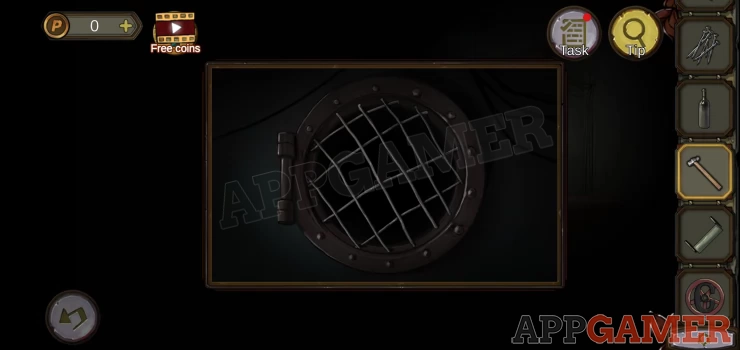
Move the light to the center to see a cage. View the lock .
Hint: the clue is the animal faces.
Solution: get the numbers from the paperShow
Code: 3749Show
Collect the gloves
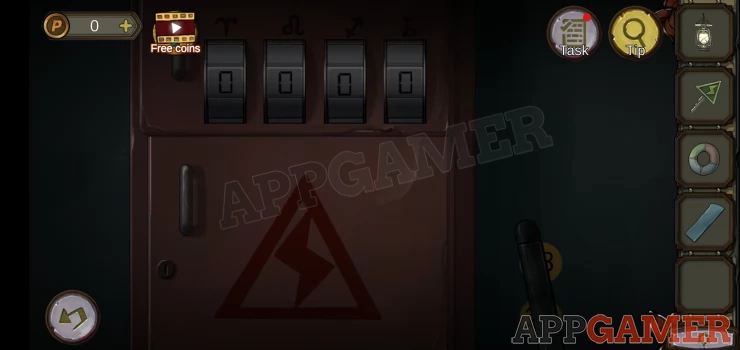
Move to the right to the door with a grill.
Note the green numbers on the door.
Move the light to the far right to see some steps below some rings.
Use the gloves on the hole in the steps to open it and collect a handle
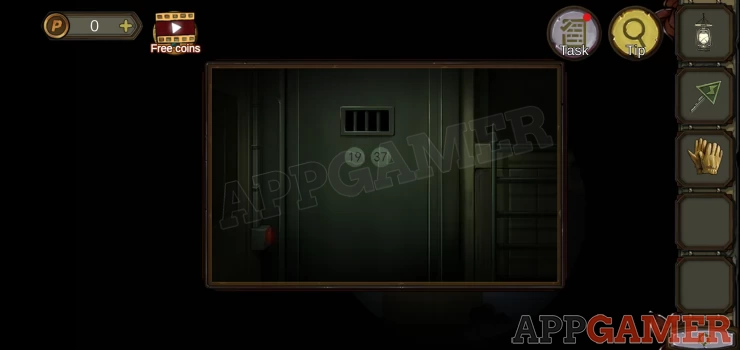
Move the light up to see a ladder up to the ceiling. Tap to view the trap door above this for a clue.

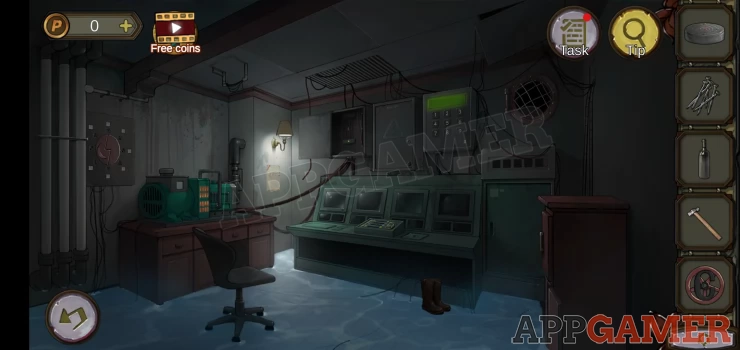
Now move the light back to the blue door on the left. Add the handle to it and open the door to go through to the power control room.
Move the light to the middle bottom to find a colored ring. Collect this.
Then look to the right of this to see some boots. The look inside them to collect a mirror fragment.

Move the light to the right to find a red cabinet. Look to the right of this to collect a Rocker.
Note the yellow numbers 13 and 24
Use the key on the red cabinet to open it and collect a 'Half a Vise'.
Move the light over to the far left to see left to see a green machine, a generator.

First collect a second 'half vise' from the top left. Then add the Rocker to the right side to turn this on.
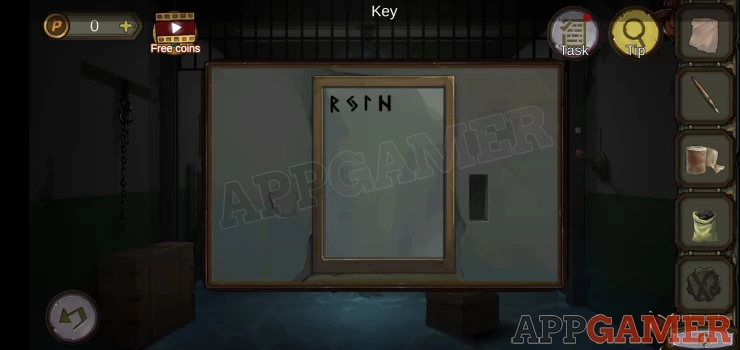
Follow the wires up to the right to the top center to find a keypad.
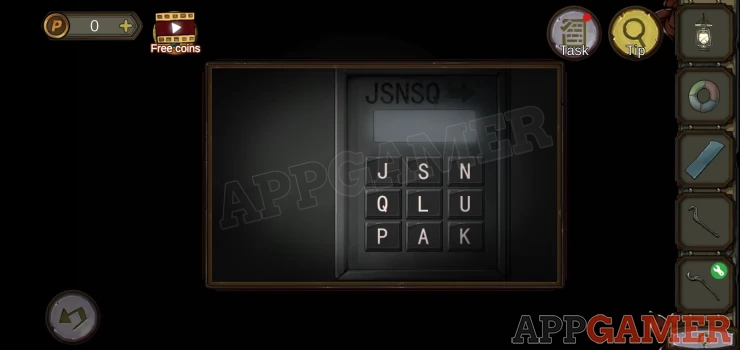
Note the clue above JSNSQ
Hint: there was a clue on the roof hatch in the previous room.
Solution: The clue shows a translation from DOG to FQI. Each letter has gone forward 2 in the alphabet.Show
Code: LUPUSShow
Inside are some broken wires. Collect the Sun key.
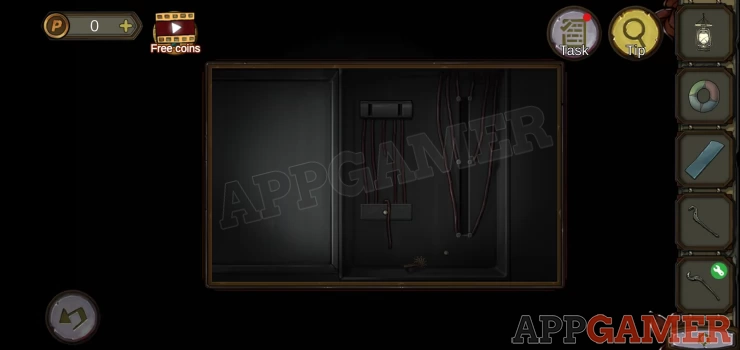
Go back to the first room and view the green wall cupboard.
Use the sun key on the top right door to open it and collect some tape and a tin box.
Look below the cupboard to see a barrel.
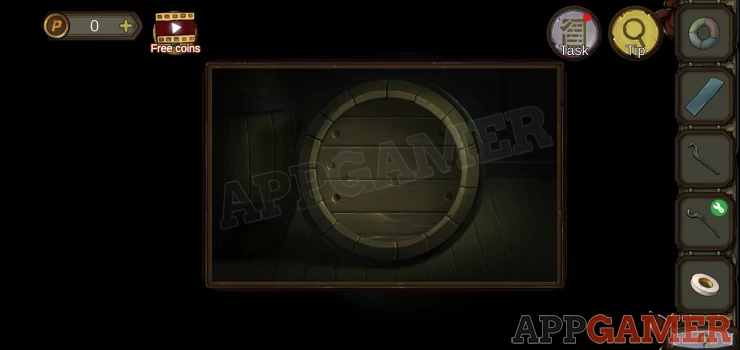
Combine the 2 halves of the Vise and then use this on the barrel lid to open it.
You will collect a nail, then also get a Curved Gate and a bottle of red wine.
Next view the other rings on the top right of the room. .
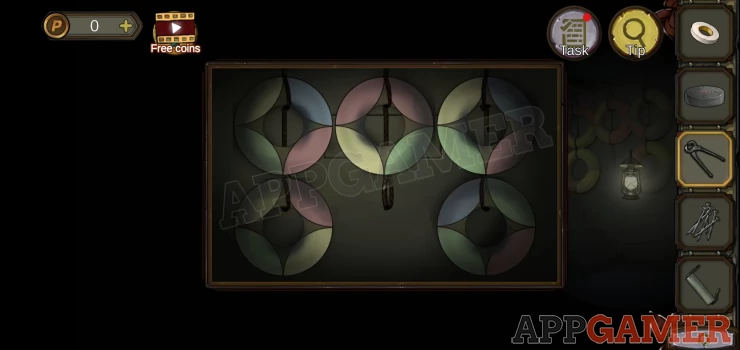
Add the extra ring to it to start a puzzle.
Hint: Rotate the rings to make the inner segment colors match up.
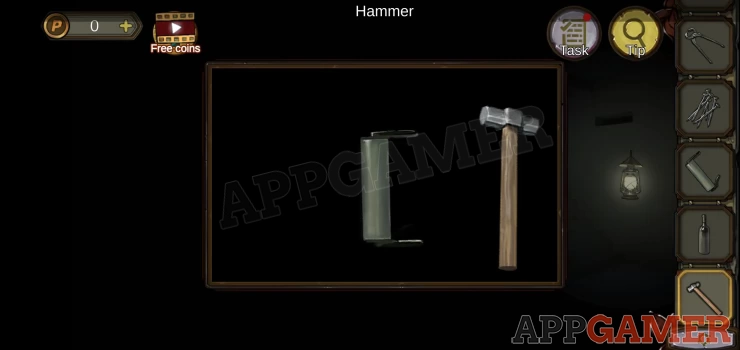
Once done collect a hammer
View the Curved gate in your inventory and use the hammer on it to fix it. You now have a Gate.
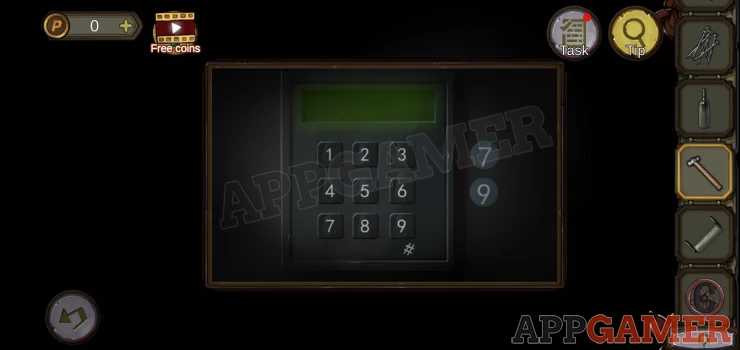
Move back to the power control room. Move the light up to the top center to see a number keypad. Note the 2 blue number on the right for a clue. 7 and 9
Then move the light to the right to see a grill. Use the vise on this to collect an Iron wire.
Move the light to the left and view the box with the broken wire again.
Use the tape to fix the wire and then add the Gate to the top and switch it on.
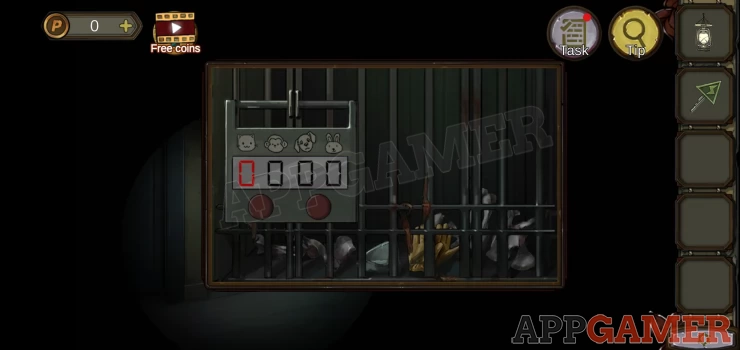
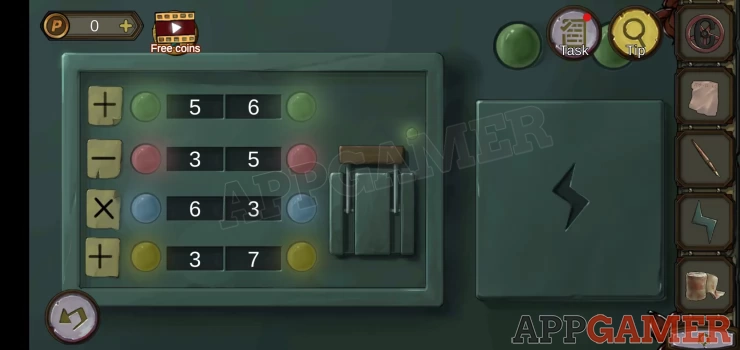
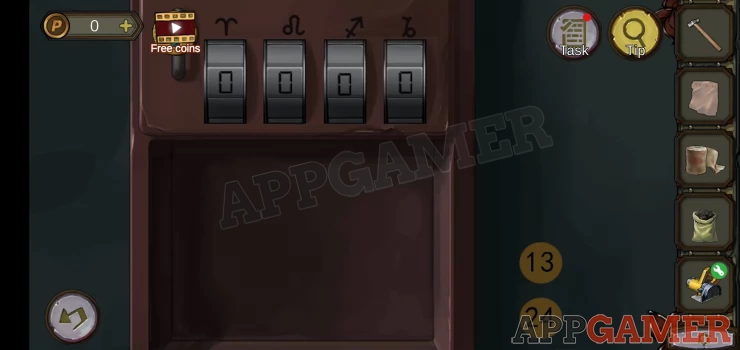
Move move down to the console below to find a control panel.
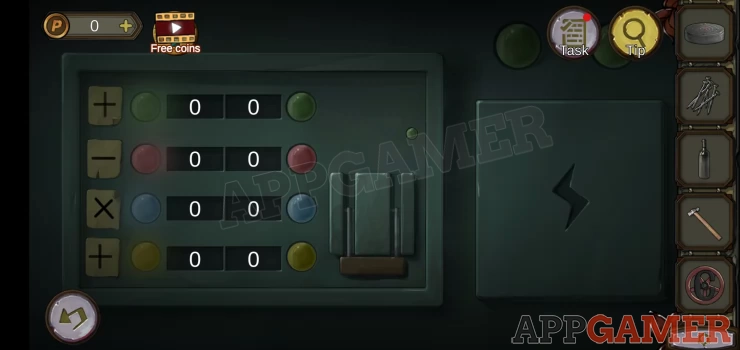
There are 4 sets of numbers, with mathematical operator symbols to the left.
Use clues found above to enter the correct numbers for each color.
Solution: You have seen 4 sets of numbers with colored backgrounds. For each apply the operation to them to get a result.Show
Code: Green: 19+37 = 56 Red: 59-24 = 35 Blue: 7x9 = 63 Yellow: 13+24 = 37Show
The lights are now on. You can flip the switch.
There is a crash and the floor is now flooded.
Exit to the first room and view the green door again. Press the green button to open it and go through to a room with a locked cell.
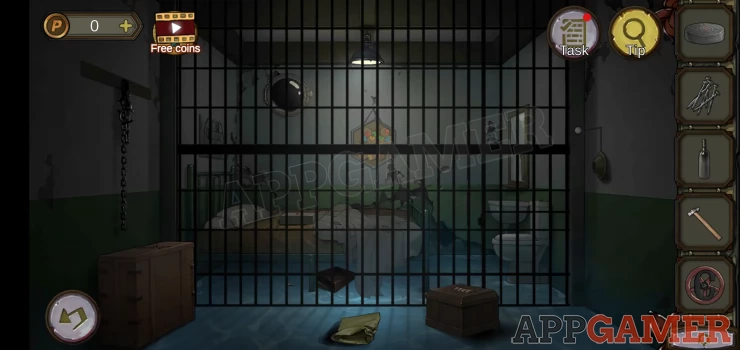
Collect a bag from the floor. Then tap the bottom of the bars on the left to see a key.
Use the iron wire on this to collect it. Star key.
Next view the box on the left.
Collect a moon metal piece from it.
Go back to the power control room. There is a locked box in the top middle wall with a star symbol.
Use the star key to open this.
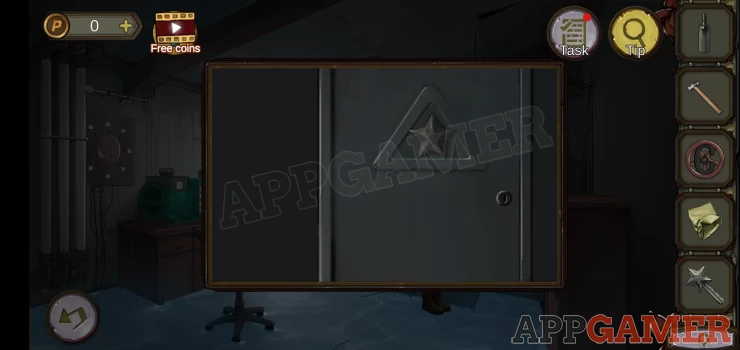
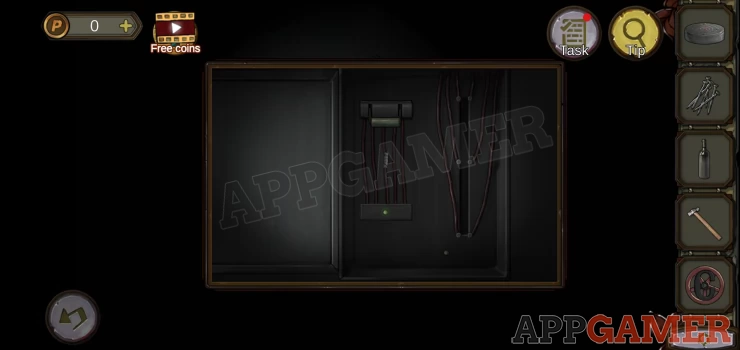
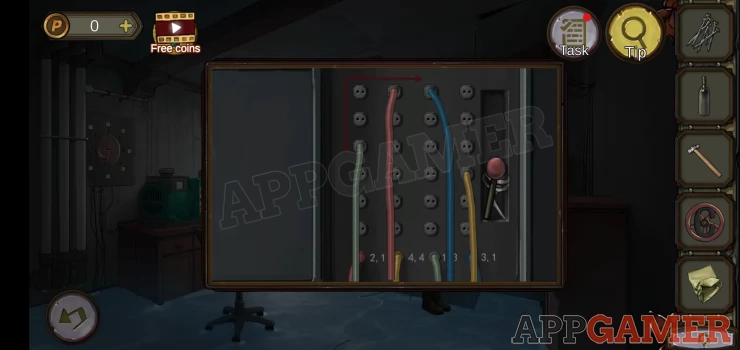
Inside is a wire puzzle. Note that each wire has coordinates next to it.
Solution: connect the wires to the sockets above at the coordinates shown. I.e. the red wire connects to column 2 row 1.Show
Collect a Rocker and a Round button.
Move back to the room with the cell. On the right is a switch control.
Add the joystick to this and tap it to open the bars.
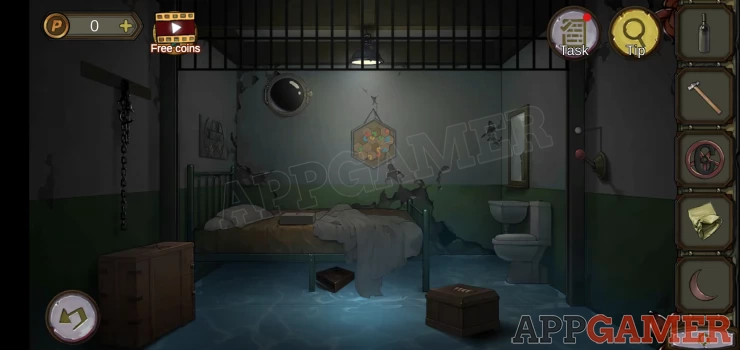
View the top of the toilet tank on the right
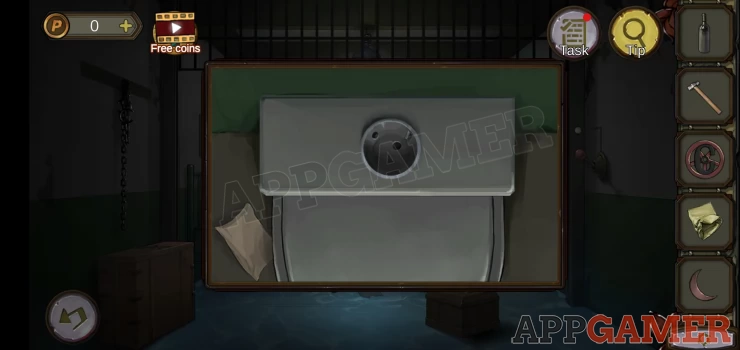
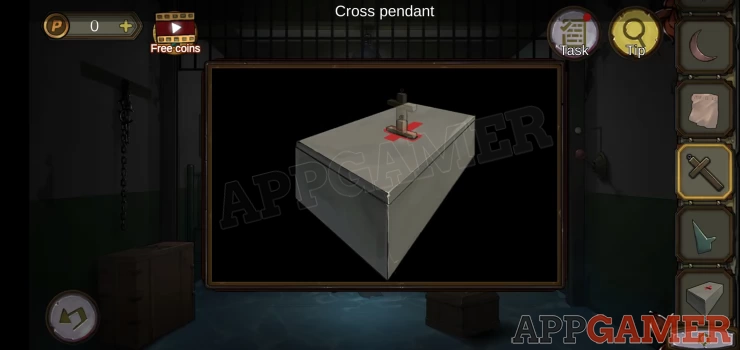
Collect a Diary page from the floor to the left. Then add the round button to this and then collect a Cross Pendant.
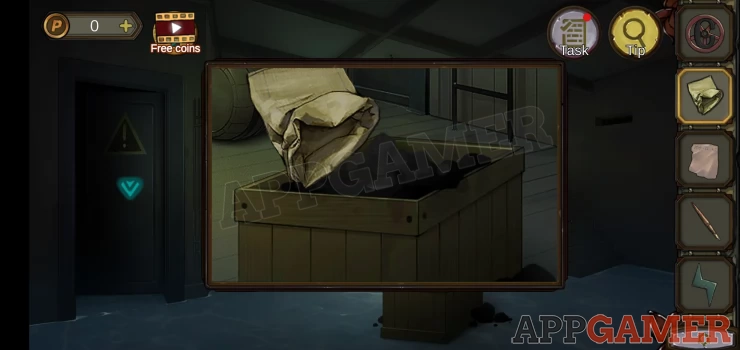
Now view the bed.
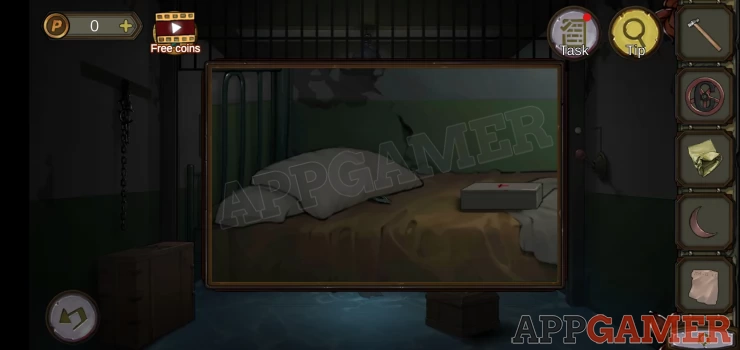
Move the pillow to collect 'half a piece of metal'. Then collect the white box.
View the box and add the cross pendant to it to open it. Collect a pen.
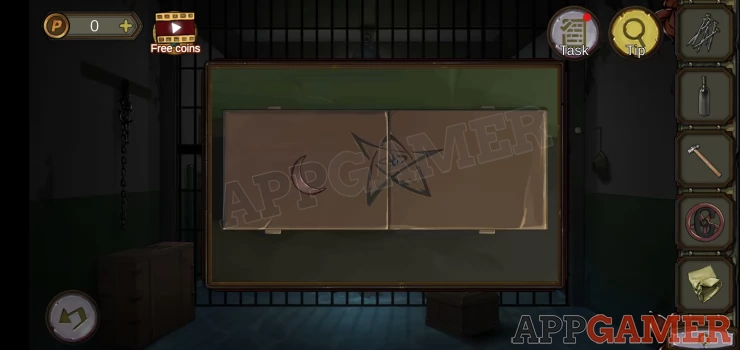
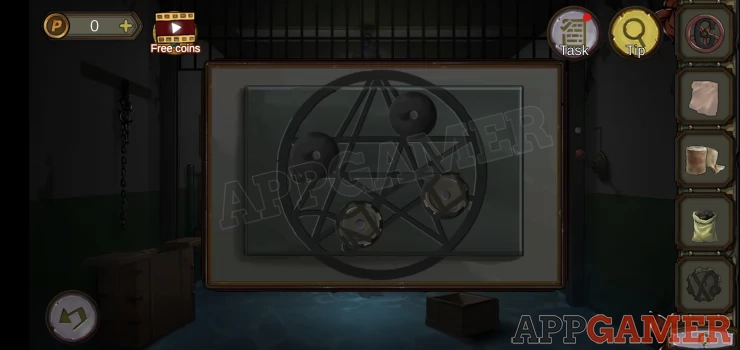
On the back wall is a hexagonal puzzle hanging.
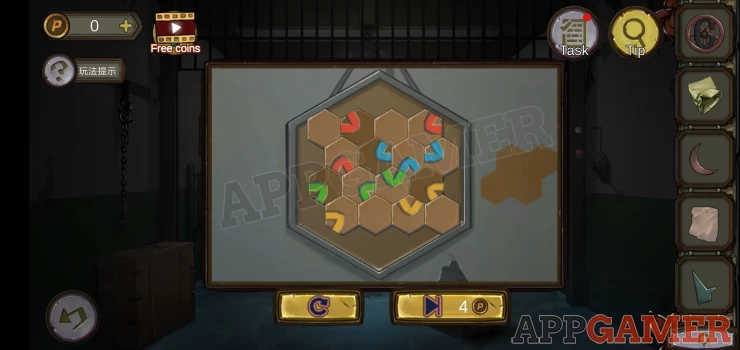
Hint: rearrange the pieces to complete the picture. You need to form the shape on the right in the center.
Collect another half piece of metal.
Combine the 2 halves to get Electricity symbol metal sheet.
Back out to the first room and view the green wall cupboard again.
Use the moon metal piece on the left door to open it and collect a bloody bandage.
Then view the box of coal in the center.
Collect a valve, then use the bag back to collect some coal.
Then move to the power control room.
View the console again to see a box on the right with a slot.
Use the Electricity symbol on this to open it. Collect a gear.
Go back to the cell room.
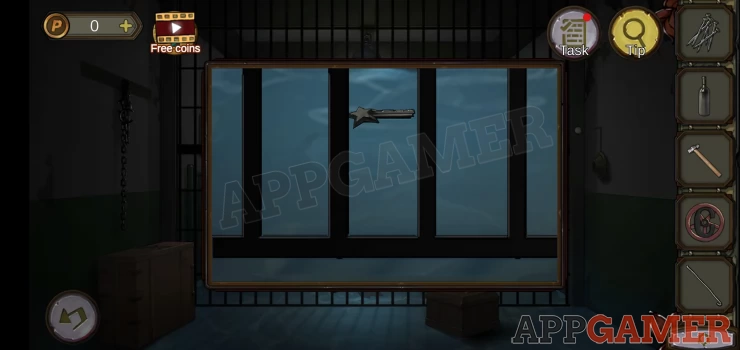
On the right wall is a mirror. A section is missing.

Use the mirror fragment on it to complete it. You can then collect a key and you will see a clue appear.
Show
Back up and view the box on the floor to the left again. There is a symbol that matches the last key you collected.
Use the key to open this. Collect a magnifier.
Now view the pen in your inventory and use the magnifier on it to see a clue.
Show
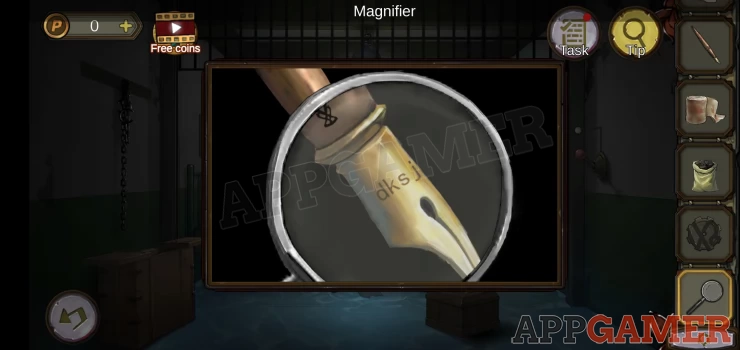
On the floor to the right is a box, view this to see a 4 letter code entry.
Hint: the symbol is the same as on the pen.
Solution: dksjShow
Collect a gear.
Not tap the panel above the head of the bed to see a circular puzzle.
Add the 2 gears to it to start.
Tap the gears to rotate them to complete the lines.
Collect a red key and a sun metal piece.
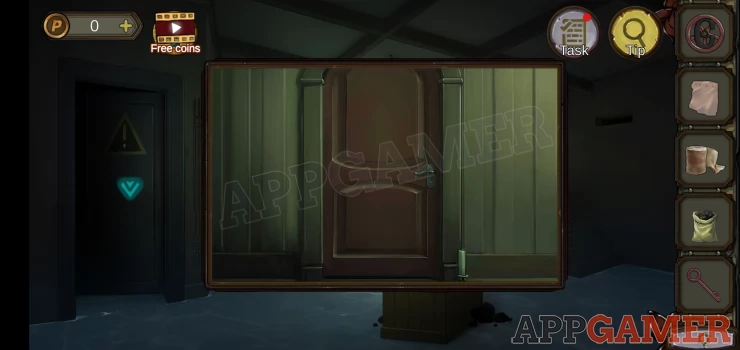
Exit to the first room and use the red key on the brown door in the center to open it.
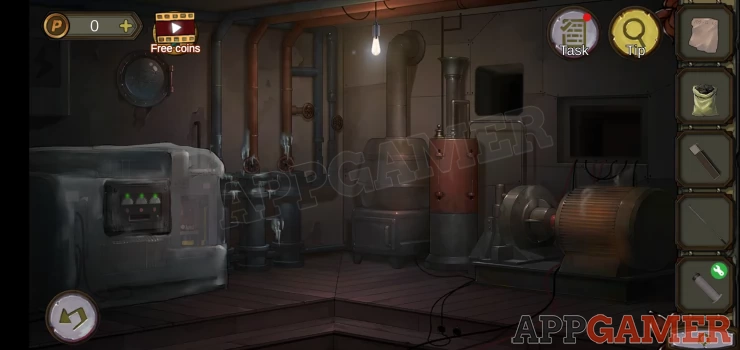
Go through to a pump room.
On the wall on the right is a red panel with a 4 symbol lock.
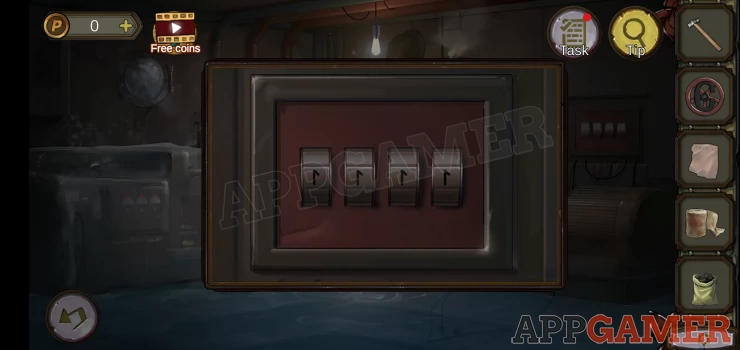
Solution: We saw a 4 symbol clue in the cell mirror. Use this.Show
Collect a broken chainsaw.
In the center is a boiler. View this to see a clue.
Then tap to view the pipes to the left of this.
Add the valve to the pipe on the right. You can now tap them to rotate them.
Hint: there are letters ABC on the pipes.
Solution: copy the angles of the letters on the boiler.Show
A light comes on.
Now view the machine on the far left.
There are 3 buttons. Tap these quickly to get the dials up until the green lights come on. You need all 3 lights green until the top gauge fills up to activate them. You can then collect some matches.

Return to the power control room and view the wall panel on the left again with the red numbers.
Add the sun metal piece to the center to activate a puzzle.
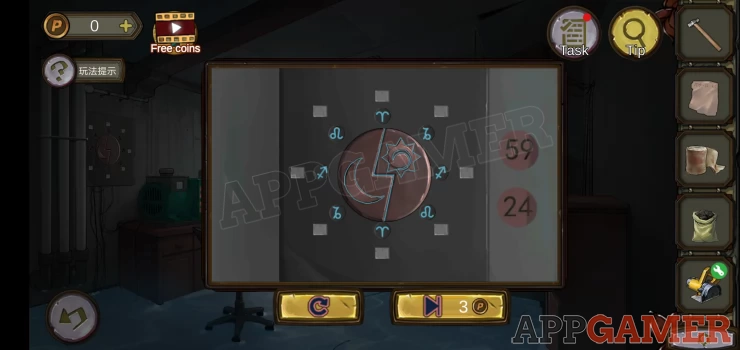
Tap the symbols around the circle to turn on the blue lights. They will toggle more than one at a time.
Once all are on you will see colored segments on each light. 2 red, 2 yellow, 2 green and 2 blue.
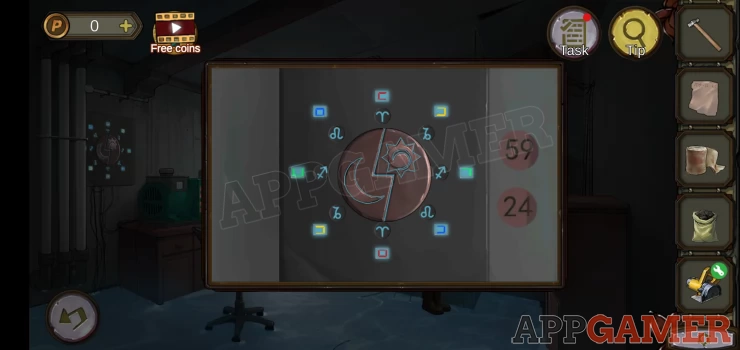
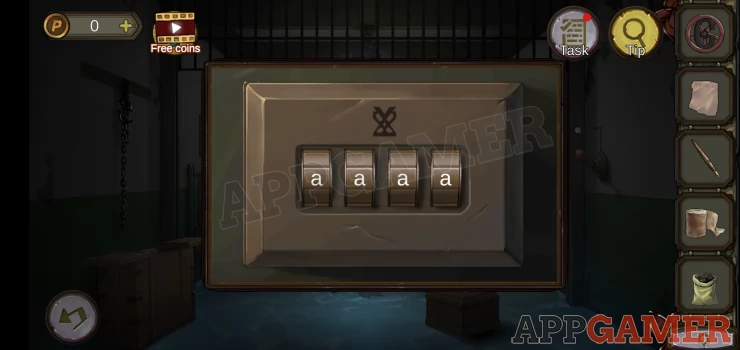
On the other side of the room is the red cabinet. This ha a 4 digit lock.
Hint: There are symbols above which match those on the panel with the blue lights.
Solution: get the 2 segments from the matching symbol lights from above and put them together to make a number.Show
Code: 6943Show
Collect an impeller
Return to the engine/pump room and tap the motor on the right of the room.
Add the impeller to this to fix it.

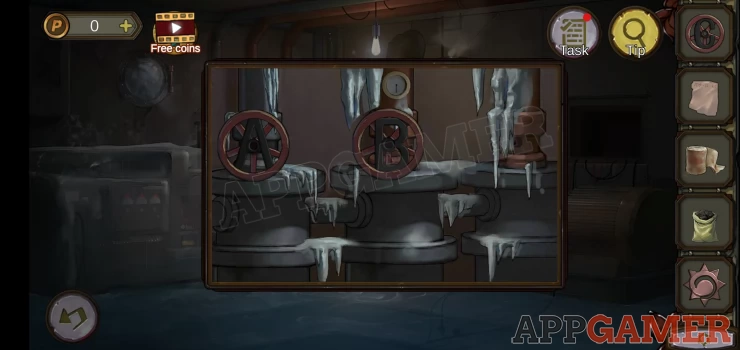
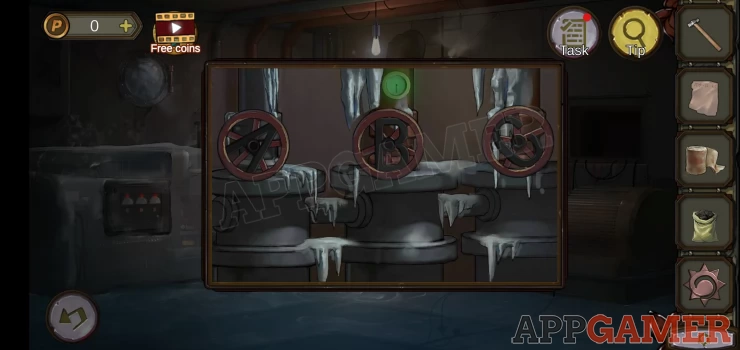
Now view the porthole window on the left. It is frozen.
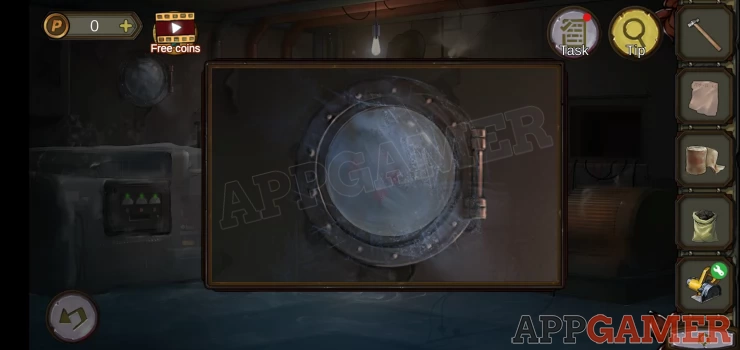
Use the matches on it to melt it.
You will see a monster eye appear. Then the window cracks and numbers appear. Note the # sybmol.

Return to the power control room.
View the number keypad on the top right.
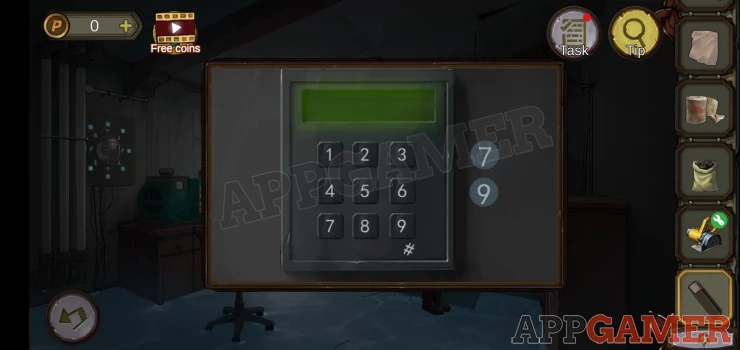
Hint: Note the # symbol.
Solution: 2469Show
Collect a circular saw blade.
Combine the broken chainsaw and the saw blade to make a 'complete chainsaw'.
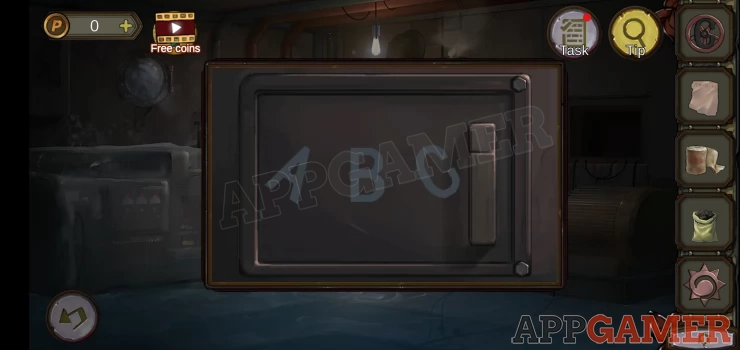
Go back to the engine room and tap on the square grill on the right wall.
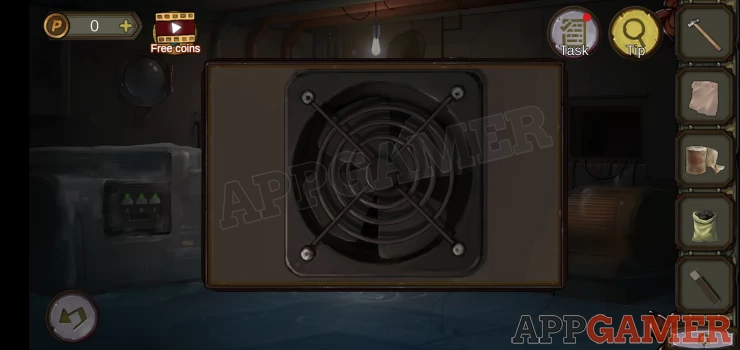
Use the saw on this top open it and collect a key and a board.
Go back to the cell and view the hole in the wall at the back.
Add the board and nails and use the hammer to patch the hole.
Back to the first room and tap on the ceiling hatch at the top of the ladder.
Use the key you have to open this and go up to the next floor.
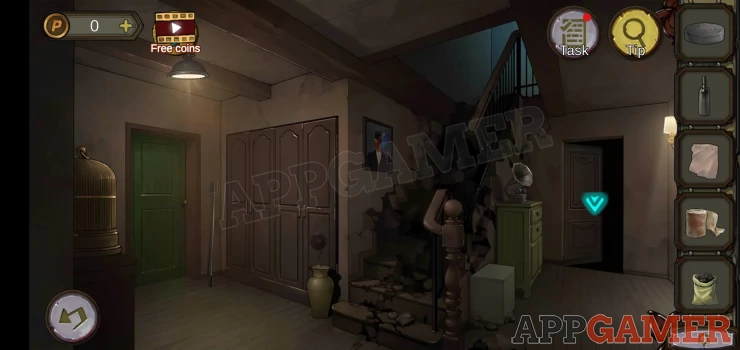
On the far left is a cage, view this, open the hatch, and collect a knob.
Then to the right of the green door is a Harpoon to collect.
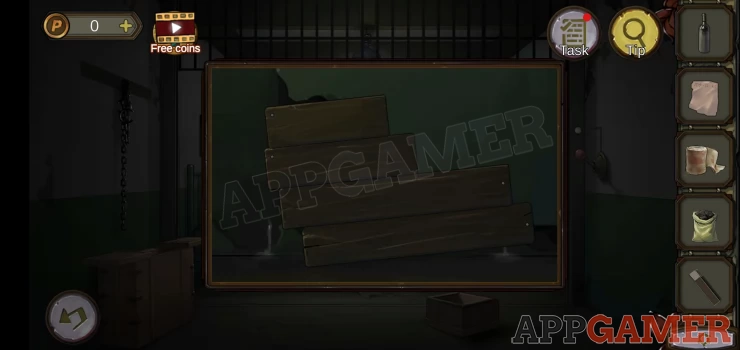
On the right of the stairs is a green cabinet. View this.
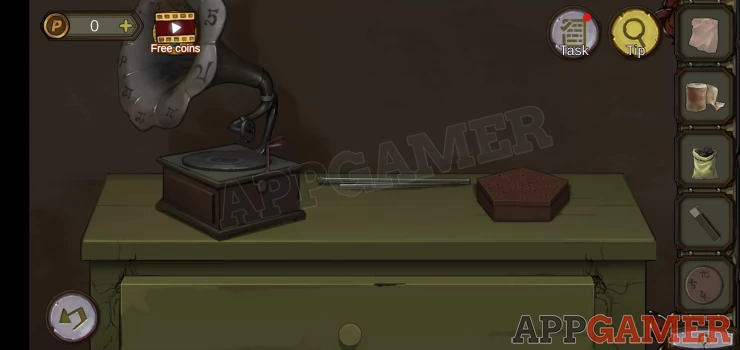
Collect the iron pipes in the center and then tap on the gramophone.
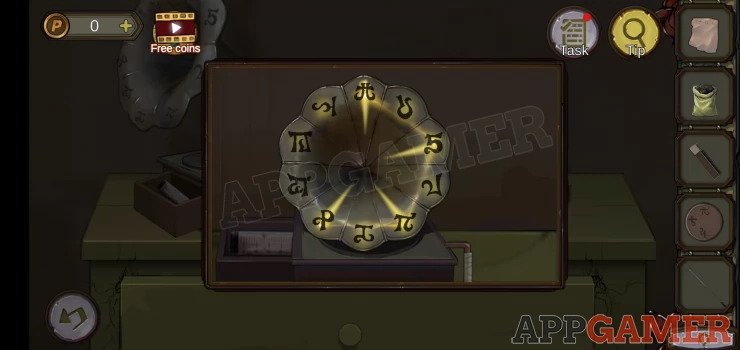
When you use the handle it breaks. Use the bandage to fix it and then tap again to start a puzzle.
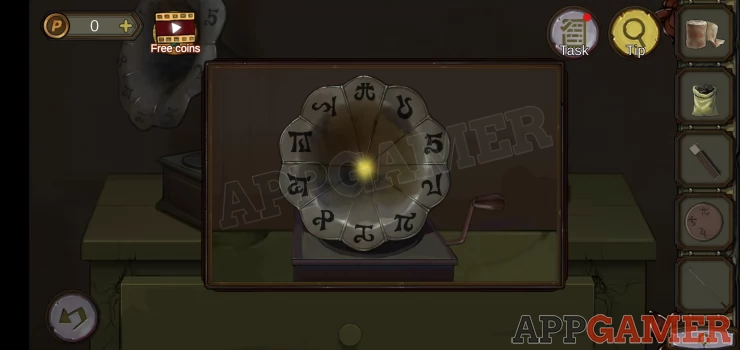
Symbols will appear, you need to tap the matching ones on the horn rim before it disappears to fill up the gauge on the right.
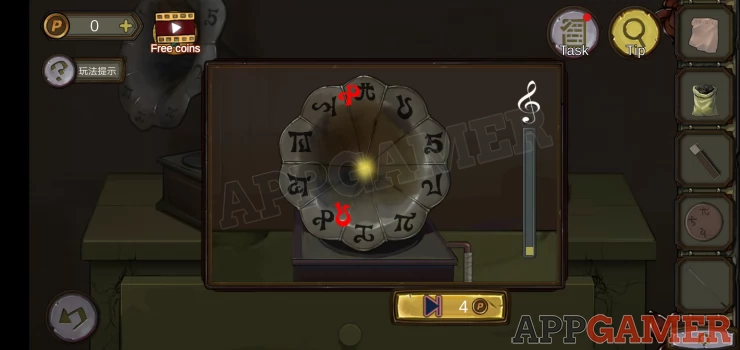
Once full you will be shown a clue. And you can collect a syringe from the left.
Show
Now tap the door on the right to go through to a bedroom.
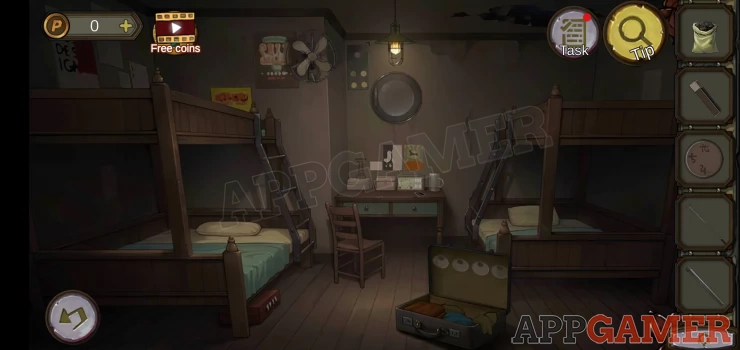
View the desk in the center and collect a photo. You can view this to see a clue
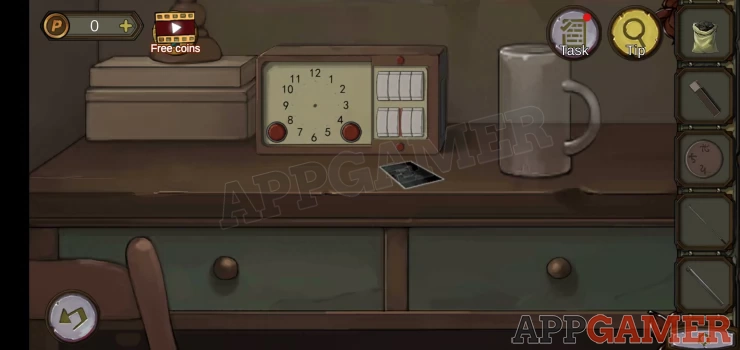
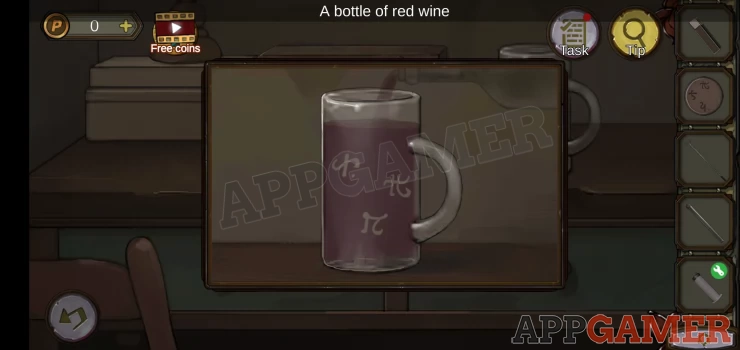
Then view the glass and add the red wine to it to see a clue.
Show
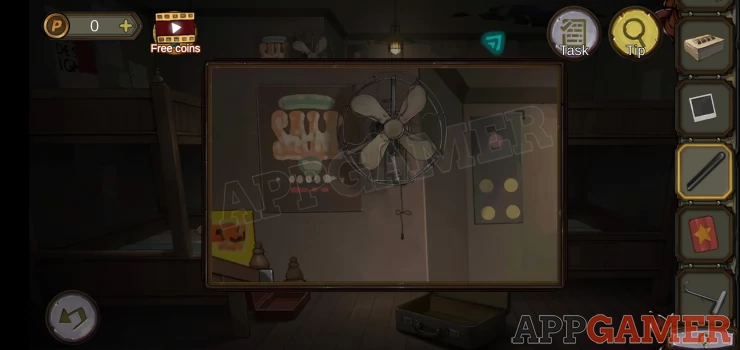
Next tap the fan on the wall above the bed, note the dice pattern on the right.
Collect from the fan a syringe piston.
Below the bed on the left is a case with a 4 digit lock.
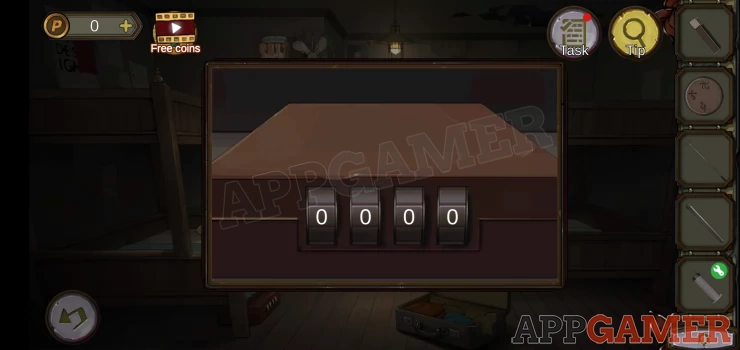
Hint: The clue for this is in the photo.
Solution: count the fingers on each of the hands in the air.Show
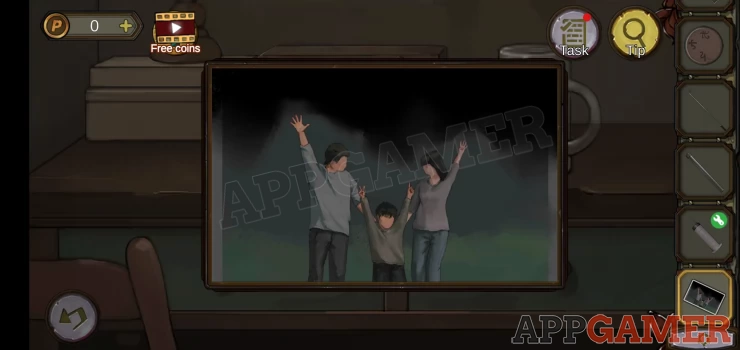
Code: 5214Show
Collect a camera and a wooden box. Note the drawing.
View the wooden box in the inventory, these is a circle missing. Add the knob to it to complete it.
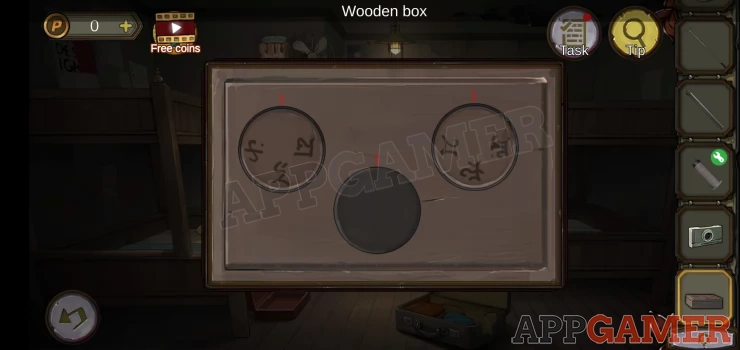
You can now solve a puzzle. Rotate the 3 knobs to align the correct symbols at the top.
Solution: check the symbols on the glass of wine.Show
Collect a metal fragment.
Now view the tin box in the inventory and add the metal fragment to it. This is a new puzzle.
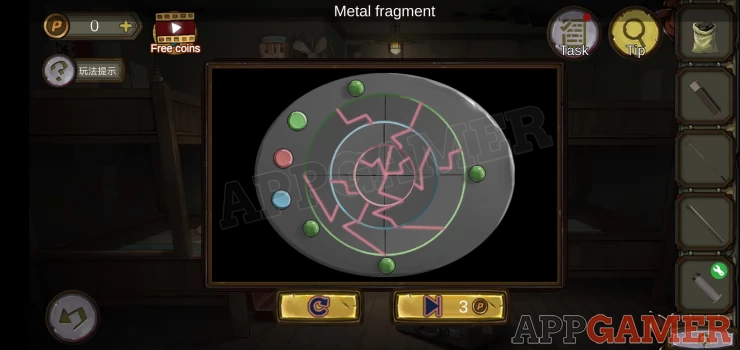
Tap the 3 buttons on the left to rotate the rings. Make the lines connect to the green lights on the outside.
Collect a Half key.
View the open case on the floor.
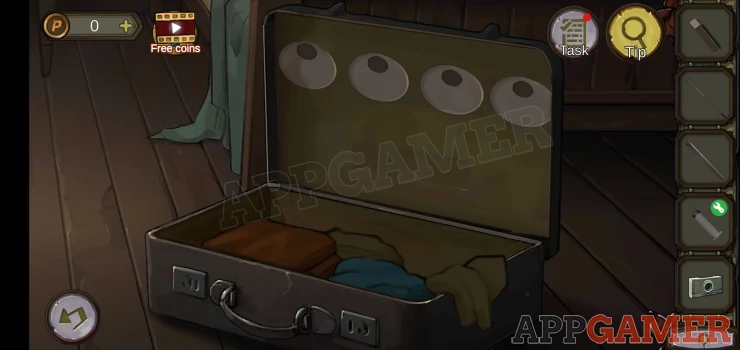
Tap to remove items, you will collect photo paper and a cigar box. Note the book with a plant on the cover.
Next tap the ladder to the bunk on the right, it is missing rungs.
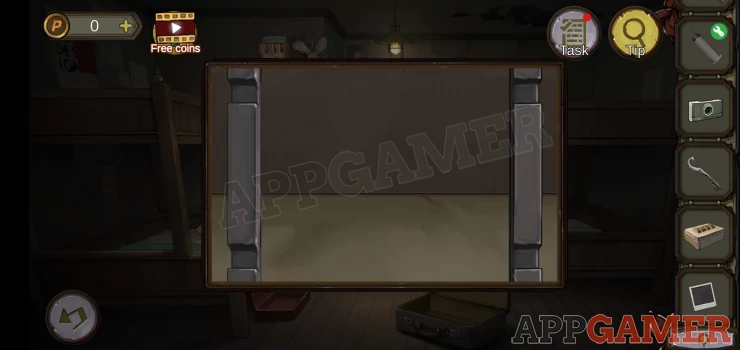
Add the iron pipes to it to complete the ladder. You can then view the top bunk.
Move the sheets and collect a diary page.
You can then tap the hatch above the bed to go up onto the ship deck.

That completes part 1, Move on to Chapter 6 - Part 2
We have questions and answers related to this topic which may also help you: Show all