Chapter 8 - Part 2
More Dream Escape - Room Escape Game
This is our guide to Part 2 of Chapter 5 of Dream Escape, another mysterious escape room game from Jusha.
You have just grown a giant plant in the green room with the armor and have climbed up to the room above.

On the floor on the bottom left is a key to collect.,
Then tap to view a small box on the rubble to the left.
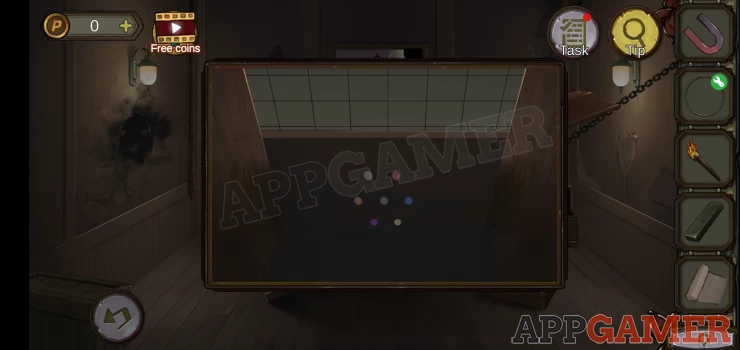
Add the bead to start a game of solitaire.
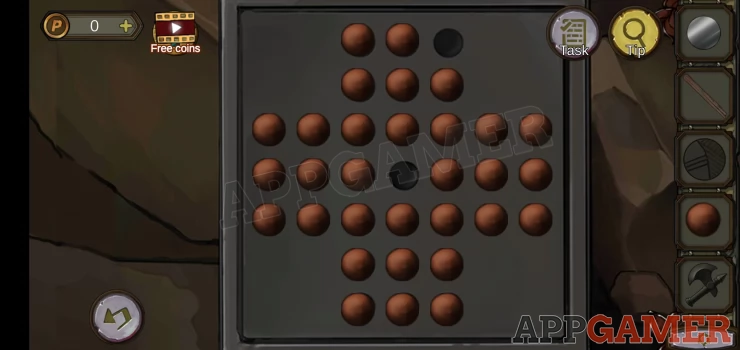
Once completed collect a stone pickaxe.
Combine this with the round stick to get a Stone pick
Next view the green cabinet on the right.
Add the correctly shaped Metal piece to it to open it and collect a Small shovel and a Small metal piece.
From the bottom left foot of the cabinet collect a long stick.
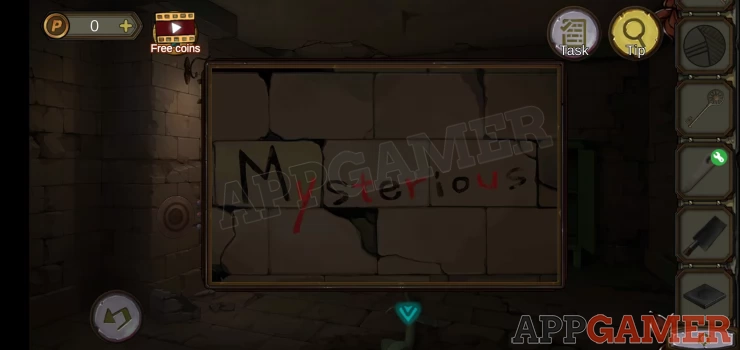
Tap the wall at the top center to see a clue.
Note the letters in red
Show
Go down to the first room you started in and view the cabinet on the back right.
Use the key to open this and collect a stone box
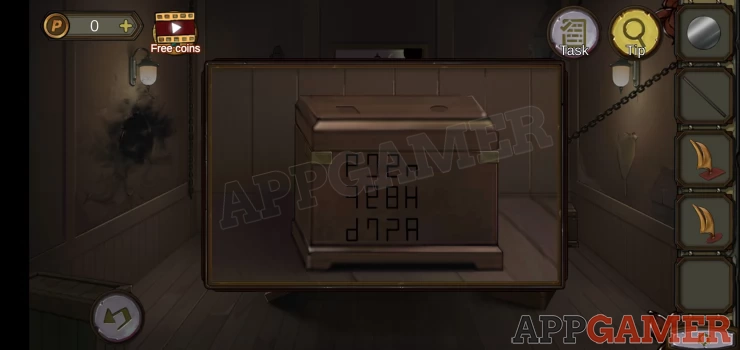
View the stone box and use the small shovel on it to clean it.
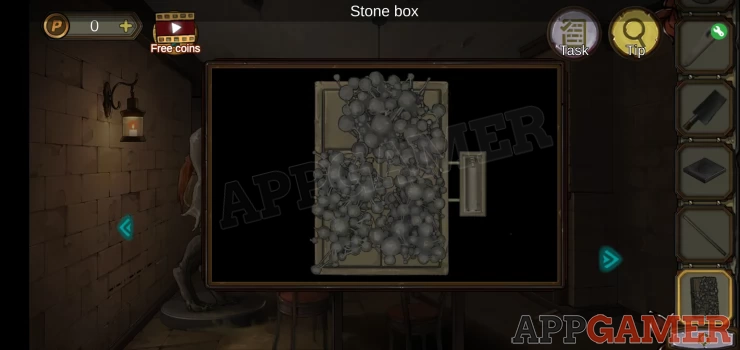
Then add the battery to the side of the box to start a puzzle.
A sequence of symbols will appear. Then use the buttons below to tap out the sequence.
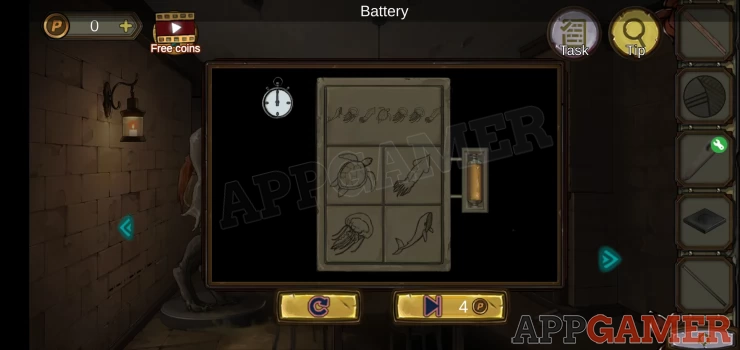
Do this twice to open the box and collect a Fish-shaped metal block.
Go through to the coffin room and then into the basement.
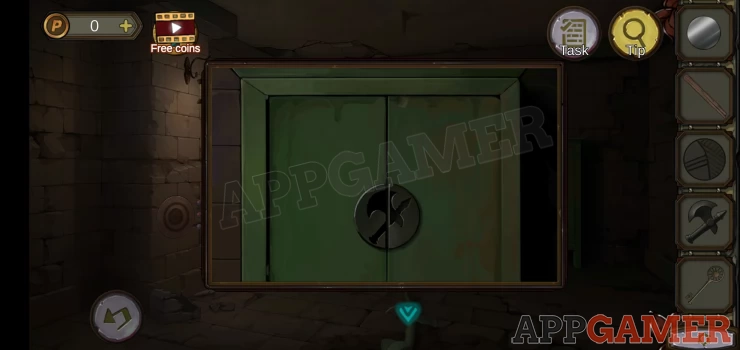
On the back wall above and to the right of the coffin is a panel, view this.
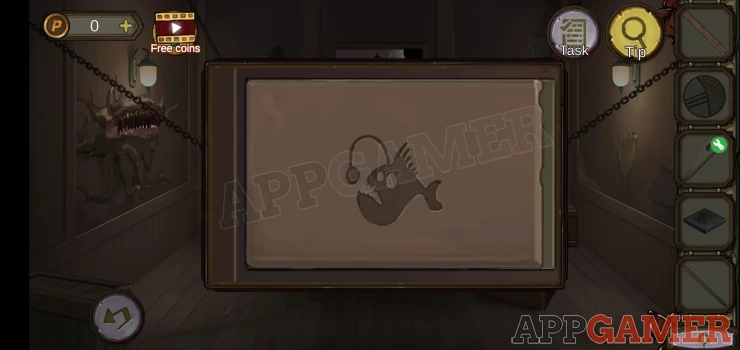
Add the fish shaped block to open it and find a puzzle.
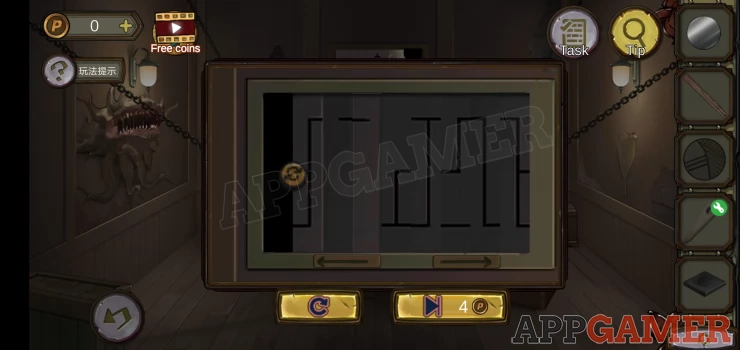
Use the arrows and the button on the left to rearrange the strips to make a continuous line.
Once done the coffin will fall at one end. You can collect metal sheets from the floor.
Go back up the room above the coffins with the cage.
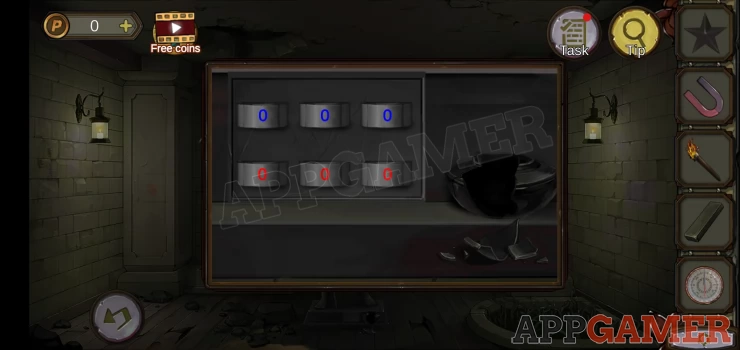
View the box on the wall in the center to see a 4 letter code lock.
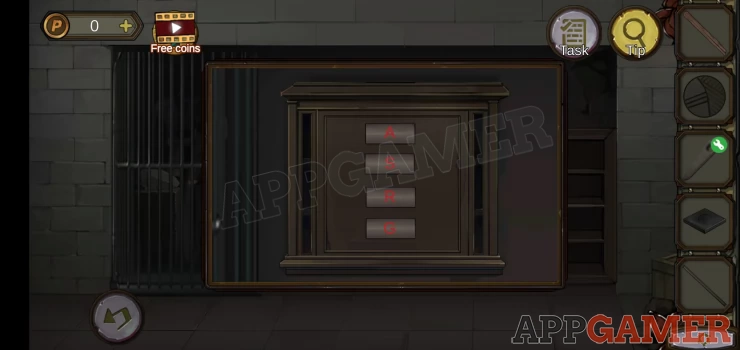
Use the clue above to open this.
Code: Y T R UShow
Collect another turtle shell
Then view the lock on the cage door.
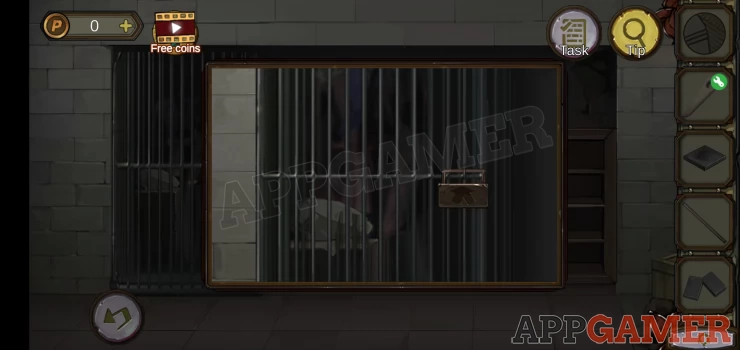
Add to this the small metal piece and the metal piece. You can then open the door.
Tap to move the stone and collect a Note from under it. And also another turtle shell.
Go back down to the room of coffins.
On the left is a panel with stars, view this.
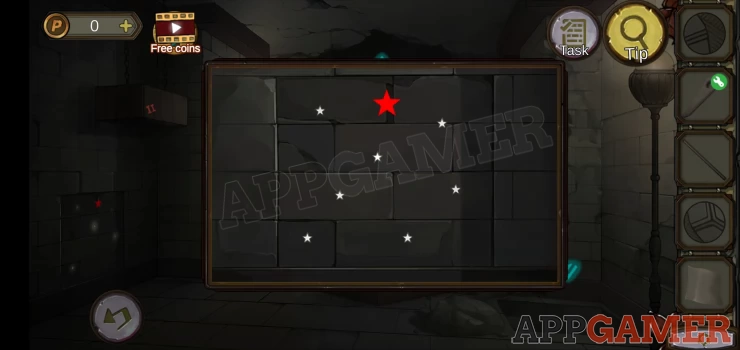
Check the note for a clue.
Show
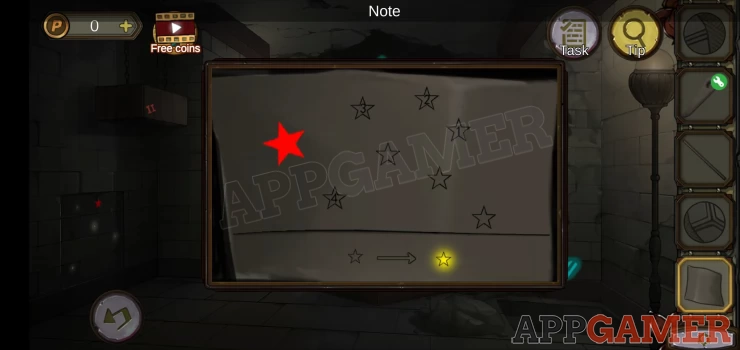
Solution: Follow the numbers 1 to 4 on the stars, tap these to activate them. Note that the paper clue is rotated. The stars will then all glow with varying brightness. Follow the second part of the note clue. Tap the from darkest to brightest.Show
Collect a Dinghy.
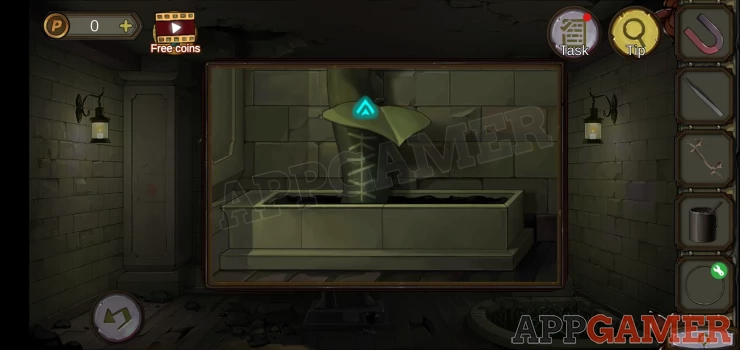
Go back to the courtyard, then up the plant to the room above.
On the center of the back wall is a large turtle shell. Add the 3 turtle shell items you have collected to this to start the puzzle.
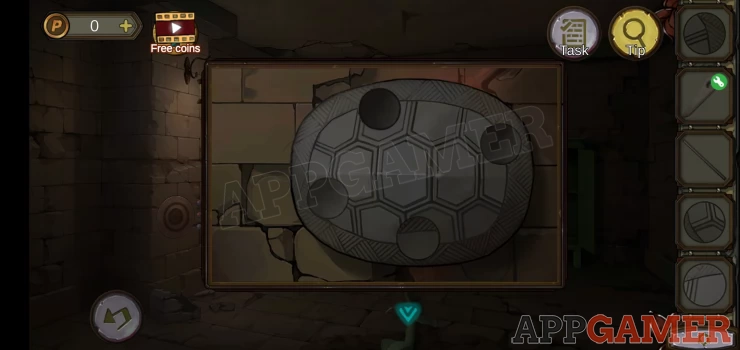
Tap each circle to rotate the other 3. You need to get all 4 to align correctly.
Once done the shell will crack and fall away.
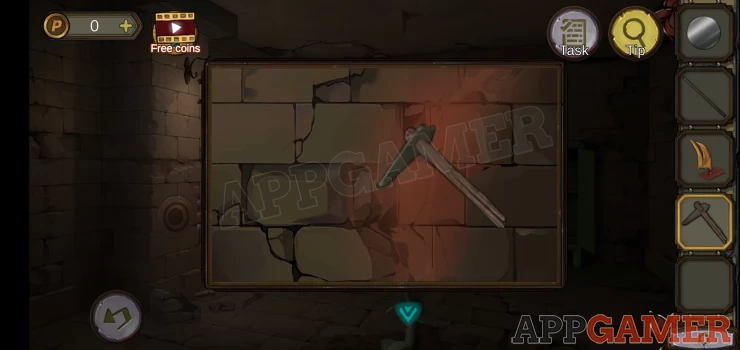
Use the stone pick on the glowing wall to break it open and collect a Red Magic Core (Magic Egg).
Now return to the basement below the coffins.
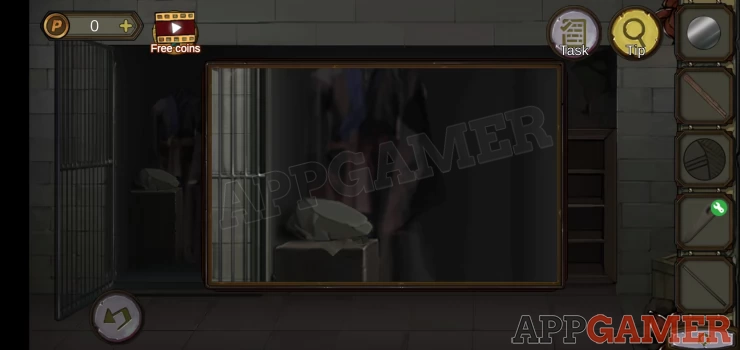
View the creature in the wall on the left.
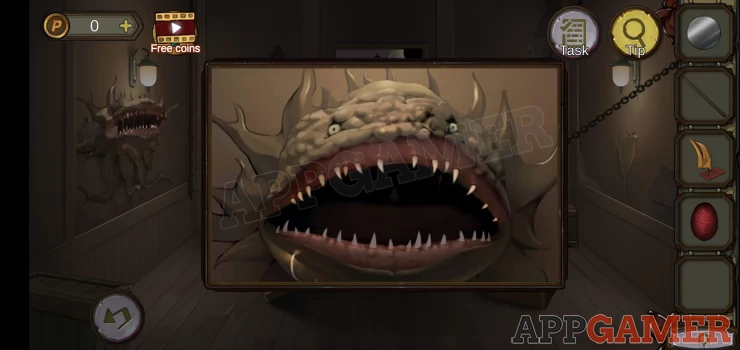
Add the magic egg to the mouth and it will explode. You can then collect a round bottomed dinghy from the floor.
View the box on the floor on the right again. On the top are 2 slots.
Add the round bottomed dinghy and the other dinghy to them. Open the box and collect a key.
Now go back to the first room and up the stairs to the hallway.
Now tap the arrow on the far left to go up more stairs and find a room with locked bars.
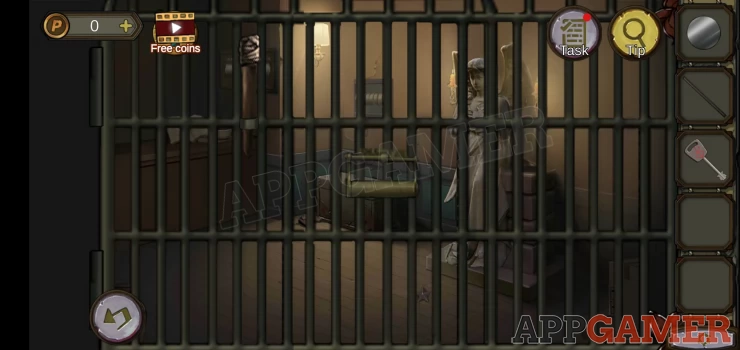
Collect an Extinguished torch from the bars on the left.
Use the key on the lock to open the bars.
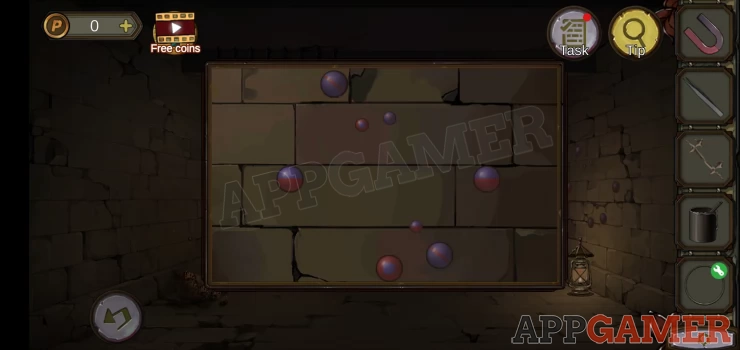
Collect a five pointed star from the floor, then tap on the box on the back right to see a puzzle.
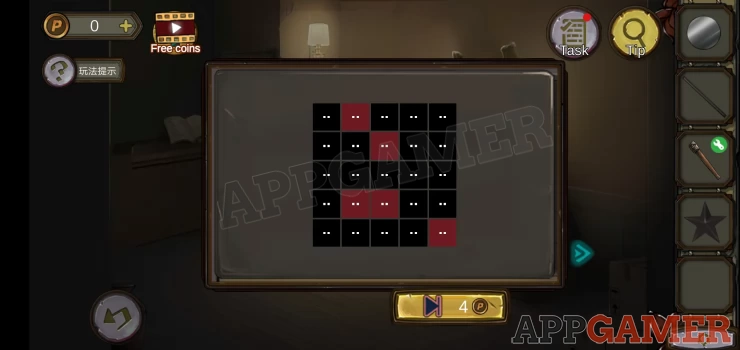
Tap and hold to slide around the board and set the pieces from black to red.
There are 3 levels to complete.
You can repeat squares but only a limited number of times shown by the dots.
Once done collect a magnet.
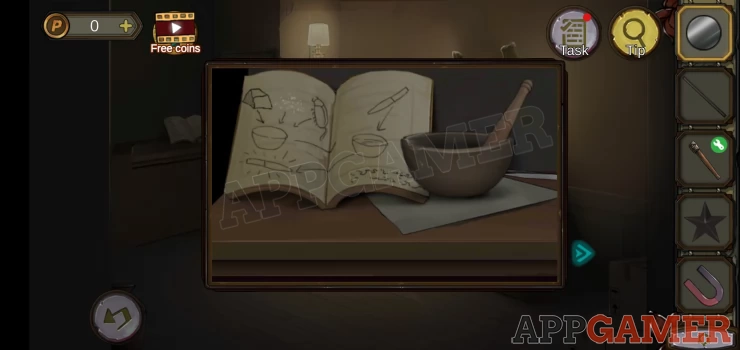
View the unit on the left with the book on top to see a clue. Collect from the right of the bowl some tweezers.
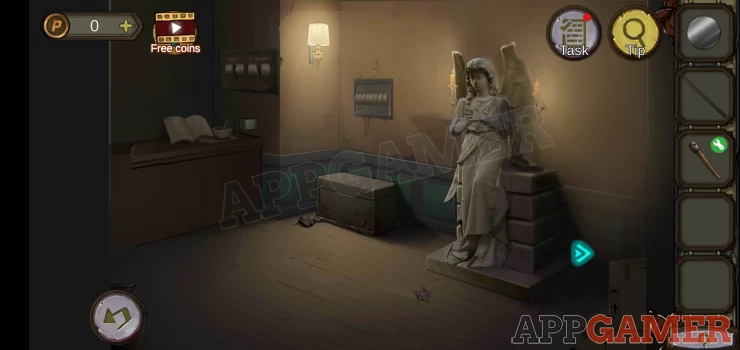
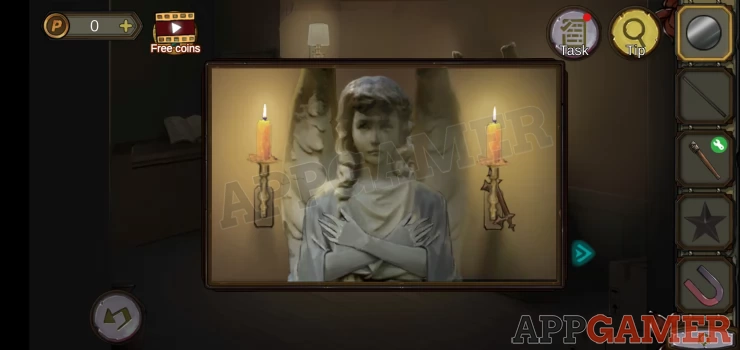
Then view the angel statue on the right and collect a handle from the candle on the right.
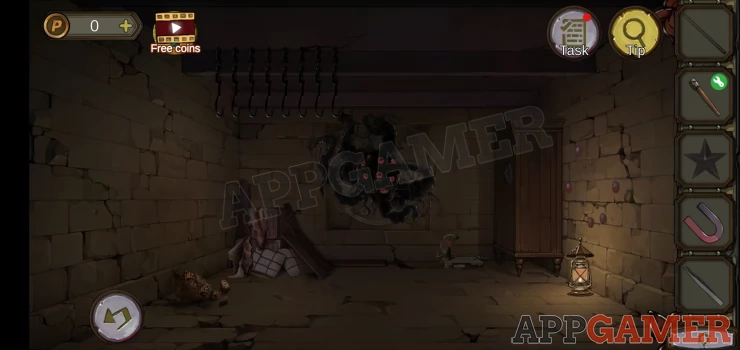
Next move to the right to see a monster in the wall.
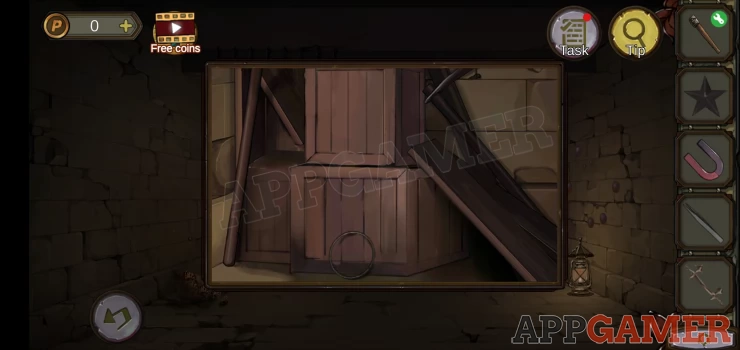
View the pile of boxes on the left.
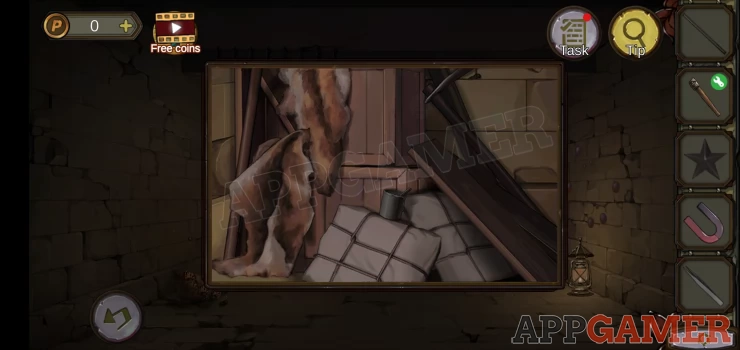
Collect the tin of stain. Then tap to move the items around until you find and collect the circle.
Next view the cabinet on the right.
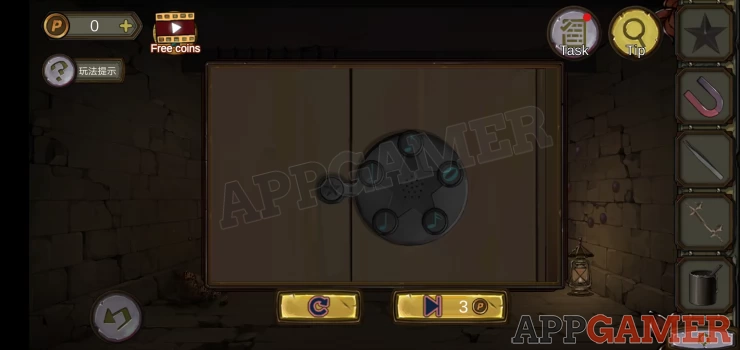
Tap the star on the left to start a tune playing, notes will fly around.
You need to tap the buttons on the right to copy the sequence.
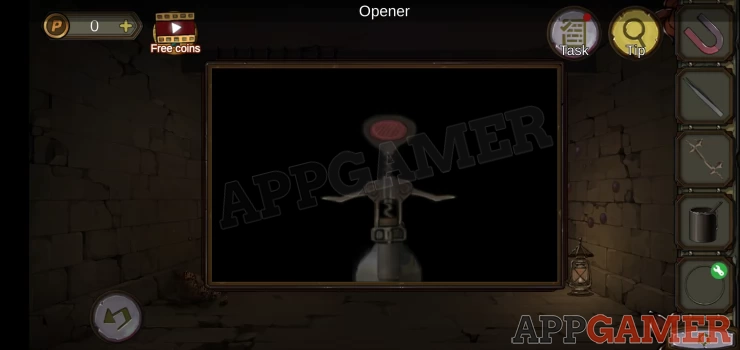
Collect a corkscrew (Opener).
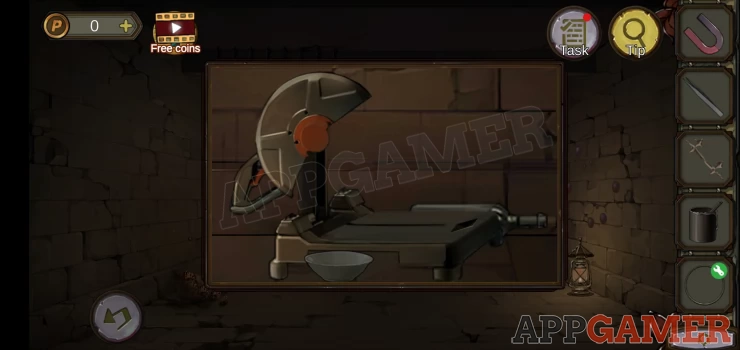
View the tool on the floor in front of the cabinet. Collect from behind it a bottle 'Lecythus'
View the bottle and add the corkscrew to to top. This is now a puzzle to open it.
Hint: there is a clue at the base of the plant that grew.
Show
Solution: on the clue there are 6 steps, tap the arms of the corkscrew to copy the directions of the lines on the clue. (up middle or down). After each step tap the red top to move the corkscrew down a little.
Once all steps are done the bottle is open.
Now combine the Extinguished torch with the opened bottle. You get a torch dipped in fuel.
Check the wall to the right of the cupboard to see a clue.
Go to the room with the coffins and use the torch on the flame on the left to light it.
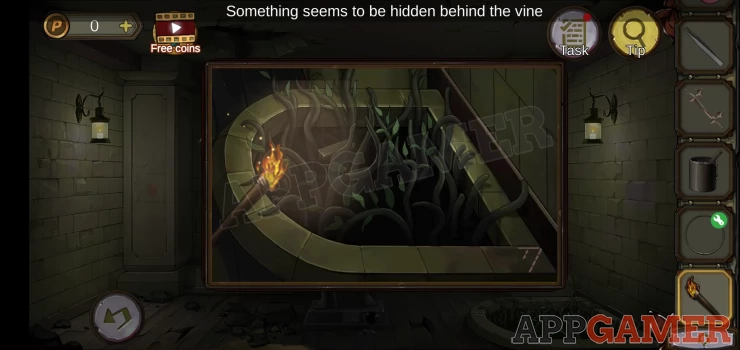
Then return to the courtyard and view the vines in the ground on the right.
Use the torch on the vines to search and find a whetstone to collect.
Now you need to go to the basement.
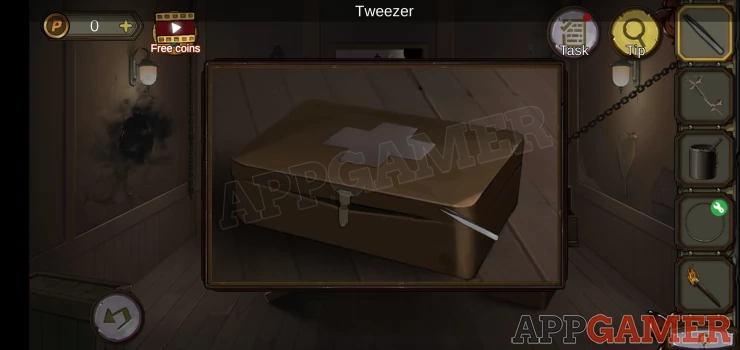
First view the first aid box on the floor. Use the tweezers on this to open it. Collect some gauze
Add the handle to the slot on the left of the coffin and the lid will open.
Tap to look inside and collect a compass. Then use the stain on the inside of the lid to reveal a clue.
Show
Return to the first room and view the picture above the fireplace.
Tap the triangles to move the colored circles around.
Solution: Arrange the colors to match the clue found in the coffin.Show
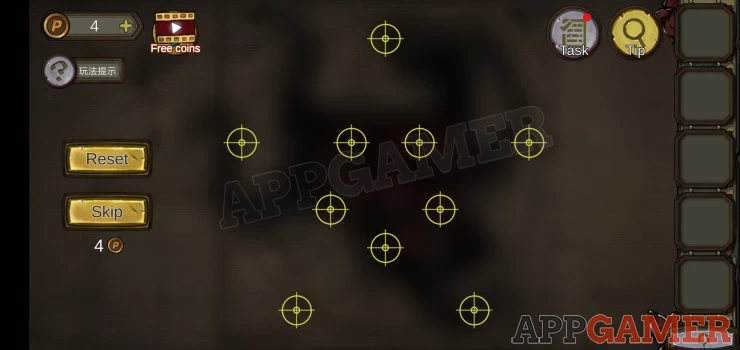
This then reveals a new puzzle.
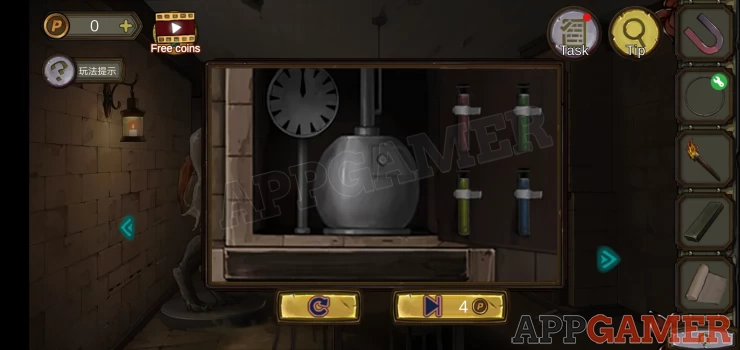
Hint: you can add pairs of colored solutions to the tank on the left, each pair added will make the dial in crease. You need to dill the dial completely but not go over.
Solution: The total amount needed is 13. You can achieve this with the following combinations. B + G = 5, R + B = 4, R + G = 3, Y + Y = 1.Show
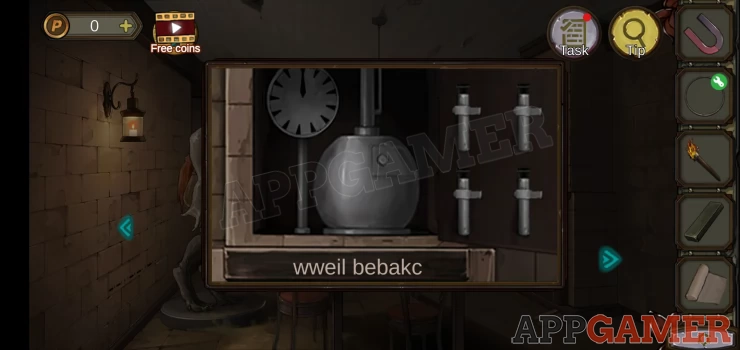
You will then see a clue
wweil bebakc
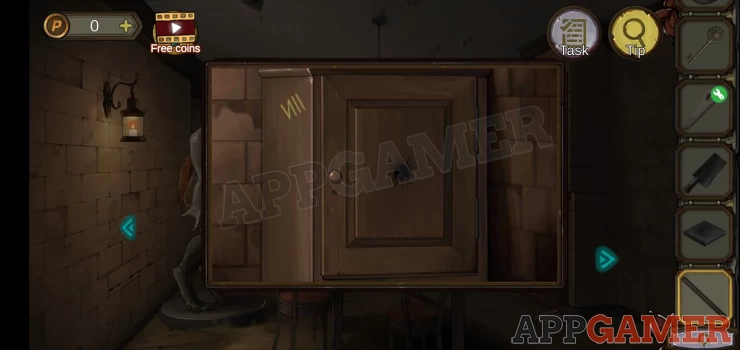
Go back up the stairs to the hallway and then to the top left room with the angel statue.
On the wall on the right, above the recipe book, is a panel with a lock. On the panel it says wewill beback.
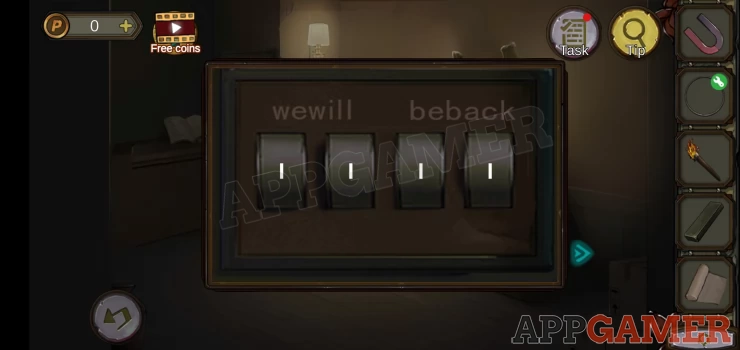
Hint: the clue from downstairs has similar letters but jumbled.
Solution: You may need to write this one out. If you imagine the letters from the clue written below the ones on the panel, then in each word draw lines between matching letters. - w is above w, the line will make a I then for the next 2 letters [e w] they are reversed below [w e] so the lines joining these will cross and make an X. This makes the roman numeral IX. Continue this with the rest of the letters in the 2 words to get the code.Show
Code: IX IV III IXShow
Enter this code into the dials and collect a blue energy stone.
Move to the right to the room with the monster in the wall.
Combine together the circle with the long stick and the gauze to make a Long pole with iron ring.
Now view the hooks on the top left.
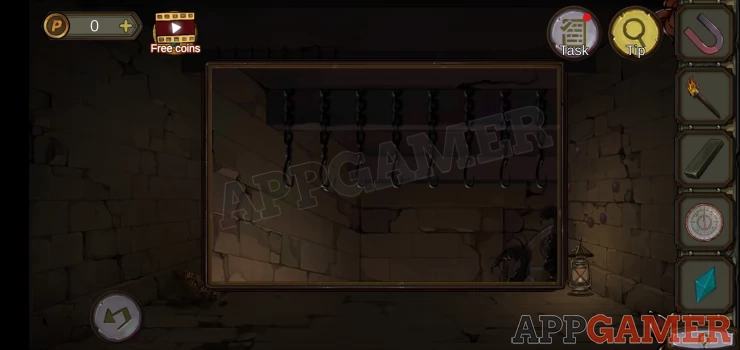
This is a trial and error puzzle, use the pole to pull rings down, if you get then in the right order they stay down, if you get one wrong they reset and you have to start again. Work out the order
Solution: numbered 1 to 8 from left to right, pull: 1 7 6 4 3 5 8 2Show
The chains will now lower and show another clue.
Show
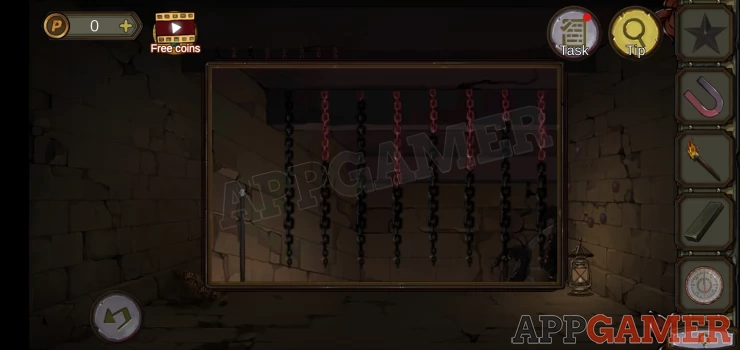
Move back to the left room and view the blue panel with the 8 digit code lock.
Hint: the clue for this is the chains.
Solution: Count the visible red links, 0 6 1 8 4 7 3 6Show
Now go downstairs to the to the green room with the armor. Tap to view the base of the armor
There is a code lock here with blue and red numbers.
Hint: the compass has a needle with blue and red.
Solution: view the compass and then add the magnet to it. This moves the needle. The blue end now points are 45 and the red at 225. Set these on the lock dials.Show
Collect a rusty gear.
Next view the whetstone, then use the rusty gear on it to collect a sharpened gear.
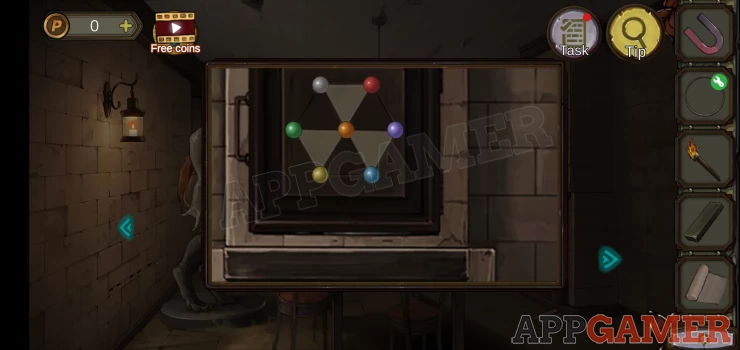
Now go up the plant to the room above and view the circle puzzle on the left.
Add the five pointed star to the center to start.
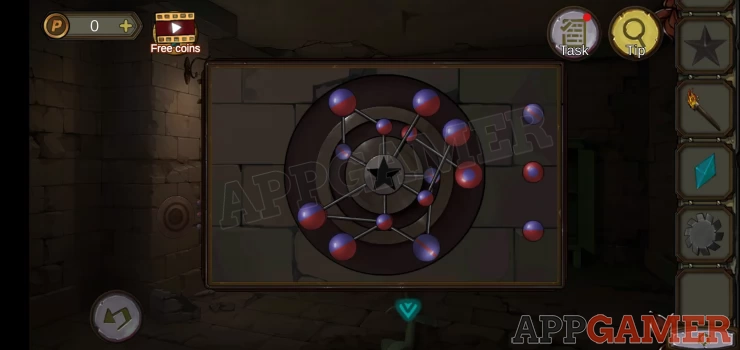
You can now use the 3 buttons on the right to rotate 3 sections of the puzzle.
Hint: use a clue found in the room with the monster on the wall.
Solution: Tap as follows: Top one 6 times Middle one 2 times Bottom one 11 times. Show
Collect a Ruby
Go back to the top room with the angel statue. The hand is open.
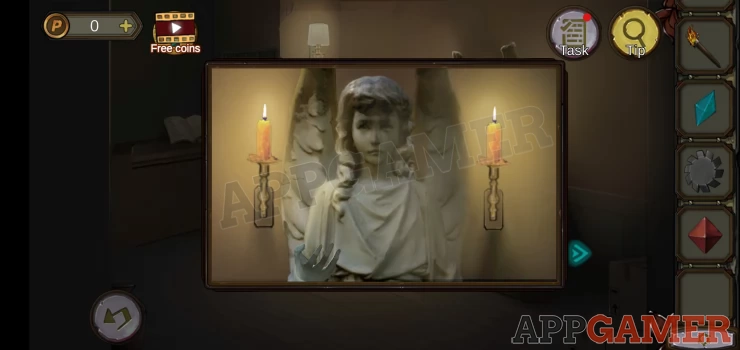
Place the ruby in the hand and there will be a sound from downstairs.
Go back down to the to green room with the armor and you will see a panel opened on the left side. View this.
Collect a golden beetle and take note of the clues.
On the right side of the area is another alcove with a box. Note the clue on it.
I = L.
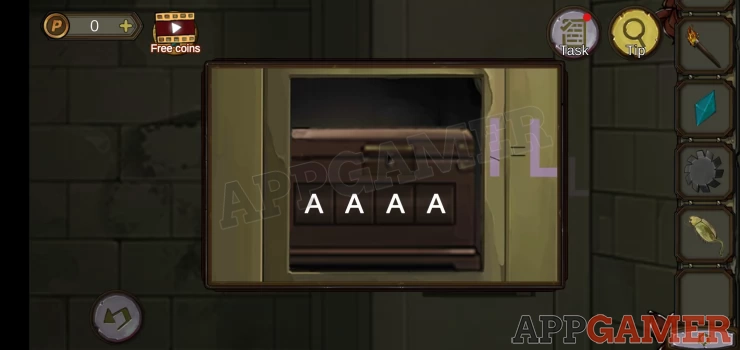
Hint: note that the I has a line on it.
Solution: if you fold the I shape on the clue on the line it will make an L shape. Look at the clues on the left side and you will need to work out what letters will be made by folding each strip on the lines. You can test this with strips of paper.Show
Code: G F P CShow
Enter the code in the box on the right. Collect a dagger.
Go back up the stairs to the top rooms and to the room with the monster.
View the tool on the floor.
Add to this the blue energy stone. And place the sharpened gear.
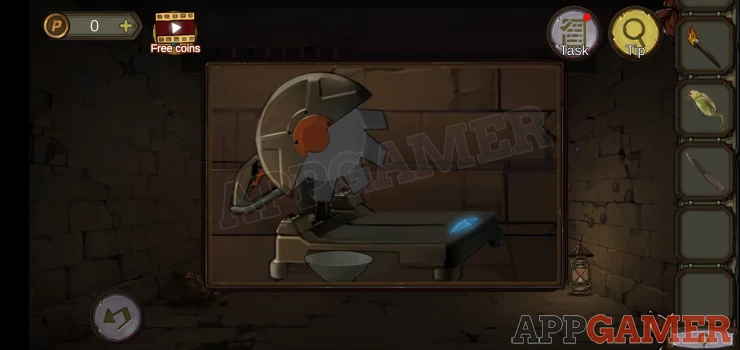
Then add the silver piece to it and the tool will cut it.
Collect the bowl of silver powder.
Next view the bees nest on the floor on the far left. There is a lump of beeswax here.
Use the torch on it to remove the bees then collect the beeswax.
Move to the left room and view the book and bowl on the table again.
Add the beeswax, the silver powder and the golden beetle to it. Then mix
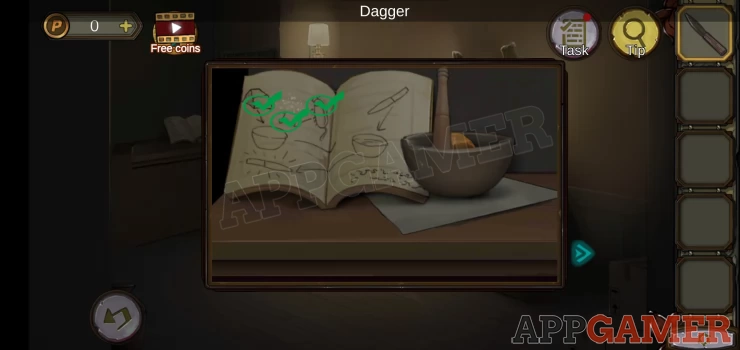
Then use the dagger on this. You will receive an Enchanted Knife.
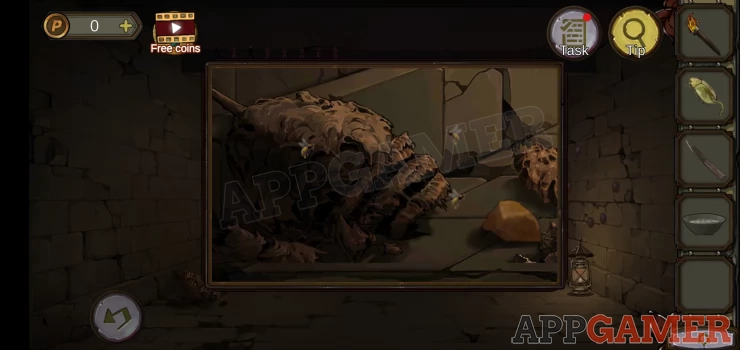
Return to the monster and use the knife to attack it.
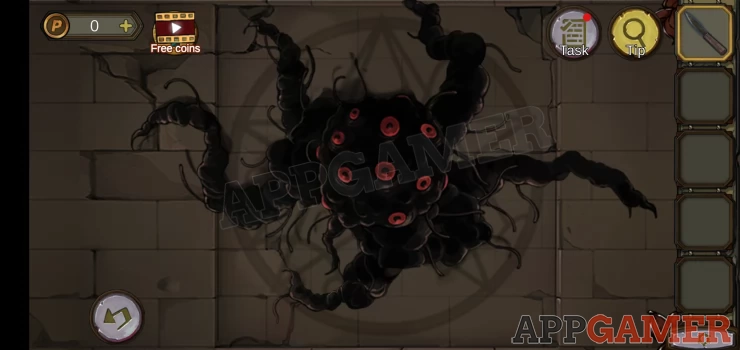
This will start a puzzle game to complete.
A pattern will be drawn on the screen, follow the lines and redraw it.
You need to repeat this for 4 different patterns.
This is a very difficult puzzle, you must be fast enough to complete each pattern in time, but if you miss any of the points on the way you will fail. And they don't seem to register when you move quickly. At least when I tried on my device.
Once done you defeat the monster. Watch the ending, tap the door to go through and complete the game.
Well done you have completed Dream Escape.
We have questions and answers related to this topic which may also help you: Show all