Chapter 4
More Dream Escape - Room Escape Game
This is our guide to Chapter 4 of Dream Escape, another mysterious escape room game from Jusha.
After navigating your way through the Hospital in Chapter 3 you have moved on to find a library and search for the missing book. This chapter begins on a roof.
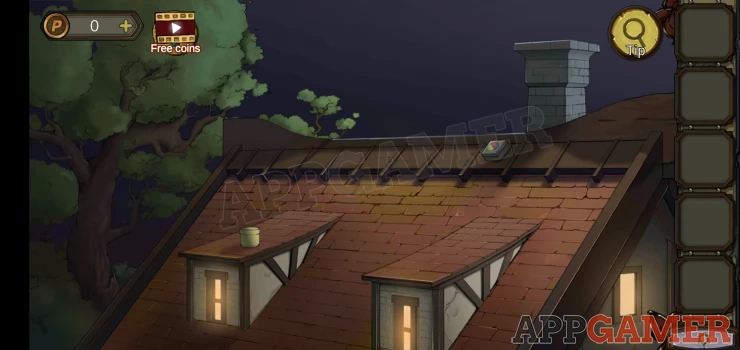
First tap on the chimney to view it and collect a gold fish from the side. Note the green arrow.

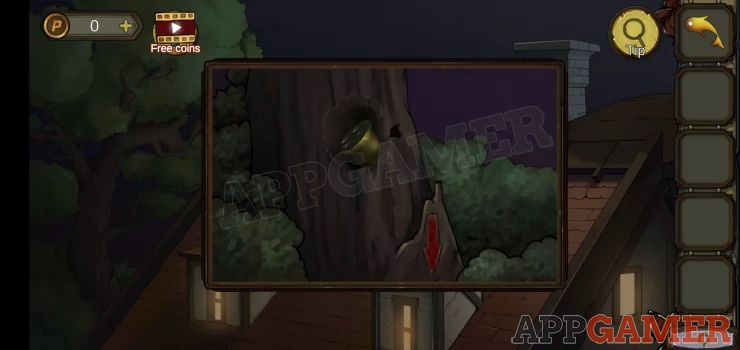
Go back and tap to view the tree on the left. Note the red arrow.
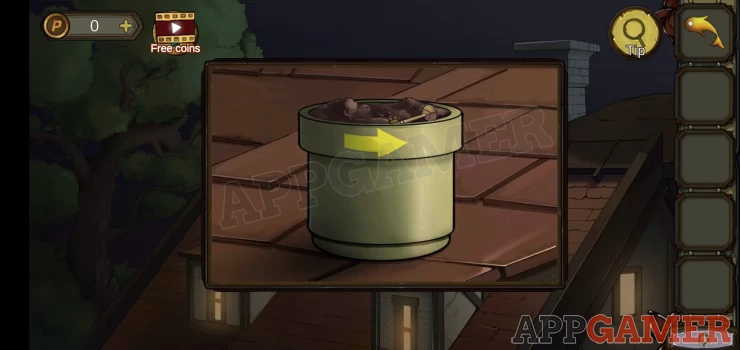
Next view the pot sitting on thee roof to the left. Collect from the pot a key and note the yellow arrow.
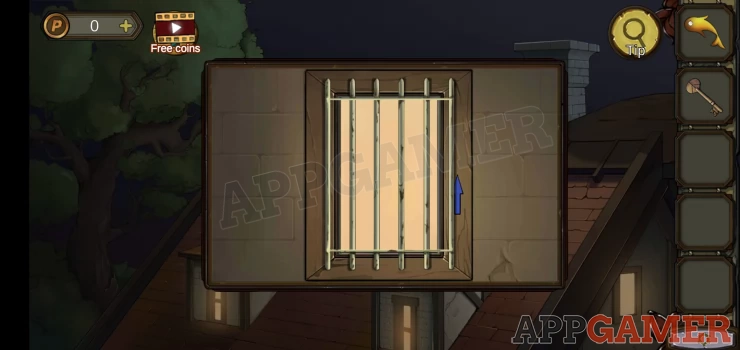
View the low window on the right, note the blue arrow.
Now tap to view the box that is on the apex of the roof to the left of the chimney.
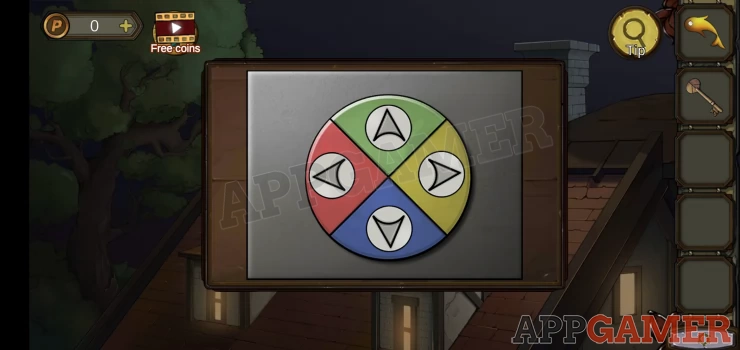
Hint: tap the arrows to rotate them.
Solution: set the directions the same as the clues you have seen. Green - left, Blue - up, Red - down, Yellow - right.Show
Collect a gas welding gun.
View the window again with the blue arrow.
Use the welding gun on this to remove the bard and enter the attic.
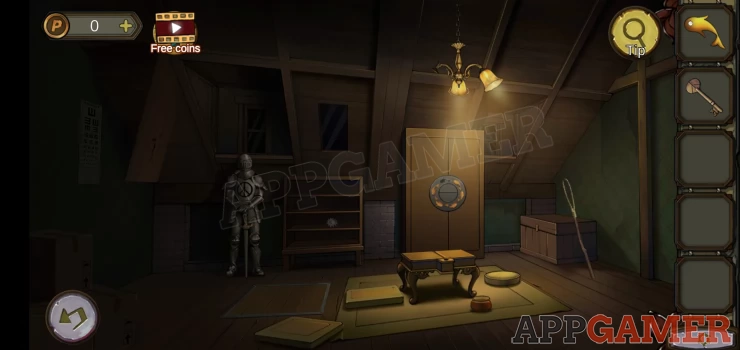
Collect a long rod from the right.
Exit to the roof again and view the tree on the left.
Use the long rod to collect a lampshade.
Go back into the attic. Tap to view the cupboard on the right with a circular lock.
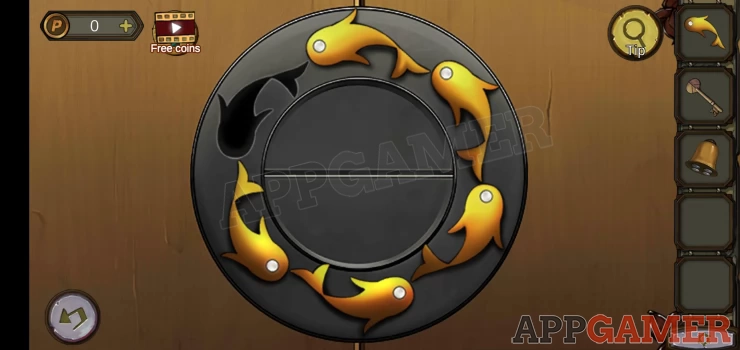
Add the gold fish to the empty slot and it will open.
Collect a red medicine bottle and a gear
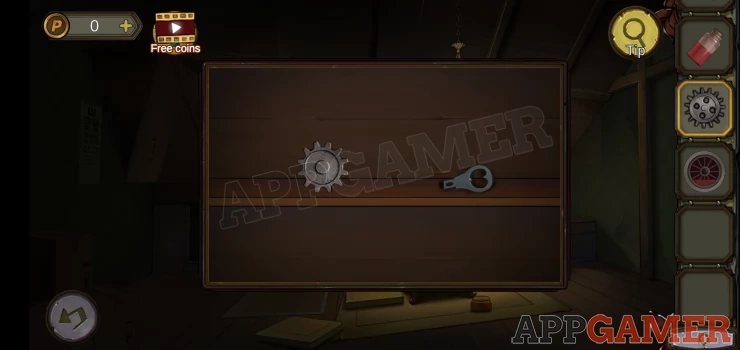
Next view the shelves to the left of the cupboard, collect a can opener and another gear.
Now view the breastplate of the suit of armor to the left.
Use the key to open it.

Inside collect a wheel and then add the 2 gears to the mechanism.
You can now collect a long sword.
On the wall to the left of the armor is a crack, view this.
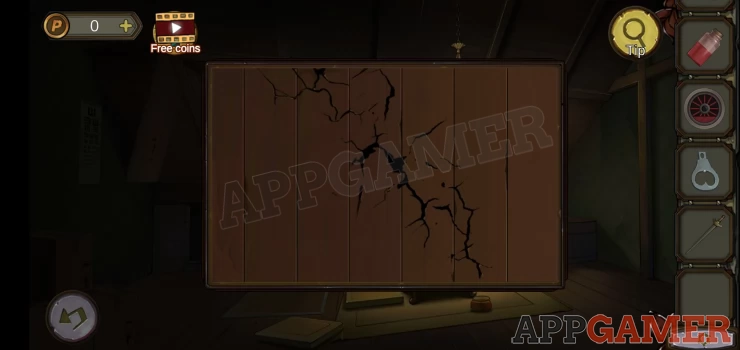
Use the long sword on it to break it open and collect a half key.
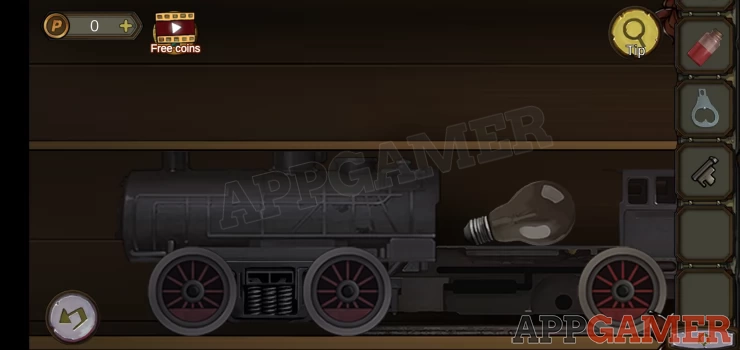
Return to the cupboard and add the wheel to the train. You can then collect a Light bulb.
Now view the light above that is missing a lamp.
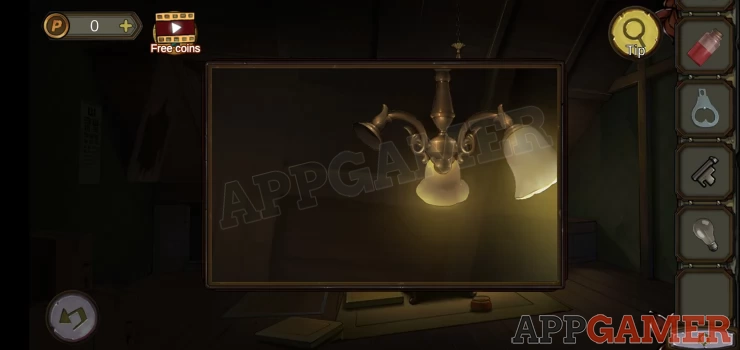
Add the lamp shade and then the bulb.
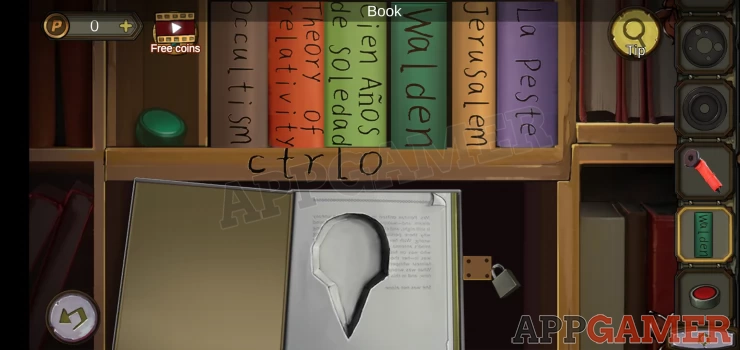
The new light now shines to the left.
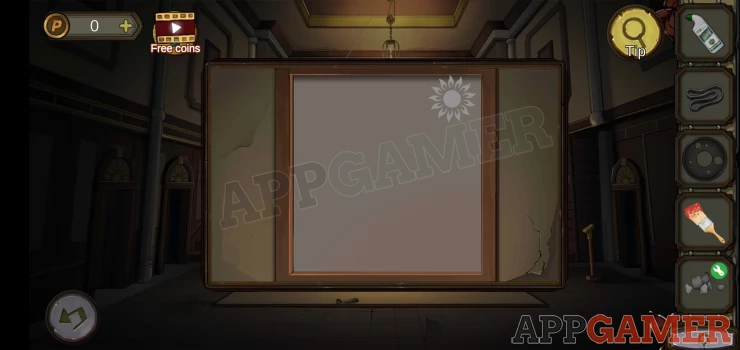
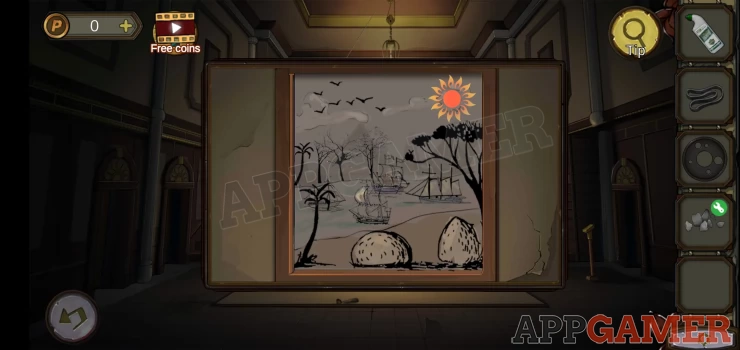
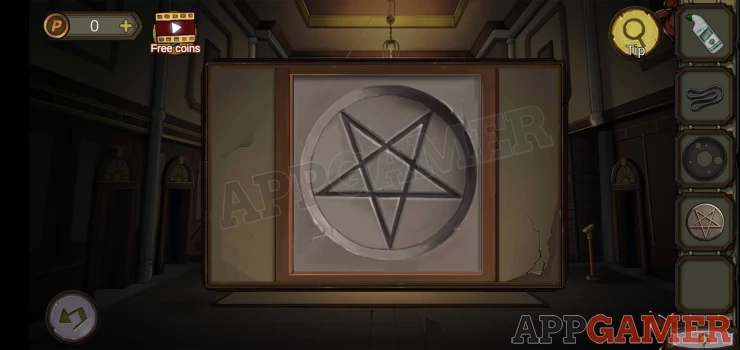
View the sight test card that the light shines on to see a clue.
Show
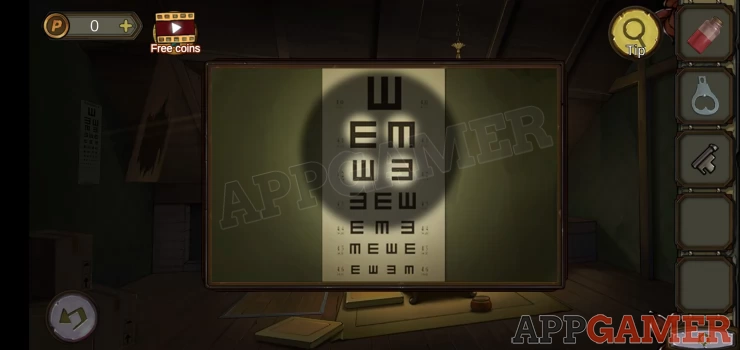
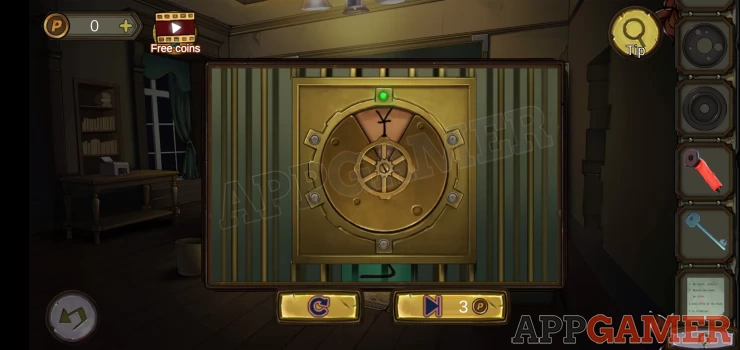
On the floor to the right, in front of the small table, is a small pot. View this to see the 4 symbol lock.
Hint: Use the clue above to rotate the symbols to the correct orientations.
Solution: Note that 2 are higher.Show
Collect a button
Now tap on the small table to view the top.
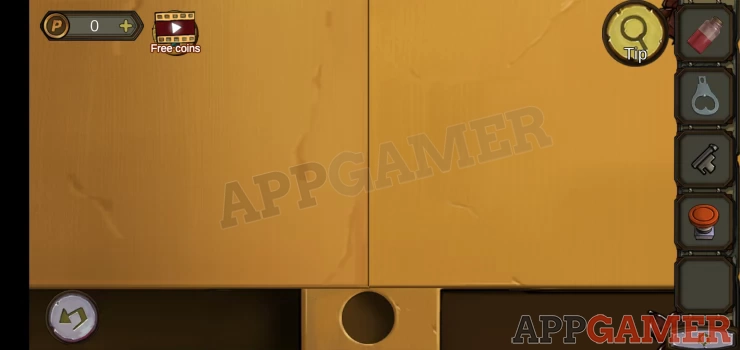
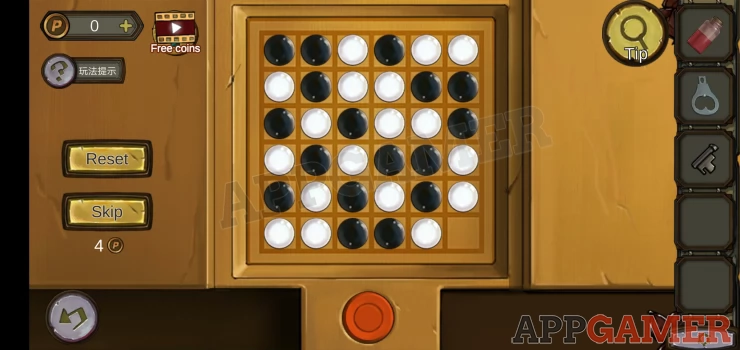
Add the button to the slot below to let you start a puzzle game.
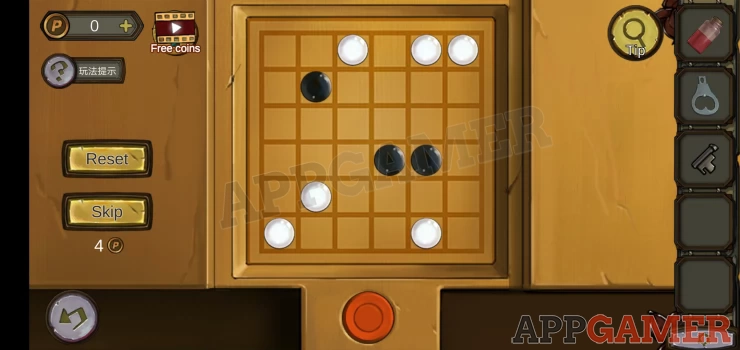
Fill the board with pieces to complete the puzzle. You can only place 3 black and 3 white in each row and column. You cannot change the initial pieces.
Solution: Add a black to the bottom right.Show
Collect a second Half key
Combine this with the other half to make the complete key.
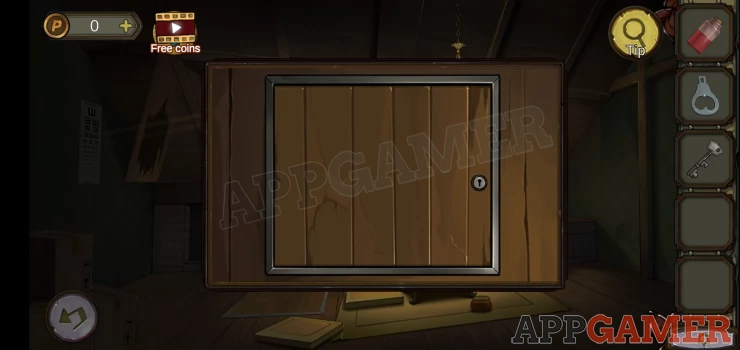
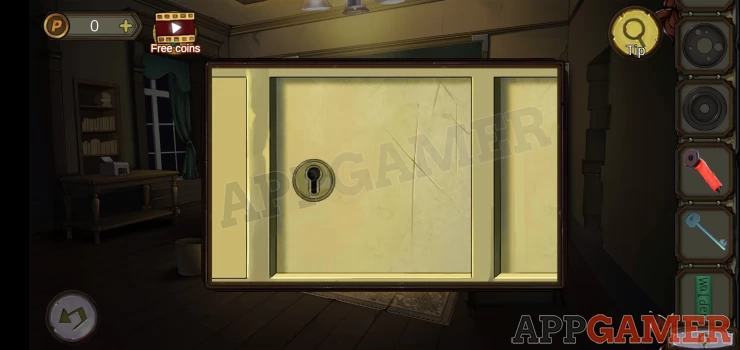
Now view the trap door on the left and use the key to open it.
You can then go down to the lower floor. An animal store room.
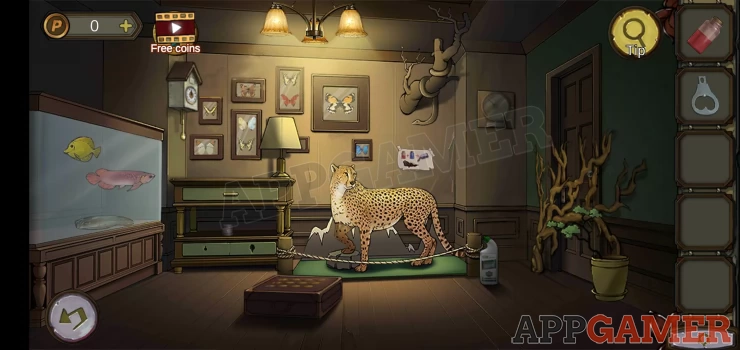
From the floor to the right of the leopard collect the detergent bottle.
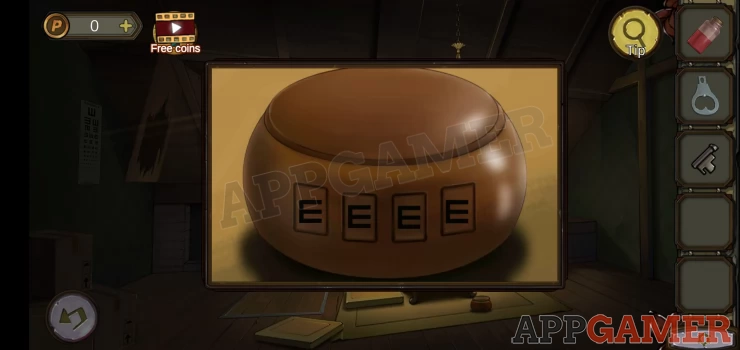
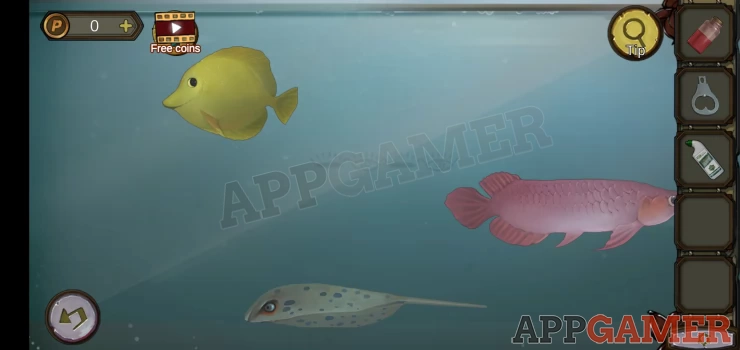
View the fish tank on the left and note a clue in the center. (4 eyes)
Show
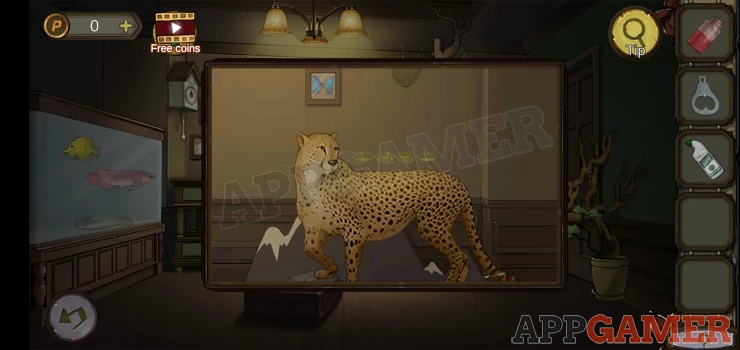
View the leopard and note another set of eyes clue
Show
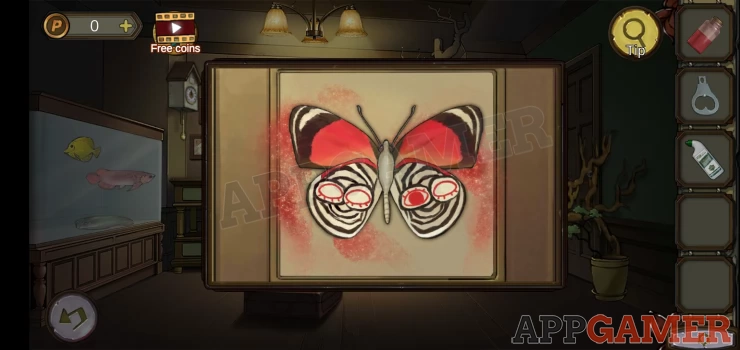
Then view the larger butterfly picture on the wall above the leopard. Another eyes clue.
Show
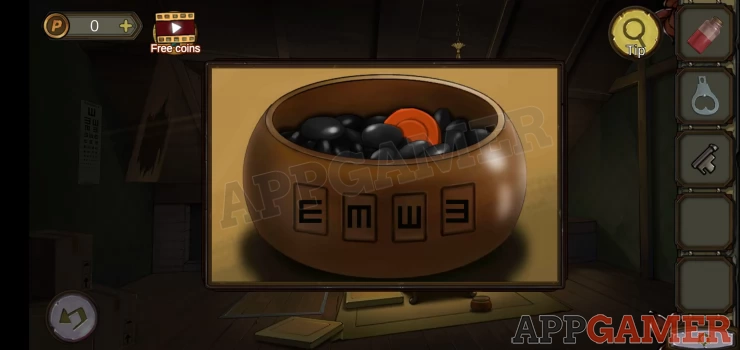
Now view the box on the floor to the left of the leopard. This has 12 eyes on it. Tap them to open them to match the clues above.
Solution: Top row, 2 and 3 open, Second row, 3 open, Bottom row, 2 and 4 open.Show
Collect a battery.
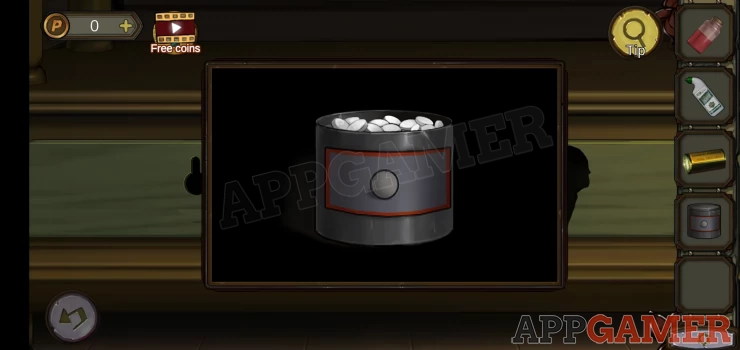
View the table with the drawers on the left. Collect the mothball jar from above.
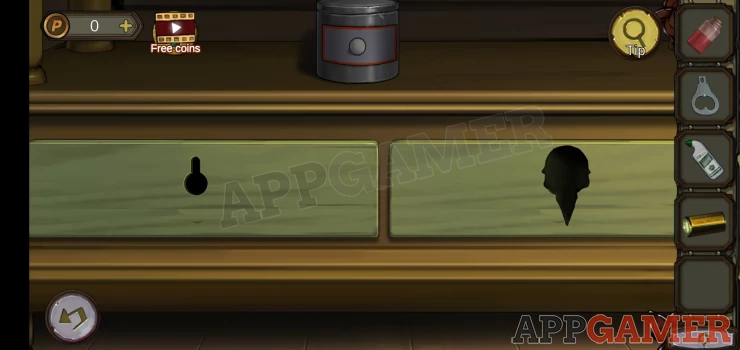
Use the can open on this to open it and collect a mothball.
In the top right is a branch with a snake in it. View this.
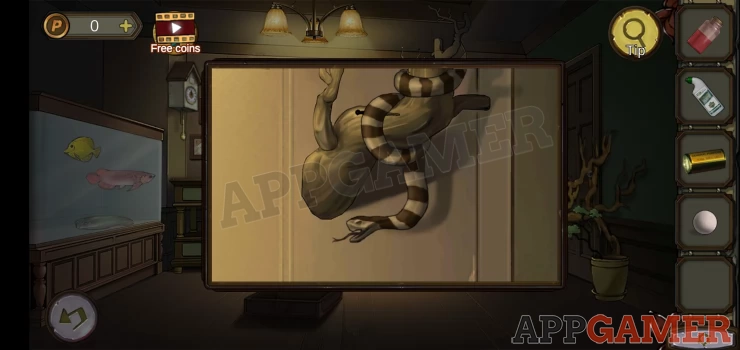
Give the mothball to the snake to make it disappear then you can collect a 'Minute hand'.
Net tap the cuckoo clock on the top left.
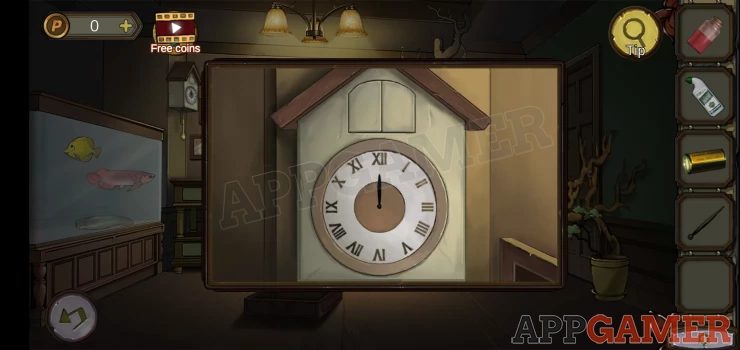
Add the minute hand and then tap to move it around until the cuckoo appears. Collect a key.
View the table with the drawers again and use the key to open the left drawer. Collect a second battery.
Now view the Large circular thermometer on the top right.
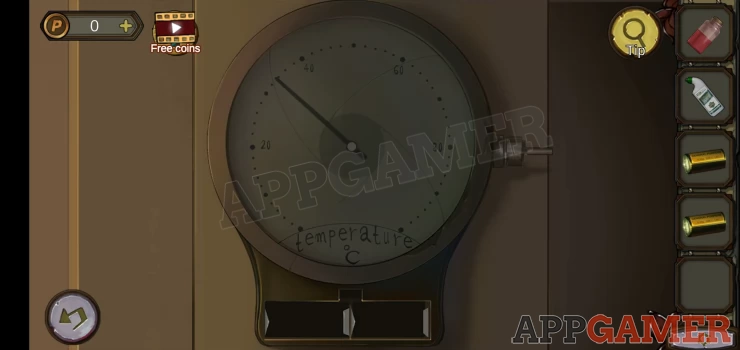
Add the 2 batteries to it, you can then collect a blue medicine bottle.
Combine the 2 medicine bottles to make a mixed potion.
You can now tap on the door way to the right that has a tree growing over it.
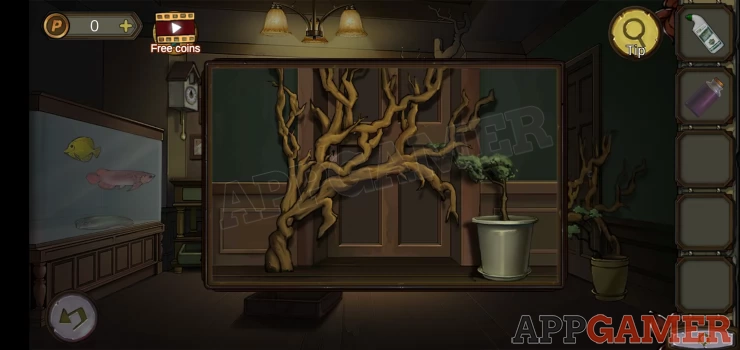
Use the mixed potion on this to make it die back, you can now open the door. and move out into the hallway.
From the ground collect a copper spoon.
From the base of the column on the right collect a gear.
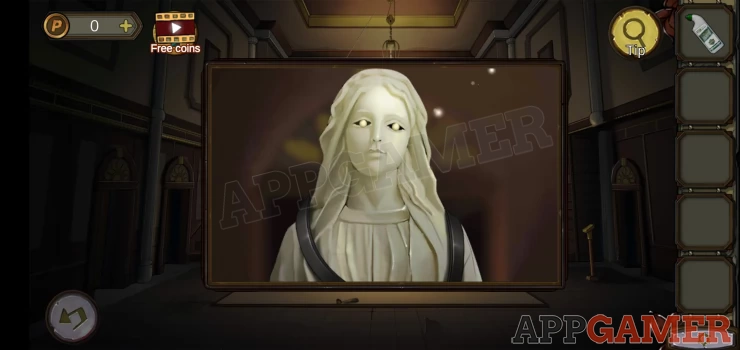
View the statue on the left and collect a transmission belt from its neck.
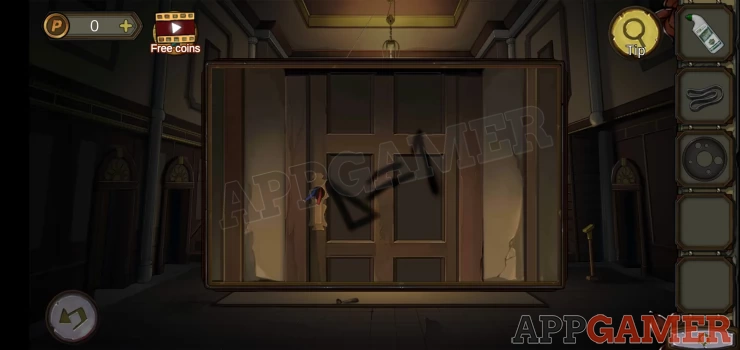
Tap to view the door in the center to see a clue. Triangle = 1
Next tap the yellow desk on the right of the door. There is a 4 digit lock.

Hint: the first symbol is the same right angled triangle as on the door so this = 1
Solution: count the right angles in each shapeShow
Code: 1432Show
Collect a brush.
On the left column these is a small panel, view this.
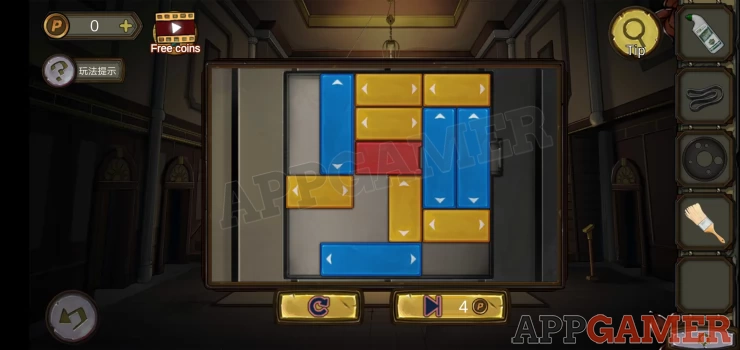
This is a block puzzle, you need to move the central red block to the right.
Once done you can collect a copper seal.
Now view the picture frame on the banisters above the right hand column.
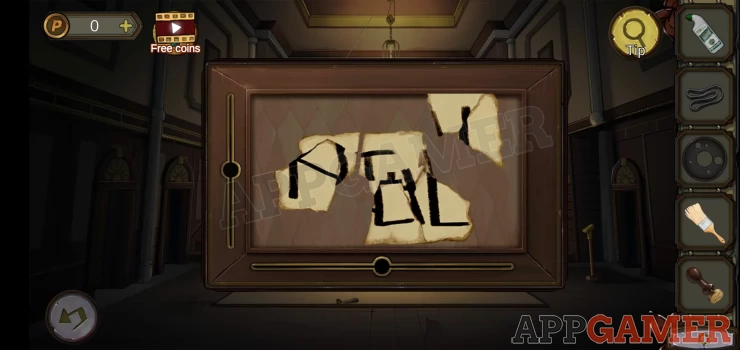
Add the copper seal to this and you can then move the sliders left and right, up and down to arrange the elements of the word. This will give you a clue word
REALShow
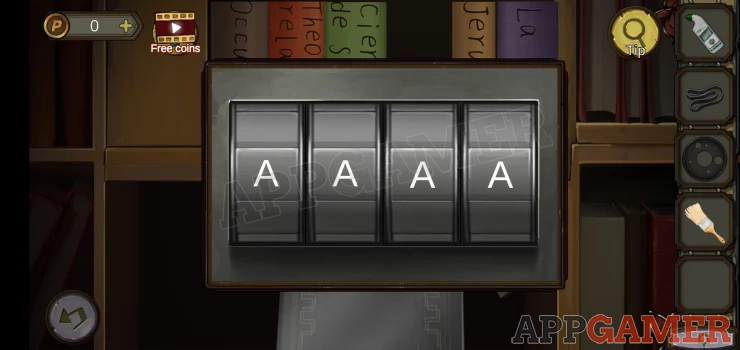
Tap the book case to the far right to view it.
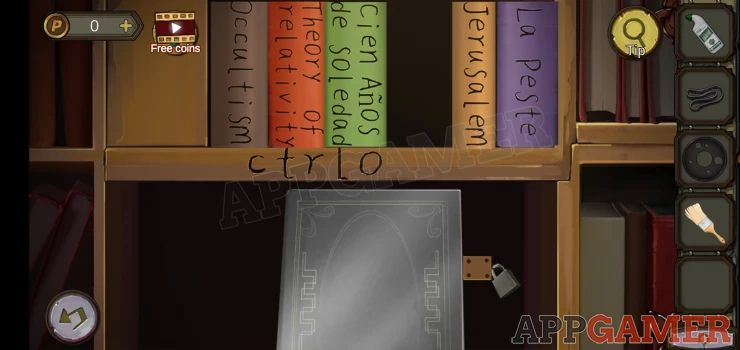
Then view the padlock for a 4 letter code. Use the clue above.
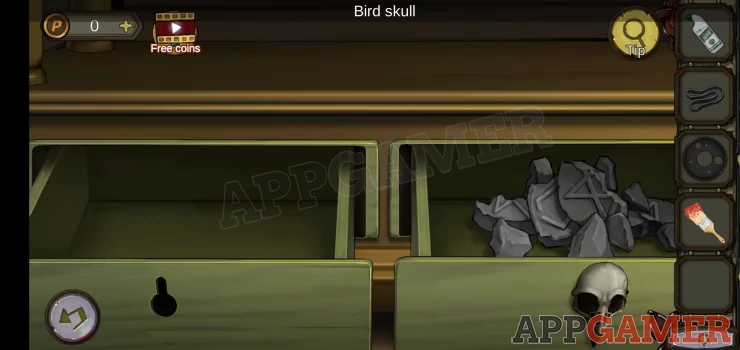
Collect a Bird skull.
Back up to return to the animal room and view the butterfly picture again.
Use the brush on it to get a brush dyed red.
Then view the table with the drawers and use the bird skull to open the right one, collect some Rubble.
Go back to the hall and view a small picture frame on the right of the center door.
Use the brush on this to reveal a picture.
Show
Now tap the box that the bottom of the stairs on the left to find a code lock.
Hint: note the images match elements of the picture we just found.
Solution: count each of the items in the pictureShow
Code: 6427Show
Collect 'Lacquer wax particles'
Just above the box on the side of the stairs there is another small panel. Tap this to find a new puzzle.
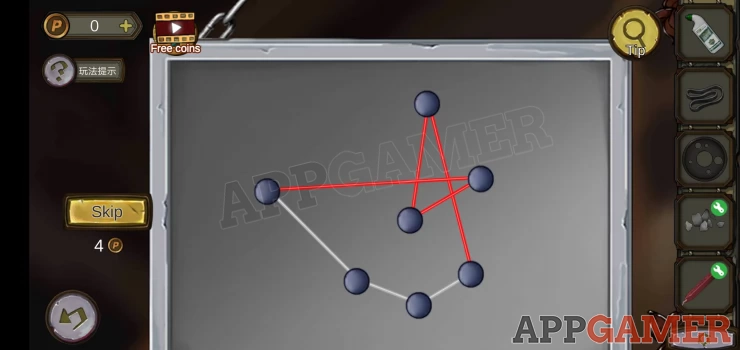
Hint: drag and arrange the nodes so that no lines are crossing (they must not be red). There are 3 levels to complete.
Once done the chandelier will lower.
Tap it to collect a candle.
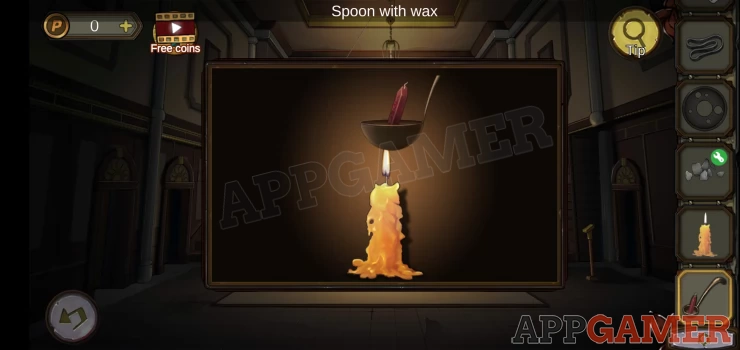
Combine the wax with the copper spoon to get a spoon with wax. Then select the candle and add the spoon with wax to it to melt the wax.
Combine the rubble with the Melted wax to get a 'Complete stone'
On the right of the room is a doorway with a stand in front of it. Tap on this.
Add the completed stone to the panel. You can then go through the door to a student lounge.
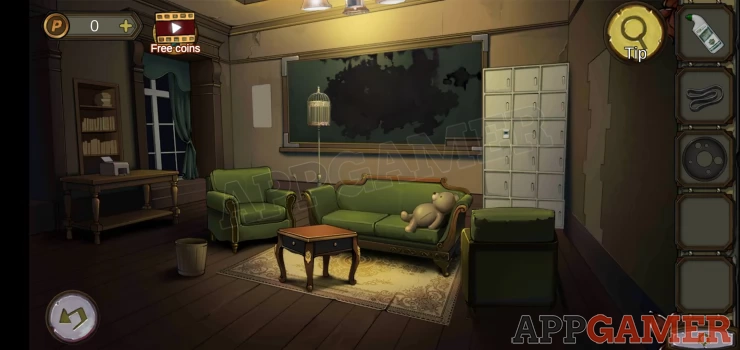
View the toy bear on the sofa.
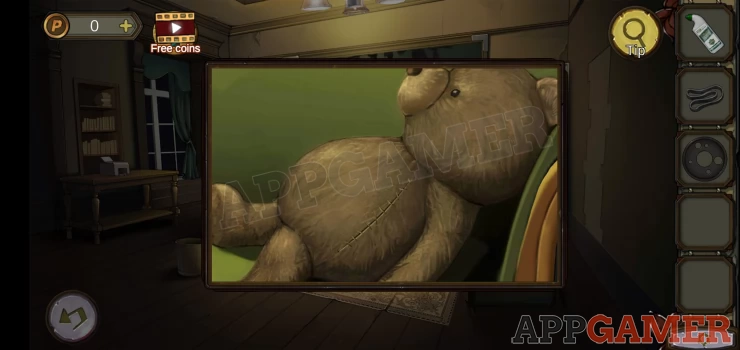
Tap the stitching to open it and collect a gear.
Tap the green chair on the left to open the seat and collect an Incomplete angle grinder.
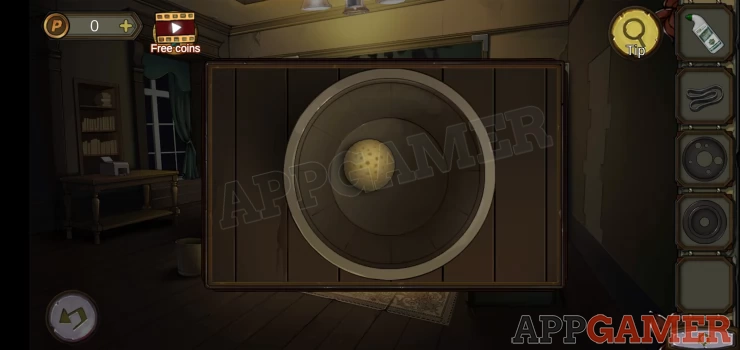
Tap to view the bin on the left and collect from it a Sponge ball.
Tap the small table in the center to open a drawer and collect a Rotor.
Combine the angle grinder with the rotor to make a Complete angle grinder.
Combine the sponge ball with the detergent then view the green board on the back wall.
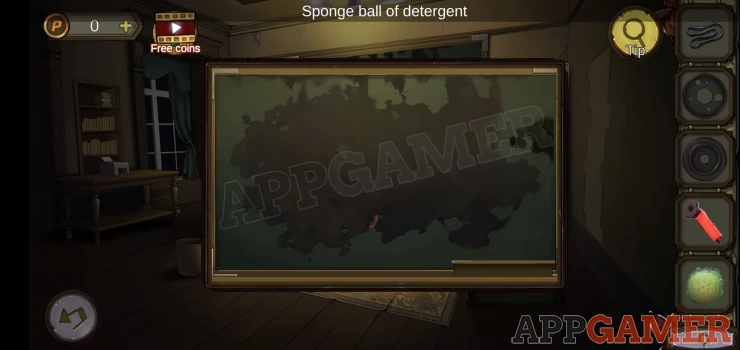
Use the sponge on the board to clean it and see a clue.
Show
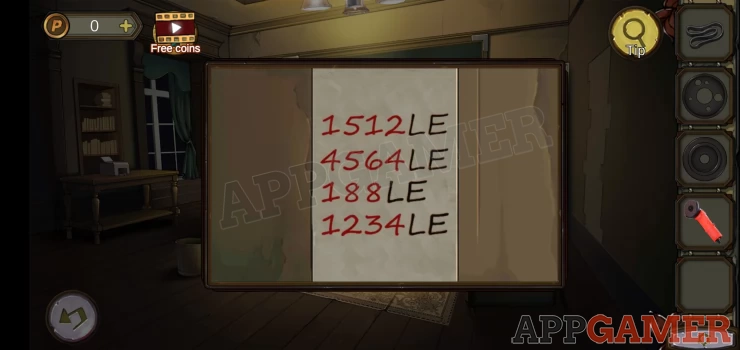
Now view the white poster to the left of the board. This is another clue.
Show
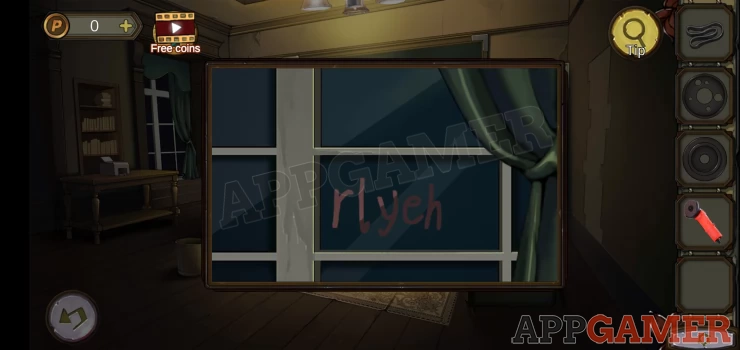
Further to the left is a window. View this for another clue.
Show
Now tap on the table on the left to see a typewriter. Collect the key.
Use the typewriter.
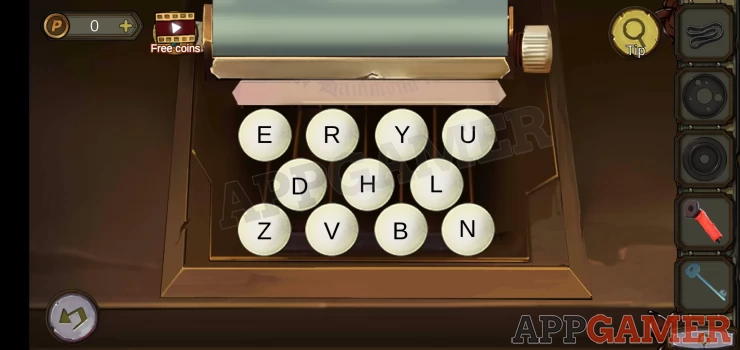
Hint: use the window clue. rlyeh
This will make a sound and a wall section on the right will have moved.
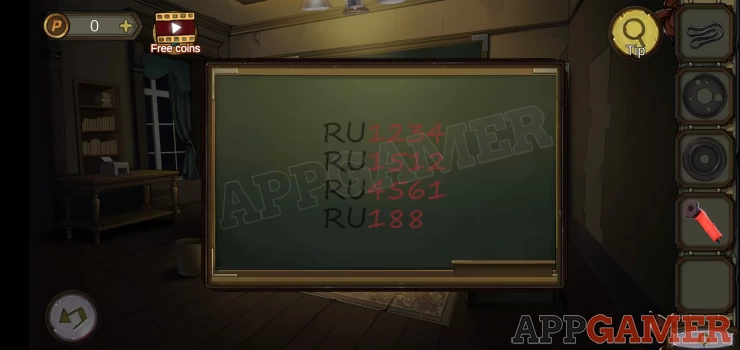
Use the typewriter again, this time combine the clues on the poster and the board.
Enter: RULEShow
A paper will appear, Collect this and view it for a clue.
Show
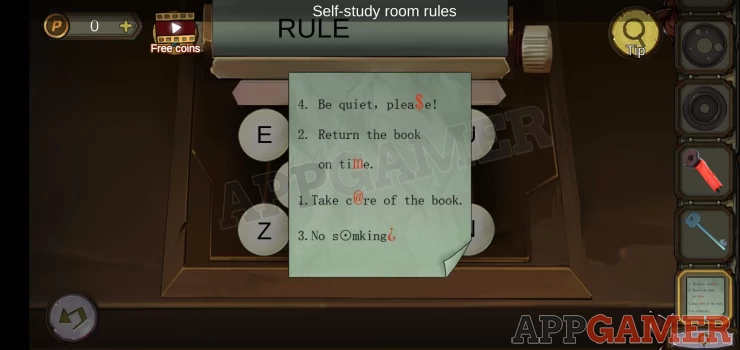
Hint: There are 4 rules each sentence has a red symbol in it.
Tap to view the bird cage by the board. This has a dial lock.
Notice the symbols behind each section.
Solution: tap to turn the dial to the correct symbol in order. Use the order of the sentences on the Rules paper. (number order)Show
Code: @ M ¿ $ - (4 o'clock position, 10 o'clock, 6 o'clock, 2 o'clock)Show
Collect the book.
View the lockers to the right and use the key to open one.
Collect a red button.
Exit to the hall and view the book shelf on the right again.
Place the book in the gap and then collect the green button.
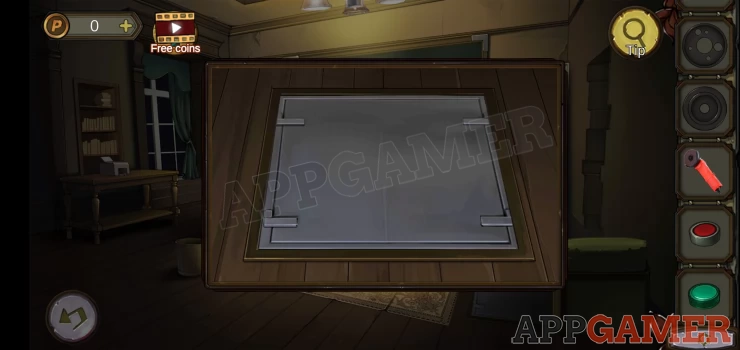
Return to the lounge room. Tap the green chair on the right to move it and find a trap door underneath.
Use the angle grinder on it to open it and then descend into the air raid shelter.
First view the power box on the left.
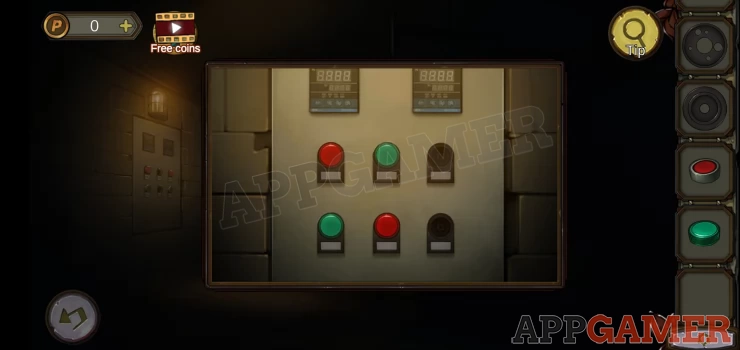
Add the red and green buttons to the panel.
Tap all buttons quickly to turn on the power.
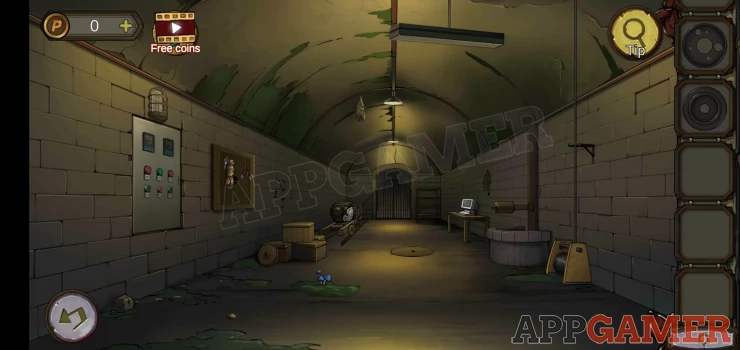
From the ground by the boxes on the left collect wooden wheel.
View the wooden board on the wall above this and collect a key, some rope and an electric wire.
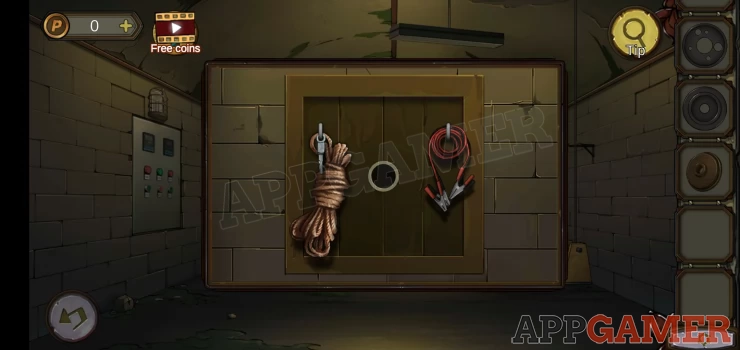
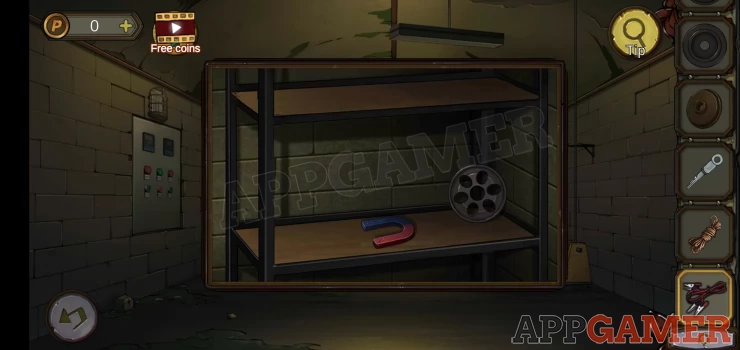
At the far end of the shelter on the right is a shelf unit. View this and collect a magnet and a gear.
Combine the magnet and the rope to make a magnet noose.
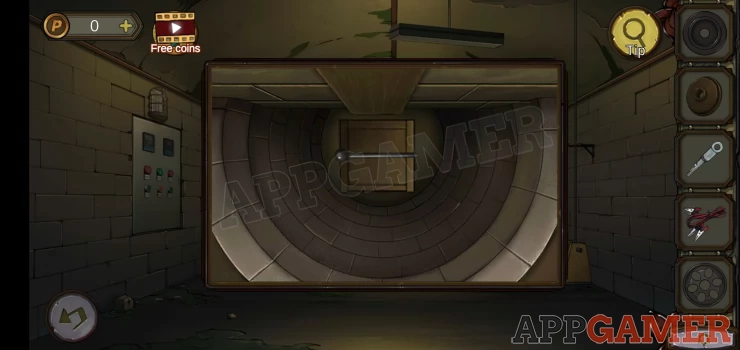
On the right wall of the shelter is a well. View this and then use the magnet noose to obtain a Rocker.
Next to the well is a computer on a desk. view this
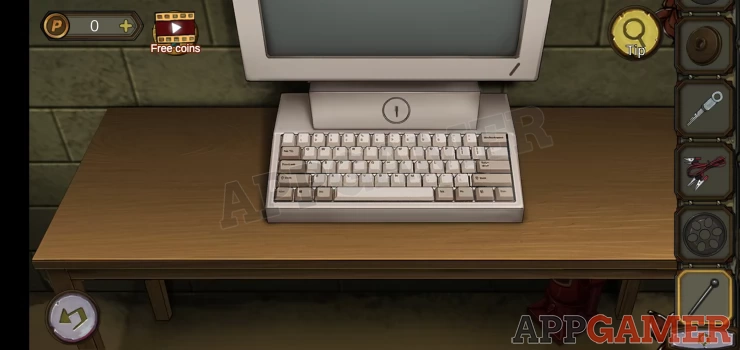
Collect a red jack from under the desk.
Use the key to turn on the computer.
Use the computer to complete a puzzle. This is a mastermind style number puzzle. Guess the 5 digit number and you will get feedback on which numbers are in the correct positions. Choose the right one within 3 goes.
The solution is random.
Once you have the code back up and view the boxes on the left to find one with a 5 digit code lock.
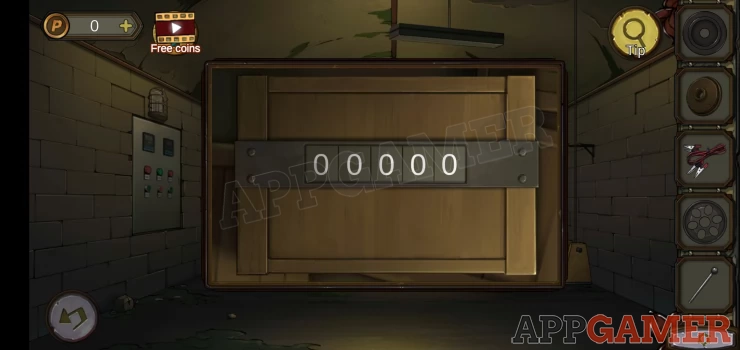
Use the code from above to open it.
Collect the gasoline
Now view the motor on the left at the end of the shelter.
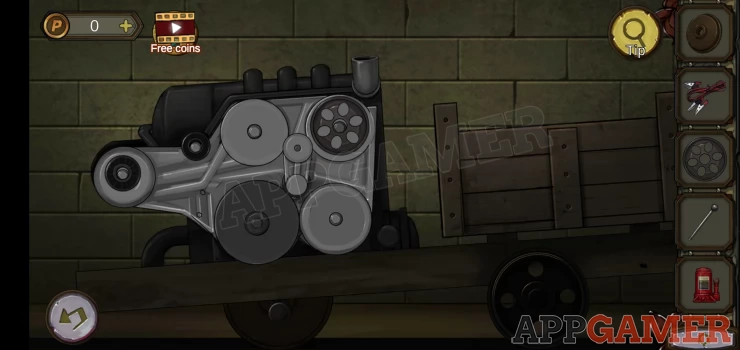
Use the jack on it to lift the front and then add the wooden wheel.
Add the 3 gears to the motor and then the transmission belt.
Finally add the rocker and the gasoline.

Tap to pull the joystick to start the motor.
This will remove the gate at the end of the shelter. You can now go through to the Physics lab.
Continue in Chapter 4 - Part 2
We have questions and answers related to this topic which may also help you: Show all