Chapter 4 - Part 2
More Dream Escape - Room Escape Game
This is our guide to Part 2 of Chapter 4 of Dream Escape, another mysterious escape room game from Jusha.
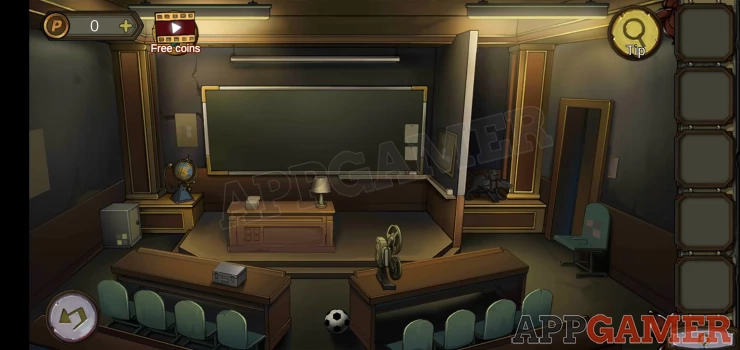
You have found the shelter below the library building and now enter the Physics lab.
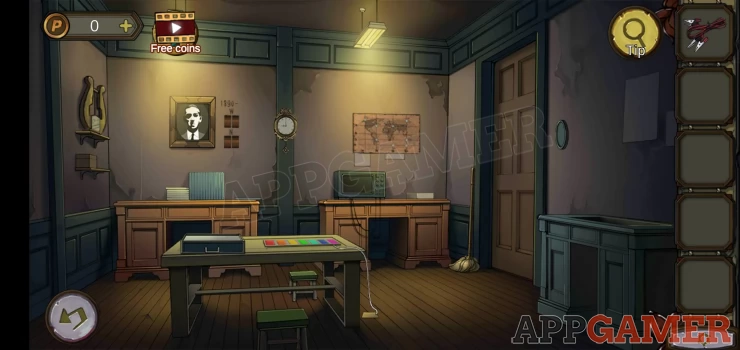
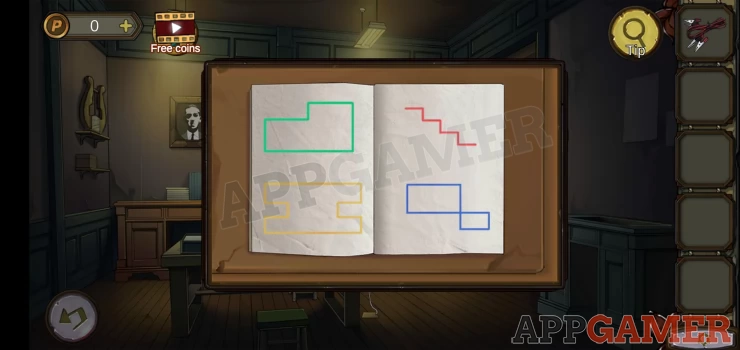
On the left desk on the back wall is a book, view this for a clue.
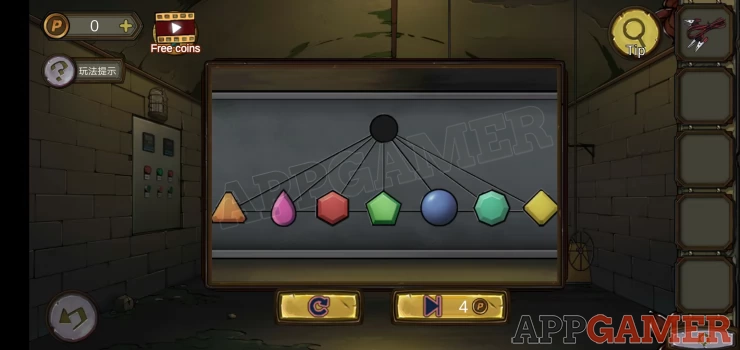
Then tap on the box on the left side of the front desk. This is a puzzle.
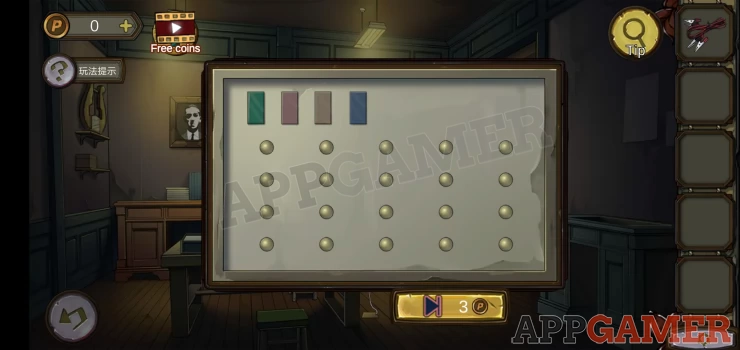
Hint there are 4 lights and the previous book had 4 shapes.
Solution: Draw the 4 shapes on the circuit pins on the box to light up the 4 lights.Show
Collect a laser pointer
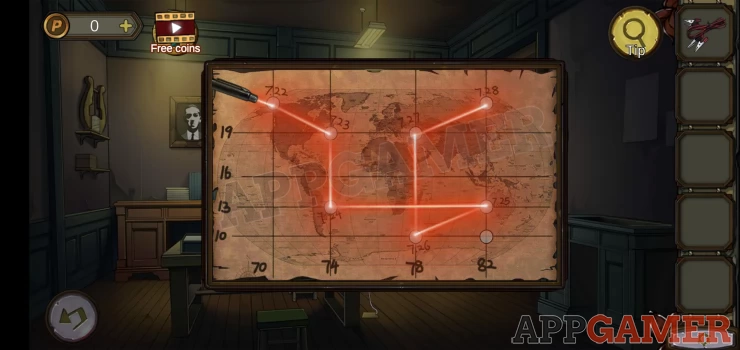
Tap to view the map on the wall top right.
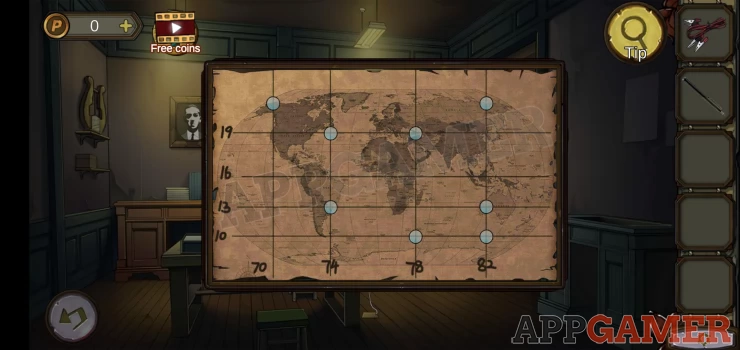
Use the laser pointer on this to reveal a route.
Each point will have a set of coordinates and also a decimal number next to it.
Show
Below the map is a desk, tap the lower right door to find a 4 digit lock.
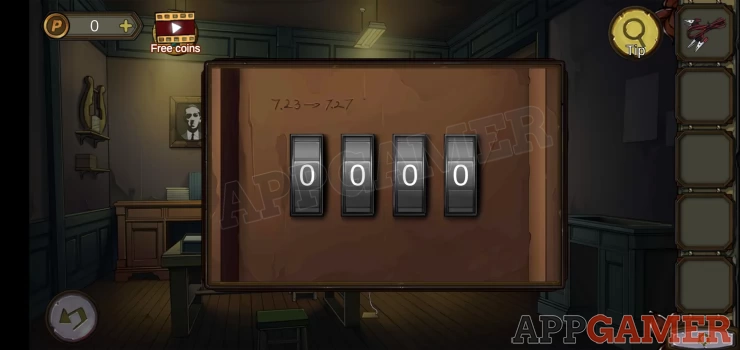
Hint: the clue on the door is a reference to 2 points on the map.
Solution: find the 2 points and then work out the distance traveled between each based on the coordinates. 7.23 to 7.24 was South by 6. 7.24 to 7.25 was East by 8 7.25 to 7.26 was South West 5 (4 West by 3 South) 7.26 to 7.27 was North by 9Show
Code: 6859Show
Collect an Oscilloscope knob and a turntable.
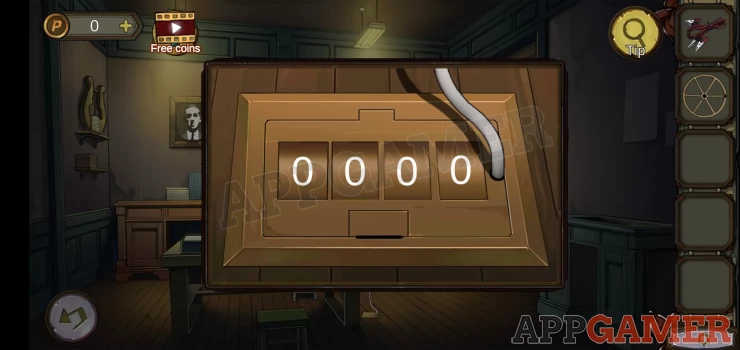
On the desk on the right is an Oscilloscope, View this and add the knob to activate it.
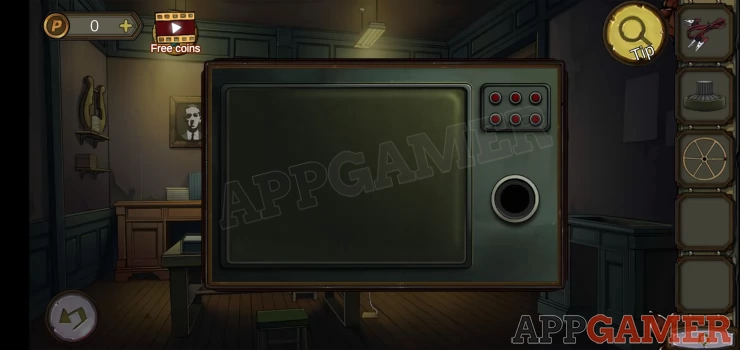
Hold the knob as the 2 wave forms align and keep holding it until you get a code.
4176Show
On the front desk is a display with 7 colors but it is not active, it is connected to a cable that goes to the floor.
Tap the floor where the cable goes to find a cover with a 4 digit code
Enter the code from above to open it.
Tap the plug to plug it in. You can then view the panel on the desk.
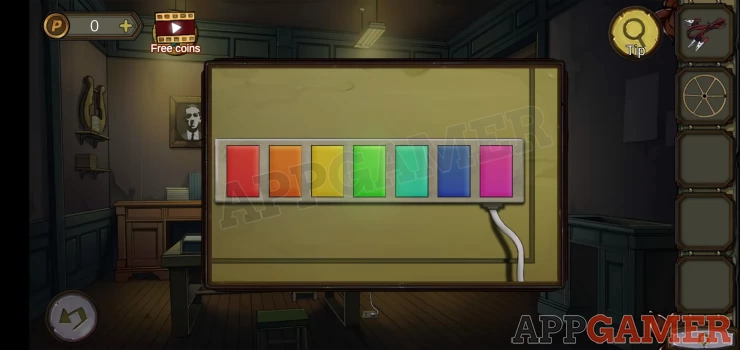
Make a note of the sequence of color flashes.
View the door on the right and move the chain to unlock it. You can now pass through here back into the hall.
Make your way to the underground shelter again.
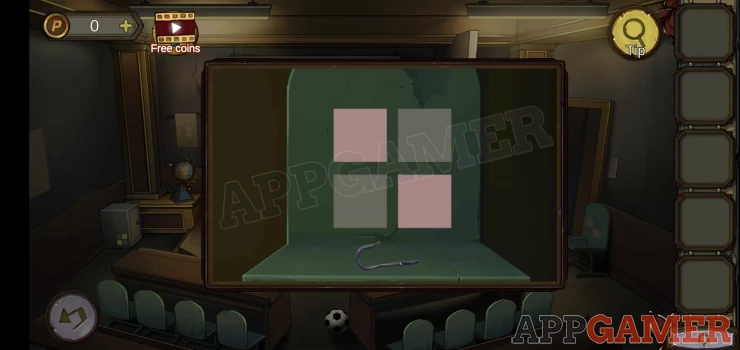
On the right is a Yellow winch mechanism. It is missing a handle. Add the turn table to it and then you can lower a box. View this. It is a puzzle.
Solution: Tap the colored shapes to move them and use the central space to rearrange the order to match the colors form the previous light panel.Show
Order: Red, Blue, Green, Yellow, Pink, Light blue (teal), Orange.Show
Collect a battery.
Combine the battery with the wires
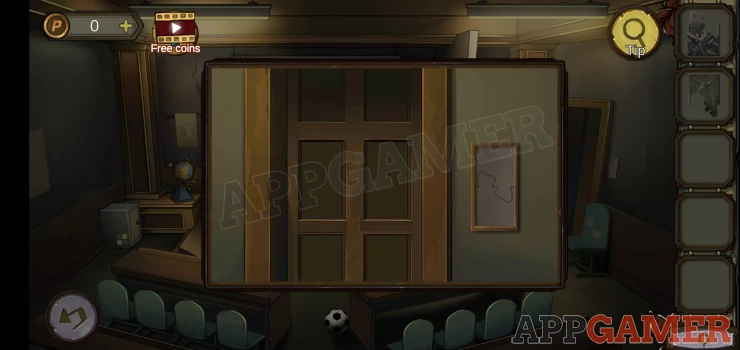
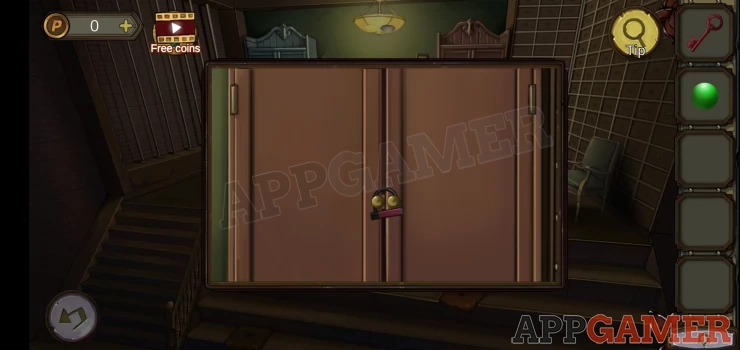
Move back to the Hall. View the central door again.
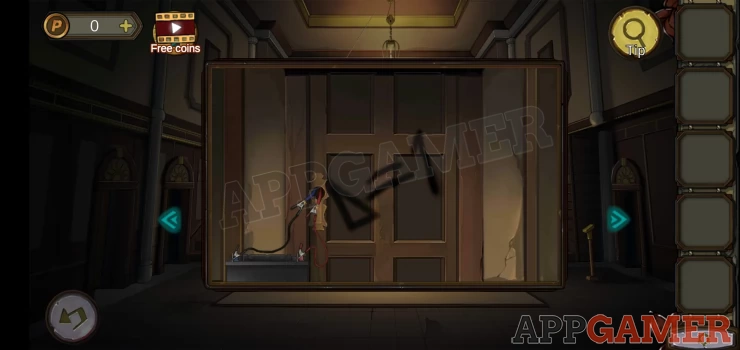
Use the battery with wires on the loose wires on the door. You can now enter the classroom.
On the far right is a chair by the door, view this to collect an Iron hook. Also note the pattern on the chair.
There are 3 more similar patterns in the room.
On a notice board just to the right of the Large board.
On another poster just to the left of the big board.
And on the side of the safe on the far left.
Now tap the back of the central desk in front of the big board to find this puzzle.
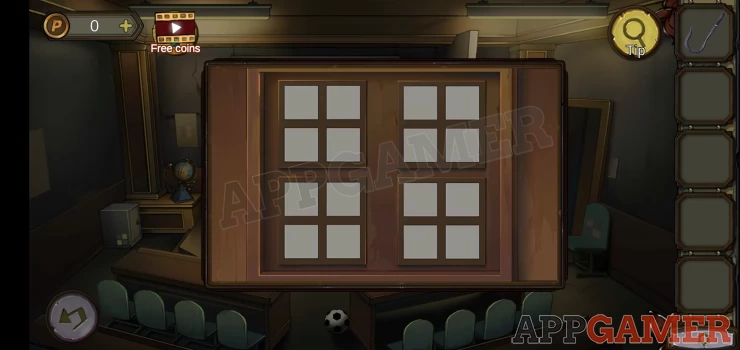
Each set of 4 squares can be changes to match the patterns found. Check the colors that they change to and match the correct pattern
Once done collect a key
On the right is a globe, view this to see a clue.
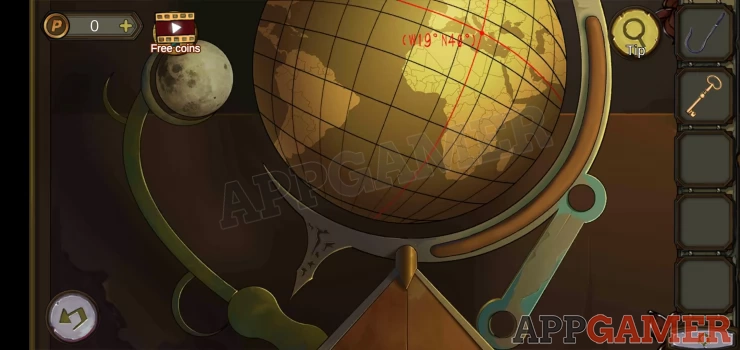
W19 N40Show
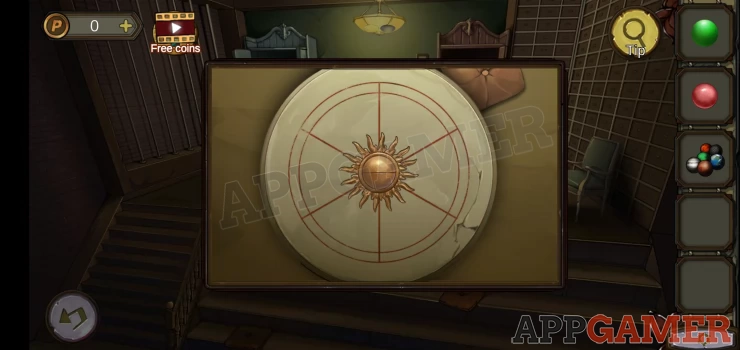
Return to the Physics lab and view the portrait on the wall top left.
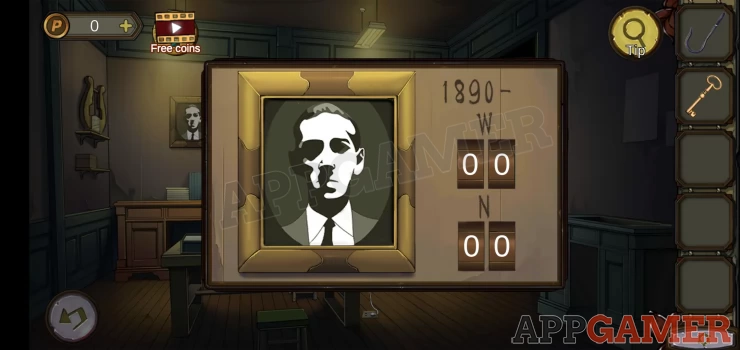
Use the clue above to set the dials on the right.
You can then use the key to open a secret compartment and collect a 'Half a Iron'
From here move to the underground shelter and view the hole cover in the center
Use the Iron hook on this to remove the cover. Then tap the valve to turn on some water.
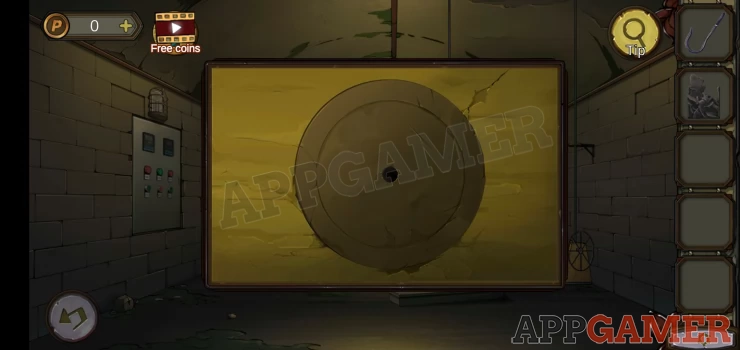
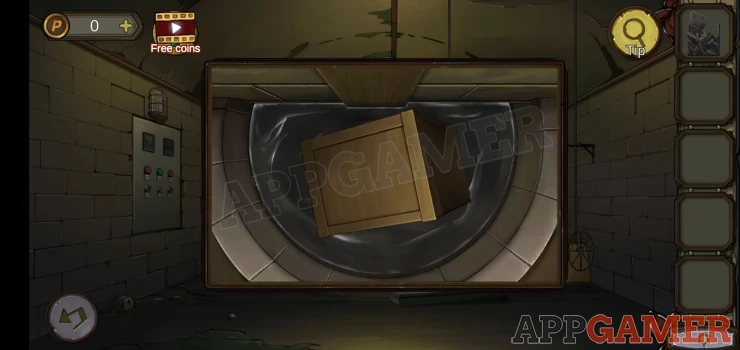
You can now view the Well again to see that a box has risen to the top.
Open this and collect a film reel.
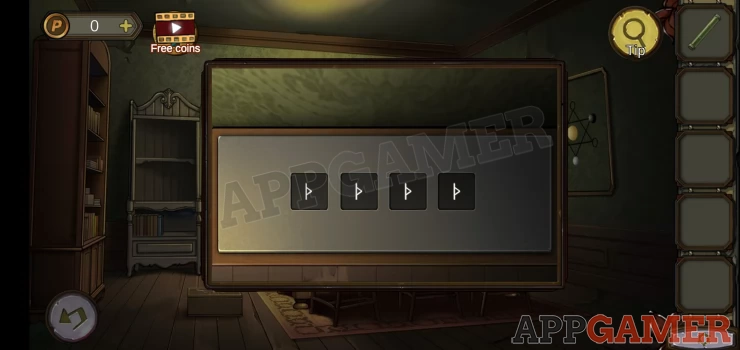
Return to the classroom and view the projector.
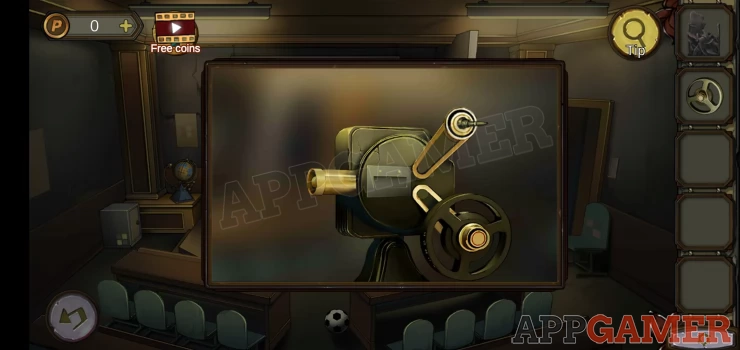
Add the film reel. You can then tap the board to see a clue.
Show
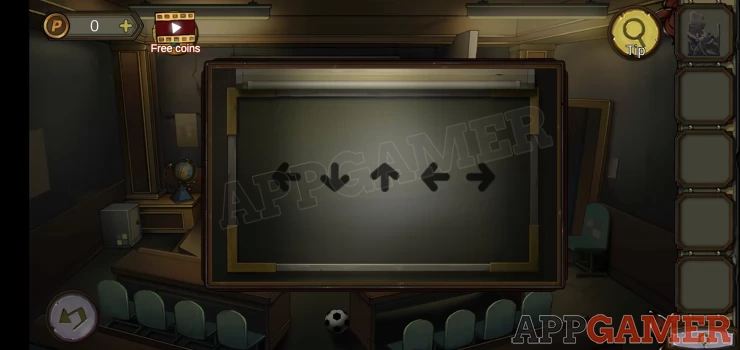
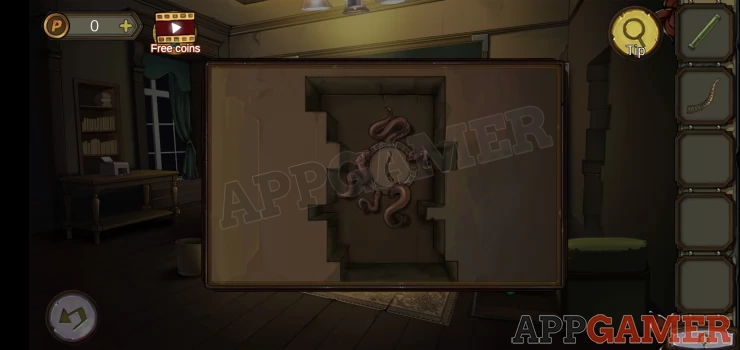
Next to the door on the right is a small statue of Cerberus. There are arrow button next to it.
Follow the sequence from the board clue.
Solution: Left, Down, Up, Left, Right.Show
Collect another Half a Iron from the mouth.
Now view the door on the right.
Add the 2 Half Irons to the frame on the right of the door. You can now pass through into the meeting room.
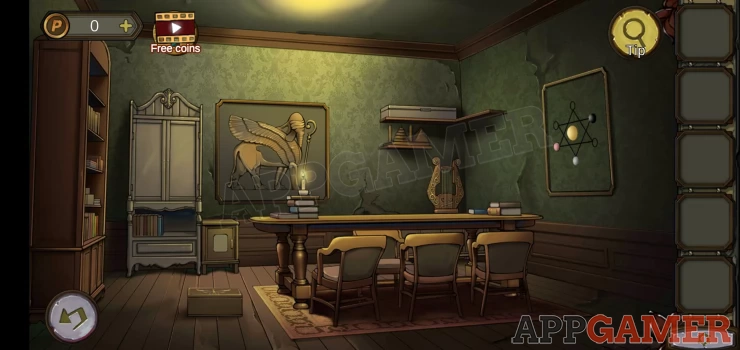
Tap on the table to find this set of cards and a clue.
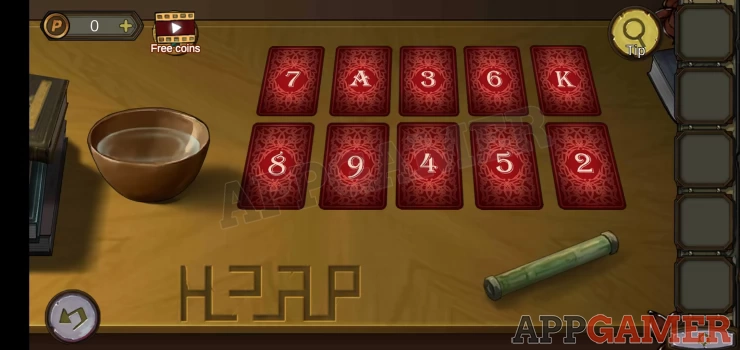
First collect the fluorescent lamp on the lower right. Take note of the clue on the lower left.
Now back up and view the grey cupboard doors on the left. There is a code lock.
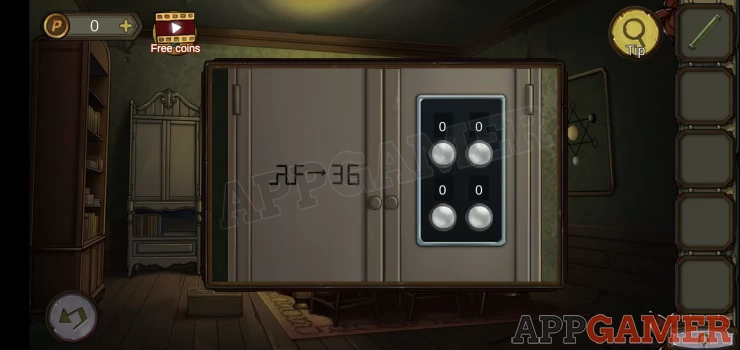
Hint: Note the clue on the left. This tells you how to translate the shapes to numbers
Solution: From the shape on the left you can take the lower segments (all below the central line) and move them 1 space to the right. This will then form the numbers 36. Do the same for the shapes on the card board above.Show
Code: 4 2 3 8Show
Collect the Ink
Go back to the Table to view the cards. Add the Ink to the bowl of water on the left.
Show
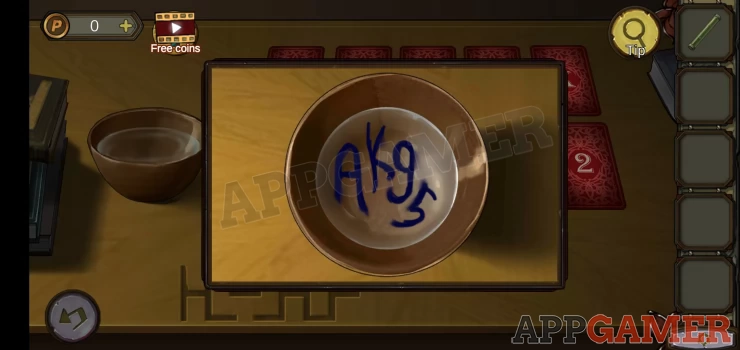
Tap to turn over 4 cards indicated A K 9 and 5Show
Now tap the long box on the top right shelf of the room. This has a 4 symbol lock.
Use the 4 symbols from above to open it.
Collect a Scepter.
Next tap on the large picture to the left of the shelf.
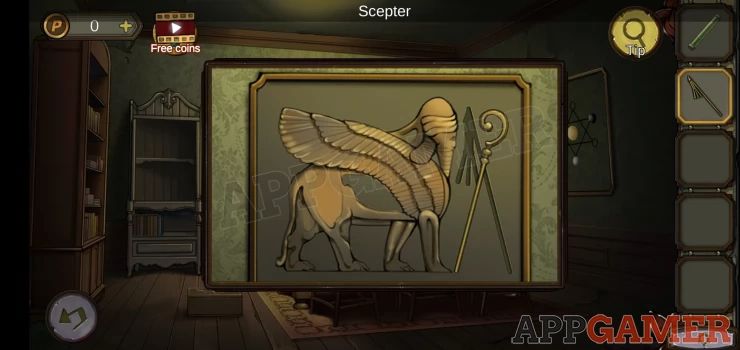
Add the scepter to it and you can then collect a Shofar (horn)
Return to the student lounge (with the green sofa).
Tap the right hand side wall with the irregular crack that appeared earlier to view an opening.
Add the Shofar to the center, you can then exit to the right to find a hidden room.
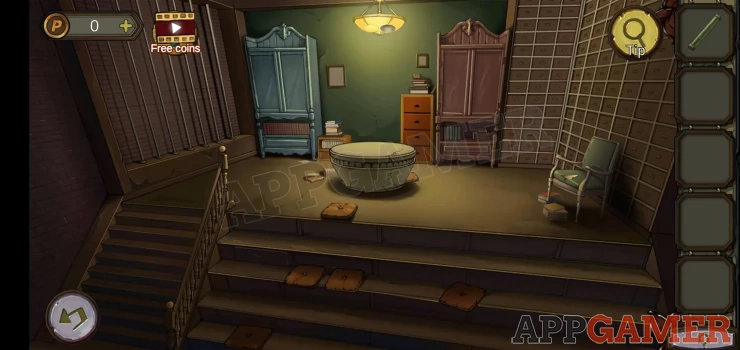
From the chair on the right collect a wing.
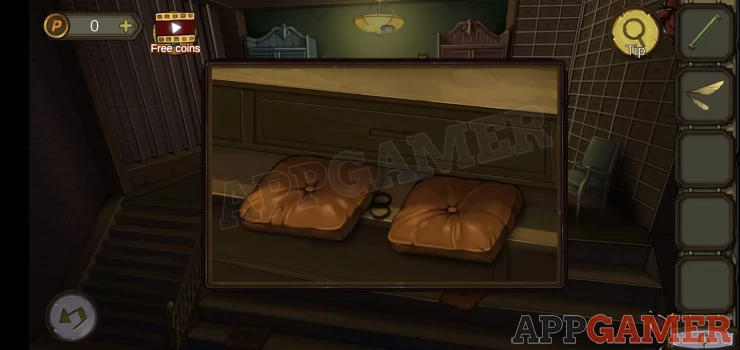
Then from the cushions on the steps in the center collect some scissors.
Back out and move to the Physics lab. On the top left shelf is an instrument with 1 string.
Use the scissors on this to cut and collect the string.
Return to the meeting room, first view a box on the floor to the left.
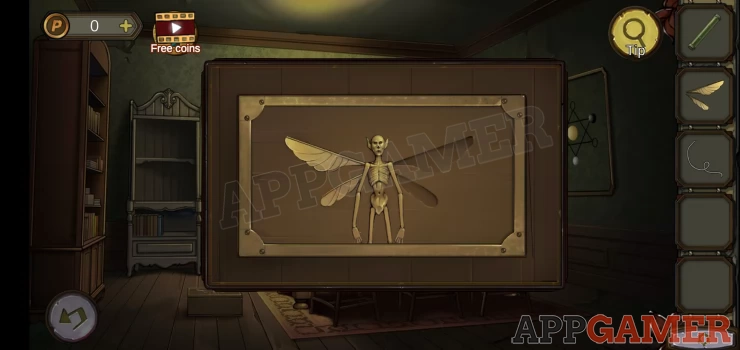
Add the wings to it. Collect a red key
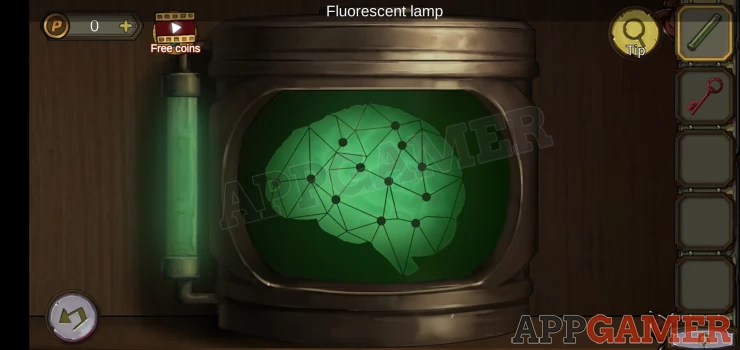
Next tap the book case on the far left. This will show a brain in a container. Add the fluorescent light to it.
The brain will glow and you will see a sequence of 4 sets of nodes light up. This is a clue for later.
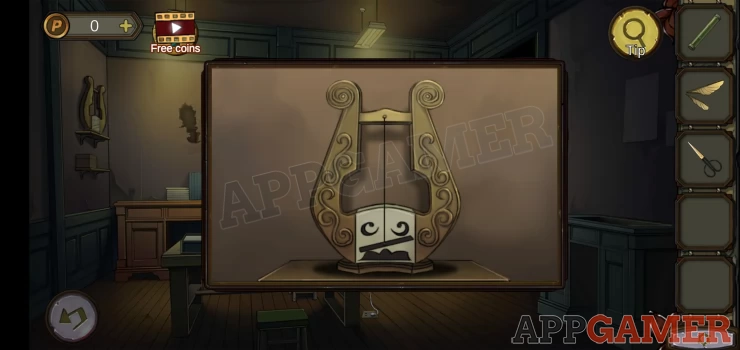
Now view the Lyre that is on the right.
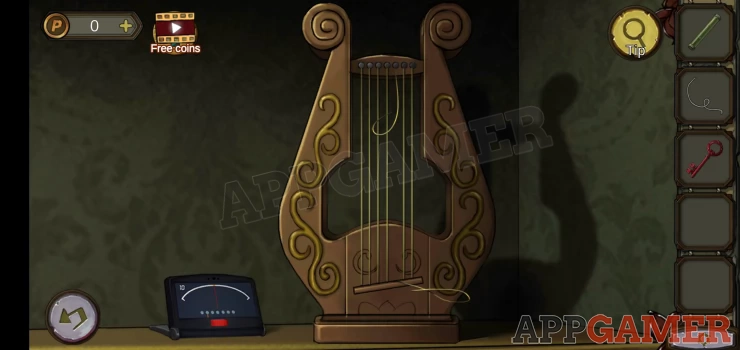
Add the string to it and then tap the tuning instrument on the left of it.
Complete the tuning puzzle but tapping the button to stop the moving needle on the correct segment. There are 7 strings to tune.
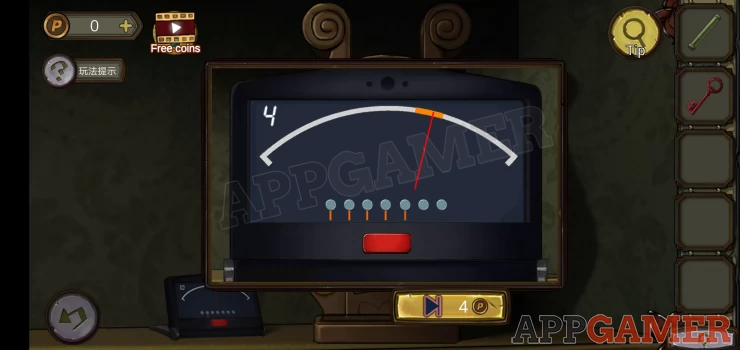
Once done tap the lyre to see a sequence of strings highlighted in red.
Return to the hidden room, tap the left wall to see a similar set up of 7 strings.
Solution: tap the strings in the same order played on the lyre.Show
Order: 5 6 5 1 3Show
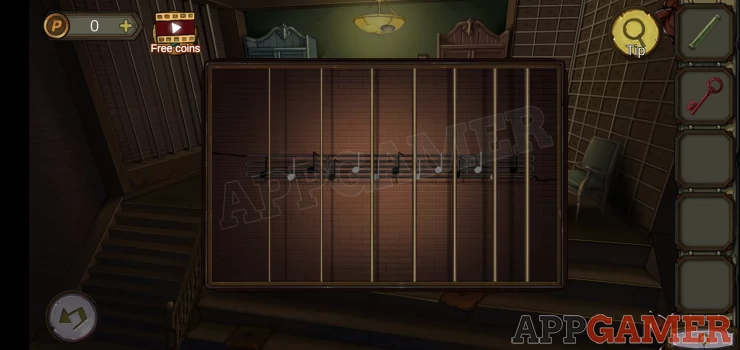
You will now see some notes glowing behind. This is a clue.
Show
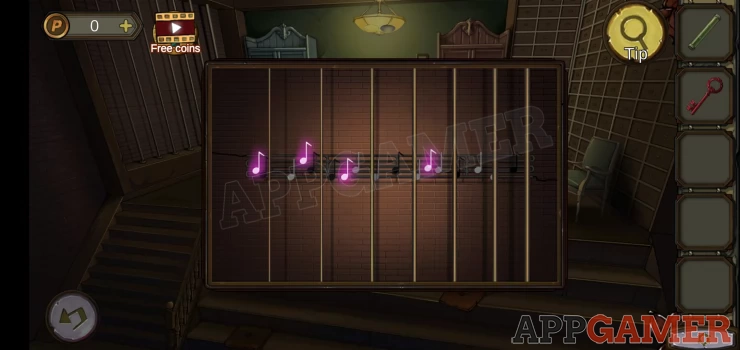
Tap to view the small chest of 4 drawers on the back wall. There is a notes puzzle on the drawer.
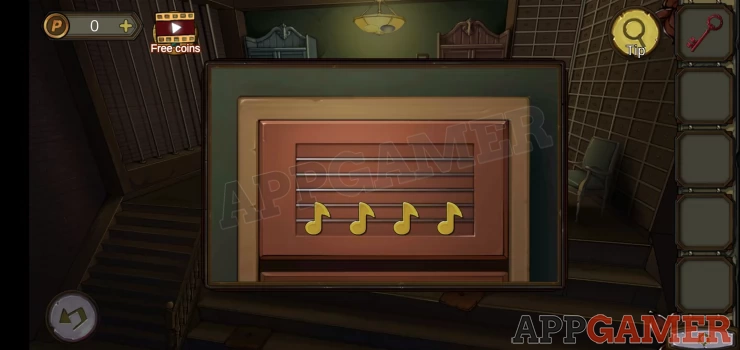
Use the clue above to set the notes to the correct positions.
Collect a green gem.
Now view the red cupboard on the back wall. Use the red key to open the lock.
Collect a note and a red gem.
The note has 4 numbers with different colors.
Move to the classroom.
On the left bench is a box.
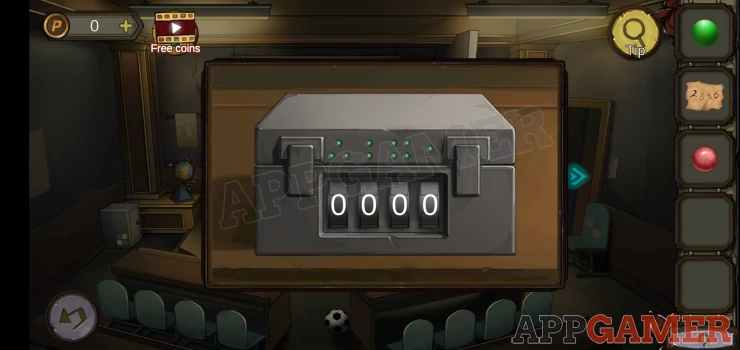
Hint: the clue is the 4 sets of dots (or nodes)
Solution: From the brain clue above the sequence of nodes shwn through steps 1 to 4 was 9 8 7 6, arrange these for the code.Show
Code: 7 8 6 9Show
Collect a 'Detectophone', a listening device.
Go back to the meeting room.
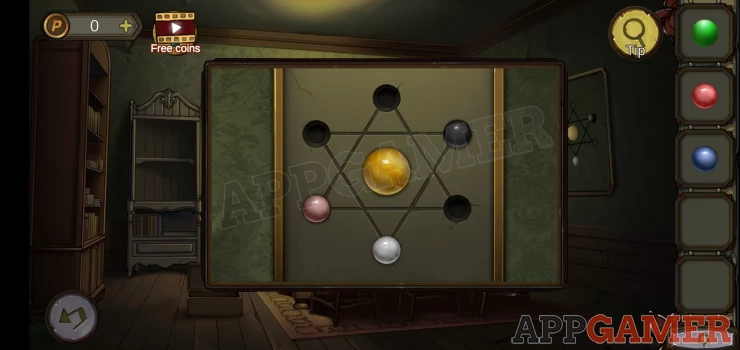
Tap on the shelf on the top right to find a stacking puzzle game.
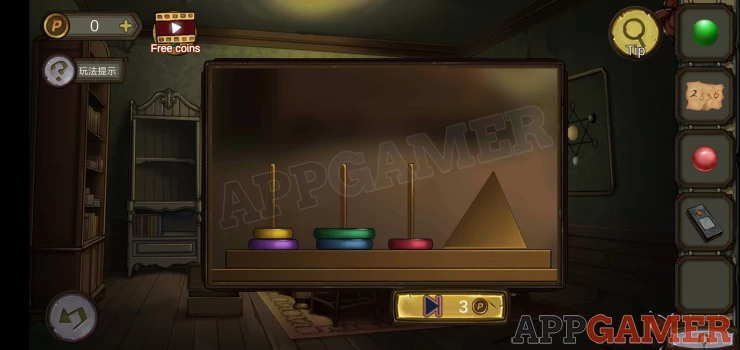
Hint. Move the pieces one at a time until you make a single pyramid shape
Once done a safe will be revealed.
Place the Detectophone on the safe, you can then see an indication as you turn the dial.
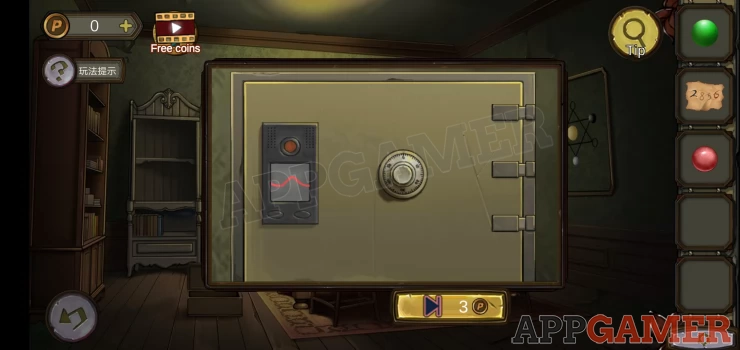
Tap and hold the dial to turn it until you see the waveform turn green. Repeat this 3 times to open the safe.
Collect a blue key.
Go back to the hidden room. View the blue cupboard and unlock it with the blue key.
Collect a book.
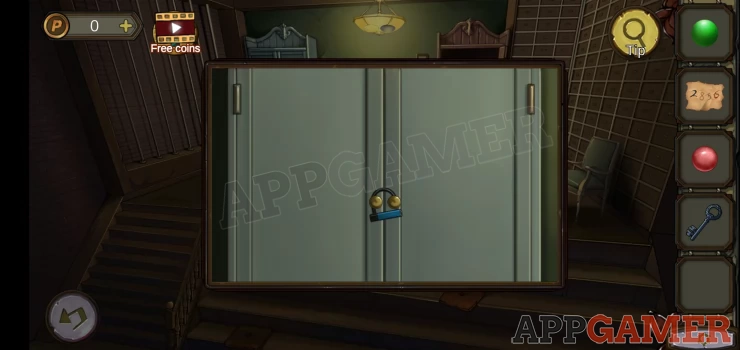
Tap on the shelf boxes on the right. There is a 4 symbol lock.
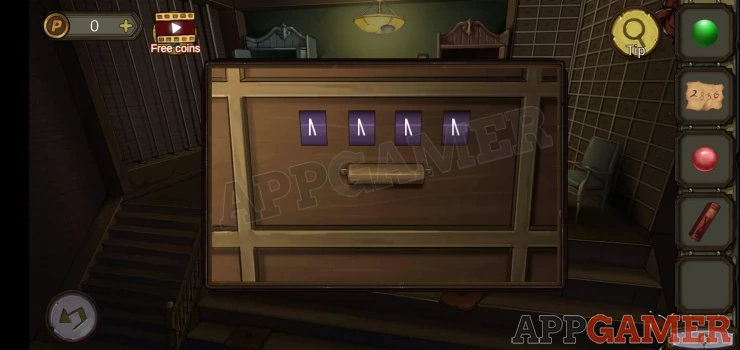
Hint: check the book for symbols
Solution: The book has 4 rows of symbols in different colors. The note you have in the inventory has 4 numbers in the same colors. Use the numbers to get a symbol from each row.Show
Collect a Planet model.
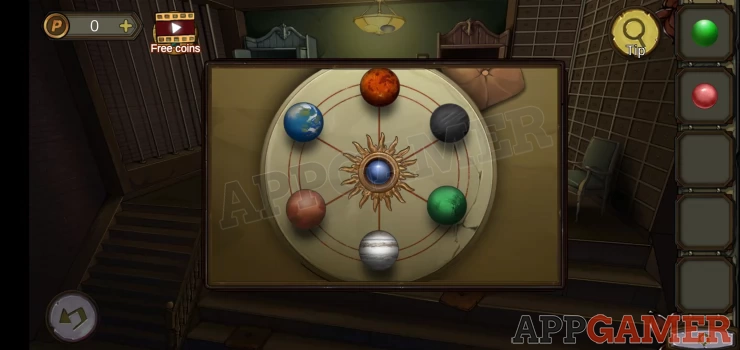
View the round table in the center of the room.
Add the planet model to it and you can then collect a blue gem. Note the planets arrangement.
Show
Return to the Meeting room and view the Star shaped diagram on the right wall.
Add the 3 gems to it. Position them to copy the colors of the planets on the table.
You can then tap the center to open a compartment and find the book.
You have the book you wanted but the lights go out and it is taken.
We have questions and answers related to this topic which may also help you: Show all