Chapter 8
More Dream Escape - Room Escape Game
This is our guide to Chapter 8 of Dream Escape, another mysterious escape room game from Jusha.
You have escaped from the ship, the submarine and then the underground cave. Now you wake up in another mysterious house.
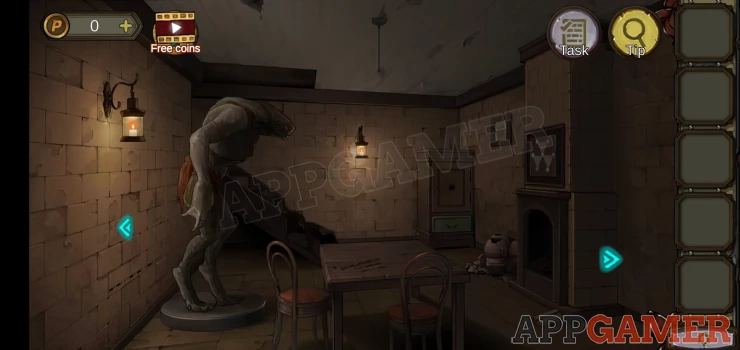
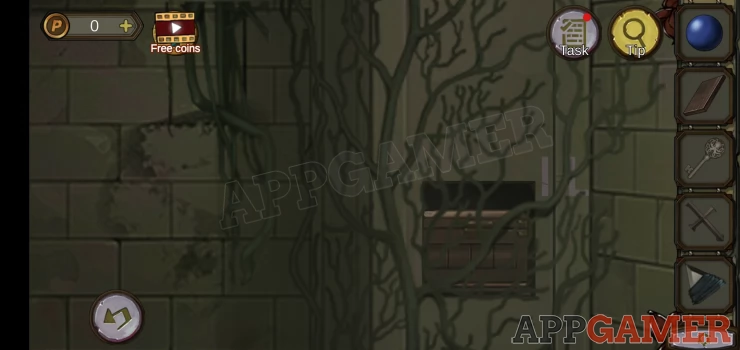
Collect a blue bead from the floor bottom right.
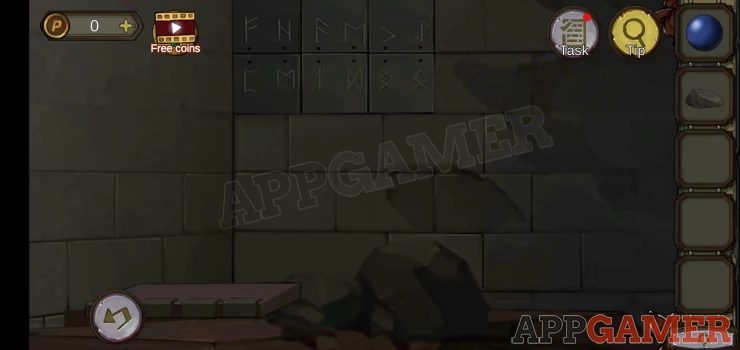
View the statue on the left, note the clue on the wall behind it.
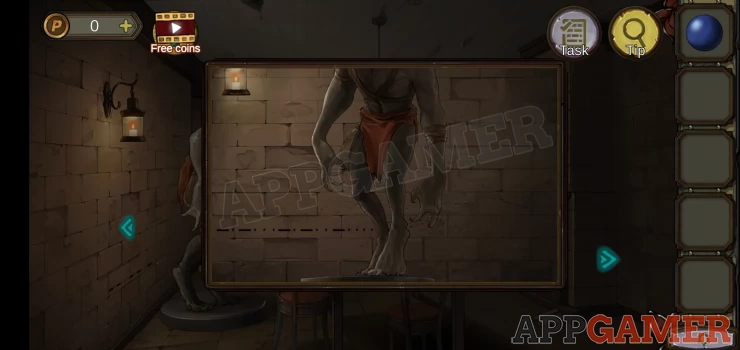
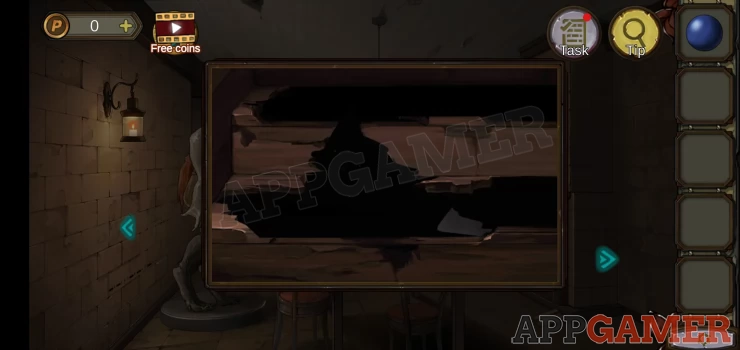
View the stairs at the back, they are broken, collect a note from the hole.
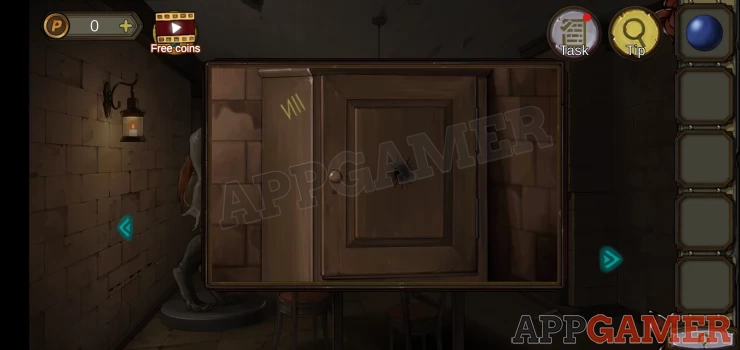
On the back right corner is a cabinet. View this for a clue
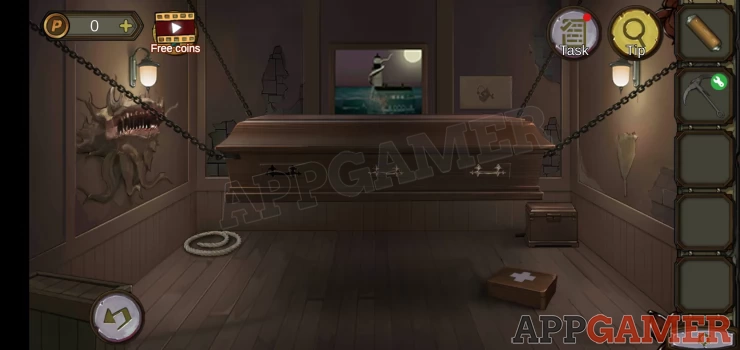
Now look to the left area to see a room of coffins.

From the ground in the center in front of the large coffin, collect a stone.
Note a clue on the top left Red IIShow
Tap to view the wall above the coffin at the back left.
At the bottom is a box, view this. This is a puzzle.
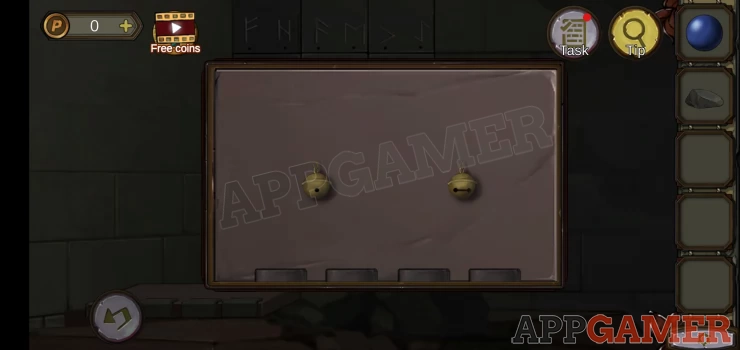
Hint: There are 2 bells, one has a dot and one has a dash.
Solution: tap out the pattern of dots and dashes from the clue on the first room.Show
Code: -.-...-.-..-....Show
Collect a note. You can view this for a clue.
Show
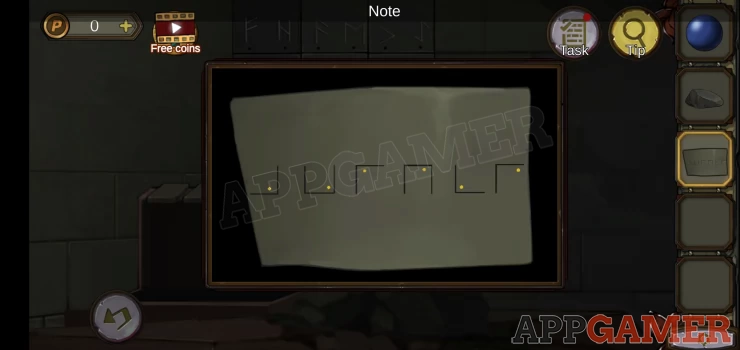
Now view the same wall again and tap on the symbols at the top.
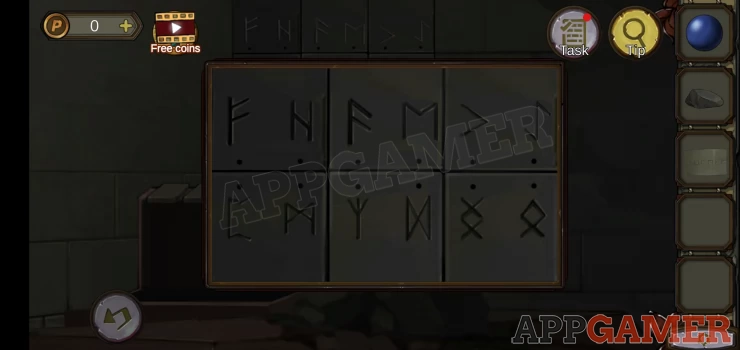
Hint: you can use the note to help with this one.
Solution: the note show 5 sets of lines with a dot. Each line will identify a square on the wall, i.e. the first one is the top left. Each square has 2 symbols, the dot on the note will show you which one to tap on.Show
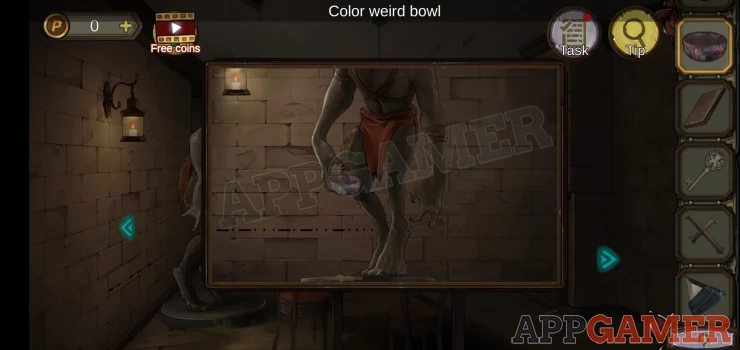
Collect a Color weird bowl.
Now go back to the first room and then to the right to a green room with a suit of armor area.
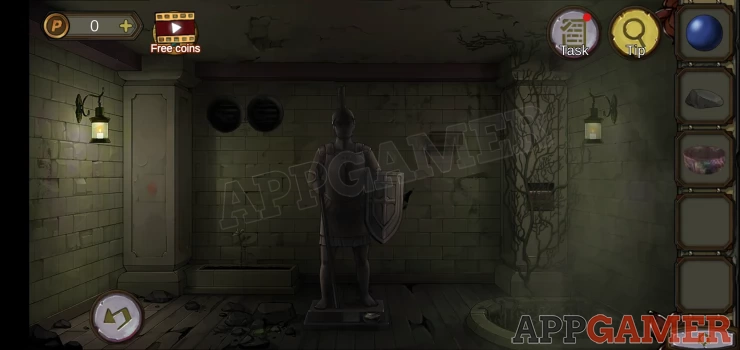
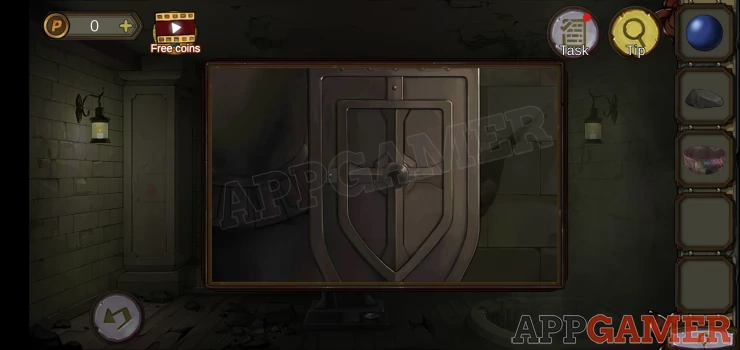
Tap on the shield of the armor and collect from it a 'metal disc'
Then tap to view the box on the wall above and to the right of the shield. There is a clue Blue IVShow
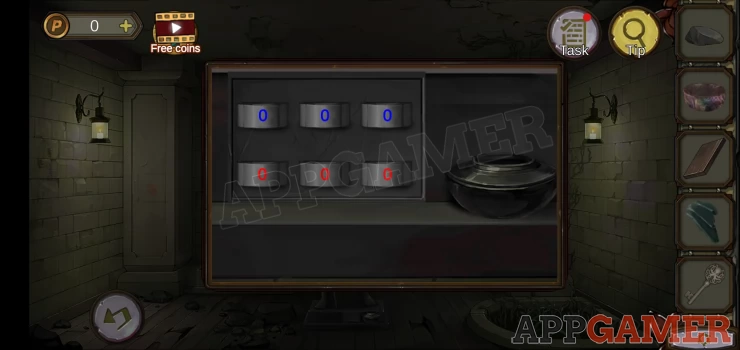
Go back to the first room. Tap on the floor to the right next to the fireplace to find this puzzle lock.
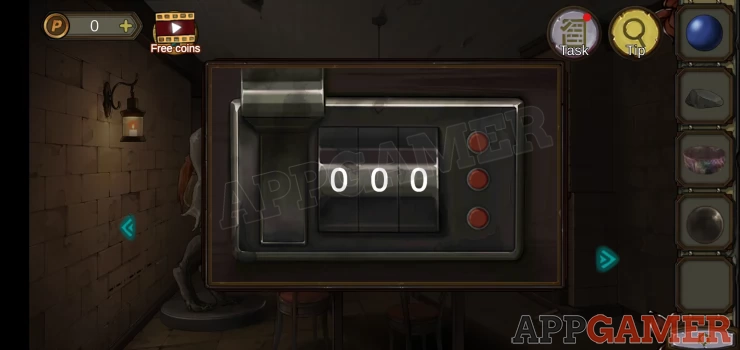
Hint: Note that the numbers have colors when you tap to turn the dials.
Solution: you need to find numbers to match the clues above. Blue 4, yellow 8, red 2Show
Collect a key.
Go back out to the right with the armor.
Tap on the top left top see 2 air vents, note the symbol below, this matches the key.
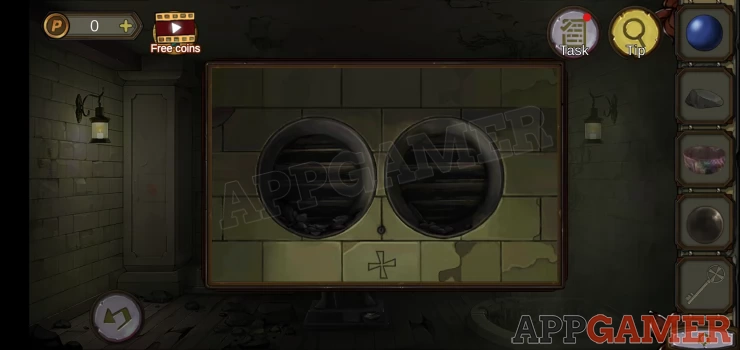
Use the key on the small hole above the symbol. The vents blow air to remove the miasma on the right.
Tap the right hand vent to collect a board.
Next tap on the trough of vines bottom right of the area.
Note the clue on the bottom right and collect from the trough a long stick.
Return to the room on the left with the coffins. Tap to view the hole in the ceiling.
Use the long stick to collect a Rag.
Then view the large coffin near you. Use the long stick on the lid top open it.
Collect a puzzle piece from inside and then tap the hand on the left to reveal a metal ring to collect.
Combine the metal ring with the metal disc
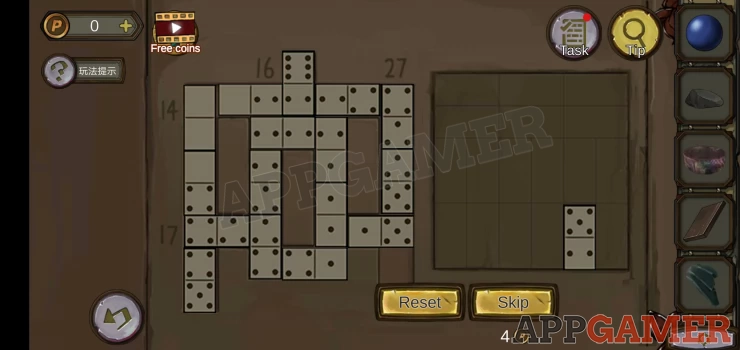
On the floor to the left of the coffin is a box with the shaped slot on the front. Use the metal block on it to open the box. Tap the top to find a puzzle with dominios.
Hint: drag and place the domino's on the right to fill the board on the left. You must match the numbers as in dominos. The numbers on the top and side are a total for those rows or columns that you must follow.
Solution: Show
Collect a key.
Now tap to view the box on the top left wall with the Red II on it.
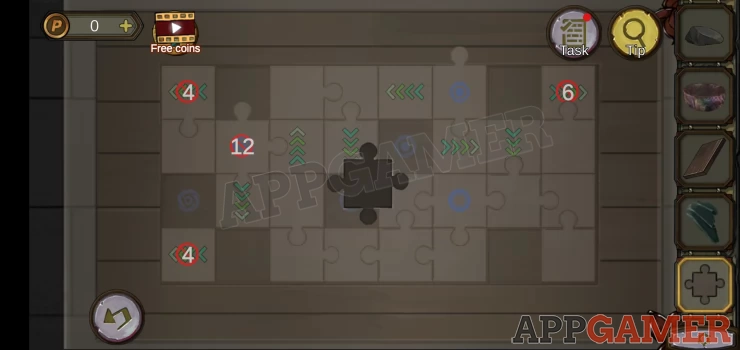
Add the puzzle piece to it to start this puzzle.
Hint remove the pieces from the board, they can only be removed if there is a clear path for them to do so, Pieces with arrows must only be removed in that direction. Pieces with numbers cannot be removed until the required number of turn has passed. Pieces with the blue circle cannot be removed but can be moved to empty spots with the blue circles.
When all removable pieces are gone collect a key.
Go back to the green room with the armor.
View the shield again and use the latest key on the slot in the center.
Collect a Cross.
Next, tap on the base of the armor.
Use the stone on the pot on the right to break it, then use the rag on it to collect the blade and get a 'wrapped blade'
Go back into the first room and view the statue.
Use the wrapped blade on the pouch hanging from the side to release some acid, then use the weird color bowl on this to collect the acid.
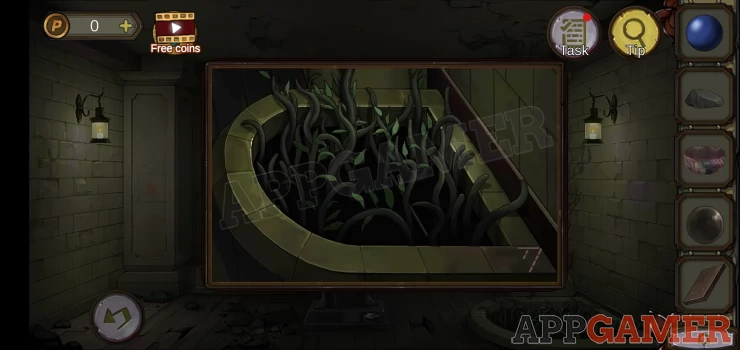
Go back to the green room and view the vines on the right.
Use the bowl full of sour (acid) on the vines to kill them, then use the wrapped blade to cut them and collect string.
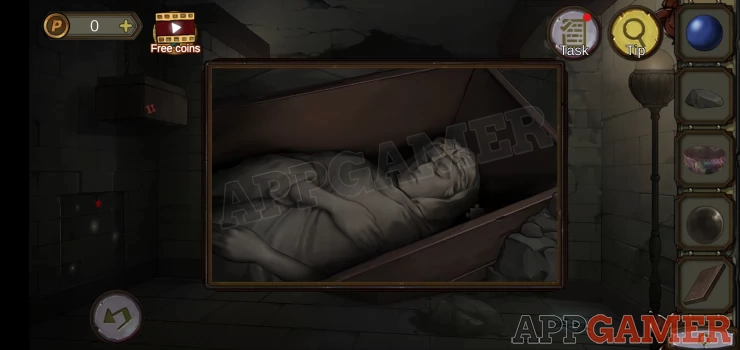
Go back to the room of coffins and view the one with the statue in it.
Add the cross to the statue and it will disappear.
Collect a board.
Go back to the first room and view the broken stairs again.
Add the 2 boards that you have and then the string to tie them.
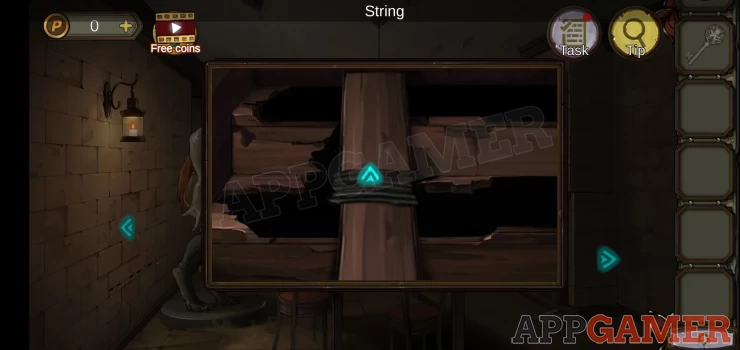
You can now go up the stairs to a hallway.
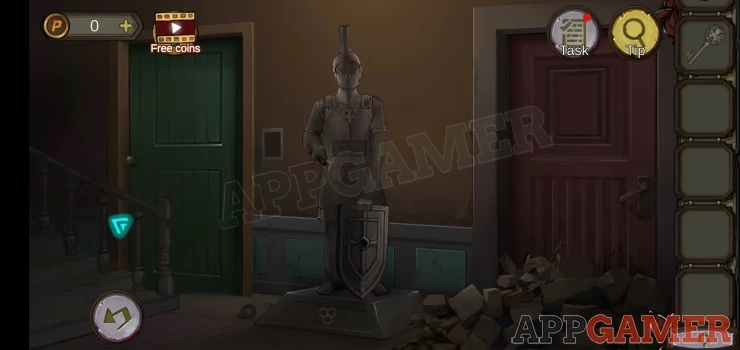
From the floor lower left collect a Gear.
Next tap the rubble on the right.
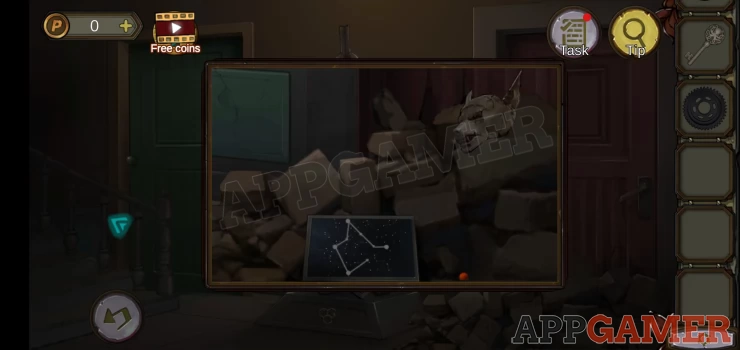
Collect a red bead, then tap the animal head to move it and collect a 'bearing rod'.
Note the star map clue.
Next to the green door on the left is a panel. View this for a puzzle.
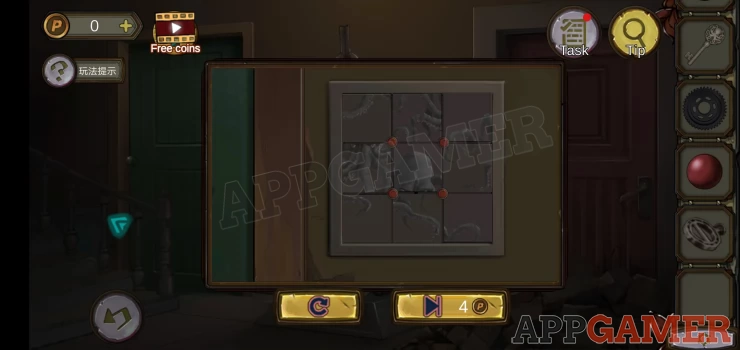
Use the red button to rotate the pieces and complete the picture.
Once done you can then use the key on the lock that appears. You can then enter the green door.
Your way is blocked.
Tap the panel on the top left to see this puzzle.
Hint: the star map found above is the clue.
Solution: move the green points on each of the sliders to match the star positions on the line on the map.Show
The green dot on the right needs to move down 1 to the middle.Show
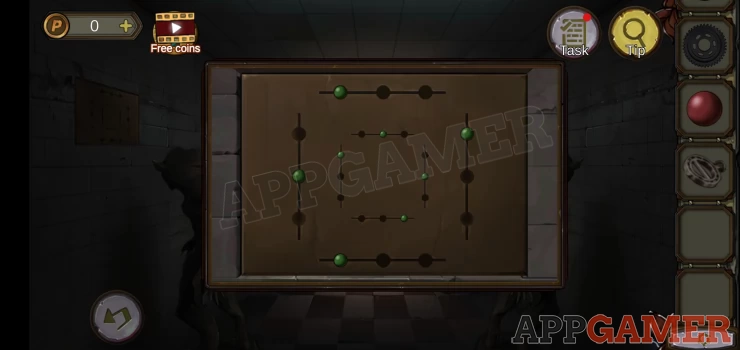
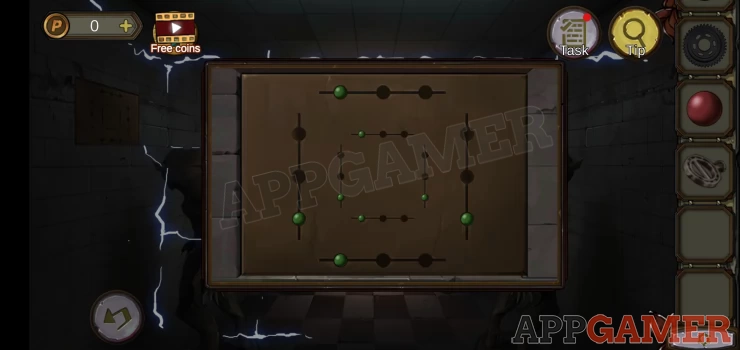
Once done you will have access to a power control.
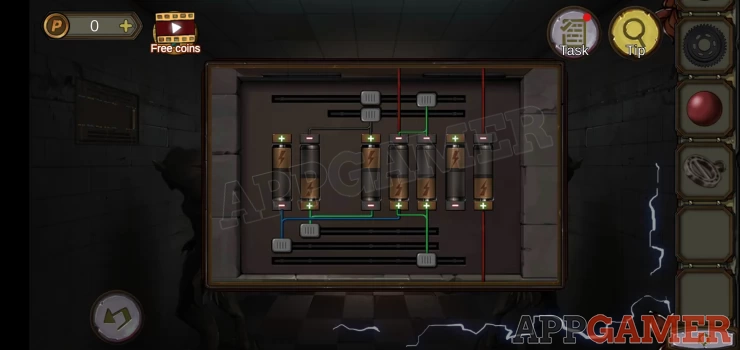
Move the sliders top and bottom so that each battery is connected
Solution: Show
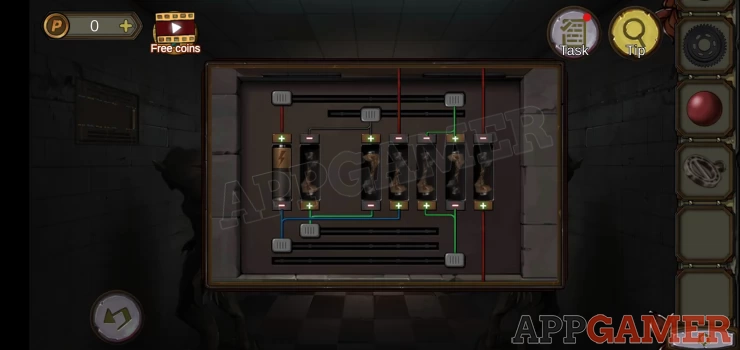
Most batteries will be destroyed, collect the one remaining.
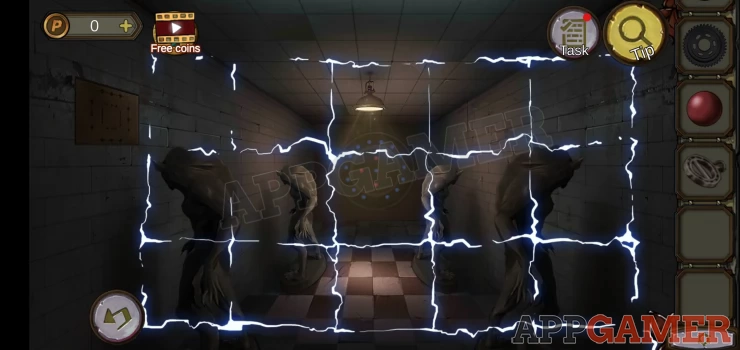
You can now access the room.
View the circles at the far end.Add the red and blue beads to it.
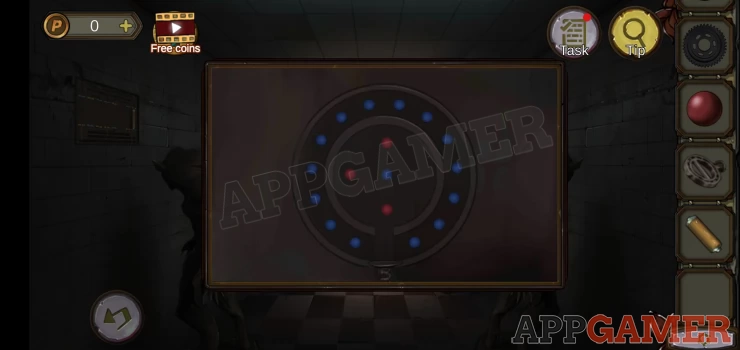
The beads spin and you can now tap to launch blue beads from the outer ring up into the center.
You need to launch all outer blue beads into the center to hit the central blue bead without hitting the red beads.
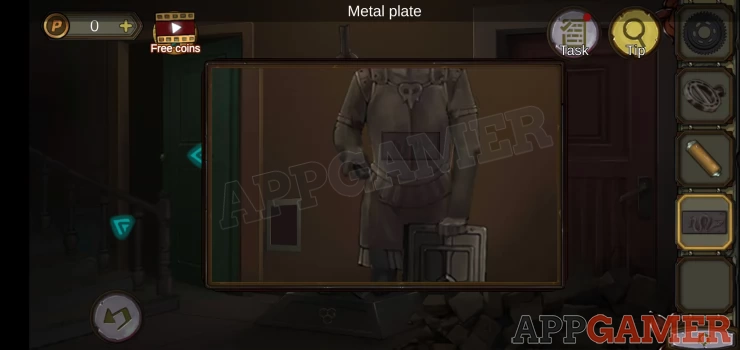
Once done you can collect a metal plate
Back out to the hallway and view the armor chest.
Add the metal place to the center and then you can collect earrings.
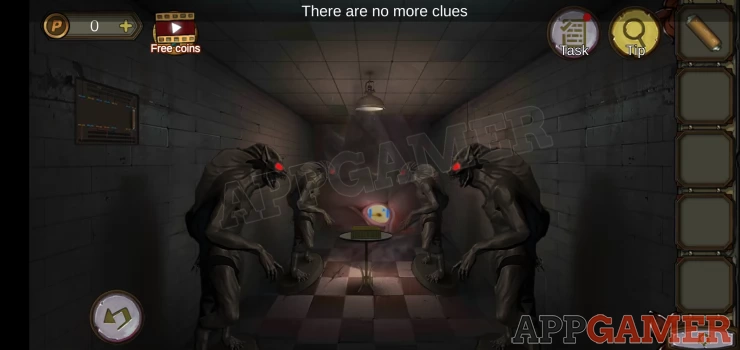
Go back into the green door room. On the left are 2 statues facing the wall.
View the back of the one on the far left. Use the earrings on the panel on the back to open it.
Add the bearing rod in to and the statue will turn.
Then do the same with the other statue on the left. This time add the gear to make it turn.
Now view the table that appears.
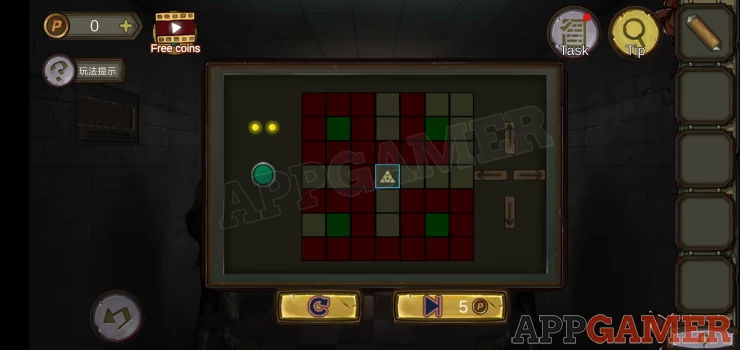
Hint: You can use the arrows to move the piece 1 or 2 times, then tap the green button. This makes the piece move to a new opposite location. The target is to reach all 4 green squares.
Once done there will be an apparition of an eye. Watch this for a clue.
Exit to the hall and tap on the base of the armor to find another puzzle.

There are 3 hexagons with colors. Tap them to change the arrangement of colored lines.
Solution: match the color line arrangements seen in the eye clue.Show
Howto: Tap Blue once, Red 3 times, Yellow twice.Show
Collect a hook.
Back out to the first area and go to the room of the coffins.
Tap on the floor on the bottom right to see this symbol.
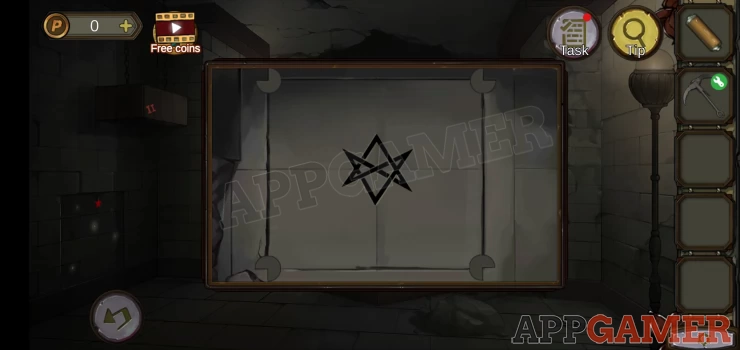
Tap each of the corners to rotate them and release the center. This opens the hatch and you can go down to a basement.
Collect the rope from the floor and then combine this with the hook.
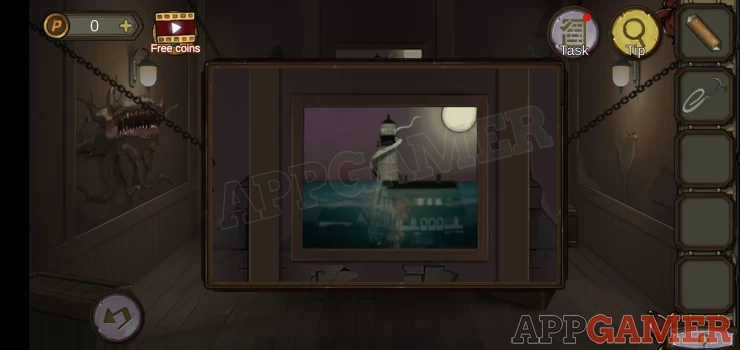
Next tap to view the picture in the center above the coffin. Tap the moon on the top left and it will turn into a disc, tap this again to collect a Silver piece.
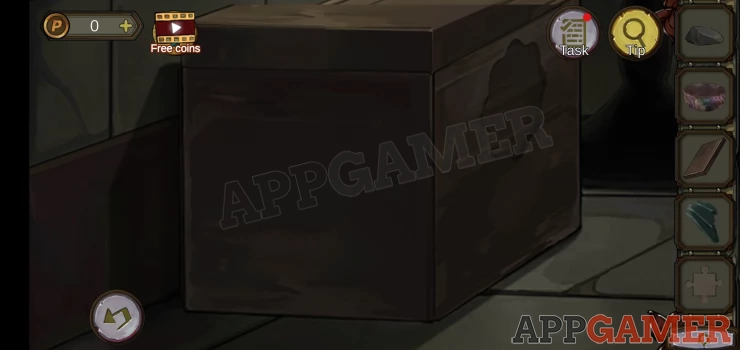
Next tap on the larger box on the back right under the coffin.

Collect from behind it a round stick. Take note of the clue on the front.
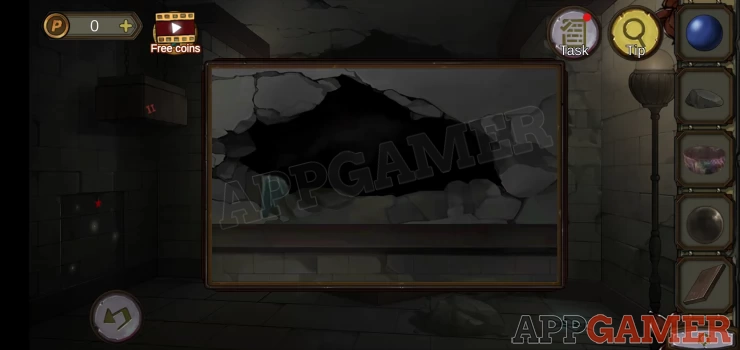
Go back up to the room of coffins and view the hole in the ceiling again.
Use the hoop with rope on this to let you climb up. There is a cage.
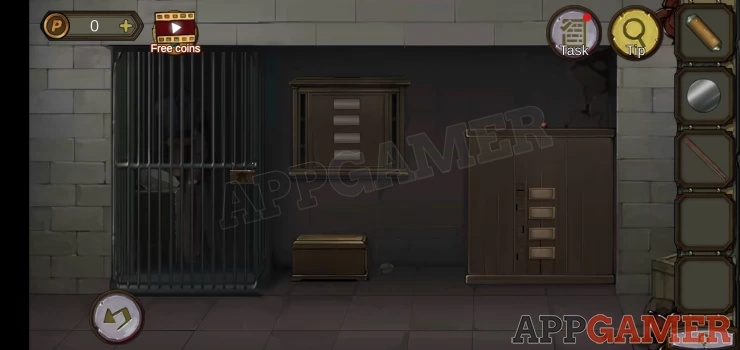
On the floor bottom center is a turtle shell to collect.
Then just to the left is a box with a puzzle.
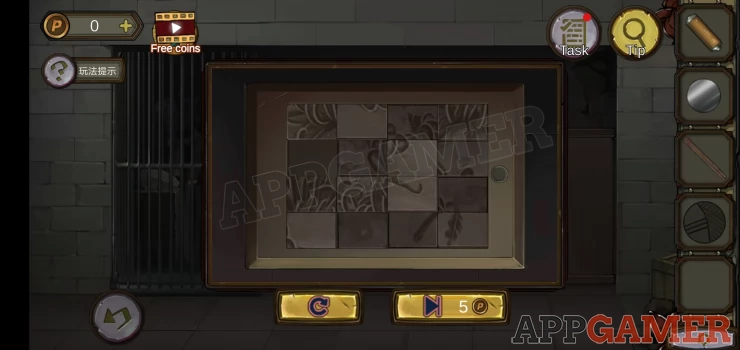
This is a sliding piece puzzle. Rearrange the pieces to form a picture. Tapping the green button will also reverse the 4 corner pieces, some of the pieces will need to be reveresed.
Solution: Show
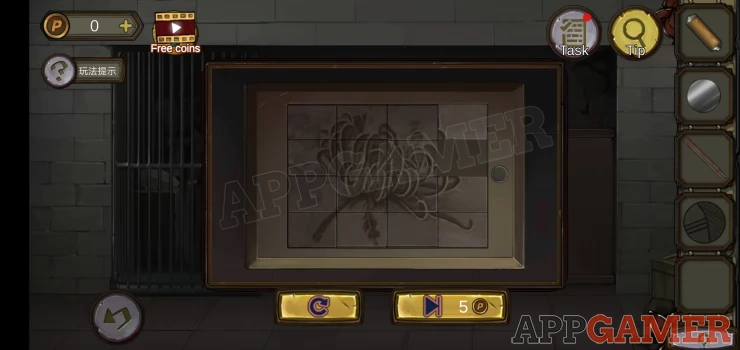
Once done collect the growth agent
From the top of the large chest on the right collect a round bead
Now view the large chest on the right. This has a 4 digit lock.
Hint: check the lines on the left and combine these with the clue seen in the basement
Solution: on the box in the baser lent are 3 lines of digital characters, check each line and remove the lines shown on the chest from each to find a set that forms numbers. The center line works.Show
Code: 7264Show
Open the chest and collect the Metal piece.
Go back down and move to the green room with the armor.
On the left of the armor is a planter with a small plant in it.
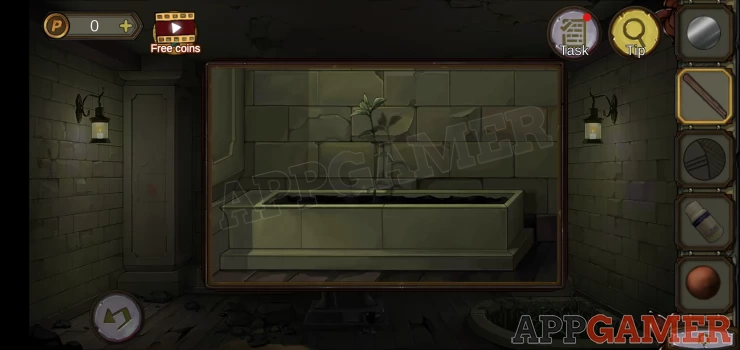
Add the growth agent to it and it will rapidly grow very tall.
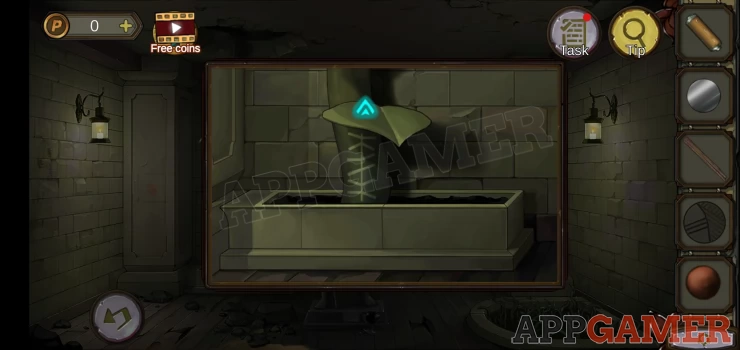
Note the clue that is written on the trunk and tap it to climb up.
That is the end of part 1. Move on to Chapter 8 Part 2
We have questions and answers related to this topic which may also help you: Show all