
Cruise Ship Walkthrough - Part 3
More 3D Escape Room : Mystic Manor
This is our guide to Part 3 of the Cruise Ship chapter of 3D Escape Room : Mystic Manor. After completing the second book which took you to China, your next adventure takes place on the Theseus Vessel where you need to complete a secret mission.
In Part 2 you investigated an auction of rare items and collected an auction voucher. Now back in the study to need to open the book again select the image to head to the next part of the mission.
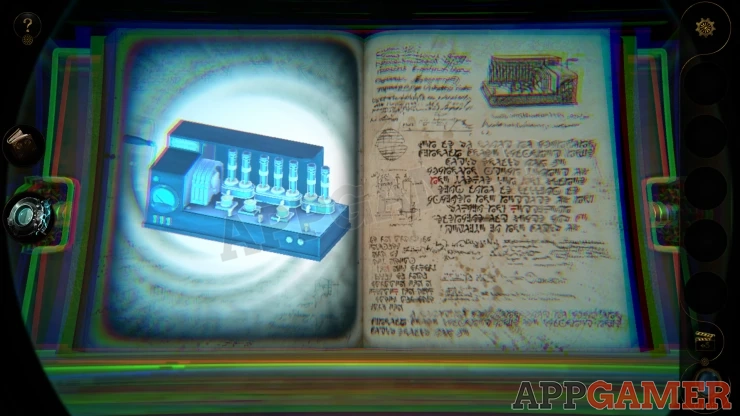
Book Three - Cruise Ship - Part Three Walkthrough
In Part 3 we arrive at the Captains Cabin. There is a ships wheel and other devices.
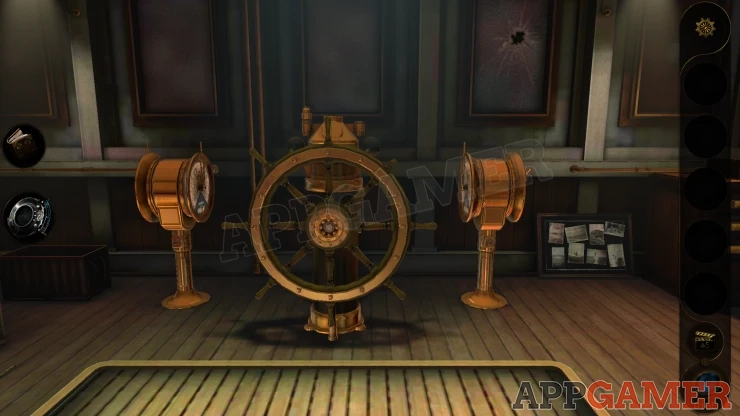
First turn to the right to see a desk.
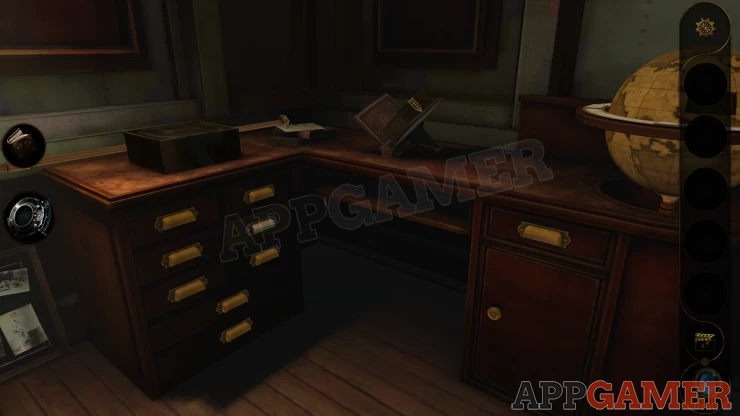
View the drawers below the left side of the desk and open the one with the lighter colored handle.
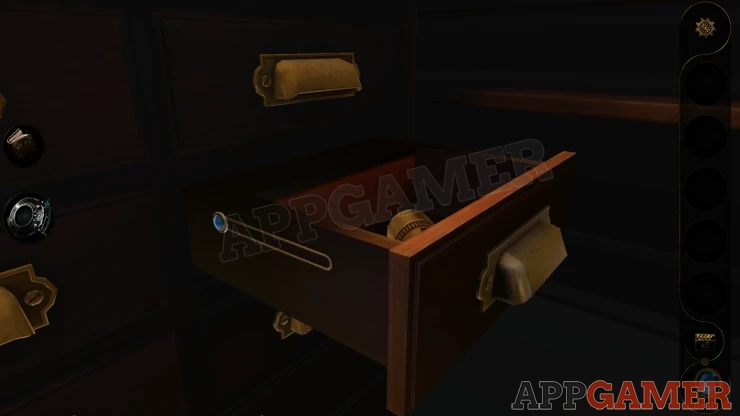
Collect a Compass Part and then you can also move a blue slider button to open a second compartment and collect a Vacuum Tube.
Now turn back to the Ships Wheel and look at the top of it.
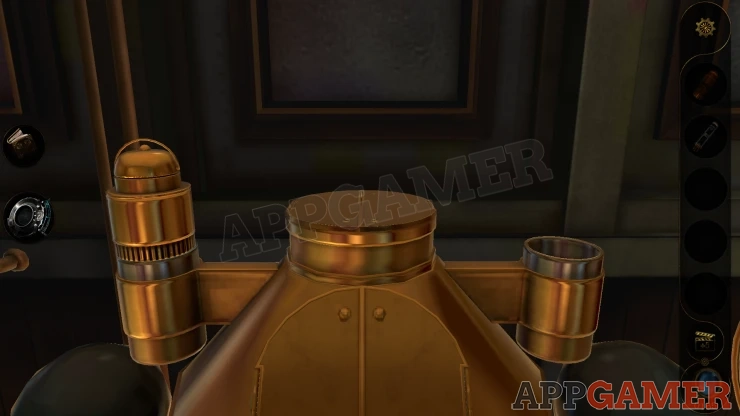
Place the Compass Part on the right and then turn it, you will activate a puzzle.
Ships Wheel Puzzle
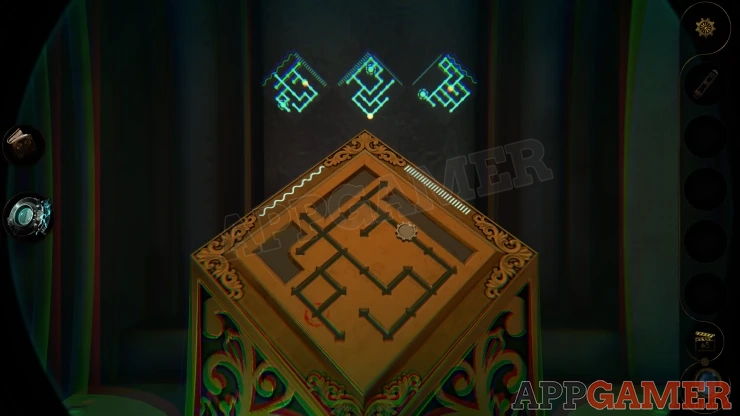
- View the block that appears at the top with the Lens eyepiece. You will see three maze patterns above it.
- The gold block has a maze on it that matches one of the patterns.
- You can then turn the block in the center to see that the other two patterns are on the other faces.
- Move the small round counter on the maze to move it towards the red circle.
- When you do this the marker on the maze lens images above will also move showing its position on the other faces of the block.
- You need to move the counter on all three faces to the red circles.
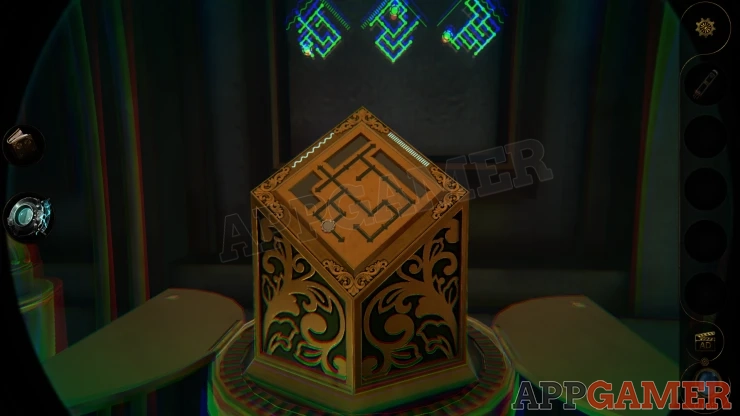
Once done the left side opens and you can collect a Ships Wheel Handle.
View the upper right section of the ships wheel to see a slot for a missing handle. Place the ships wheel handle here, then turn it to screw it in place.
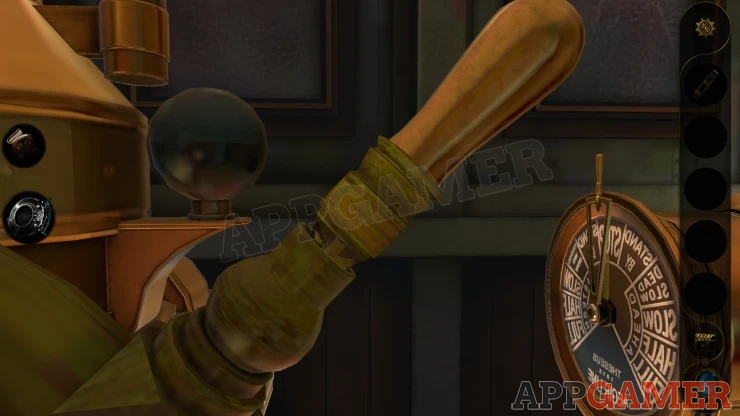
The wheel turns and you can then collect a Small Badge.
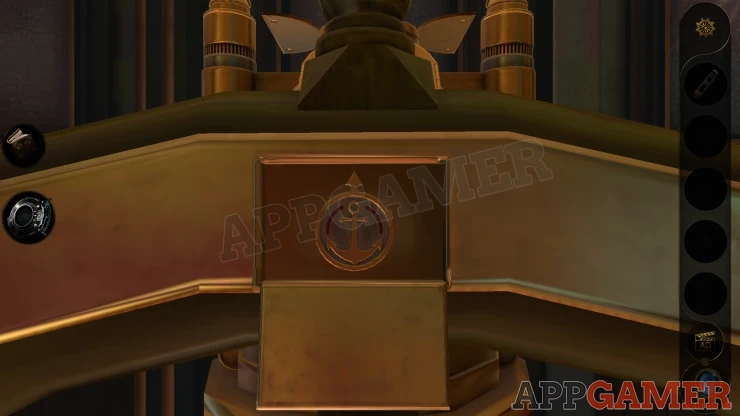
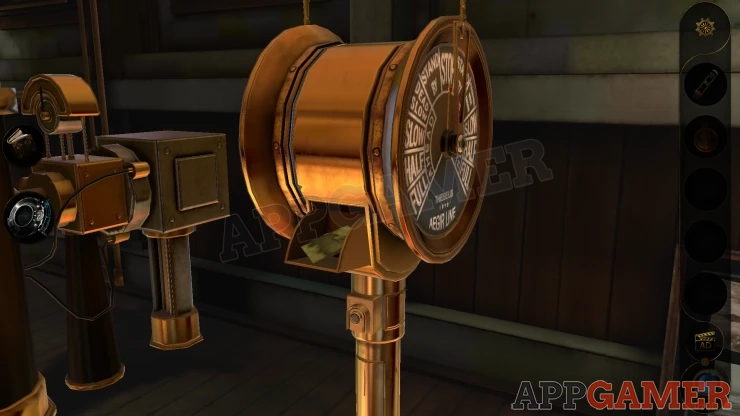
Now look at the helm control on the right of the wheel. Move the level on it to the top (Stop). This will open a compartment, collect the Globe Fragment.
Next turn to the left to see a railing for some stairs.
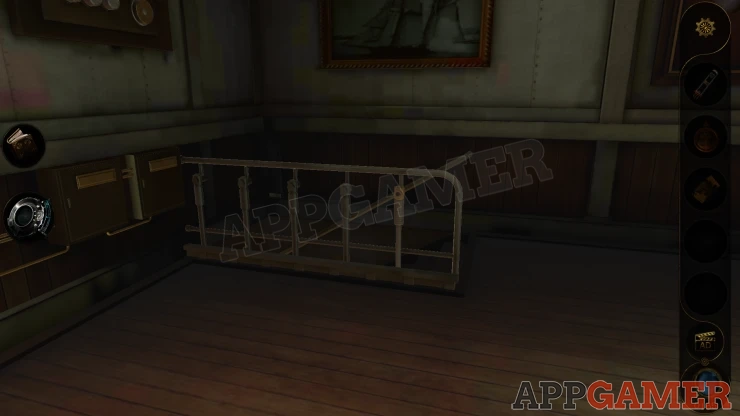
On one of the uprights is a circle slot, view this and place the Small Badge here. Then turn it to line up the arrows.
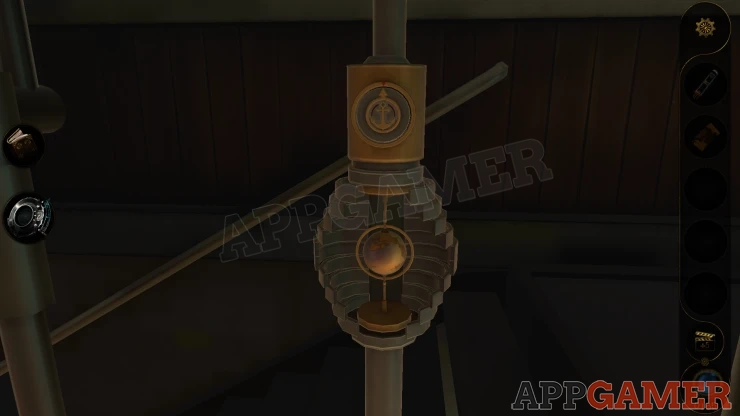
Collect a Planet Model.
Turn back to the desk and look at a box on the left side. Open this.
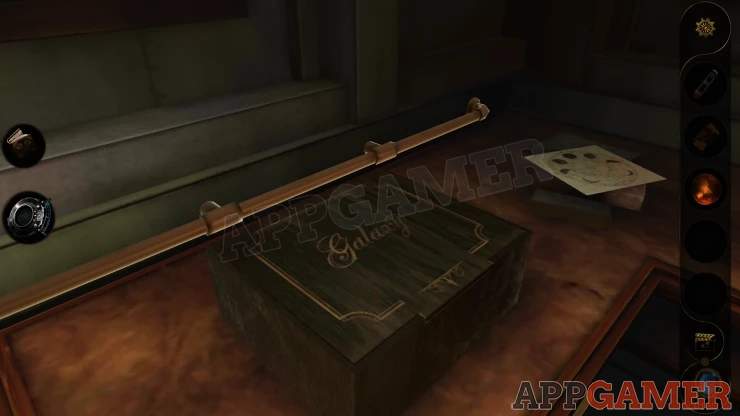
Place the Planet Model inside to activate a puzzle.
Moon Phases Puzzle
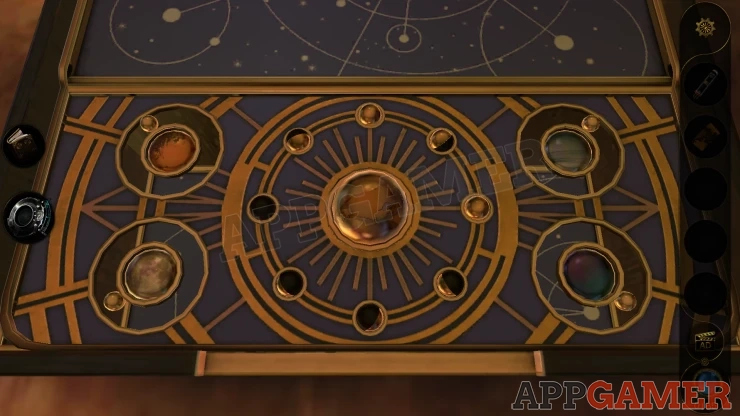
First look on the desk top to the right to see a paper with a clue. This shows 8 phases of the moon.
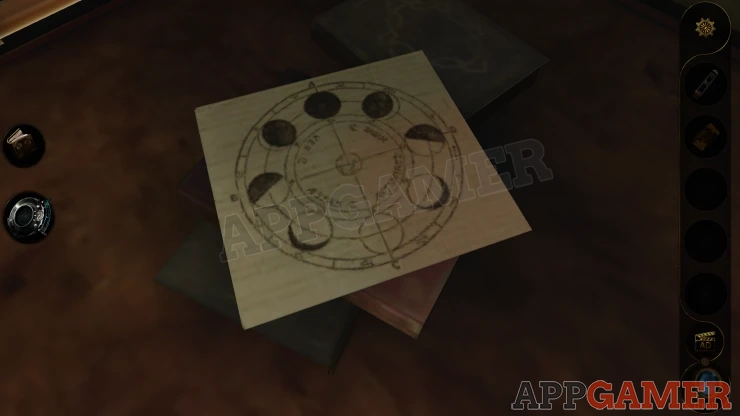
Now on the box turn the four dials (two on the left, two on the right) to adjust the positions of the 8 small spheres to match the clue.
Solution: Show
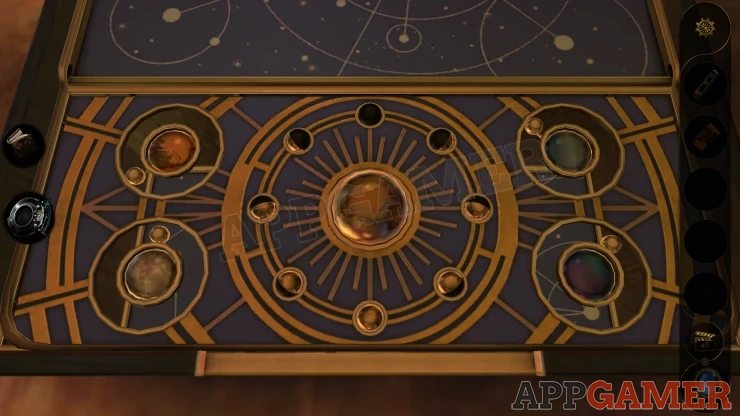
Once done you can collect a letter and a Handset.
Turn to the right to see the back wall. There are 2 communication devices on the wall, the left one has a red light.
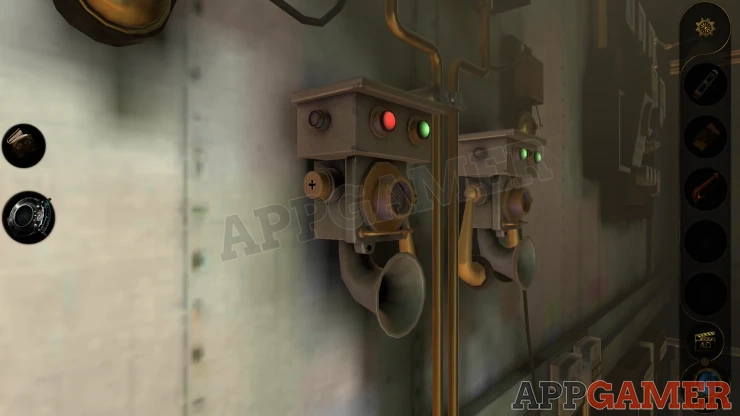
View the left one and add the handset to it. Then lower it to turn the light green.
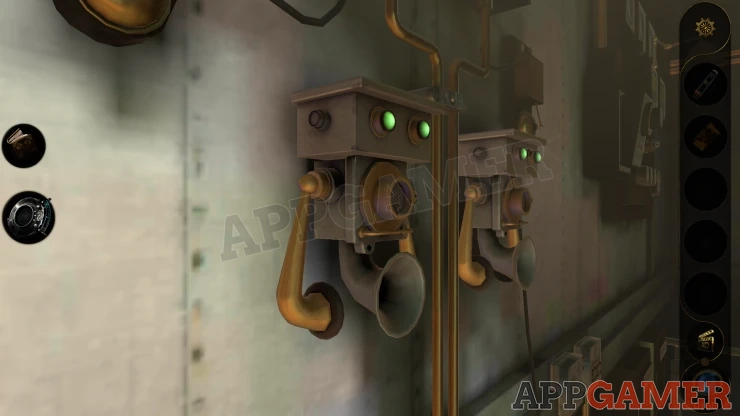
A secret door opens and you can go through to a secret telegraph room.
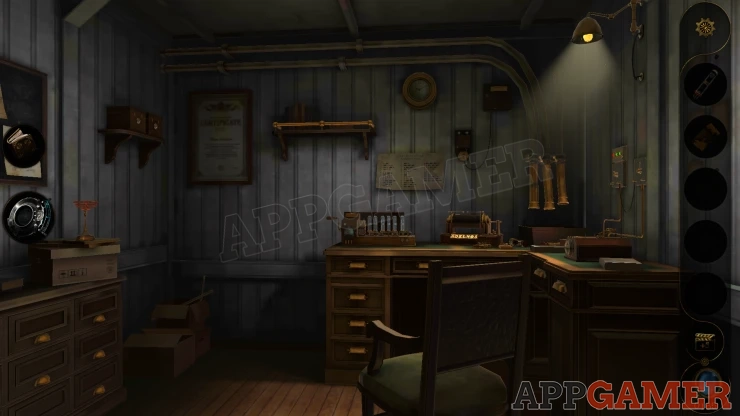
First notice a poster on the wall above the desk, this shows you a translation for Morse Code to help you.

Next look on the desk, and then at a device on the left side with glass tubes. There is one missing.
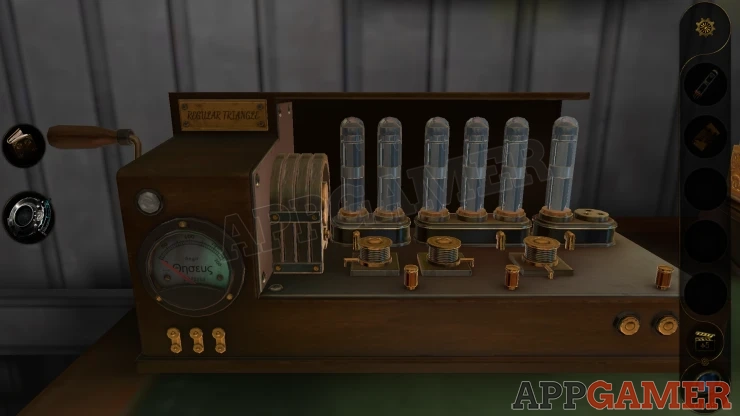
Add the Vacuum Tube that you have so there are 7 in total and then you can pull a handle on the left of the device to activate it.
You will see some of the tubes flash in a sequence, others are broken and don't flash, you can use the Morse Code poster to give you the letters that it displays.
Letters: Y _ _ A _ D AShow
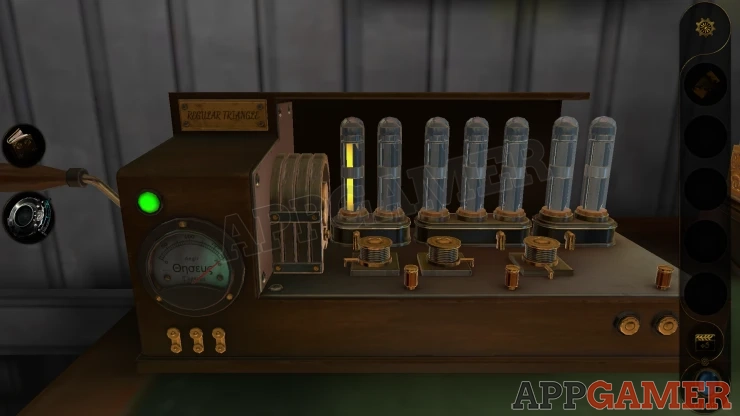
Next look on the wall to the right, there is a section of paneling to the right of the switches that has some notes and pins on it.
Notice that there are 7 vertical panels, 3 of them have notes.
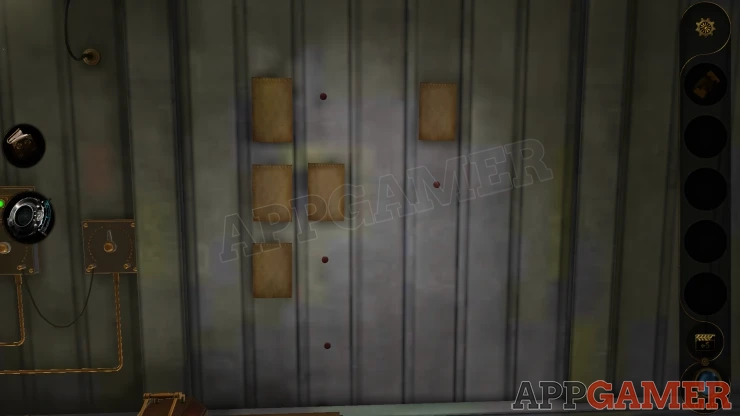
Using the notes as dashes and the pins as dots get 3 more letters from here.
Letters: _ O L _ N _ _Show
This gives you a 7 letter word.
Now look on the desk again to see a telegraph machine. This has 2 paddles to let you input letters.
Use the right paddle to change the letters on the display. Then use the left paddle to move to the next setting.
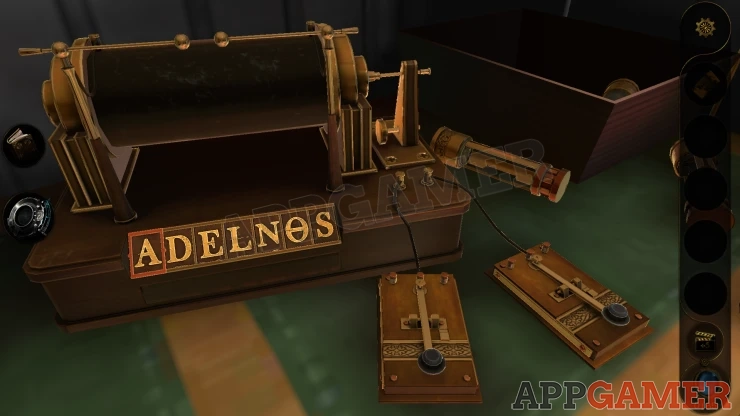
Enter the word from the clues above YOLANDAShow
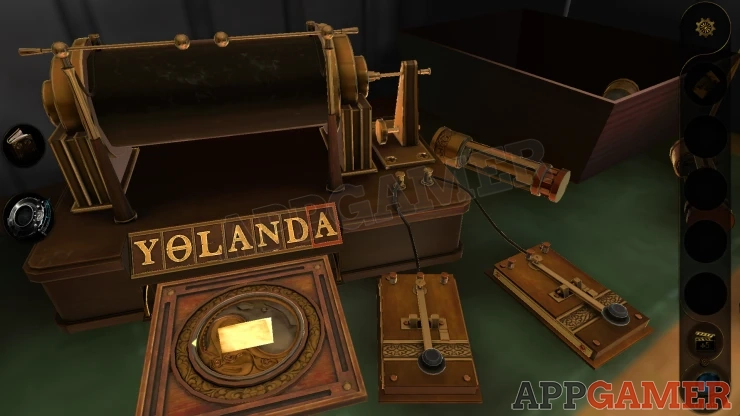
Once done you can collect a letter and a Circular Ornament.
Exit the telegraph room and go back to the Ships Wheel. Place the ornament into the center of the wheel.
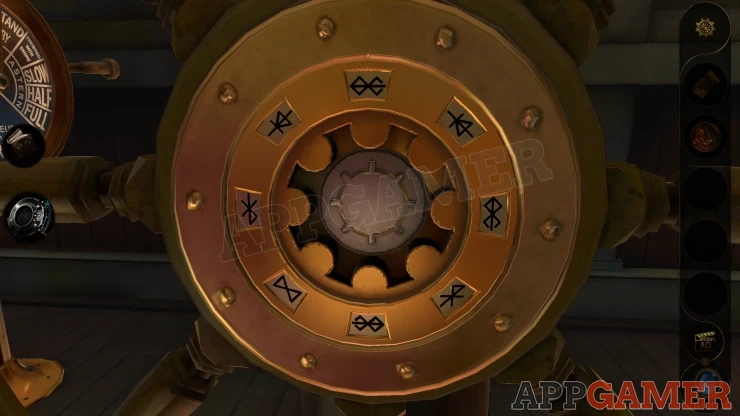
Ships wheel puzzle
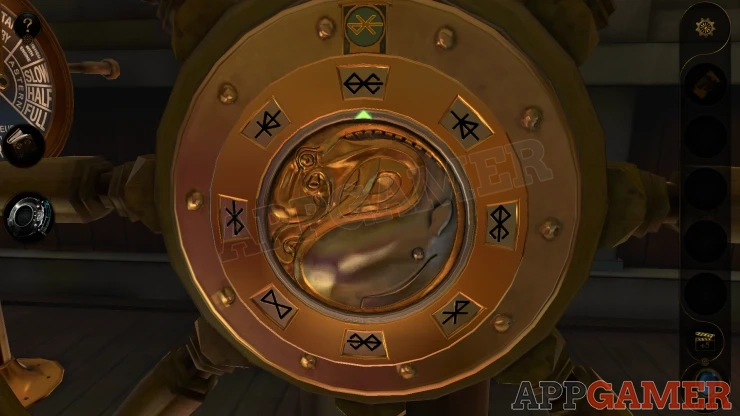
- There is an arrow on the ornament. You can turn the the ornament to point the arrow at one of the eight symbols around the edge.
- When you turn this to point at one of the symbols you will see a green symbol appear from it, this is what you need to set the white symbol to.
- This will also cause the 2 symbols to the left and right to change.
- You need to set all of the eight symbols to match the ones in green.
Solution: Show
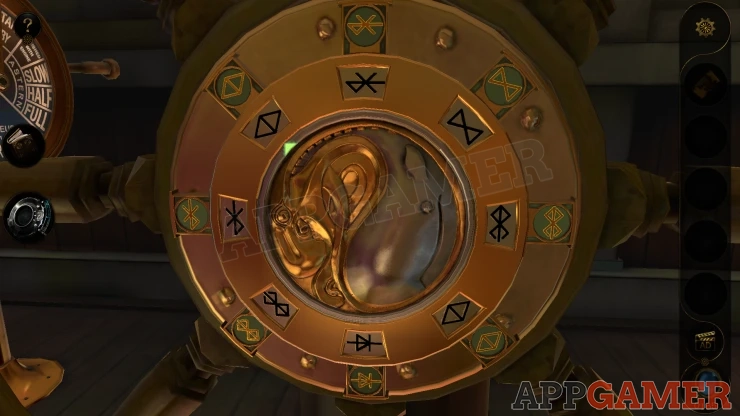
Once this is done a telescope will lower,and a compass will appear.
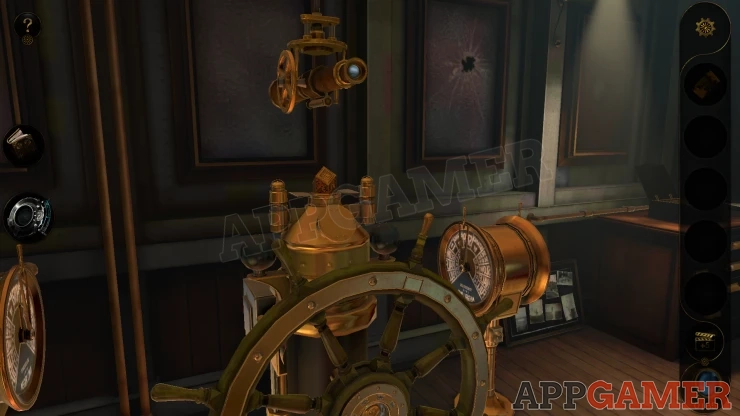
Looking through the telescope you will see water and an island.
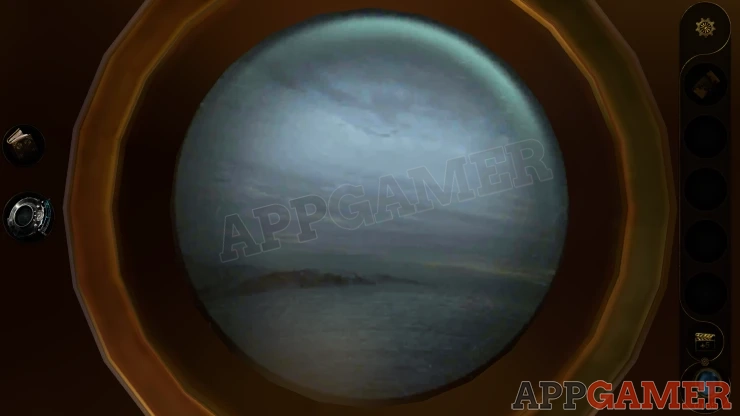
Then look at the compass to see that you are pointing South.
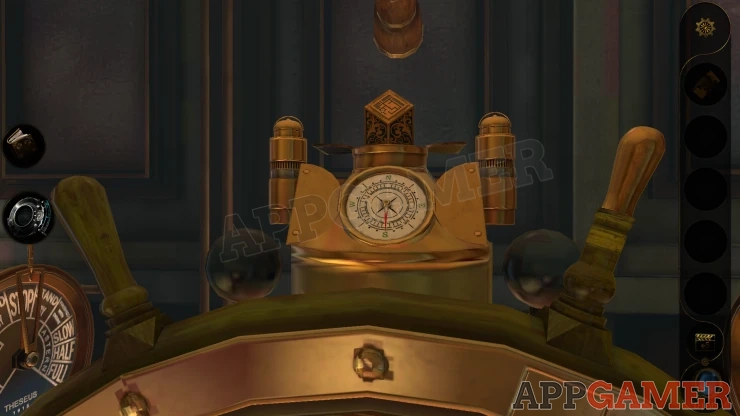
Move the wheel until the compass points to the East and look through the telescope again to see a Lighthouse.
Change the compass to point North, you will see only water in the telescope.
Move the wheel one more time to point West, then look through the telescope again, you will see a Ship.
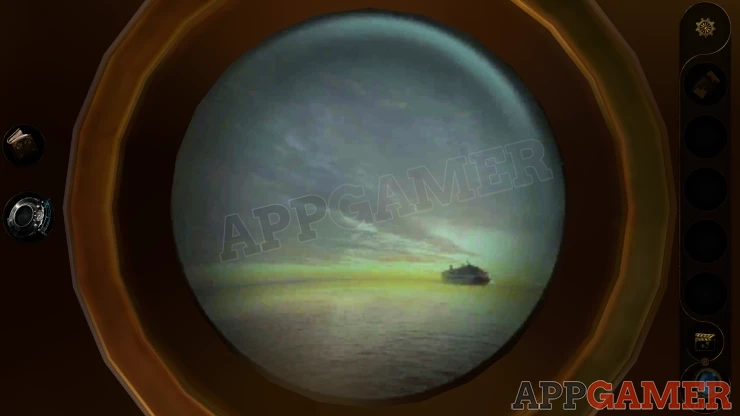
Now look on the floor to the right. Next to the desk is a notice board with photographs on it. Each one has a symbol in red.
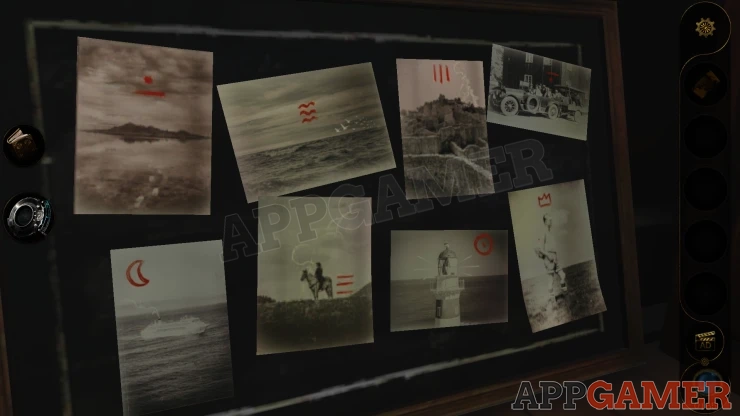
Find the 4 symbols for the things you saw in the 4 compass directions.
Next look on the desk to the right to see a Globe. View this and place the globe piece that you have.
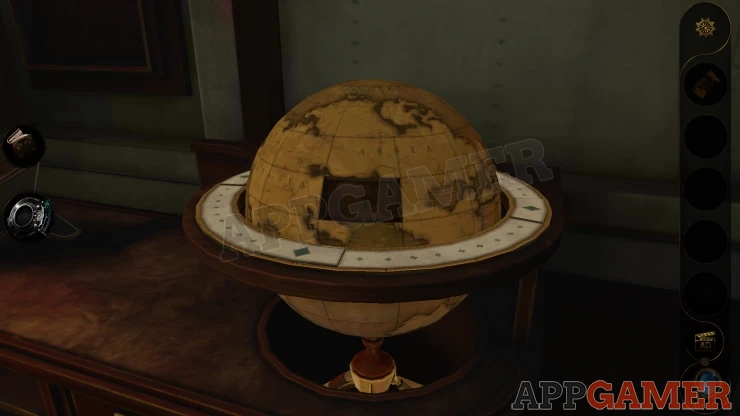
A panel will be revealed with symbols, view this with the lens eyepiece and you will see that is is marked as South. There are 3 other opened sections that are marked with the other compass directions. You can turn the circle piece around the globe to see them all.
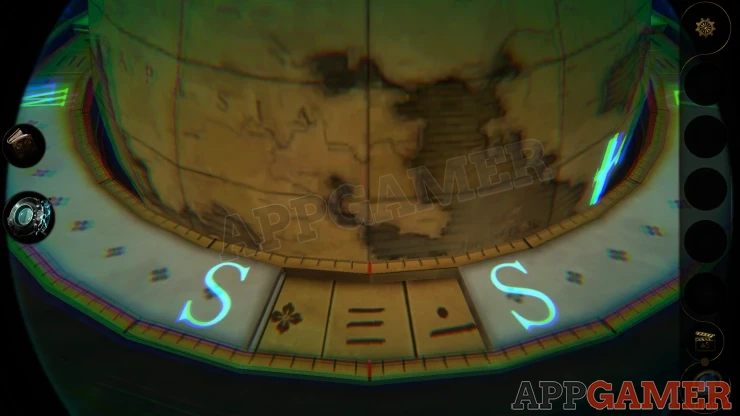
Change the symbol in each of the 4 panels to match the ones that you get from the photos for the 4 directions.
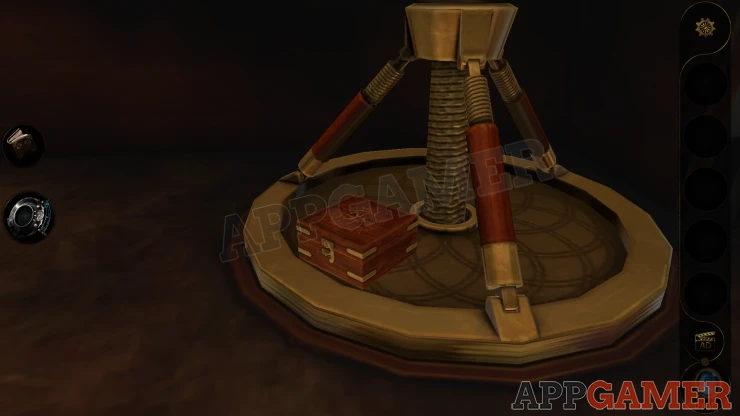
Once you complete this the globe rises up and you can find a Wooden box to collect from under it.
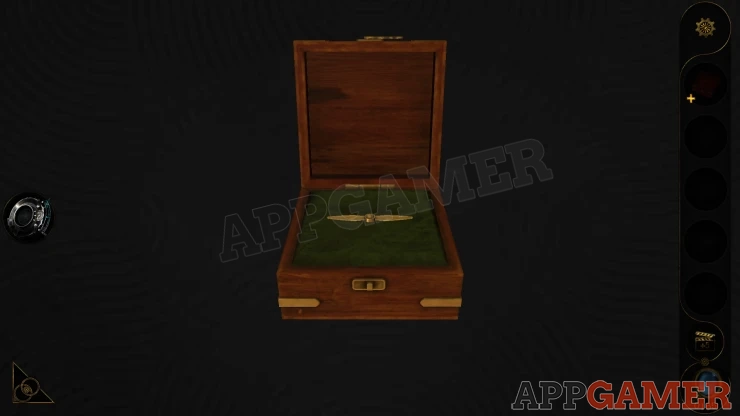
View this in your inventory and open it. Then collect a Propeller from it.
Go back into the telegraph room and look on the left side to see a small model Tri-plane.
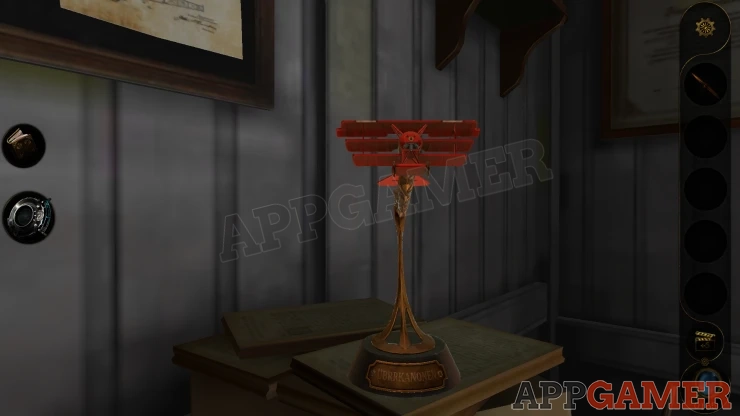
Add the Propeller to this. Then spin it to move the plane. Drag it forward to release and collect it.
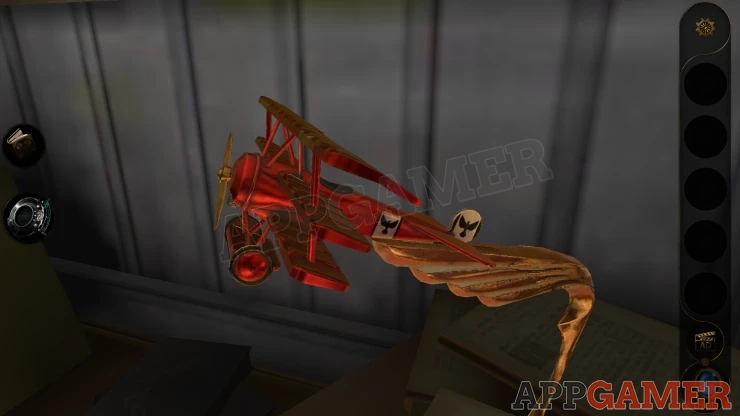
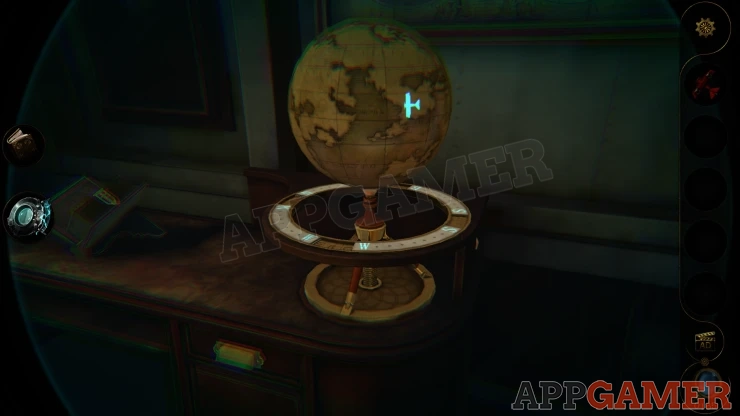
Go back to the Globe and notice with the lens a Plane symbol on the side. (Using the Lens) Add the plane here. The globe will now have a plane puzzle to solve.
Planes Puzzle
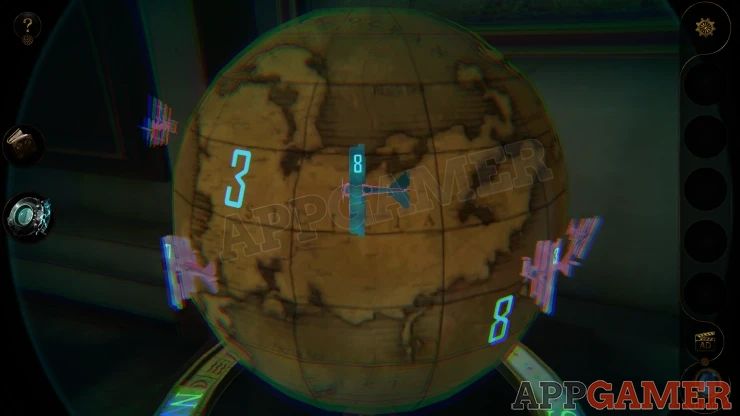
- This is similar to a connect the pipes puzzle.
- There are eight planes on the globe each with a number on it. (1 to 8)
- There are also eight marked section with numbers on them as well (1 to 8).
- You need to move the numbered planes from their starting point around the grid of section on the globe to reach the matching numbers section.
- Doing this will leave a marked path on the grid that you cannot fly any other planes over.
- Find a way to get all eight planes to the correct locations.
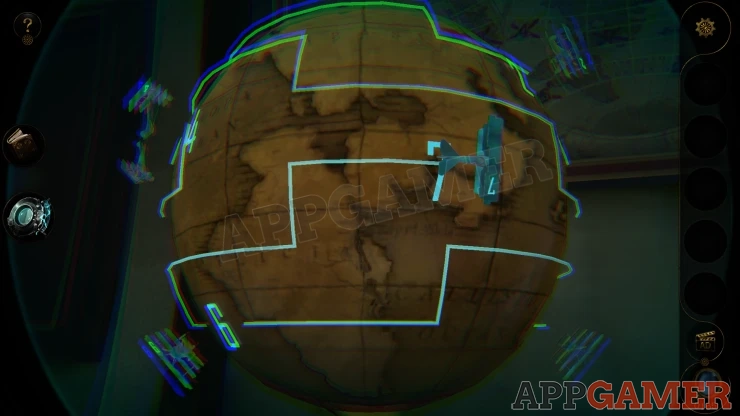
Once done you can collect a Crank Handle from the top of the globe.
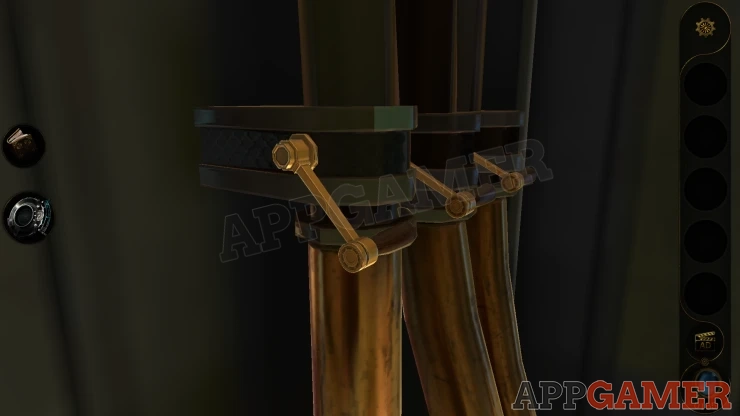
Go back to the telegraph room and look in the corner above the desk to see 3 communication tubes.
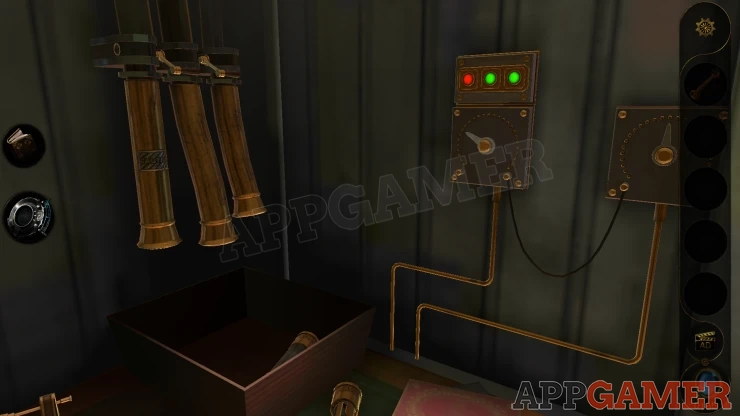
Place the crank handle on the left tube and move it. A cylinder will drop out, Collect the tube
Now look on the right side of the desktop to see a brown box. Pull the handle on top and a section will slide out.
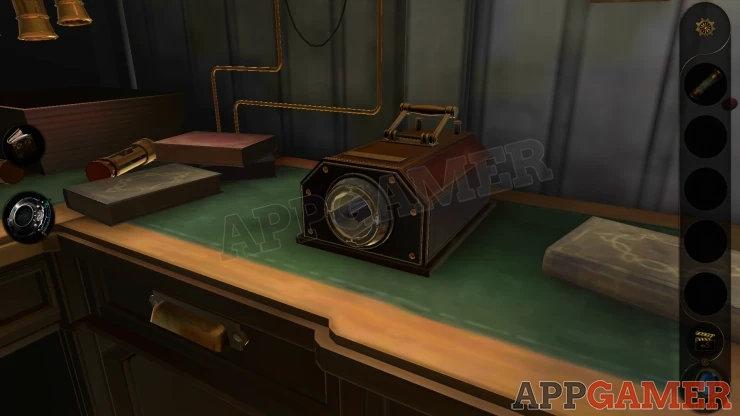
Add the tube to this and it will be opened. When it pops out again collect the Strange Metal from it.
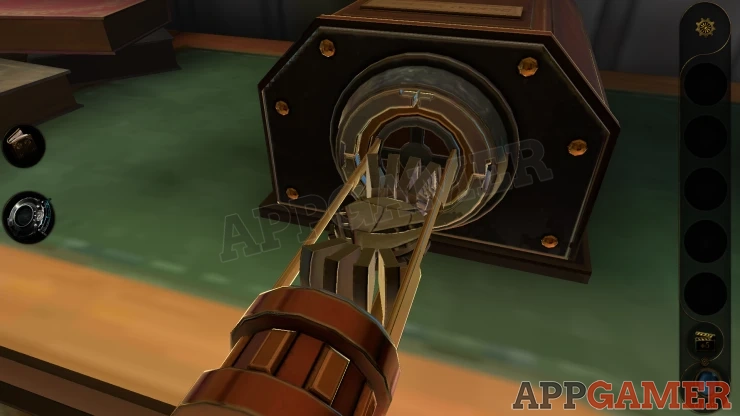
View this in your inventory and turn it around to see the back.
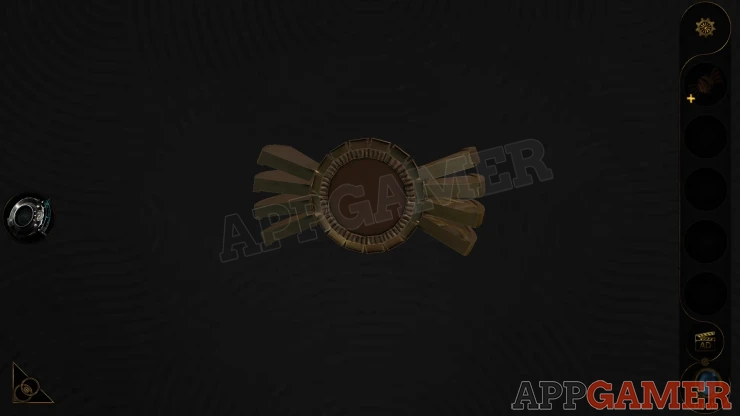
Turn the dial on the back and it will open up into a Circular Ornament.
Back out of the telegraph room again and return to the desk with the globe. Near the center is a book on a stand.
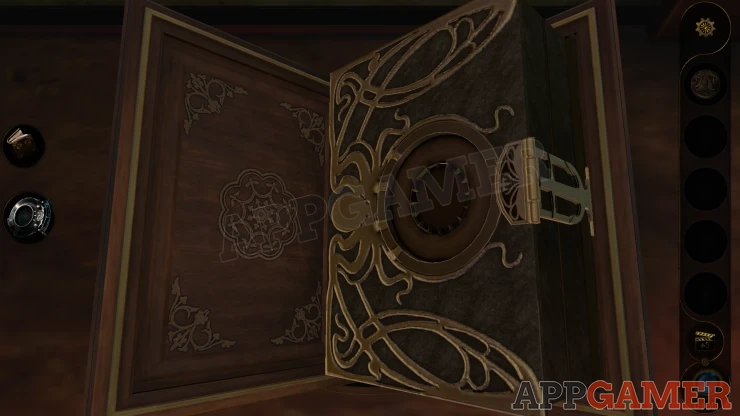
Add the Ornament to the front and it will open.
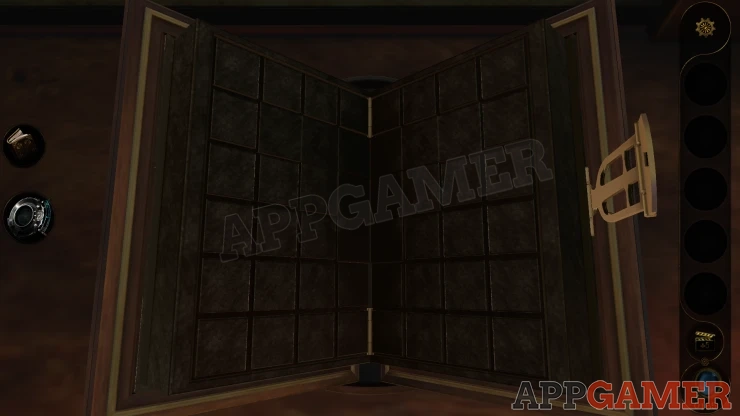
Look at the opened book with the lens eyepiece to see a puzzle.
Book Puzzle
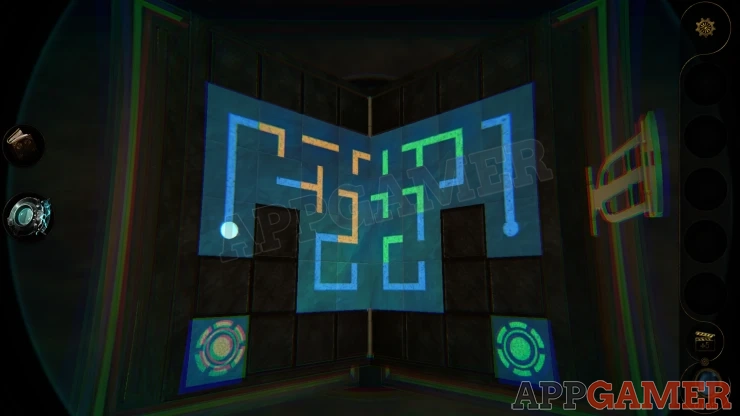
- There is a grid of lines in blue, orange and green.
- You need to move the light point from the left over to the right side.
- Pressing the orange or green buttons below will made blocks extend from the book to change the layout of the orange or green lines.
- Work the light point around the grid lines until it reaches the end point on the right.
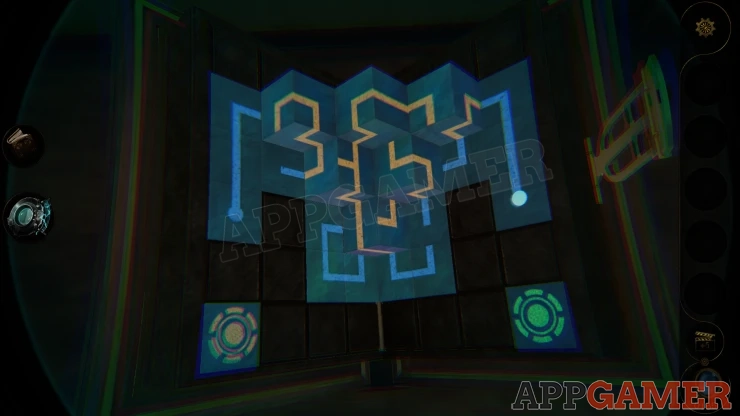
The book will become a real book and you can collect a storage hold ticket.
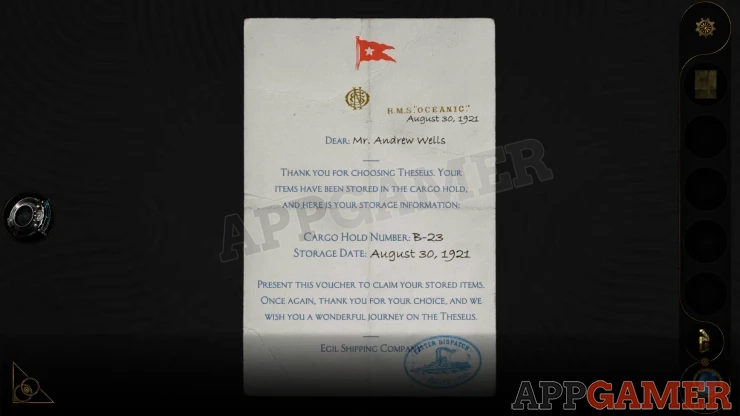
This completes part 3 and you will return to the study.
Move on to Cruise Ship Part 4
 With 20 years of experience in creating video game content for the internet and over 30 years as a gamer, Mark is now a passionate mobile App Gamer. Loving a challenge, he is always ready to get stuck in to both survival builders and puzzle solving games. He has been providing content for AppGamer since 2014.