
China Walkthrough - Part 2
More 3D Escape Room : Mystic Manor
This is our guide to Part 2 of the China chapter of 3D Escape Room : Mystic Manor. After completing the first room that are transported to in China you will have unleashed a ghost. From the Study you can then examine the book in the device again and use it to travel to the second room of China.
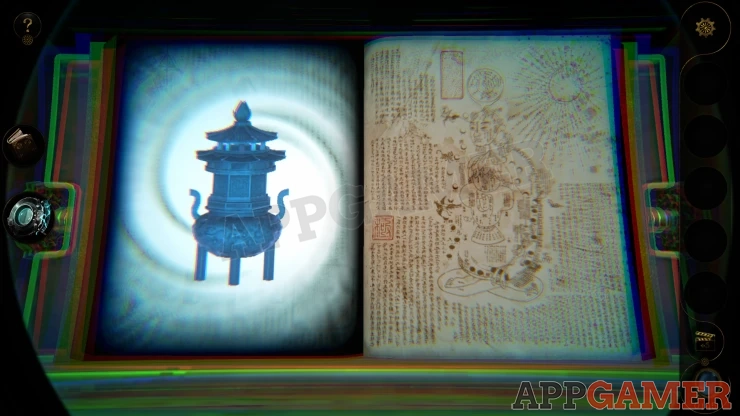
Book Two - China - Part Two Walkthrough
To begin you will see the ghost in the room. It is trapped by the Magic Circle above.
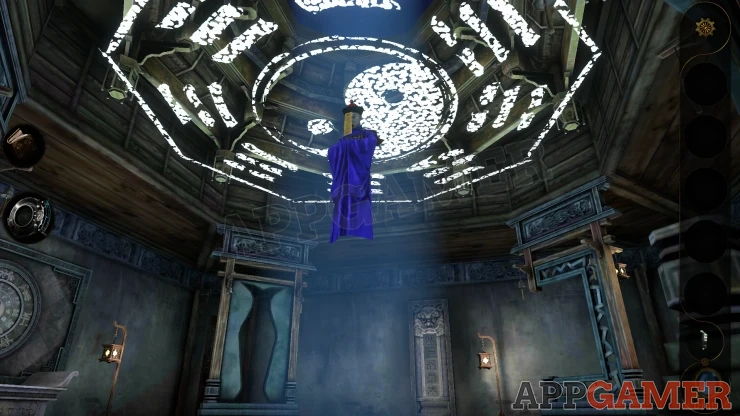
Look to the right to see another small cabinet with some painting above. Notice the 4 characters at the top. Also notice that Ying Yang symbol in the center below.

Now look at the front of the cabinet below. In the center there is a lock that requires a combination.
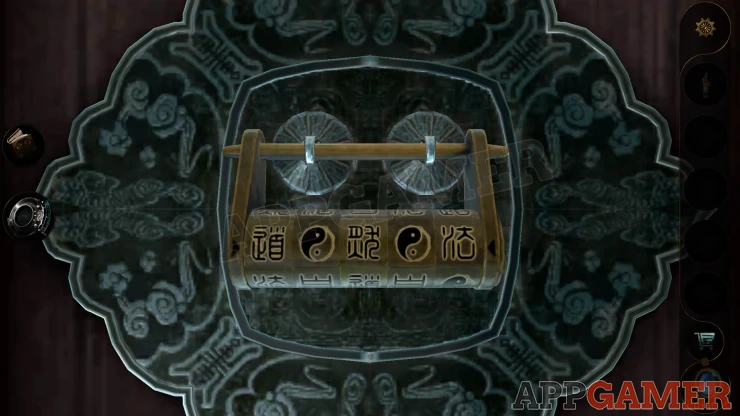
There are 5 dials to set with characters or the yin-yang symbol. Use the clues above to solve this.
Solution: Show
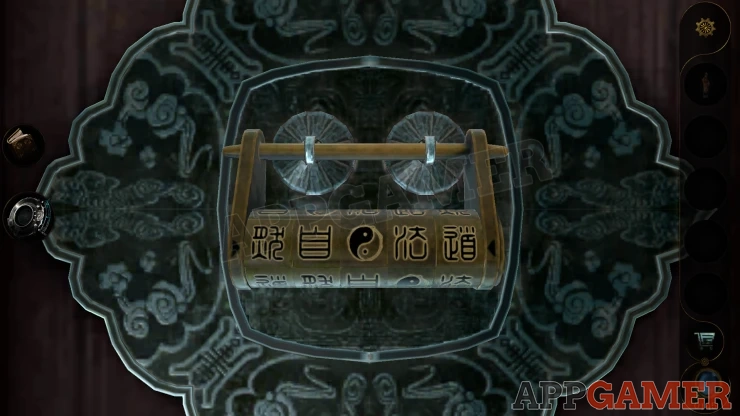
When the lock opens, open the side doors fully.
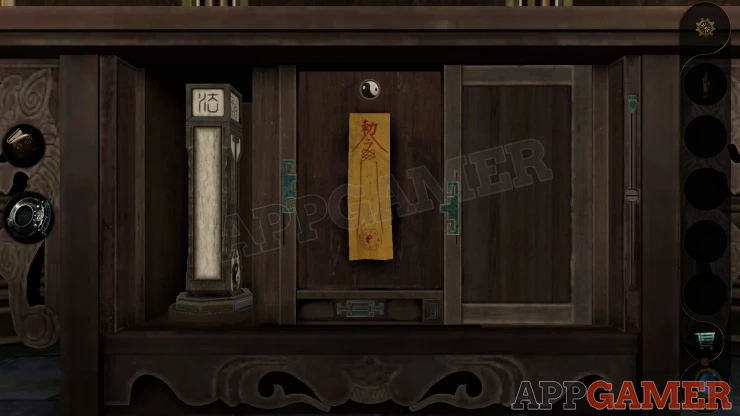
In the center panel at the top you will see another Yin-yang symbol, view this and tap it to push it in. It will fall inside and then you will see a puzzle using the eyepiece Lens.
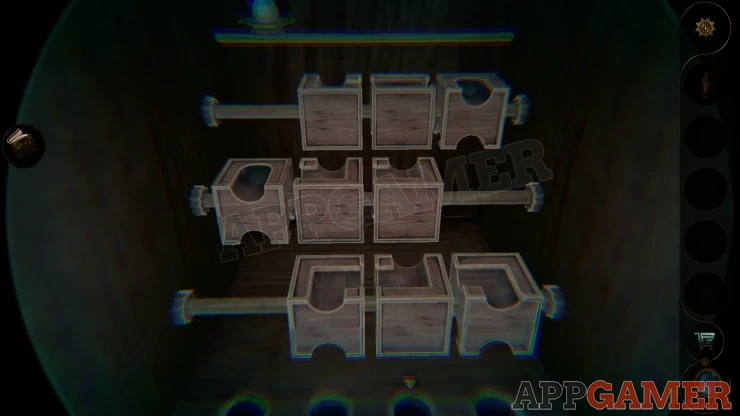
- In this puzzle there are 3 rows of blocks that you can turn to change the paths that appear on top of them.
- At the top is the Ball and ad the bottom are 4 holes. Once of the holes is marked with an arrow.
- turn the blocks and slide them left or right to create a path for the ball to follow.
- Set up the path so that the ball will roll down to the hole with the arrow.
- Once set you can tap the ball to set it rolling.
Solution: Show
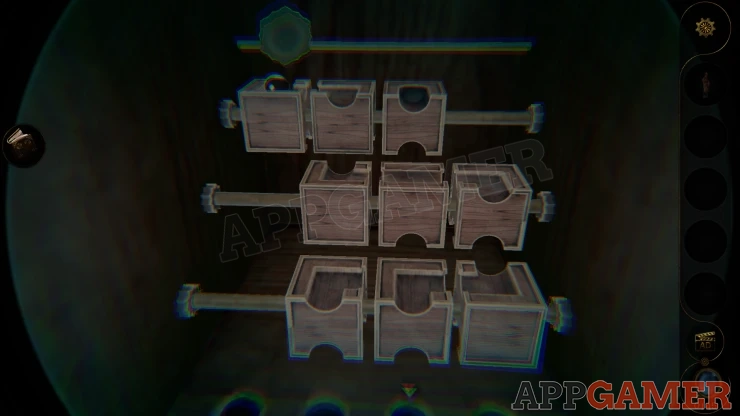
Once the ball falls in the correct hole then a drawer opens and you can collect the Bagua Bead (Ball) and a Talismans paper.
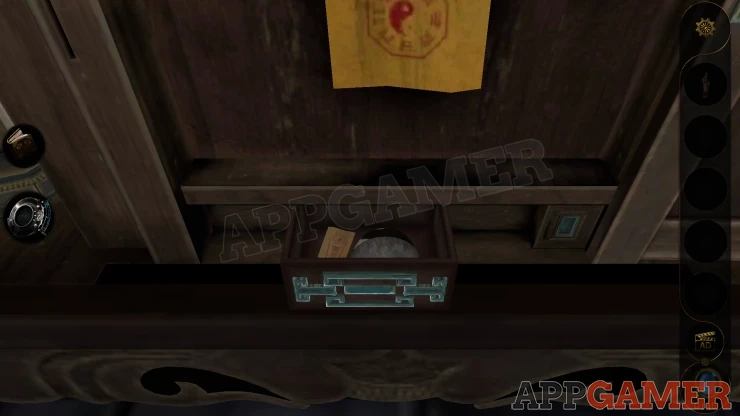
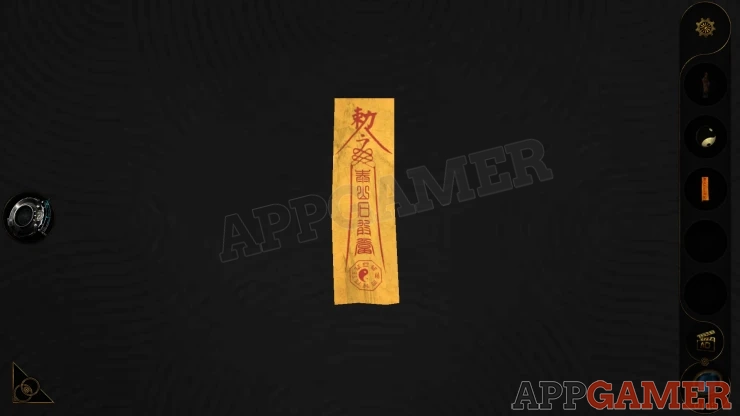
View the paper to see a clue with a column of 5 symbols.
Show
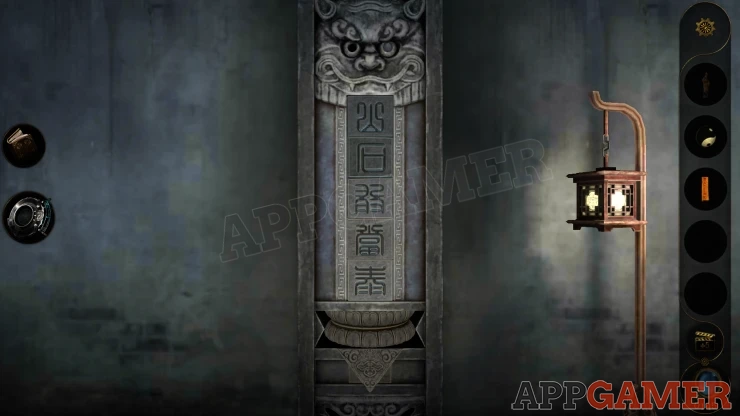
Now look to the left to see a stone carving on the wall with a head at the top and 5 blocks withe characters.
View the face at the top and add the eye / ball to the empty socket.
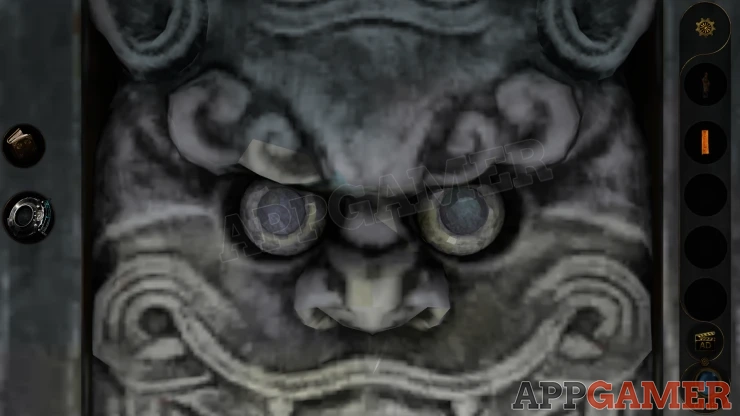
This will activate a wheel at the bottom.
Now you can use the wheel to turn the blocks. Turn it to the left to switch the top block, then turn to the right to switch the next one down. When you change direction it will move down a block.
Set the characters on the blocks to match those on the paper clue.
Solution: Show
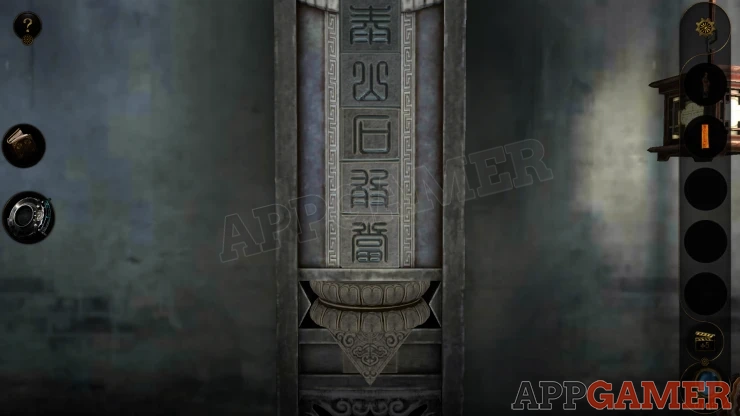
Once done you can collect a Wooden Handle.
Now go back to the cabinet on the right. Look below the center panel to see a small blue button and the drawer that opened before.
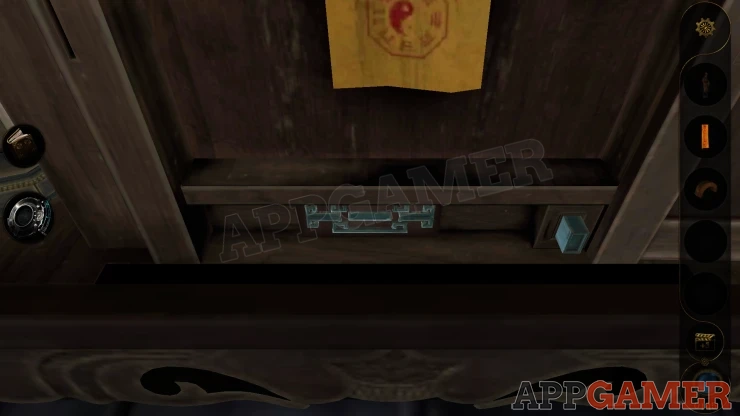
You can drag the draw in and out, this will also move the blue button in and out. Their positions will vary as you move the draw.
You need to continue until yo have both the drawer and the button pushed in. Then you can drag the door that is on the right over to the center. If it is blocked by either the button or the drawer keep trying to reposition them.
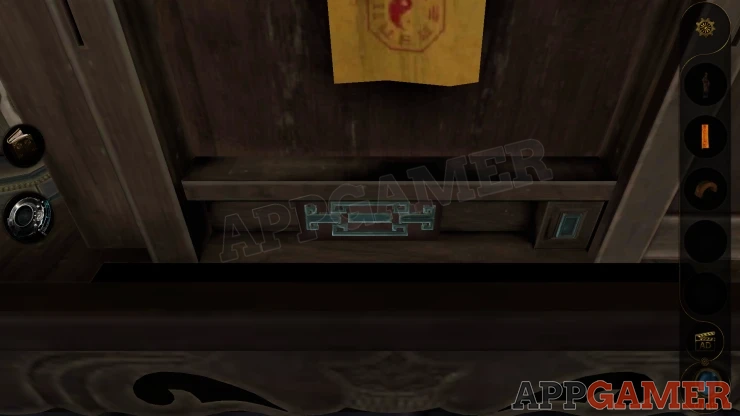
Once done the door will be moved all the way across and you can then access the right side.
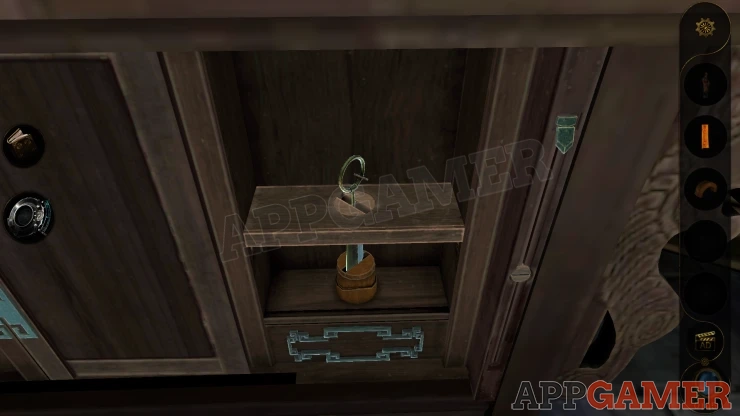
Inside is a dagger that is passed through a shelf with a slot in it. There is also a slider on the right.
Look on the shelf and notice the slot is within a circle. Slide the slider down as far as it will go, this will raise the shelf a little.
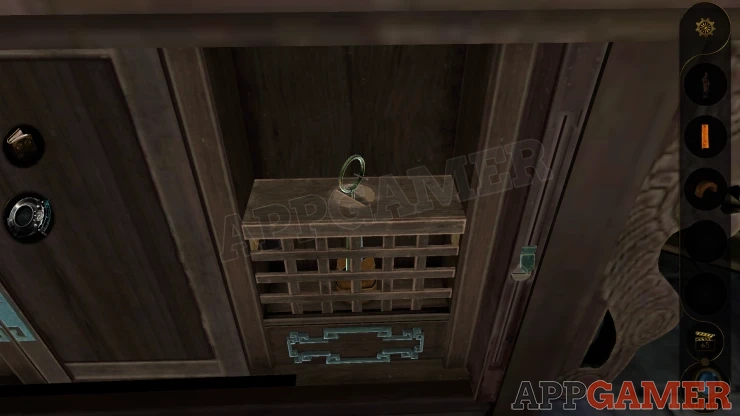
You can now turn the circle to change the direction of the slot. Turn this to align it with the dagger blade. The shelf will drop down.
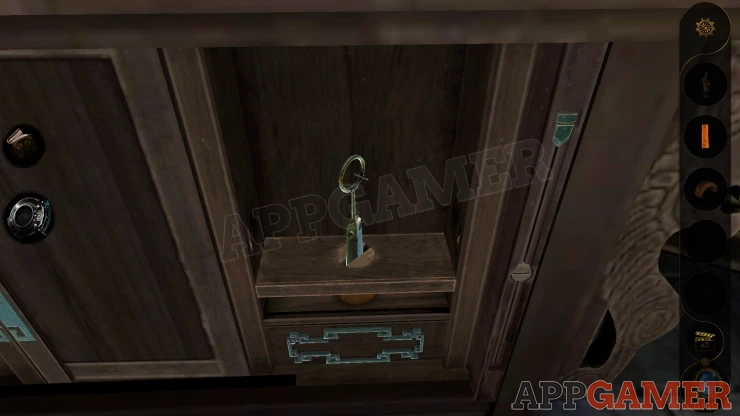
Now you can collect the Single Copper Coin Ritual Dagger.
Use the dagger on the small round screw head that is on the right side in the middle of the slider groove.
Turn it to align it with the rest of the groove. You will recollect the dagger.
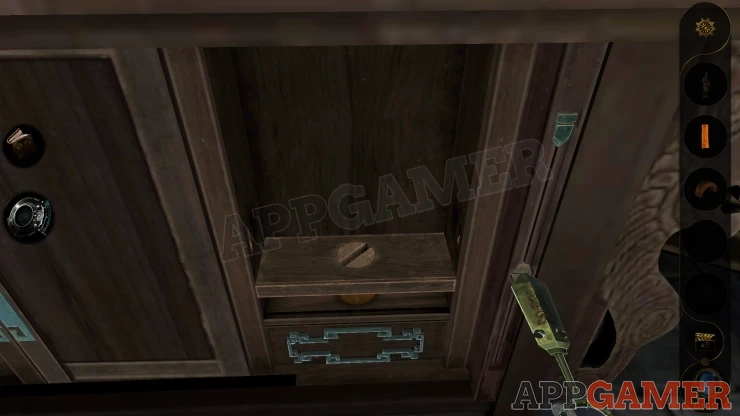
Now move the slider to the bottom. This will open a curved drawer at the bottom.
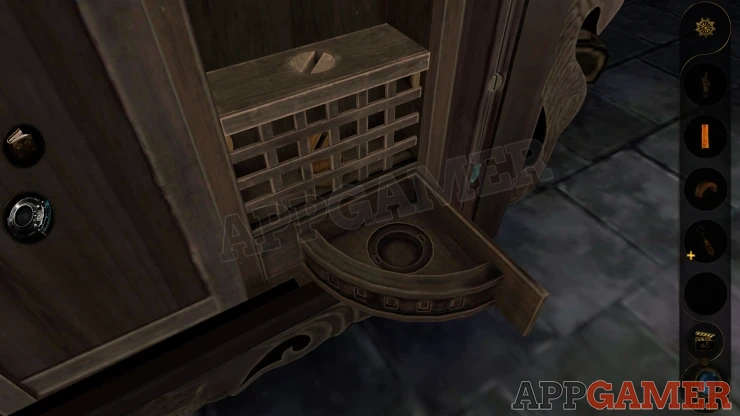
Place the handle into the circle within the drawer. Then turn it. This will extend some spokes from the drawer.
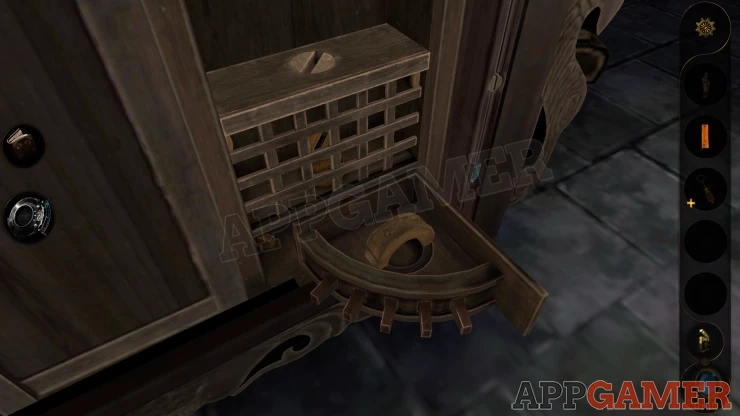
Now close the drawer again, this moves dome gear wheels inside and releases the item on the left of the cabinet.
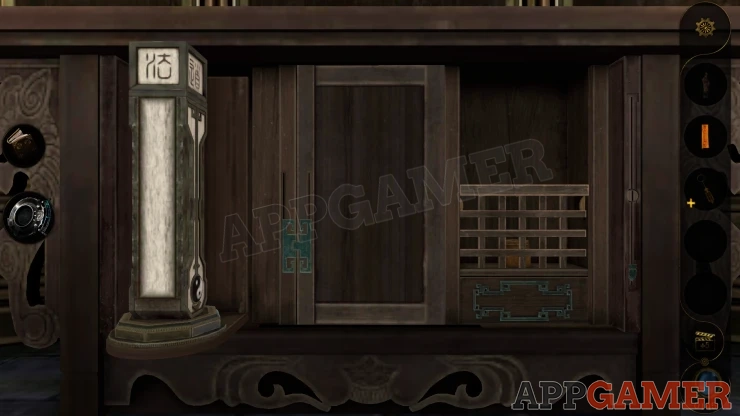
View the base and turn it so that the symbol is facing the front. Then you can turn the dial around the yin-yang and the sides of the object will open.
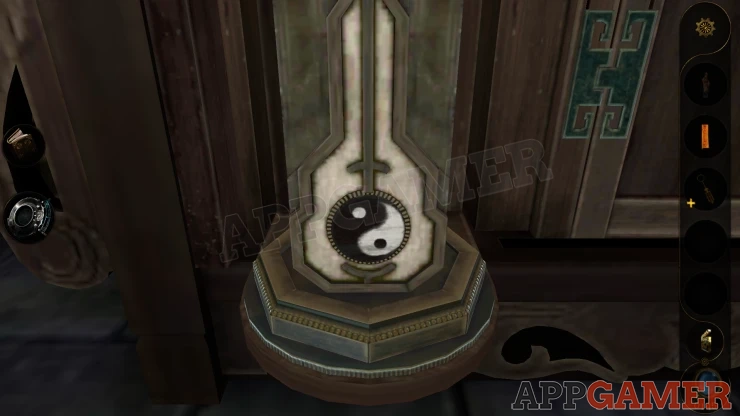
Collect a Taoist Ritual Ruler from the left and a Taoist Ritual Sword from the right.
A small round drawer opens behind the symbol. Collect from it a Cross Dowel.
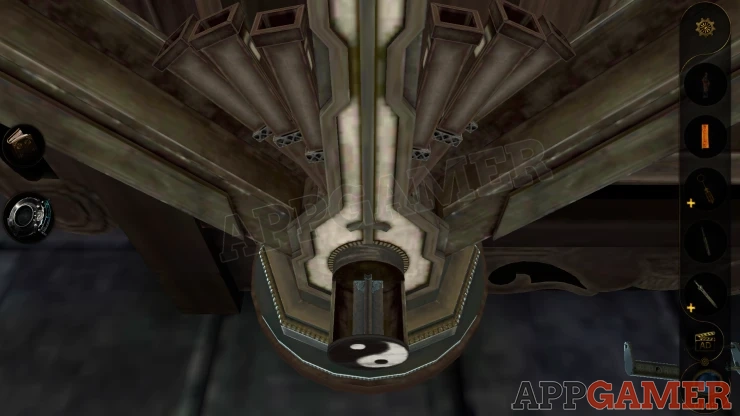
Then turn the drawer over (rotate it) to find a second compartment and you can then collect a Bagua Mirror.
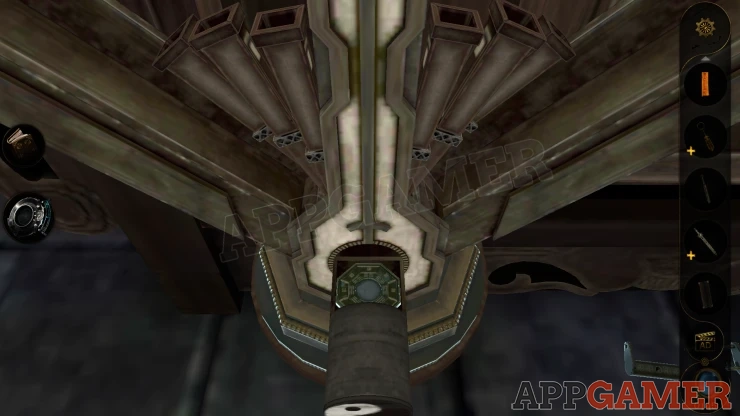
After this a device will appear from the top of the cabinet. A dial will expend from the base.
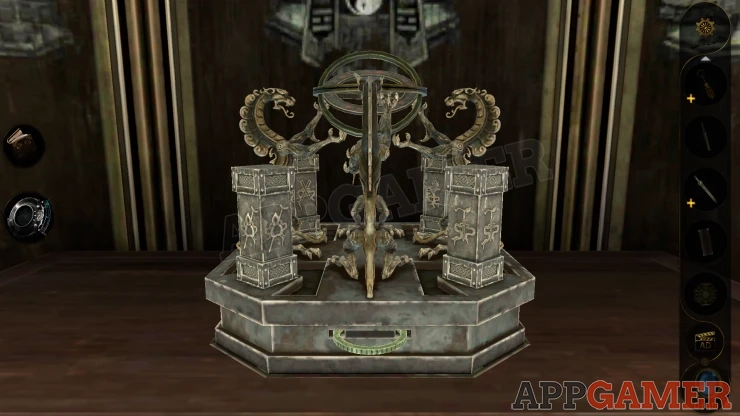
Turn the dial several times to activate the device, you will then see the top of it with a number of circles with symbols on them.
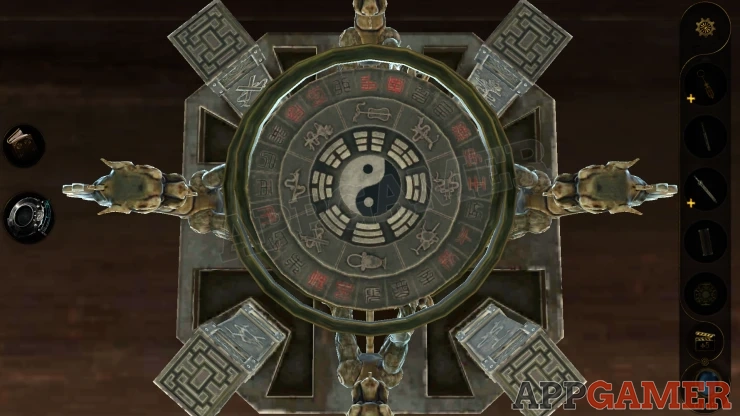
Using the lens view you will see a glowing symbol on the outer ring and 4 glowing symbols on the columns in the corners.
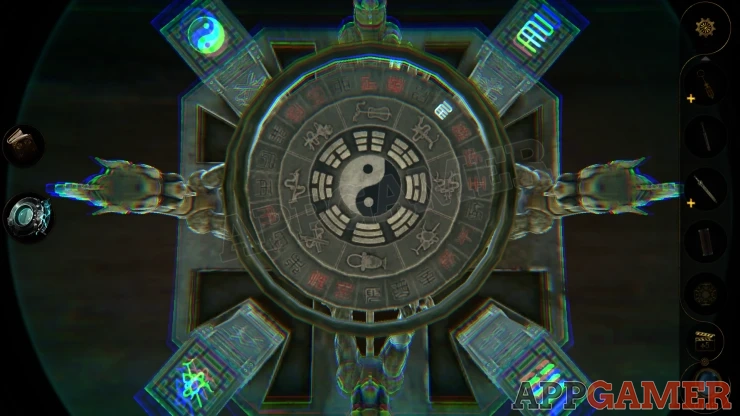
- The center area has 4 movable rings. Each one has a different type of character or symbol on it.
- Turning the rings can also turn other rings at the same time.
- You need to align the rings so that the matching symbol on it is closest to the same symbol on the corners.
- E.g. For the outer ring this is the glowing character It needs to be position next to the top right corner pillar.
- The central Yin Yang also needs to be in the same orientation as the one on the top left.
Solution: Show
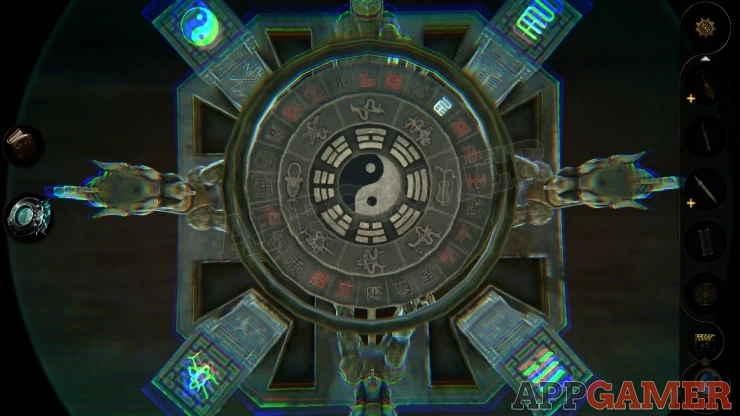
Once done you will next see some more glowing symbols on the floor around a central stone block that rises up.
Four holes open and three levers appear.
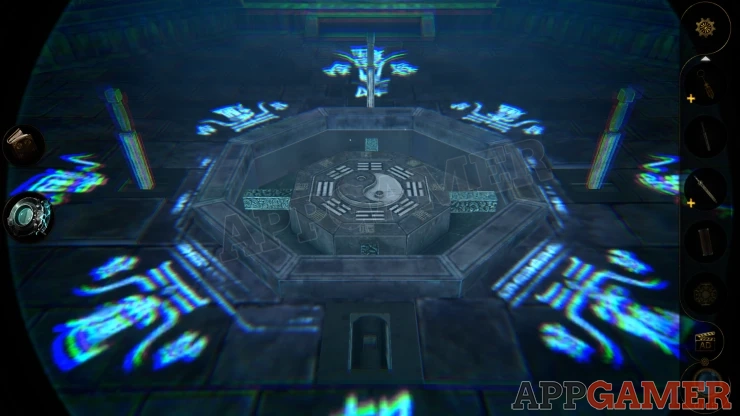
- Place the Taoist Ruler (Lever) that you have into the empty hole.
- The 4 levers can be moved to the left or right to turn blocks and change symbols on the center section.
- Look at the Bagua Mirror in your inventory to see a layout of the pattern of symbols that you need to make.
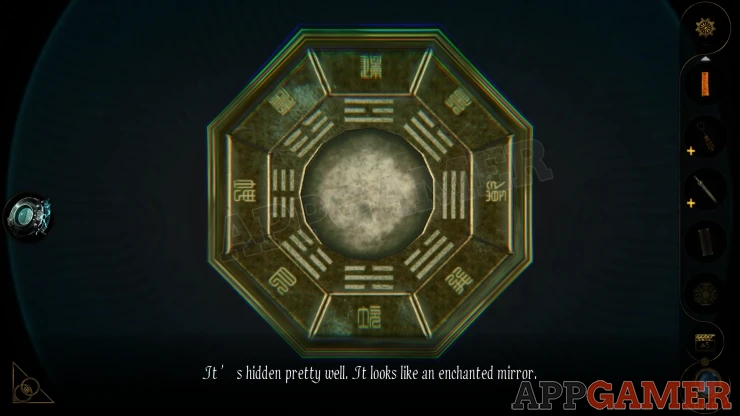
Solution: Show
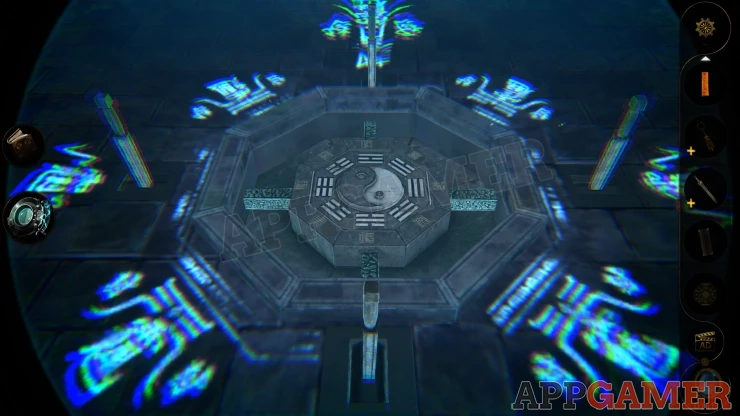
Once done a small tower will extend from the floor.
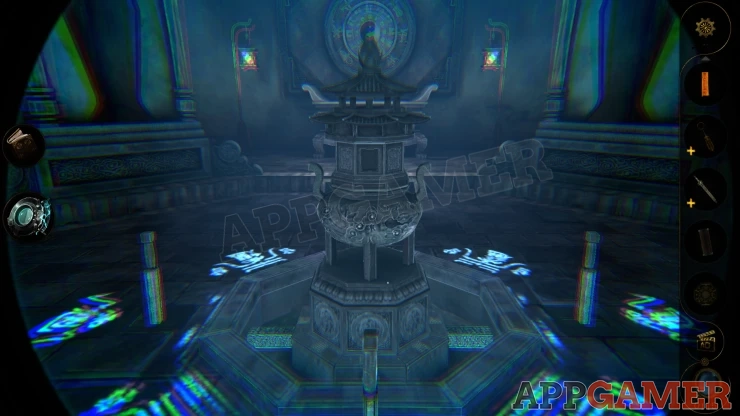
View the middle of the tower to see a square hole.
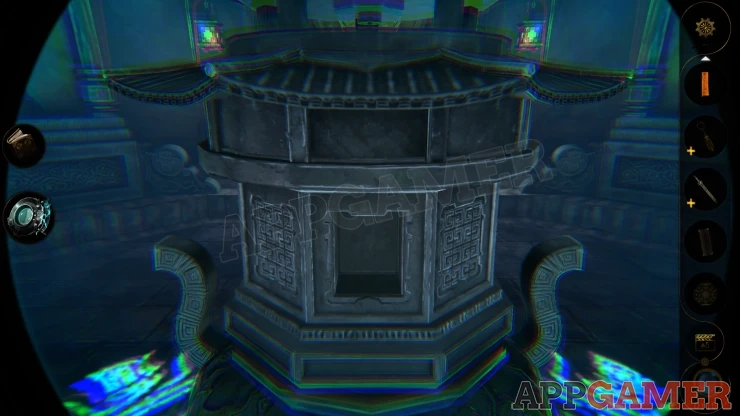
You can then turn the inner section by swiping to the left. Turn once to collect a Token and then turn again to find a Sphere that is a Ground Roll Lantern to collect as well.
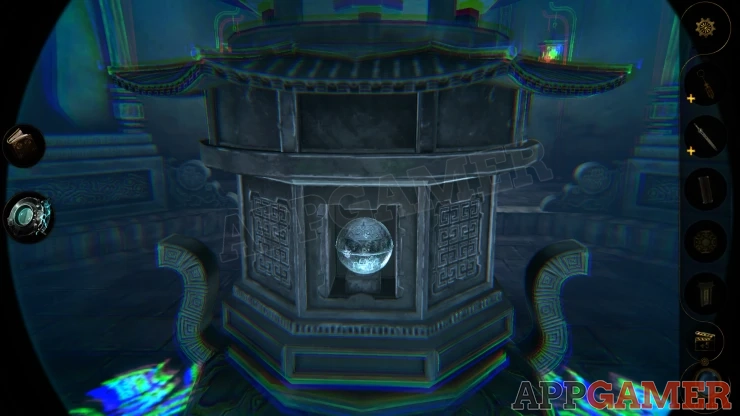
Next you will view the top section of the Tower.
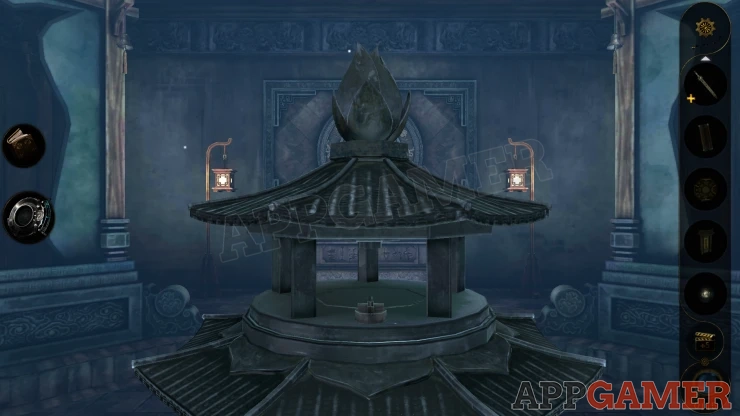
Place the Cross Dowel onto the small round block, this will move to the center and release the top section.
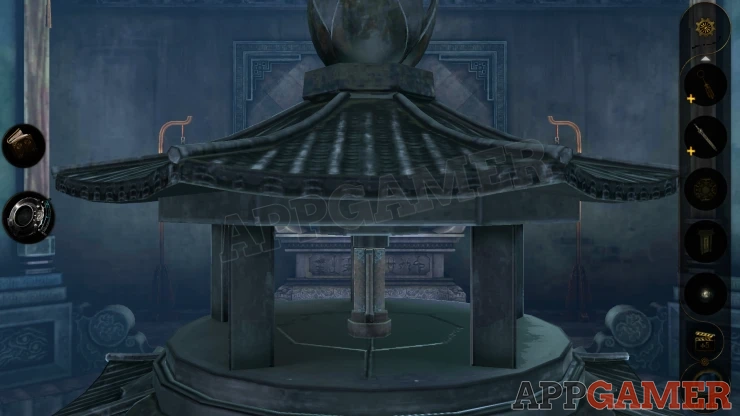
Turn the top section to the right and the lotus flower shape on top will open.
Place the Bagua Mirror on the top.
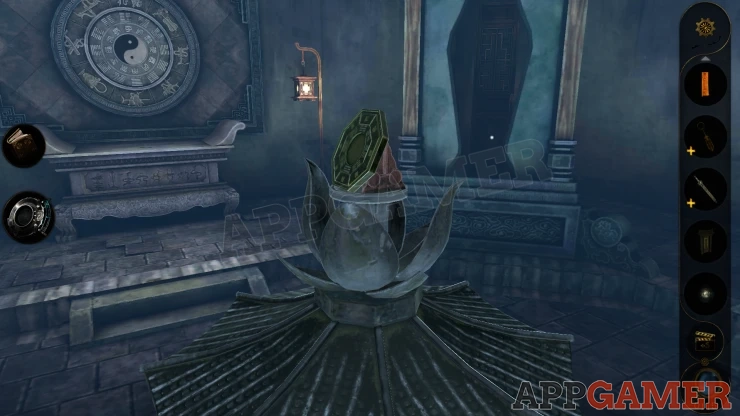
Next view the Ritual sword in your inventory, Then tap on the Yin-yang symbol to open it.
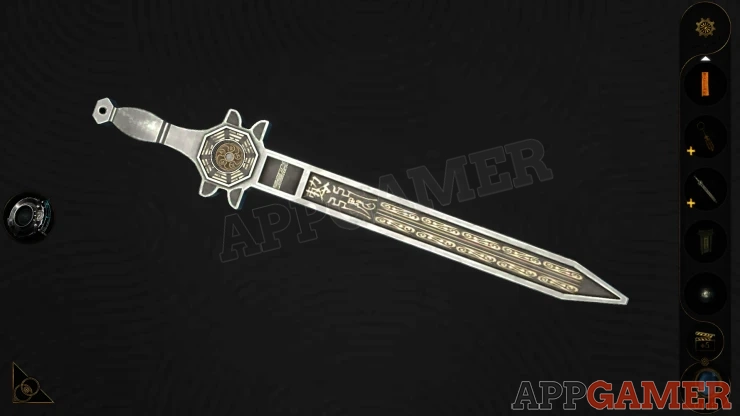
Collect a Copper Coin from inside.
The note paper will then be placed onto the sword to give you an enchanted sword.
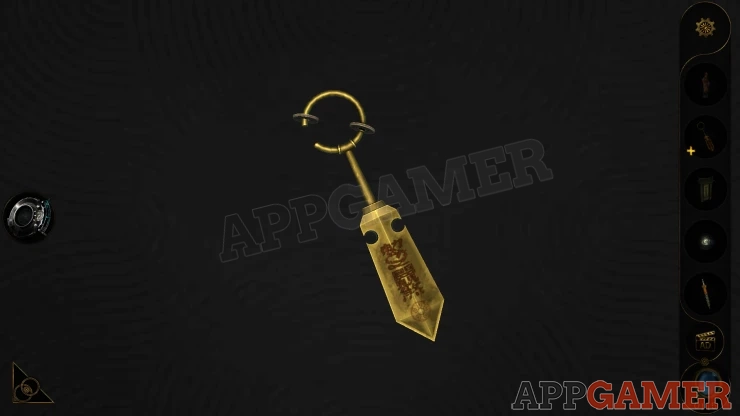
View the Ritual Dagger in your inventory next and then move a section on the left side of the top ring to open it.
Next place the copper coin onto the ring. You now have the Double single copper Coin Ritual Dagger.
Now view the large Yin-Yang display on the wall on the far side of the room.
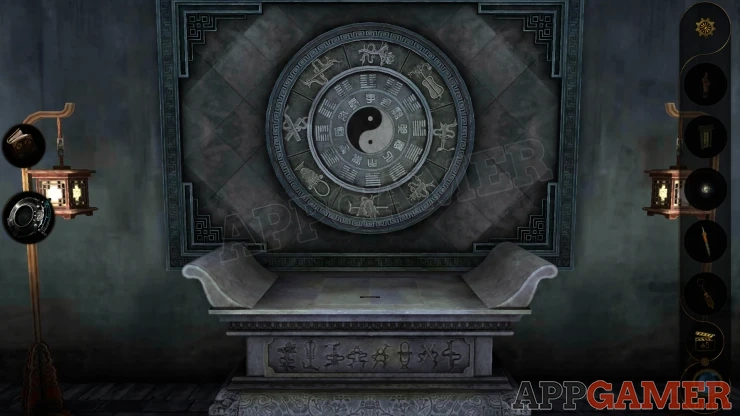
Below this is a stone plinth, view this.Place the Token into the slot on the top and a square model will rise up from it.
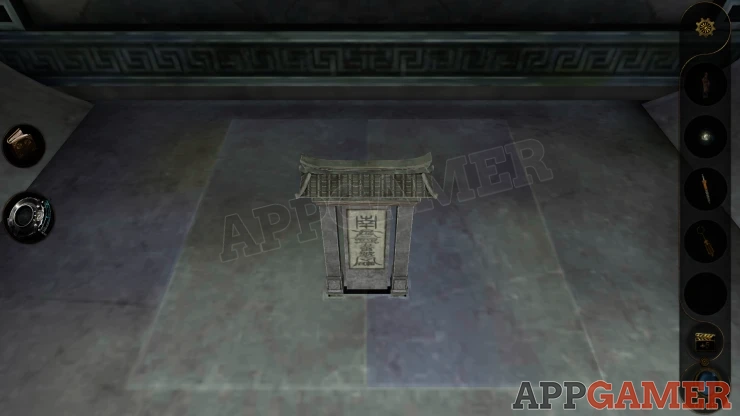
In the center is another Yin-yang. Place the Doll that you have from part 1 into the symbol in the center.
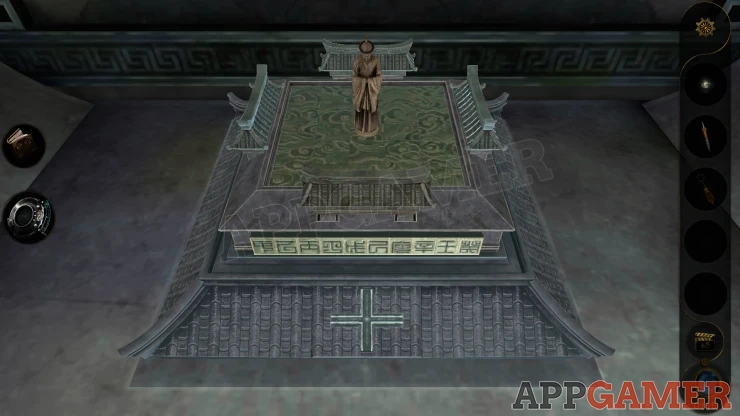
Doing this will reveal a socket on the black dot of the Yin Yang on the wall.
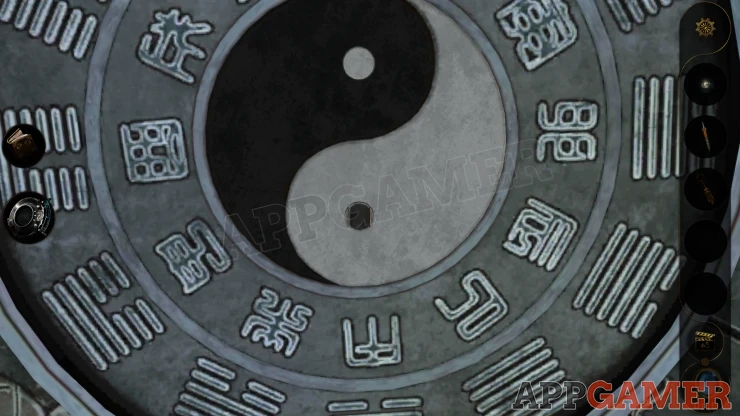
Place the Enchanted sword into this socket. You can now turn the sword. Rotate the sword to point to the same glowing symbol you saw earlier.
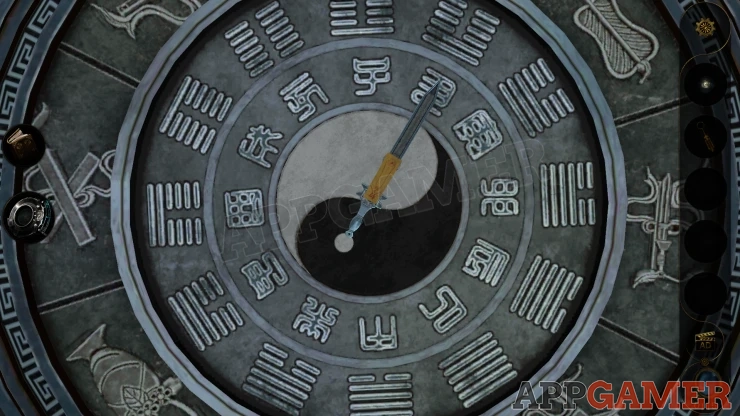
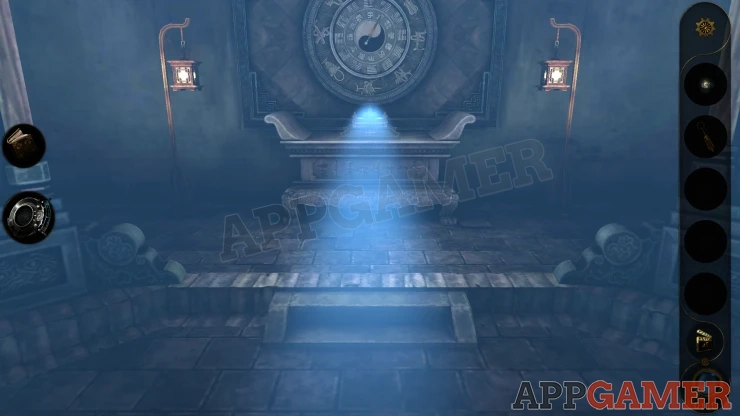
After this the moon appears above and the light shines down onto the mirror.
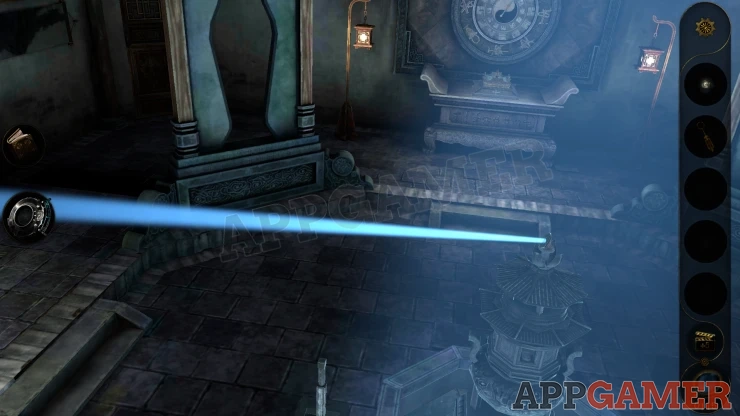
Turn the mirror on top of the tower to point it to the square model with the Doll. A cross shapes slot opens on the front.
Place the Dagger into the slot. This is now a control lever.
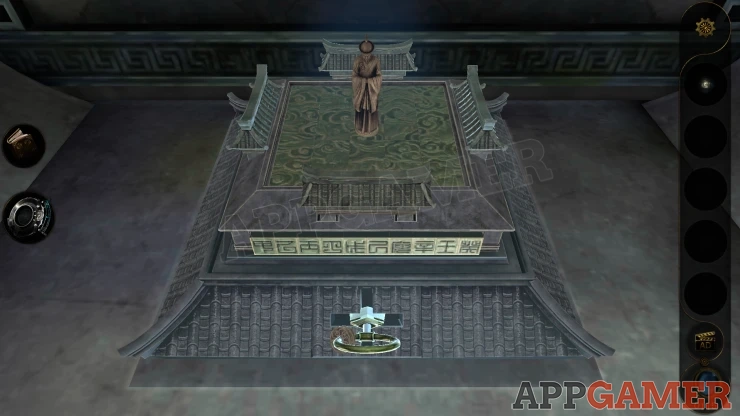
First activate the lens view so that you can see some characters on the board.
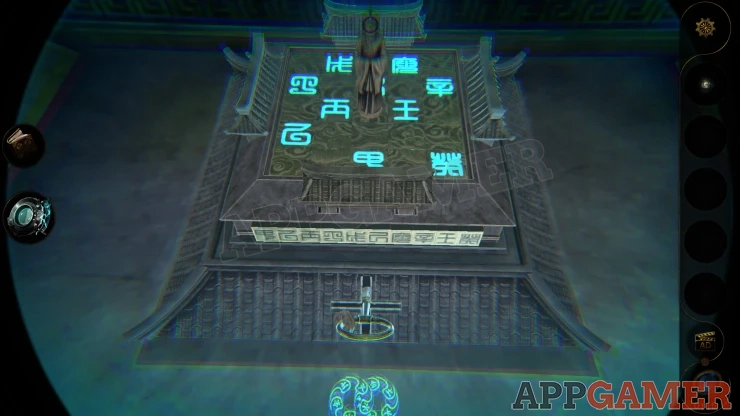
- Use the lever to move the doll figure on the board above. You as you move the previous square is covered.
- You need to move to all of the squares on the board to cover them all without getting blocked.
- You also need to reach the glowing characters in the order that they appear on the front of the board.
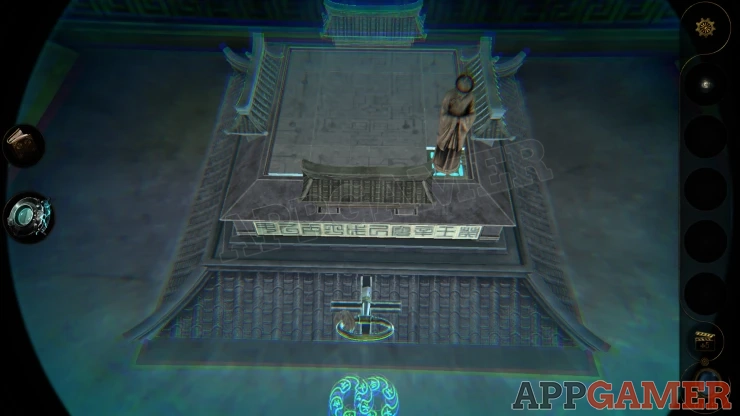
Once the board is covered and you reach the final square you will then see the ghost reappear and move around the room.
It will open some steps leading down.
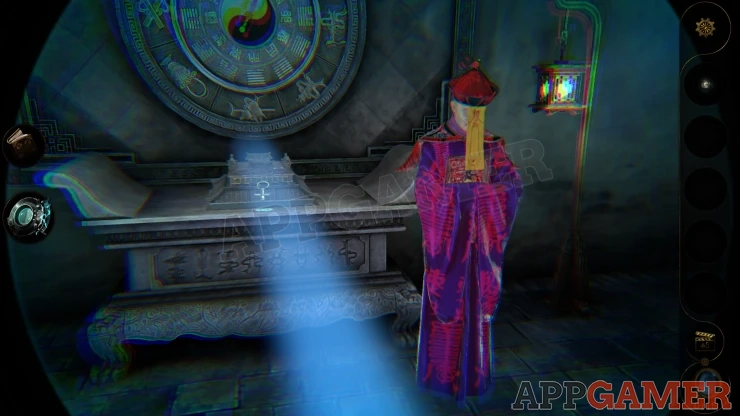
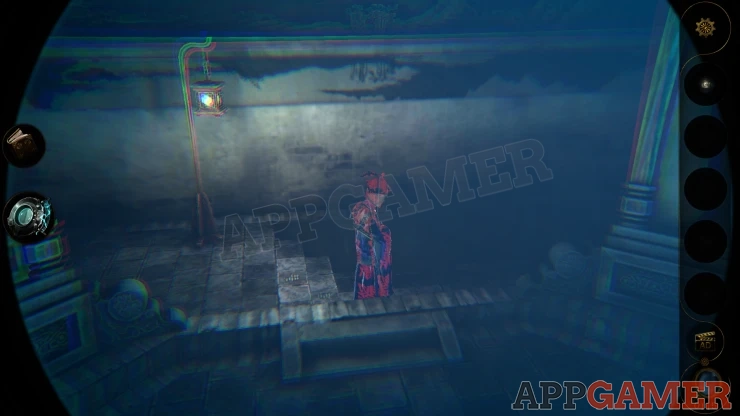
Then you will see a small panel to open. Open it to find a hole. Place the Round Lantern into the hole.
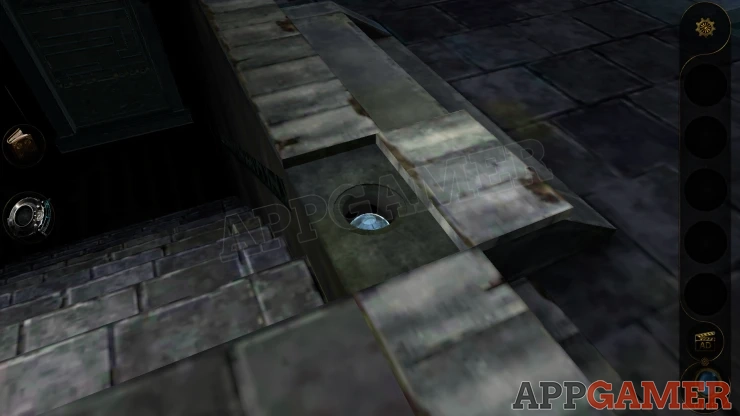
This will light up a puzzle on the door below.
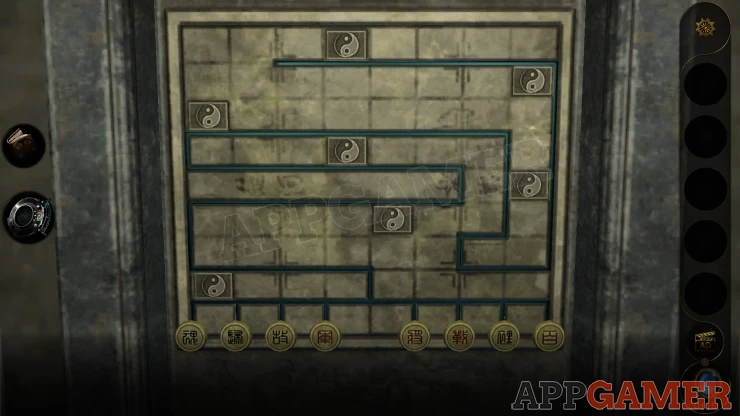
View this and use the lens view to see the glowing characters on the board.
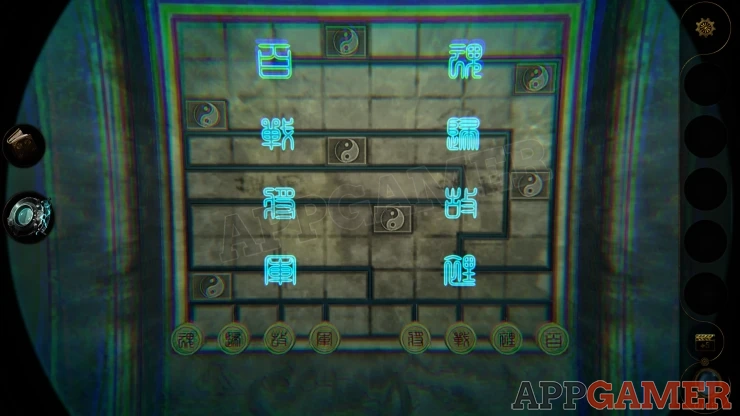
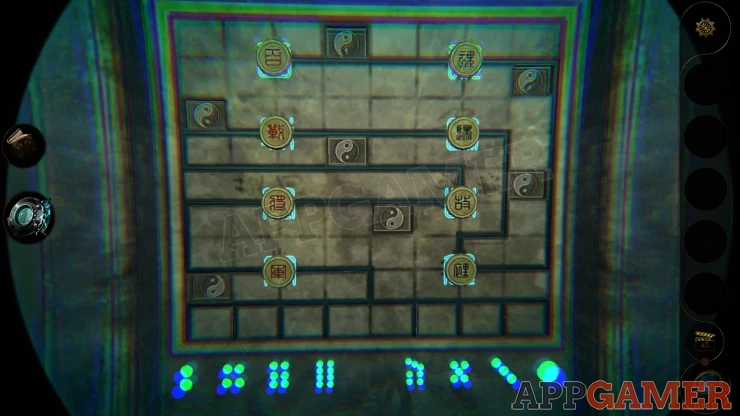
- At the bottom are eight tokens with characters on them. You need to tap these into the correct order to place them on the board.
- After selecting the order for all eight they will all move up the line path on the board to the positions. You must choose the correct order to make them arrive at the locations shown by the glowing symbols.
- As you tap them in the Lens view it will show you the number order.
Solution: Please check that the layout of the characters in your game is the same as it might alter for you.Show
After doing this the door will open and you pass through, back to the Study.
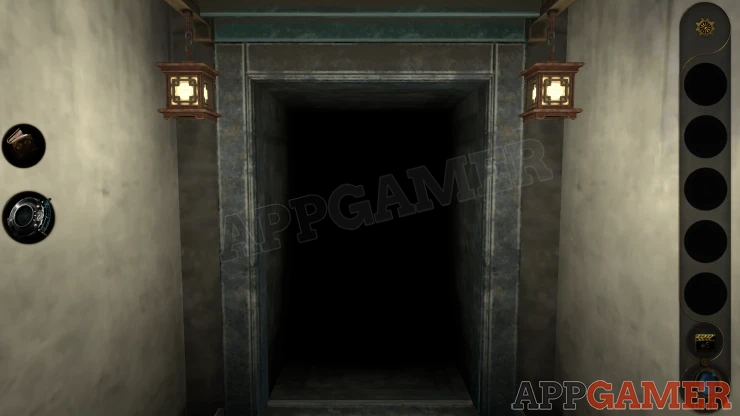
This completes part 2. Move on to China Part 3
 With 20 years of experience in creating video game content for the internet and over 30 years as a gamer, Mark is now a passionate mobile App Gamer. Loving a challenge, he is always ready to get stuck in to both survival builders and puzzle solving games. He has been providing content for AppGamer since 2014.