
Egyptian Tomb Walkthrough - Part 3
More 3D Escape Room : Mystic Manor
This is our guide to Part 3 of the Egyptian Tomb chapter of 3D Escape Room : Mystic Manor. After returning to the study following Part 2 the tomb you will be able to turn to a second page of the book in the device.

You then find yourself in a third chamber of the tomb.
Book One - Part Three Walkthrough

First view the gold chest on the left side of the chamber. View this with the lens to see a circle around the front left foot.
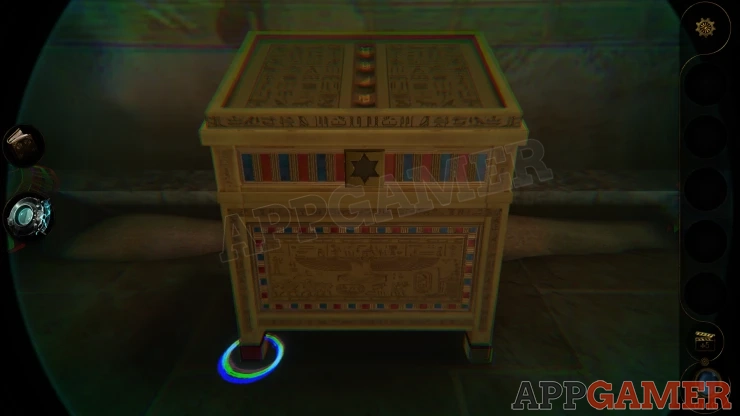
View the Foot and turn it until a key falls. Collect this Key.
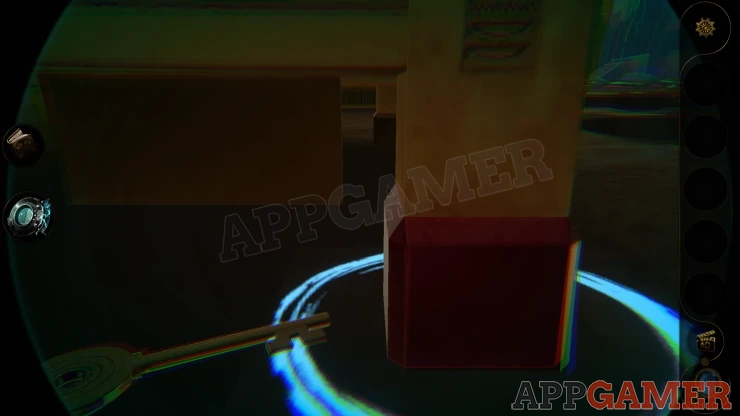
Now look on the left side of the chest to see a key hole. Use the key here to unlock it.
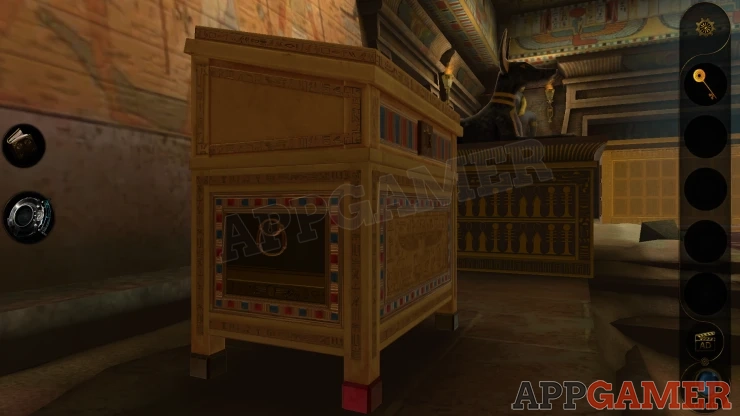
Pull out the drawer and look inside to collect 2 Canopic Jars.

Next push the drawer back in and then look on the right side of the chest to see that you can now pull the drawer all the way out the right side to find another item. Collect the Carving.

Turn to the right side of the chamber to find a taller chest on legs. View the front.

Place the badge into the center slot to open the panel. Inside is a puzzle.

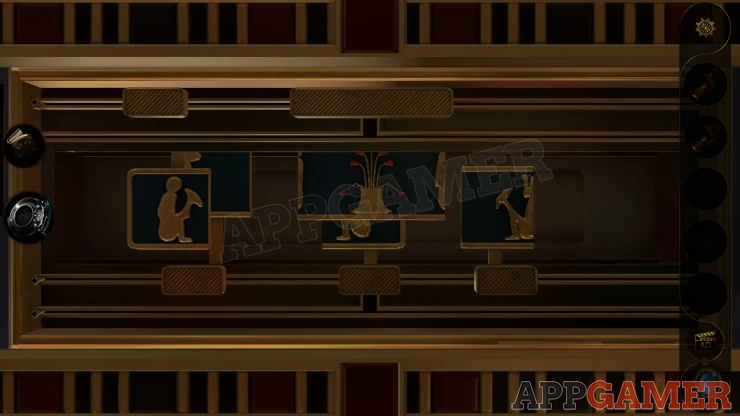
There are 5 squares that are part of an image. You can move these with the sliders to the left and right and also up and down.
Arrange them to complete the full image.
Solution: Show
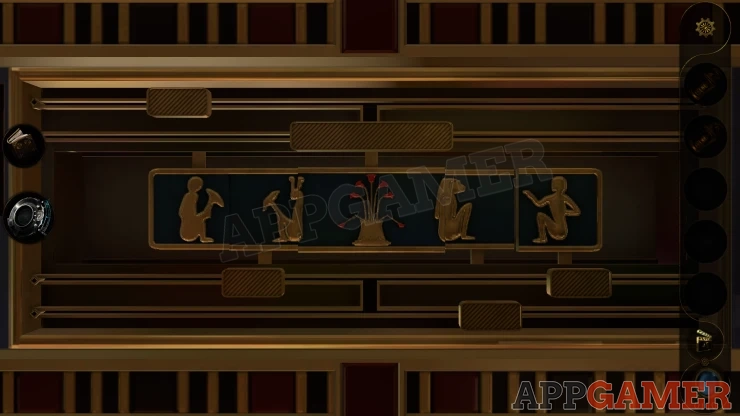
A lower drawer opens and you can collect an Inscribed Plaque.
View the Plaque in your inventory and turn it around to see the back.
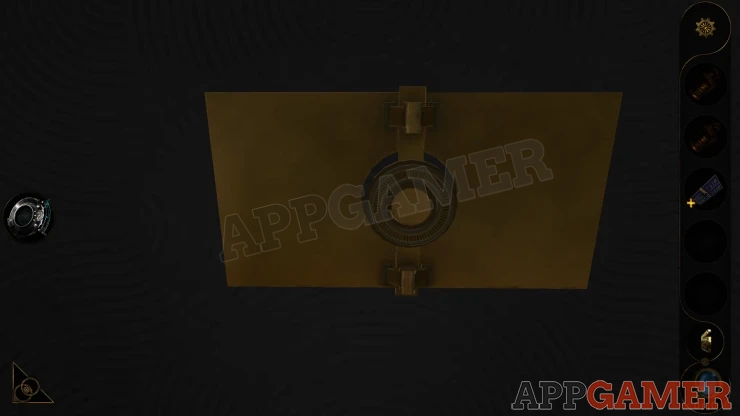
Rotate the circle in the center and the sides of the plaque will bend, once done you will collect it again.
Now view the top of the same chest, there is a gap in the center to fit the inscribed plaque.
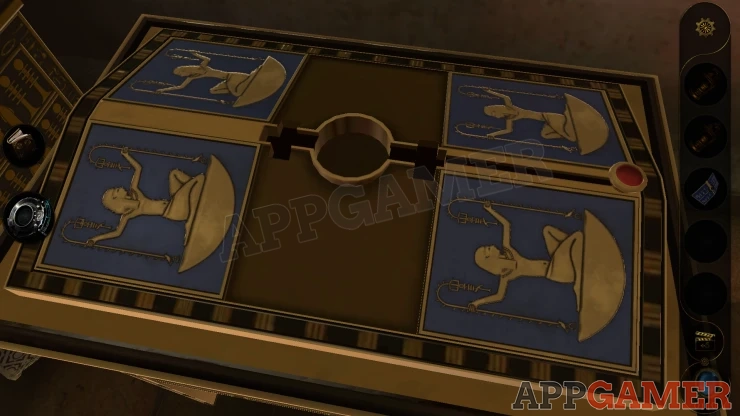
Once you add it you can then move a red slider from the right, to the center.
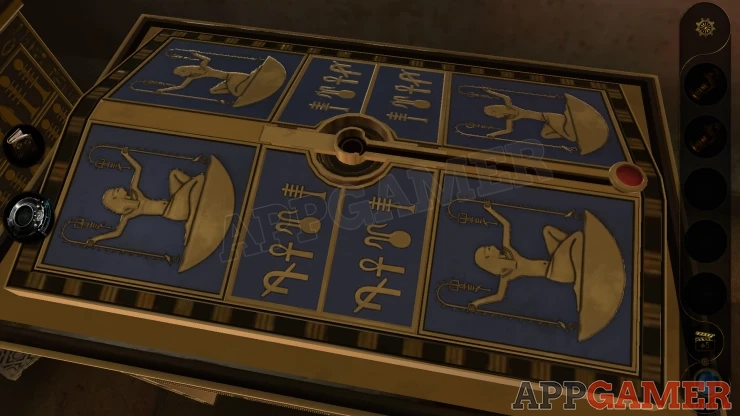
The top of the chest opens and you can collect a Third canopic jar from inside.
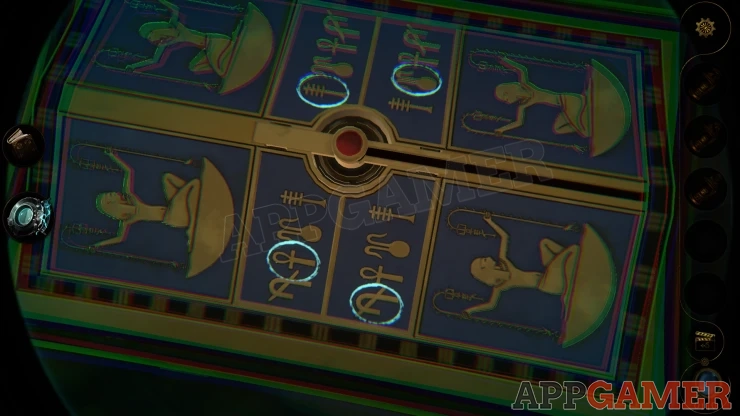
Next view the top of the chest again. Use the Lens to see 4 marked symbols, this is a clue.
Show
Now look on the wall to the left of the gold sarcophagus at the end of the chamber.
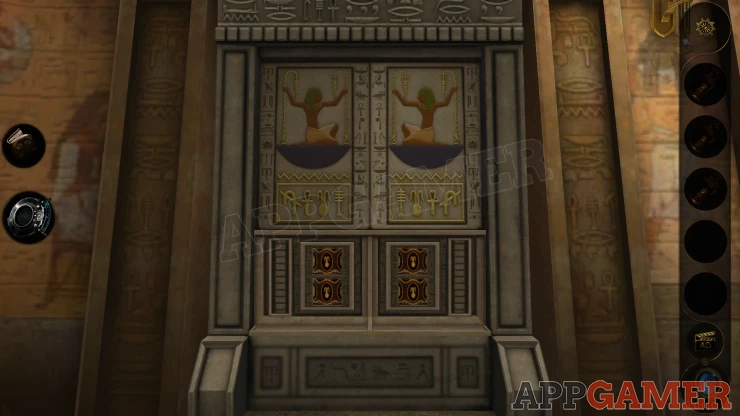
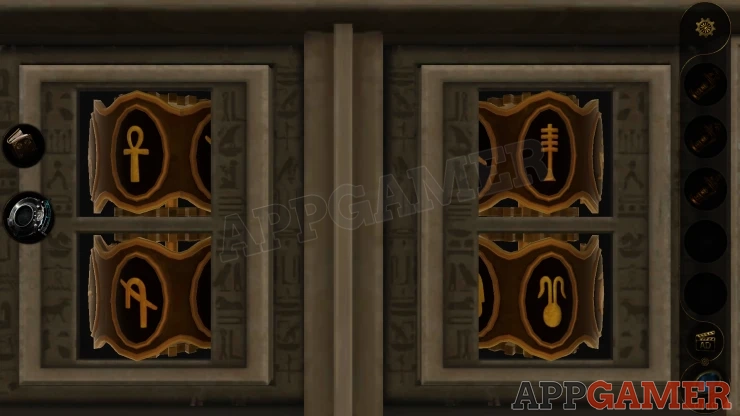
Examine the bottom panel with 4 wheels with symbols on them. Rotate the wheels to change the symbols and set them to the 4 seen on the chest.
Solution: Show
This opens the top section. There are 4 poles here with one jar on top.
Add the three jars that you have to the other poles to start a puzzle.
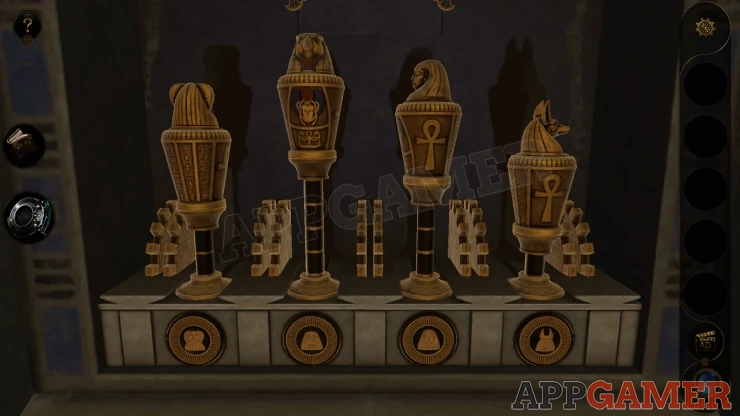
The jars will turn and some will lower to a new position.
Below each of the 4 poles is a round dial. You can turn these to raise or lower the jar above it.
Doing this may also move other jars up or down at the same time.
The objective here is to return all 4 jars to the highest level on the poles. You need to find out which ones can be raised and how this will affect the others.

Once you have them at the top positions a panel will open above, collect the Gold Brick.
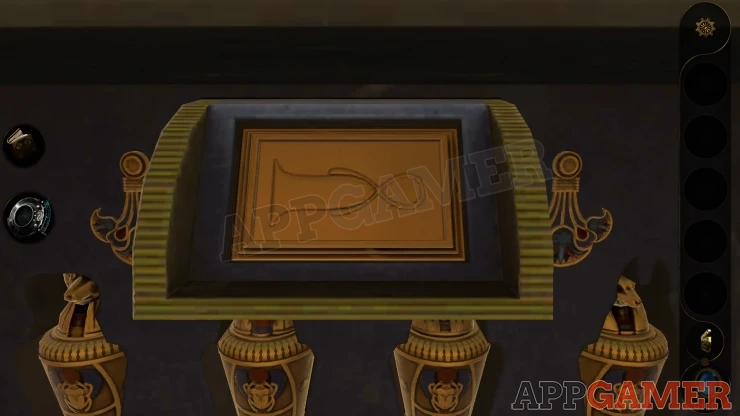
Now look at the gold sarcophagus in the center of the chamber. On the left side of this there is a slot for you to place the gold brick.
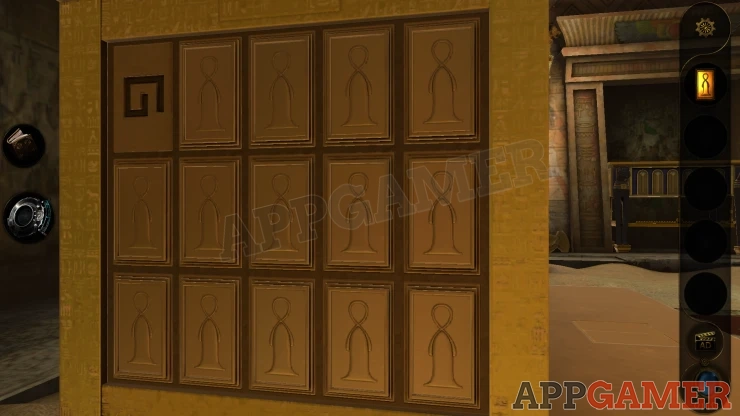
Once added it is showing a different symbol to the others on this end. Use the lens to and you will see an arrow drawn on the right edge. This points you down to another arrow at the other end of the sarcophagus.
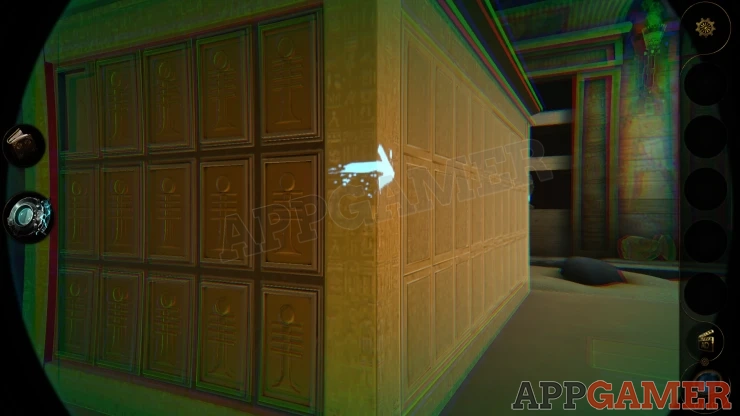
Look on the right side of the sarcophagus to see more bricks with the symbols. Tap the brick that is opposite of the one from the left side that is different, this will turn it over to change the symbol. A second brick will then also change.
Turn back to the left side and turn over the matching brick for the second symbol. This will then make a third one change. Continue in this way but moving to each end of the sarcophagus and turning over the matching bricks. Once you have done 6 at each end you will see 2 panels open.
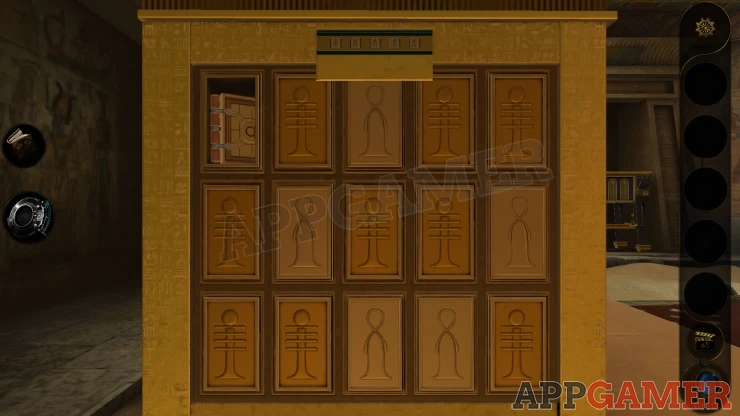
Collect a Locked Book from the opened brick.
View the book in your inventory and turn it around to look in the back. You will see a clue.
Show
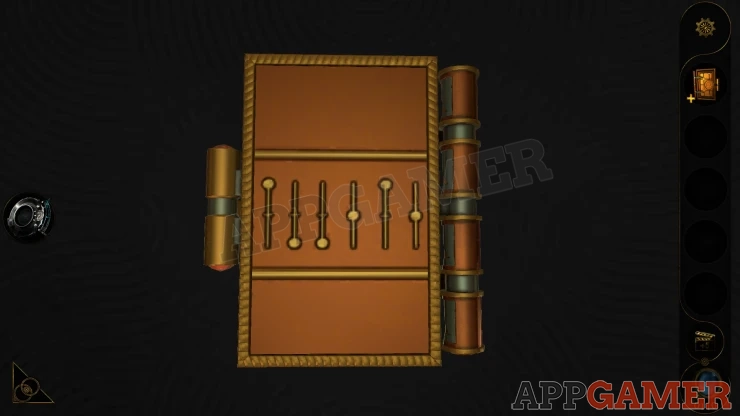
Now look at the wall to the right of the gold sarcophagus. There is a panel with 6 sliders.

View this and then you can move them to set the positions according to the clue.
Solution: Show
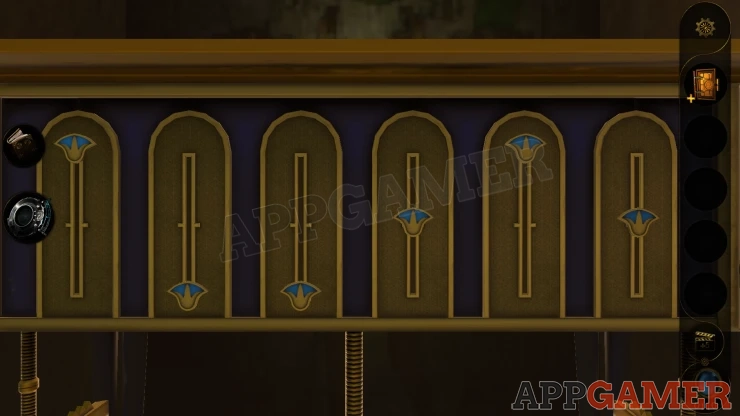
A panel opens on top, view this and move the 4 flower shapes outwards to reveal the inner puzzle.
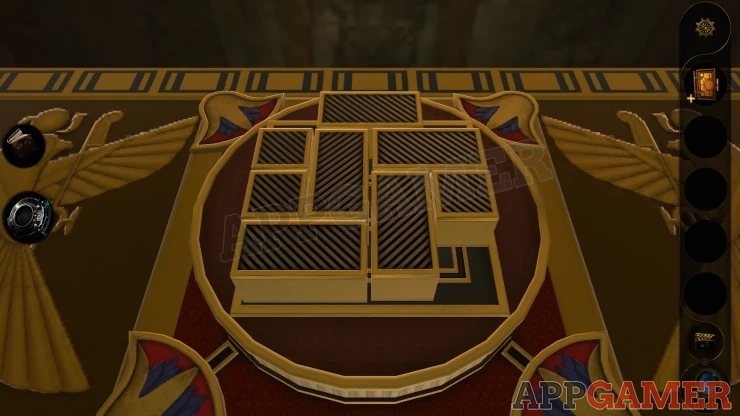
The blocks can be moved around the board. As you move them you will see that some of the blocks have symbols and numbers on them.
Move them around to find five blocks with numbers from 1 to 5 (as lines). Then also find the symbol that are on the same blocks.
This will give you five symbols in number order. This is a clue.
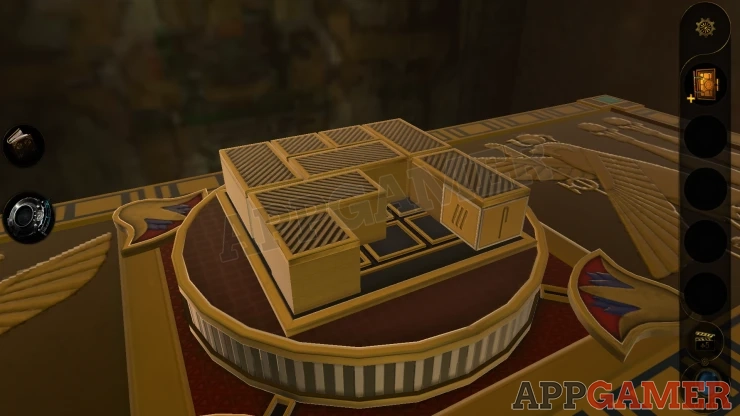
Go back to the left side of the sarcophagus and view the small opened panel at the top.
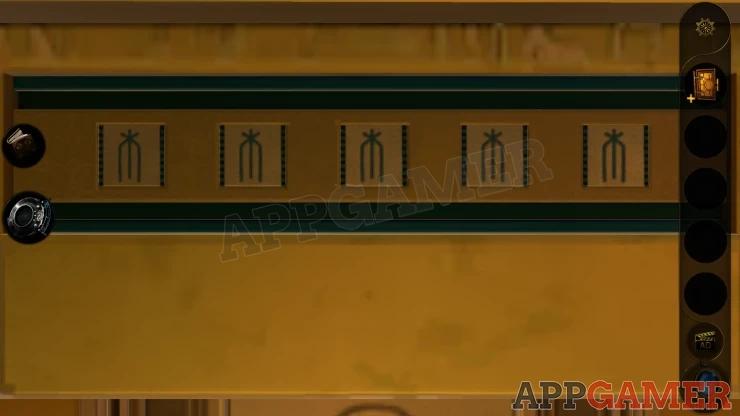
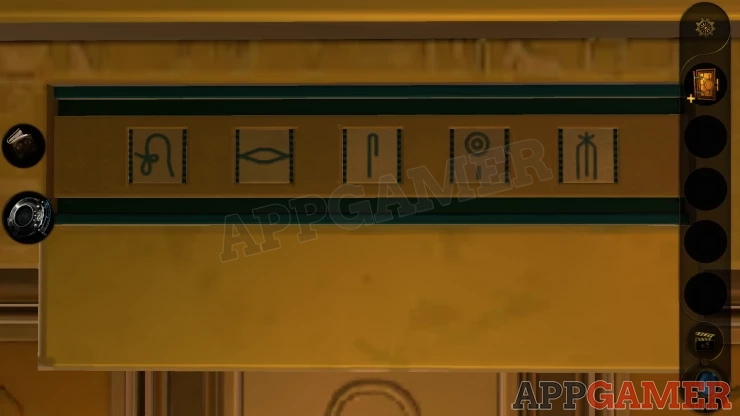
Swipe down on each of the five blocks to rotate them and change the displayed symbol. Set them according to the ones seen on the previous clue.
Solution: Show
The front of the box opens and the coffin will slide out. View this.
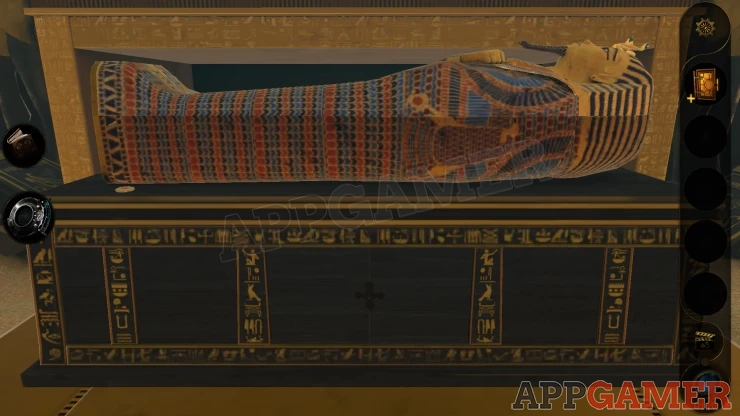
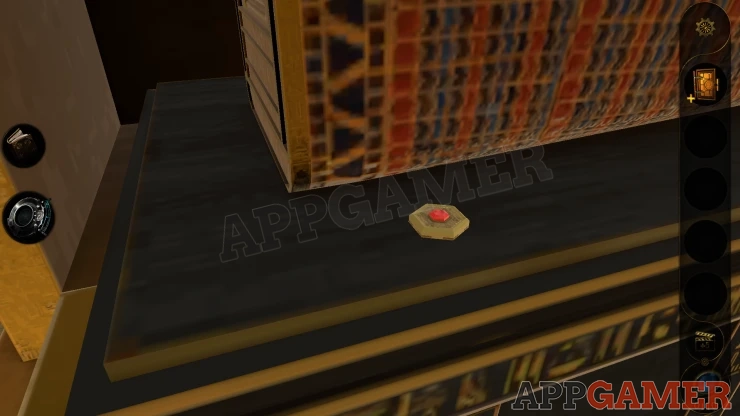
Collect a small Hexagonal Decoration from the end by the foot of the coffin. Then look on the foot end of the coffin.
Slide the key symbol to the right and a panel will open, collect a Strange Can.
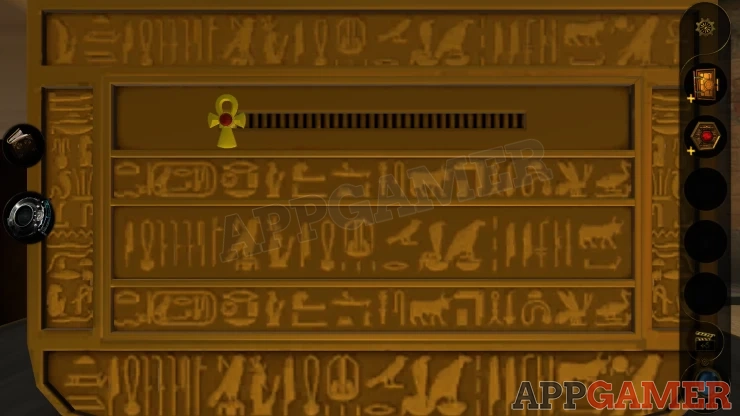
Now view the Hexagonal decoration in your inventory and press the red button in the center. It will open.
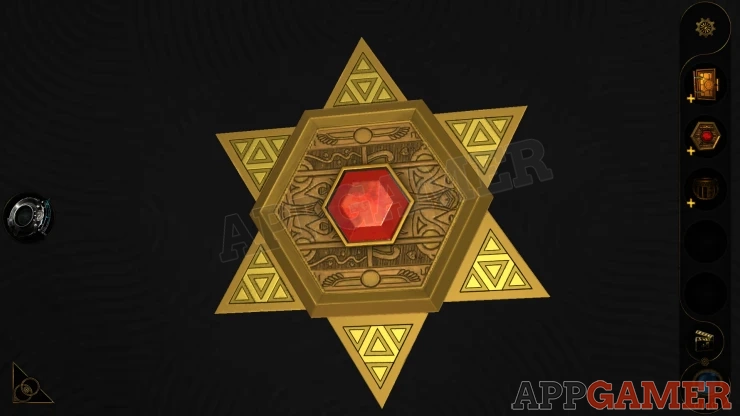
Back up and view again the small gold chest on the left of the chamber
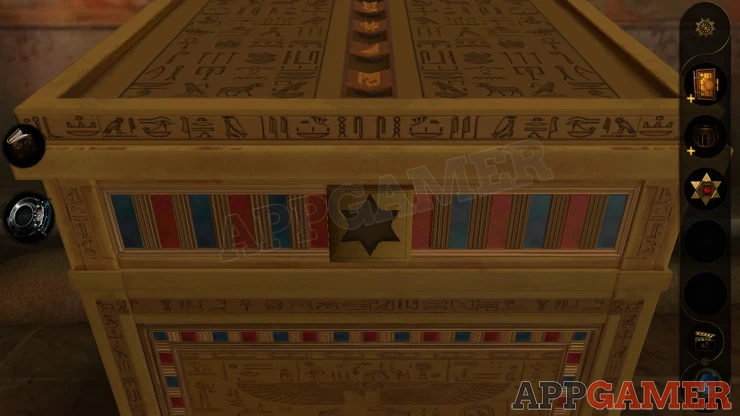
Place the opened hexagonal decoration into the slot on the front. This will open a drawer.
Collect the Maya Carving.
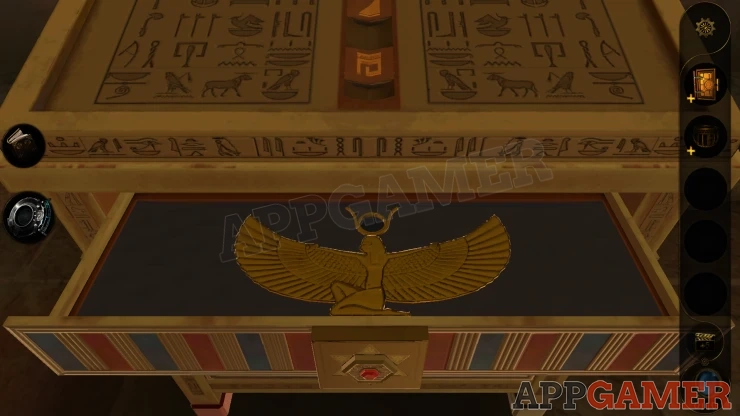
Notice on top of this chest there are sets of hieroglyphs and in the center there are 4 symbols. This is a clue.
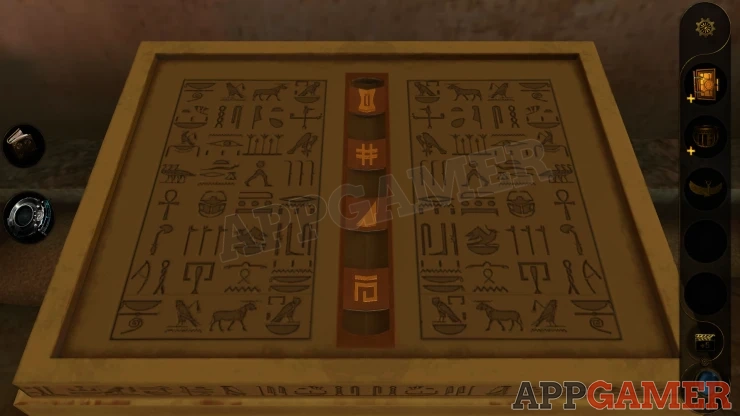
Return to the foot end of the coffin and you can now place the carving into the slot. This releases at the top an Eye of Horus to collect.
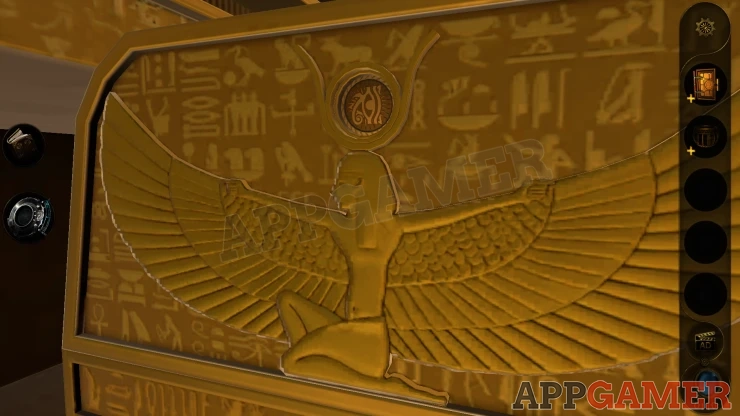
View the Locked book in your inventory. Add the Eye of Horus to the front then turn it to open the clasp and then the book.
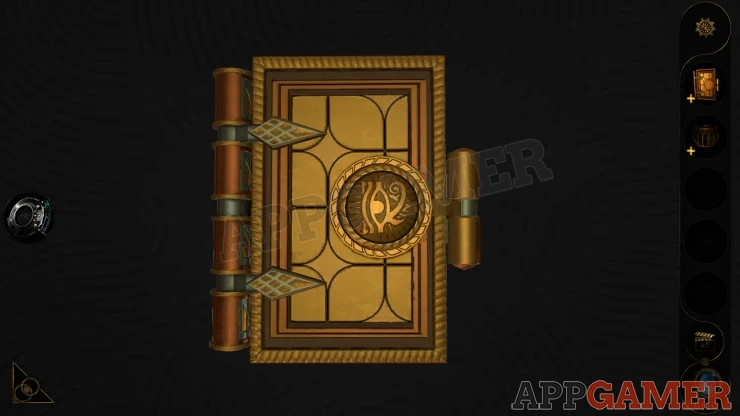
Inside are 4 dials and on the spine in the center are 4 symbols.
Turning the dials will change the displayed symbols.
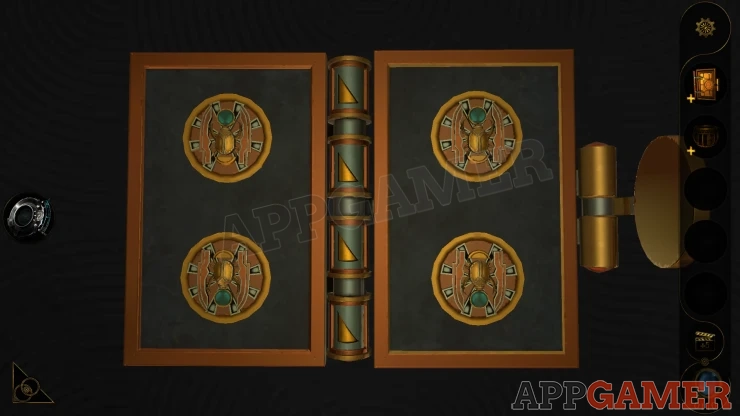
Solution: Set these to match the ones seen on the gold chest.Show
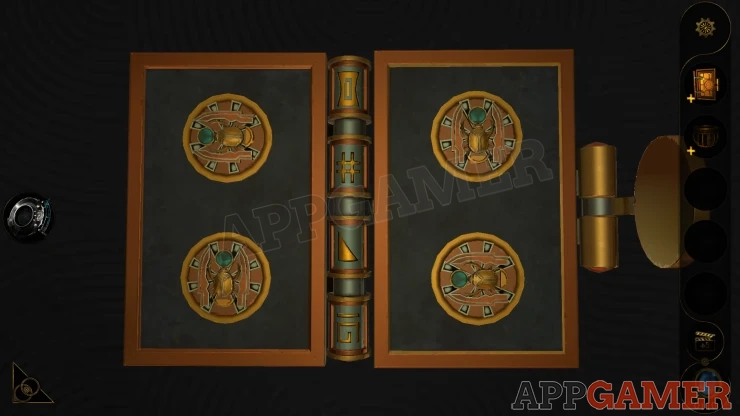
Once done you will collect the book again. Return to the small gold chest and you can now place the opened book on top if it.
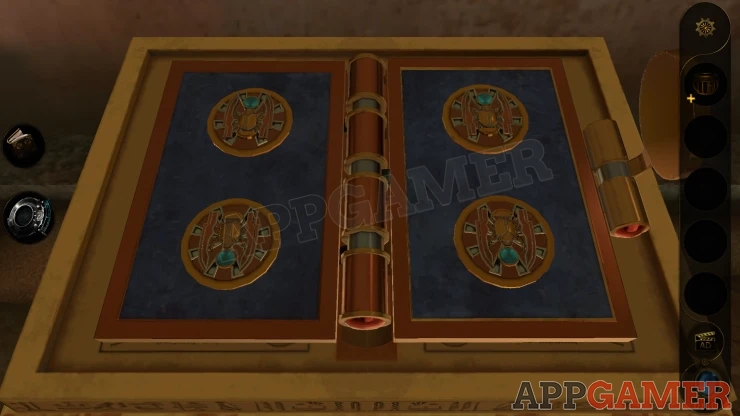
The top opens to reveal a puzzle.
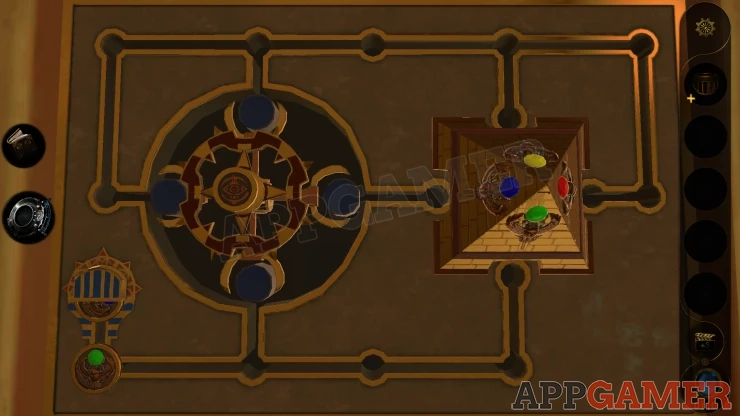
- On the lower left is a token with a green gem on it.
- On the right is a pyramid with 4 colored slots on the sides.
- Move the green token along the bottom to the green slot.
- Next is a blue token, you need to move this to the blue slot. To do this move it into the slot on the circle and then you can rotate it around.As this flips over the token you will need to move it to the top and then around to the left so that you can spin it around a second time to get it to the blue slot.
- Repeat this process with the yellow and red tokens but you only need to rotate these around once each.
The pyramid opens and you can collect a Sphinx model.
Now use the lens on the view of the puzzle. You will see 4 columns of symbols (3 of each). This is a clue.
Show
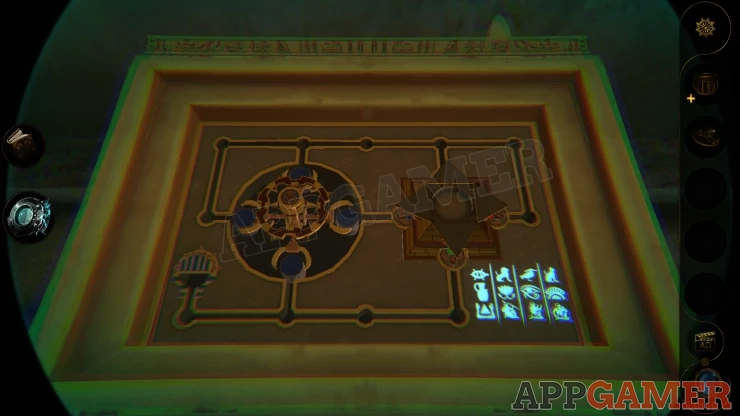
Now view the Strange Can in your inventory and add the Sphinx model to it. This is a puzzle.
Strange Can Puzzle
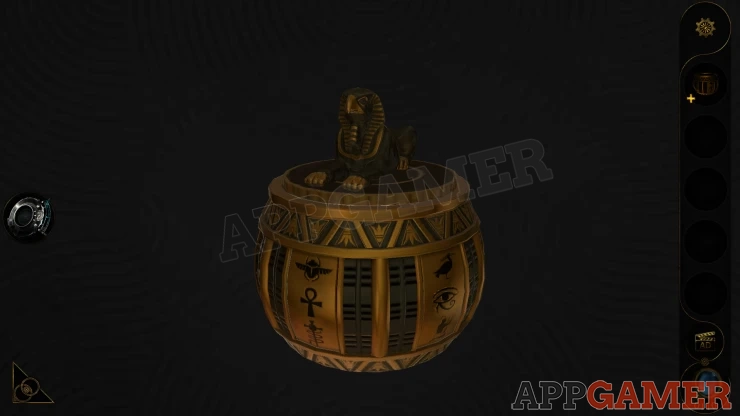
- Around the sides of the can are sets of symbols.
- The model on top can be rotated and when you align it with a set of the symbols a triangle will extend from the can.
- You need to move the model to line up with 4 of the sets of symbols in the correct order.
Solution: Follow the clue seen on the puzzle board above. Rotate the lid to point the figure on top to the first column of symbols shown. Then repeat this for the other 3 columns of symbols, in the order shown on the board.Show
Once done the can opens and you can collect a Cross Carving.

Return to the coffin and look at the base underneath it. Place the cross in the center.
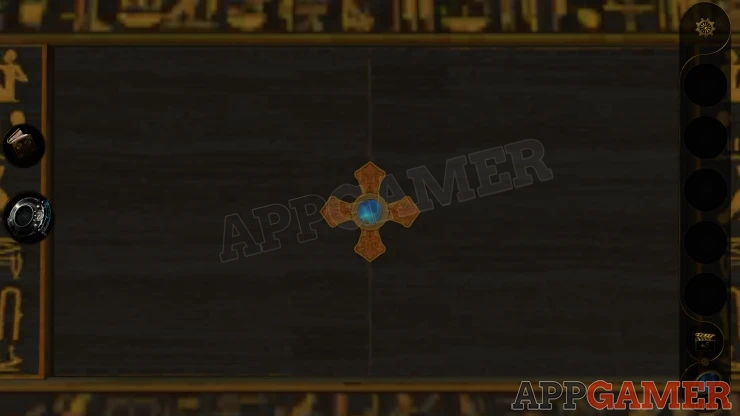
This reveals another puzzle.
Coffin Puzzle
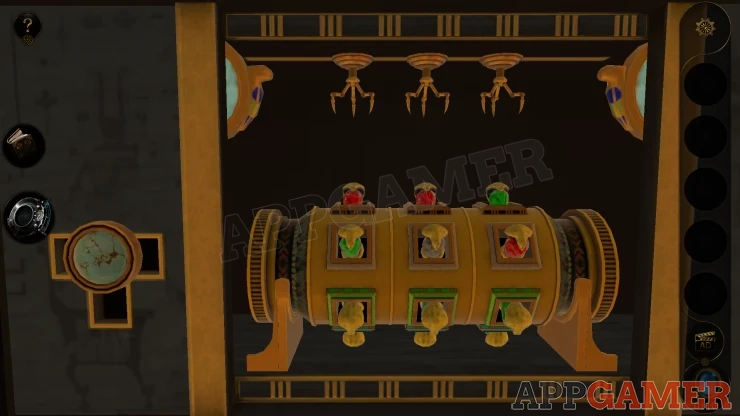
- The center cylinder can be spun around.
- There are sets of 3 square holes around the cylinder with colors.
- In some of the holes are colored crystals.
- Above the cylinder are 3 claws that can grab the crystals and then let you move them to other positions.
- Use the control on the left to grab and drop the m by moving it down.
- You can also move the claws left and right to select only some of the crystals at a time.
Arrange all of the crystals into the correct colored squares on the cylinder.
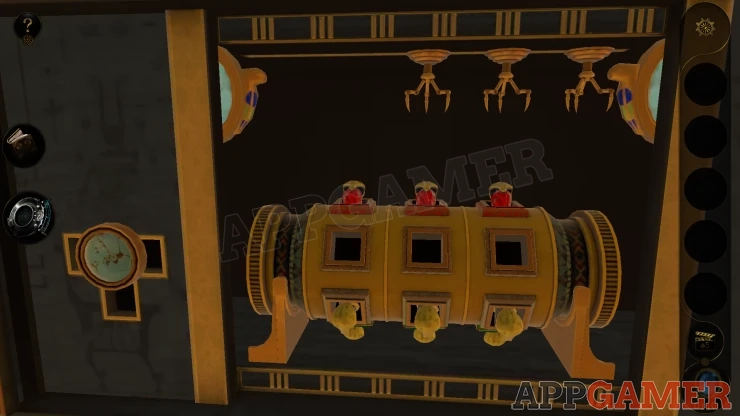
Once this is done a drawer will open and you can collect the Pharaoh's Scepter.
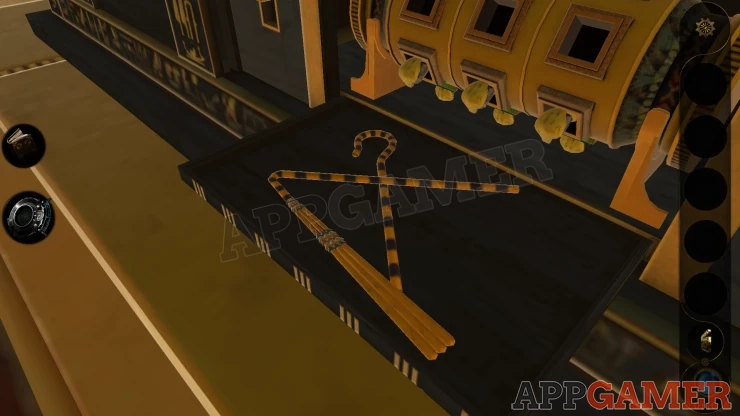
Now look at the top of the casket and you can place the Scepter into the hands.

The coffin opens. Collect the Pharaoh's Mask.

Now a pedestal appears from the floor.
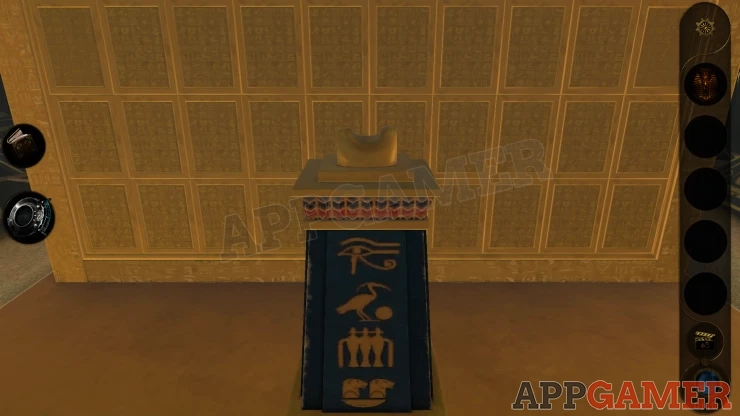
Place the mask onto it and you will then see a stone revealed. View this with the lens to see a symbol.
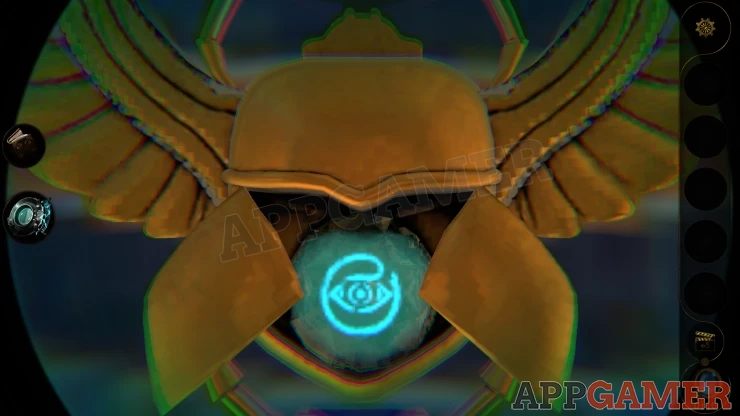
Now tap this and you will be transported back to the study.
Back up from the study to the entrance call and follow the prompt to view the Organ on the stairs.

View the figure on the left and add the stone to it.

It will rise and you can collect another letter and Metal Container B.
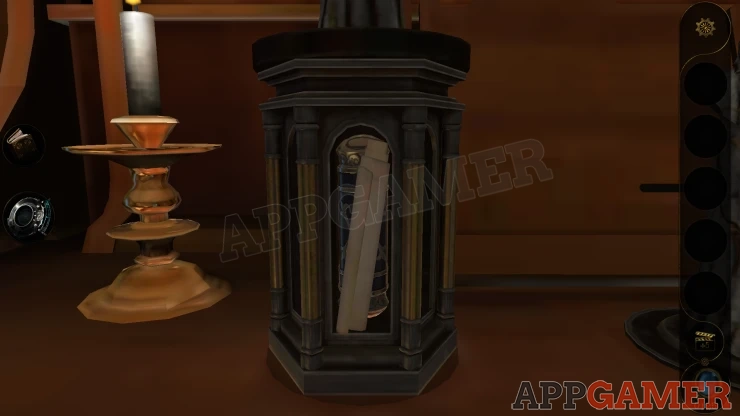
View this and open it to collect Metal Cylinder B.
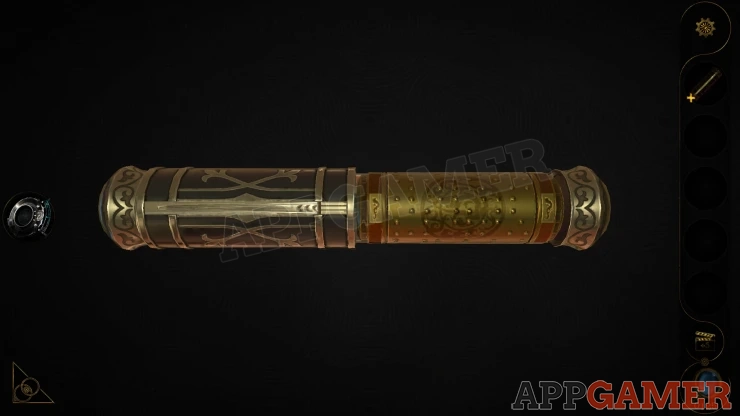
Go back to the study and view the device again. Rotate the center wheel upwards to find the next slot to place the cylinder.

Another Panel opens and you find a letter and the next book. Use this to start the next chapter of the game.

We have questions and answers related to this topic which may also help you: Show all
 With 20 years of experience in creating video game content for the internet and over 30 years as a gamer, Mark is now a passionate mobile App Gamer. Loving a challenge, he is always ready to get stuck in to both survival builders and puzzle solving games. He has been providing content for AppGamer since 2014.