
Cruise Ship Walkthrough - Part 2
More 3D Escape Room : Mystic Manor
This is our guide to Part 2 of the Cruise Ship chapter of 3D Escape Room : Mystic Manor. After completing the second book which took you to China, your next adventure takes place on the Theseus Vessel where you need to complete a secret mission.
In Part 1 you opened the safe and collected a key. Now back in the study to need to open the book again select the image to head to the next part of the mission.
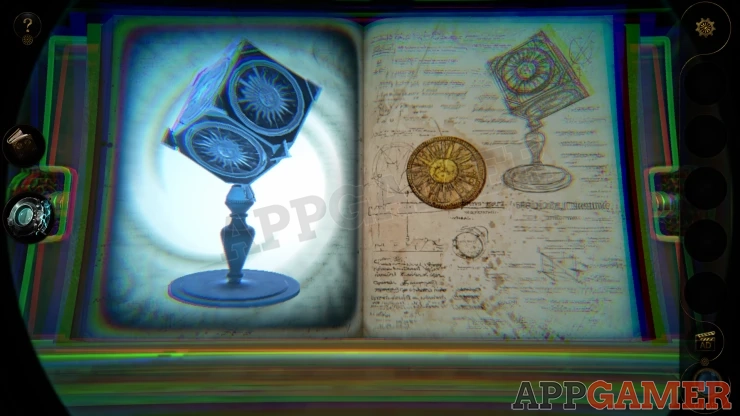
Book Three - Cruise Ship - Part Two Walkthrough
You begin in a hall expecting an auction. There are various artifacts in glass cases.
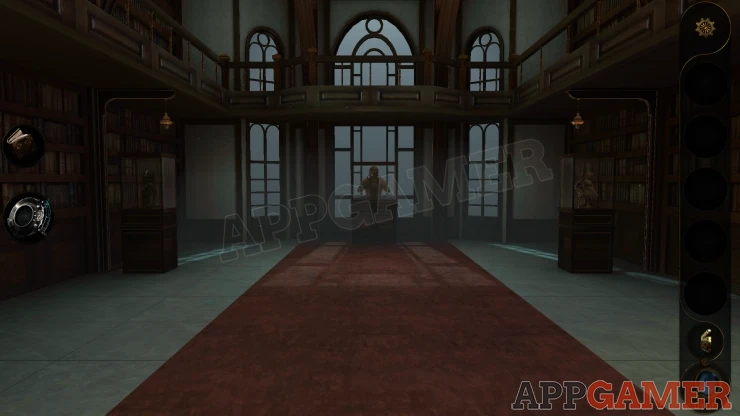
Turn to the left to see a broken case. There is a cube in it. View this.
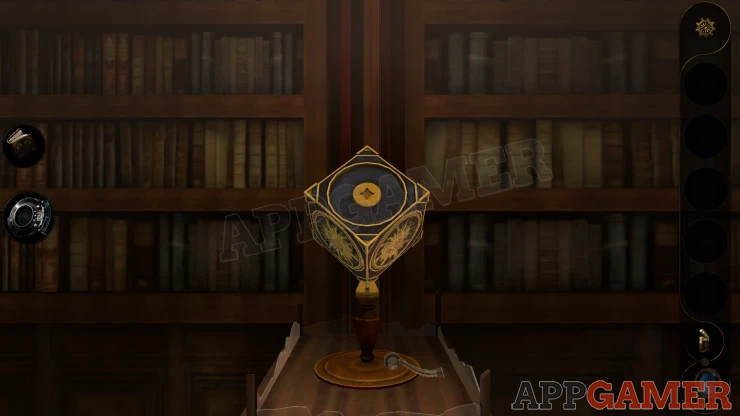
Collect the Incomplete Handle 1 from the base.
Next look to the left again to see a round table.
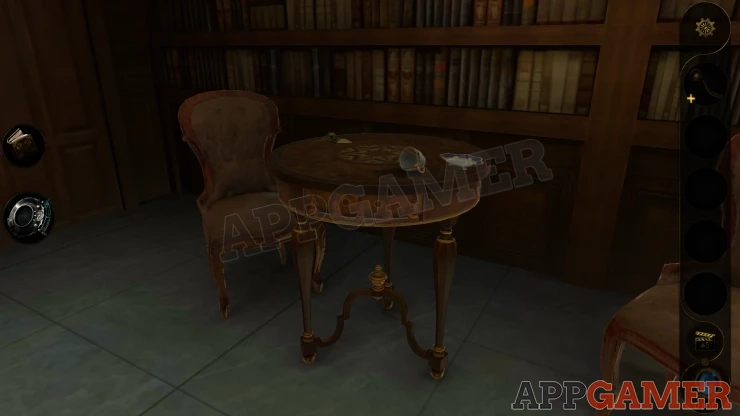
Collect from here a Handle and a Note.
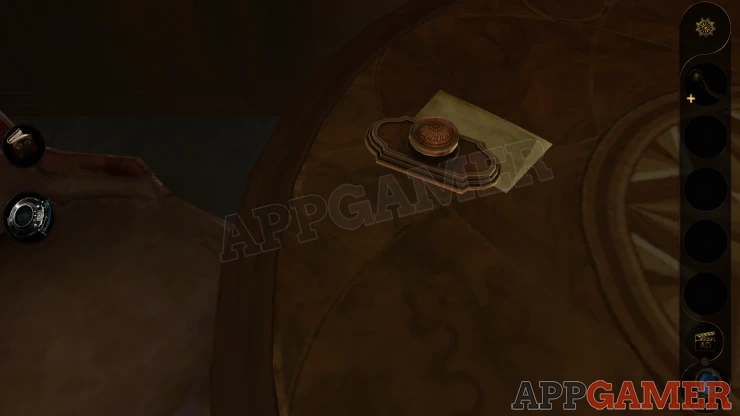
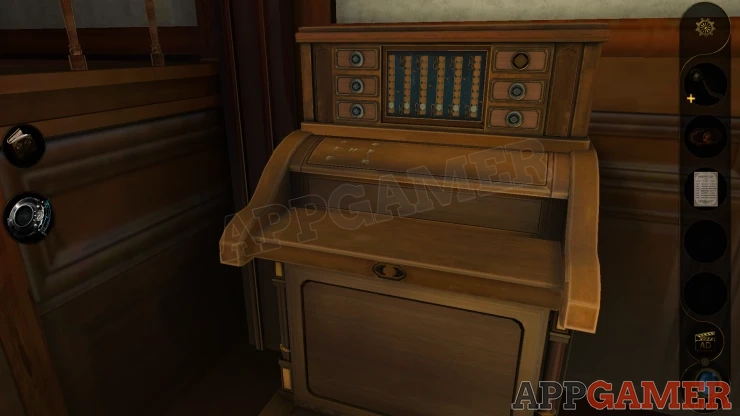
Look to the left again to see a Roll top desk. View this.
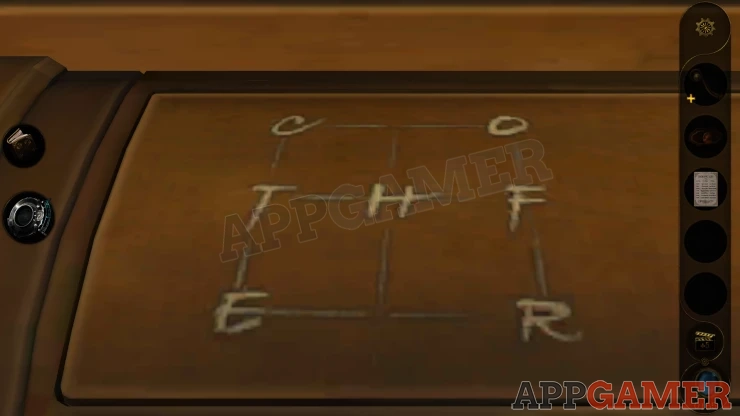
Look on the lid to see a clue. This has letters in a grid.
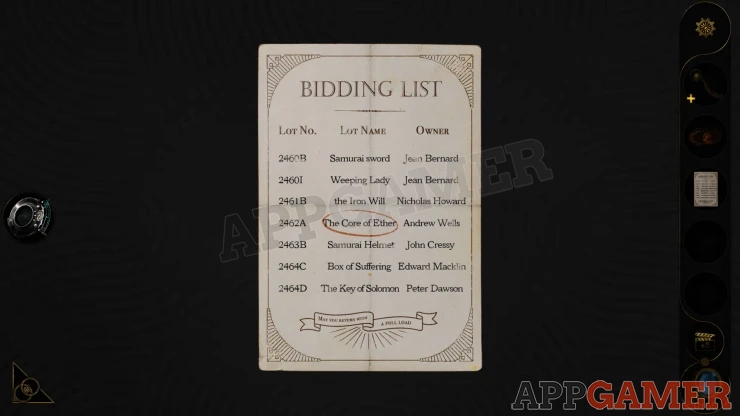
Then look at the Note paper in your inventory, notice the circled item, The Core of Ether.
Now look at the front of the desk and add the handle to the drawer.
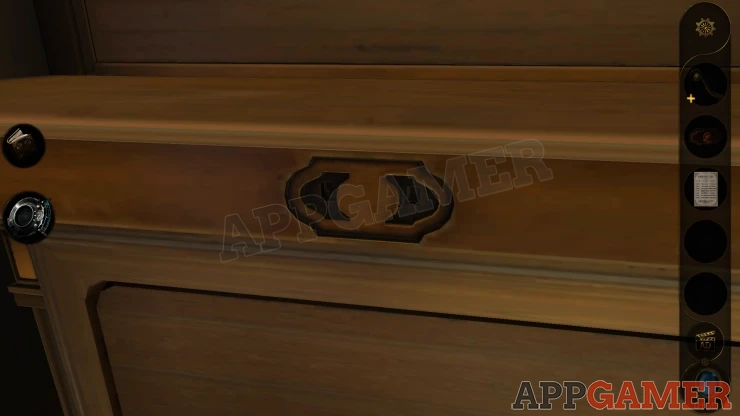
Pull this out to open the desk top. First look on the right side and move the slider button up. This will open a panel and you can collect the Incomplete Handle 2
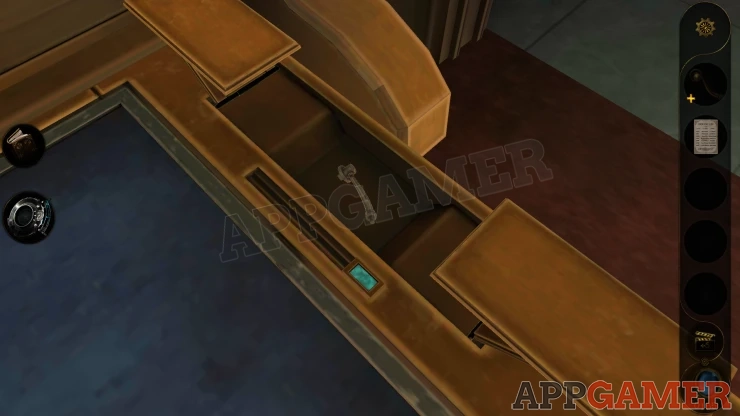
Next look at the puzzle on the desktop
Desk Puzzle
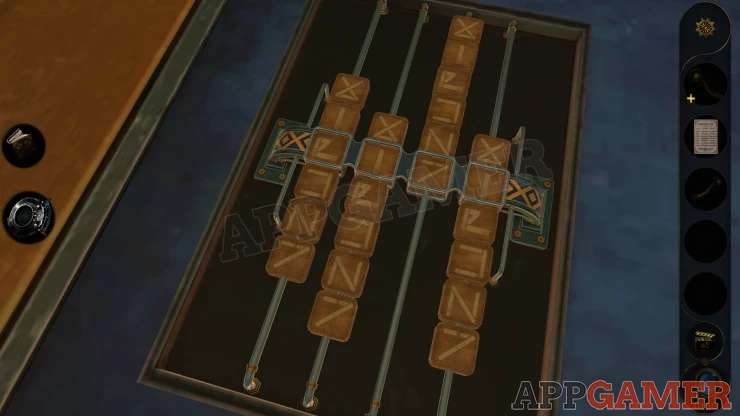
- There are 4 sliders, each with 6 line symbols.
- You need to adjust these to place the correct 4 symbols across the center.
- The clue is in the paper and the top of the desk.
Solution: Use the highlighted phrase 'The Code of Ether'. Find the shapes made by the letters of these 4 words on the grid on top of the desk, this will give you the shape of lines for each slider.Show
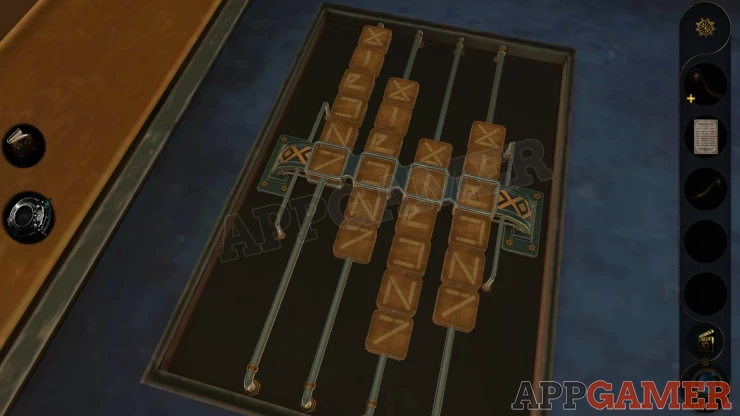
Once done the desk top flips over. Move the switch and then you can collect a Wooden Cylinder.
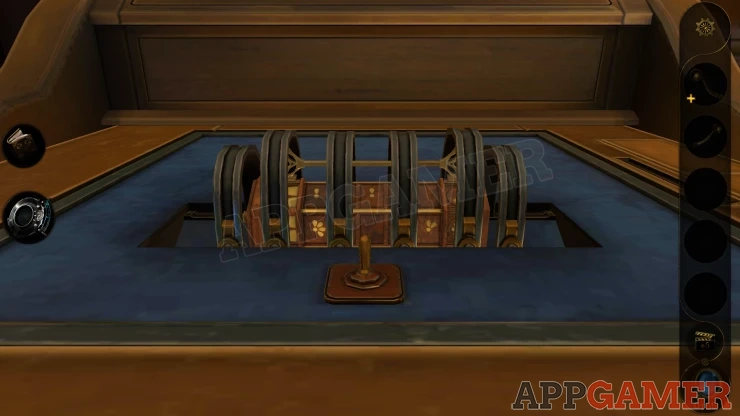
View the cylinder in your inventory.
Wooden Cylinder Puzzle
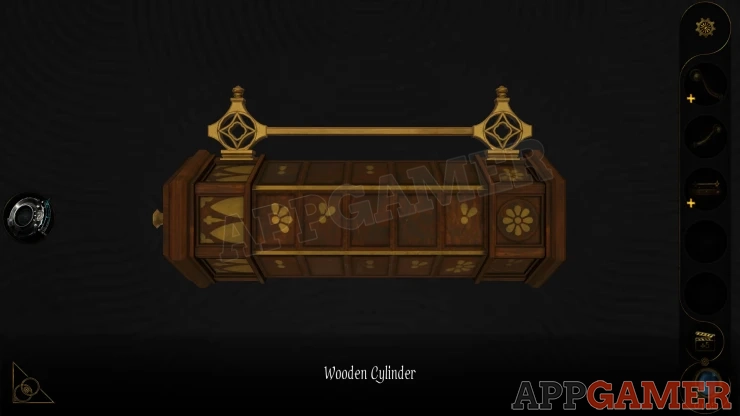
- The puzzle has 5 section in the middle that you can rotate around the cylinder.
- These will either be empty or show a number of petals from a flower shape.
- On the right end there are panels with flower shapes, also with a varying number of petals.
- Turn the 5 inner section so that each face / side of the cylinder has the correct number of petals to match the image on the end panel. They do not need to be in the correct positions. Only the correct number.
Solution: These images should help.Show
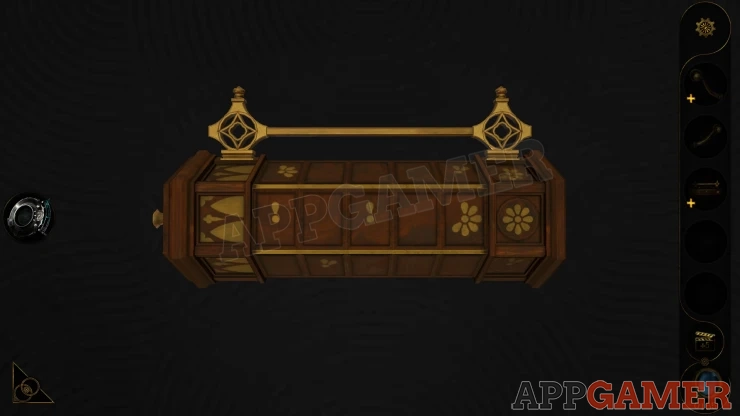
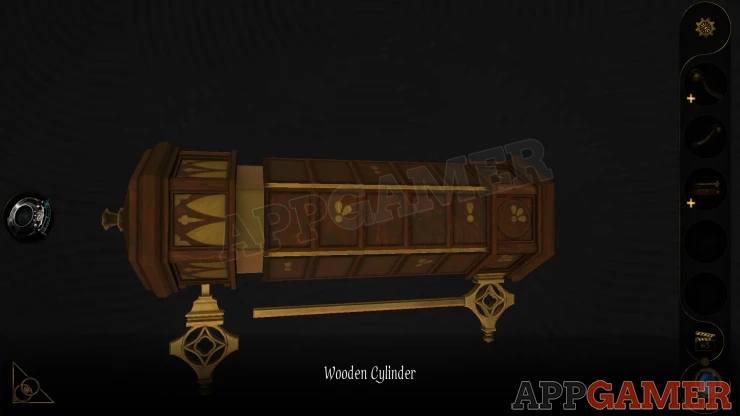
Once done you can collect a Metal Key from the top.
Now return to the round table. Look at the spilled drink stain.
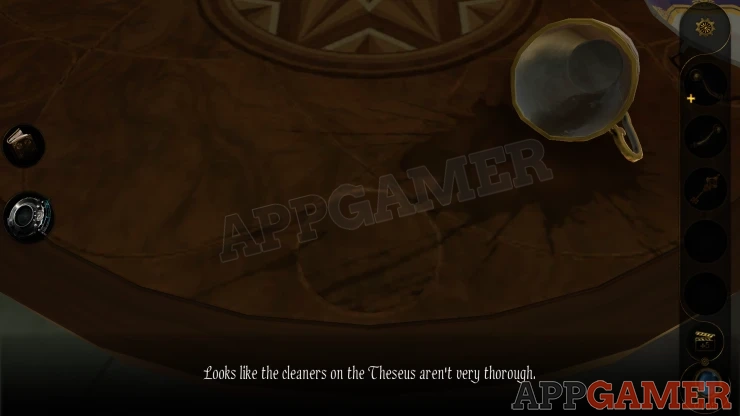
Notice that a round section of the table top seems to have been turned. Rotate this back to the correct position to align the stain.
It will open up and you will see a key hole.
Use the Key here. a section below will fall and you can then see a drawer.
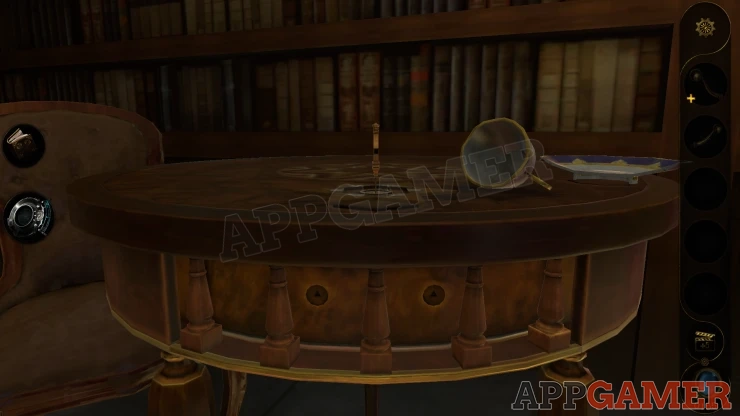
View the Incomplete handle in your inventory and add the second part to it. You will need to rotate the part to screw it onto the first half. Once done you collect the Complete Handle.
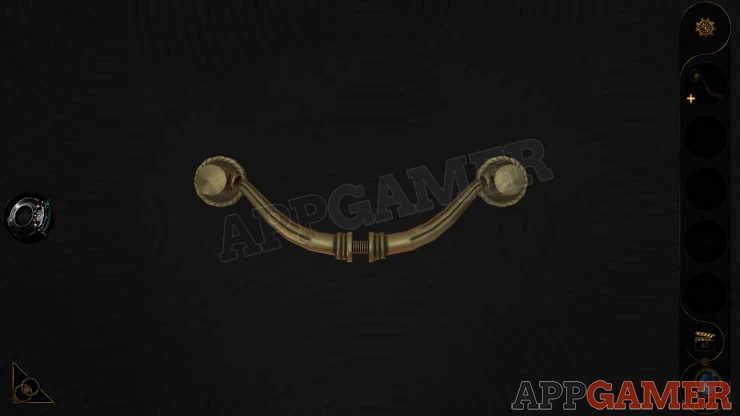
Place the complete handle on the drawer and open it. Collect a Carving.
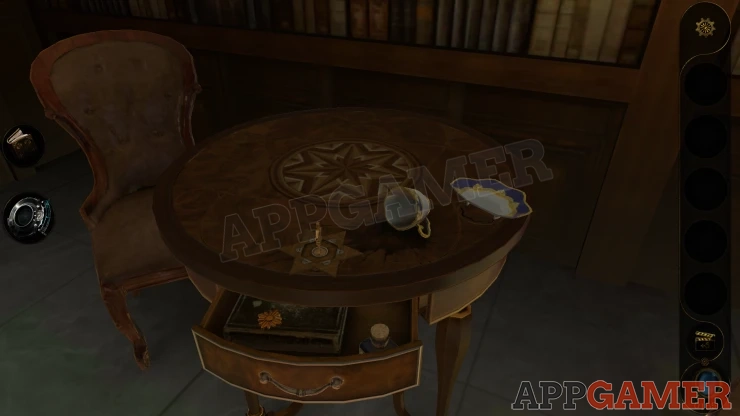
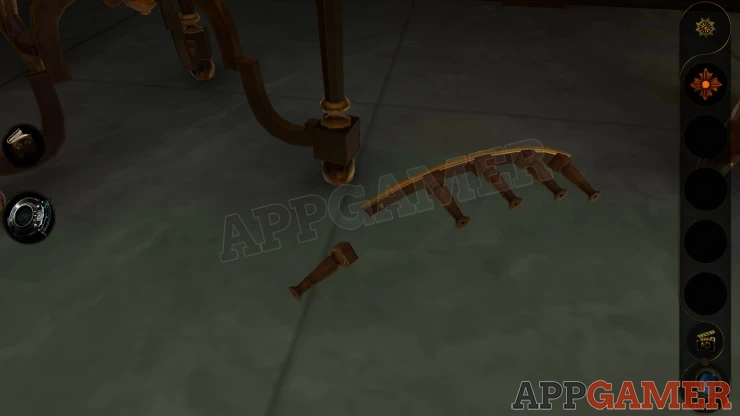
Next look on the floor below to see the part of the table that fell. You can collect the broken Strange Railing.
Next turn to the left to see the stairs. Then view the to top the newel post on the left.
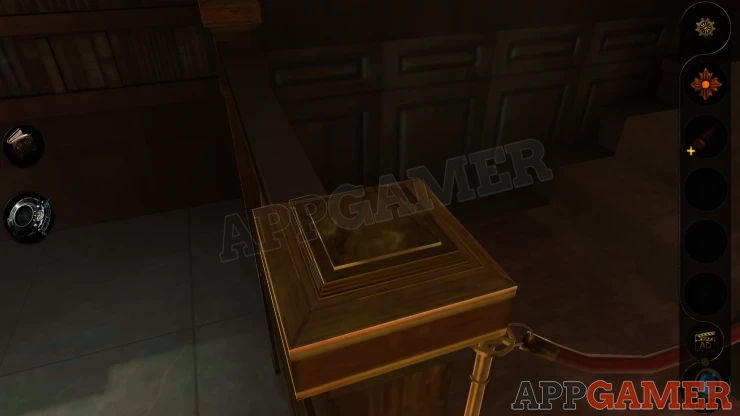
Turn the top to open it and you can collect a Strange Metal Rod B.
View the Strange Railing in your inventory. Turn the square base on the right to unscrew it.
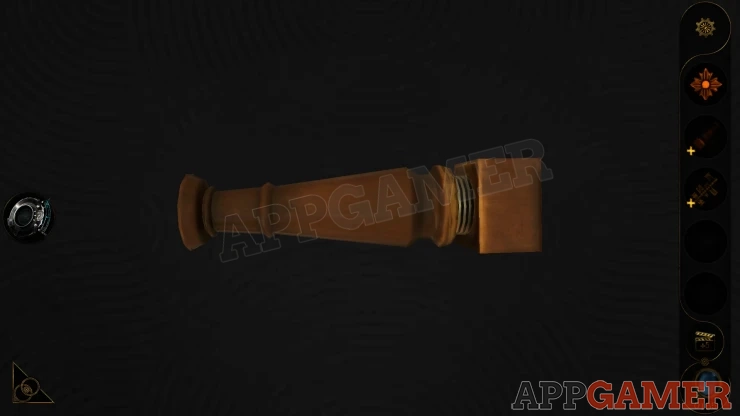
Then you can collect from inside it the Strange Metal Rod A.
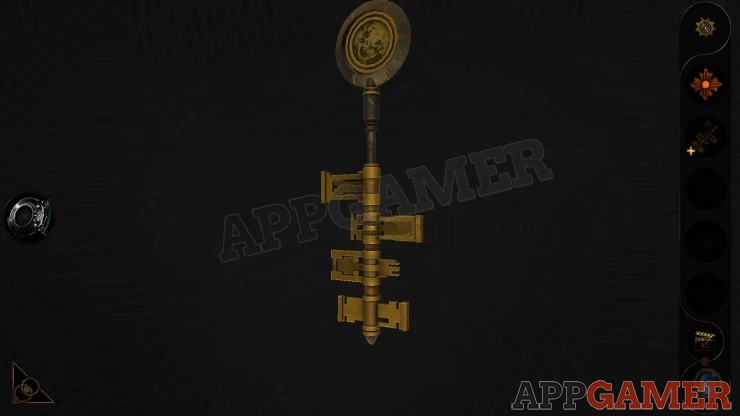
Next view Strange metal rod B in your inventory. Then add Strange Metal Rod A to it. You will then collect another Metal Key.
Now turn to the left and look for a glass case with a wooden box in it.
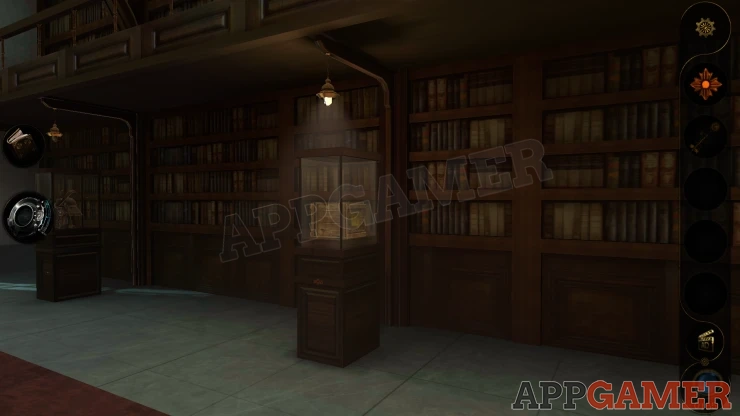
Below the glass on the front is a socket. Place the Carving here.
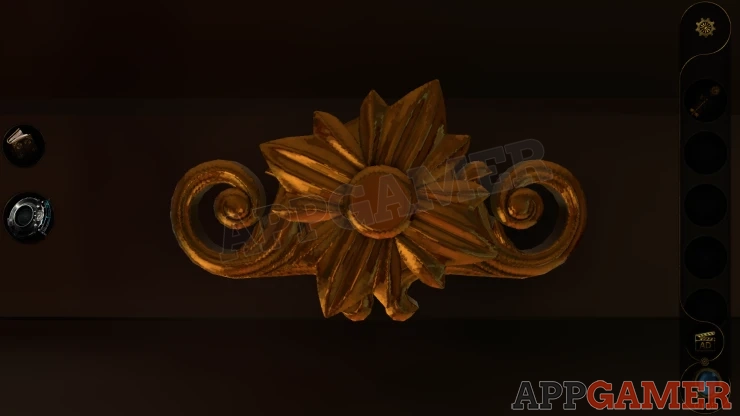
Turn it and the front of the cabinet will open. Look inside for a puzzle
Box Cabinet Puzzle
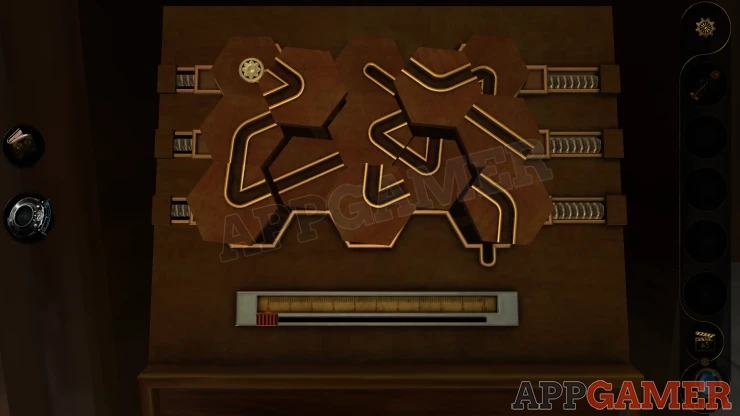
- The board is made up of hexagonal pieces that rotate. Each piece has a groove on it.
- They will rotate around apart from one with a round token on it.
- You can move the slider at the bottom to the right and then release it. The pieces will stop turning temporarily.
- During this time you can move the token along the groves.
- The aim is to reach the exit on the bottom right of the board.
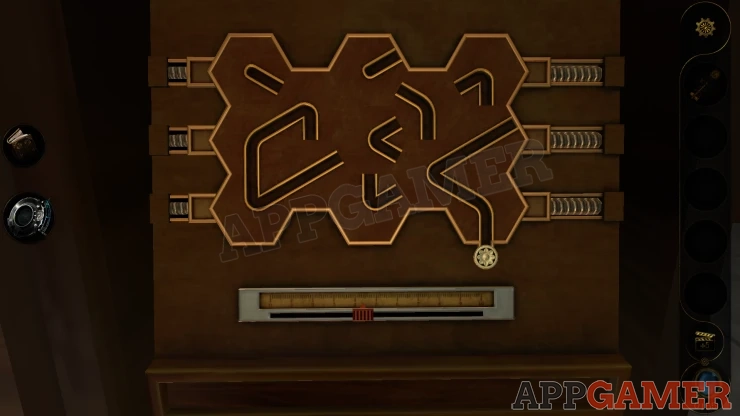
Once done the glass case above will open.
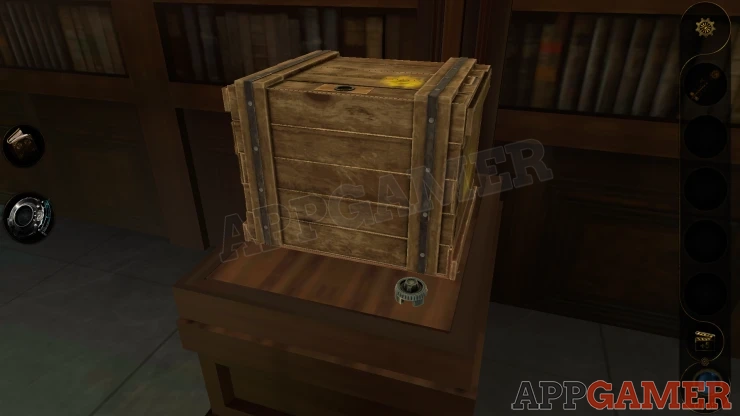
Collect a Knob.
Turn back to the right and view the top of the desk, on the right are some small panels with one of the knobs missing.
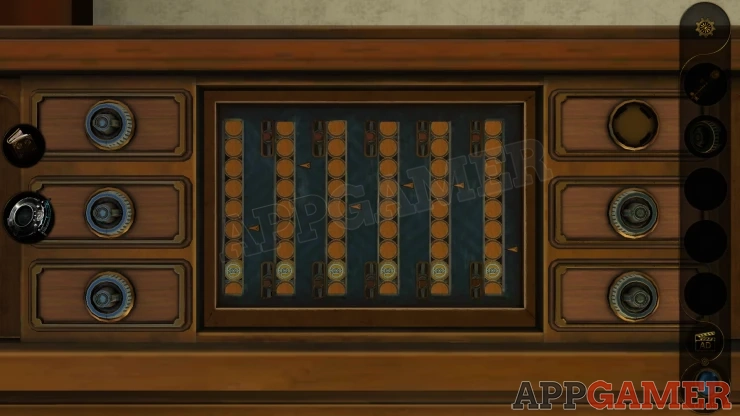
Place the knob here, then turn it and they will all activate.
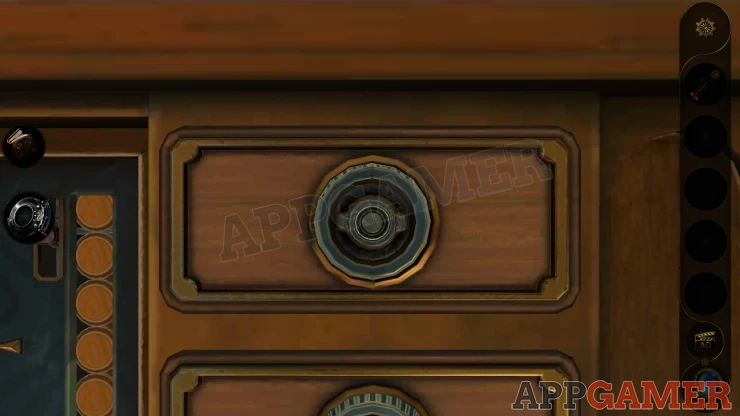
Desk Puzzle 2
- You can turn each of the six knobs to raise one of the size columns of disks on the front of the desk.
- Each column has one light colored disk with a symbol.
- Each column also has an arrow next to it at different heights.
- Turn a knob to raise the column up. After doing this all of the columns will lower by one place.
- You need to get all of the columns to have the light colored disk in position with the arrow at the same time.
The knobs control the columns as follows.
| Column 4 | Column 6 |
| Column 1 | Column 2 |
| Column 3 | Column 5 |
Solution. Start with the lowest level Arrow. (on the right) and lift the marked disk in that column to the top. Then move on to the next lowest. When there are 2 the same height lift one to the top and then on the next move list one to the same height as the previous one is at.Show
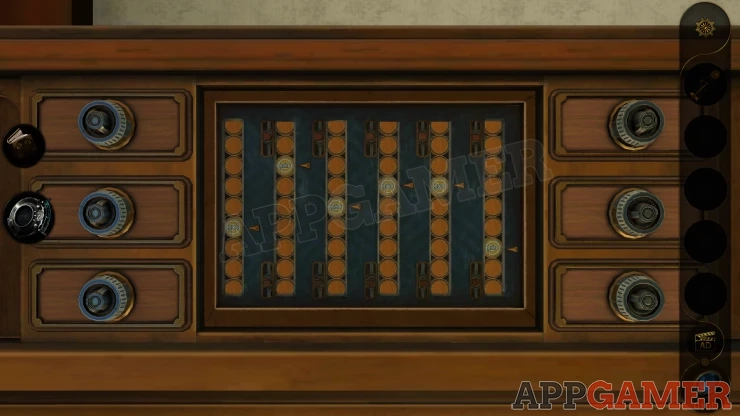
Once done a panel on the right opens. View this and then open the round cover to find a key hole.
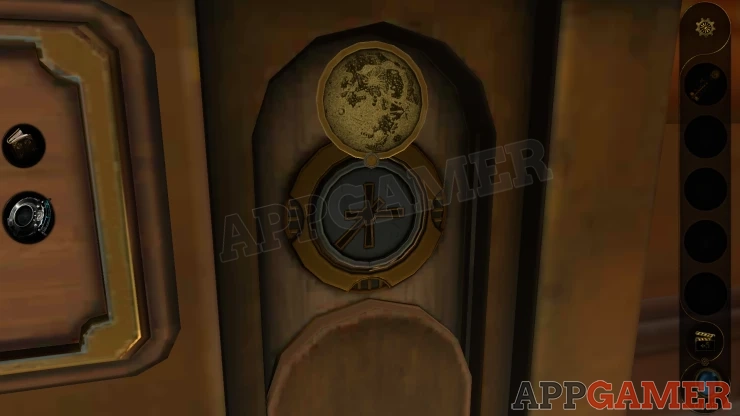
Use the key here to insert it.
It will go in part of the way. You then need to turn it to find a position for it the go in further. Keep turning to allow more parts of the key to slot into the hole.
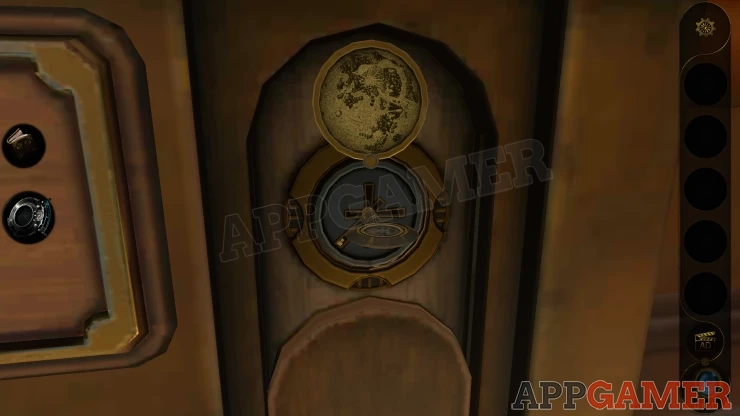
Once it is all the way in. The panel below opens fully and you can collect a Broken Plate.
Return again to the round table and you can place the broken plate with the other half on the right.
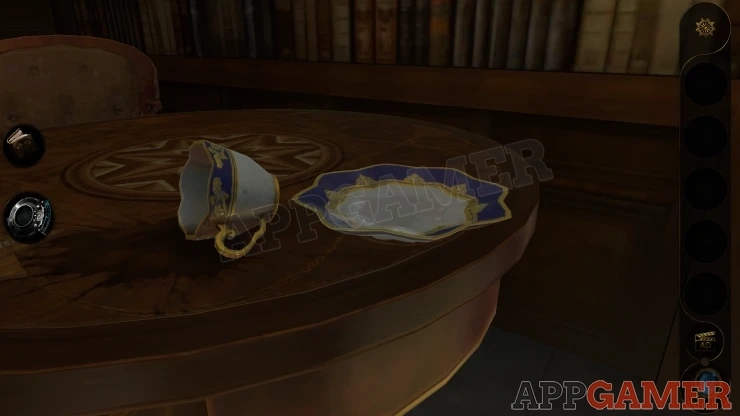
Make sure you have closed the drawer on the front, then turn the plate and the drawer below with turn to reveal a second drawer.
Open this and you can collect a Crank Handle.
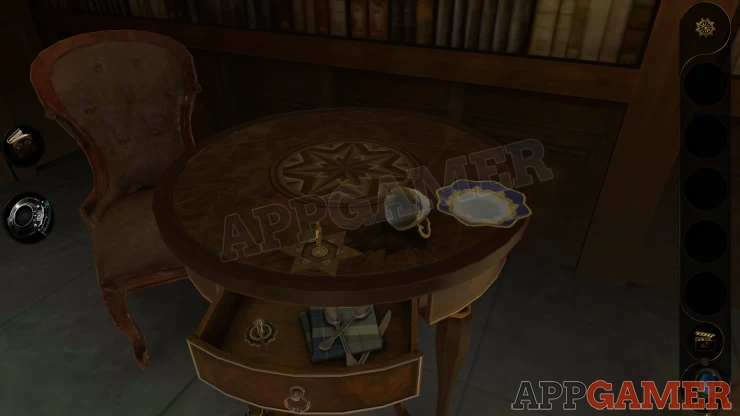
Go back to the Wooden box that you discovered earlier and look on top to see a hole. Add the crank handle here and it will open.
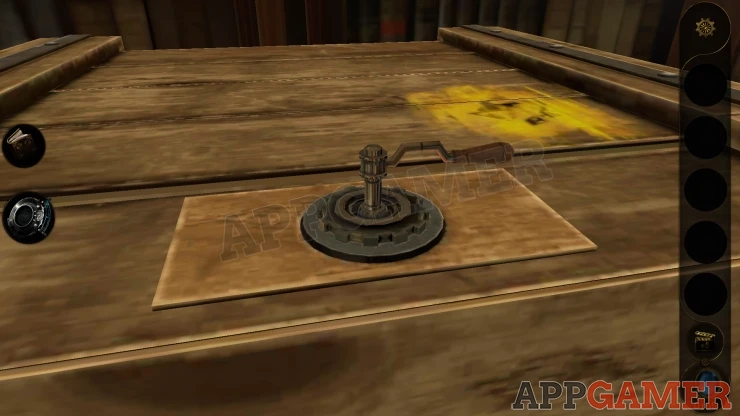
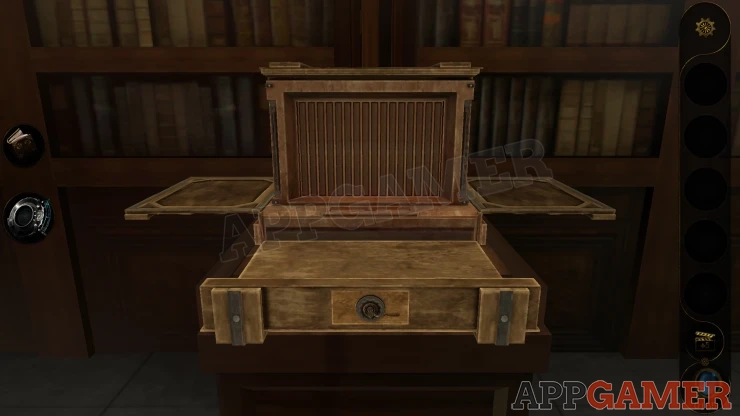
First look on the base of the main box inside to see a small panel.
Slide this open and you can collect a Small Shield.

Now look at the handle that is now on the opened front section of the box .
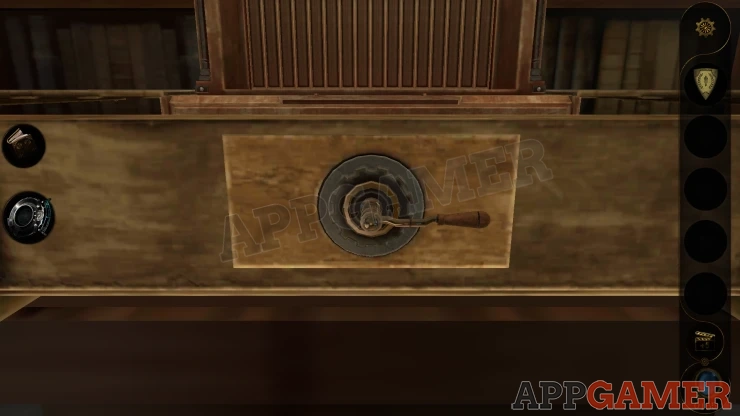
Turn the handle and the box will open up further to reveal a theater scene with two knights.
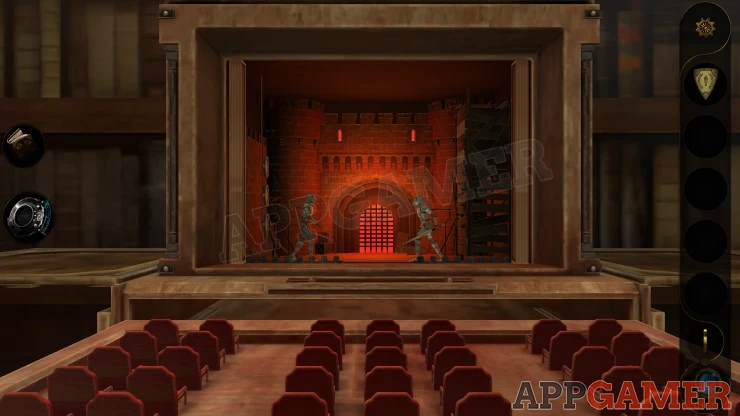
Zoom in on the knight on the left and you can add the shield to it. This will start a puzzle mini game.
Knights Battles Puzzle
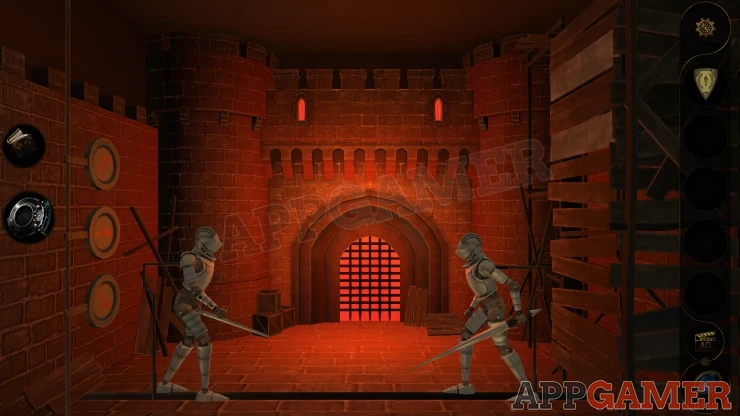
- You will have 3 buttons to control the knight on the left. These let you move the shield to protect it between top, middle and bottom positions.
- The knight on the right will move its sword and then attack on one of these locations. You need to block it before it can strike.
- There will also be occasional arrow attacks from above.
- As the knight attacks the gate at the back slowly opens. You need to fend off the attacks until it is fully open.
- If you are hit the game resets, turn the handle to start again.
Movement Guide
Show
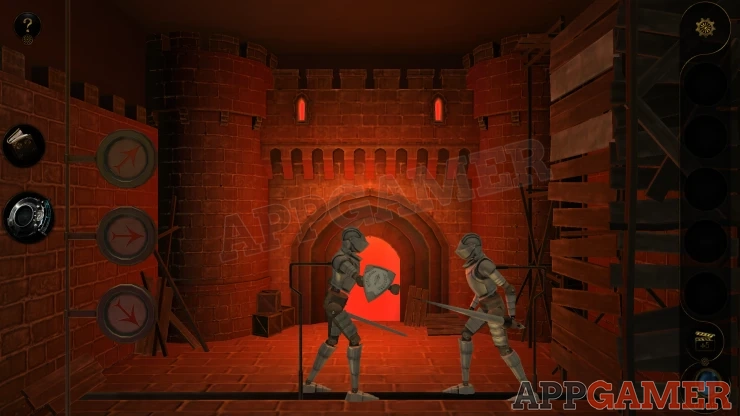
Once complete the seating opens and you can collect a Circular Ornament.
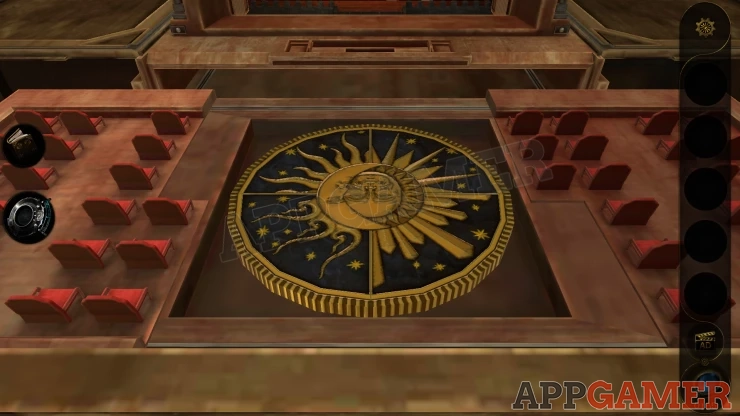
Turn around to the other side of the room and view the cube again. You can place the circular ornament in the round slot.
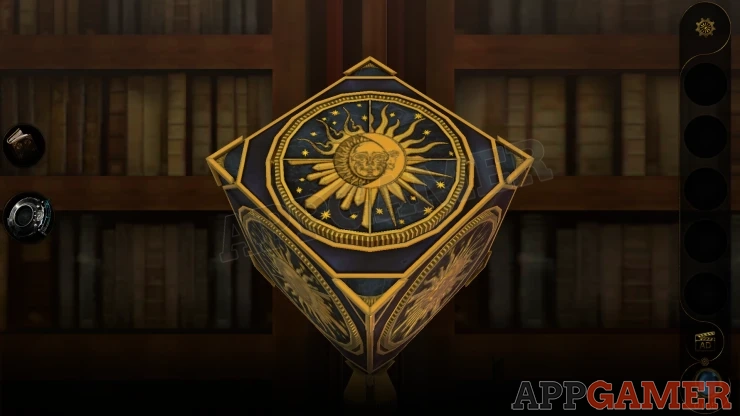
Note that each face of the cube has a circle with varying designs on each of the quadrants.
Now activate the lens eyepiece and look around to see a clue image on the wall on the other side of the room.

This will show you a layout of the six faces of the cube with the different quadrants.
On the cube you now need to turn each of the circles to replicate the ones shown in the clue.
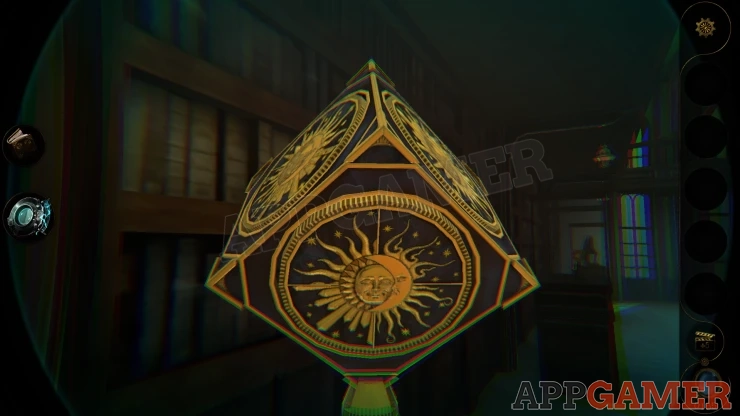

Once done the cube opens and you can collect an Action Voucher from inside.
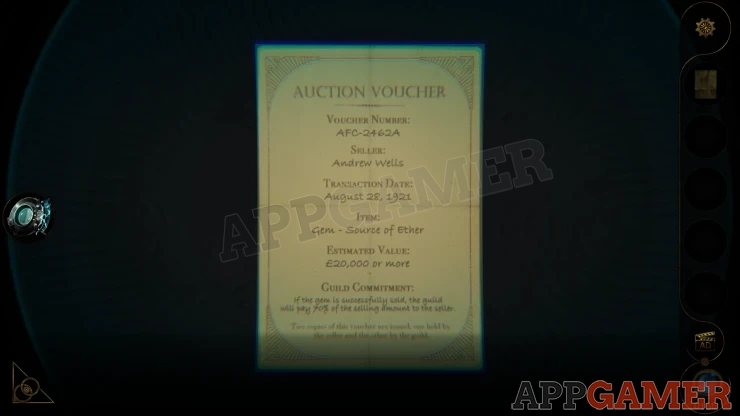
This will complete part 2. You return to the Study. Continue in Cruise Ship Part 3.
 With 20 years of experience in creating video game content for the internet and over 30 years as a gamer, Mark is now a passionate mobile App Gamer. Loving a challenge, he is always ready to get stuck in to both survival builders and puzzle solving games. He has been providing content for AppGamer since 2014.