
Chapter 4 - Philip's Laboratory Walkthrough
More 3D Escape Room : Mystic Manor
This is our guide to Part 4 of chapter 4 of 3D Escape Room : Mystic Manor. After completing the 4 stages of the third chapter set on the Cruise Ship you collect the third gem and unlock another book in the device in the study.
You first investigated the bedroom, and then the office before working your way though the warehouse. Now you have finally arrived at Philip's Laboratory.
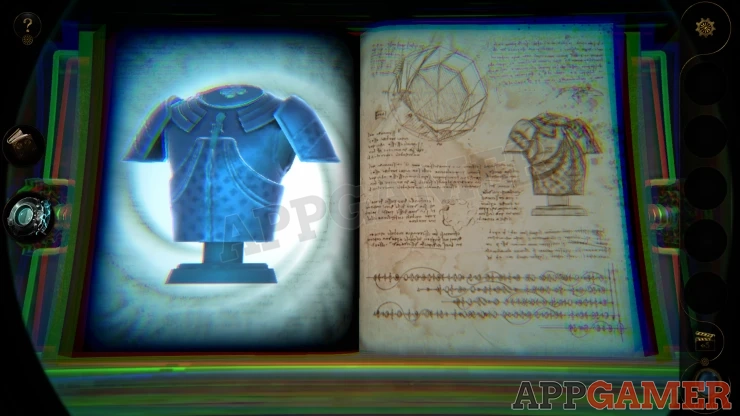
Book Four - Philip's Laboratory Walkthrough
This is another ornate room with various work stations and desks.
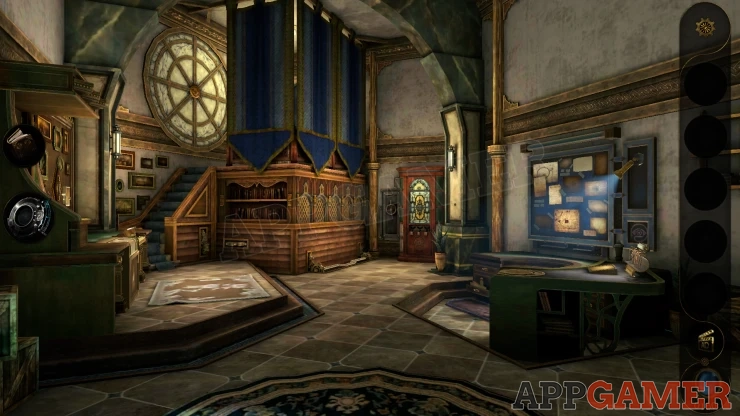
First look over on the left, there is a work area with some pictures on the wall, a piano keyboard to the right and a stained glass image on the left.
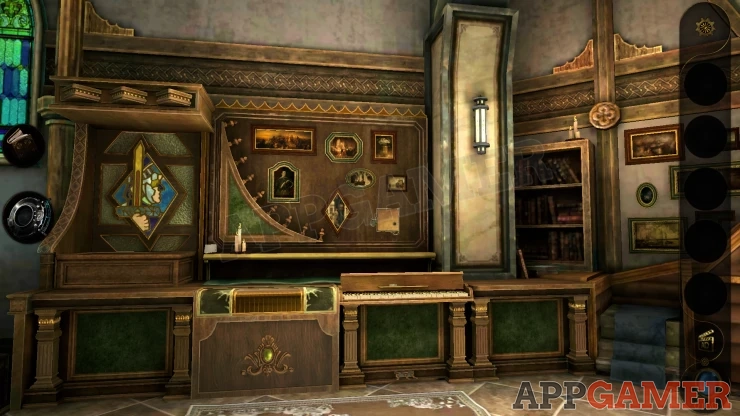
There is a letter to collect by the candles.
View the Piano keyboard and collect from it an Unopened Handle.
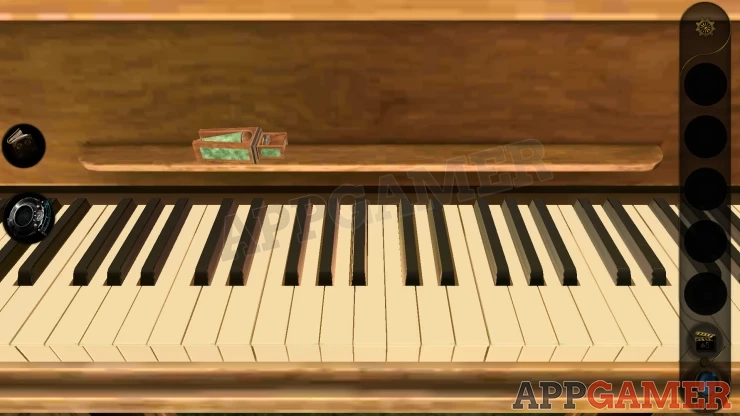
View this in your inventory and then flip the top section up and then flip the lower section down. You will collect the Handle.
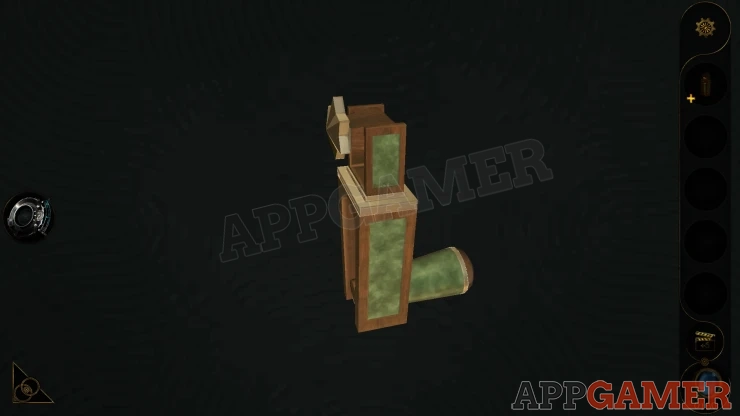
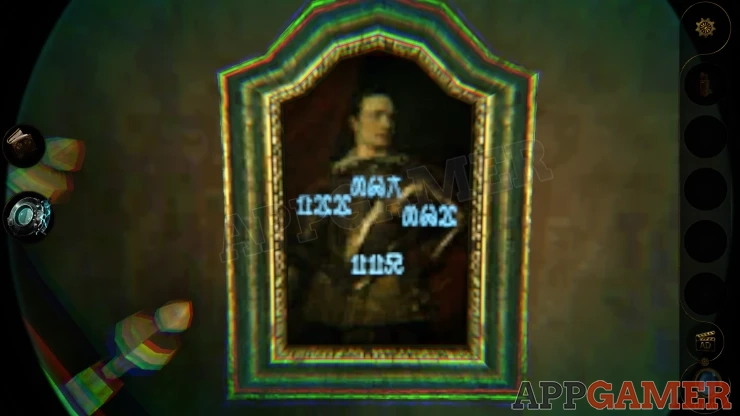
Now look at the pictures above using the lens eyepiece. On one of them yo will see some written clues.
Next view the stained glass image on the left. There is a gold button, press this.
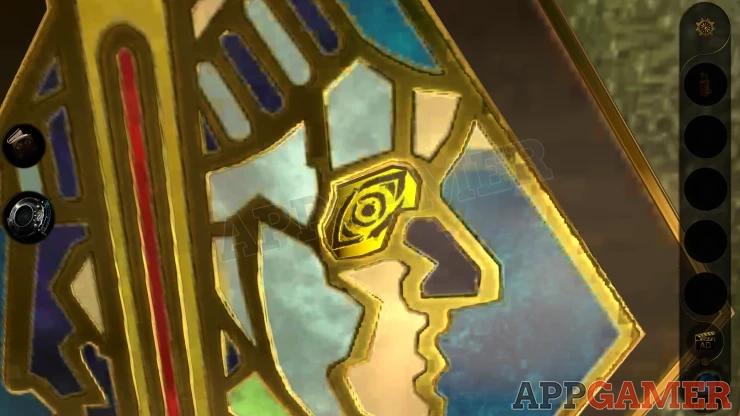
You will now see an armor chest plate appear from below.
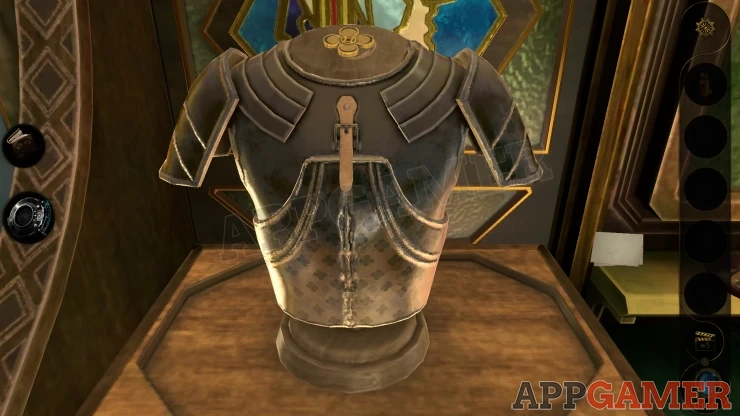
Look on the top of this to see a clover shaped button. Turn this. The front of the plate opens and you will find three dials with four sets of numbers.
Armour Puzzle
Add the Handle to the lower right dial to start.
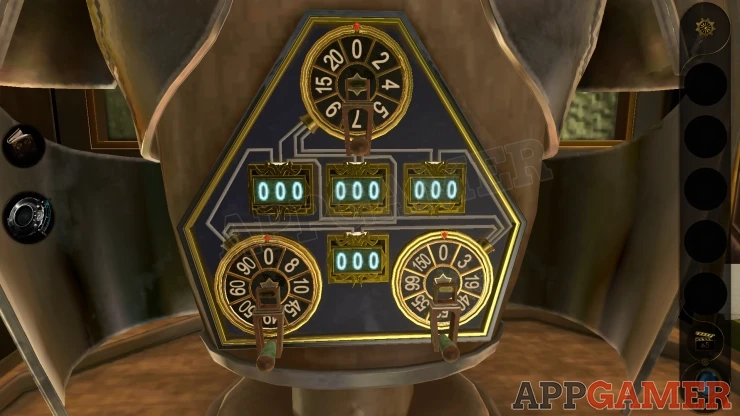
- You need to set the four numbers according to a clue.
- Each of the three dials is linked to three of the 4 number blocks.
- Turning the handle on a dial will change the number and add the number shown to the three number displays that it is linked to.
- Find the correct positions for all three dials to set the numbers correctly.
Solution: The writing on the picture shows some mirrored numbers. the values are 122, 067, 062, 115Show
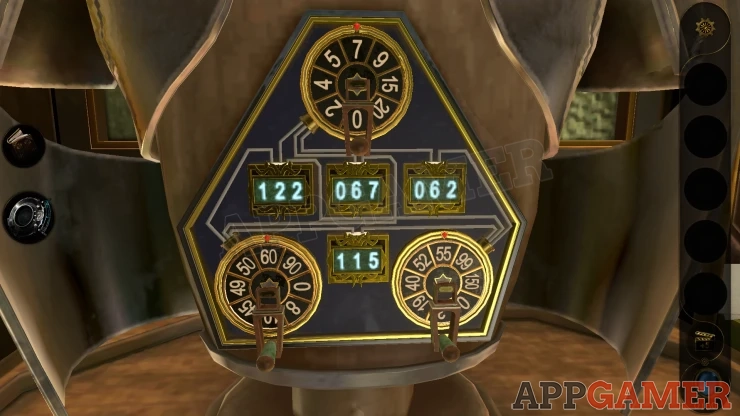
Once done you will be able to collect Metal Capsule A. View this in your inventory.
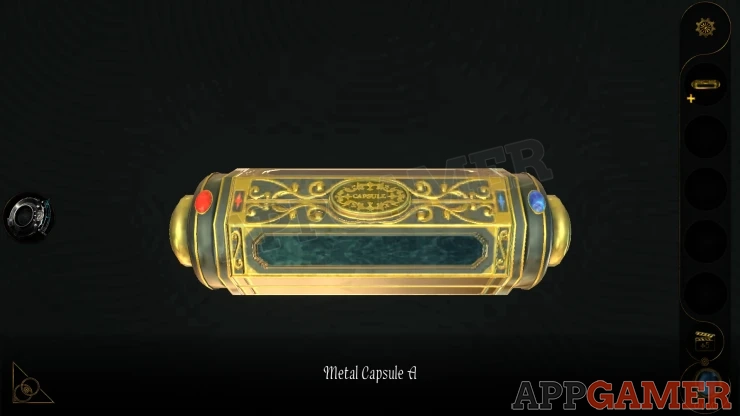
Press the button on the front to open it to collect an Embossed Handle.
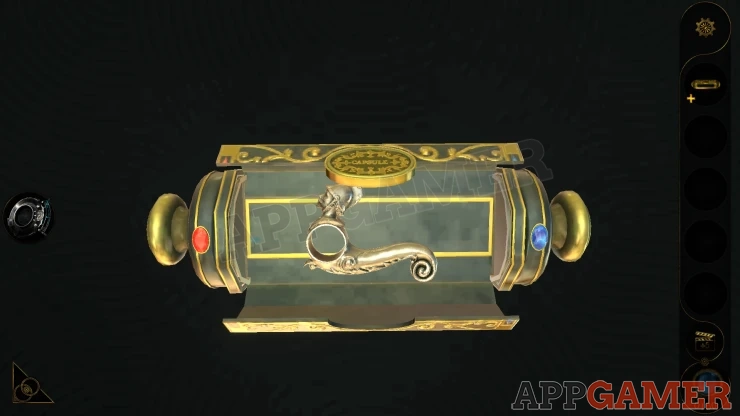
Now look on the wall above and on the lower right to see a small wooden panel.
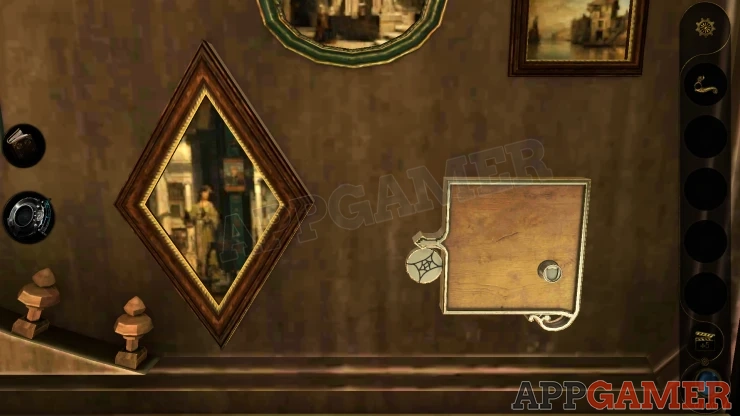
Add the embossed handle to this and a diamond shaped picture to the left will move to reveal a mechanism. It has a pendulum hand below and 2 sets of numerals.
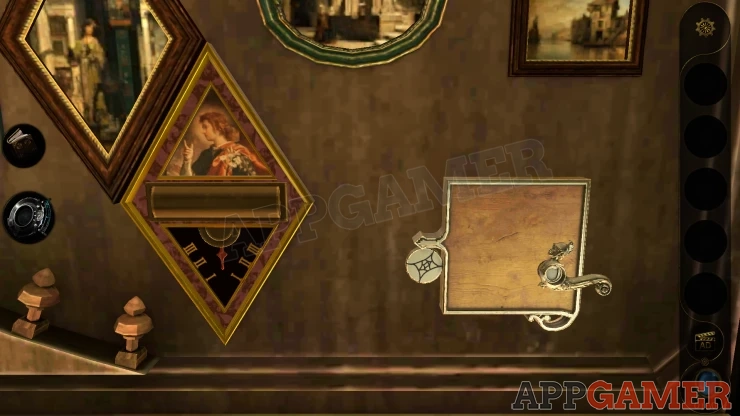
Next pull the embossed handle down and a hand on the mechanism will swing left and right six times to indicate a pattern of numerals. You can repeat this if needed.
No back up and turn to the right side of the room to see a curved desk.
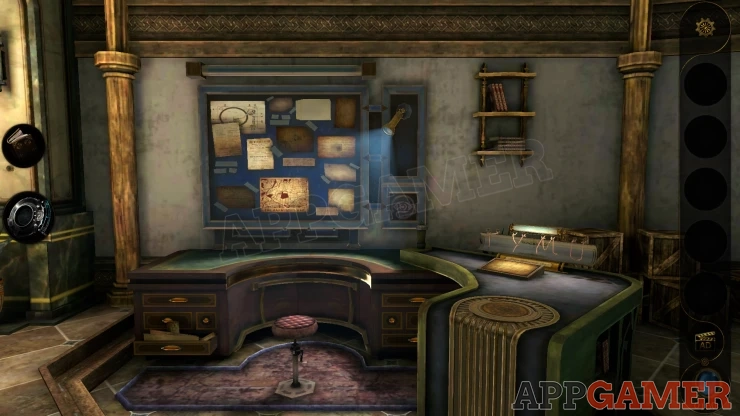
Look on the end of the right side. At the top of the circular design is a curved slider. Move this to the right.
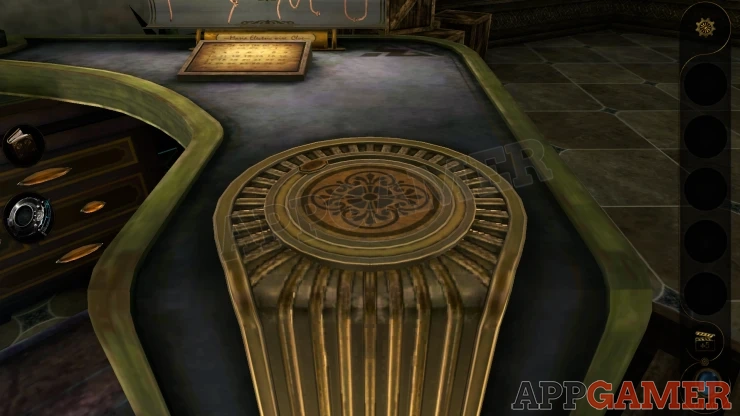
A device will rise up, on the top of this you will see a pointer and two sets of numerals as on the wall. Move the pointer to the left and right to copy the movement of the hand on the picture on the wall.
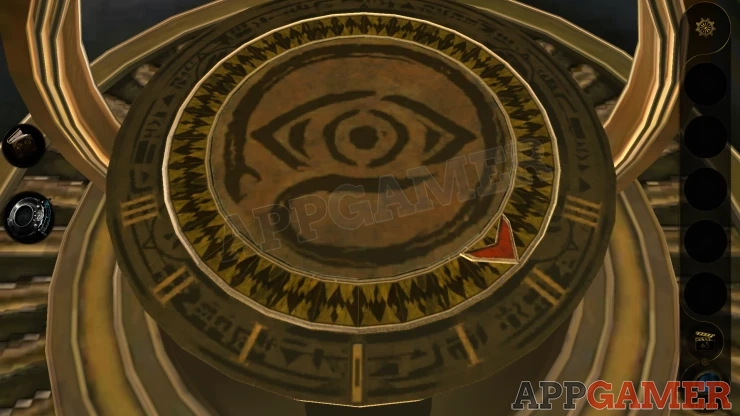
Solution: Left II, Right I, Left I, Right I, Left III, Right II.Show
Collect the Swan A. Then view this in your inventory.
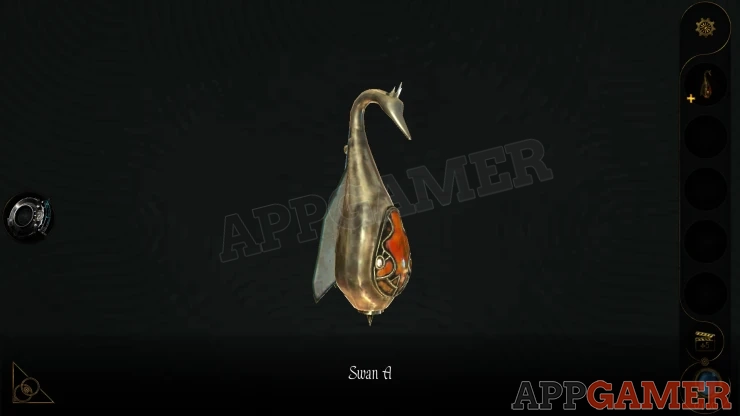
Press the red section in and the swan will open up. Collect Key A.
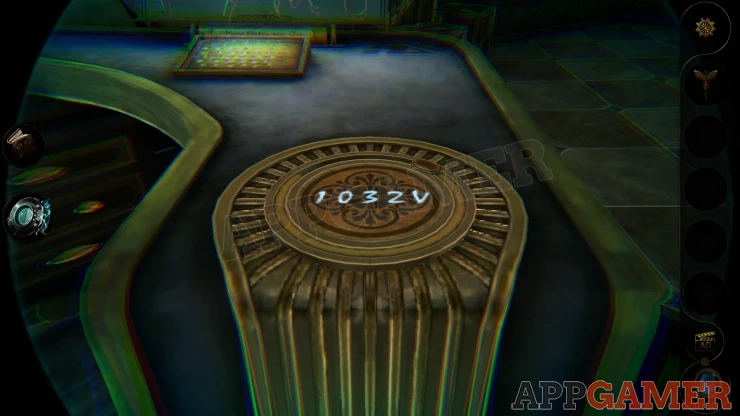
Next view the round section on the desk with the lens eyepiece to see a clue.
Show
Next turn and look in the back corner of the room to see a large ornate cabinet.
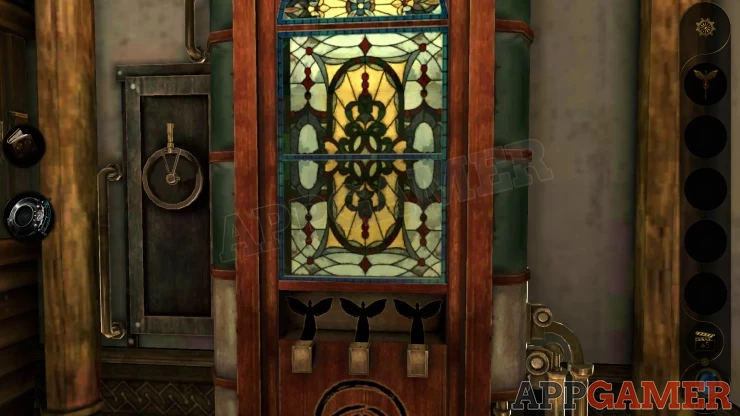
Towards the bottom is a section with 3 bird shapes, view this. Place the Key A on the left and then turn it around, it will slide in.
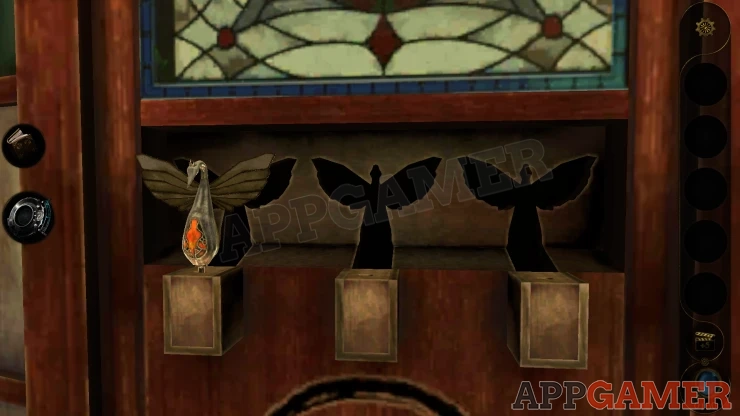
When the cabinet top opens collect a letter and the Church Model A.
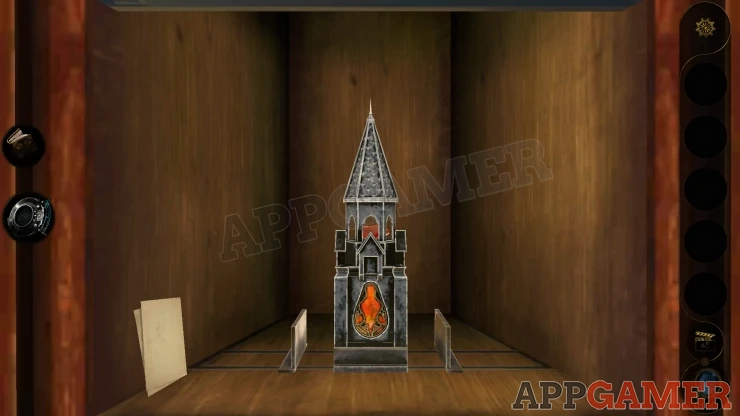
A hatch will now open to the left. Place the tower inside.
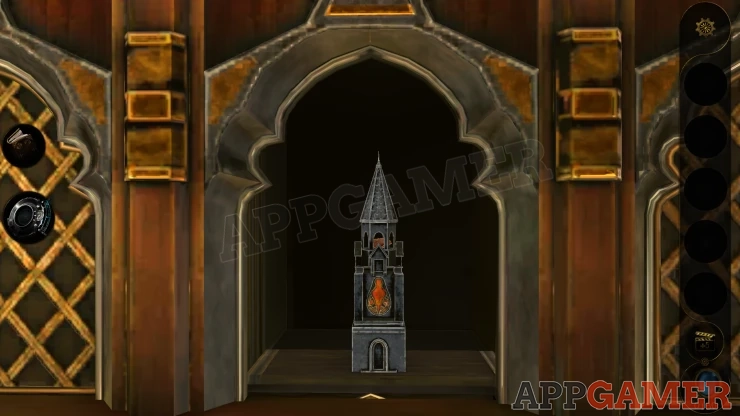
It will rise up and you will be transported up the steps to a raised work area.
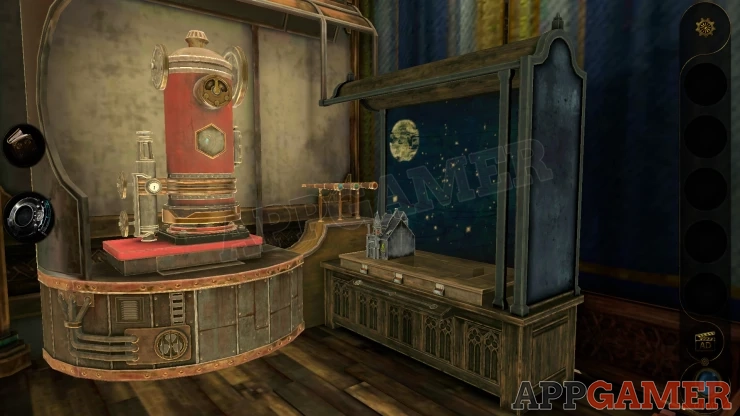
On the right is a bench with a model on it. View the small gear wheel below this and turn it.
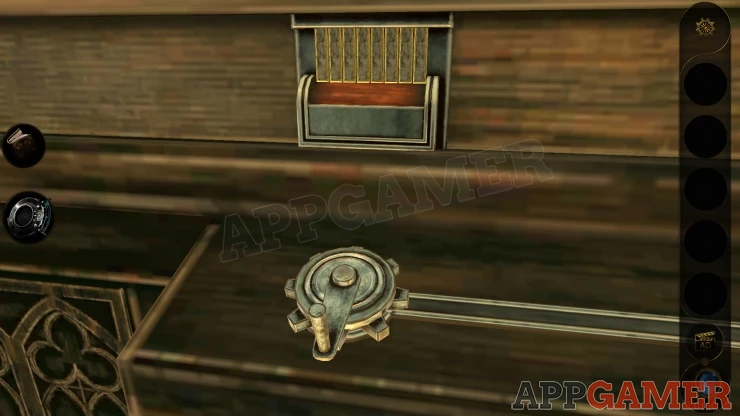
The tower will rise up on the house and then you will see a number entry board appear on the left. There are 4 numbers to set and then the letter V. Use a clue found previously to set this.
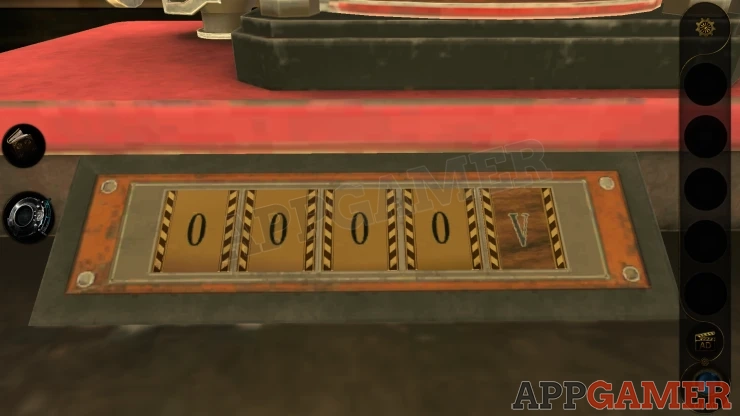
Solution: 1032VShow
A panel opens below and you will find a set of 12 switches.
Switches Puzzle
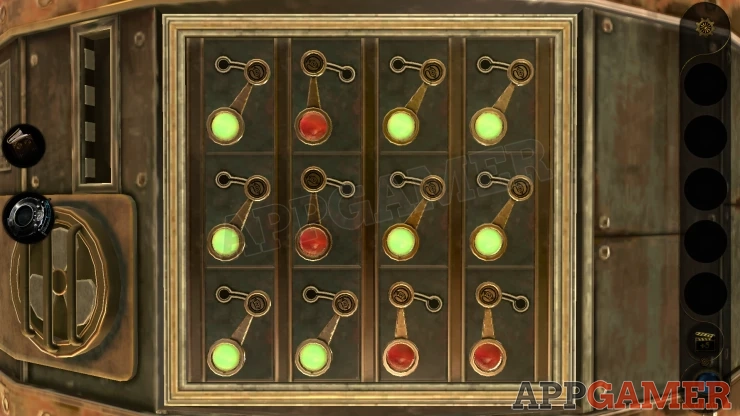
- Each of the 12 switches can be moved left or right.
- Each one has a light on it that it either red of green.
- Moving each switch will also move others.
- You need to set all of the lights to green.
Once this is done collect Metal Capsule B from the round section that lifts up. A mechanism at the top starts working.
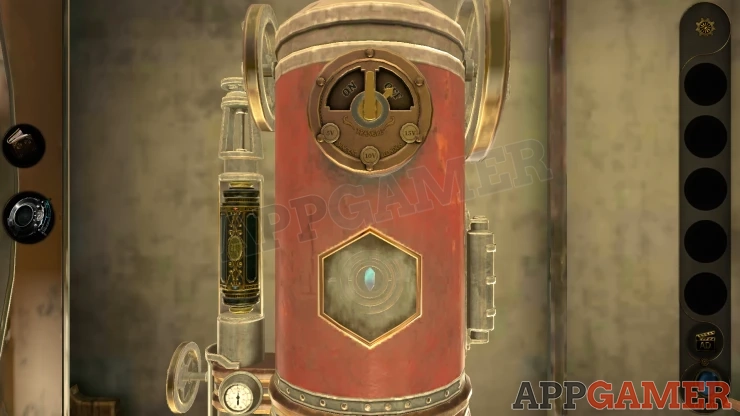
View the capsule in your inventory and rotate both of he ends to open it. Collect a Swan B.
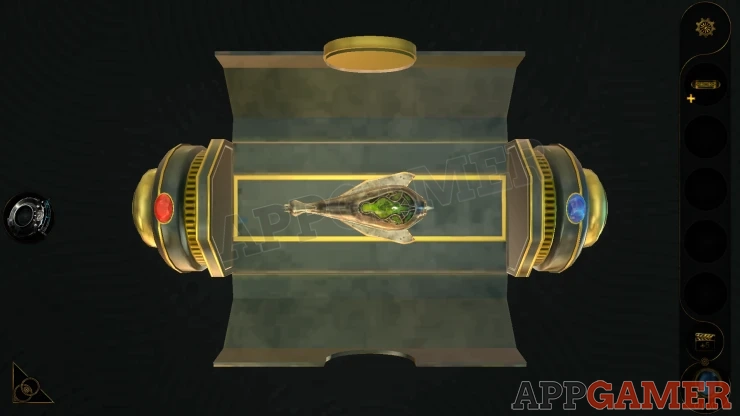
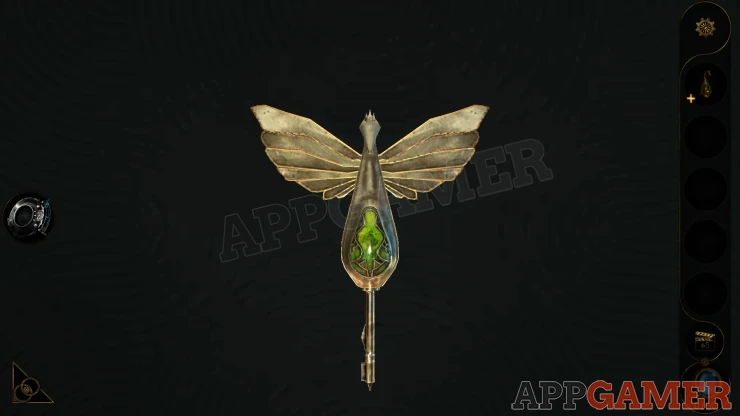
View this as before and press the center in to open it up. You get Key B.
Go back down to the cabinet in the corner and place the second Key in the center slot.
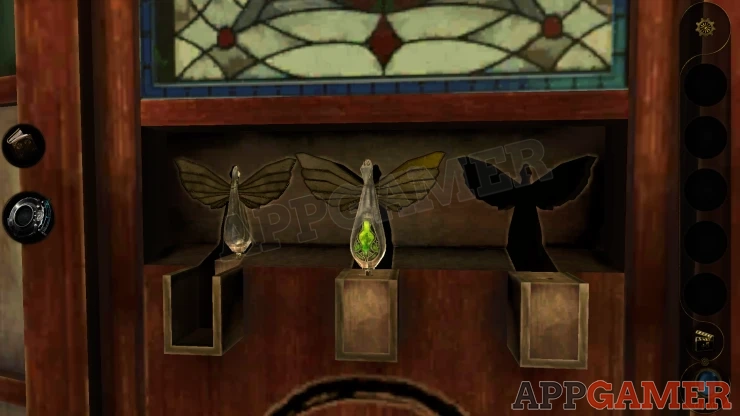
The cabinet above opens up again, collect a Handle from inside. You cannot take the model yet.
Now back up to the desk on the right side of the room.
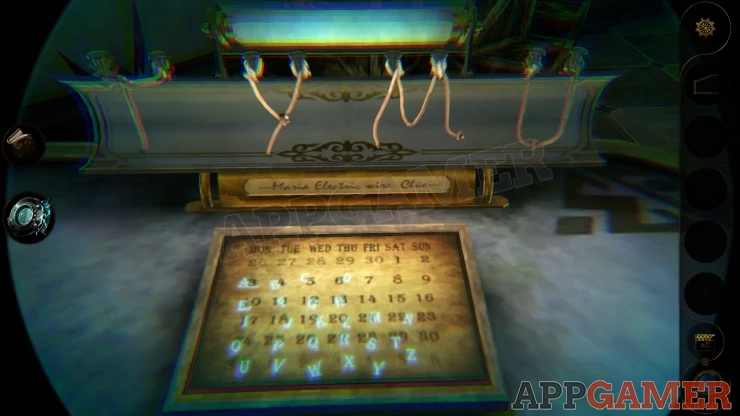
First look on the desk to see a calendar, notice above this there is a pattern of wires, these will resemble letters. This is a clue.
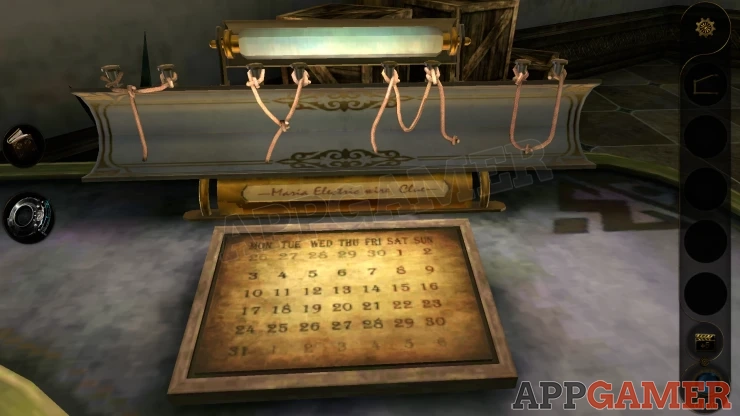
Then also use the Lens eyepiece to see that the calendar has letters written by the numbers, this is also another clue.
Next View the drawers on the left of the desk and open the top one.
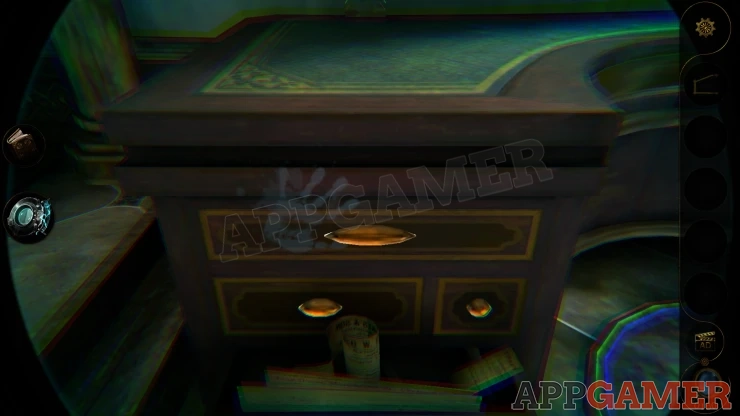
Place the Handle into the lifted section on the right. Then slide it to the right.
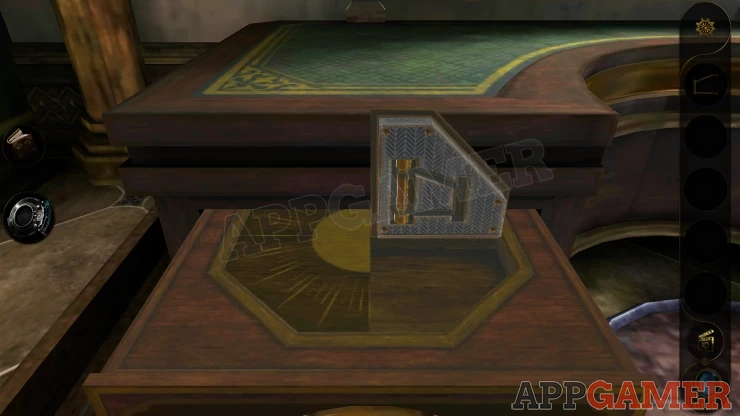
This reveals a new puzzle on the desk
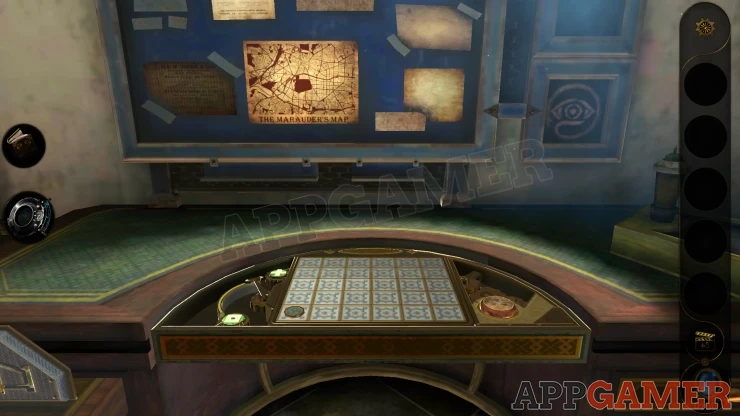
Desk Puzzle
First use the lens eyepiece to view a map on the board above the desk. This will show you a pattern of squares with X's.
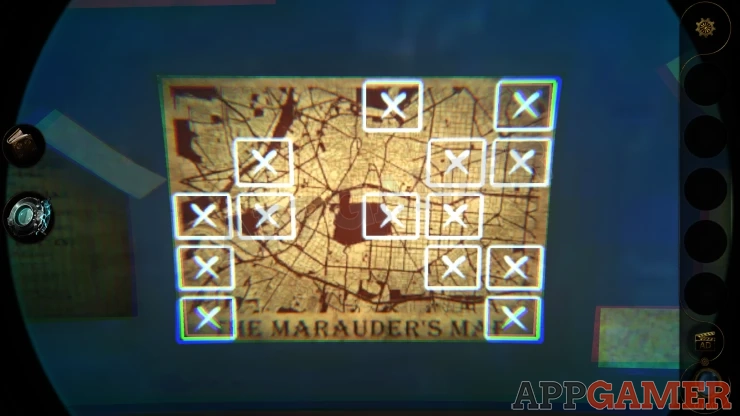
Then view the puzzle board.
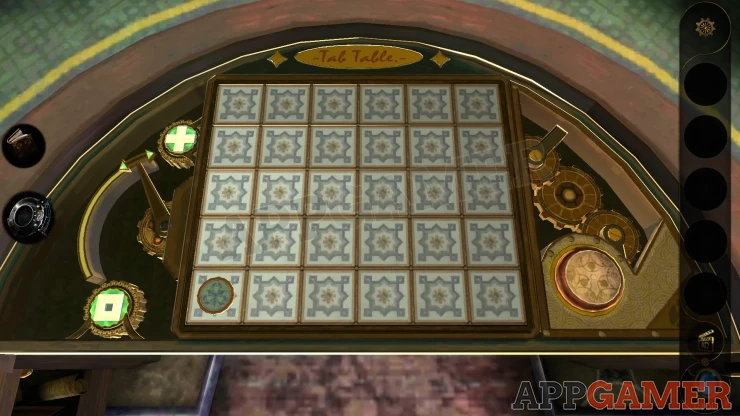
- This is a grid of 30 squares. There is also a round token that you can move to any square.
- On the left of the board is a switch that you can move between two patterns. A + shape and a Square shape.
- On the right is a button.Pressing the button will flip the tiles centered on where you place the token and in the pattern selected by the switch.
- When flipped over he tiles have an X on them.
- Arrange the tiles to replicate the pattern seen on the map.
Once done the board opens and you will see a code entry where you can select 4 letters.
Use a clue seen above to enter the code.
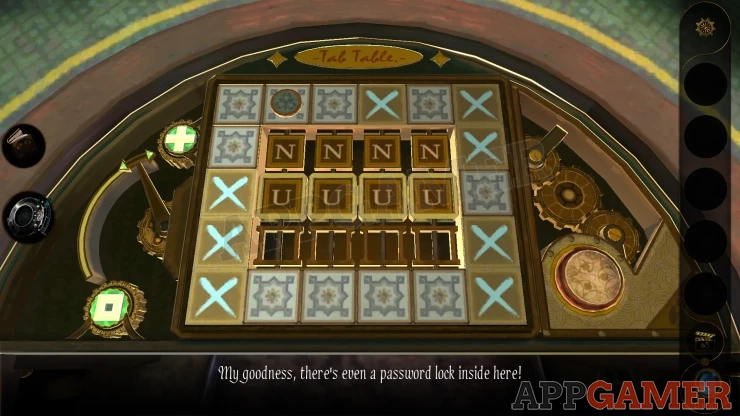
Code: TYMUShow
You can now collect a green Emerald.
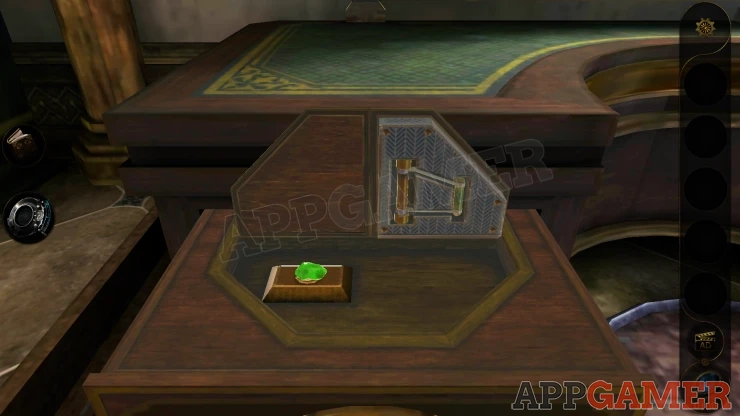
Use the lens eyepiece to look at the drawer and you will see another number clue.
Show
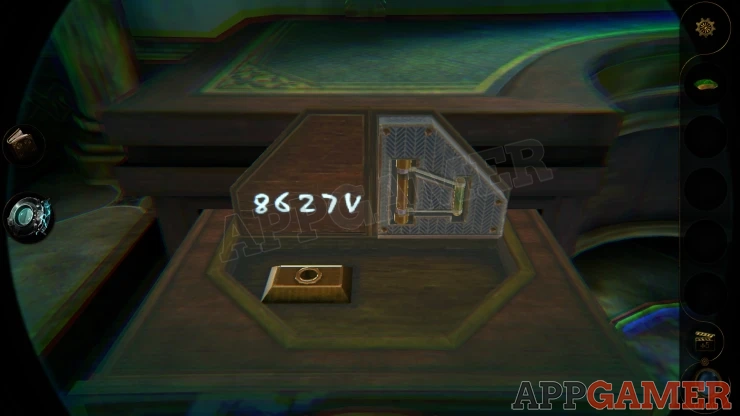
Go back to the cabinet in the back corner and place the Emerald at the top of the tower. You can then collect it. Another panel opens to the left with a model house, place the tower on the right.
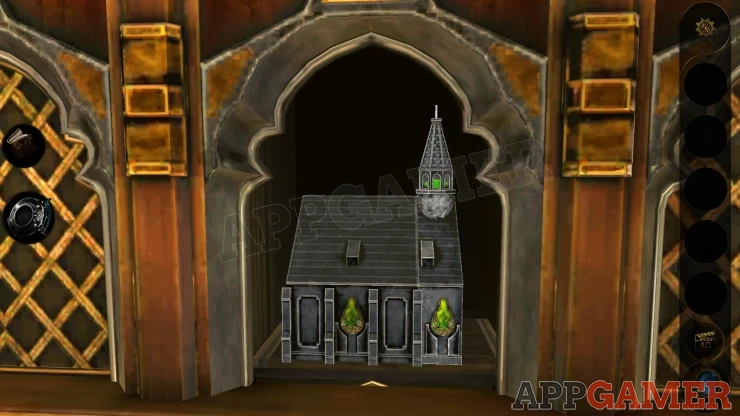
As before this lifts up. Go back up the steps to the upper level. Look at the bench on the right and the gear handle that is now below the center model.
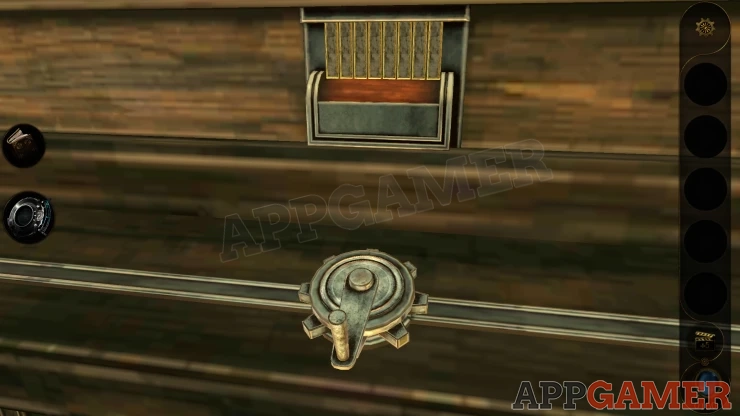
Turn this and the house will rise up. Then a second code entry board will appear on the left.
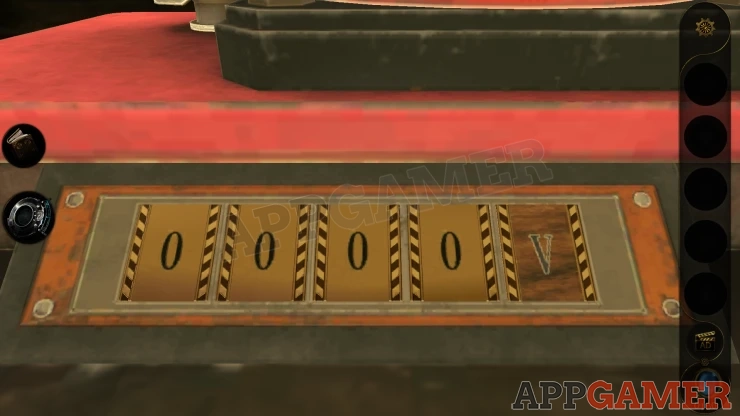
Use the code seen above.
Code: 8627VShow
A panel opens to reveal another puzzle.
Pipes Puzzle
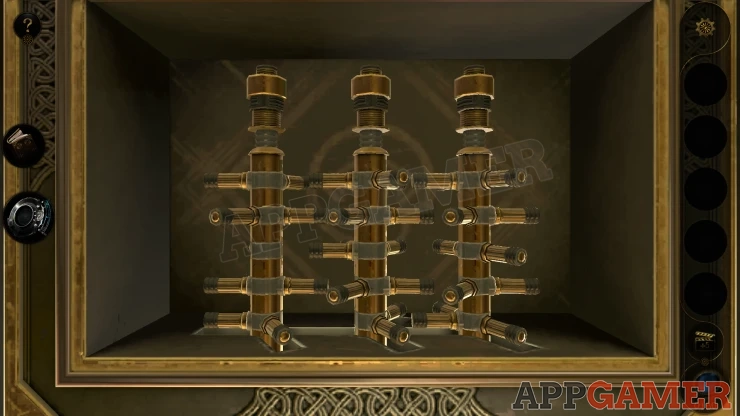
- There are three pipes with branches at various levels.
- These are above slots in the base that they can fit into.
- You can turn the pipes to move the branches positions.
- You need to slide the pipes down into the base, the branches will block this and you will need to rotate them to find a way to get all three of them down.
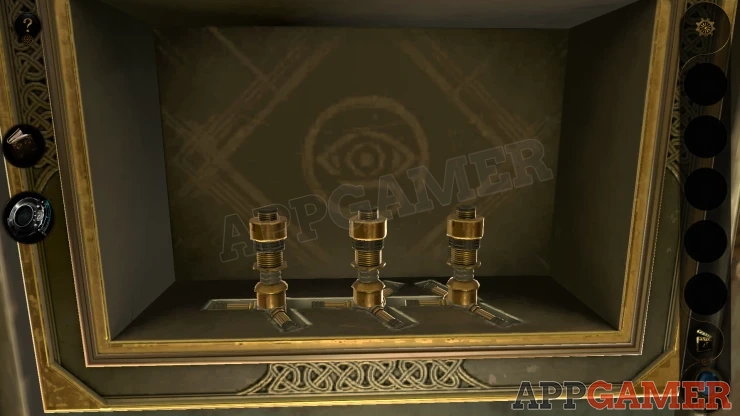
Once this is done you can collect Metal Capsule C. View this and turn the ends to line up the red and blue gems.
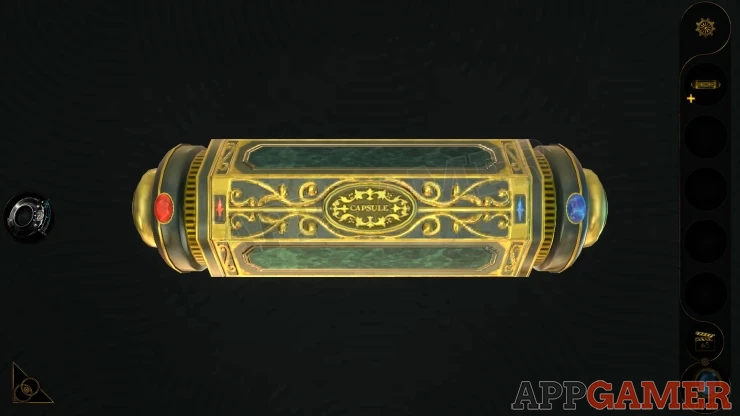
Open it and collect Swan C then view this and press the blue center to open it up.
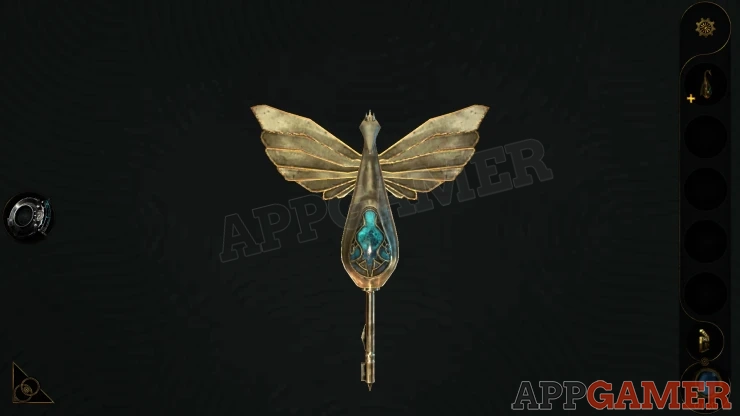
Go back down to the cabinet and place Key C into the final slot on the right.
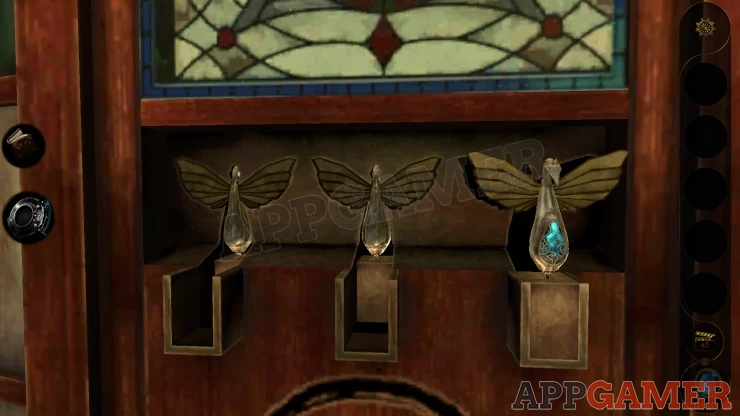
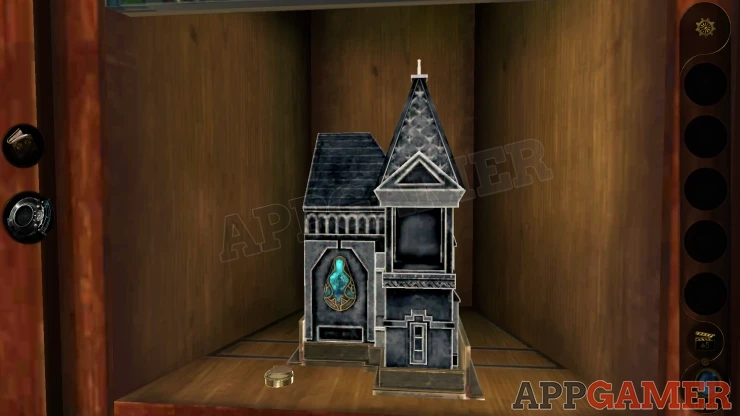
The cabinet opens, collect a Small Button.
Now go back to the first work area on the left of the room. View the small wooden panel with the handle again.
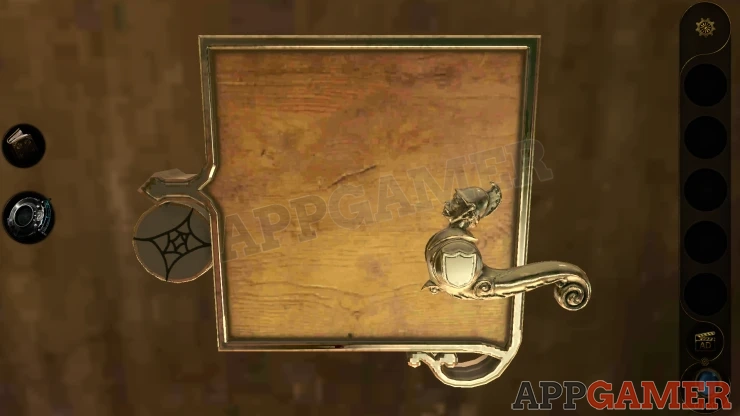
Place the small button into the slot on the handle, then turn it again. This time a panel will open to reveal a seven digit code entry. The clues for this were seen earlier on the desk.
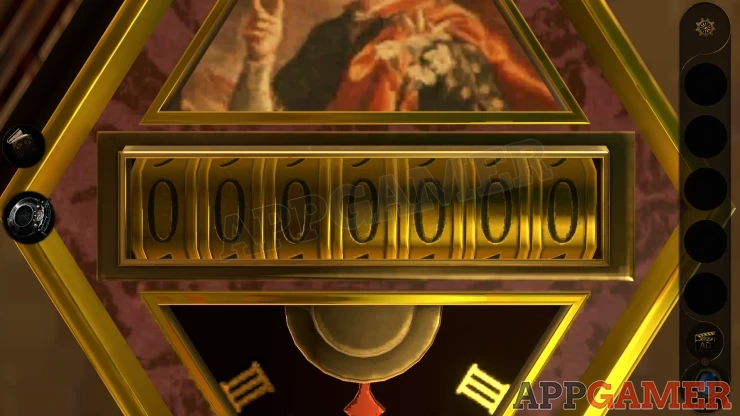
Solution: On the desk is the calendar and four letters, T Y M U. Using the lens you see the numbers that these letters are written next to.Show
Code: 29 4 21 31Show
Collect a blue Sapphire.
Go back to the cabinet in the corner and place the sapphire onto the Church model C. You can then collect it.
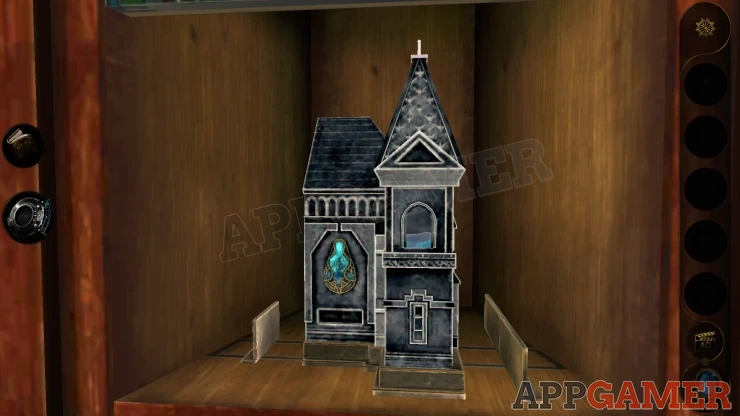
When the next panel opens place the model house here and it will lift up as before. Go up the steps and view the gear handle on the right. Turn this to lift up the final part of the large model.
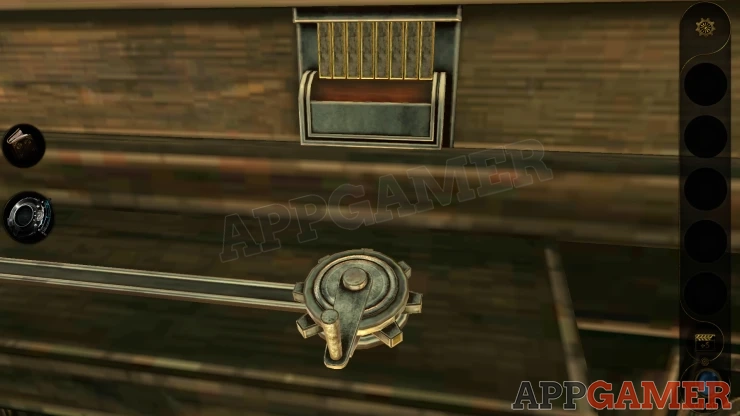
An ornate box appears from a panel below.
Picture Box Puzzle
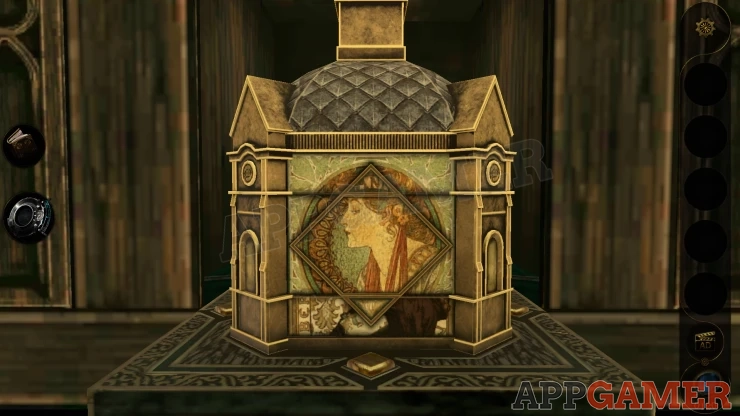
- The box has 3 sections, top, middle and bottom. These can be rotated around the box.
- Each side also has parts of a picture in a diamond shape.
- Turning the parts of the box will let you swap the top and bottom parts of each image around.
- Each of the Diamond shapes can also be rotated by tapping a button on the base, this will let you swap around the top and bottom parts.
- Arrange all of the parts to match up the correct pictures on each side of the box.
Solution: Show
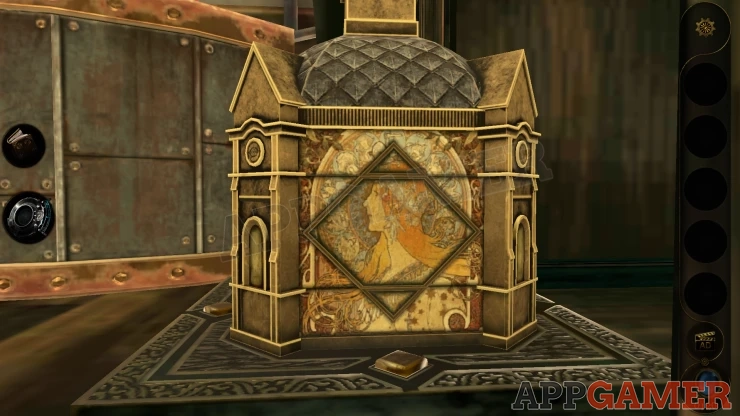
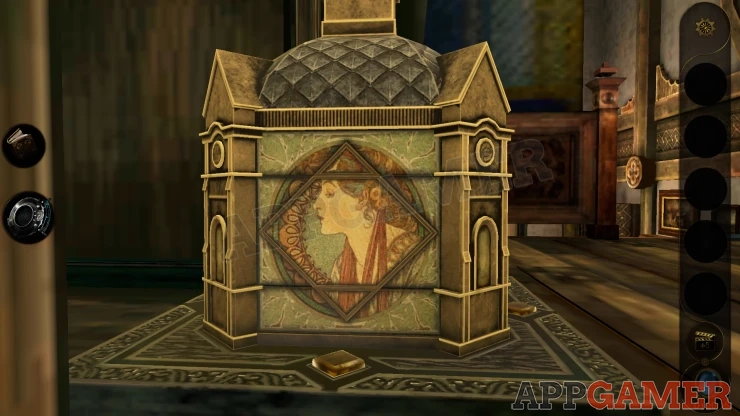
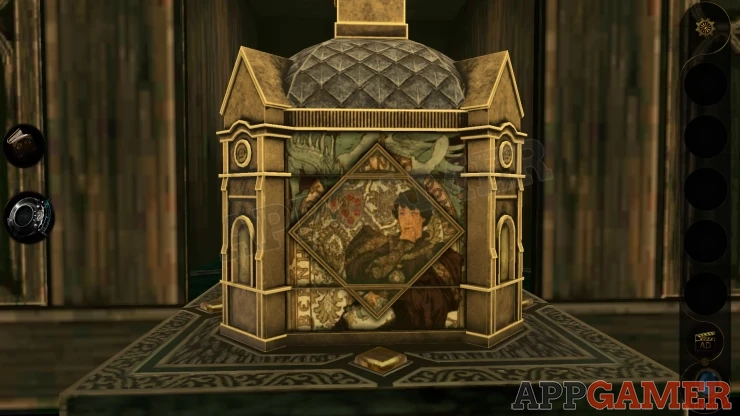
Once this is done you will collect a Note from the top of the box.
Another code entry panel will appear on the left.
View the note to see a representation of Pi. There are red dots under some of the numbers in the first row. From this we need to get the 4 digit code.
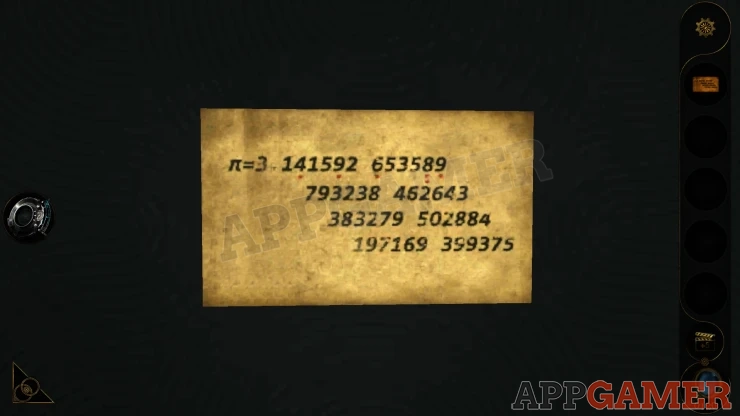
Solution: There are four rows, in the first row there are six red dots and these are placed under the numbers that have enclosed holes in them. i.e. the 4 has 1 hole within it, the 8 has 2 holes. This gives a total of 6 holes in the row. For the other rows count the number of enclosed holes, to get 3 more numbers.Show
Enter the code: 6795 VShow
Collect Metal Capsule D.
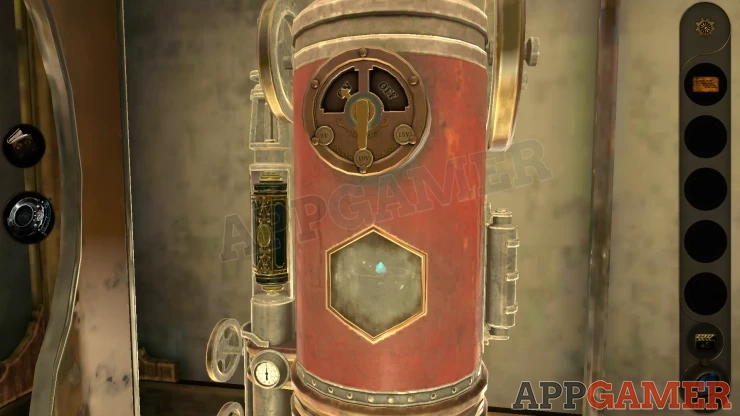
Open this, it appears to be empty, but then rotate the ends of the capsule to reveal a Key to collect.
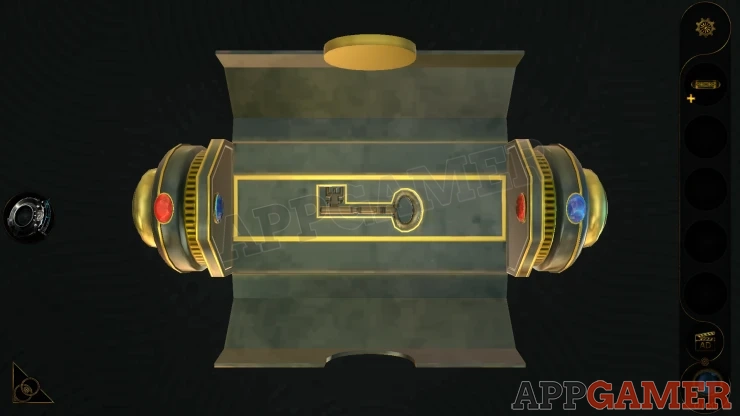
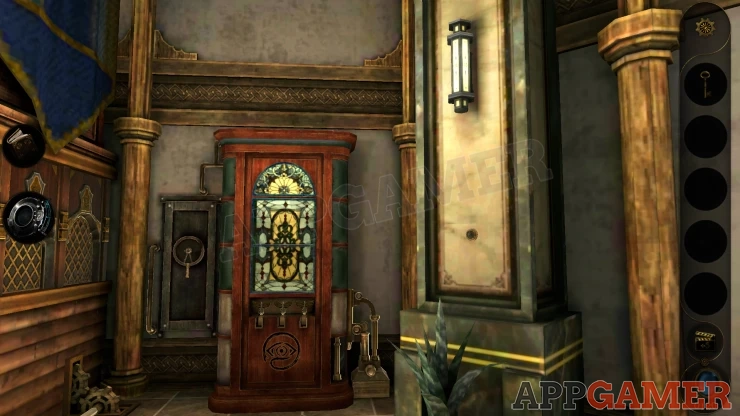
Go back down the steps and look on the wall on the right to see a column between the cabinet and the desk.
View a small round button in the center, then slide this around to find a key hole.
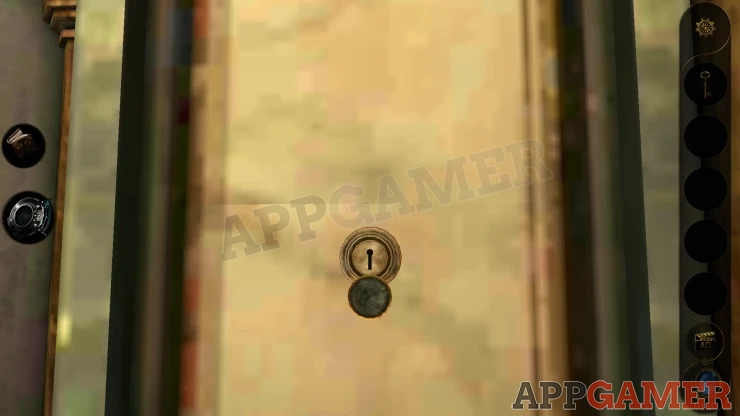
Use the key and you will open up a panel to find three switches. Collect the letter.
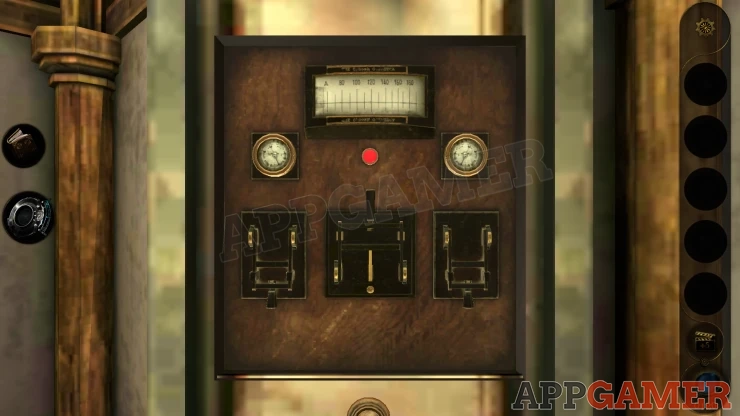
Pull the center switch down and release it to turn the light green. This will complete part 4 of the chapter and you will gain the Nameless Stone D.
Back in the manor house you can now go to the Organ on the stairs. Place this final crystal on to the remaining figure.
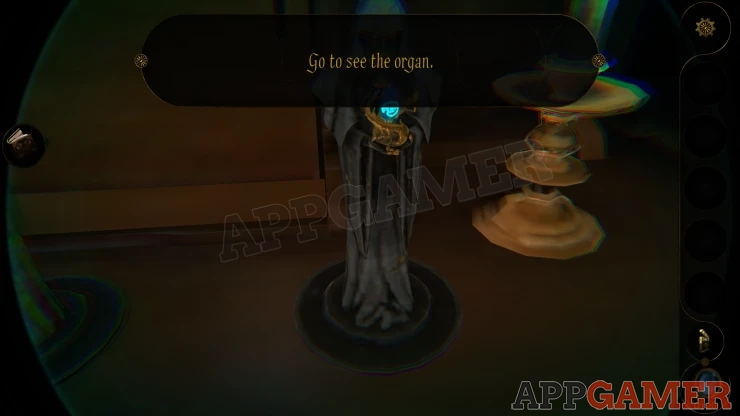
The organ will disappear now and a secret doorway will open.
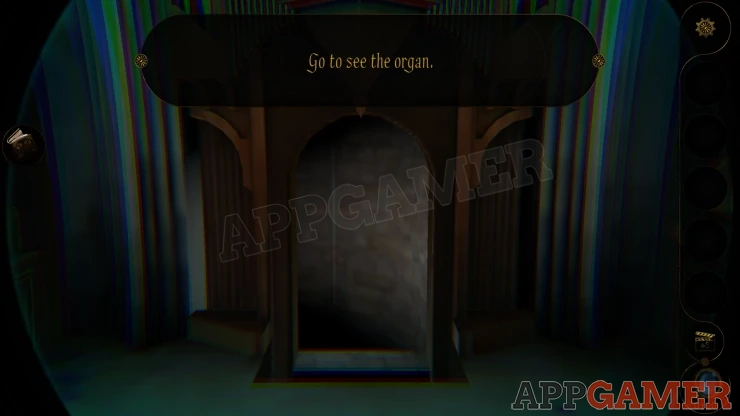
This is the end of Book 4. You can move on to the final chapter.
| Chapter 4 - Philip's Warehouse Walkthrough | Back to Top | Chapter 4 - Grandfathers Laboratory Walkthrough |
 With 20 years of experience in creating video game content for the internet and over 30 years as a gamer, Mark is now a passionate mobile App Gamer. Loving a challenge, he is always ready to get stuck in to both survival builders and puzzle solving games. He has been providing content for AppGamer since 2014.